- Loading…
Online workshop directed to kids to introduce them to Artificial Intelligent “AI”, also for them to experience the abilities of the new technology. Besides, knowing the machine learning technique and put in their minds that the computer learns as we do.

1- Computer
2- Internet Access
3- Presentation
4- Links :
In this we want to interact with the participant to break the boundaries.
After the welcoming and self introducing.
We will start by mentioning that ” I have no doubt you are using the computer every day for gaming, do homework, and even learn as we do know.” then we will open a space of time for them to ask a concern ” Have you ever thought the computer would be smarter than we are? ” .
One Minute would be enough to hear them saying yes and no.
you can ask them to justify their opinions or just end it by giving a good answer regarding what you believe.
For me : ” we invented these machine how could it be smarter!! ”
This step is to break down the sentence "Artificial Intelligent" to clarify each part alone.

Simply here we are just going to give some examples about things that the human made.
Also, clarify that Artificial is any thing human made before and is going to make in the future.
This is the second part of the sentence "Artificial Intelligent" we are going to discuss it with them and clear it also.

Here we are going to tell them what is the definition of Intelligent then we will give an example “ Imagine you touch a stove and it’s hot and your hand burns. Two days later, you are in front of another stove. Would you touch the stove without thinking? Or would you remember how you burned your hand and try to figure out if the stove is hot before you touch it?“
( All of them would say No we won’t touch it)
so we can tell them this is an intelligent choice by using your previous knowledge to take advantage of it in the future.”This is Intelligent”
In this step we are going to combine the two words "Artificial" and "Intelligent" to clear it for them.

We will start telling that “AI” is referred to Artificial Intelligent.
Then we will clarify the expression “Artificial Intelligent” its the ability to make the machine can think and learn.
( We want to make the computer smart ) .
This step to take the main three parts of AI in brief details.

AI has many parts but these are the main three.
Data : is every thing in this life and any thing could be consider under data; for them to understand go back and refer to the example of the intelligent, tell them the hand is a data, stove is data, fire is data, and burn is data.
Algorithms : is the way we use to link data together and its simply a mathematics equation for example ( hand + fire = burn ) here we built a link between the data and this what algorithms do.
Prediction : is the result of the algorithm or the equation ( burn means he will get hurt ).
Besides, you can give one more example the picture in the slide above shows a robot want to make a sorting for disks inside a known area.
Data : Disks, Area, disk place, and capacity.
Algorithm : is the way of connecting these data together to sort the disks.
9 disks = fixed area * disk place (variable)
10 disks fixed area * disk place (variable)
Prediction : Disk place
So the idea here is to let them understand the way the computer thinks.
In this step we want to clarify the algorithm for the Kid's in a very simple language and in a way the used to.

1- The first step here we want the kids to write how they can draw a rectangle in steps.
2- We will give them a hint by giving the first 3 steps for them.
3- Most of the kids will draw the rectangle neglecting the steps telling they finished.
4- We will go through the steps one by one.

5- Finally we can tell them that algorithms is just a recipe.
6- We can also give more example about recipes like ( Cake recipe ) , ( lunch meal recipe ) all of the recipes are simply an algorithms.
This is the final step in the theoretical part and the hardest one we don't want to complicate things so we will give a brief to encourage kid's to go and search for more.

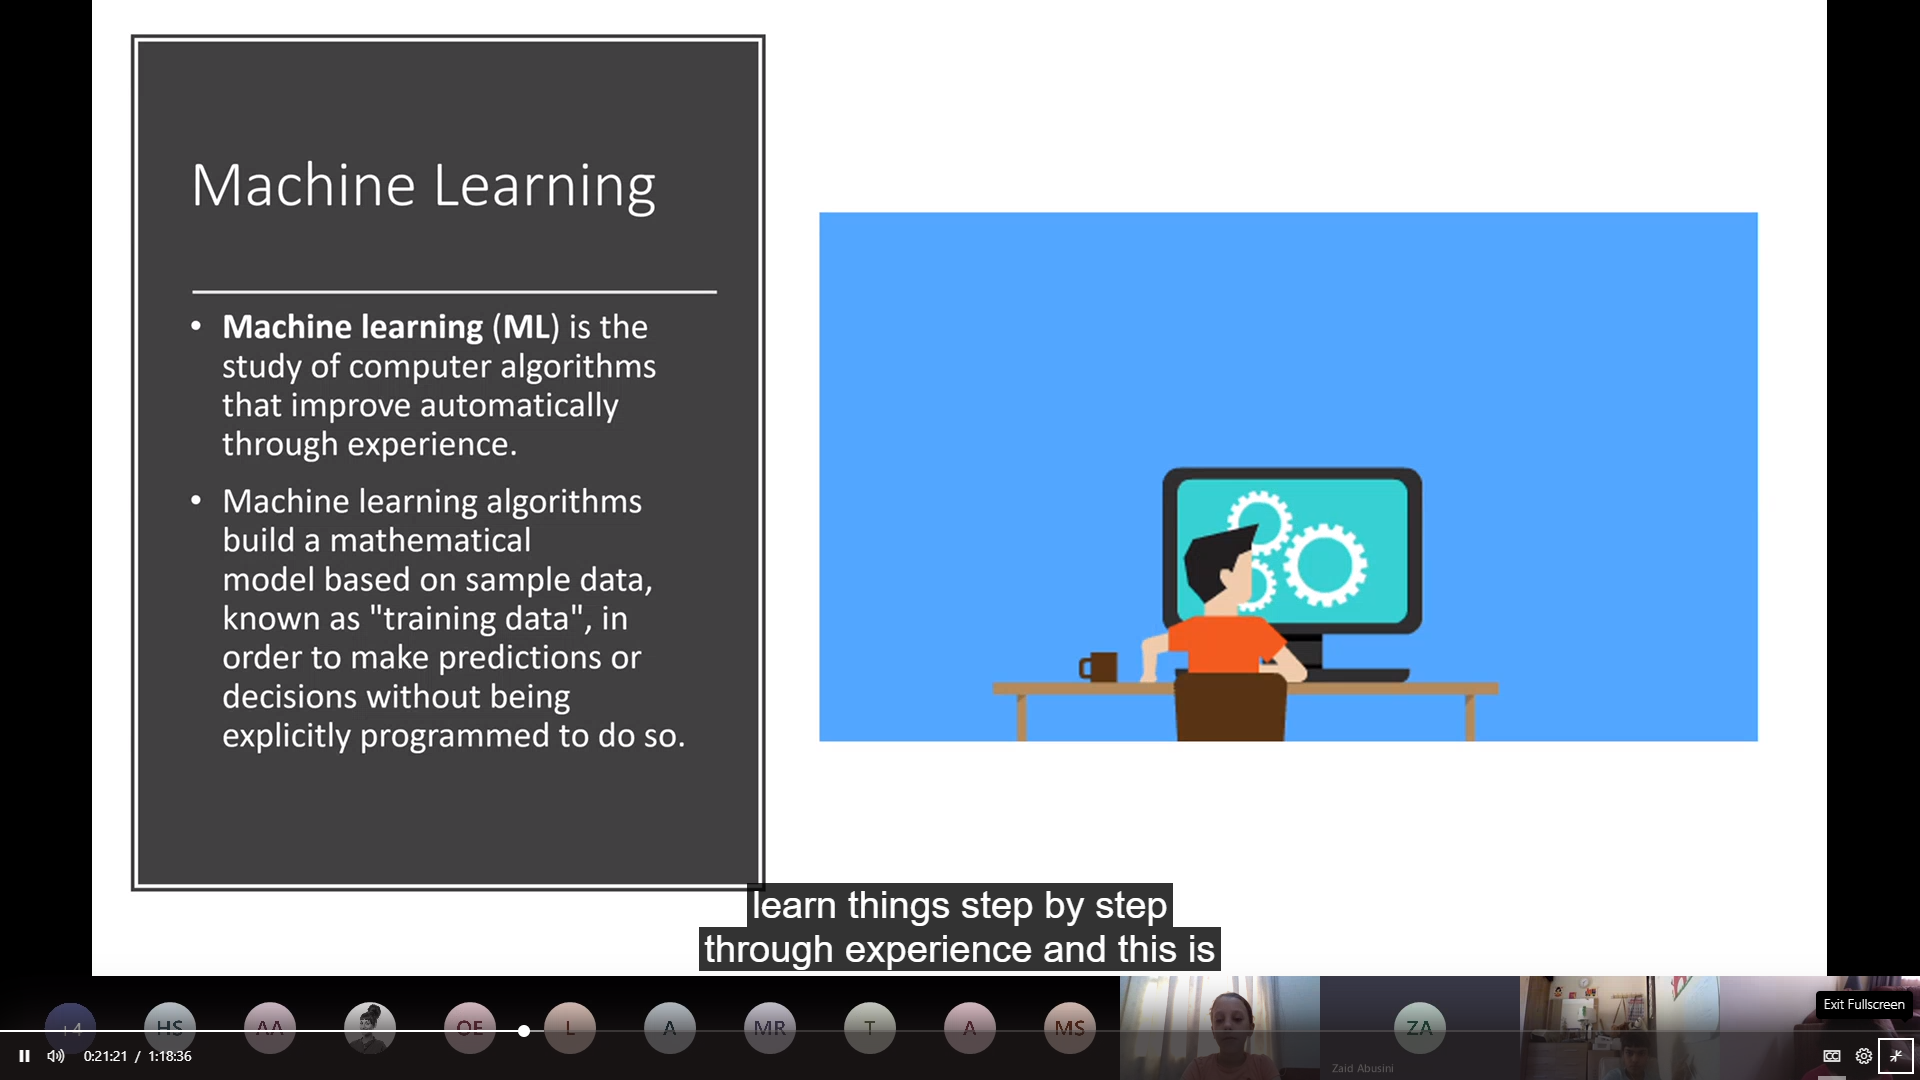
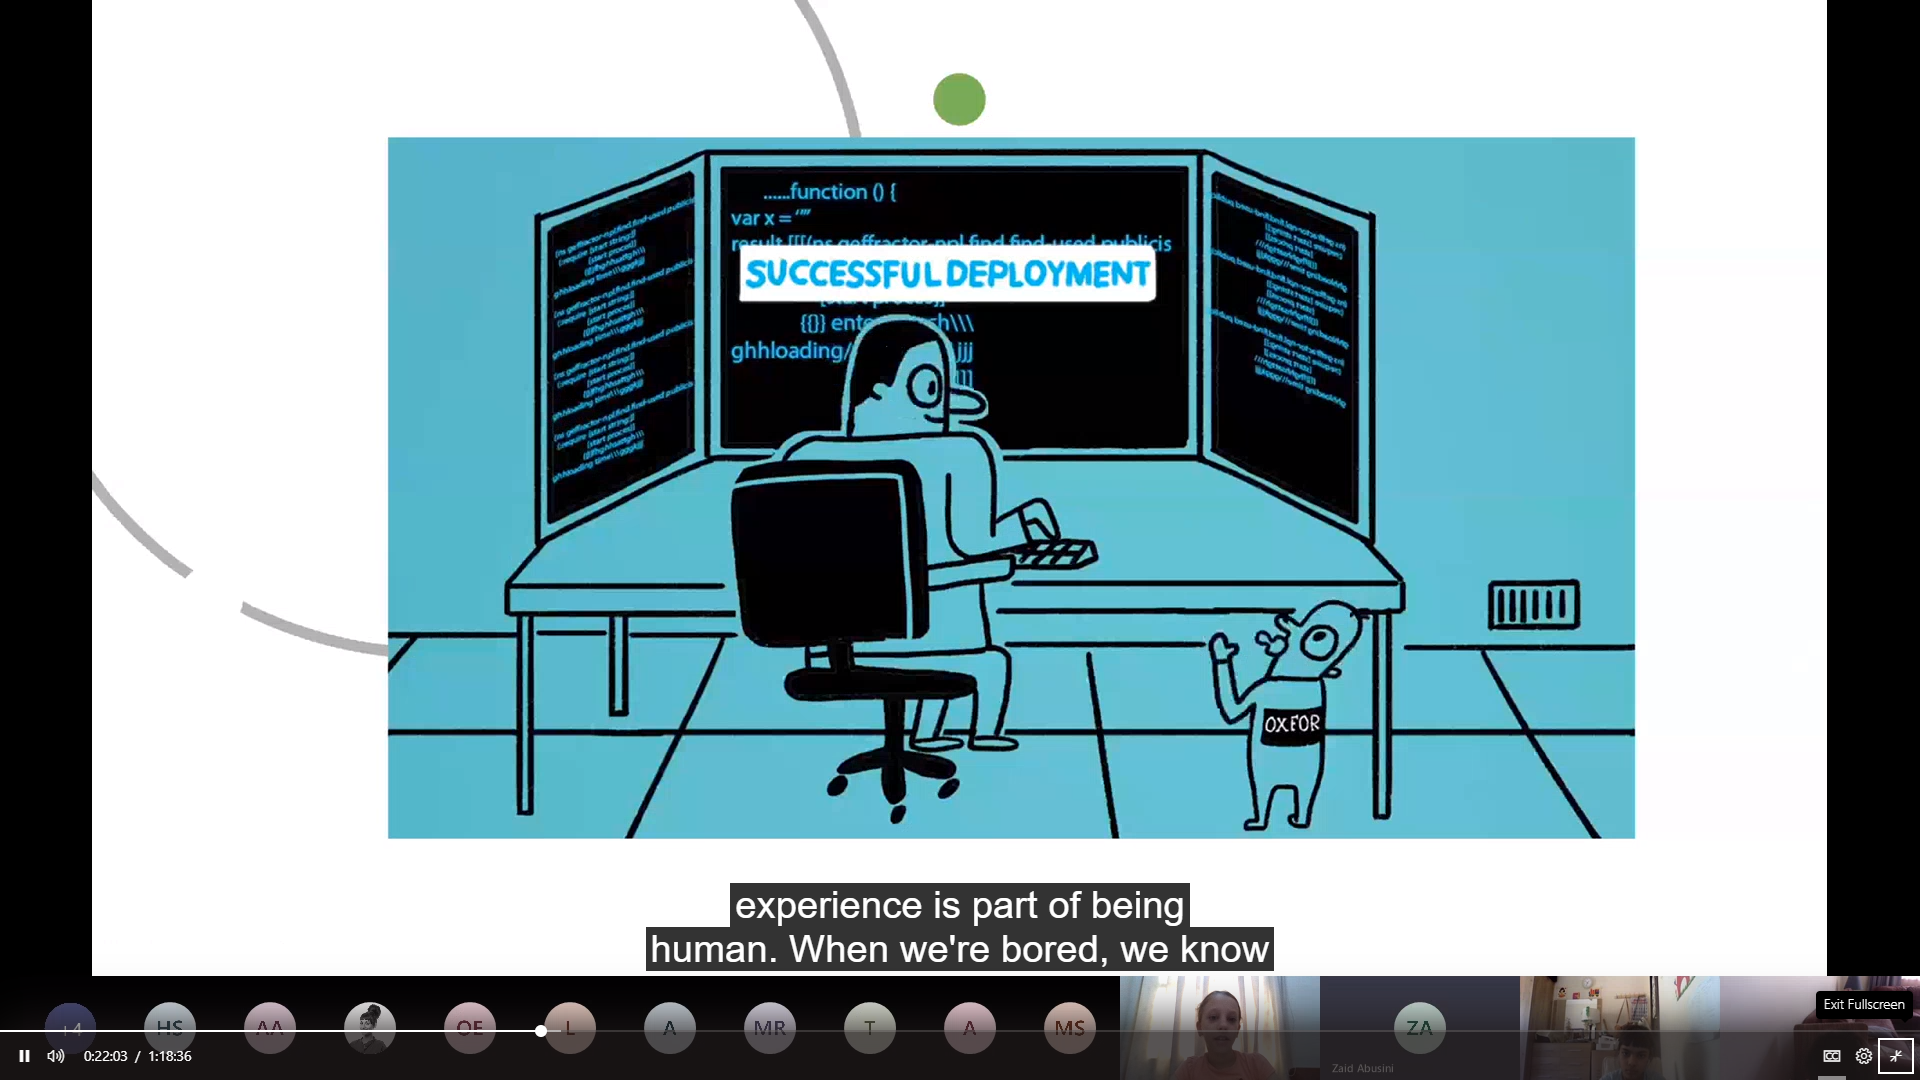
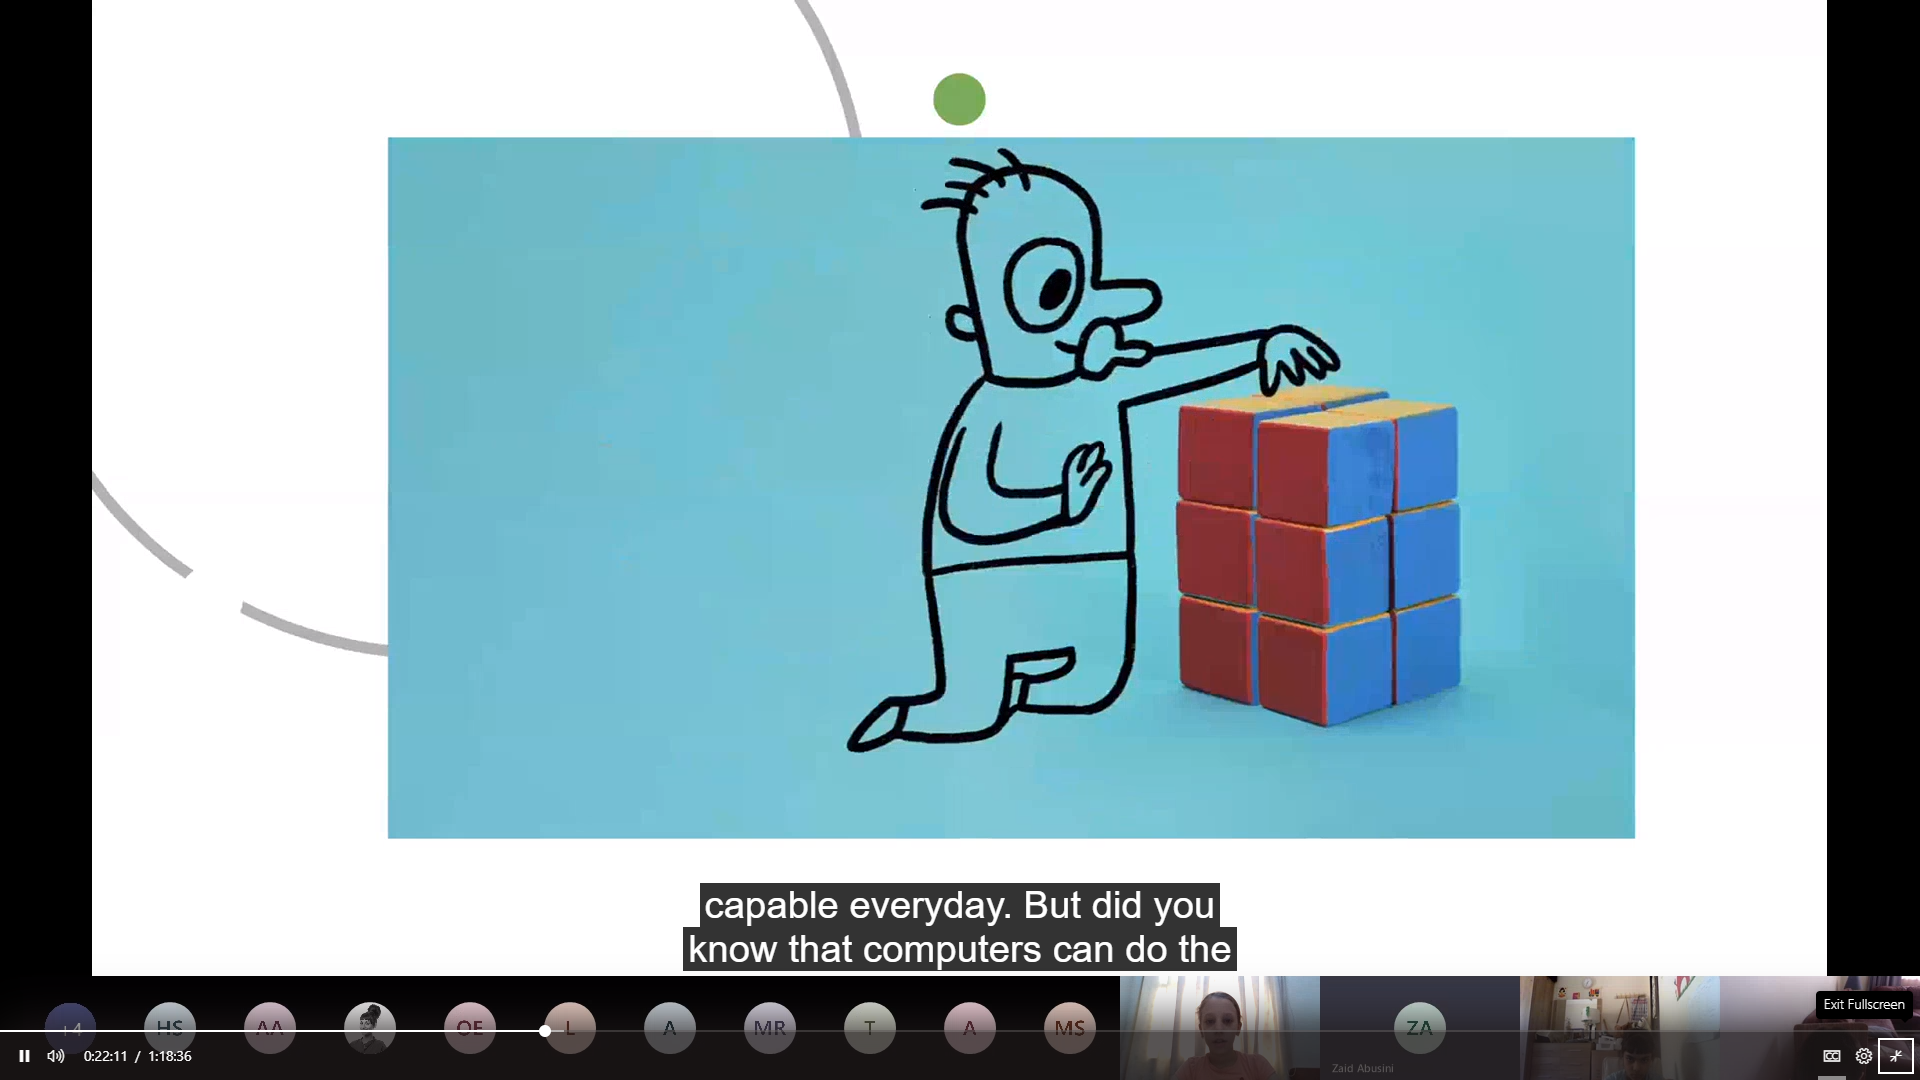
To understand machine learning we need courses to build a good knowledge about. so briefly machine learning is the study of algorithms computer uses to self learn through experience.
So here we want to simplify things by reflecting this on the human life cycle as when we born we know almost nothing ( 0 Knowledge ) and we start building our knowledge through “Try and fail”(experience) and this what we want to reflect to computer the ability to learn as we do human been through experience.
Briefly : “Giving the ability to think and learn to the computer”
Finally : a video discussing machine learning is the best way clarify. (The Video)
In this section we are going to reflect theoretical on real platforms that uses "AI" and how we can use it in drawing.
1- We should feed data to the machine to start learning and build a classifications between the needed objects. In our case we need to let the computer learn how to draw and how the shapes look like so we will use Google ( Quick Draw ).

2- This platform will ask the user to start draw specific object and the machine will start guessing what the user is drawing.
3- This technique is used to feed data to the computer to build connection between data.

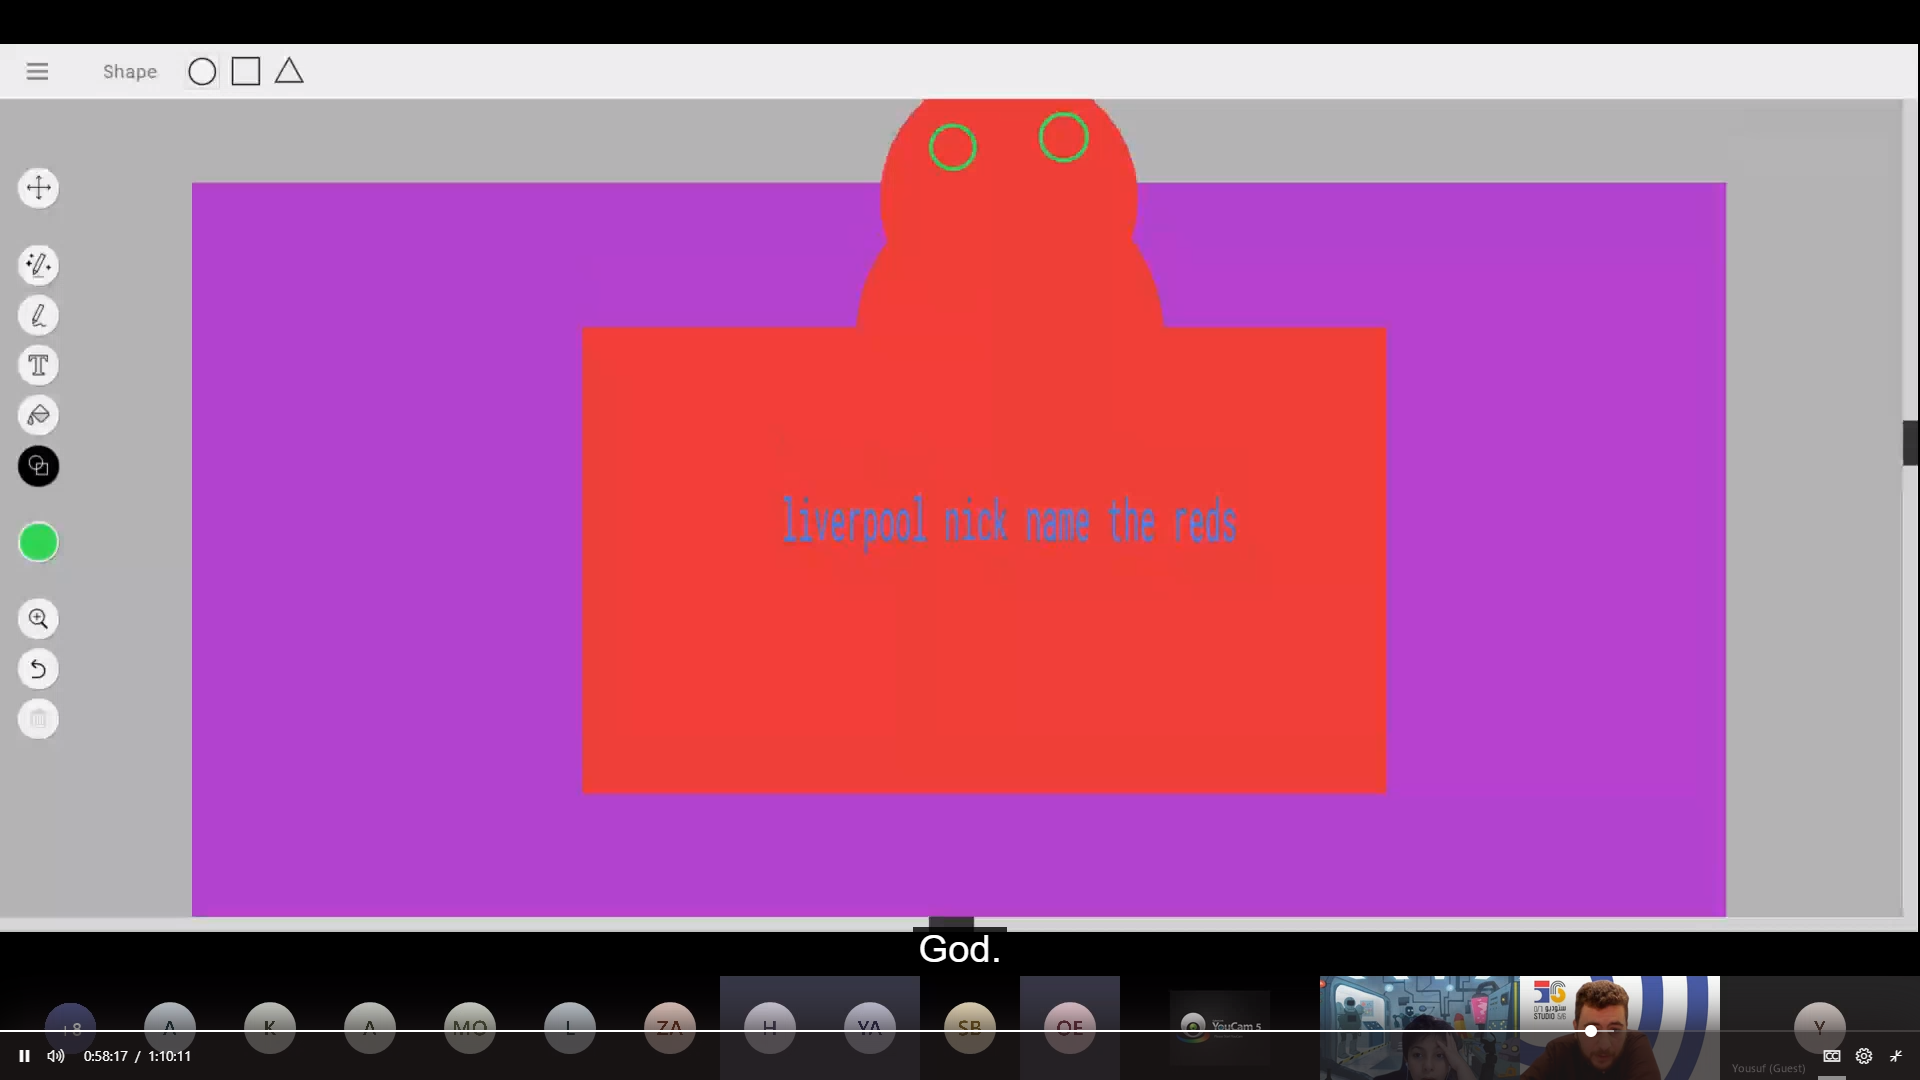
4- This platform is used to draw with the computer, you decide what to draw, then you will start drawing and the computer will give many ways for your draw how to look like but finally its your decision.
5- This will show how the computer links between data

6- This platform will show how many prediction the computer can make for one object depends on the data we already fed to the computer before.
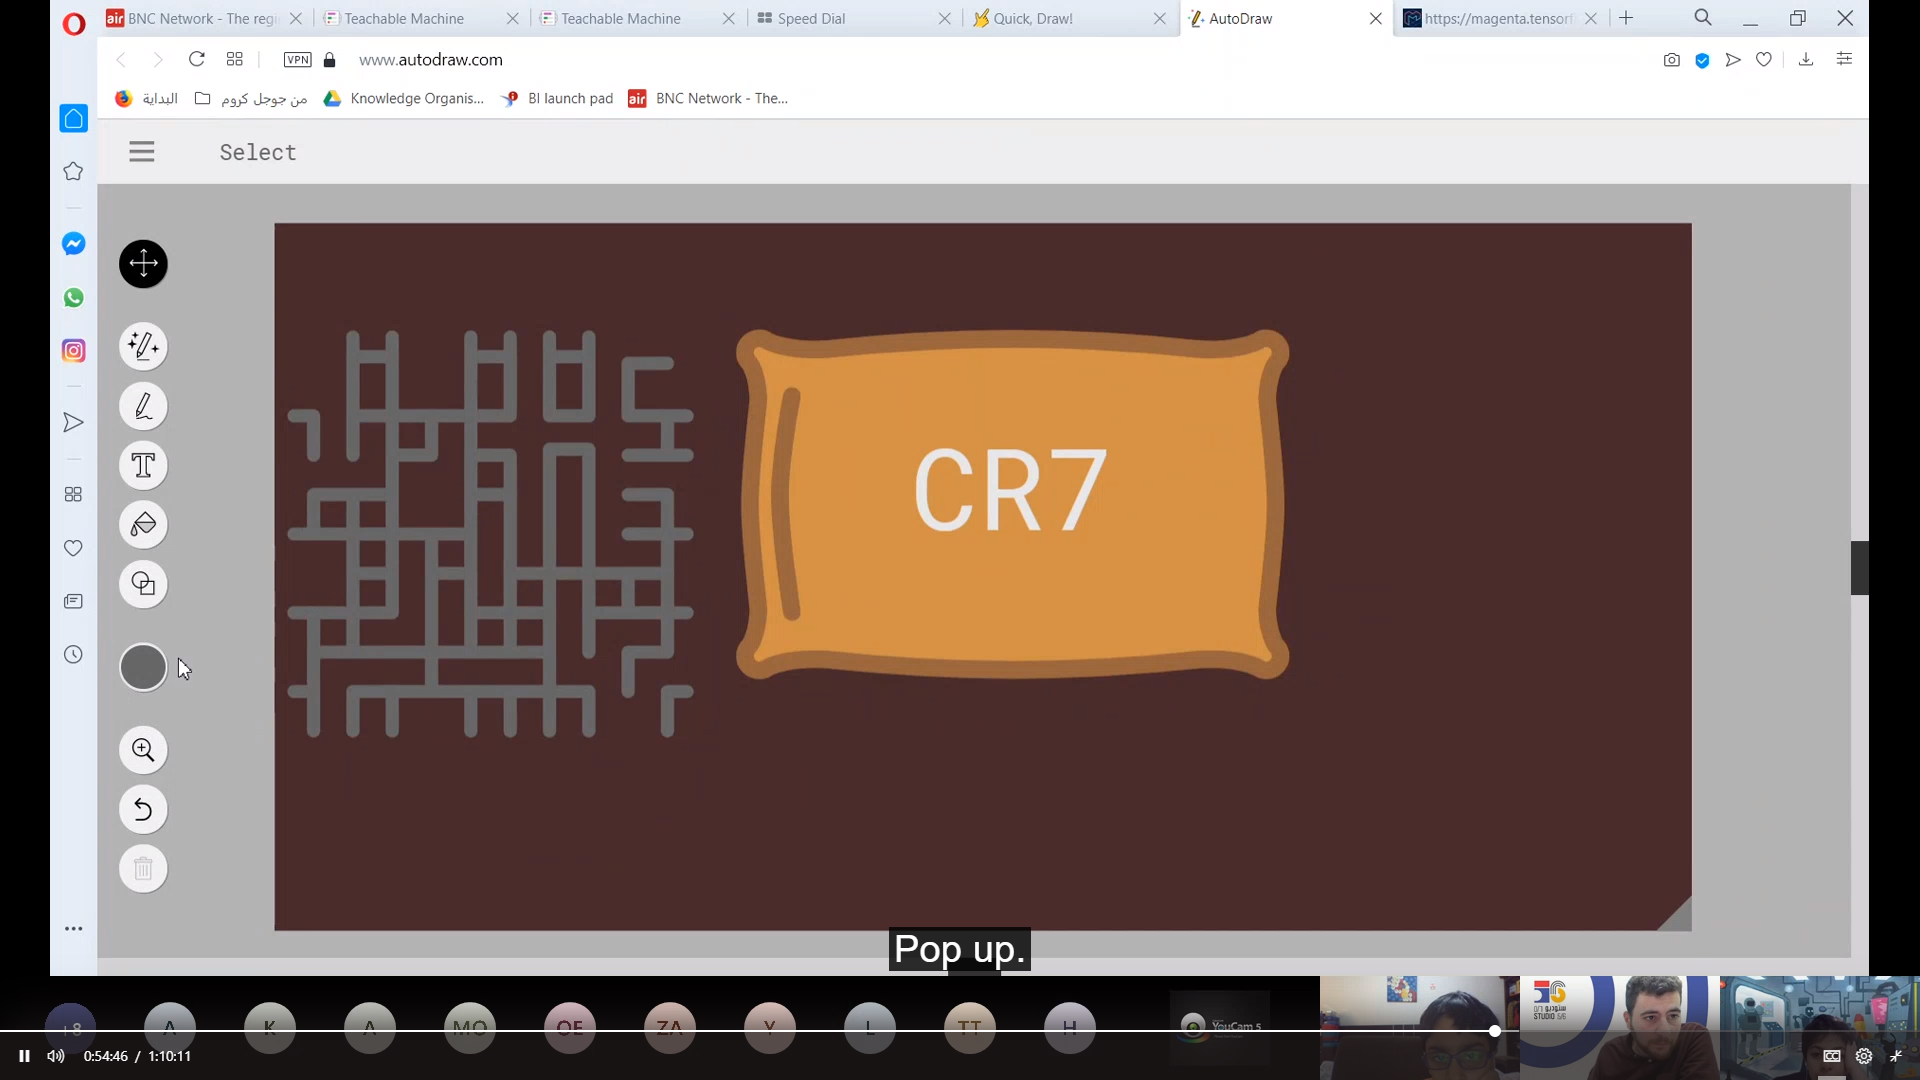
7- Here we will choose the needed object to draw and the computer will show you 9 different looks for your object at the same time.

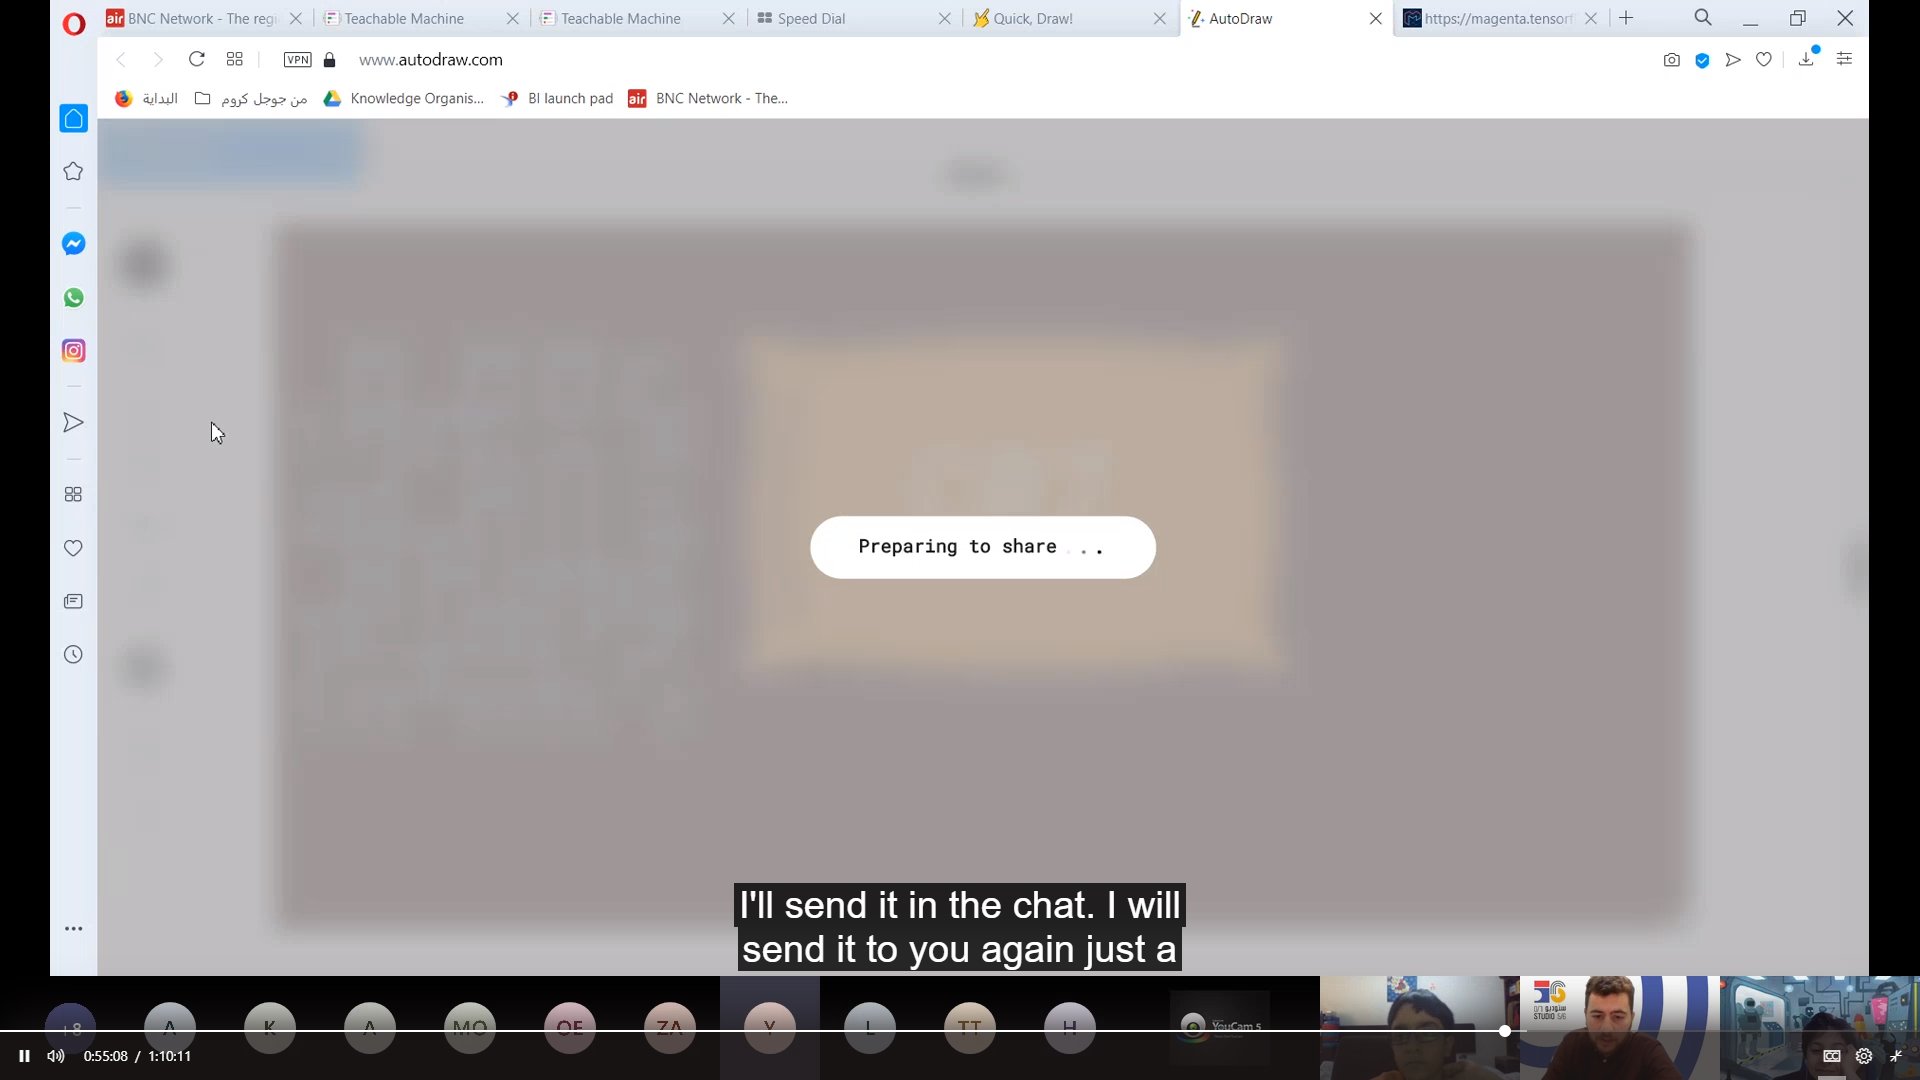
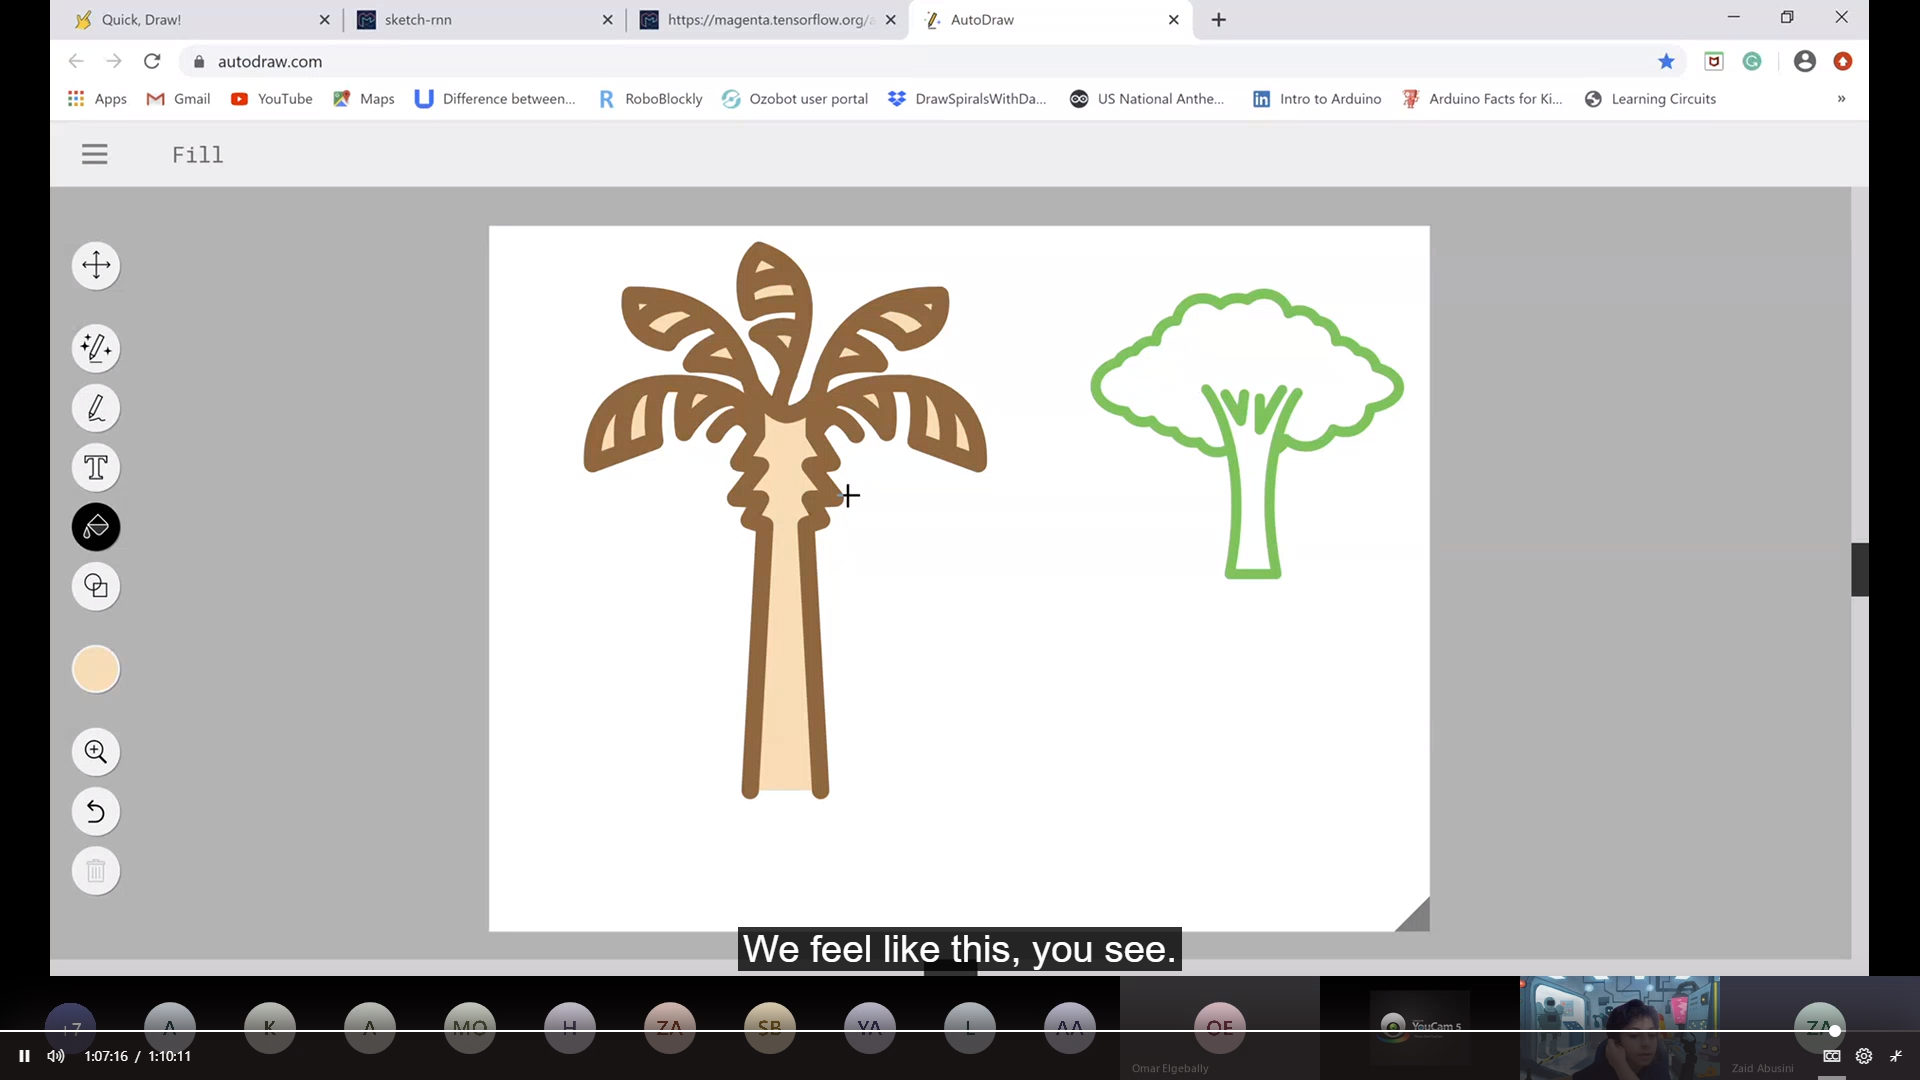
8- This is the last platform (Auto Draw) to use which shows the final look of the “AI” with art applications which give you many predictions for what the user is trying to draw, beside the user can decide and make the customisation.
Here we are going to introduce how does "AI" Interact with images and the available options can be done on images.
1- We can here build a whole image library on “Machine learning for kids” using IBM Watson API, This is really helpful it shows the student the first step of feeding data and how to group similar data together then how the computer is going to handle the operation on its own without any instruction from humans, finally after the learning process of the computer finishes we will be able to code scratch 3.0, app inventor, and python to make different projects.
2- The other way is just by showing the student some of the ready made projects using “AI” so they can build some imagination and also knowledge how it works in addition how spread its use in our real life.
————————————————————————————————————————————————-

1- The first step to create a library project is to go to (Machine Learning for Kids)
2-Then we are going to create a teacher account.
3-After creating the account i suggest you to follow the notes on the site so you can prepare your account to be ready to accept making images and text library using Watson API’s from IBM.
4- We want now to create our project and decide the type of machine learning to use in my case I’m gona use the Image type then i will start feeding data to the library i will make a project to distinguish between RED, BLUE, and GREEN color. 

5- To feed data go to train, then build your classification columns for now one for RED, other for BLUE, and the third one for GREEN. after that we will feed data to each classification so upload green objects to green column and so on for the others so the computer can handle the process later. 
6- After this we will go to learn and test to start the learning process of the computer. 
7- Now by pressing train new machine learning model the machine gona handle the process also its going to take several minutes my average was 8 min.


8- After the training computer finishes the process we will be able to start making the front end project on Scratch 3.0


** Note : Open Scratch from the machine learning for kids so your library be integrated with the site, The normal scratch wont accept the files you make on machine learning for kids scratch it will appear to you loading but it wont open.
9- Now we want to make a Chameleon it color changes upon the color of the object been picturing.

10- firstly we want to choose the template, so go to project template and choose chameleon form the list.

11- After choosing the template we need to make customization.


12- Add the recognize image and backdrop image blocks to the Green Flag script (that is there already) so that it looks like this This will recognize the color of the background, then send an event to let the chameleon know what color it should change to.


13- Now we will take a picture ob an object to test whether the machine will guess it right or not.

14- Then press the green flag.

Now here its working.
Note : Here we can make the full project for the kids and hand it to them, so they will be asked to upload it and check it up.
————————————————————————————————————————————————-
1- Here we can give more application for the kids to let them experience the machine learning.

2- This is a ready-made project instead of build it so the student will just try it and its the same of what we built above using scratch 3.0.

3- Using this site ( Deep Angel ) the student will experience how the computer can erase objects in images and also detect fakes in images.

4- This application shows how the “AI” can change colors in images and also texture.
Here we will use "AI" with sounds to show the students how it works and also how to train a computer to distinguish between sounds.
1- Firstly we will go through the process from the beginning to let the student try all “AI” Steps.
2- We will use machine learning for kids to build library and then we will build a scene on scratch.
3- We’re going to press on go to your project.
4- Then we will Create a new project.
Note: creating a sound library doesn’t need an API its already built in the site.

5- After creating the project we will go to train to start feeding data to the machine.
6- We will classify the sound we want the machine to distinguish between in groups and start feed data of each sound also we will feed the background noise to be neglected while the machine start processing so it wont affect the result.

7- We will give the machine some time to start learning.

8- Now we can test the machine learning model if its giving a high result of confident and doesn’t make mistakes.
9- After testing we can go to make page so we can build our scene on Scratch 3.0 and code it.


10- Now we want to code.
11- We will code the spirit.
**Note: The whole code is going to be on the spirit ( Costume ).
12- The first code to start the model and make sure its ready to use.
**Note: It takes time sometimes.

13- Then we will add a code for each sound so when a click is heard i want the costume to say i heard a click.

14- Also we will add for the rest sounds we added.


 15- When the coding is done we can press the green flag to try the model.

16- Then after making sure it works fine you can make your own scene.
**Note : We can build the whole files for the student and hand it to them, But using this way we are giving them the chance to try and also understand the process of machine learning (From feeding the data till the prediction).
————————————————————————————————————————————————-
1- Now we will stage some ready-made application on sound “AI” to give diverse choices and ideas for the student to see and to try.
2- The first application is the Beat Blinder where the student will be able to try a machine generated beats and he can add his own.

4- The second application is the piano, the student will have the opportunity to play piano with the machine.

5- The third and final application is the Tenori Drums, the student will have the chance to create his own tones and drums tone also he can build the tone alone and see how the machine can add the drums to his piece of art

Having trouble? Let us know by completing the form below. We'll do our best to get your issues resolved quickly.
"*" indicates required fields