- Loading…
In this lesson, students explore additive primary colors (RGB), alongside traditional subtractive primaries (RYB). Through hands-on activities, they’ll learn how these color models influence both digital and physical art, enhancing their understanding of color mixing and its application in various mediums. The lesson will include demonstrations on how to blend light for digital media and paint for traditional art, encouraging experimentation and creative expression.
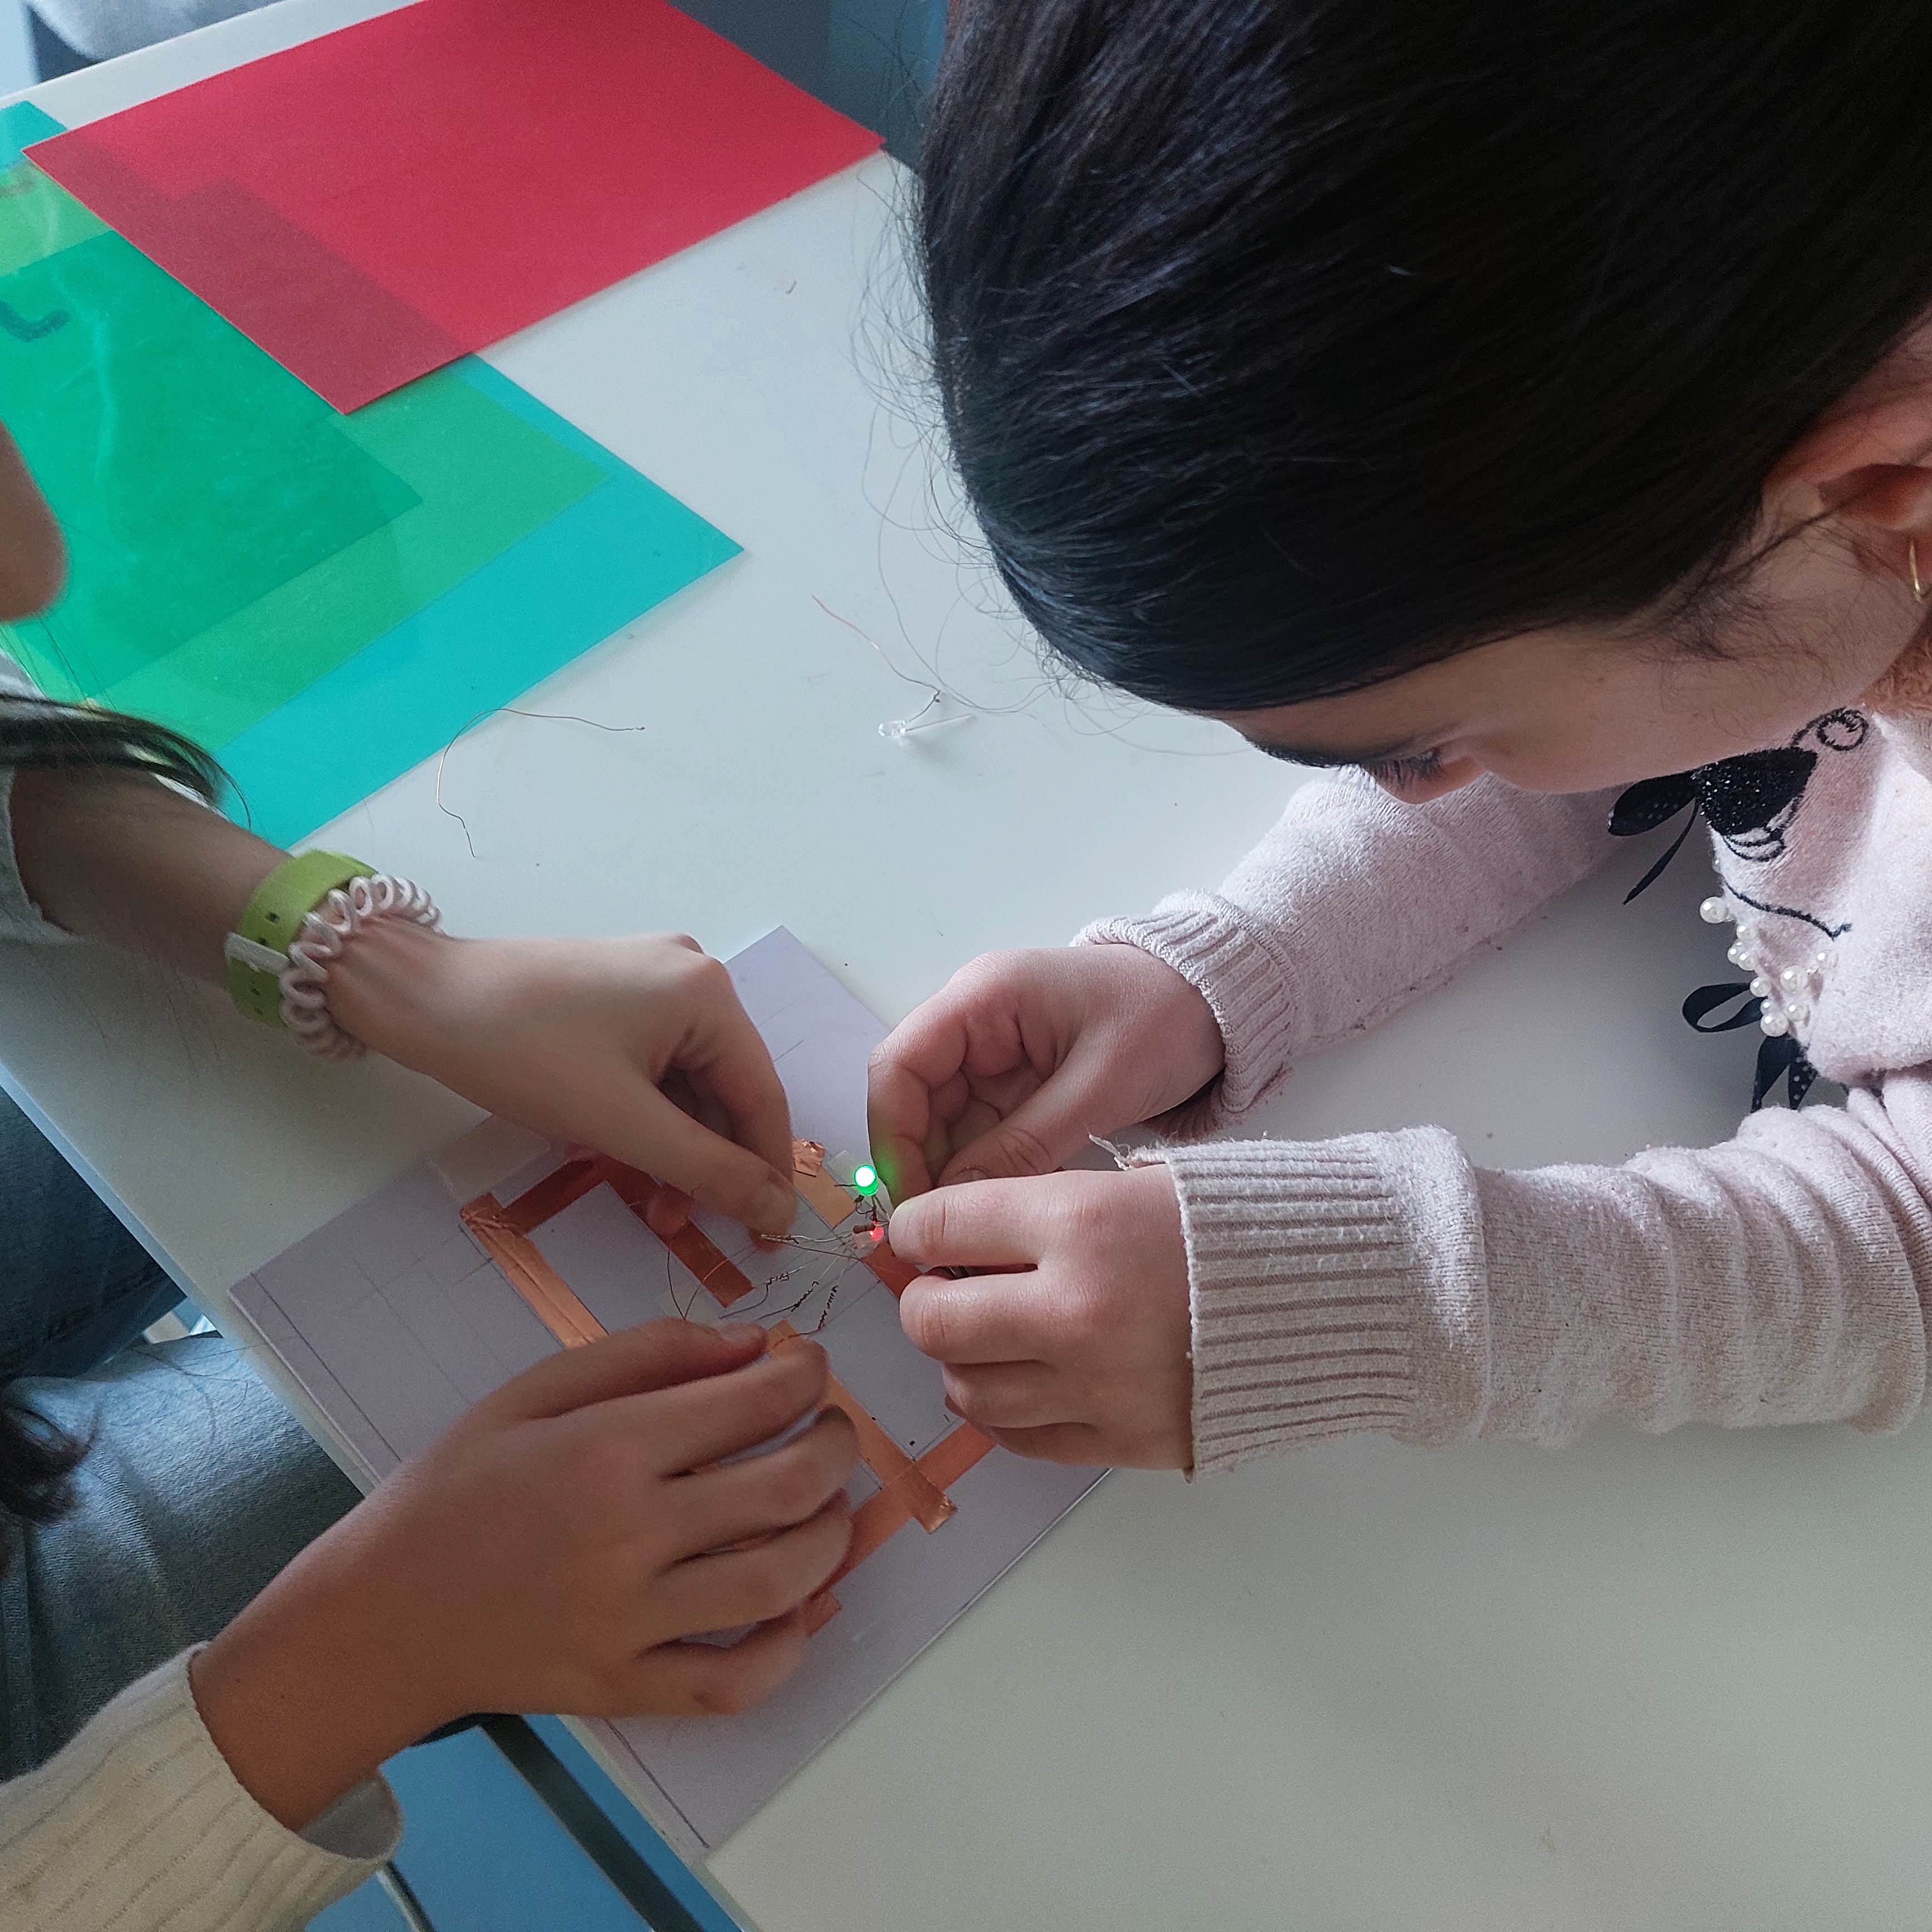
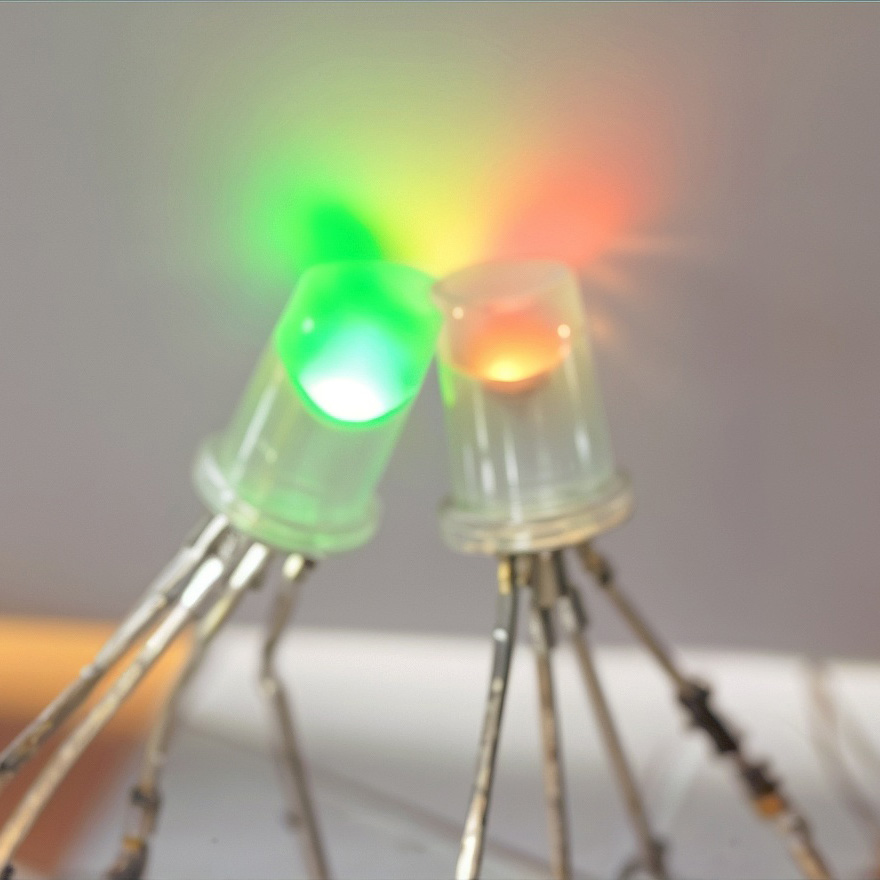
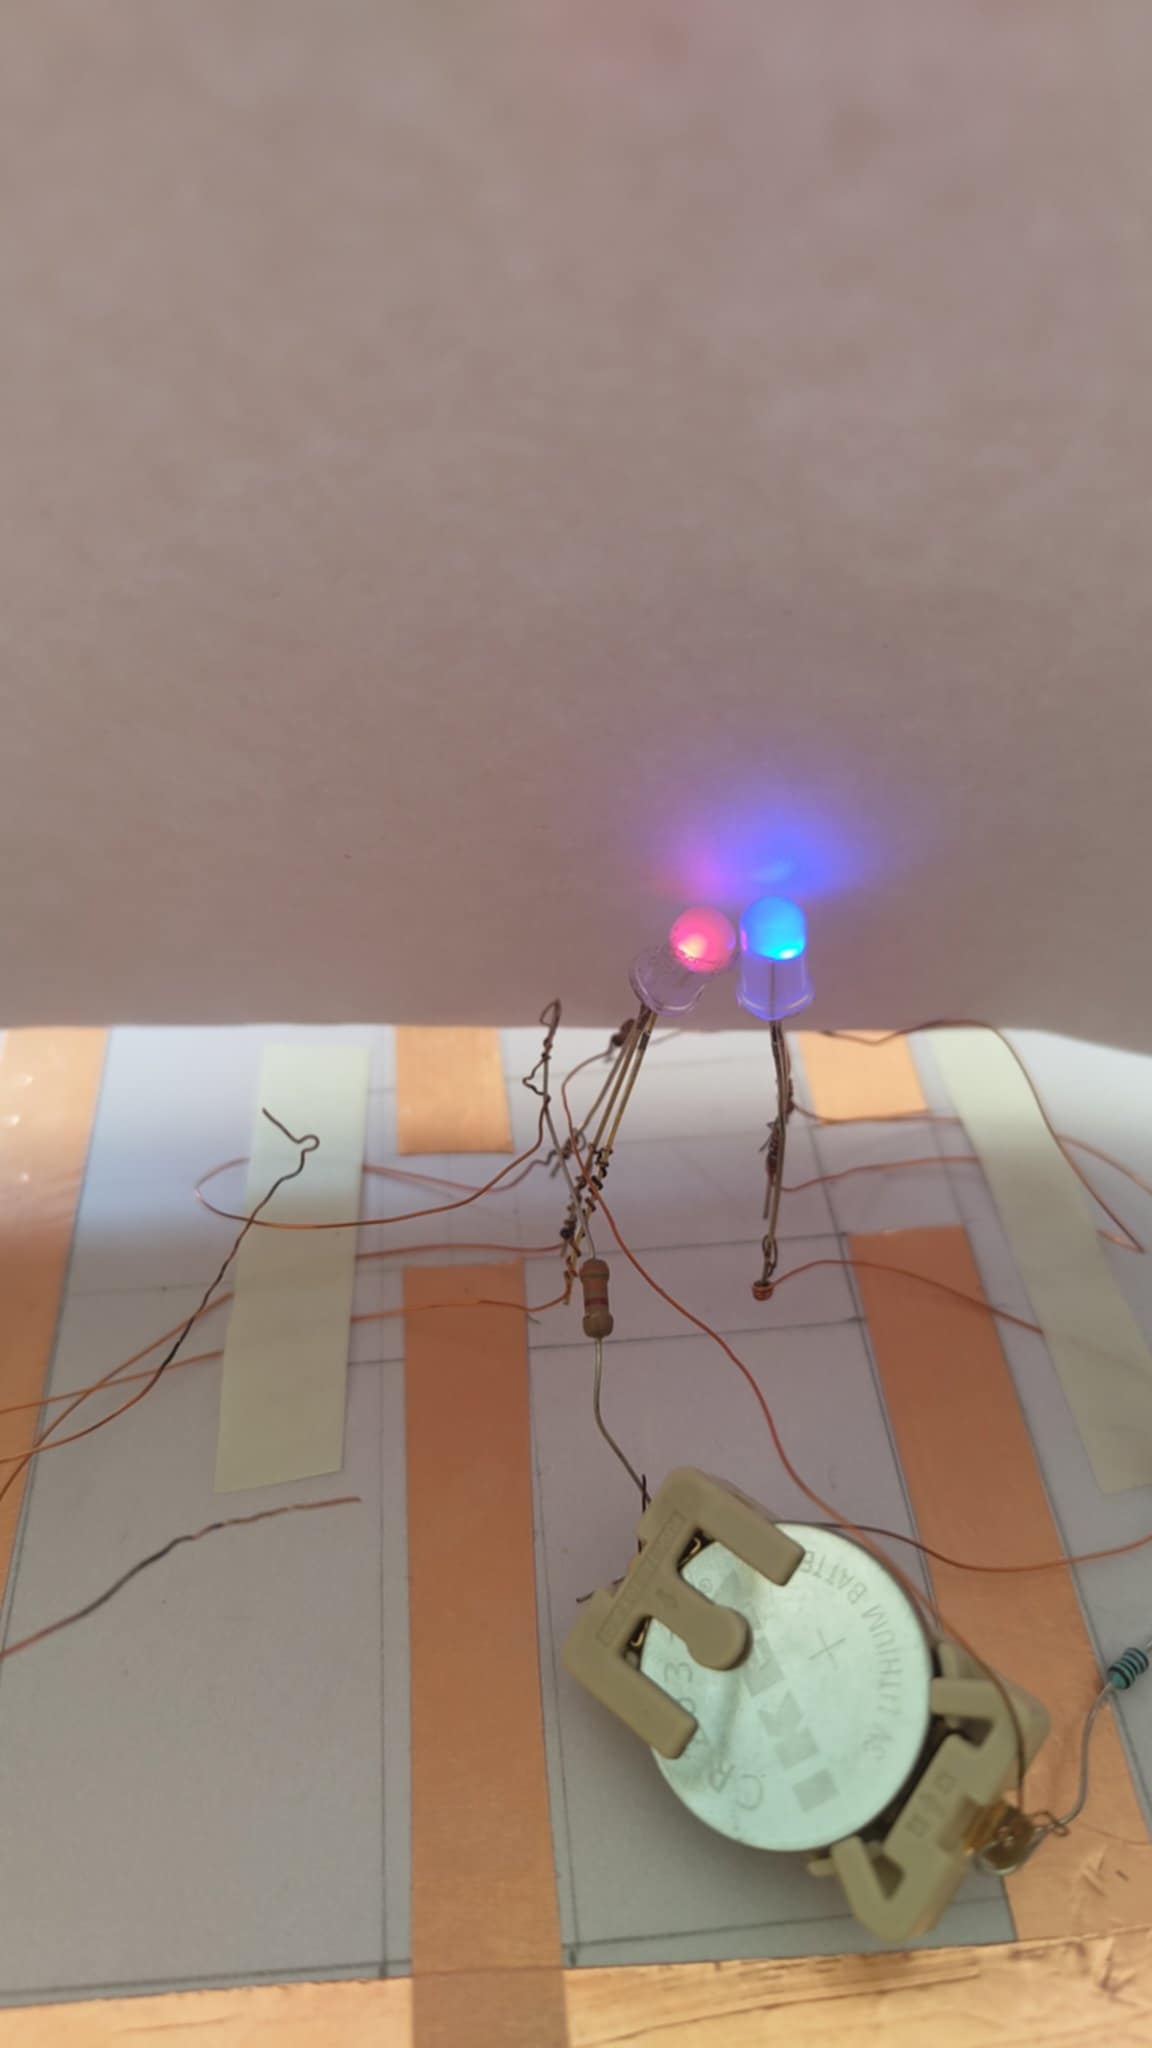
Students will explore the integration of additive primary colors (RGB) through the use of electric circuits, while also learning how the human eye perceives primary colors. Using simple circuits with red, green, and blue LEDs, students will observe how these colors blend to form other hues when combined at varying intensities. This will help students understand how the additive color model works in both digital media and the natural world. The project combines science, technology, and art, offering a hands-on approach to mastering color mixing and farther to use knowledge and ideas for making art works with traditional materials and also think about digital art works.

We implemented the lesson in a classroom, gathered feedback from students, and noted observations.
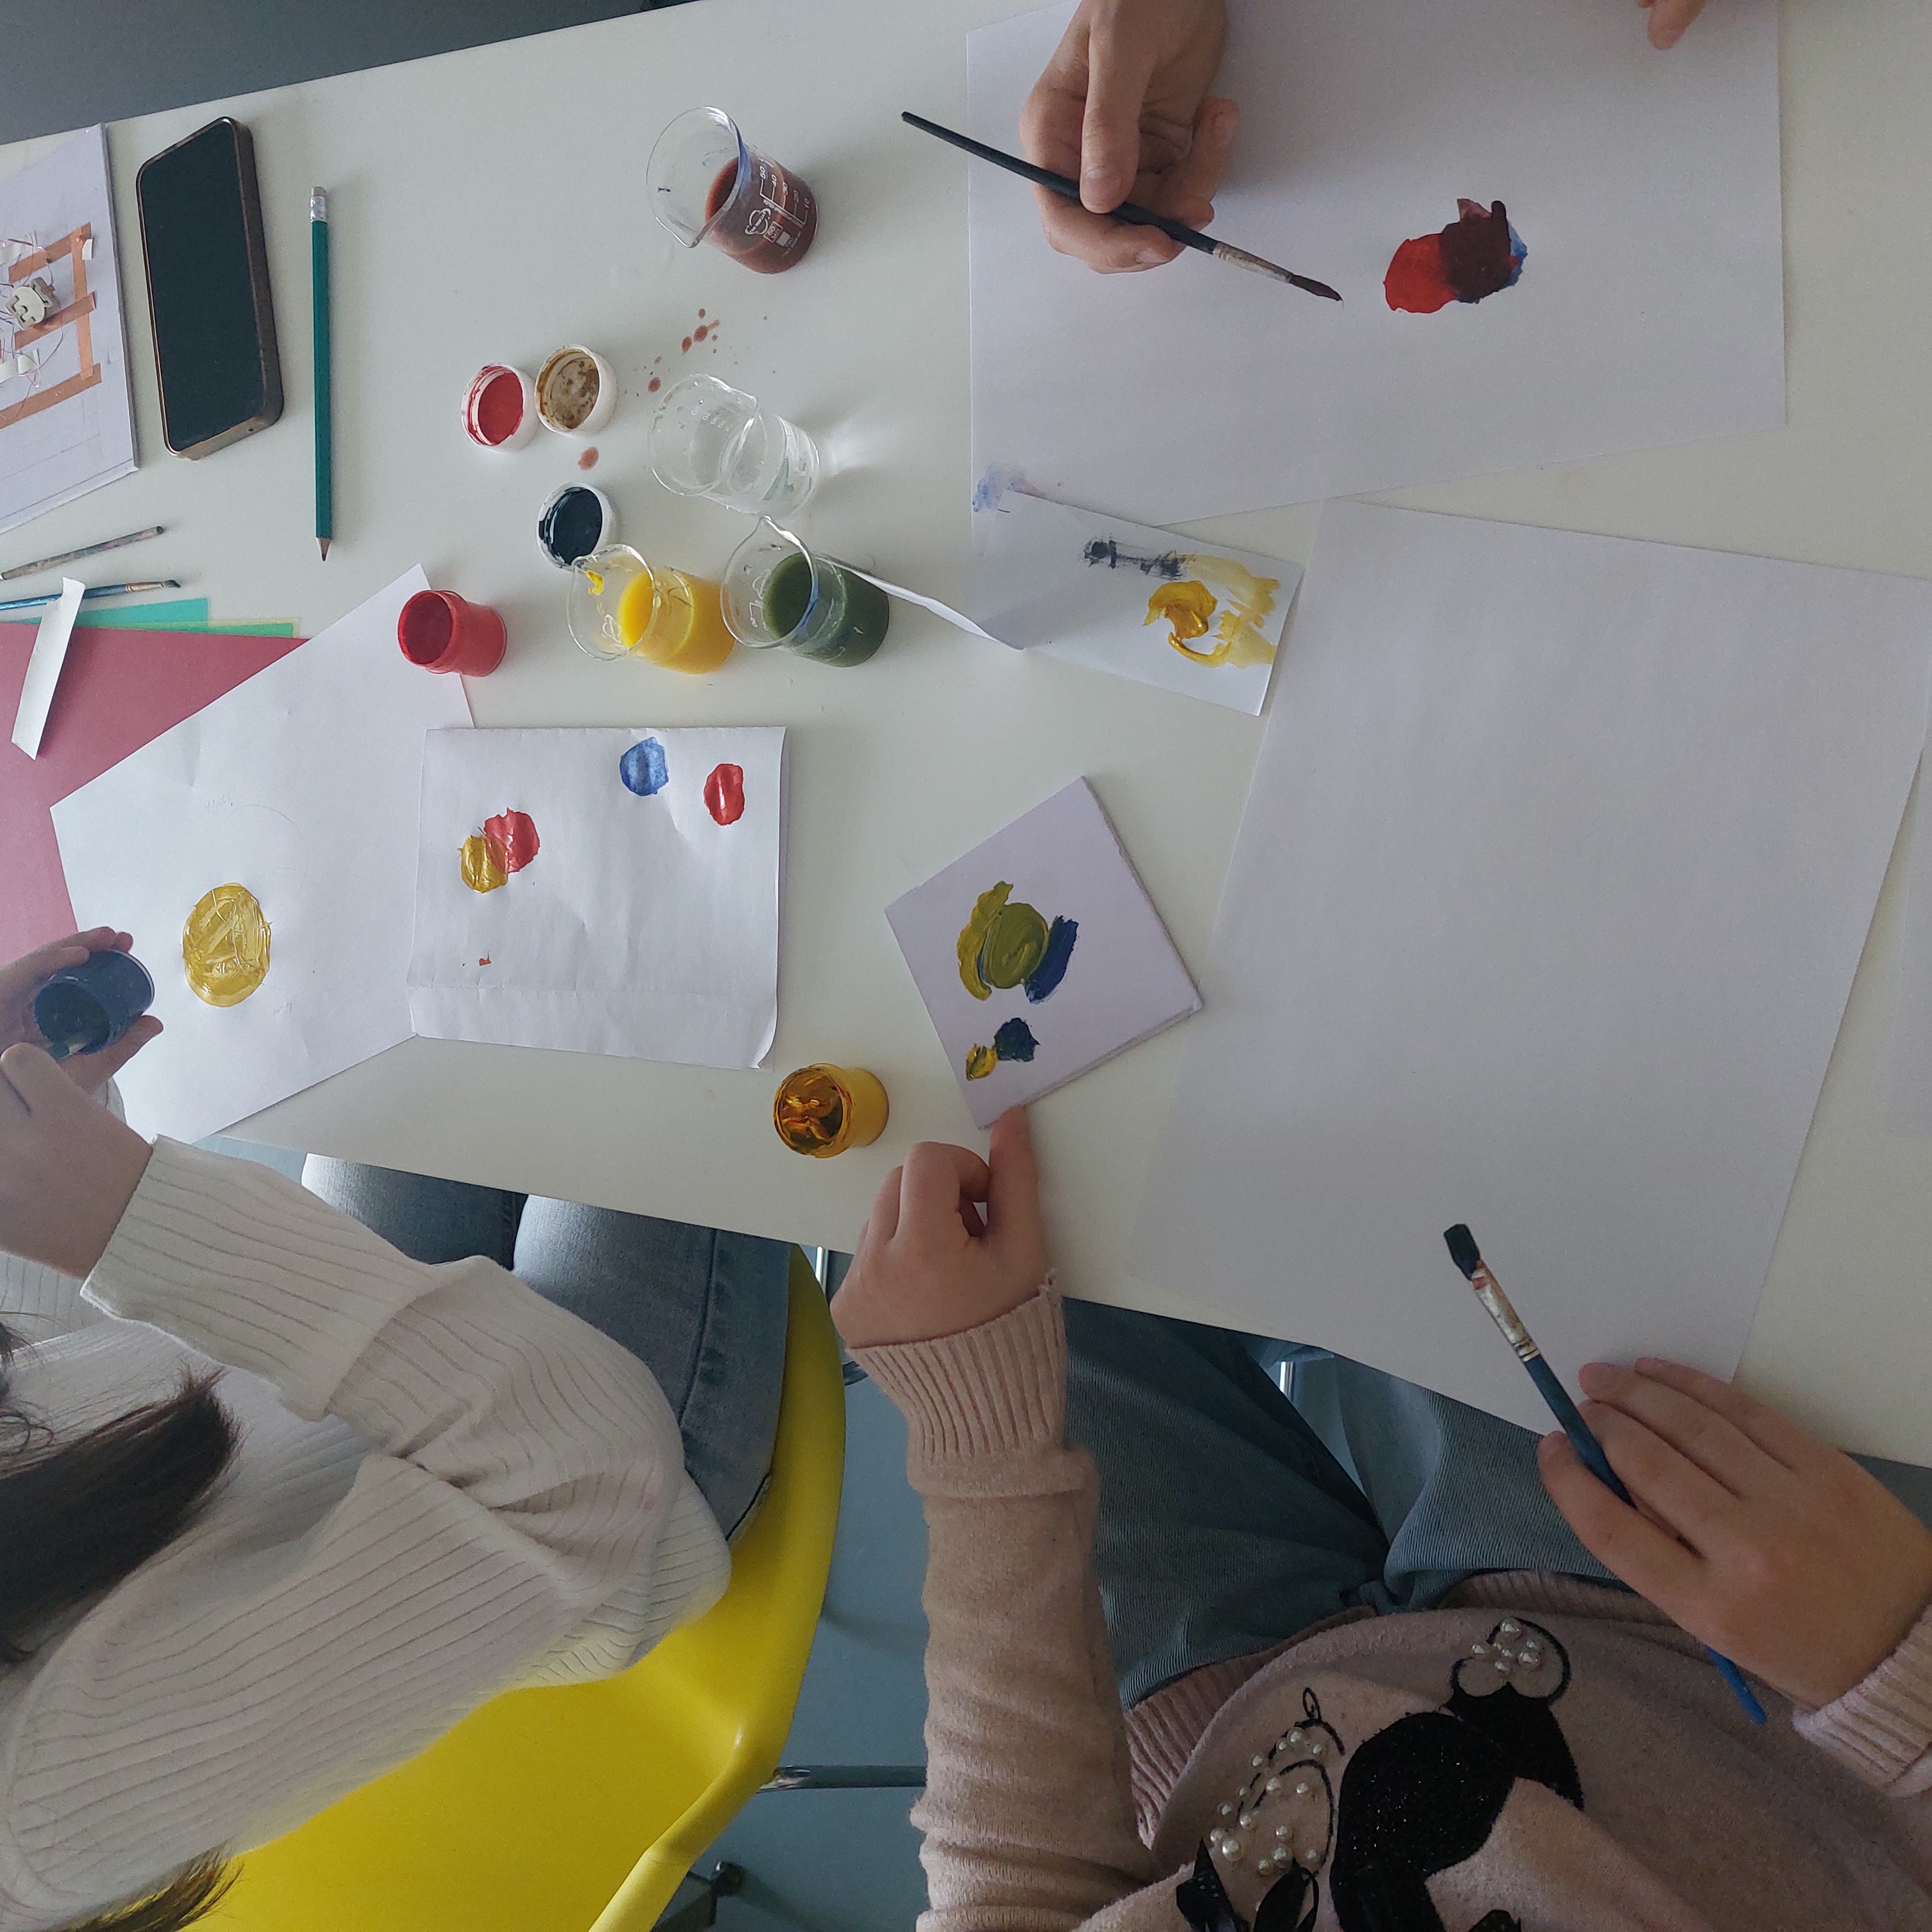
I made iterations of the lesson according to learners’ feedback and my observations from the first lesson. In the first lesson, I didn’t give so much descriptions for mixing colours;we were talking about colour perception,then we started directly with experimentations with primary colors, painting with RYB, and then moved directly to a prepared circuit. We gave short description of electricity and circuit components, then we started experimenting with one RGB LED to get red, green, and blue colors by playing with the legs of the LED. Afterward, we suggested playing with LEDs and trying to switch them together to see how two lights mix and what colors appear.
Later, we discussed the colors and their differences. Some of the kids were surprised and tried to guess the results. They said, “Ok, red and green will be the same as in painting,” while other learners said it would be orange.
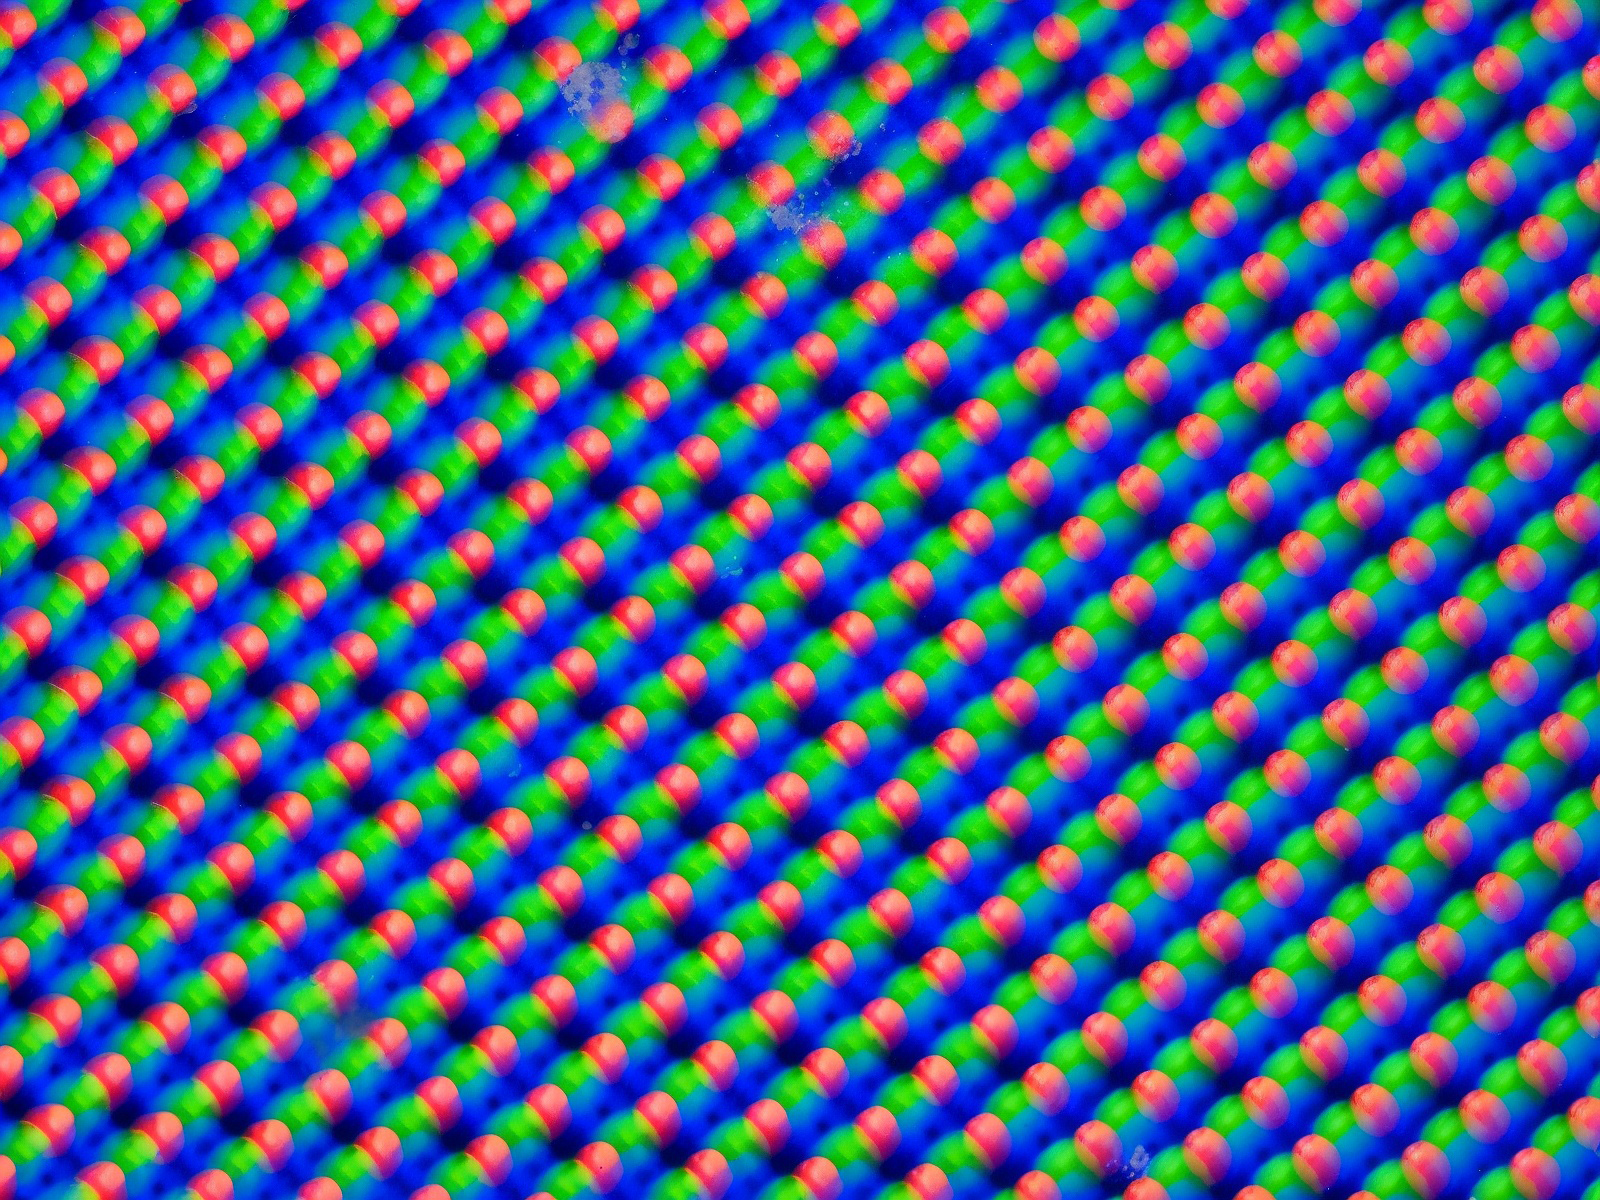
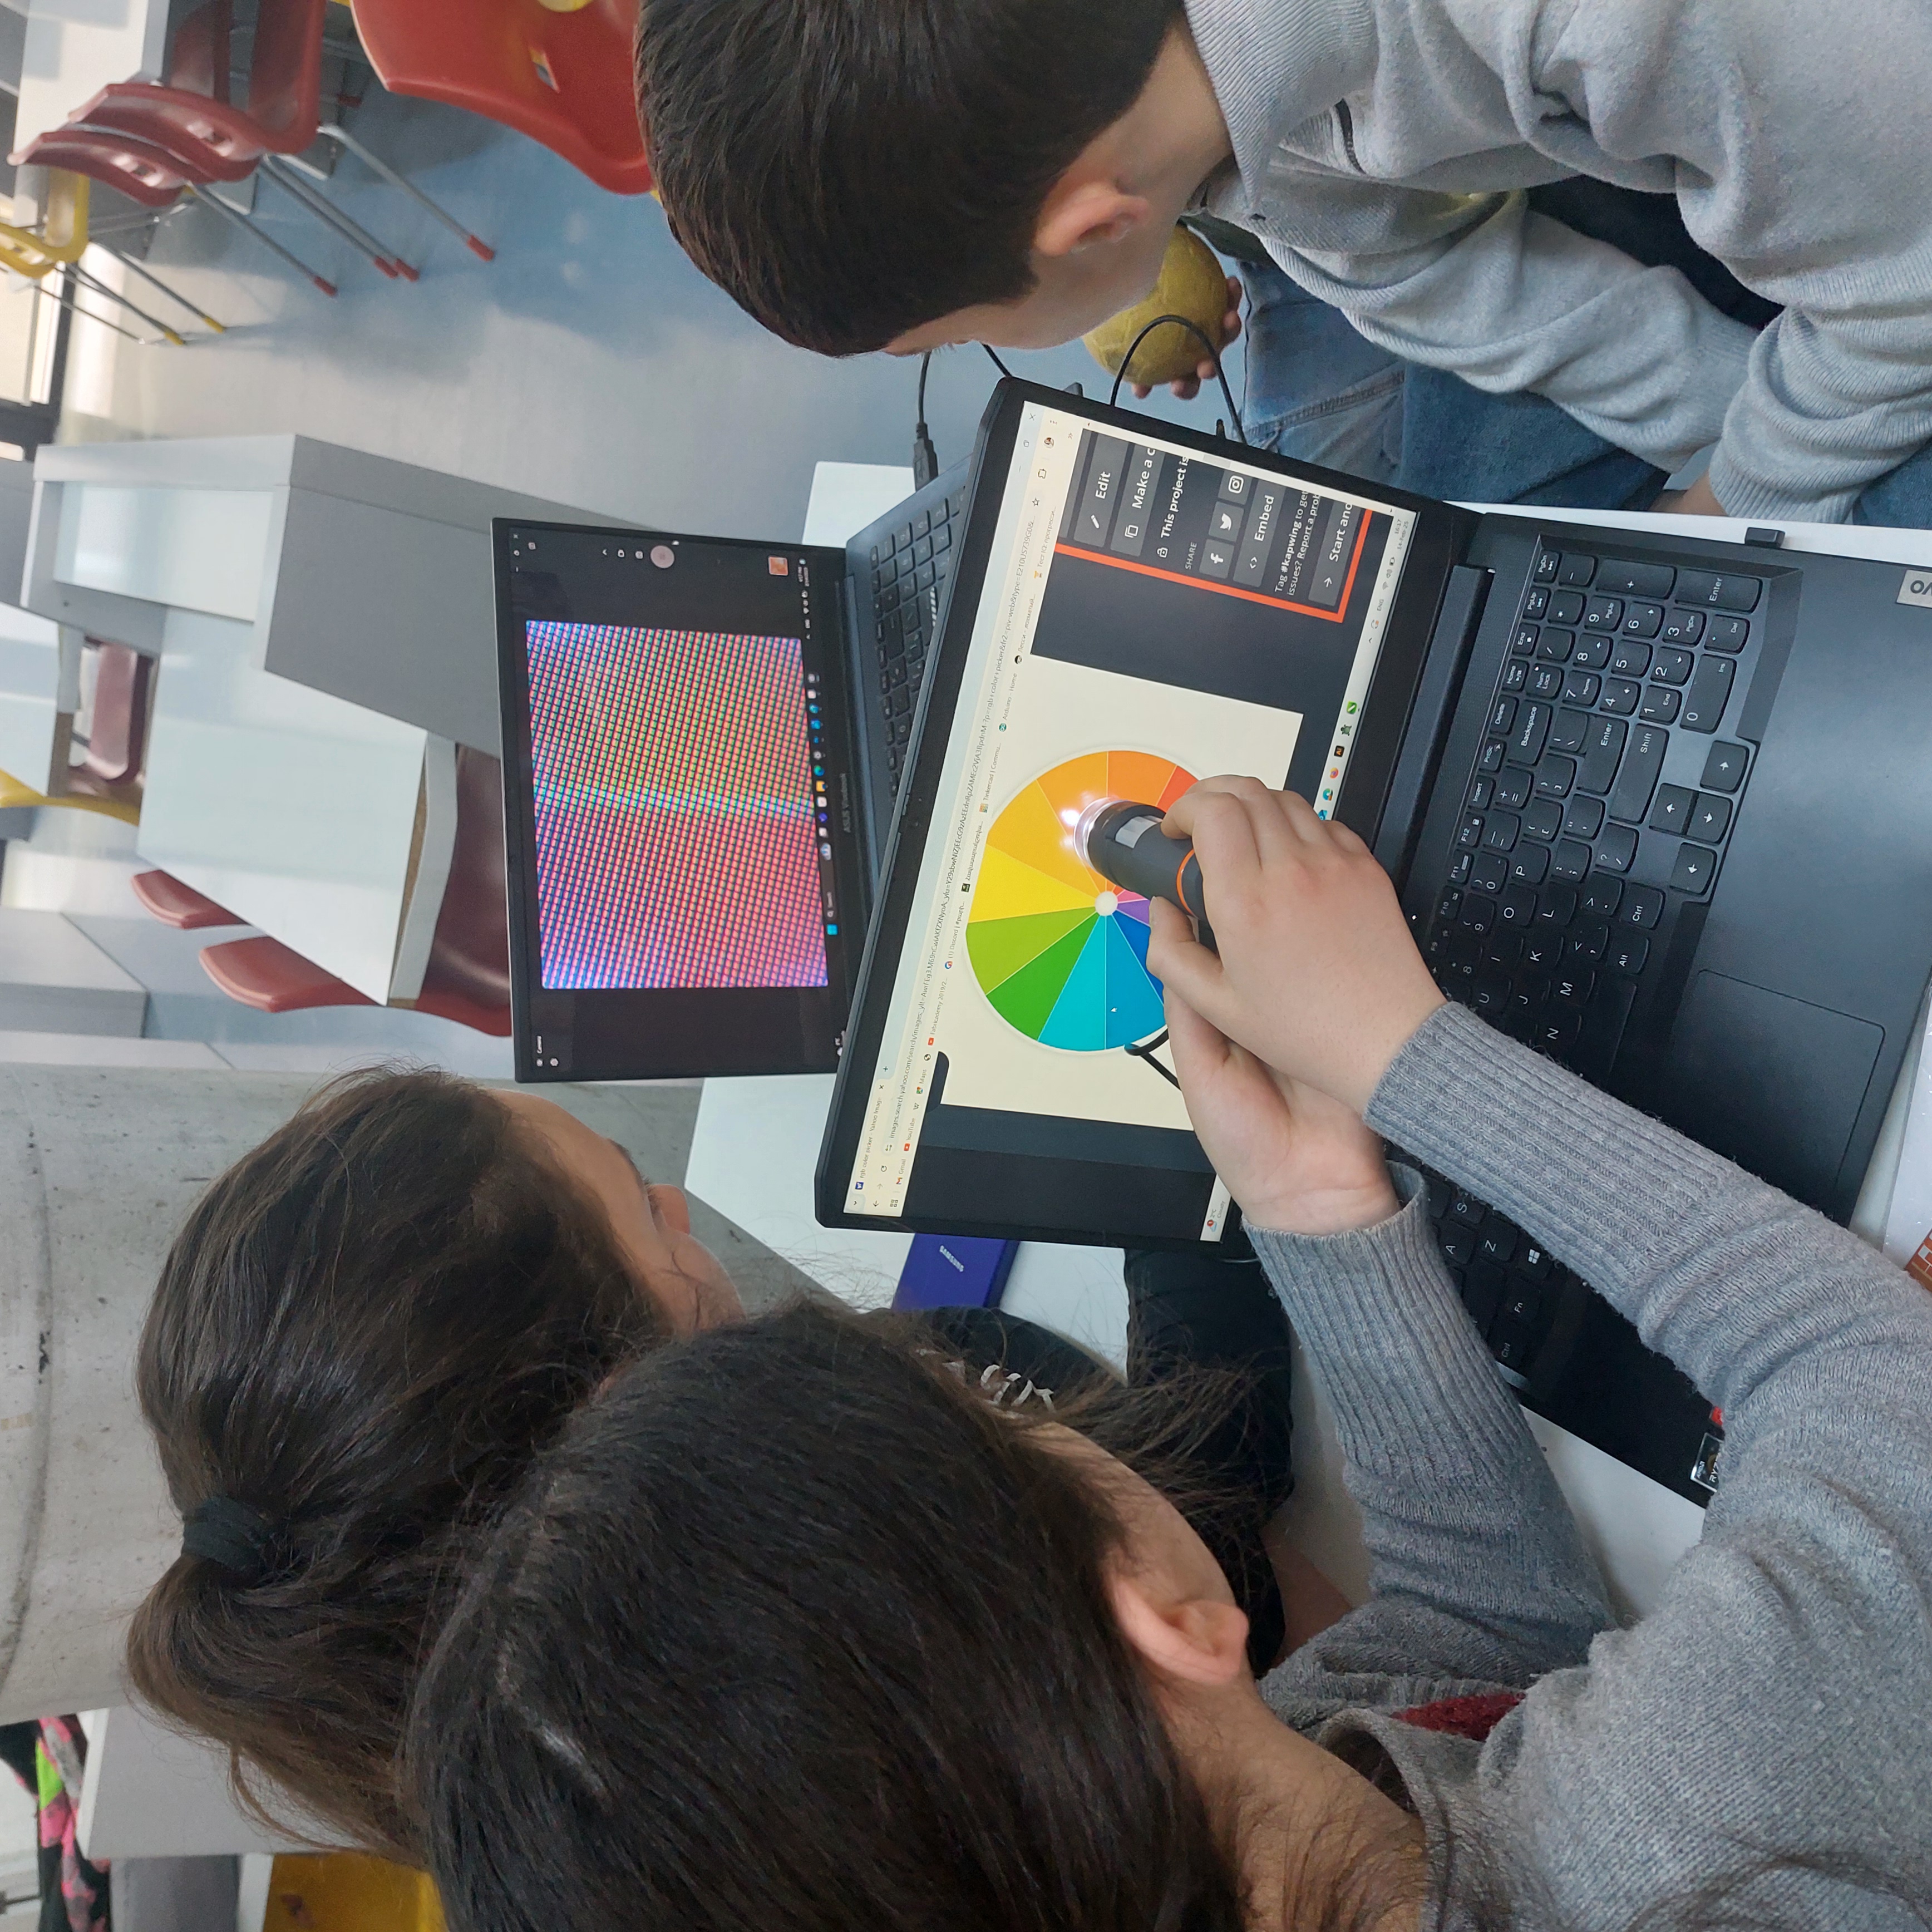
The second part /40 minutes/ added to this activity the use of a digital microscope. From the science part, my colleague introduced vision theory — the trichromatic theory about cones — and then we started to explore their paintings, printed materials, and digital screens under the microscope, discussing what we observed.
We discussed with my colleague that there was interest and engagement. At first, they were playing with the light and enjoying the “magic” part, but they were more focused on mixing colors and lights, and maybe did not remember the circuit part as well.
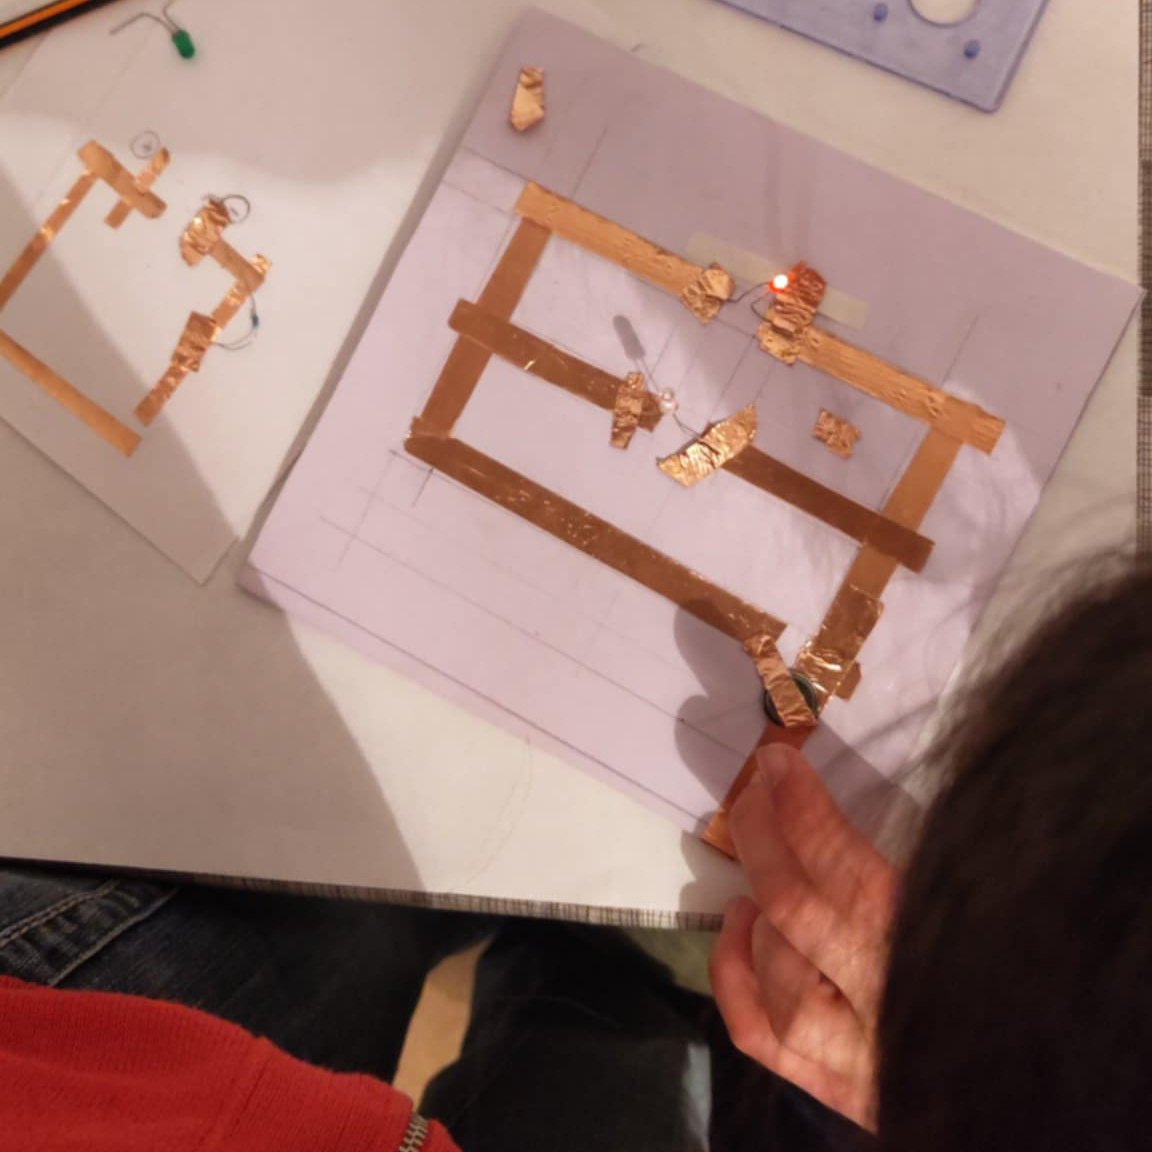
I decided to make another iteration by asking my kids to start by making circuits using copper tape and round batteries. They made simple circuits by themselves, and then we moved to the “magic” part. This time, they were more focused on the circuits, though we had less time for fun experiments, exploration, and discoveries.
Conversation about color perception.
Students mix paints of different colors and short discussion about the meaning of Primary colors for painters.
First experimentation than explanations.
First experimentation then explanation about mixing colors with RGB LEDs.
using digital microscope to explore colored, painted and printed papers vs colored areas on lap top and mobile phone screens.
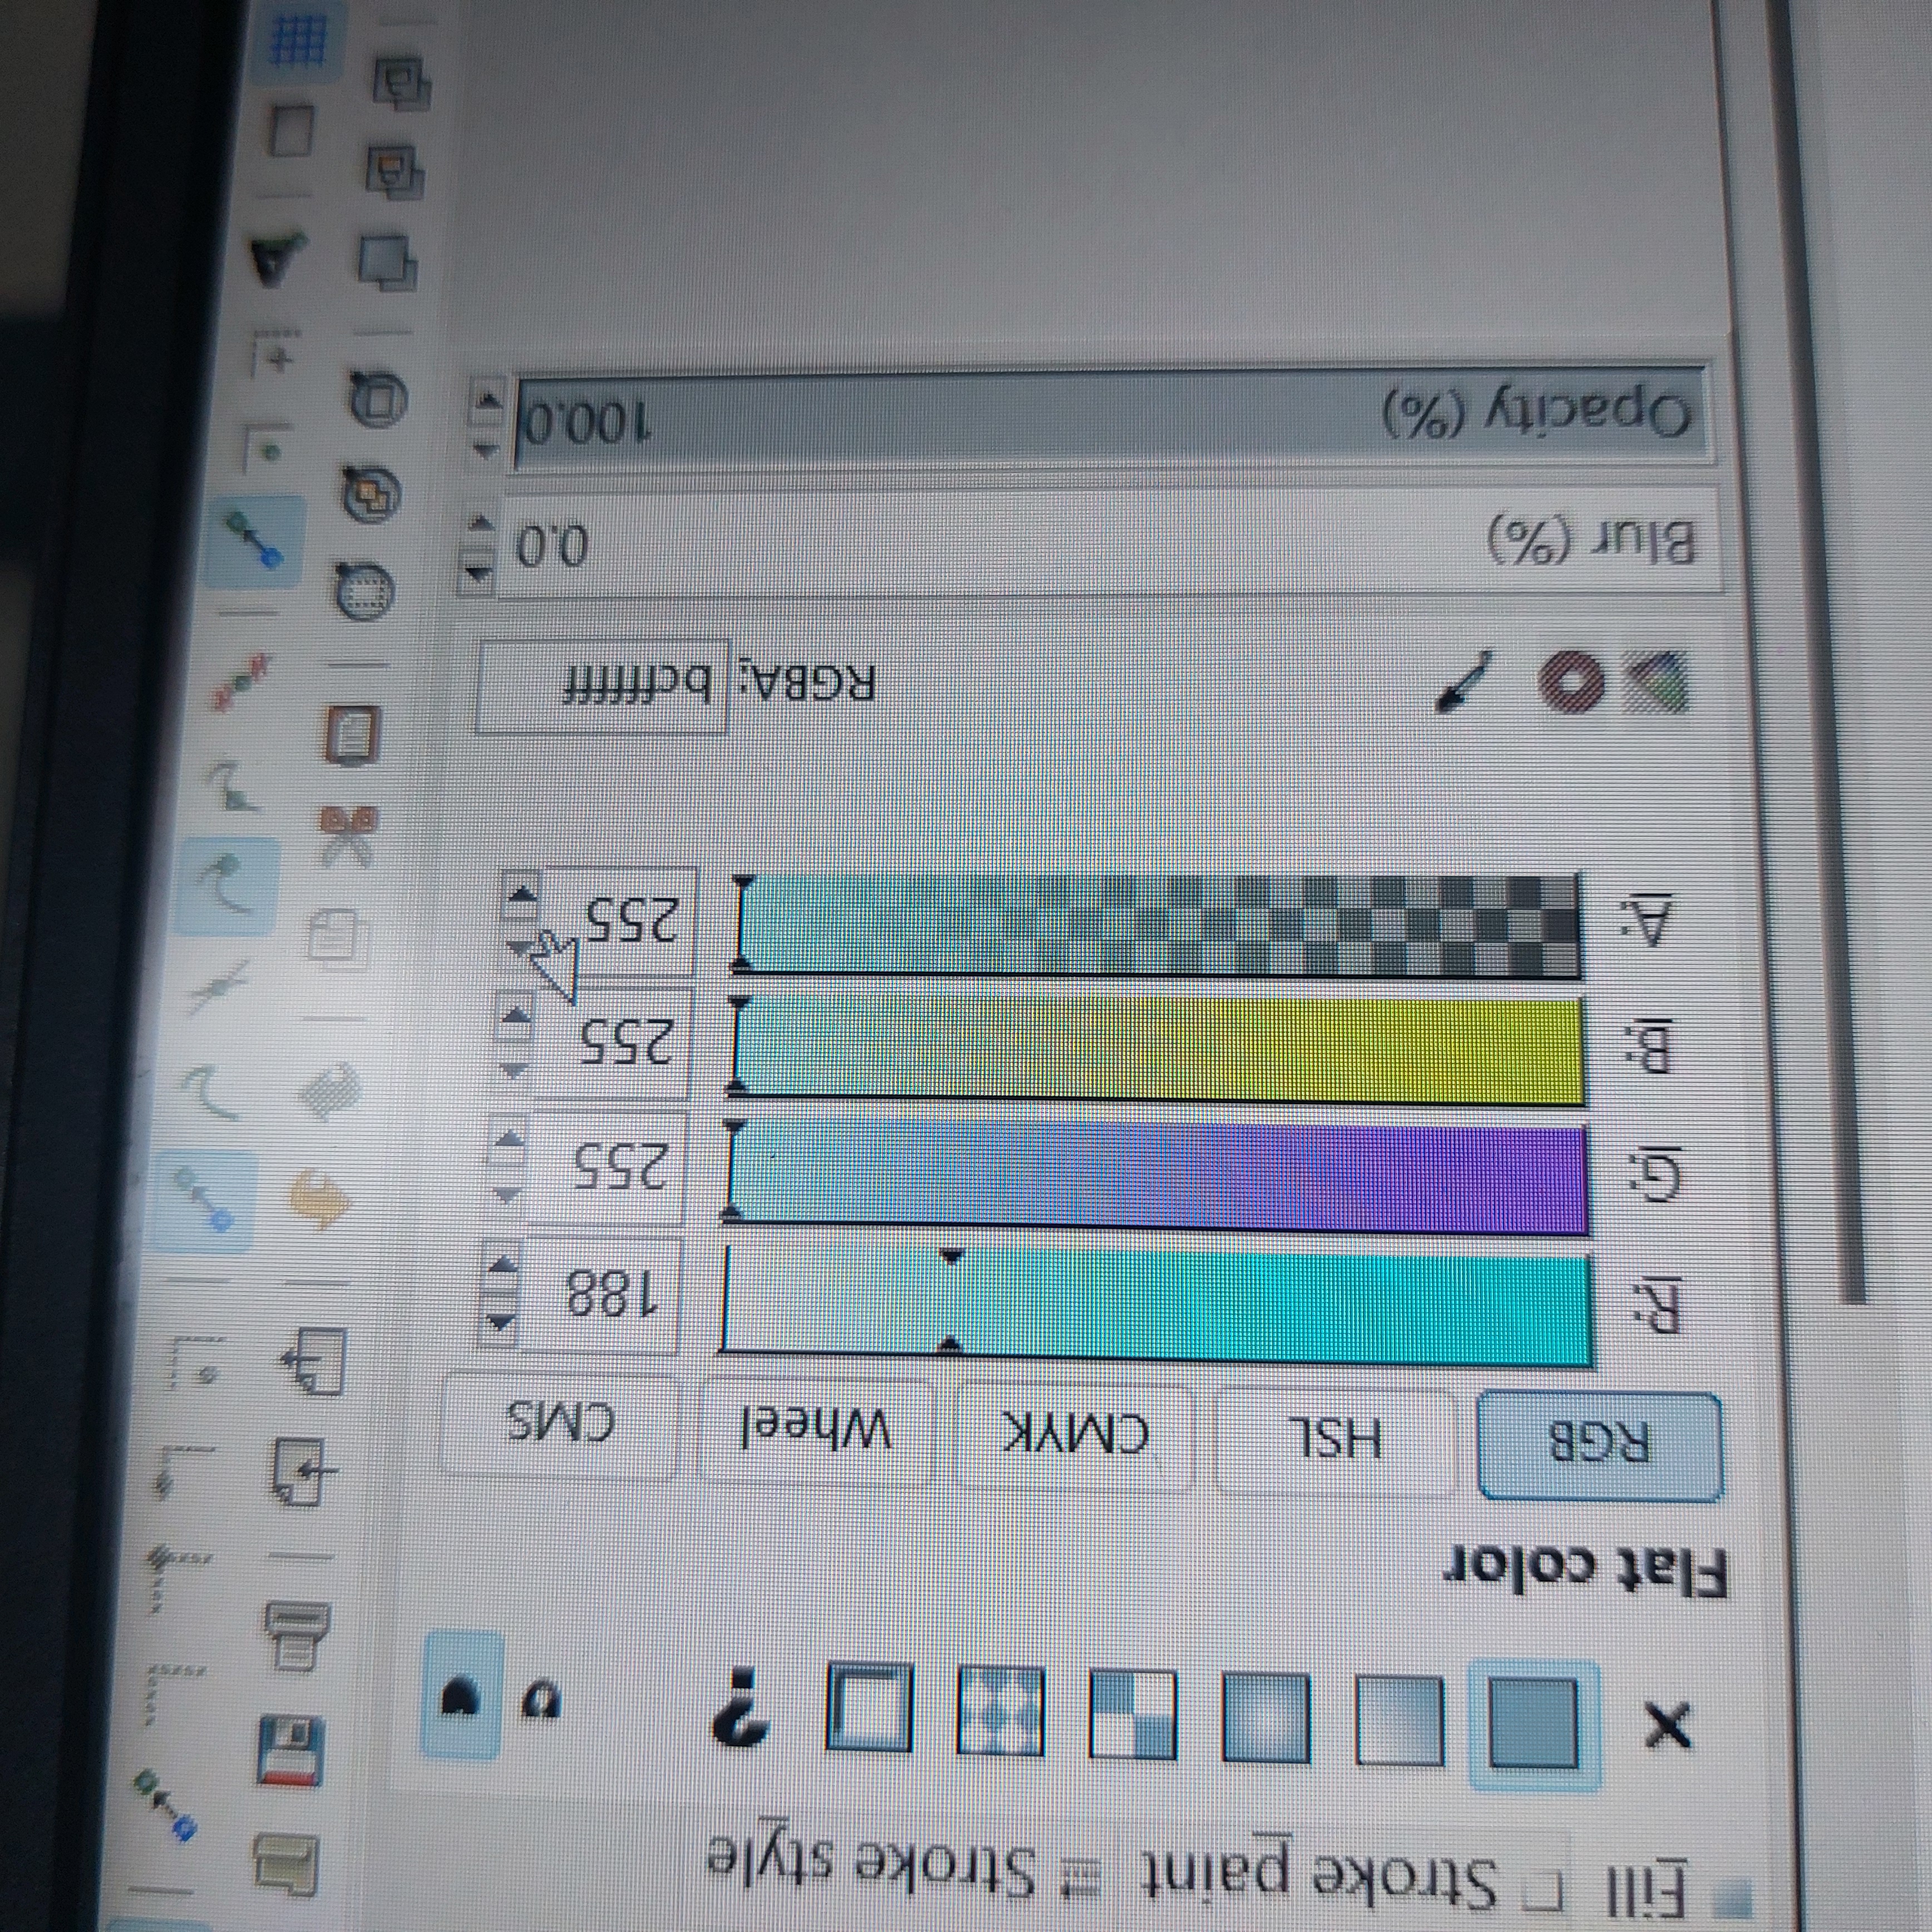
exploration of mixing color in inkscape or any other digital programm.
Talk about how do you think about colors before and after the lesson
Having trouble? Let us know by completing the form below. We'll do our best to get your issues resolved quickly.
"*" indicates required fields