Fabelicious: make your chocolate molds! - SCOPES Digital Fabrication

Lesson Details

Subjects
Age Ranges
Standards
Fab-Safety.2, Fab-Fabrication.2, Fab-Design.2
Additional Contributors

You need to login or register to bookmark/favorite this content.

Author

Alejandra Díaz de León Lastras

Summary

Making is great, but making with chocolate is even better! In this lesson, children will learn that with the help of digital tools they can craft what they love: chocolate. First, they will download a 3D model and turn it into a digital mold with Tinkercad. Then, they will 3D print it and use it as a counter-mold to cast food grade silicone. Finally they will pour chocolate in the silicon mold and eat it! In the process they will learn properties of materials, math basis of proportions and measurement units.

What You'll Need

Food Grade Silicone (I recommend Smooth-Sil™ 960)

Containers to mix the silicone

Wooden sticks

Silicone gloves

Chocolate (better if it´s in small pieces or chips)

Ceramic bowls (heatproof bowls)

Lolypop sticks (optional)


You are also going to need a microwave (or oven) and a fridge (or ice in a cooler)

The Instructions

Introduction

Tell the kids about the session one day before. They will get real excited to hear the word Chocolate! This activity is divided in 3 sessions, because the 3D print molds take time, as well as the silicone mold that takes 16 hours to cure. I recommend to tell the kids about how the process is long and explain why.

To get started, ask the kids what they like to eat.

One of them should say “Chocolate”! Then, you´ll ask who else like chocolate. Most of them should say “I do”. You can explain that in the next sessions they´ll turn chocolate chips into the shape they prefer by designing and making molds, learning about states of matter and measurement units!


Let´s do it!

Session 1: Design and Make your CounterMold

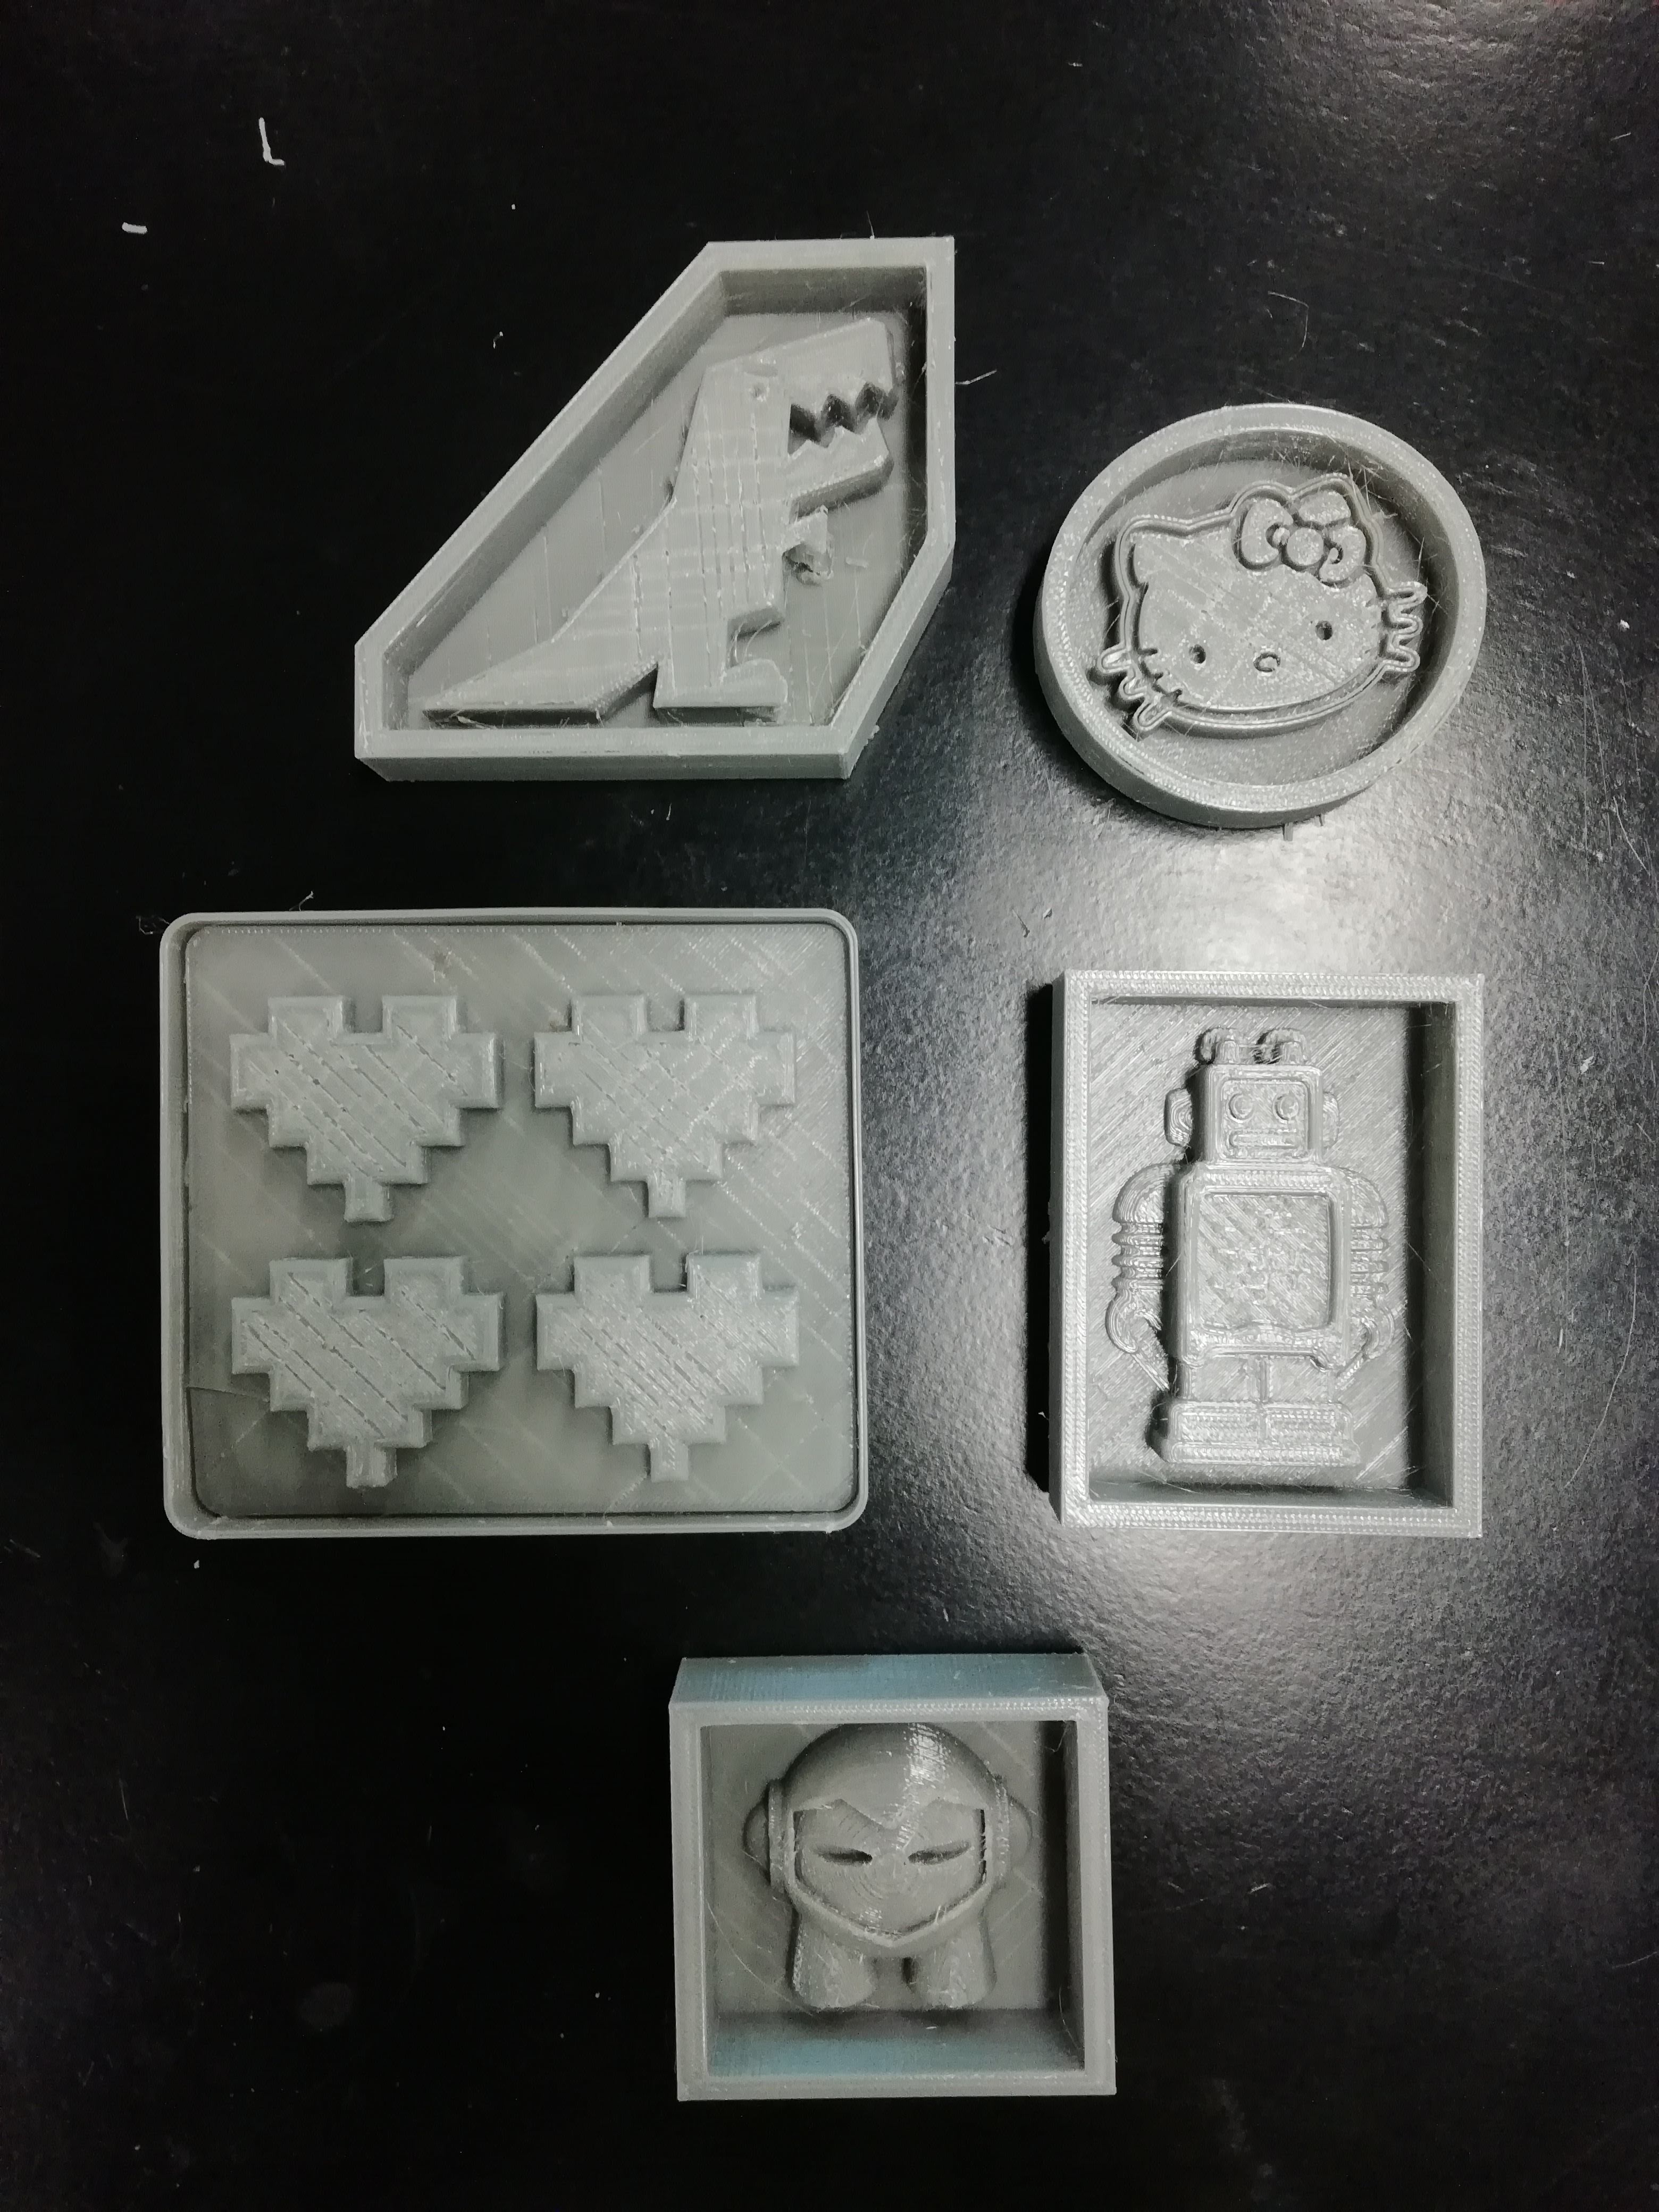
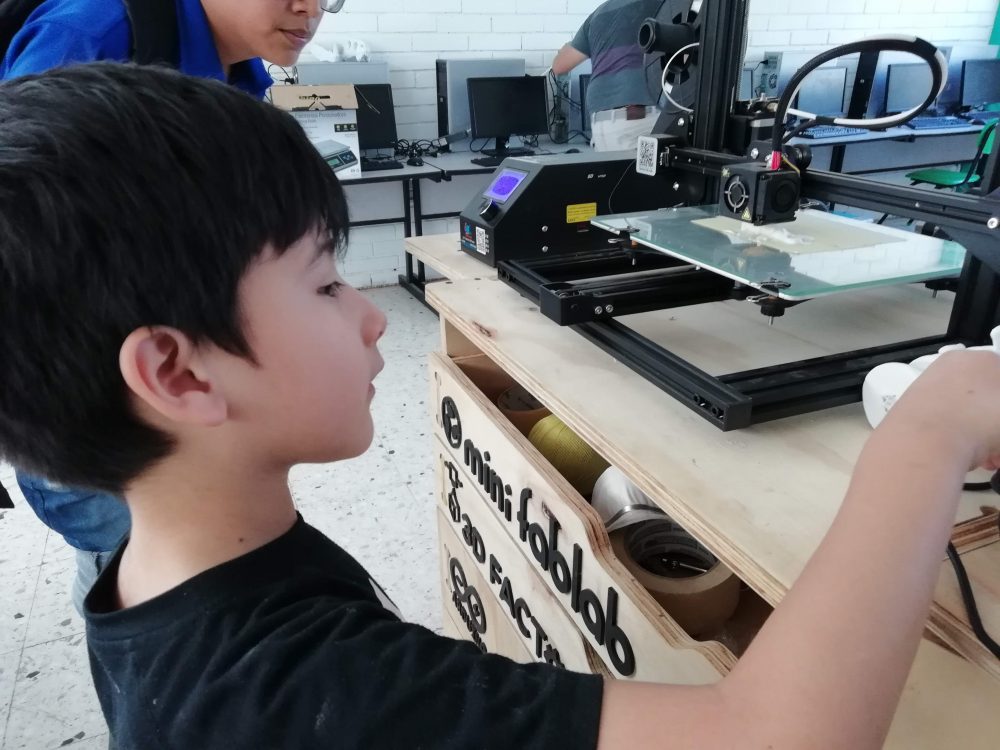
The kids will design and 3D print their countermold. First they will download something from thingiverse, then they will make it into a mold with Tinkercad and finally they will 3D print it.

1. Explain very briefly the entire process of molding and casting.

2. Ask them to go to thingiverse.com and find something they want to 3D print for their countermold. While they are choosing, guide them to find something easy to print, explaining how the mold should look like. I suggest to have a physical example.

3. Once they´ve downloaded their 3D model, ask them to go to Tinkercad to start making the walls and floor of the countermold. (if they´ve never used Tinkercad, I recommend to have a previous session to get used to it).

– Open your 3D model

– Rotate it to make it flat

– Draw a cube around it, that covers everypart.

– Draw a smaller cube inside the first one, in order to remove that volume and leave the walls and floor.

– Export your file, ready of 3D printing.

4. 3D print the countermolds. I recommend you send at least one in each printer you have, with the kids, and leave the rest printing all night, to be ready for the next day session.

5 Explain the kids the following steps.

Session 2: Making the silicone mold

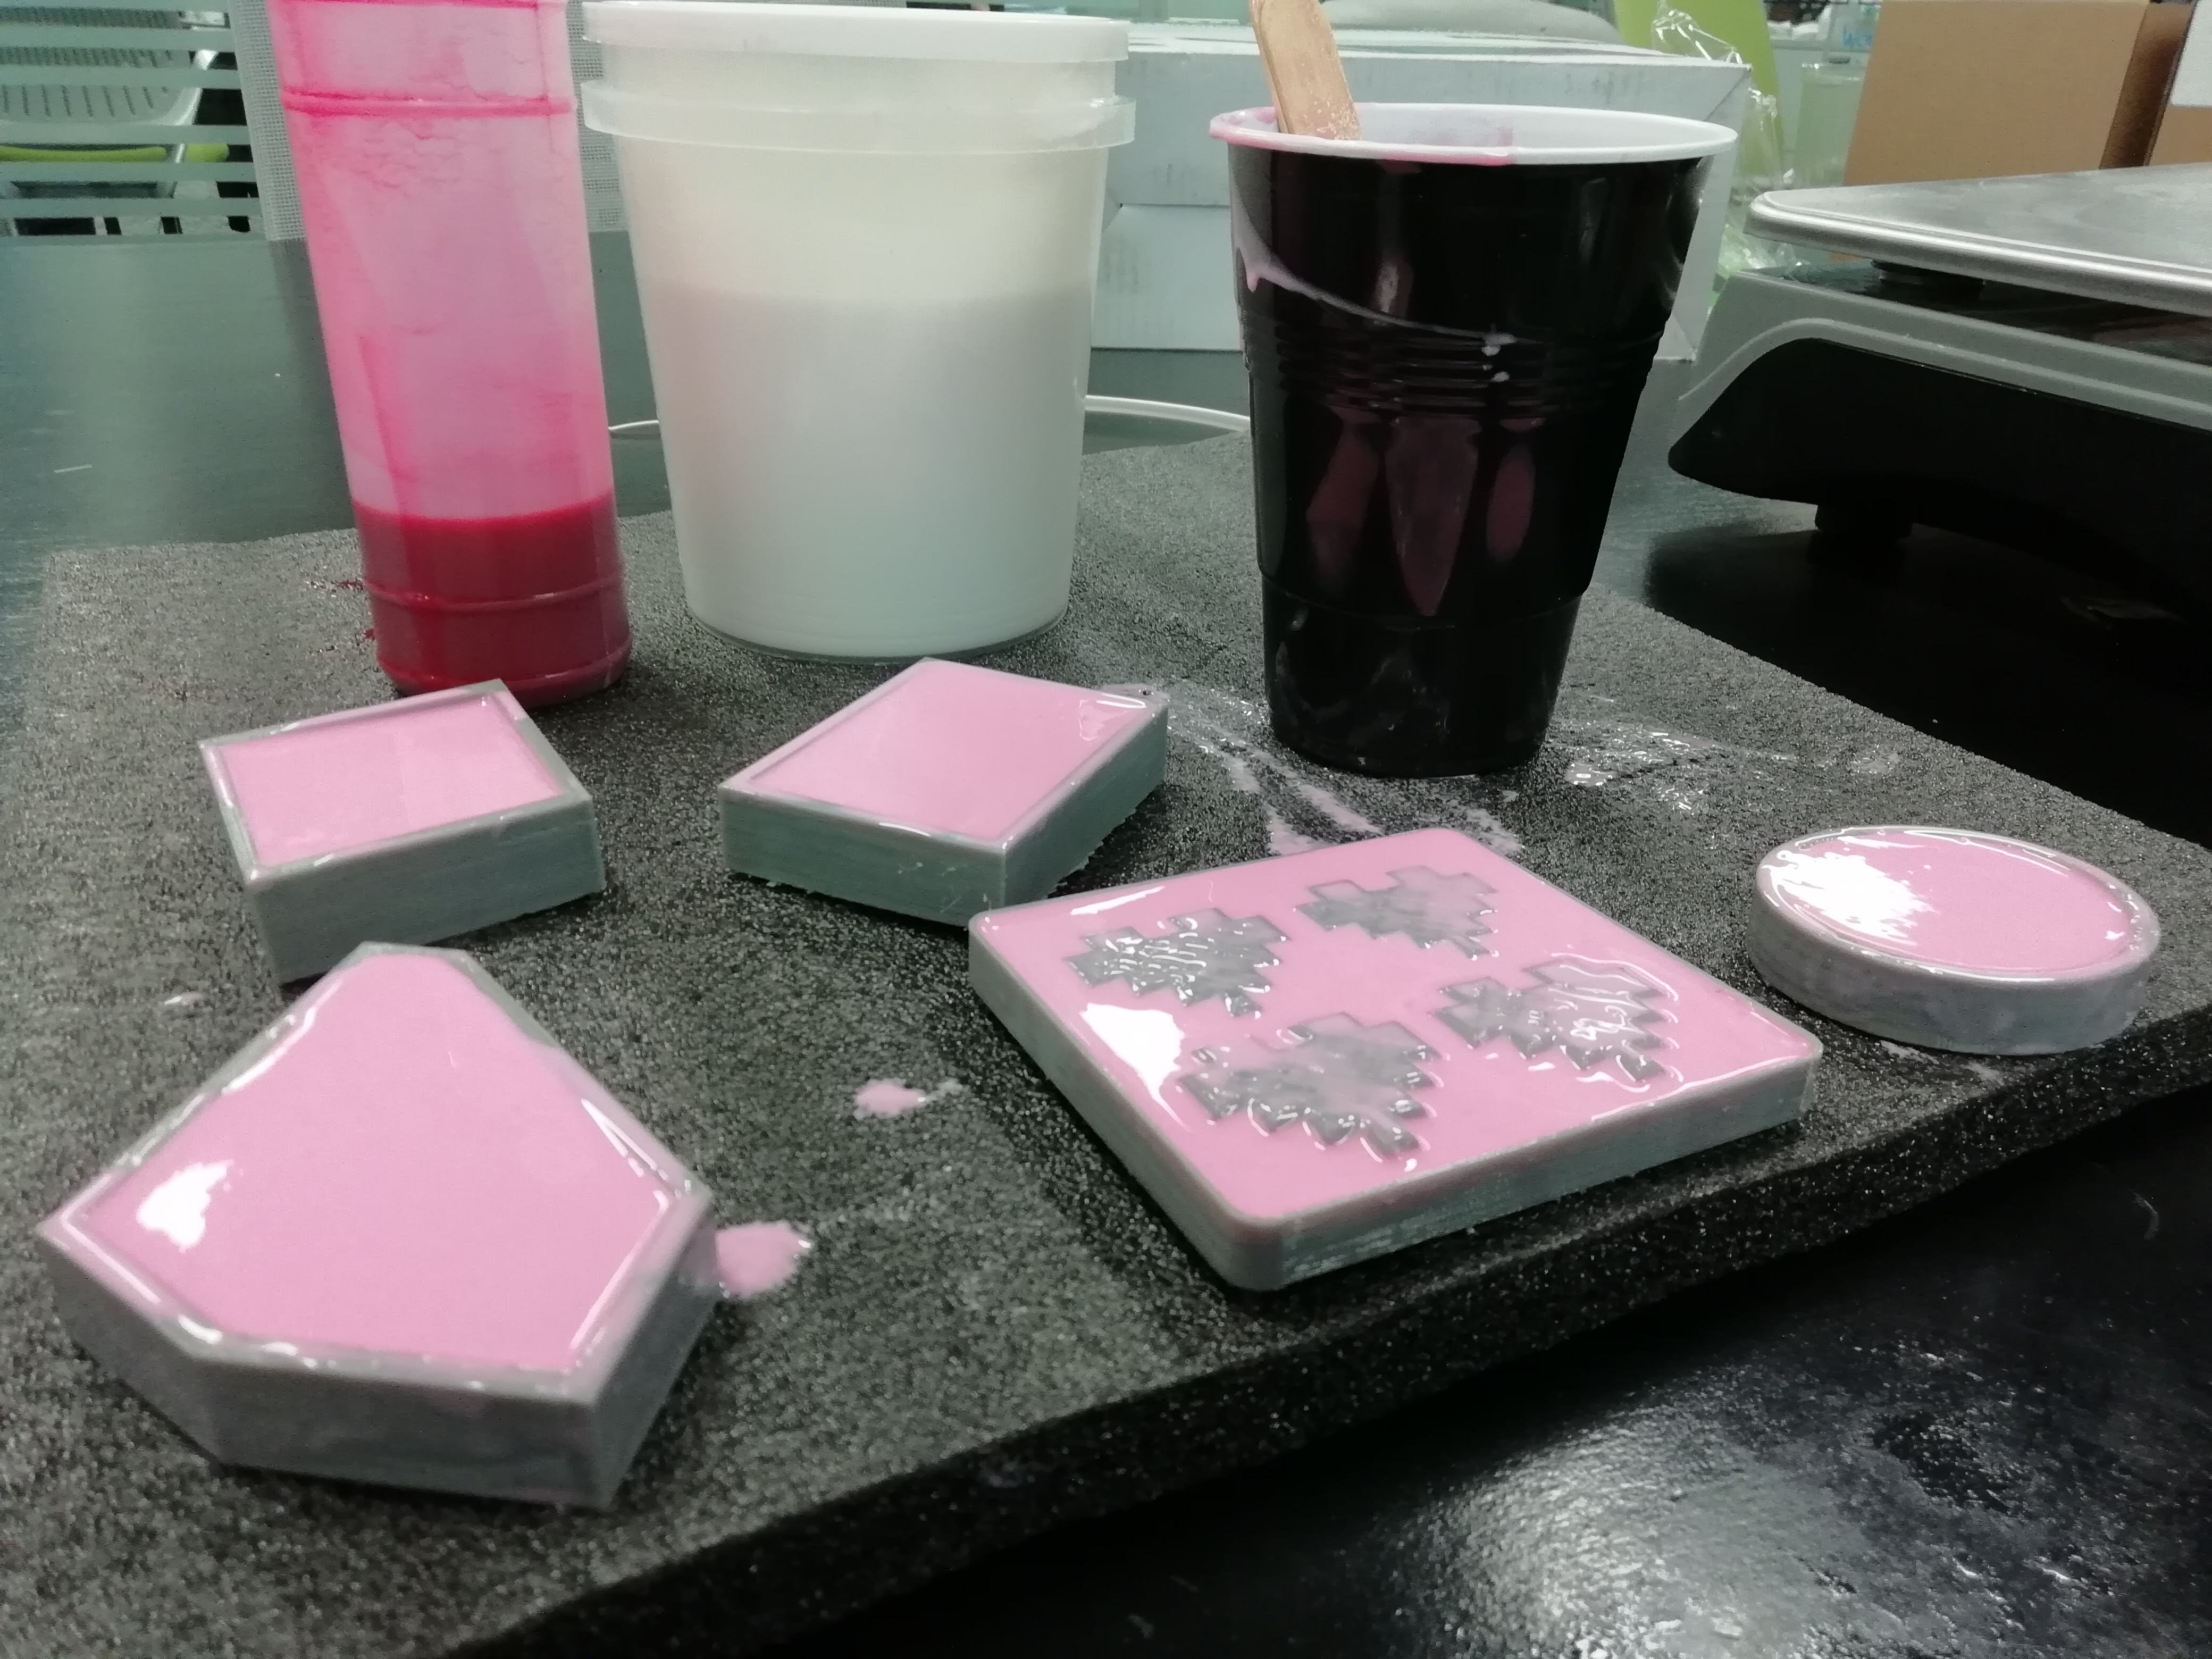
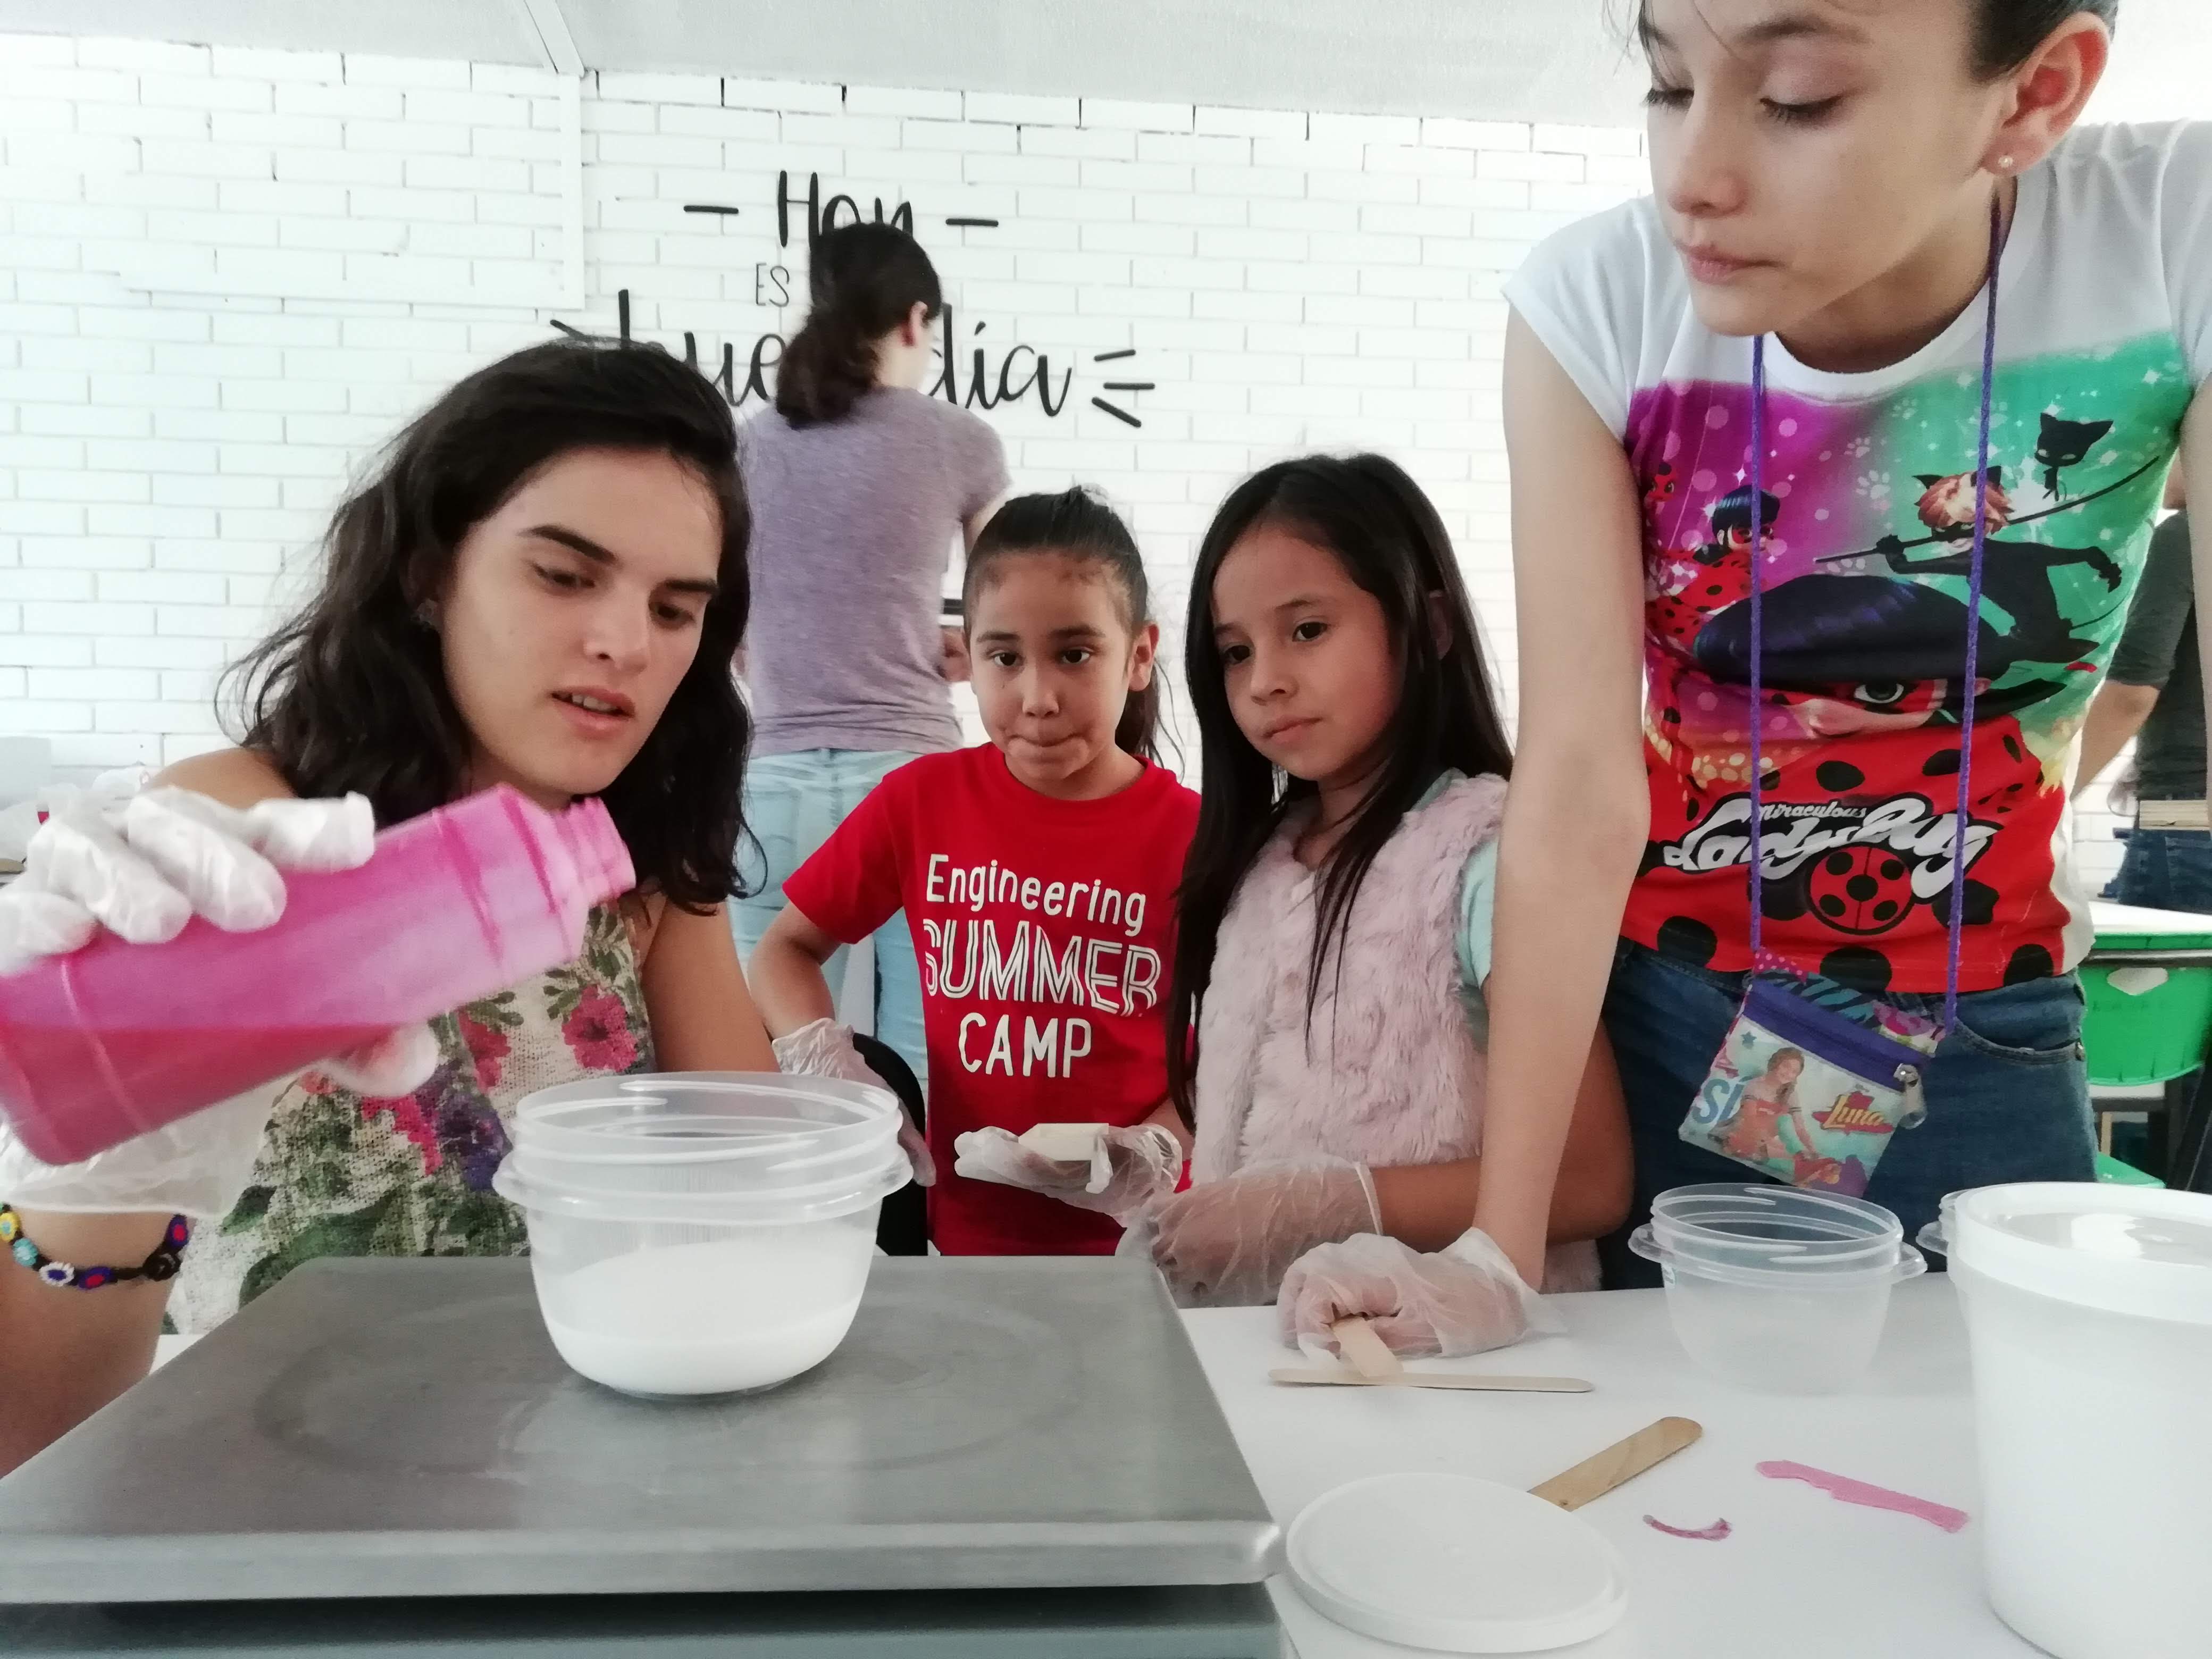
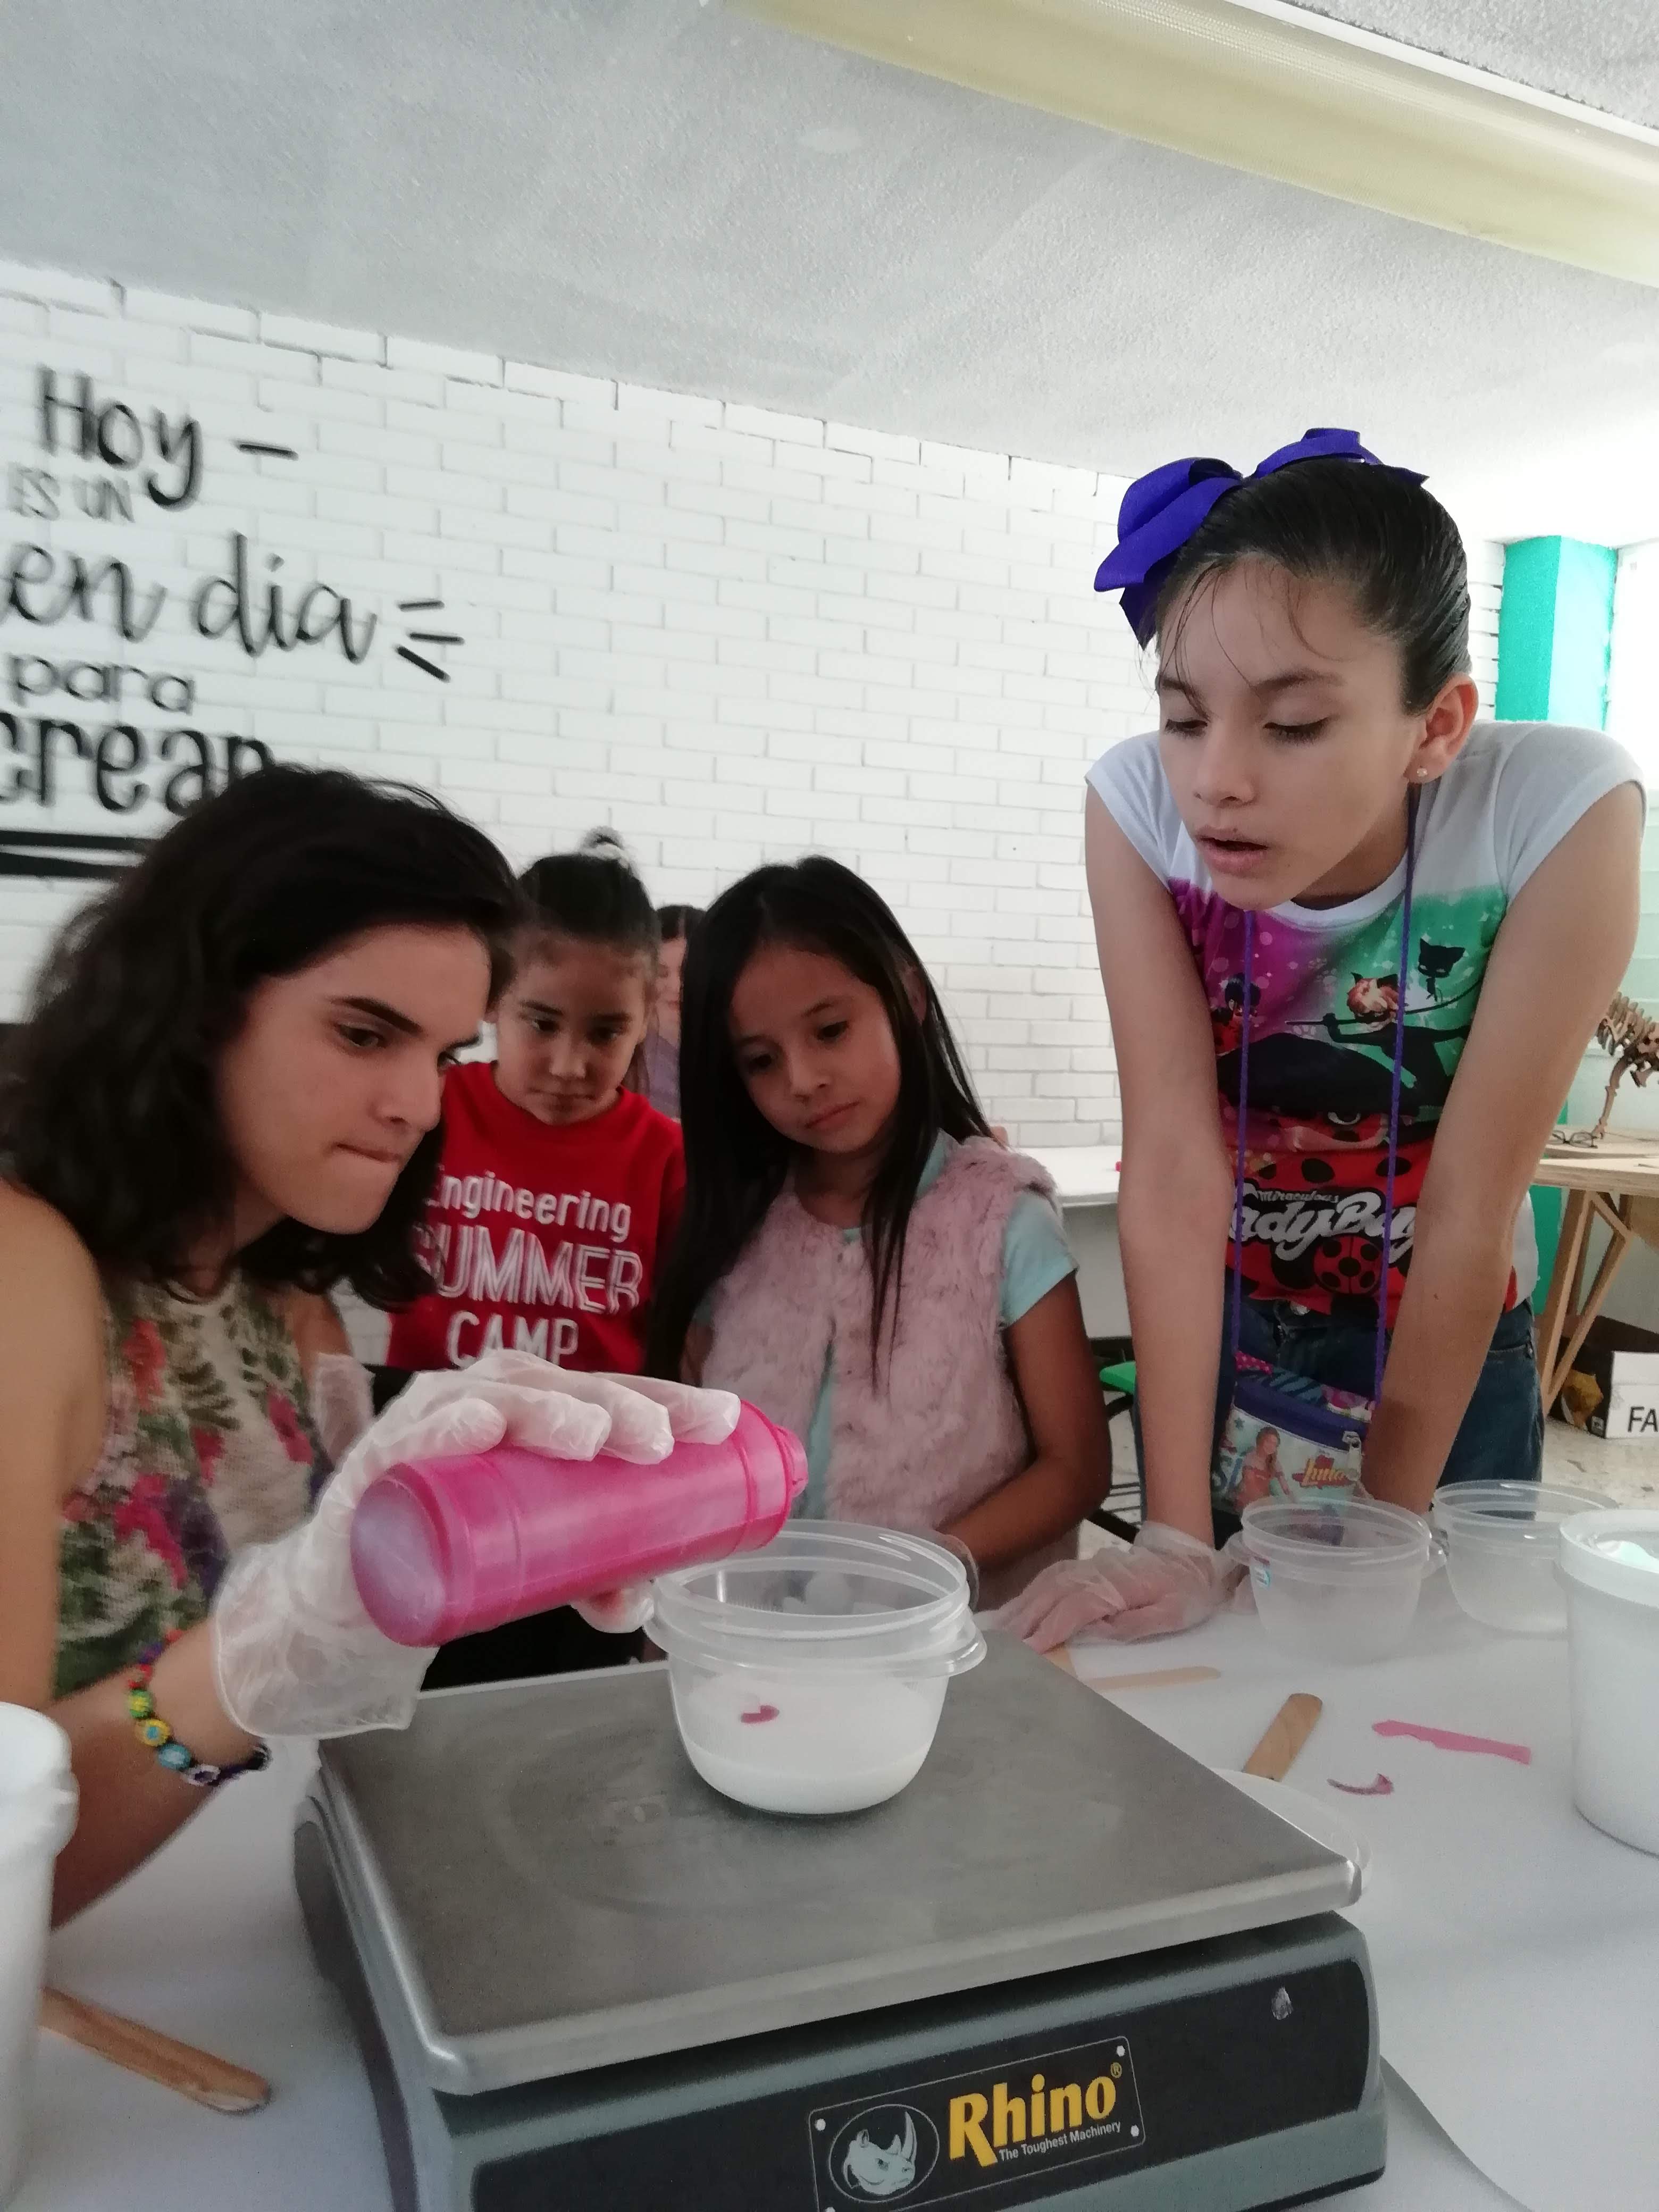
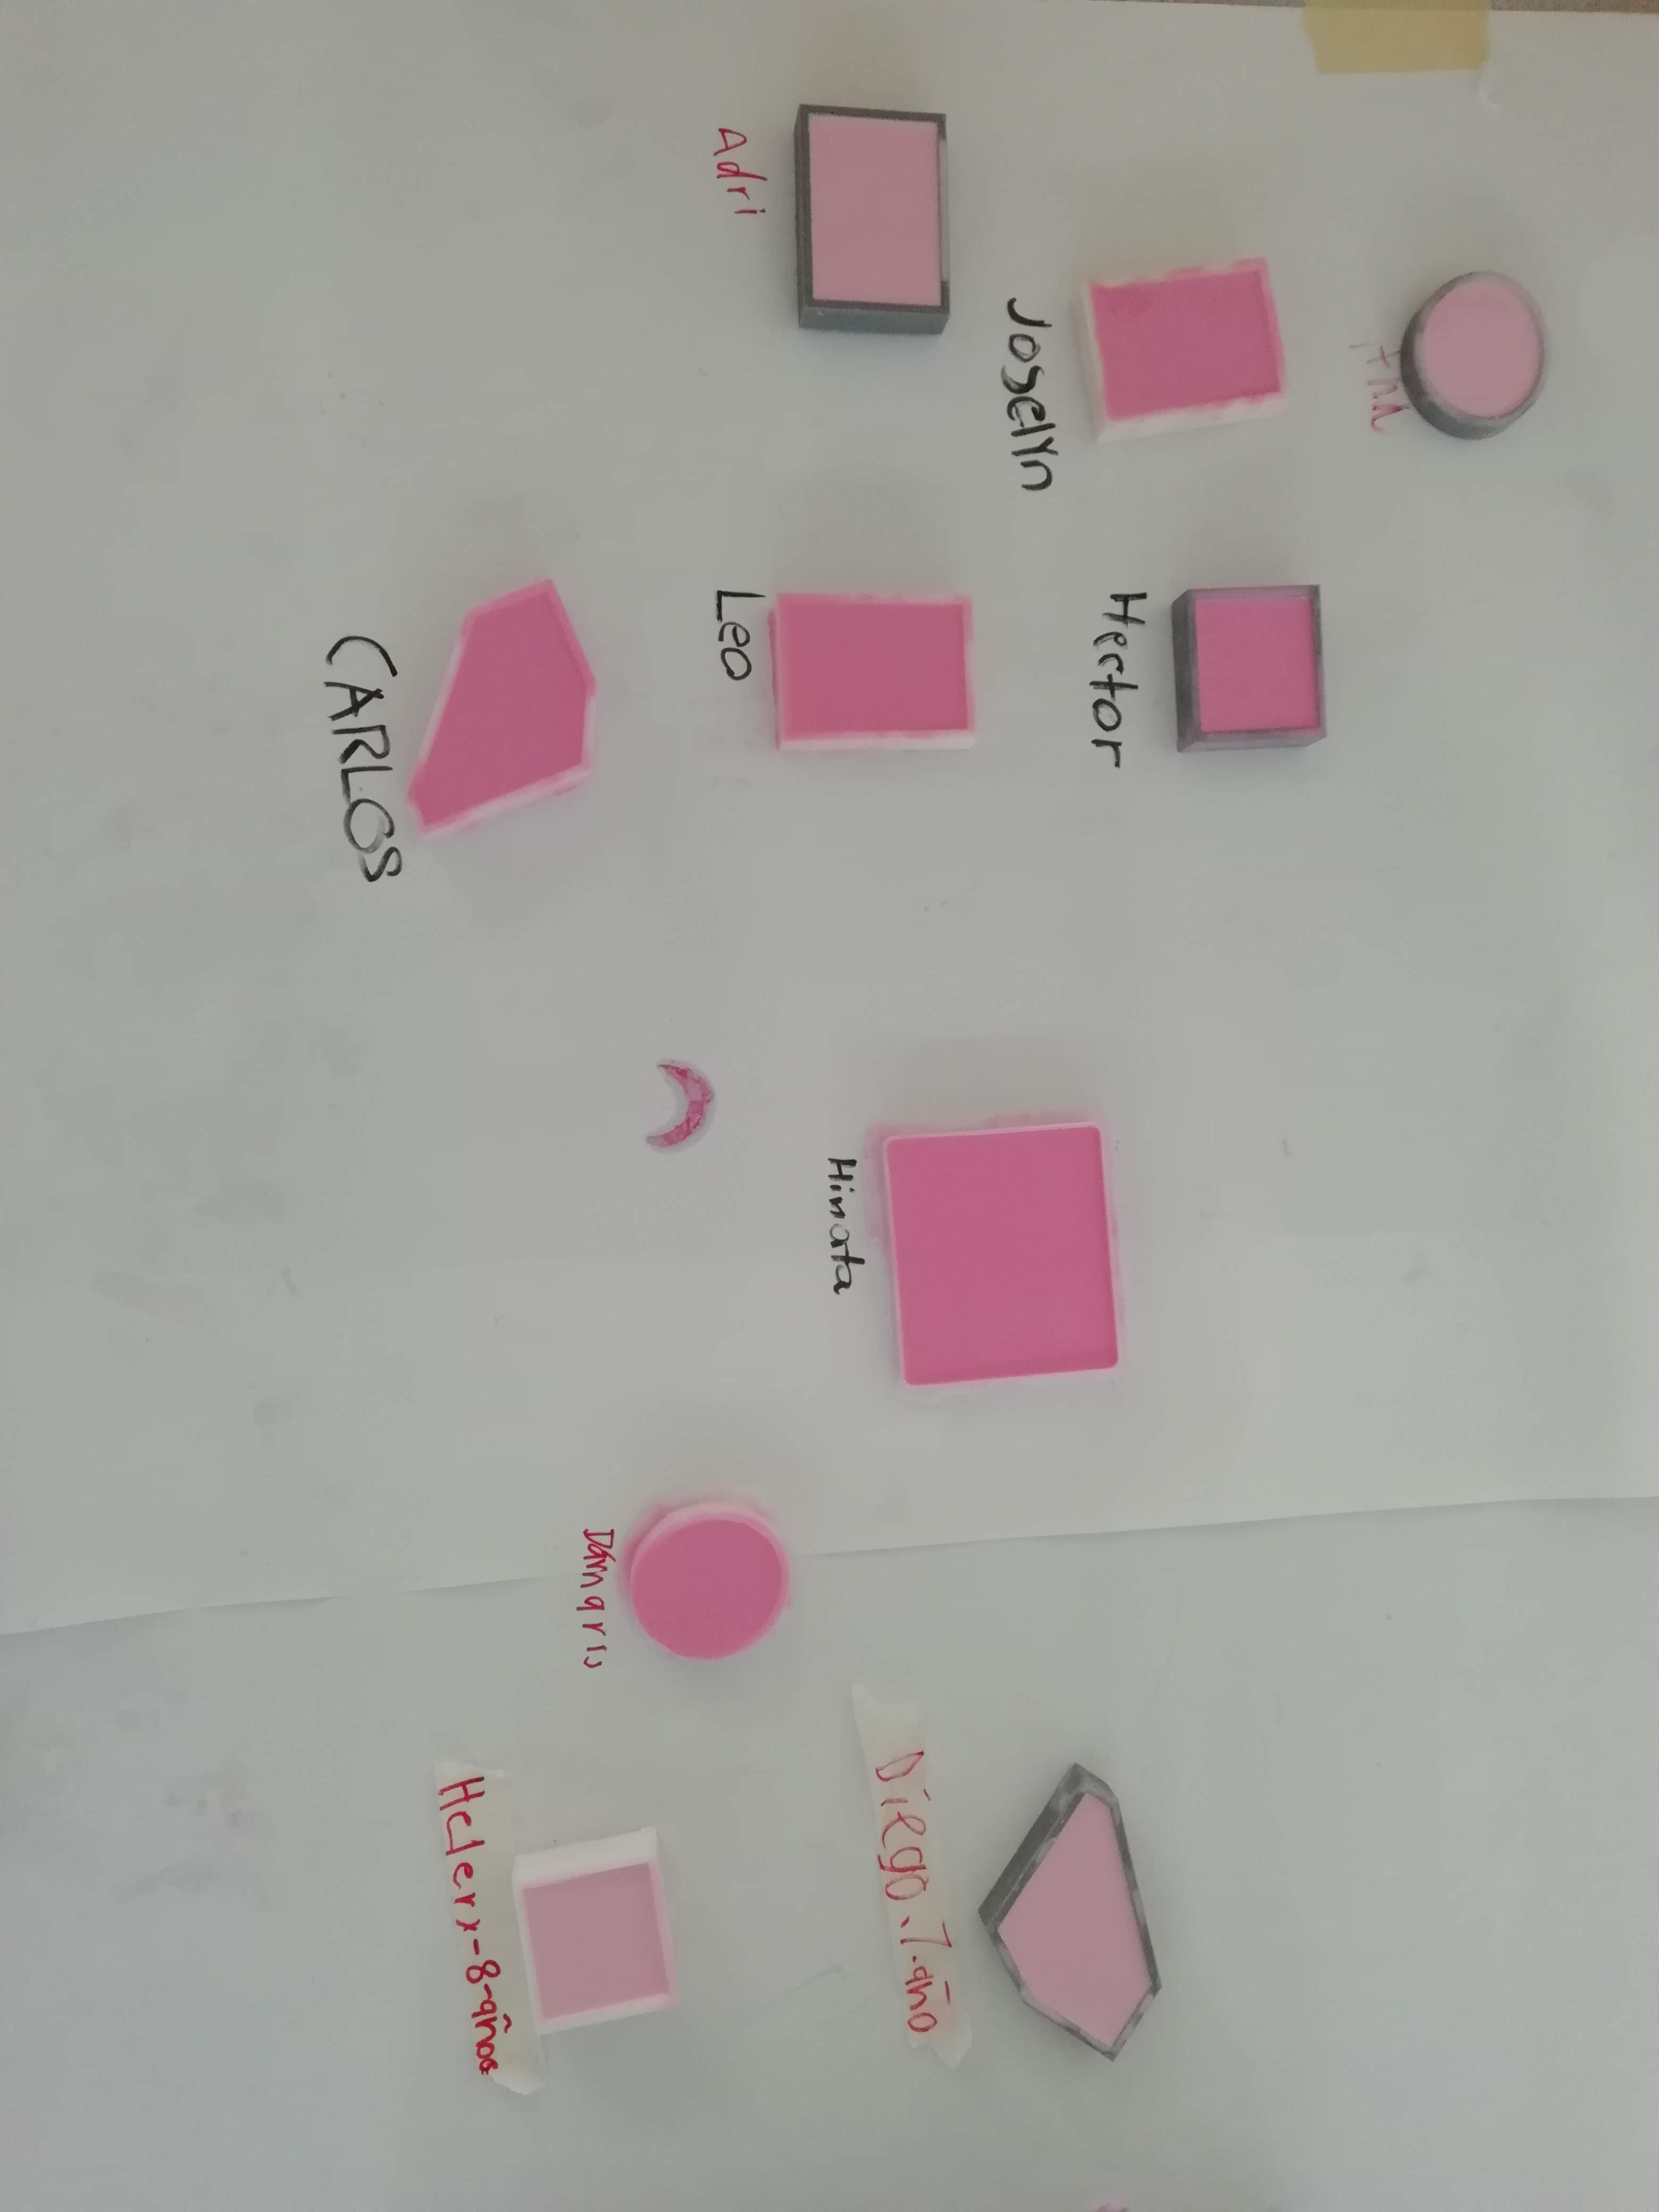
Once they have their counter molds ready, they kids are going to cast the silicone. For this they will learn about states of matter and how to measure.

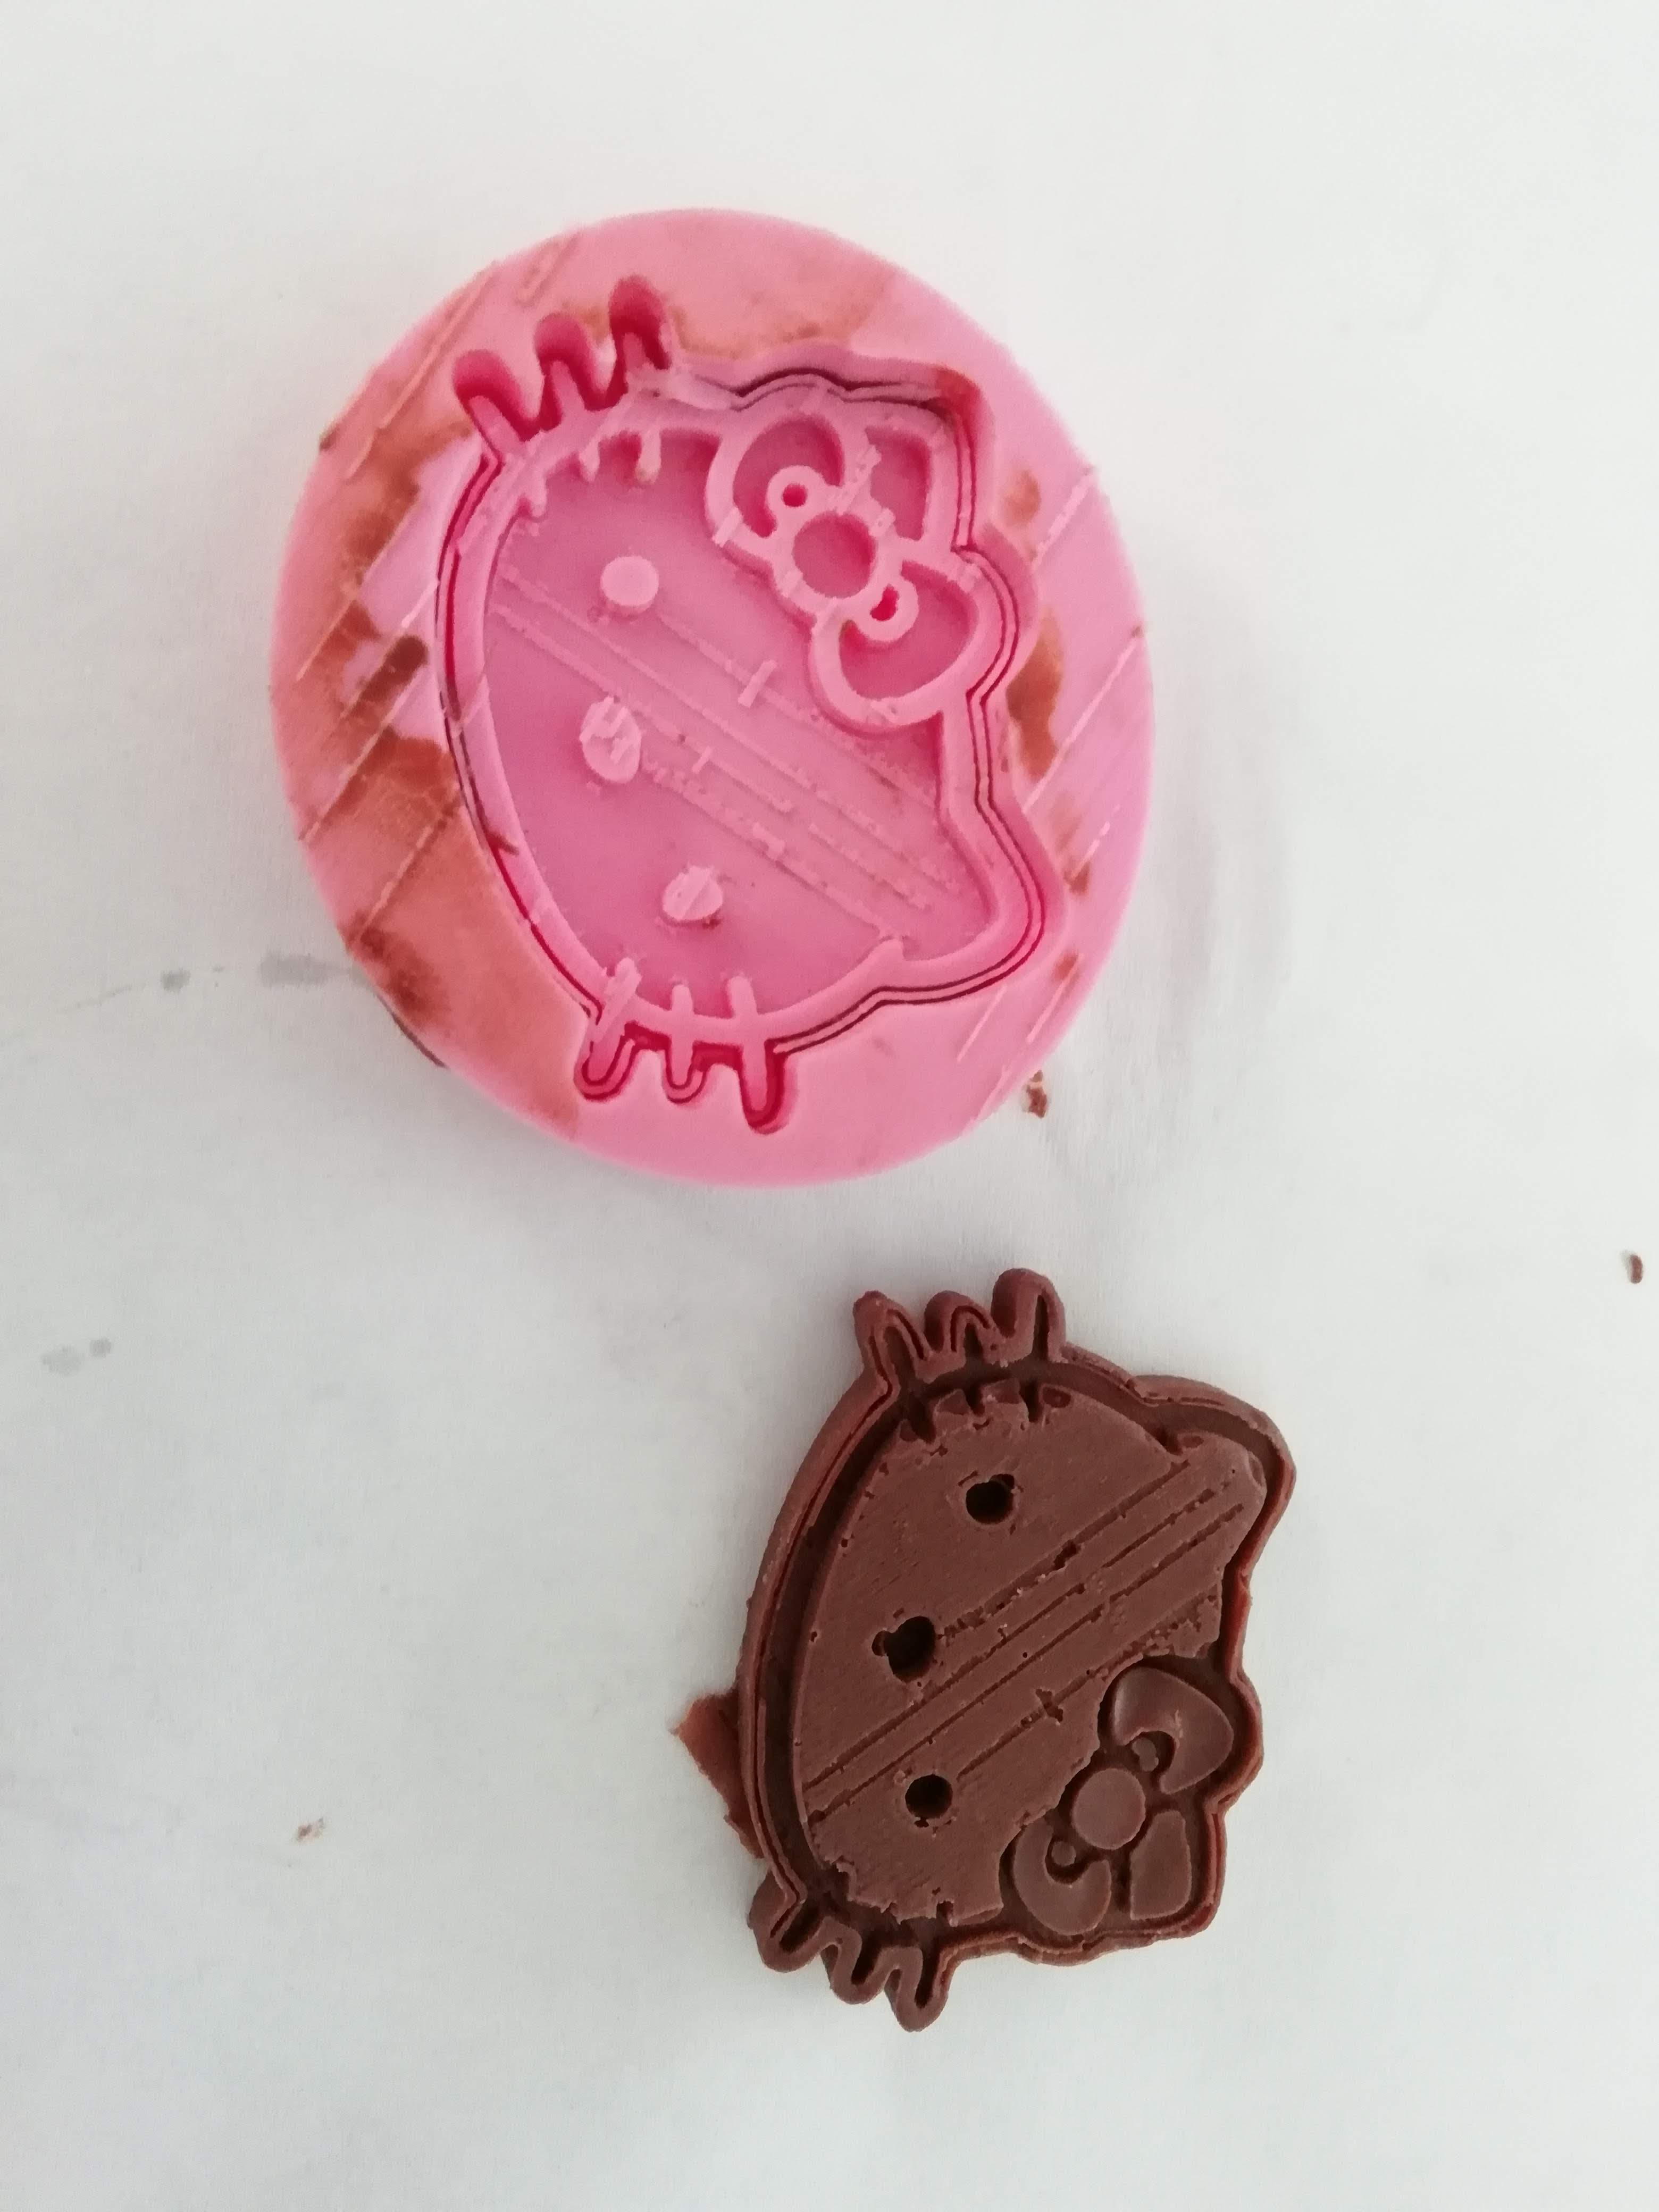
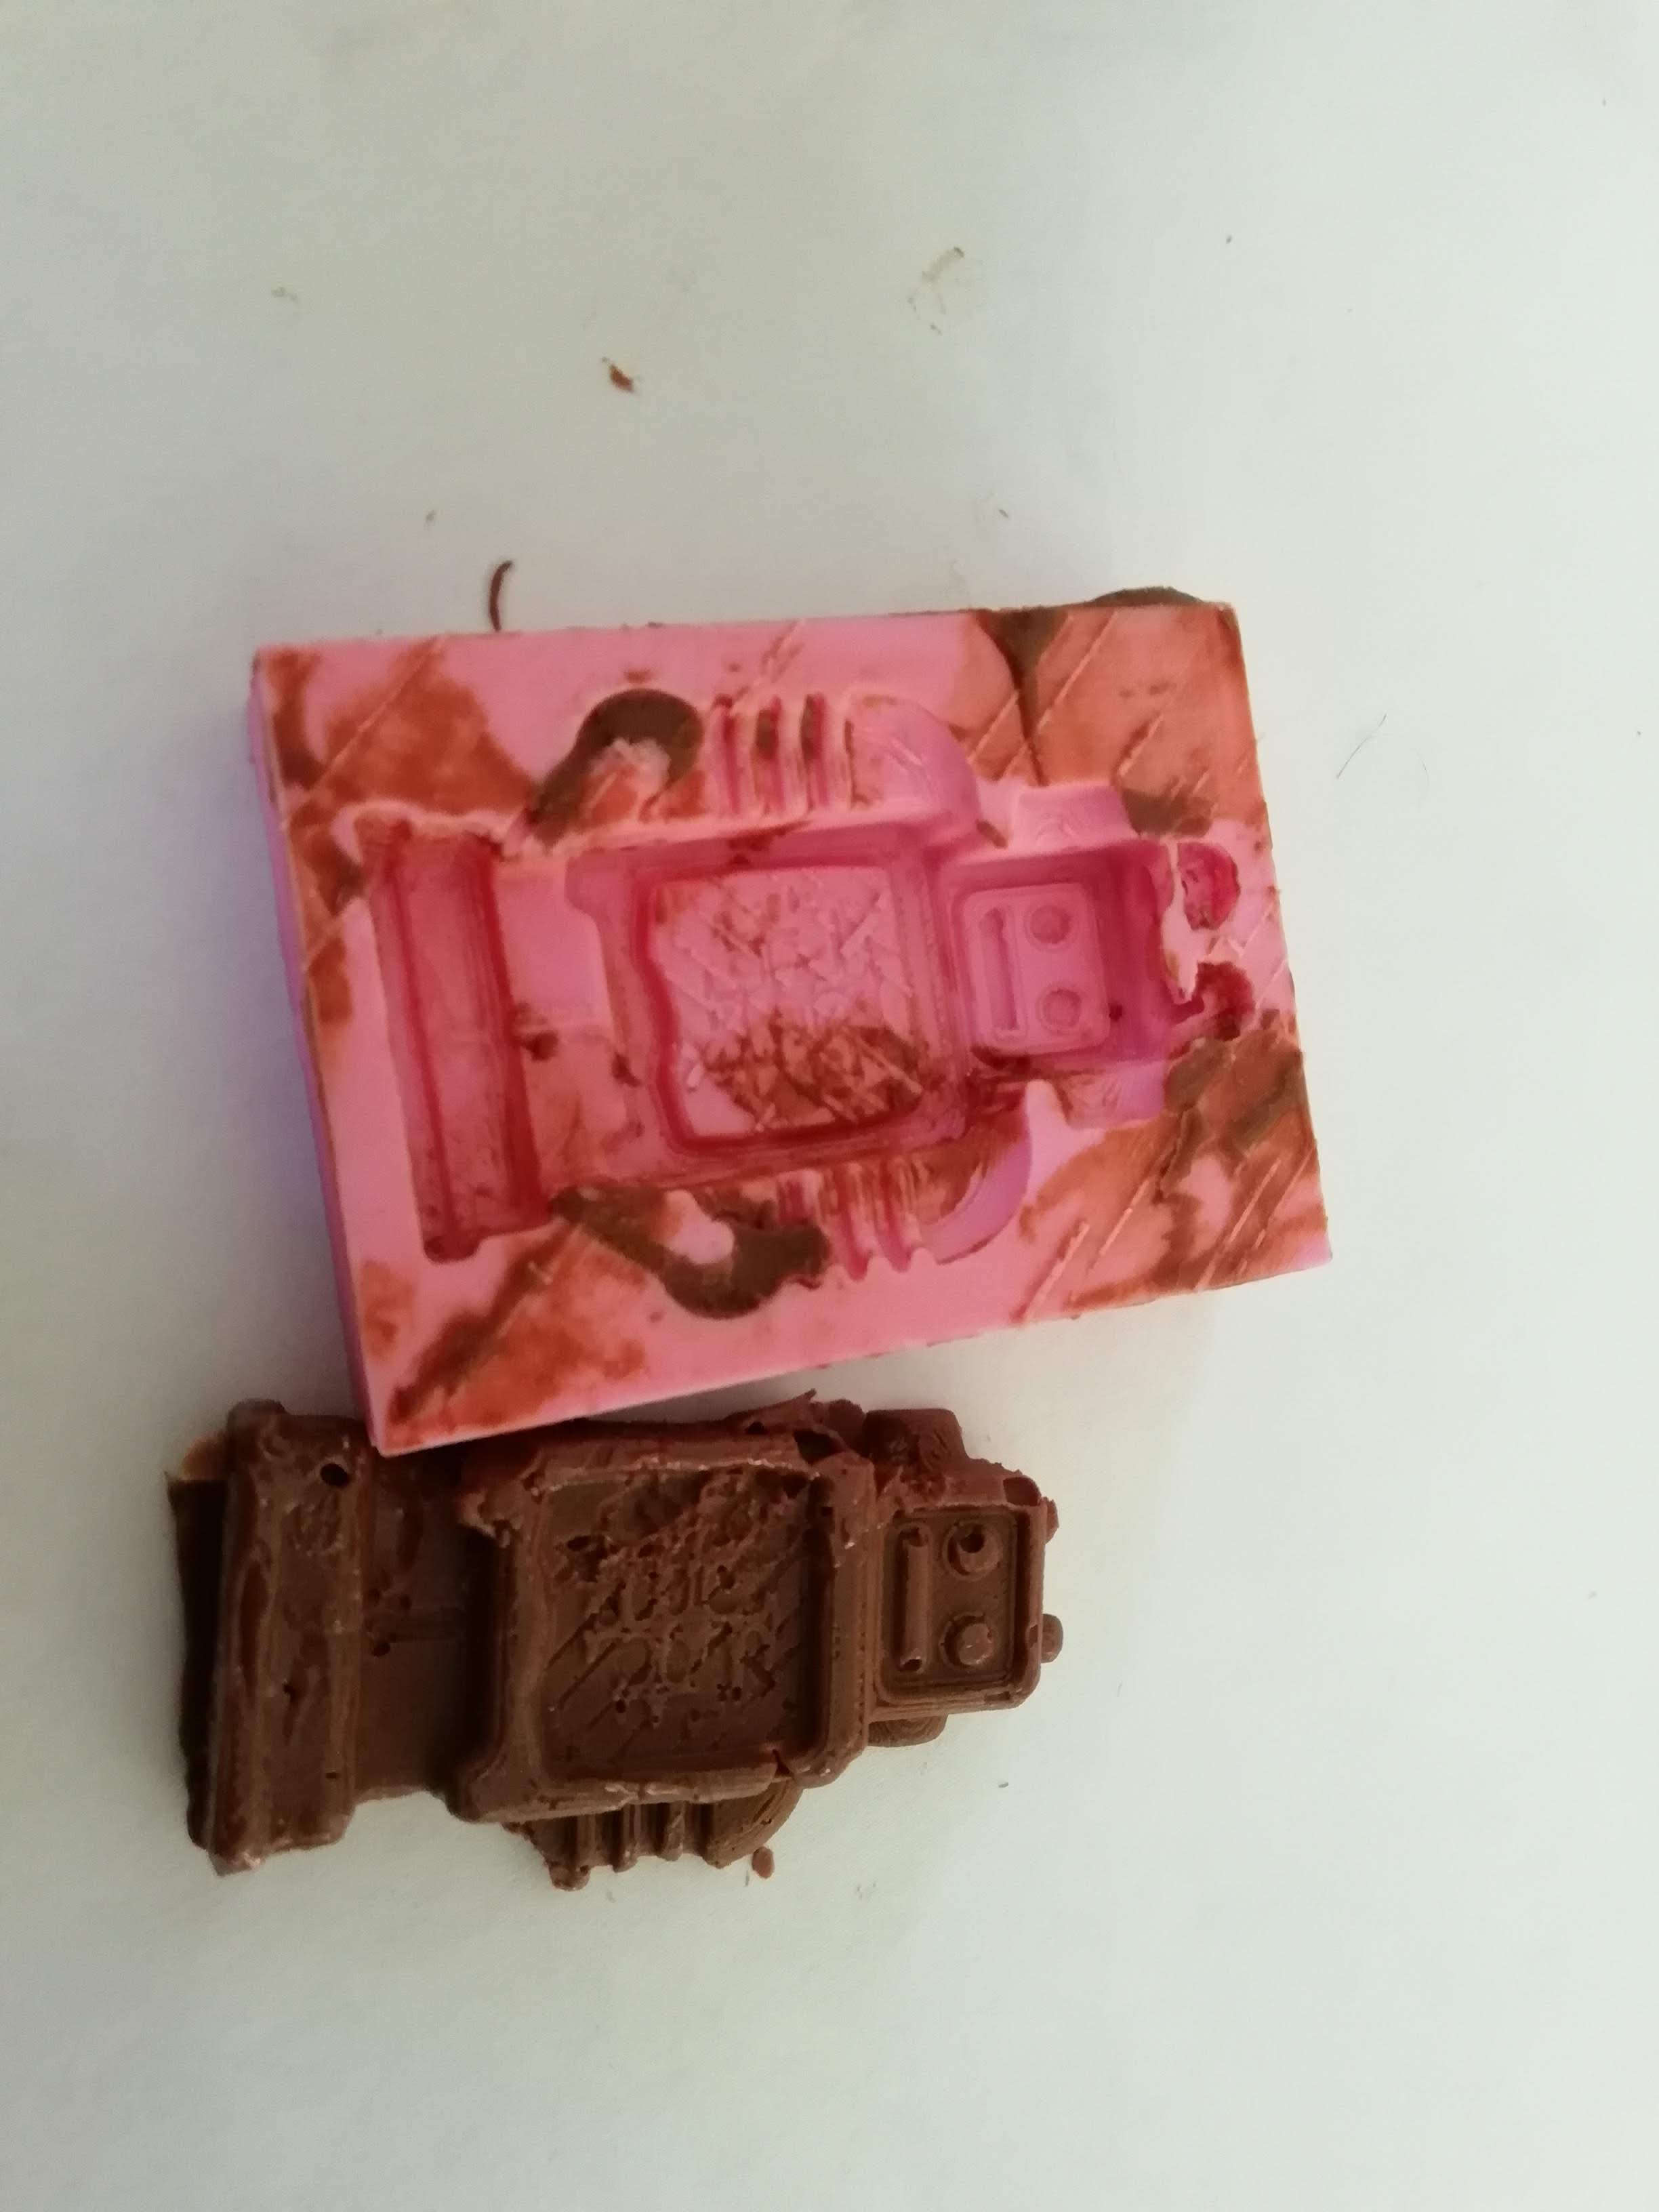
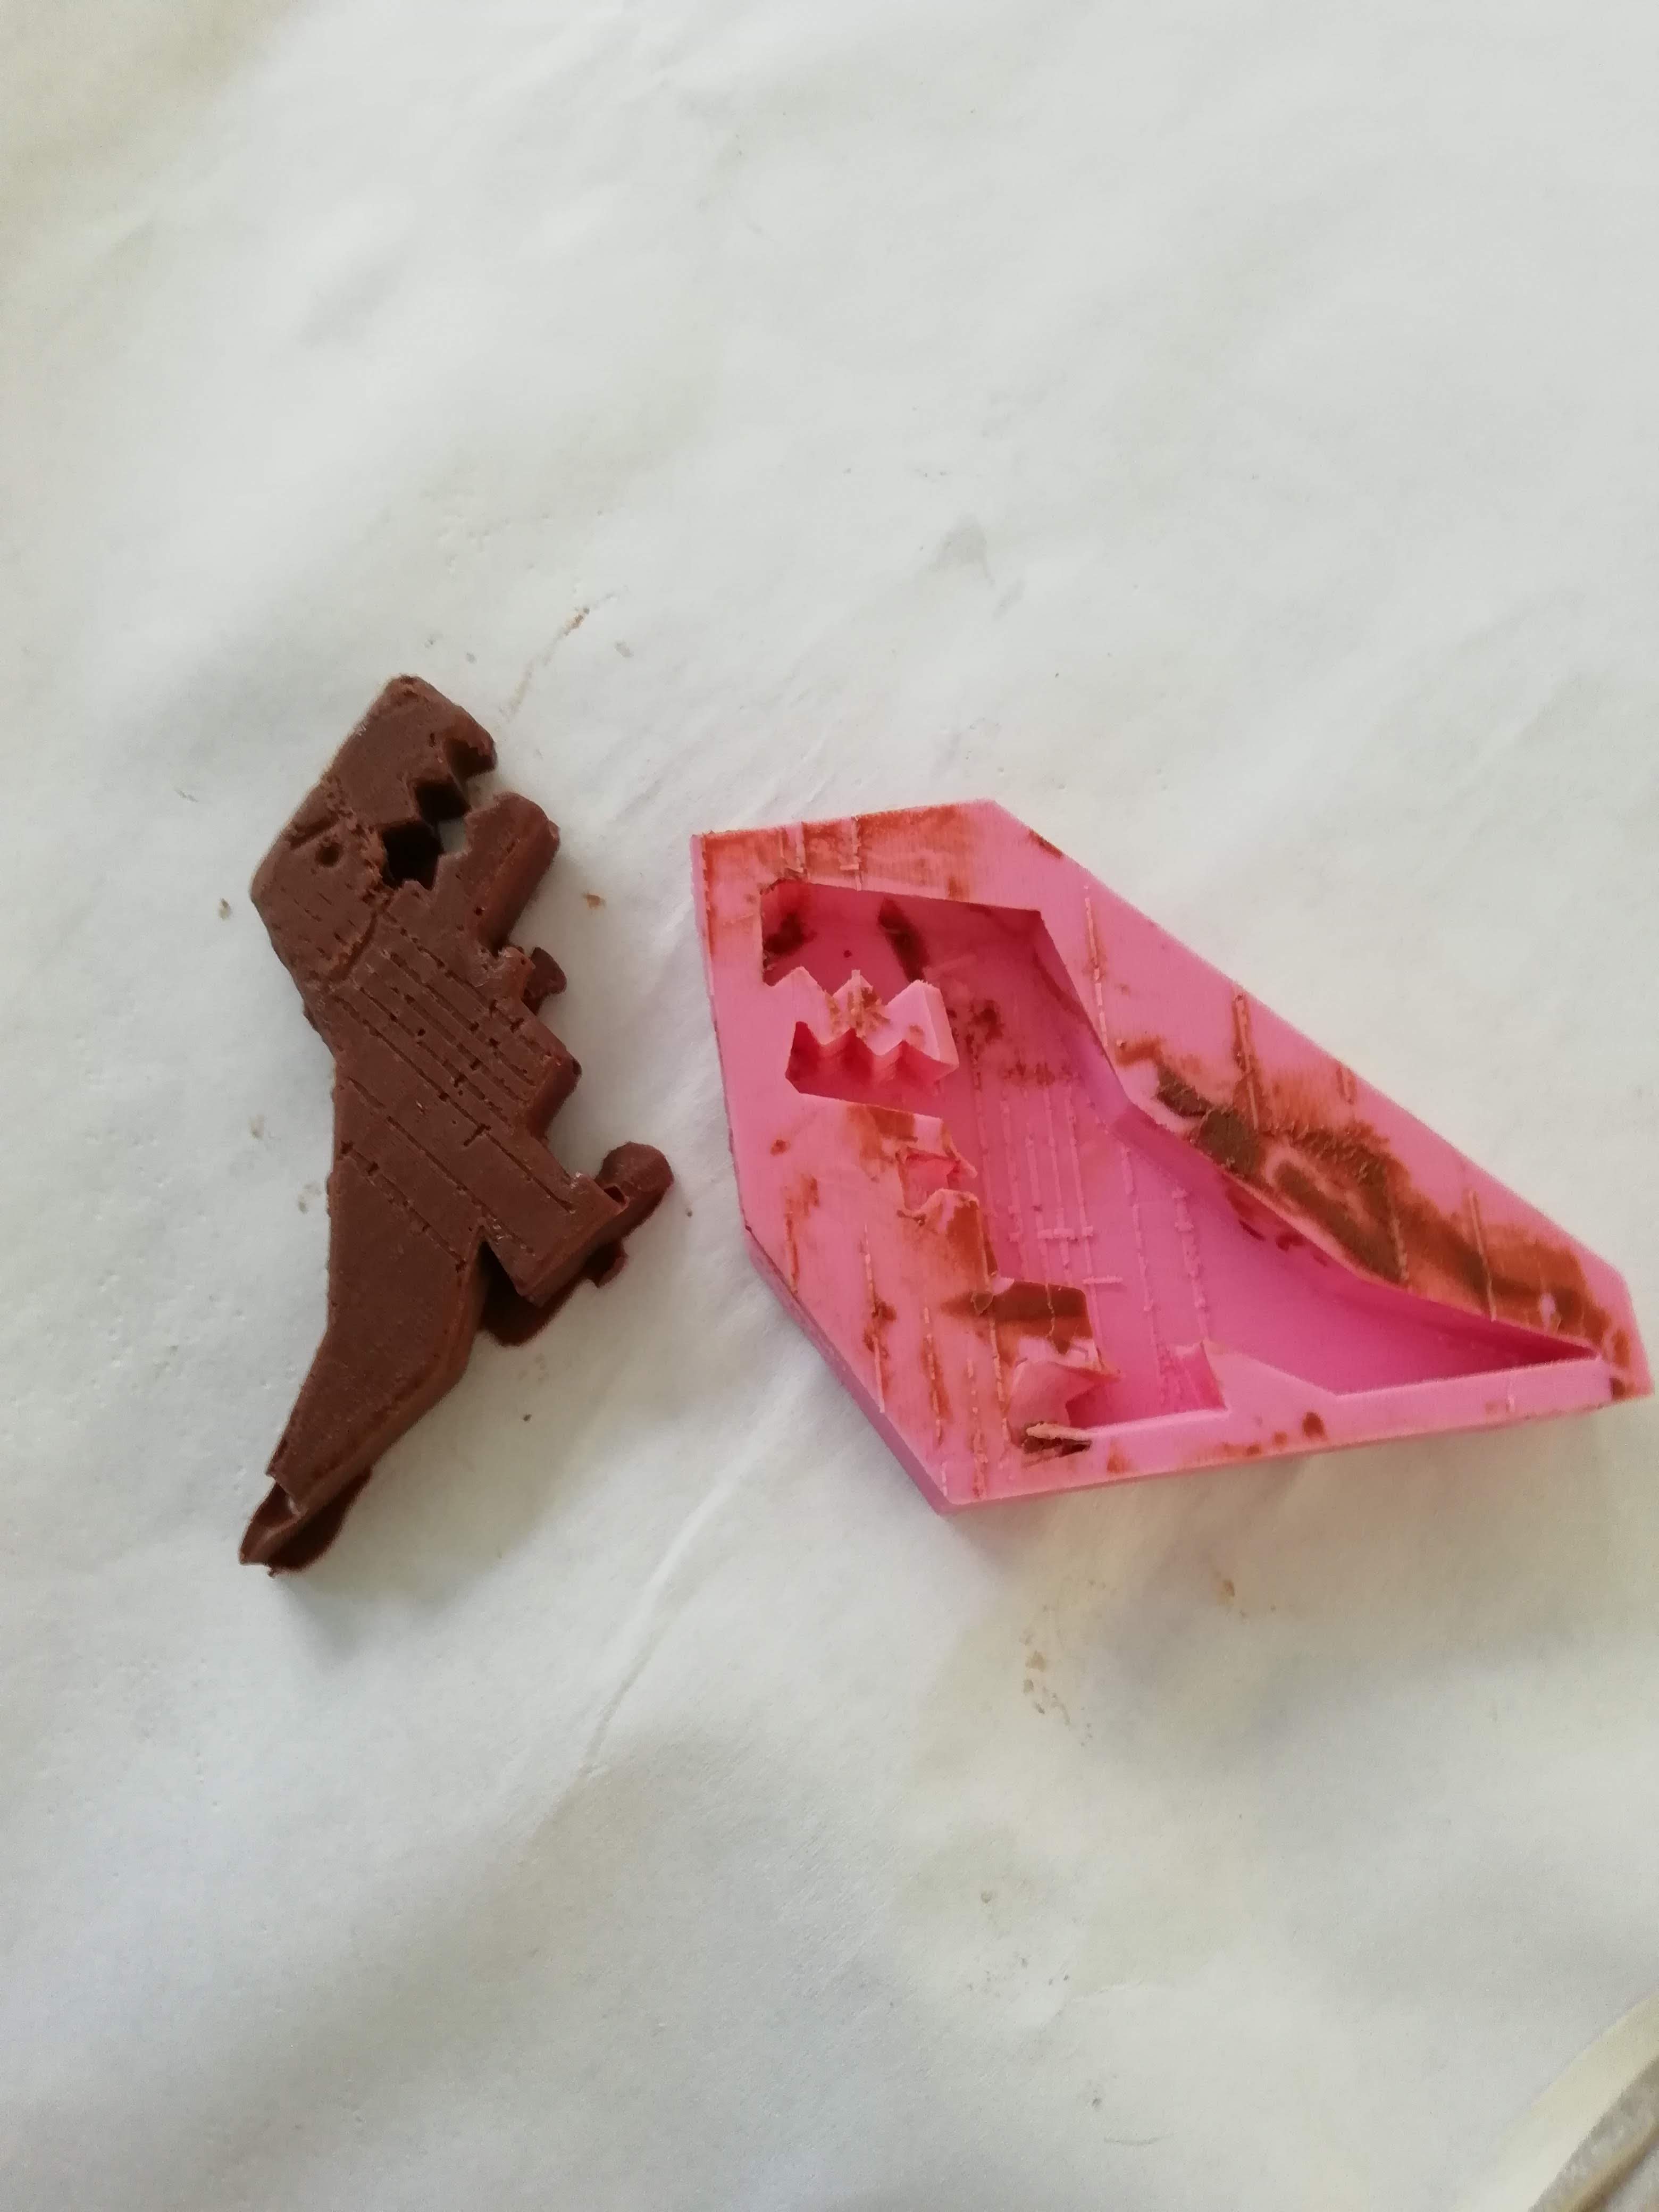
All your students should have their countermolds ready! Get prepared to cast the silicone.

  1. With the help of the students, cover a table with paper or plastic and ask them to wear gloves. It´s going to get messy! Make sure you have everything you need: a scale (or measuring cups), sticks or spoons to stir the mix, bowls or containers to mix the silicone and the molds.
  2. Depending on what silicone you bought (remember it has to be food grade) you will have to weight or measure the silicone and its catalyzer. First,, talk about State of Matters:
  3. Matter is everything that we come across in our lives, like the air you breathe, the clothes you wear, cool drinks – literally everything! In fact, did you know that you are made of matter too? When we talk about the states of matter, we mostly talk about solids, liquids and gases. Show an example of solid and one or liquid. YOU CAN GO INTO AS MUCH DETAIL AS YOU WANT.
  4. We can change a solid into a liquid or gas by changing its temperature. This is known as changing its state. Water is a liquid at room temperature, but becomes a solid (called ice) if it is cooled down. The same water turns into a gas (called water vapor) if it is heated up. Same thing is going to happen with the chocolate, when we heat it up it melts and it´s easy to pour in the mold, and when we put it in the fridge, the cold is going to make it hard.
  5. Also, the silicone HERE can change from liquid to solid. To speed up this process we are going to use a catalyst. Catalysis is the change in speed (rate) of a chemical reaction due to the help of a catalyst.
  6. Now, let´s measure. Get ready to cast your mold! Give one bowl to each kid so that they can mix the silicone with the catalyst. But first, they have to know exactly how much amount of catalyst you need. For that you are going to either measure or weight the silicone and then add the appropriate amount.
  7. Mix! The kids have to mix until the mix gets an homogeneous color.
  8. Add releaser to the mold
  9. It´s time to cast the silicone on the mold. It has to be slow but constant.
  10. Finally, the kids need to try to remove the air bubbles that were made when pouring the silicone. For that, they can hit the mold against the table for a couple of minutes.
  11. It´s done! Explain that the catalyst is going to take 16 hours to make the silicone mold hard, so that you have to wait until tomorrow to continue.
  12. Clean up!


Session 3: Chocolate!

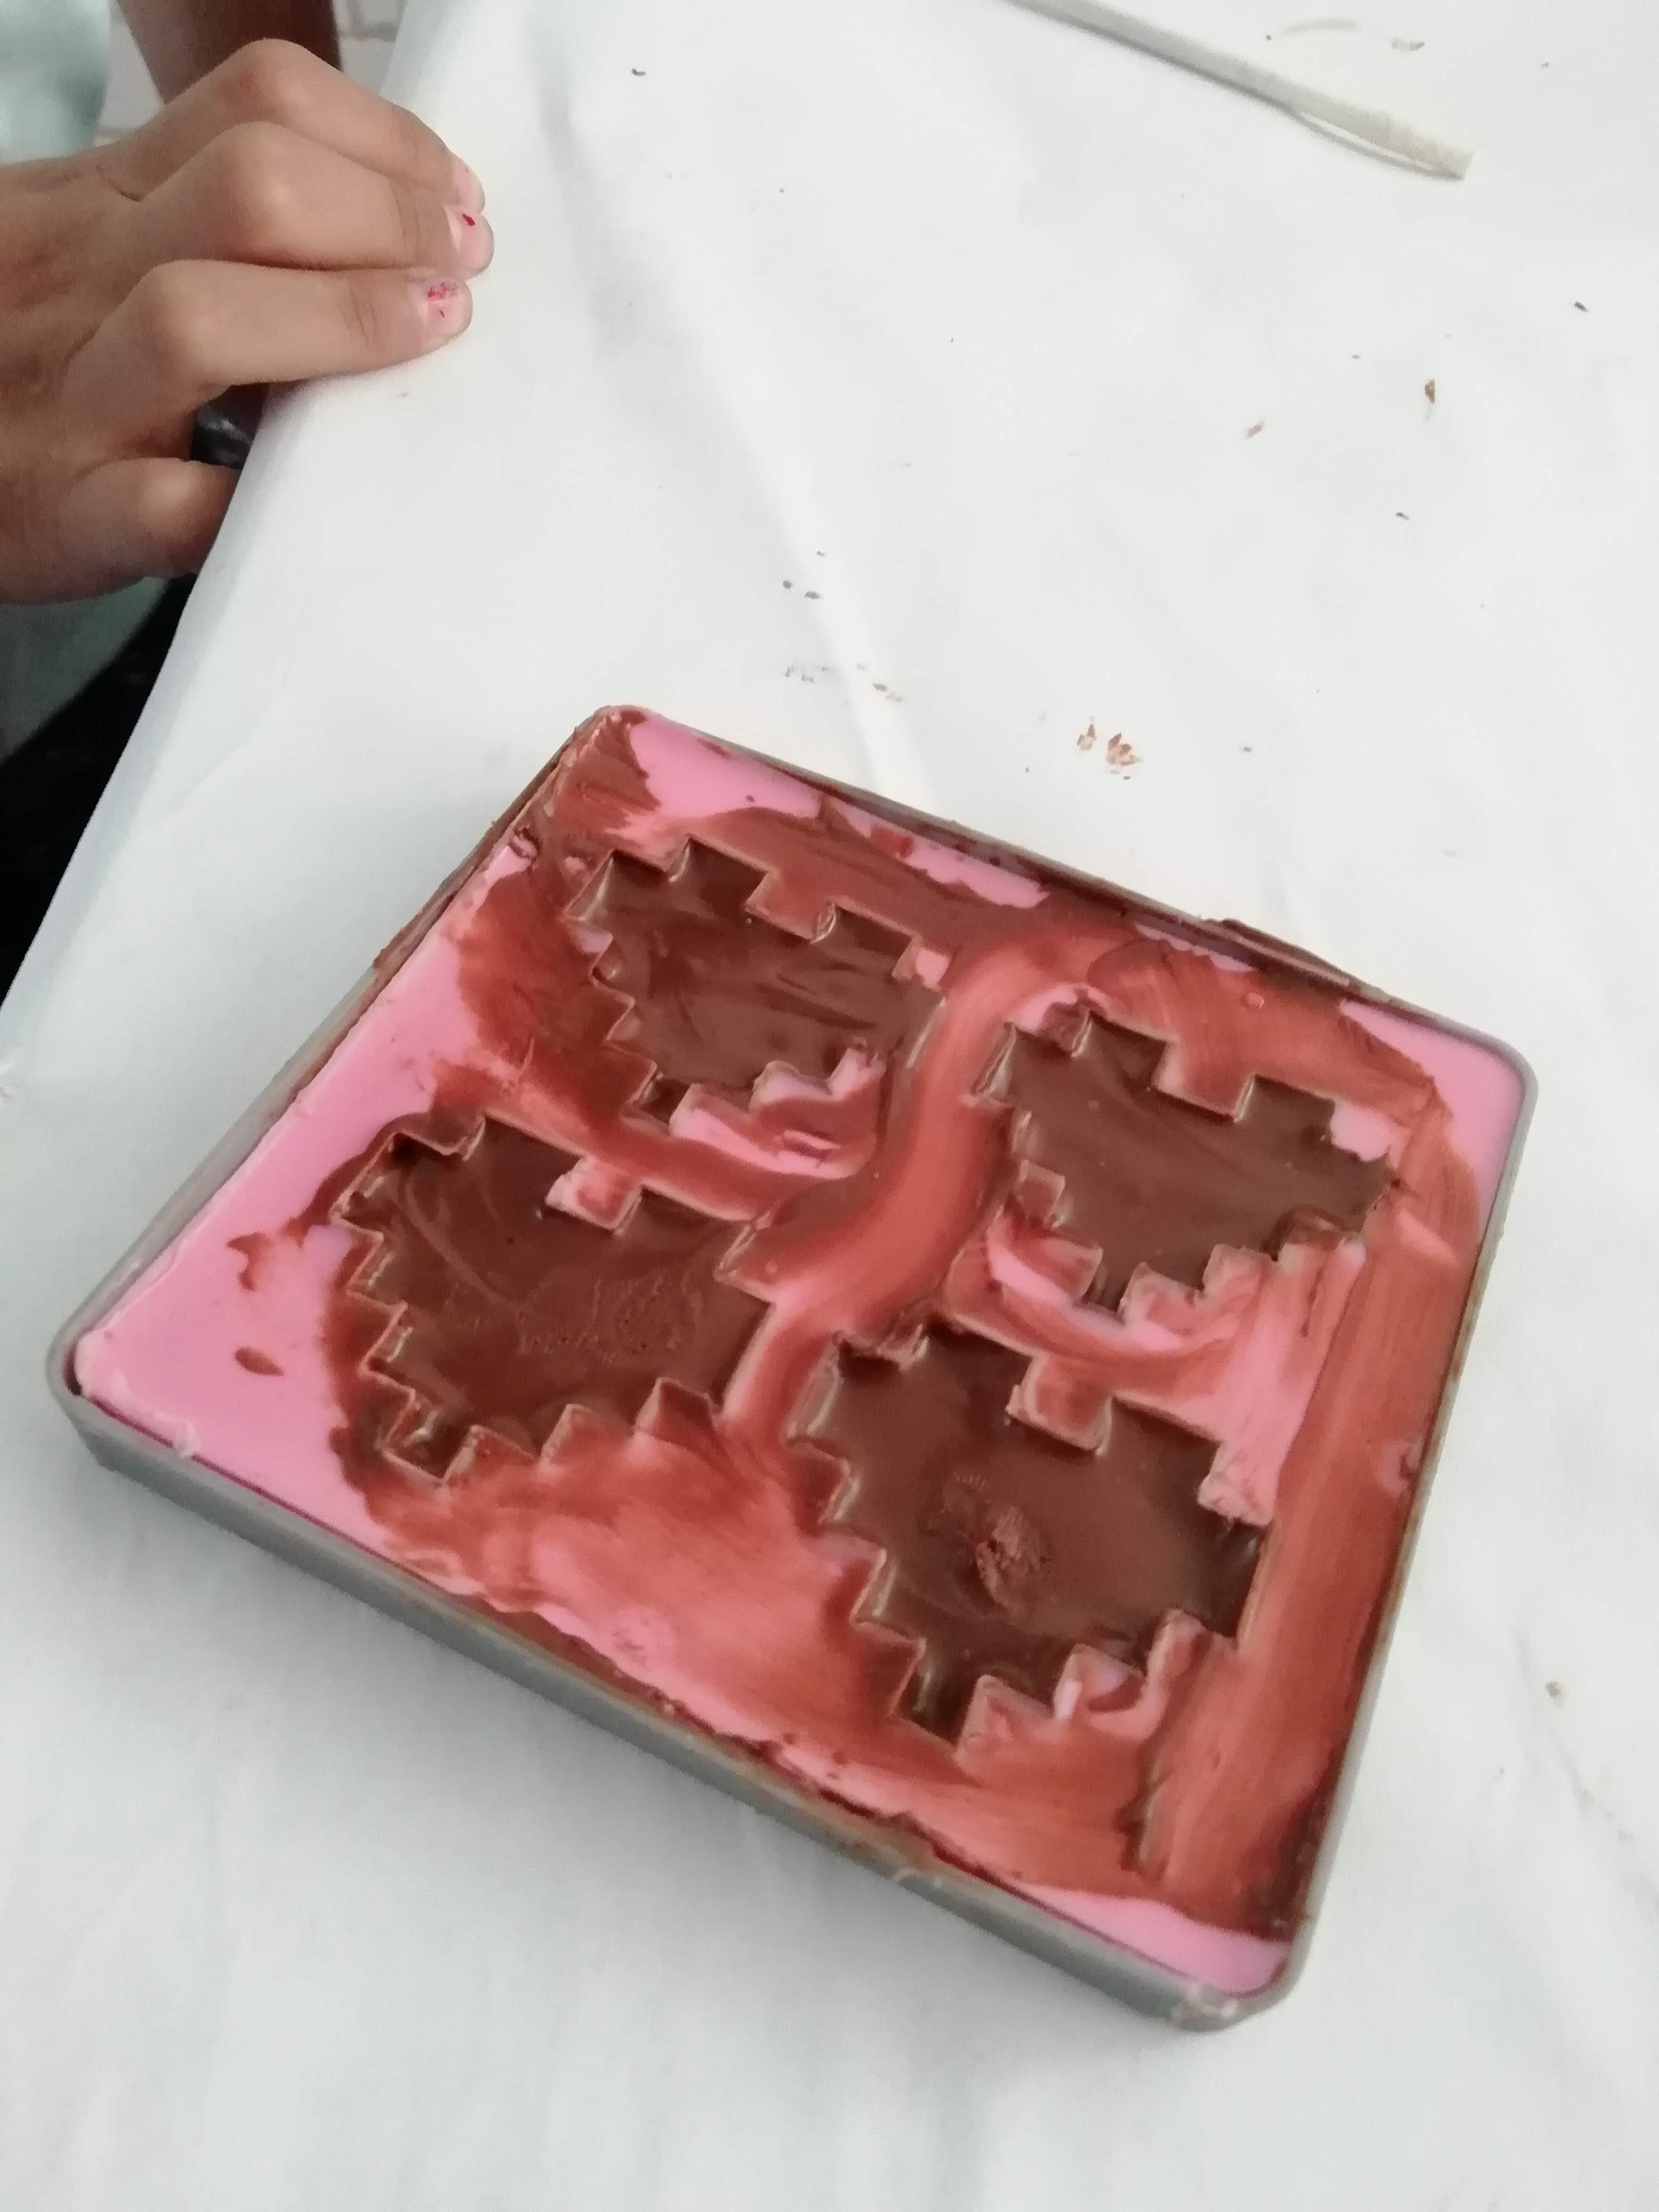
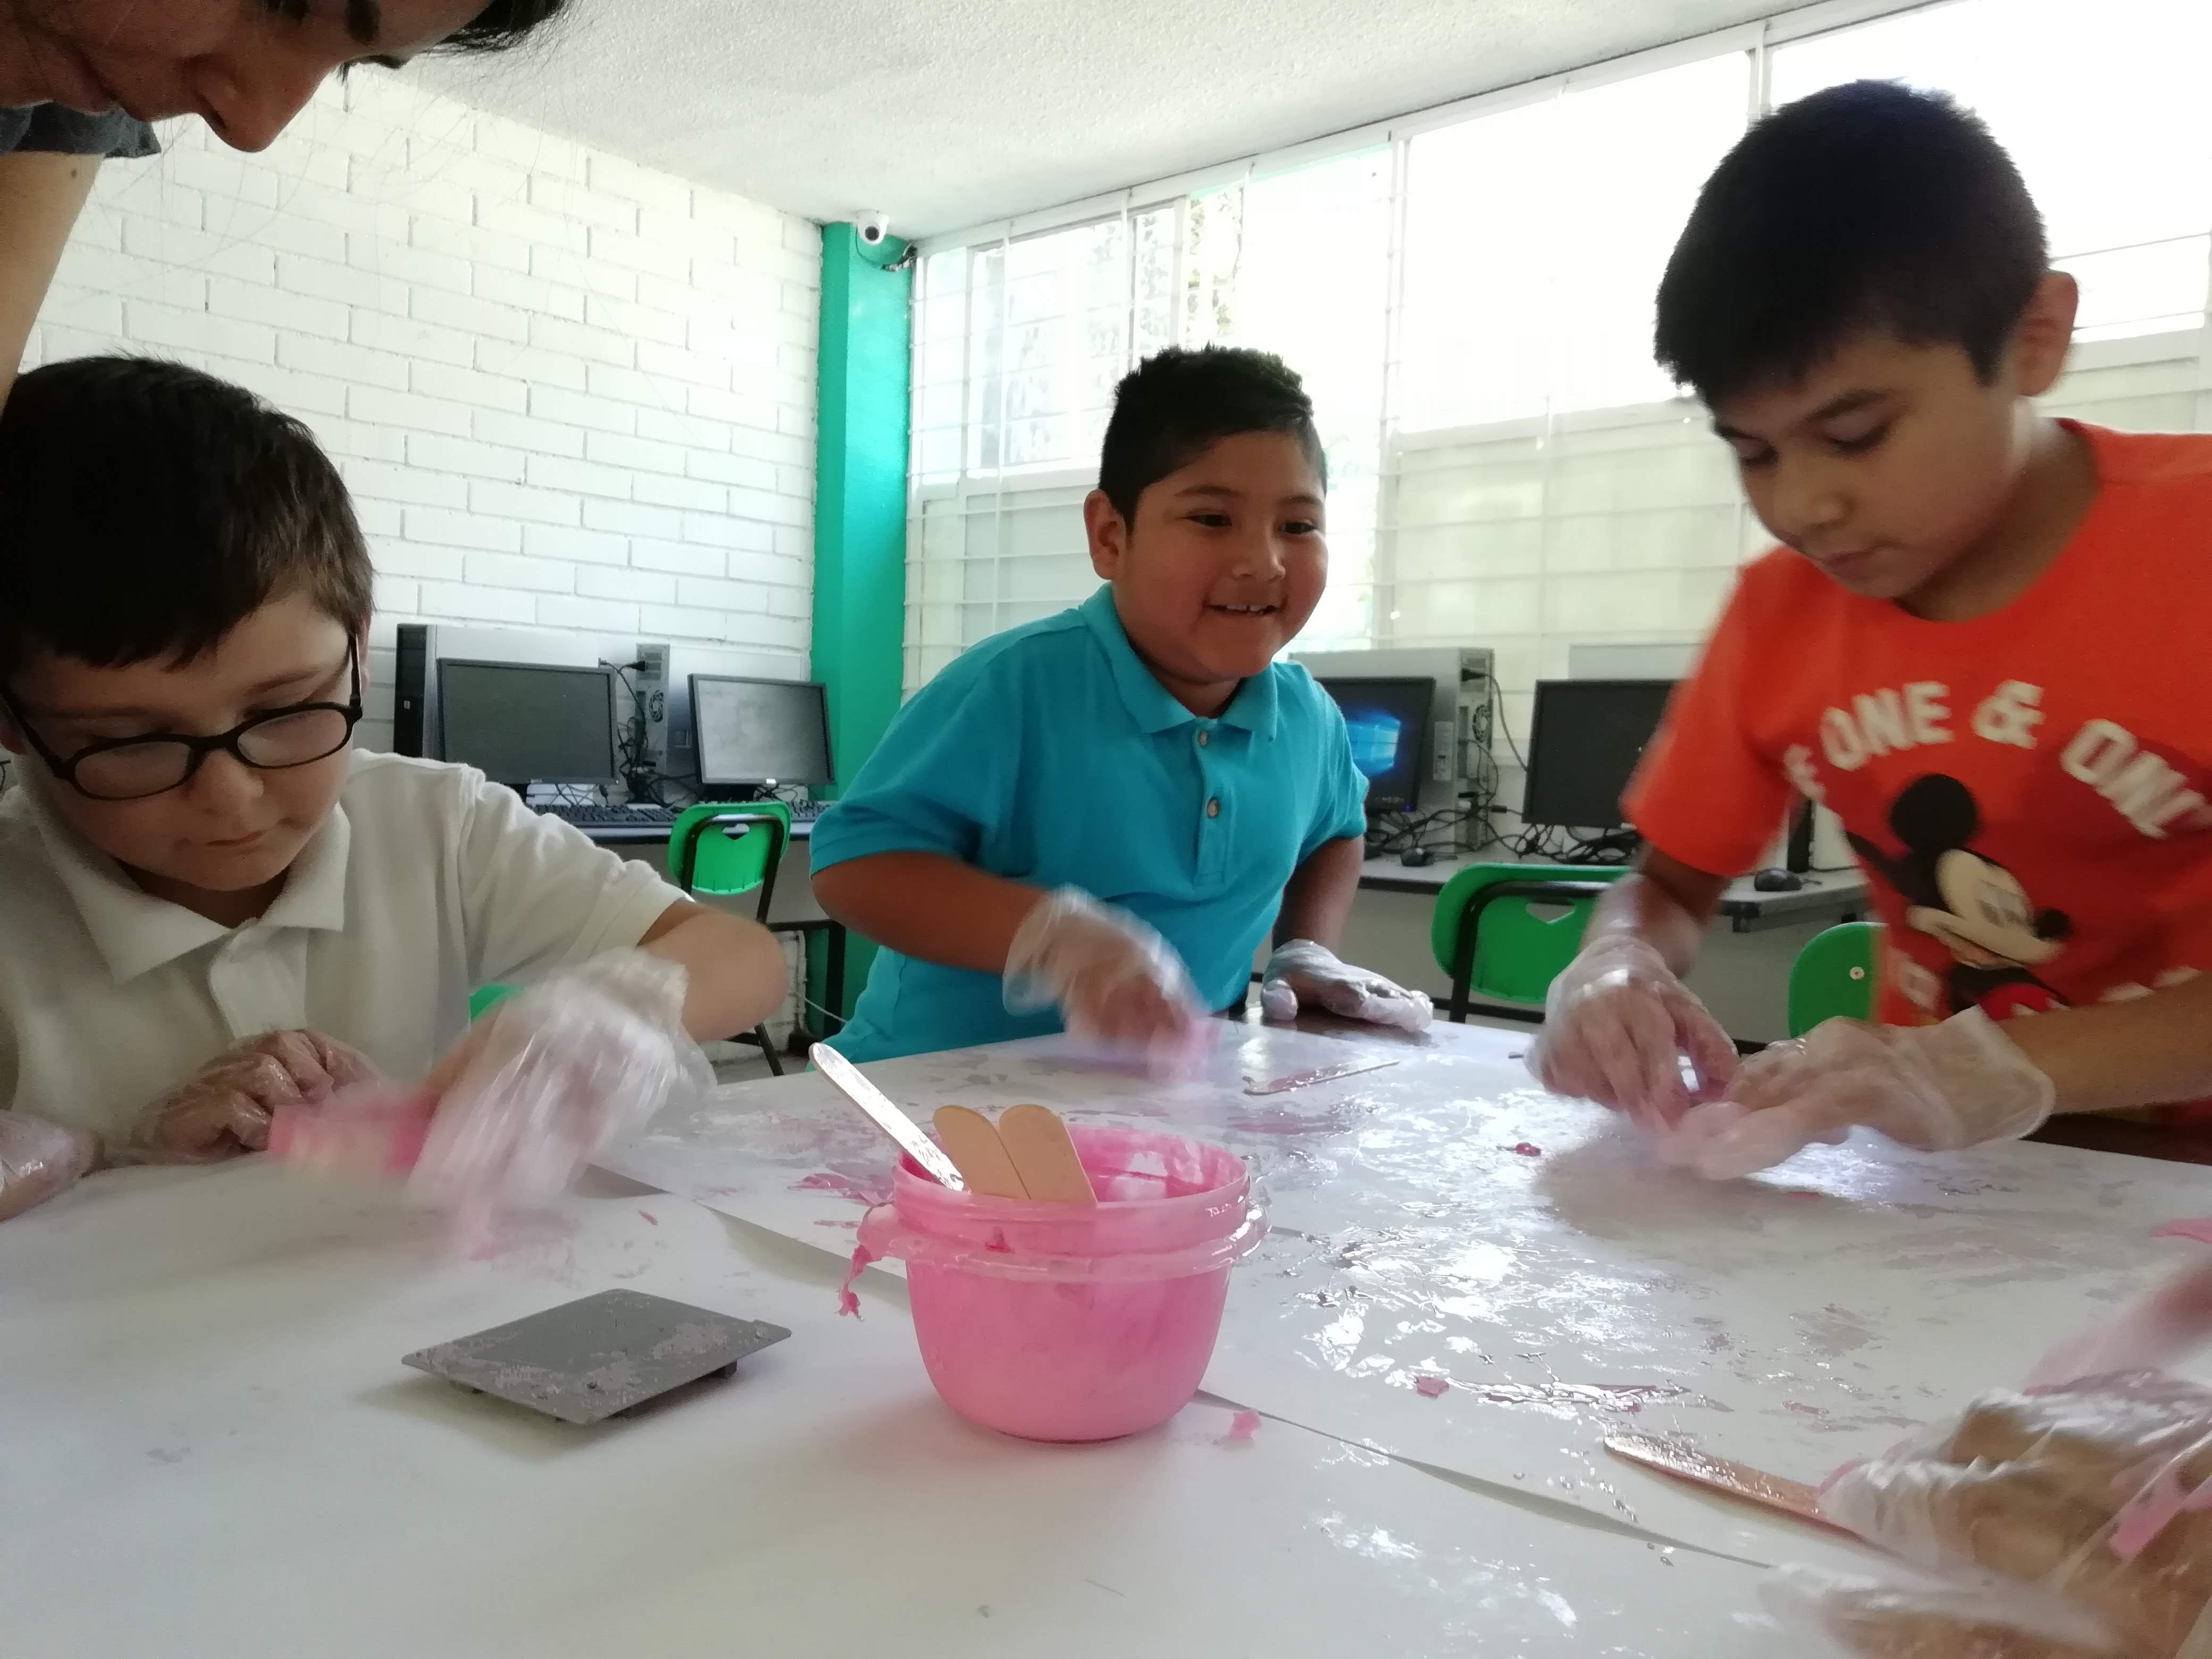
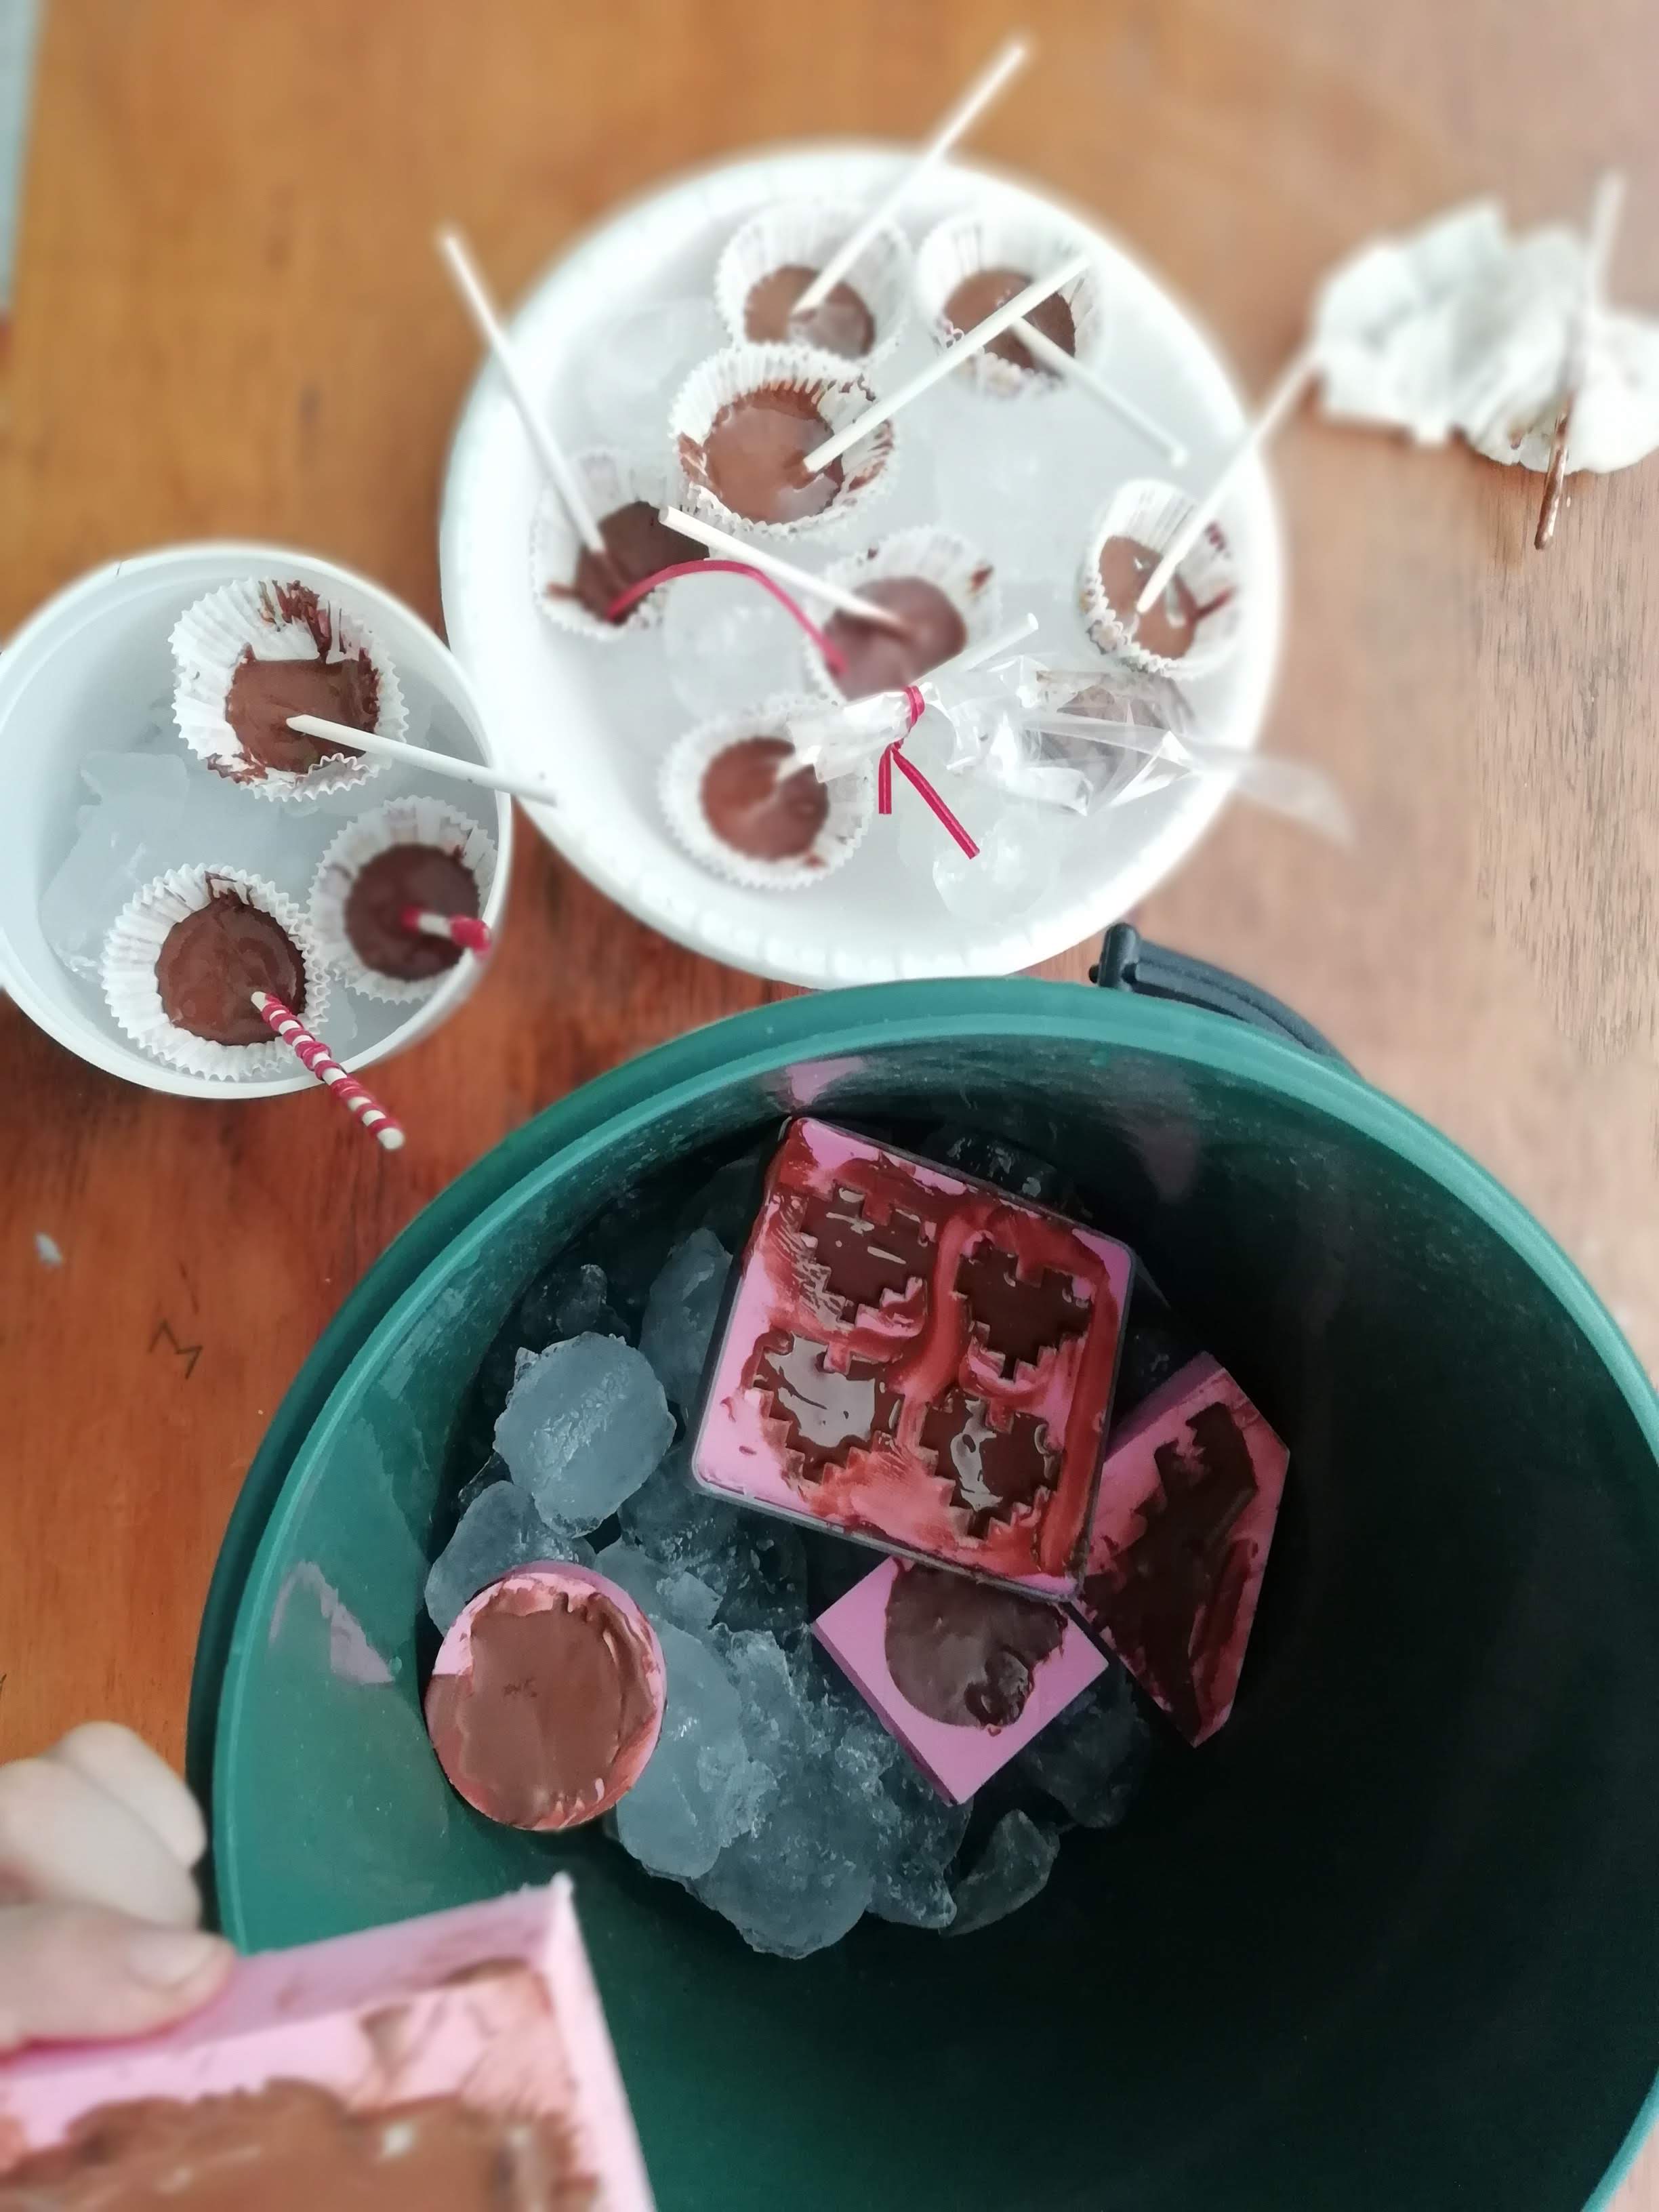
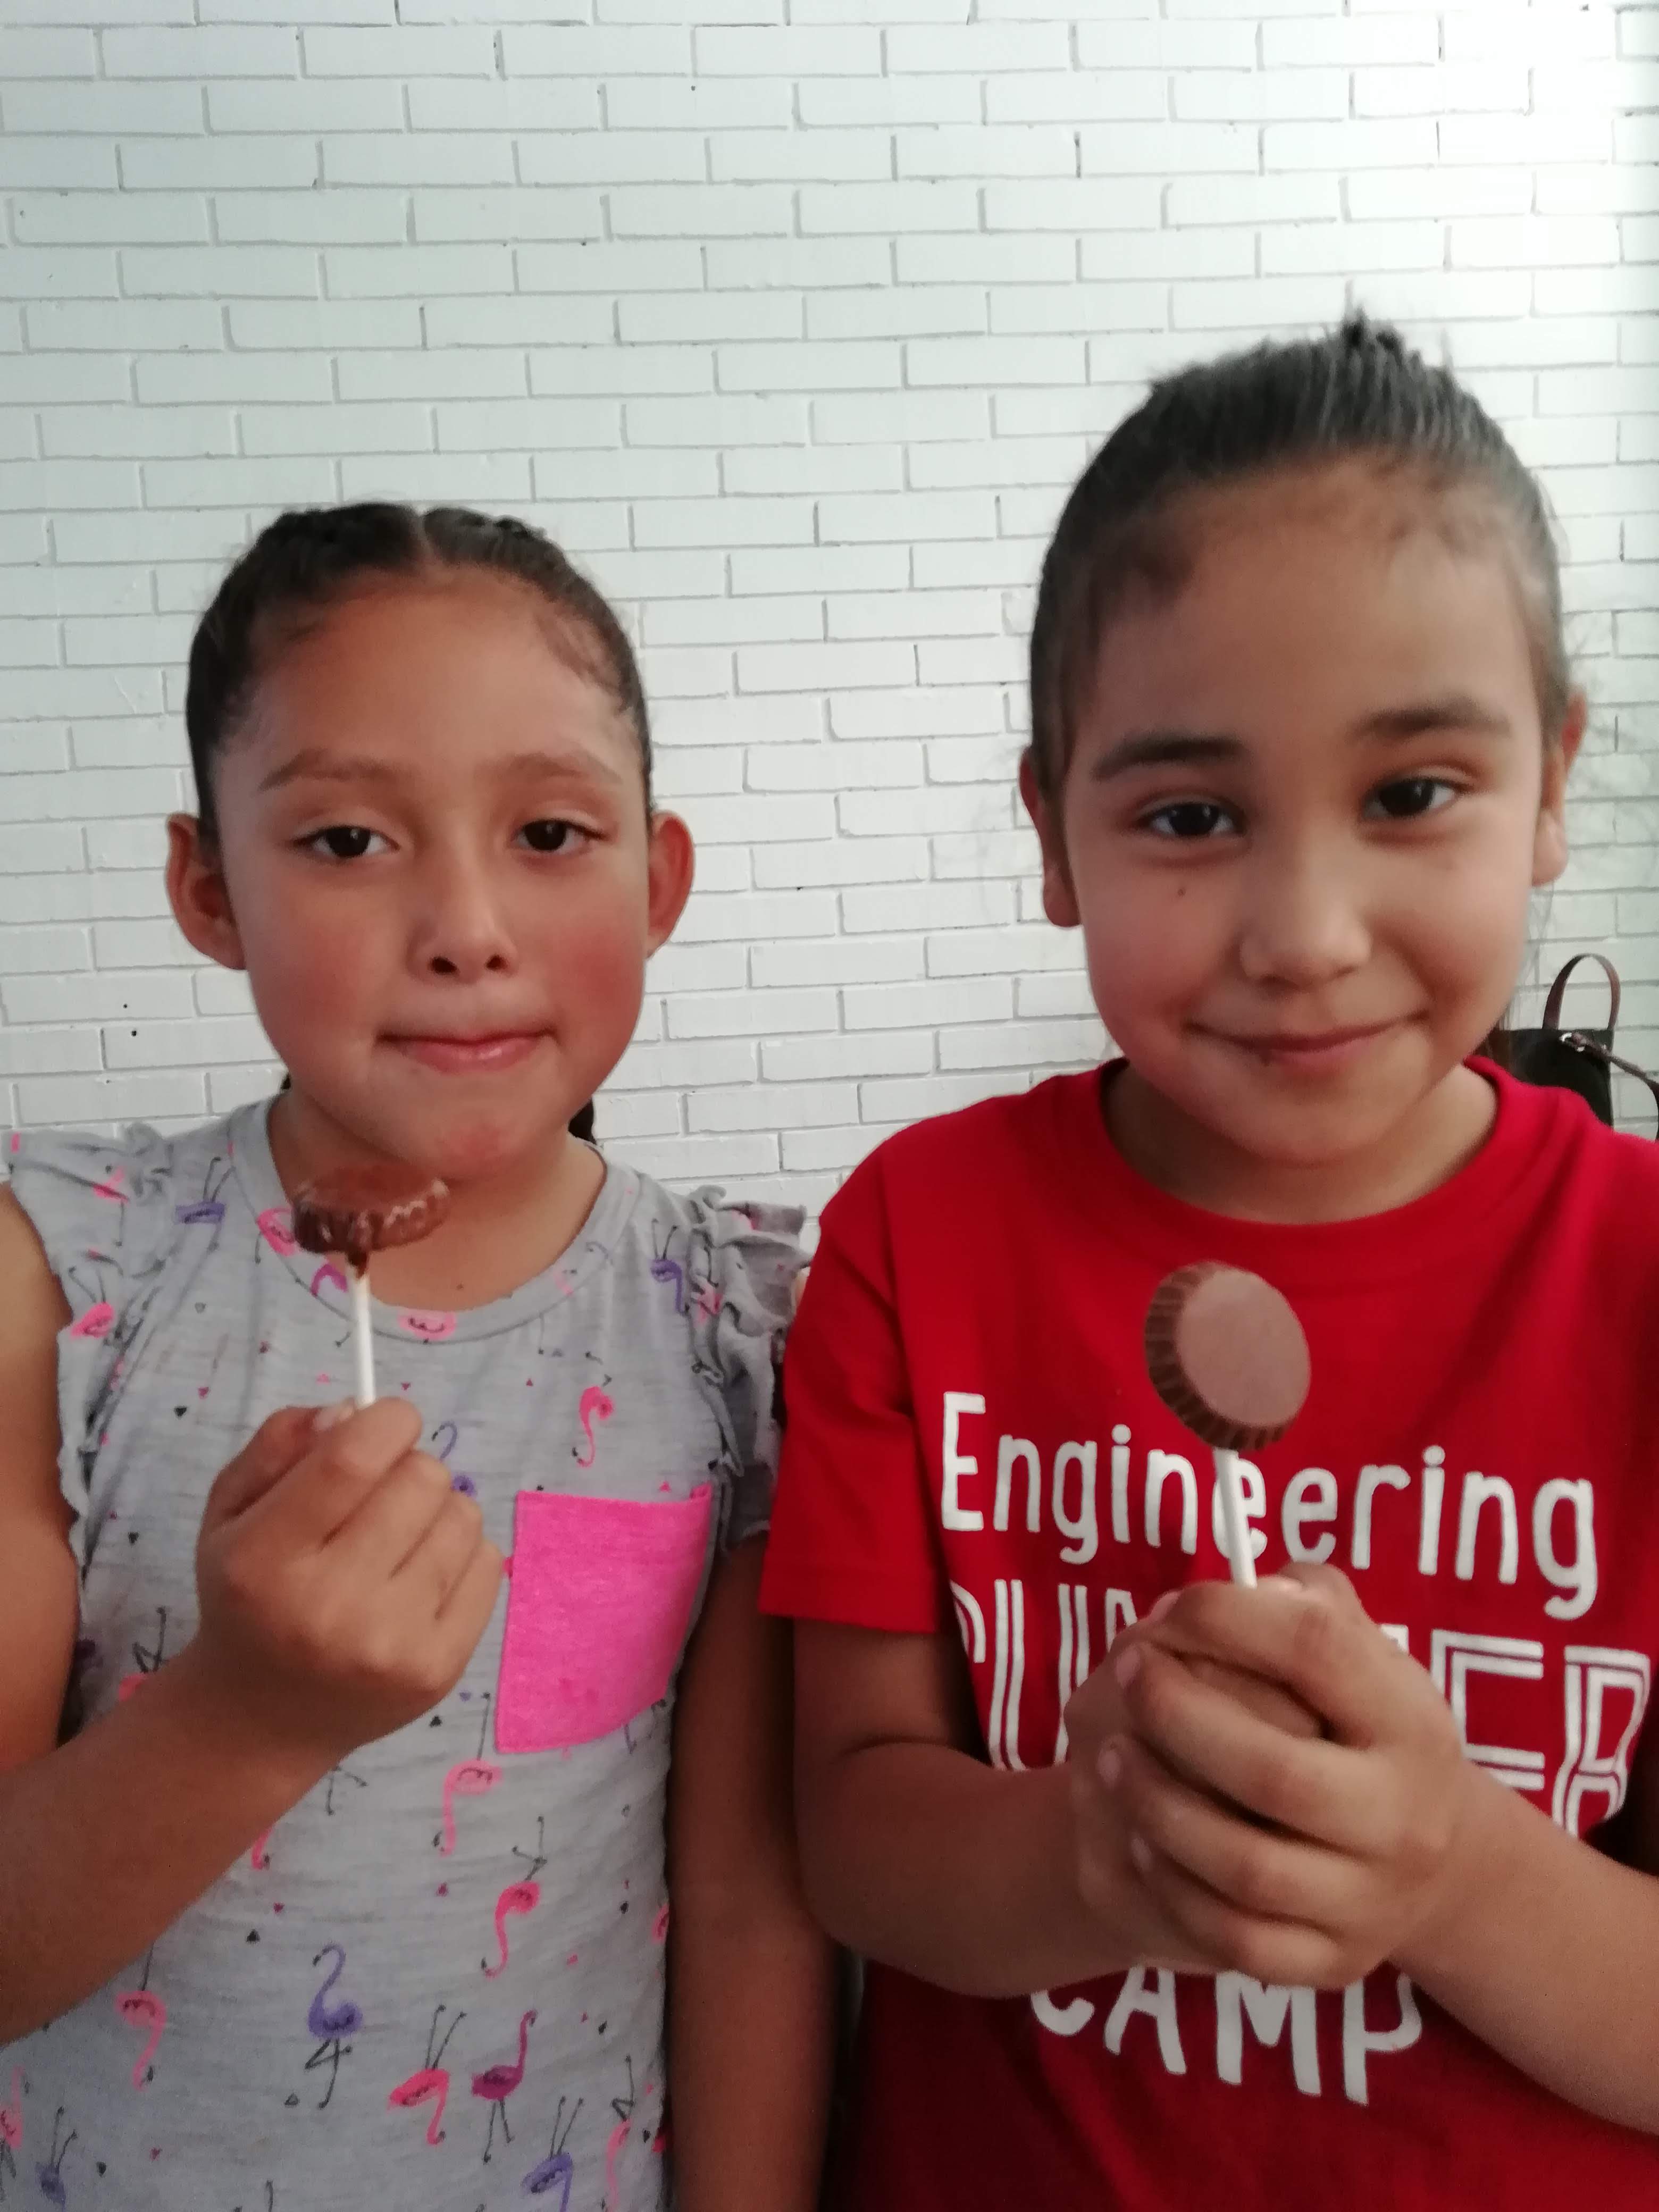
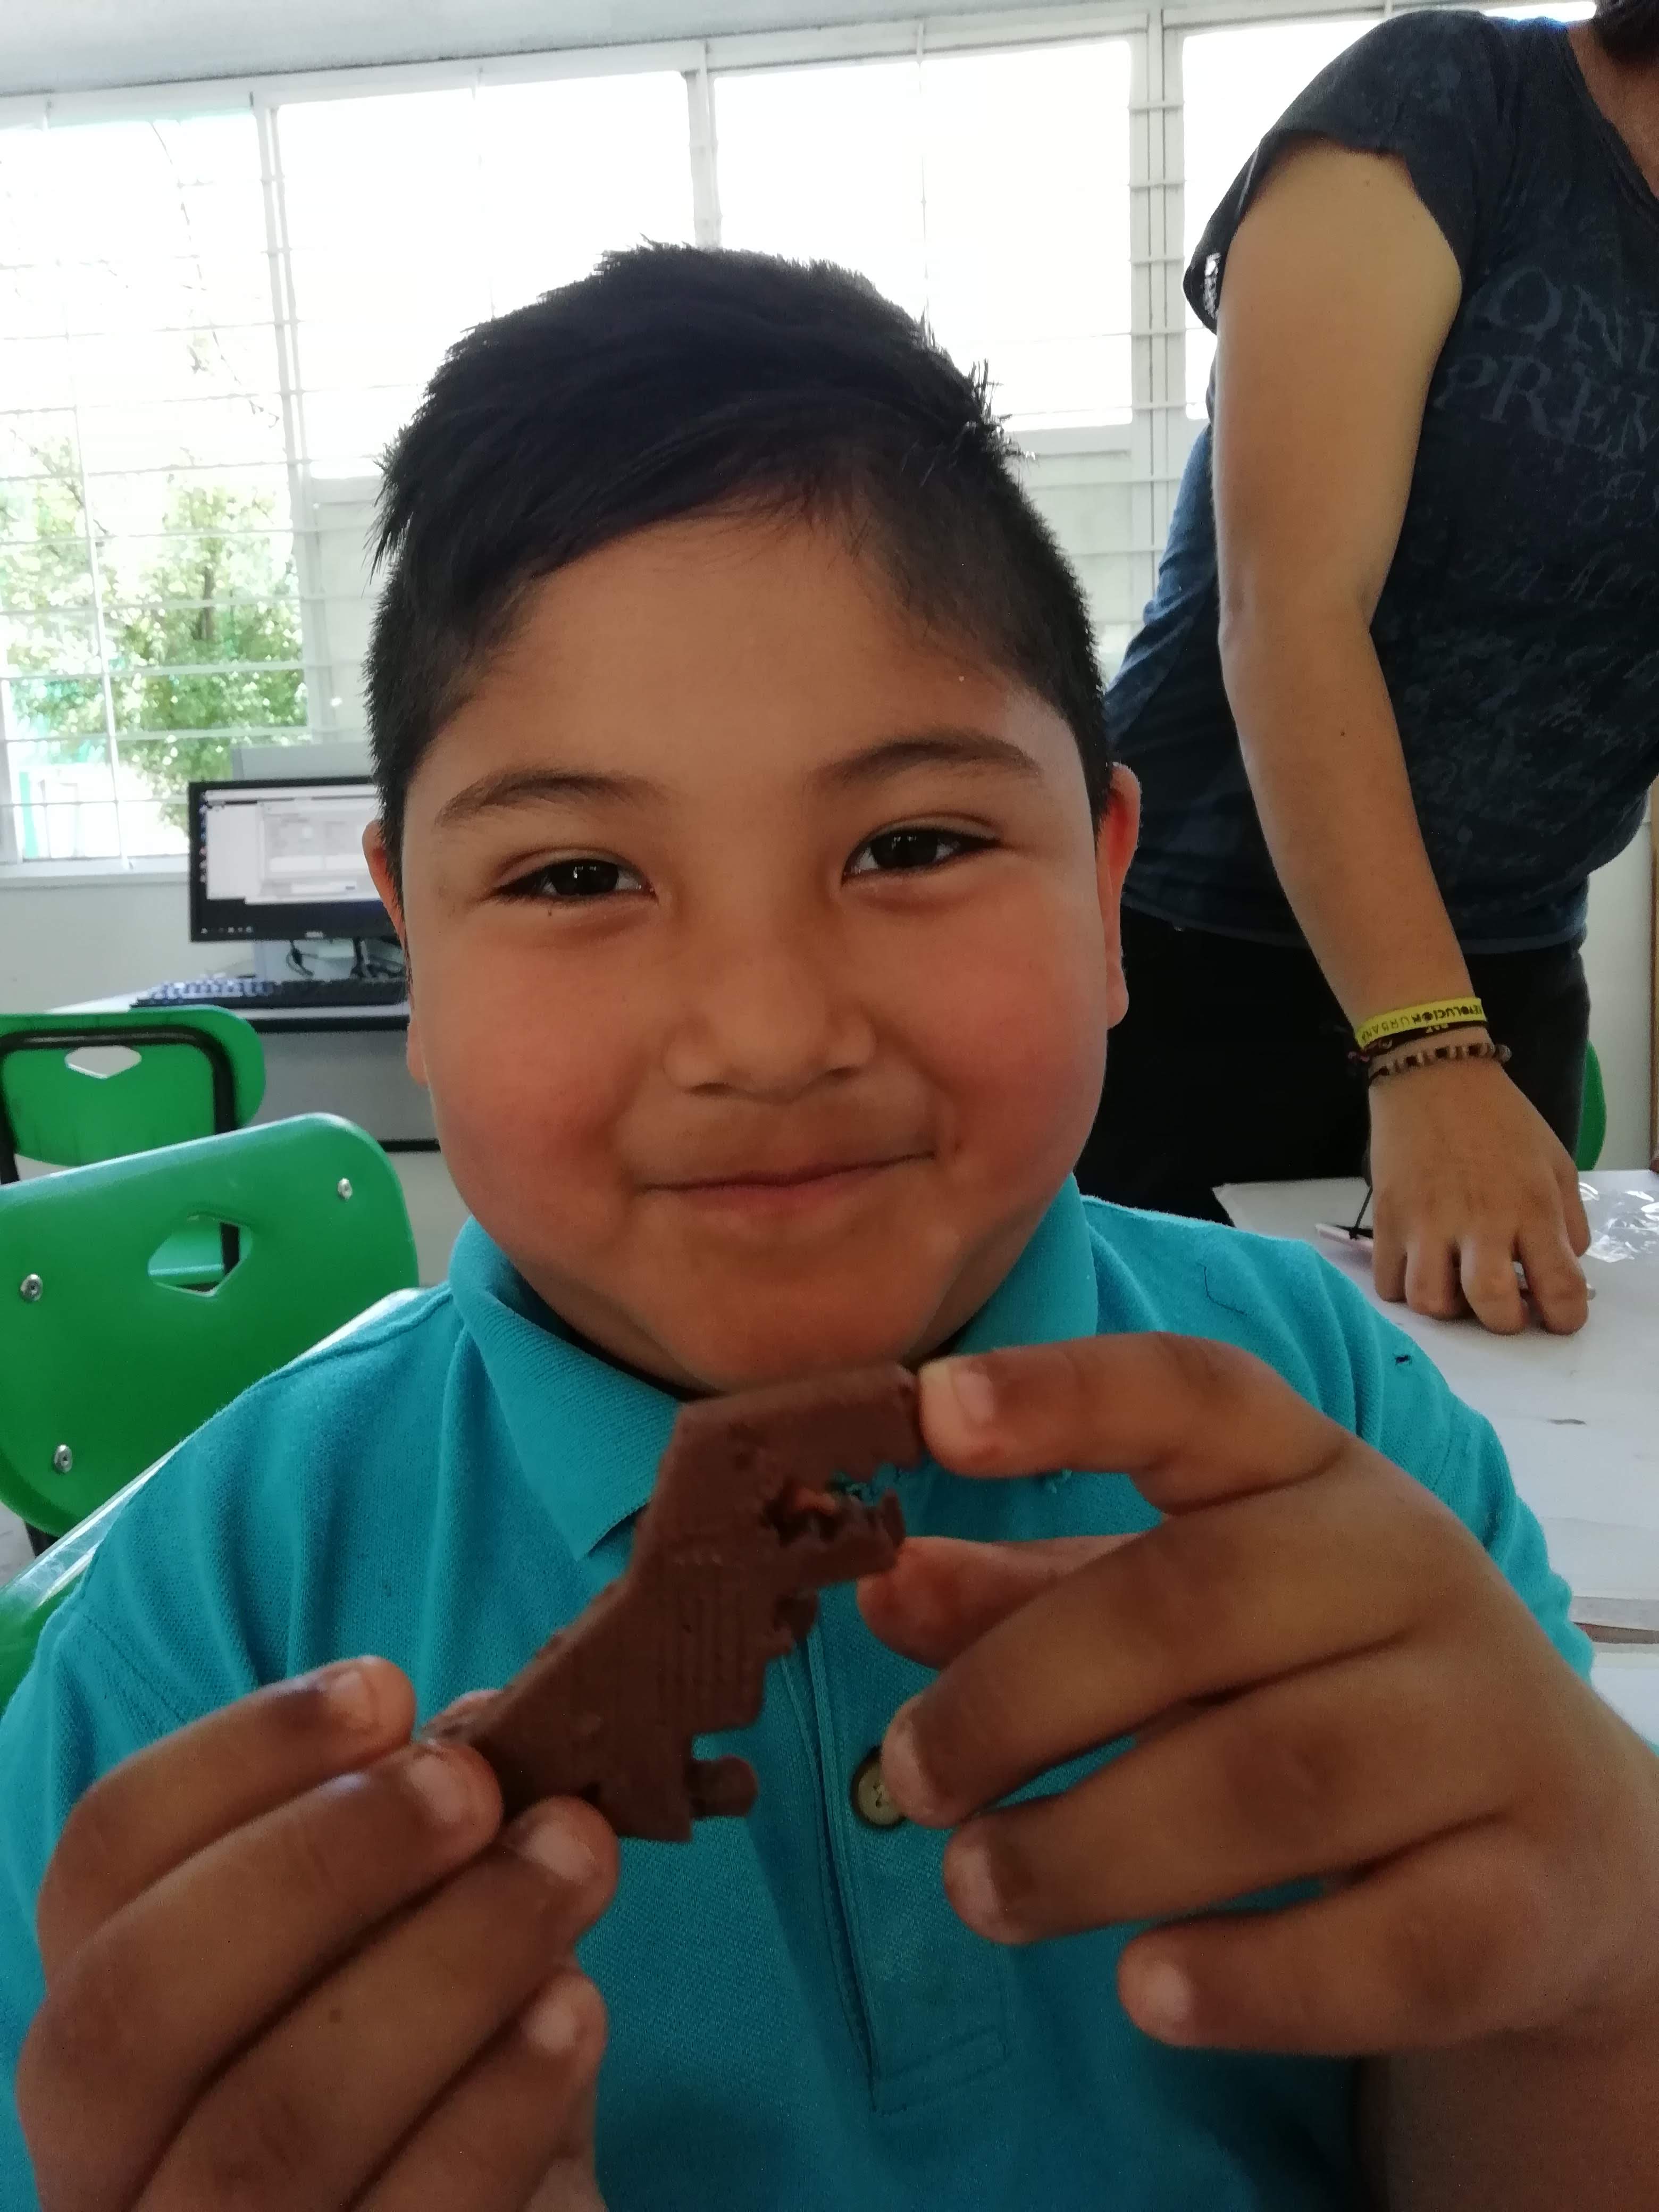
In this session, the kids are going to release their silicone molds and cast chocolate on them. They will reinforce the concept of states of matter.

To start, make a little re-count of what they have done so far, as well as the concepts learned (units and state of matter)

  1. Give the molds to each kid. Ask them to touch it. It´s solid now!
  2. Take your silicon mold out of the 3D printing piece.
  3. Melt the chocolate. You will need the ceramic or heatproof bowl, a microwave and chocolate cut in small pieces or chips. Follow this instructions:
  4. To successfully melt chocolate, you must work slowly and patiently once again. If not, you can burn it! If you prefer to use the microwave method, place the chocolate in the heatproof bowl, and microwave it in 10-second intervals, stirring it for 30 seconds each time in between. It should melt while you stir it!
  5. Before casting the chocolate into the mold, remind the kids that the silicone is food grade.
  6. Cast the chocolate slowly and put it in the fridge for 5-10 minutes.
  7. While they are waiting, ask them if they could use mold for making other things. Motivate them to thing of other projects where this process would be useful.
  8. If the chocolate is solid, then it´s ready to be eaten! Remove it very carefully from the mold and that´s it! ENJOY!
  9. If they want to make more, allow them but I recommend that they take them home (or they can get a sugar rush! It happened to me!) Put them in a cellophane bag as a gift for friends, siblings or parents.


Standards

  • (Fab-Safety.2): I can operate equipment in a Fab Lab following safety protocols.
  • (Fab-Fabrication.2): I can develop workflows across four or more of the following: modeling softwares, programming environments, fabrication machines, electronic components, material choices, or assembly operations.
  • (Fab-Design.2): I can participate in design reviews with prepared presentation materials as well as give and receive feedback from peers.