- Loading…


This practical workshop introduces the student to digital fabrication, traditional animation and optical illusions.
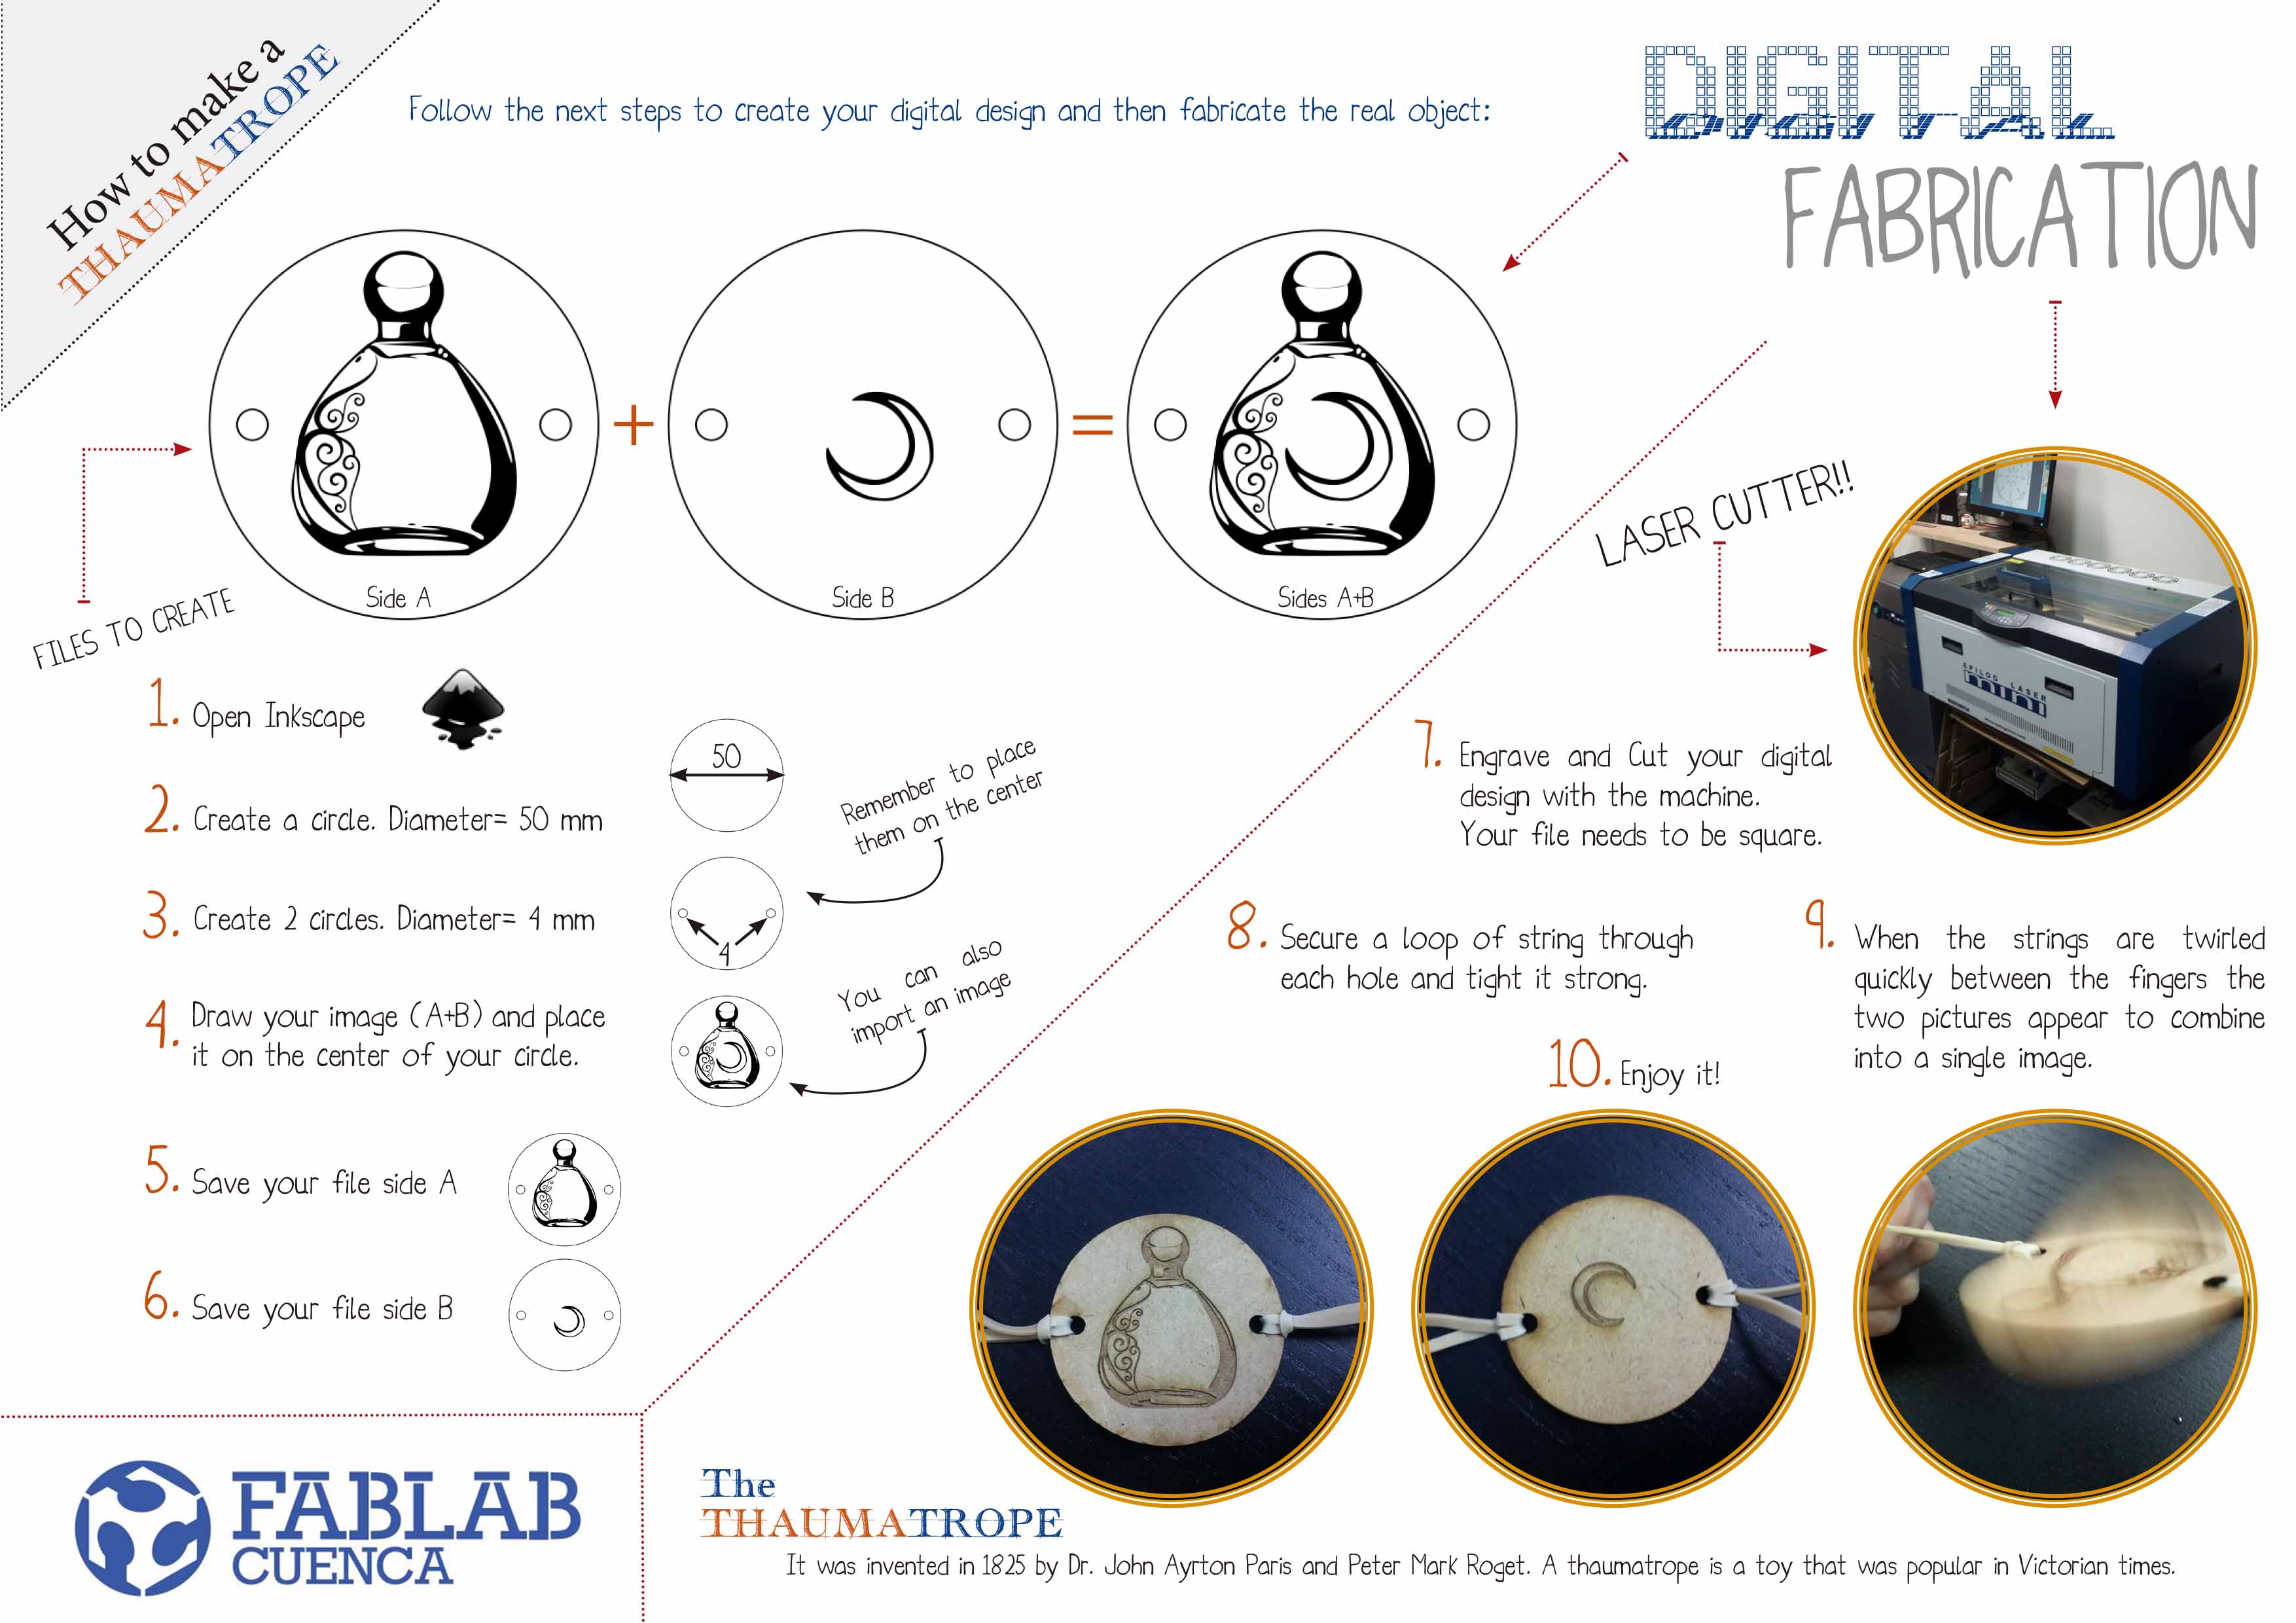
We will present the basic notions of object´s personalization and how optical illusions work by creating a thaumatrope.
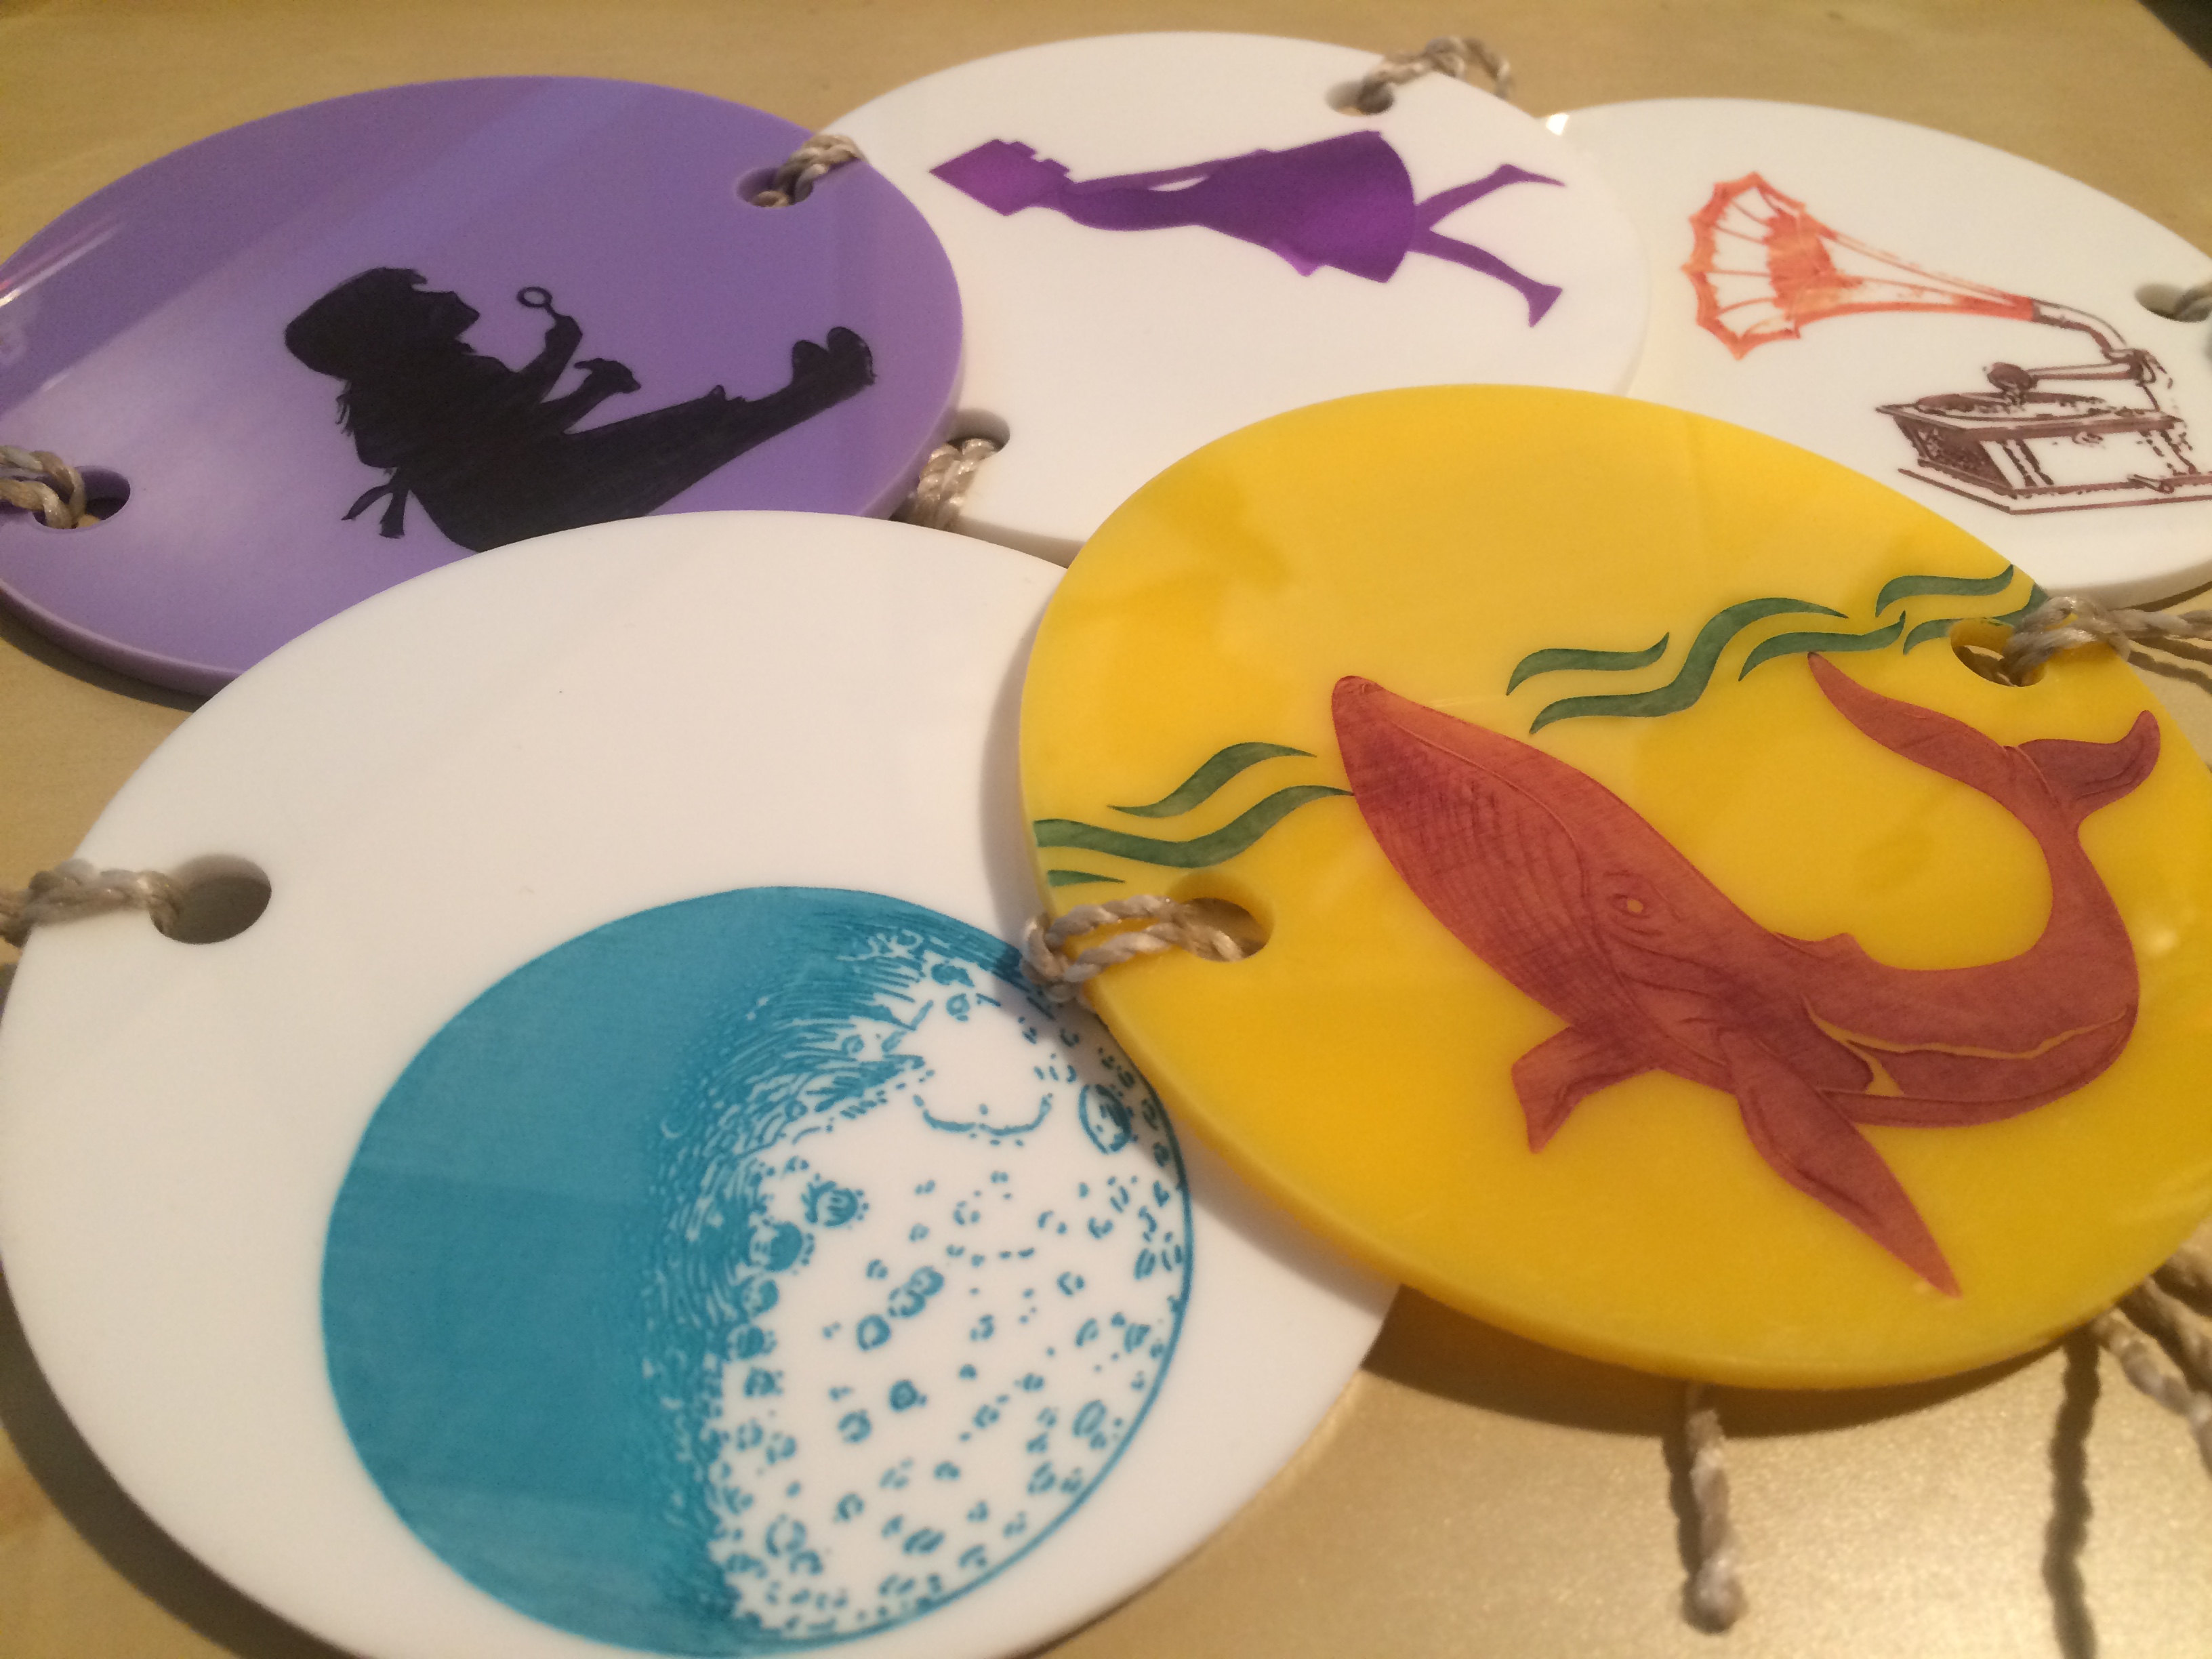
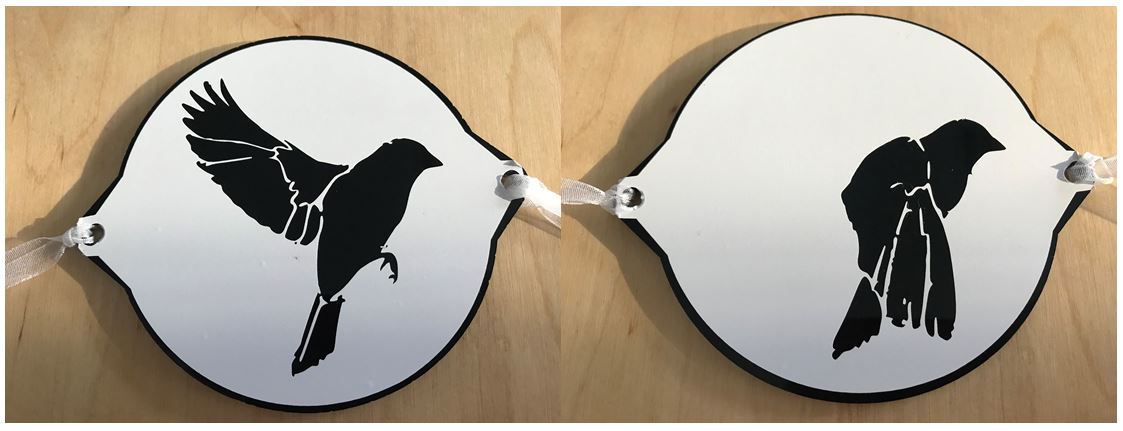
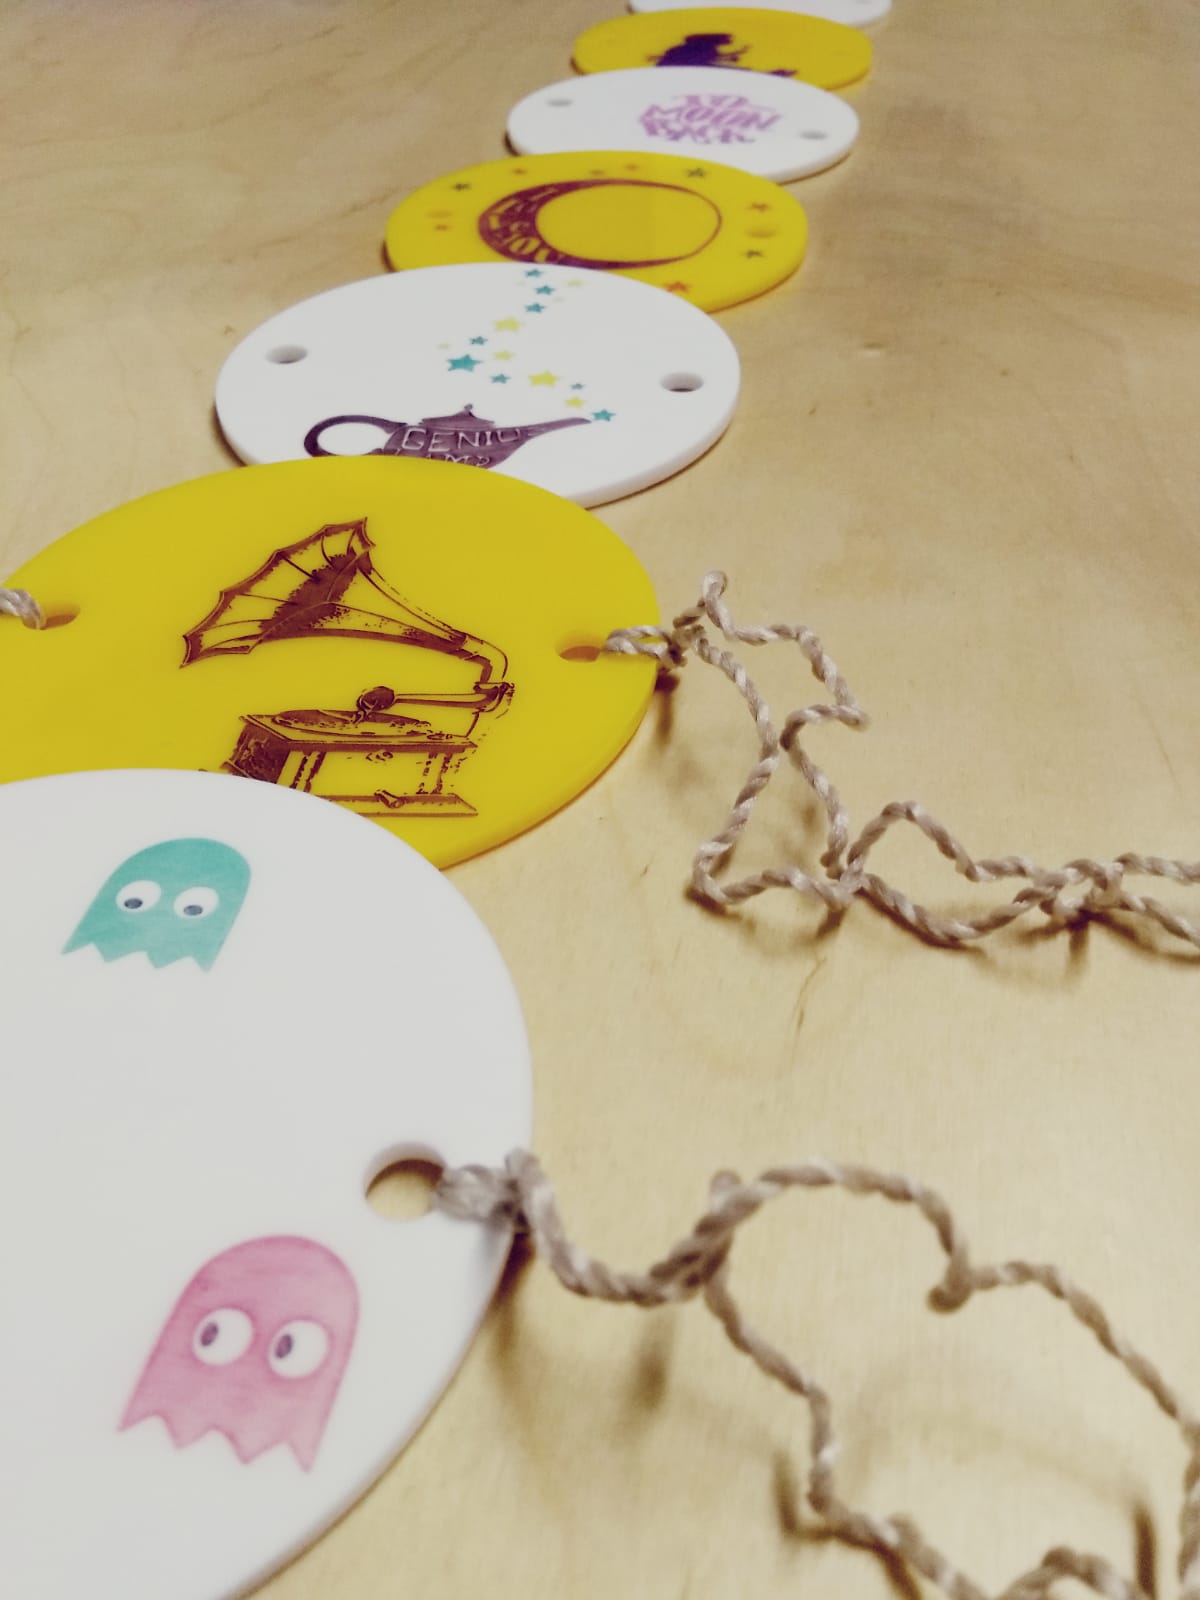
A thaumatrope is a scientific toy devised in the 19th century, consisting of a disc with a different picture on each of its two sides, these appearing to combine into one image when the disc is rapidly rotated. The two pictures appear to blend into one due to the persistence of vision.
Thaumatropes are often seen as important antecedents of motion pictures and in particular of animation.
The Pupils will be guide to create a digital design step by step, following really simple steps using 2D design open Source software.
The workshop is been design as introduction to traditional animation. We will emphasize on creating movement and expression utilizing traditional techniques by an electronically generated image.
At the end of the session each one will have a unique thaumatrope create and design by themselves.
They will feel empower to create their own toys or gadgets and how to understand and use the combining of science, digital fabrication and imagination.
Materials:
version 1: painting the design engraved
-Acrylic (opaque) or plywood or MDF
-Permanent marker (Sharpie)
-organic solvent in painting or Alcohol
-(Gloves if needed)
-Elastic bands
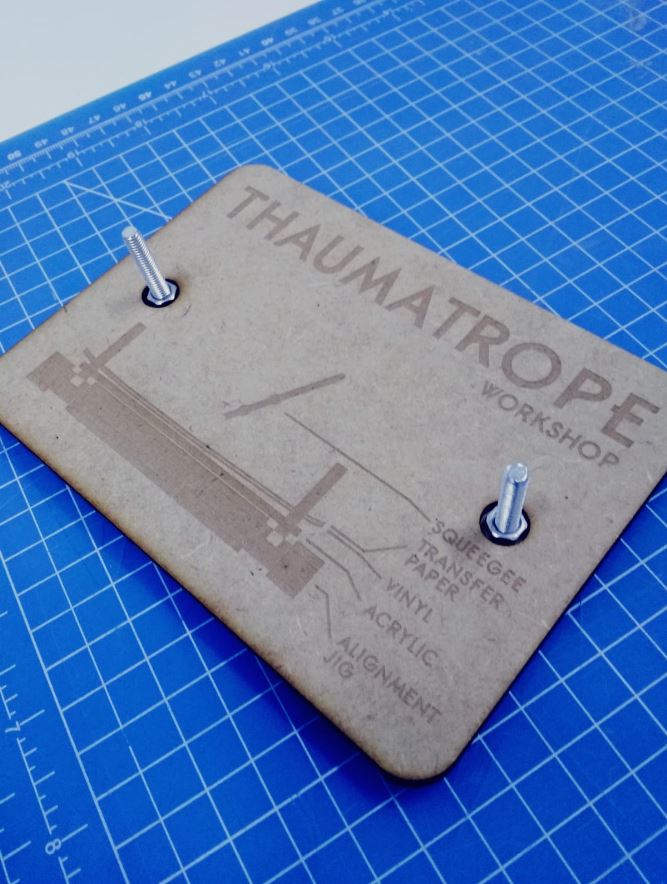
version 2: transfer sticker the design
-Vinyl
-Transfer tape
-Elastic bands
Tools:
Computers, internet access, projector
version 1: painting the engraving design
-Paper or cloth to remove paint
version 2: transfer sticker the design
-Tweezers
-Blade cutters
-Squeegee
Machines:
-Laser Cutter-Acrylic/plywood
-Vinyl cutter (only if you decide to transfer the design as a sticker)
- A scientific toy Why “Wonderturner” - How persistence of vision works. -Intro to digital fabrication
Introduce the lesson talking about traditional animation and how the inventions evolve until the creation of cinema from the 19th century to the present.
You can adapt the length depending on the timeframe available, age and the field you would like to focus the activity.
“The Origins” of motion picture affect many sections we work on the present with digital technology, from animation to videogames….
It’s good to have a few facts ready to share as “The invention of the thaumatrope is usually credited to British physician John Ayrton Paris. Paris was said to have used one to demonstrate persistence of vision to the Royal College of Physicians in London in 1824.”
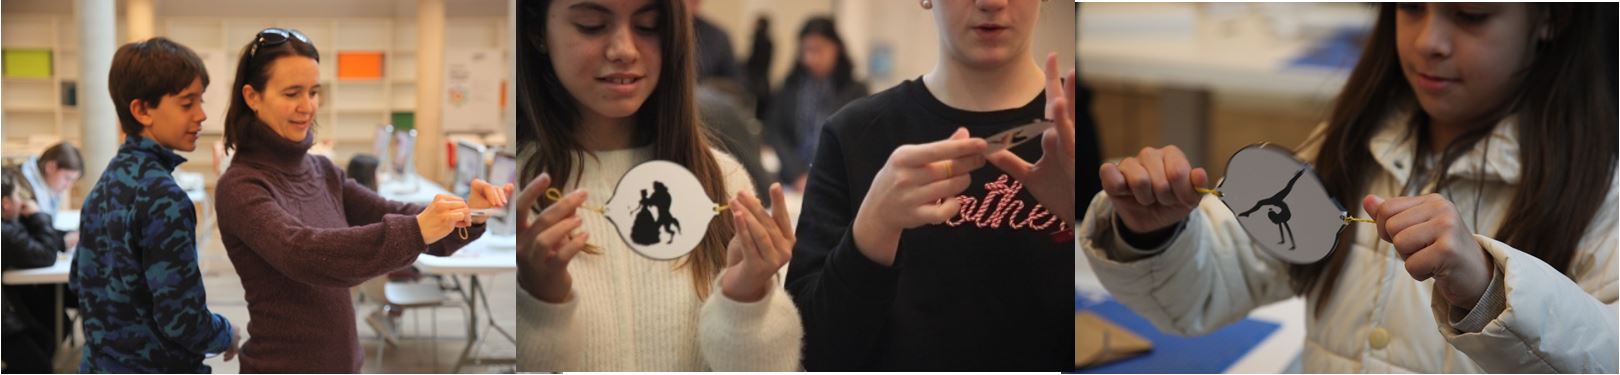
According with the exercise we will create and the space you are in it’s a good moment to introduce new kids/adults to the digital fabrication world, show them different examples they can touch and pass around and tell them how we will create our thaumatrope in a few simple steps all together.
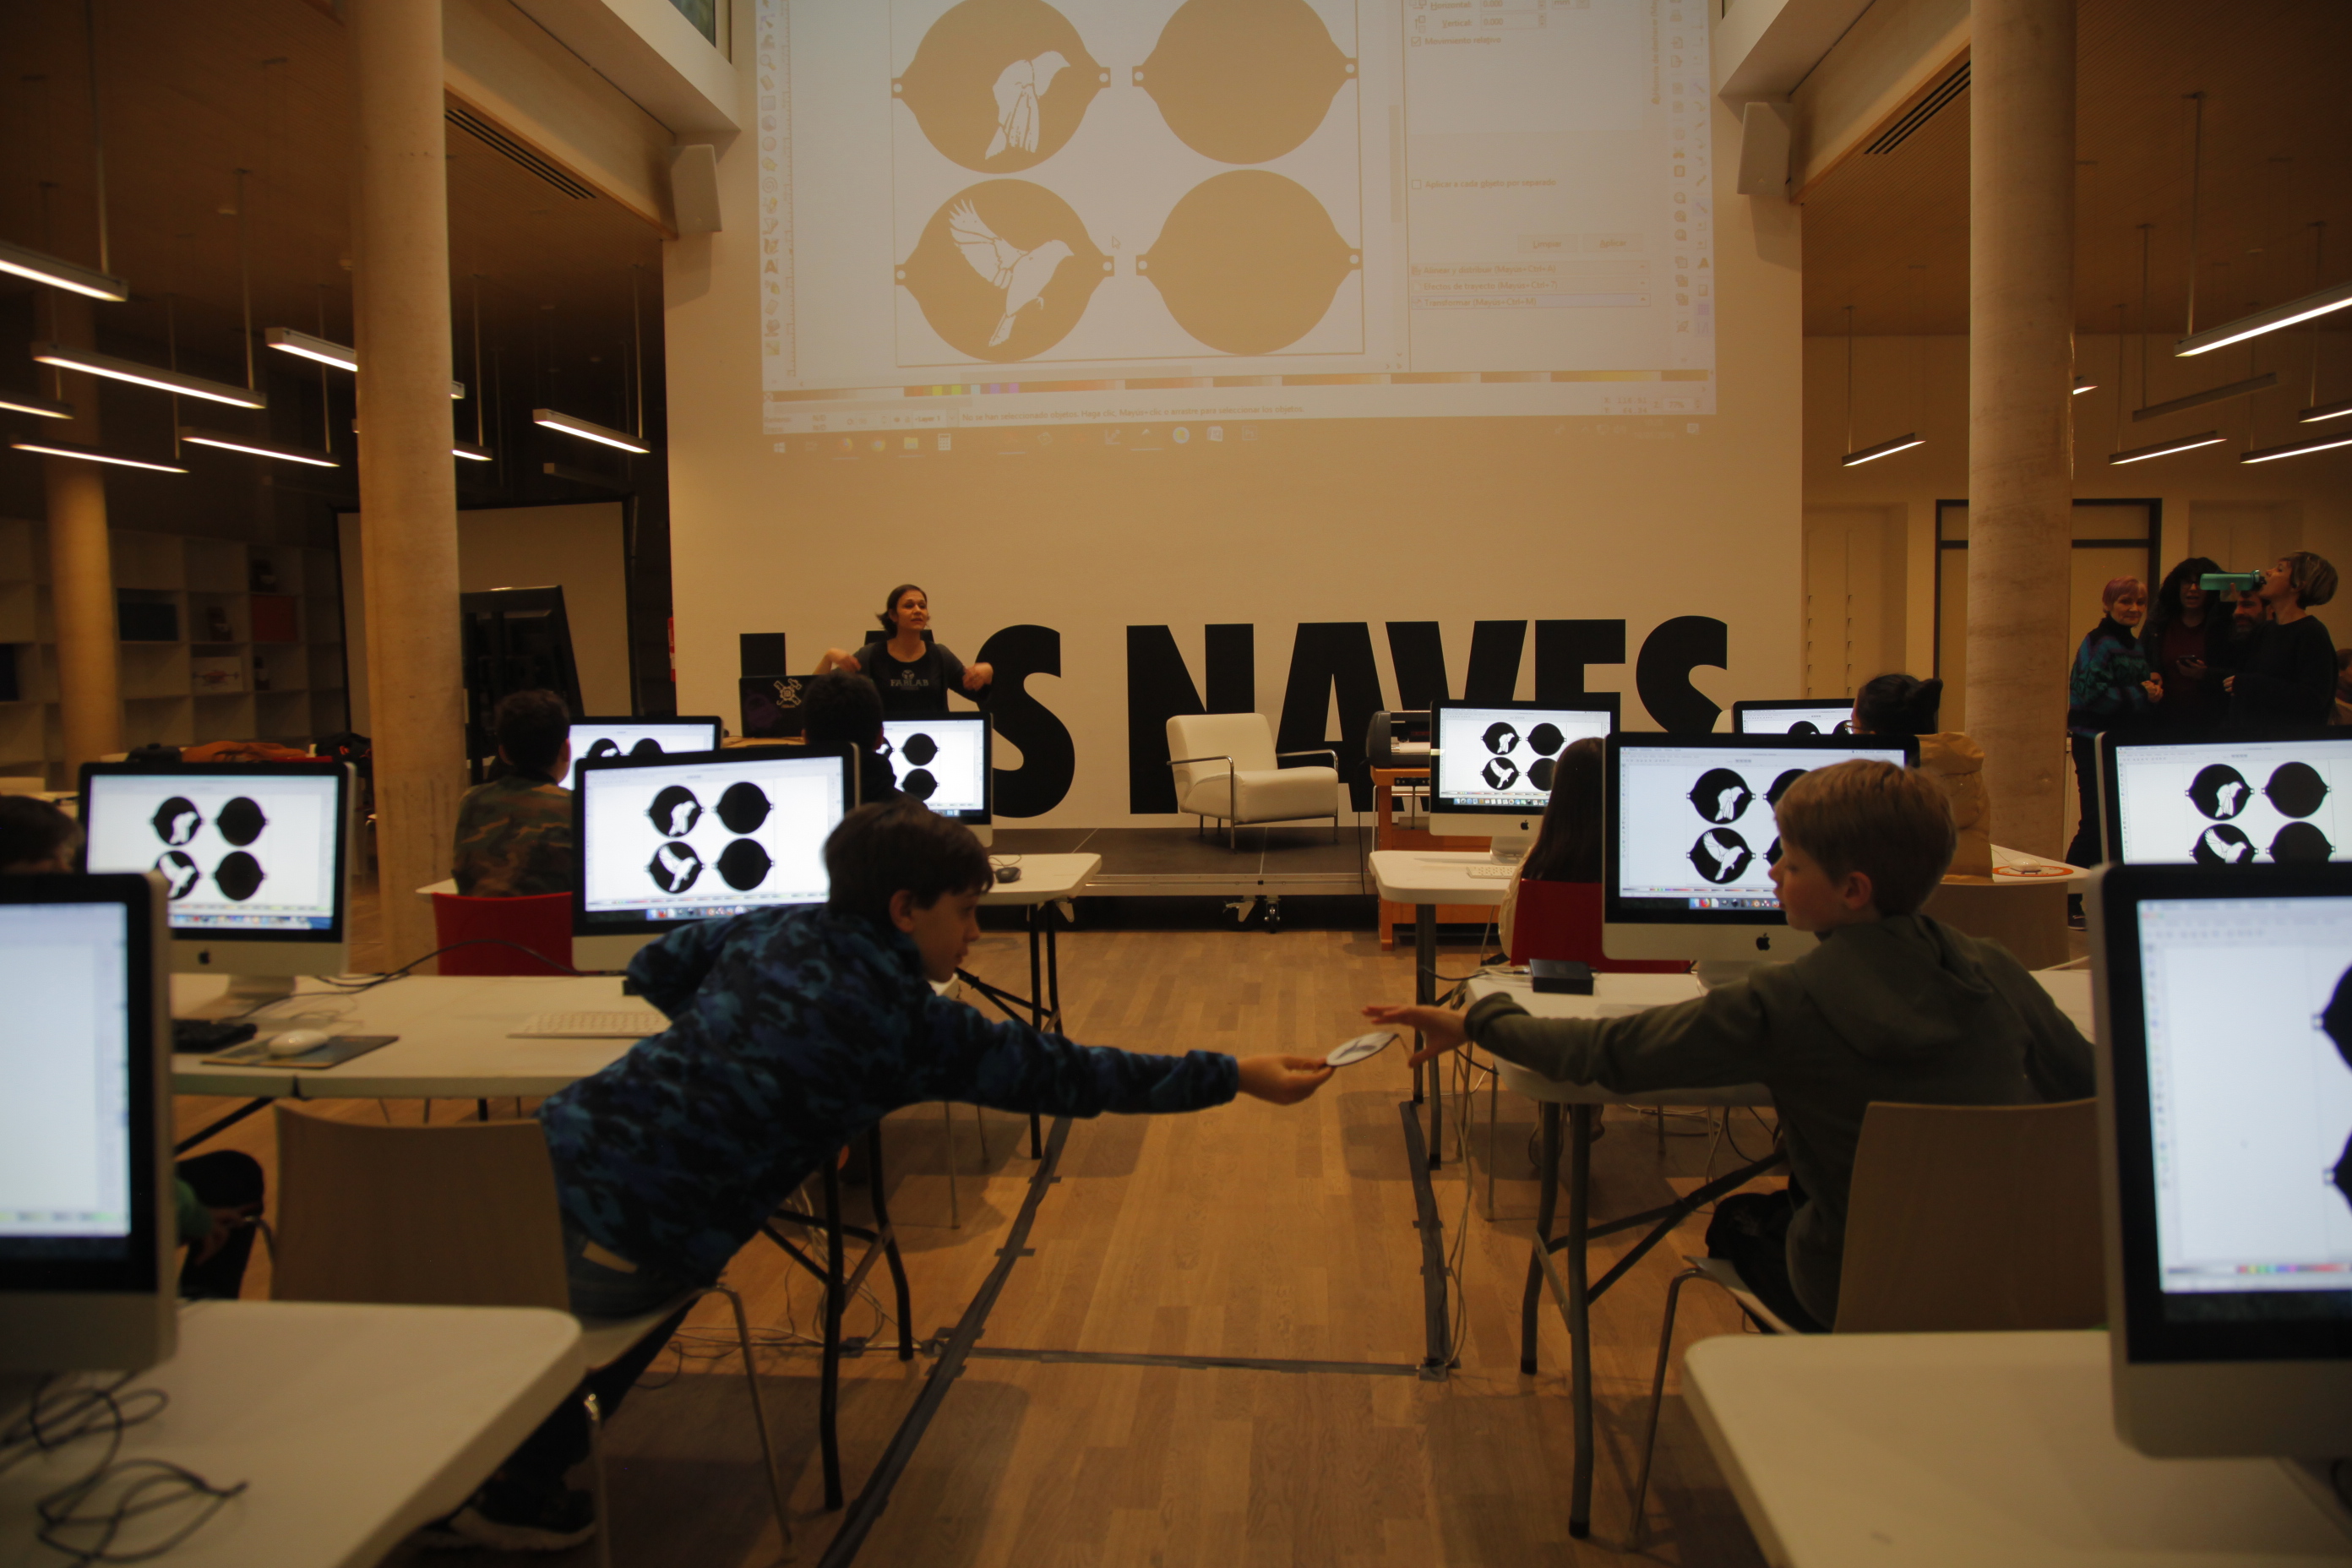
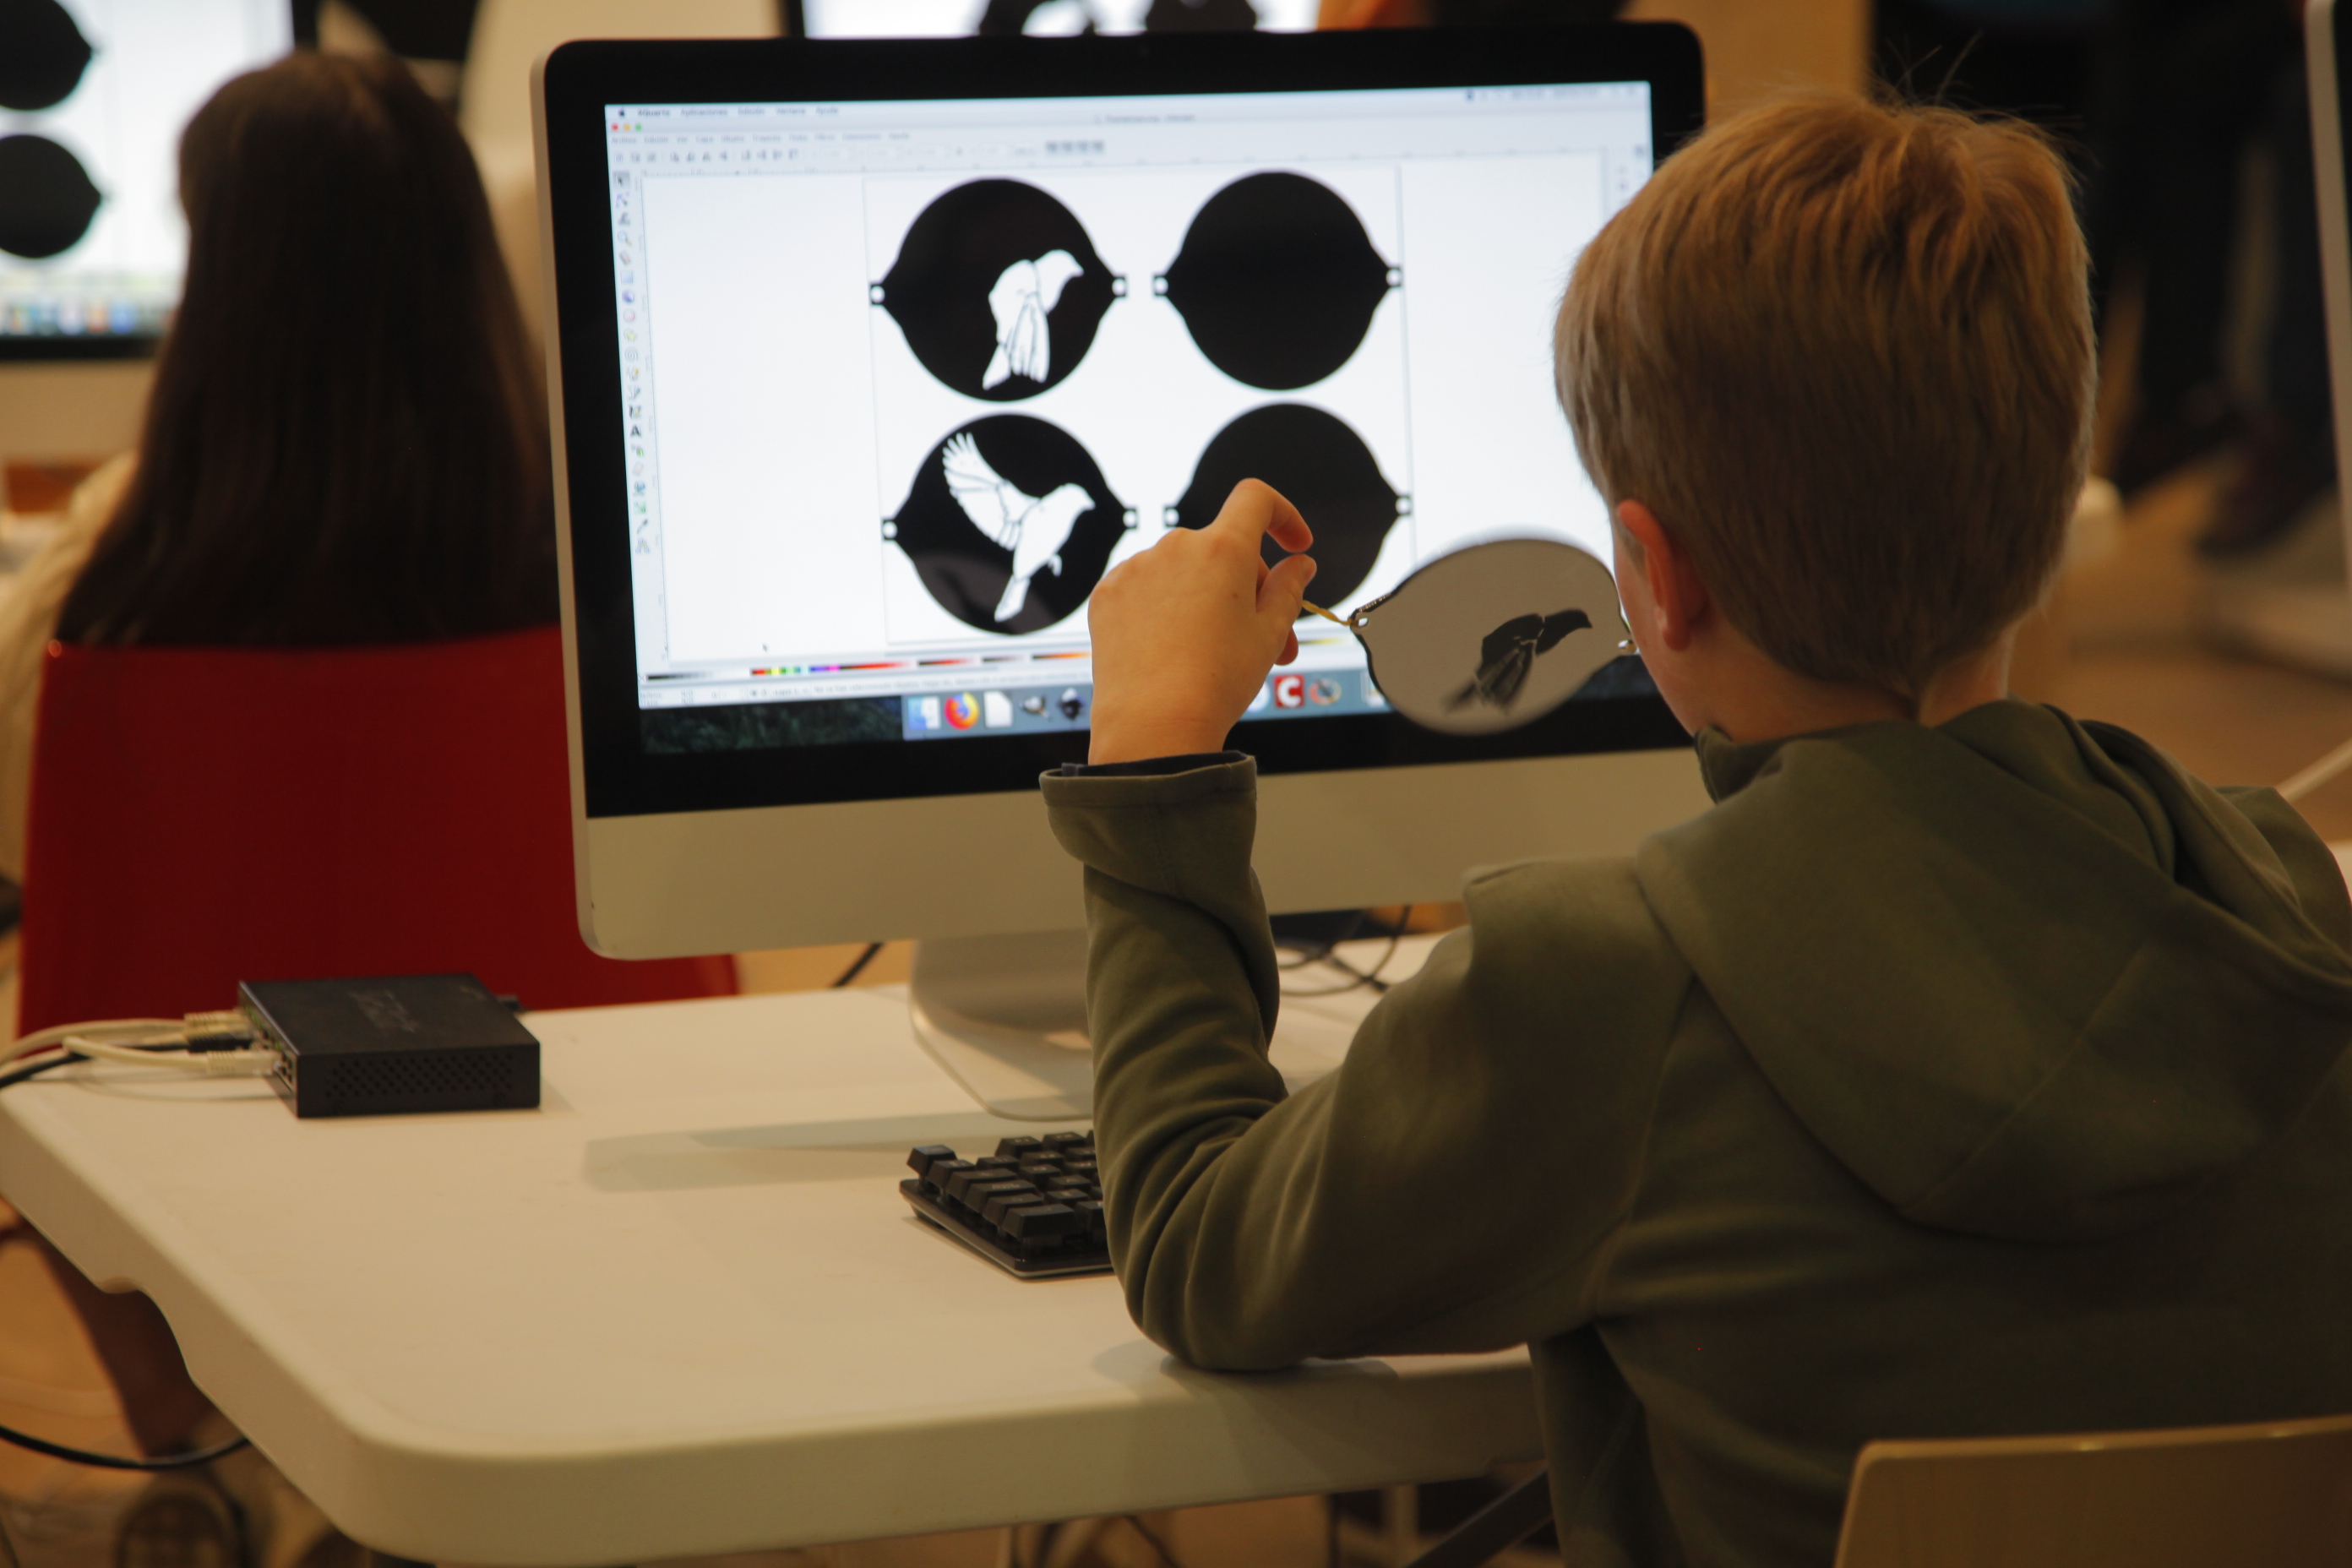
We will guide them thought the use of a basic 2D design open source software call inskcape, Free to download for everyone at home on the website: https://inkscape.org We will provide all the necessary tuition to create step by step the basic shapes.
First steps
-User interface presentation
-Page, zoom and Movements around the document
-Creating a circle
-Fill/stroke
-Creating the two holes for the elastic bands
-Inkscape Tips & tricks
Take some measurements with a ruler to understand the meaning of size and the correlation of digital/ real world.
Give them a ruler each one and a pre-cut thaumatrope to use as reference.
Explain how the 3 circles need to be resizeed to have the right dimensions for their creation.
The exterior circle=100mm
two small side holes circle right and left= 10mm
Show them how to change dimensions and units in our document and how to perfectly align them within Inkscape
We will provide all the necessary tuition to create step by step the inclusion of text or images. Get pupils ready to share things they like and encourage them to be creative! It’s the moment to represent your hobbies/ likes/favourite videogame/ dreams….
Create or Import an image from internet to be modified
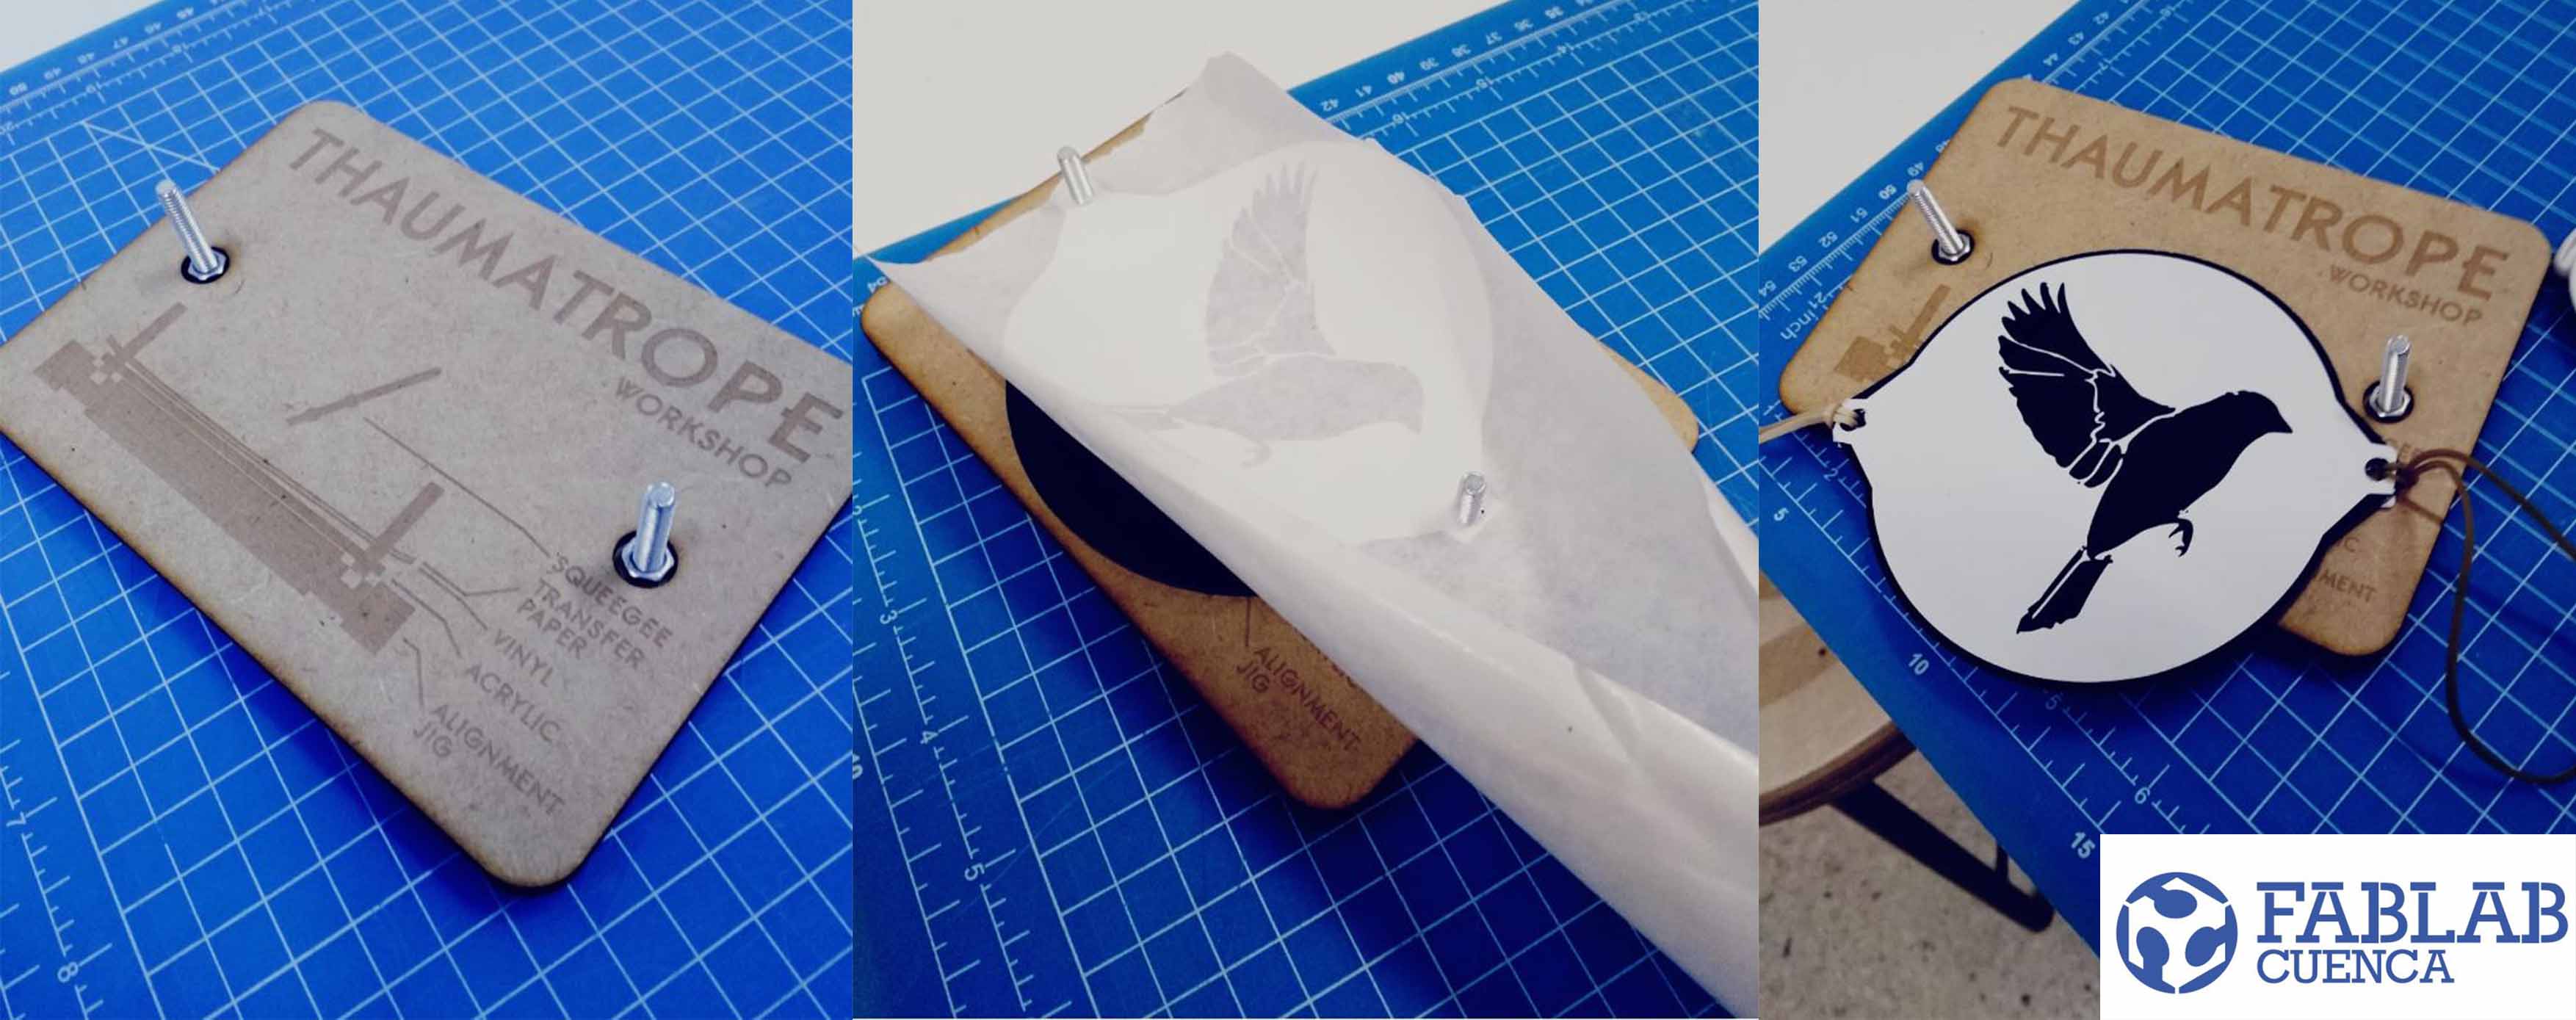
Show them how to vectorise an image or how to brake it apart to have the selection of shapes for both sides of our disk.
Machine time- engrave & cut your digital design. The pupils will gain a basic understanding of the first step to jump from a digital design to a physical object.
It’s time to explain how the laser cutter works, tell them the basic actions we will use (cut and engraving) and show them how to identify what the machine is doing and how to control the behaviour from your design.
Everybody colour in the mark engraving design on the thaumatrope.
-Choose a permanent marker
-Tell them not to worry to go outside the drawing, they can go mad and colour inn! the ink excess will be removed after with a tissue or damp cloth with cleaning alcohol or white spirits.
Sharing and exchange your optical illusion with your peers. Enjoy and encourage them to repeat at home with recycled materials : )
Having trouble? Let us know by completing the form below. We'll do our best to get your issues resolved quickly.
"*" indicates required fields