Alec
2018 is the year that I have challenged myself to incorporate digital fabrication in my classroom units of study. I have walked past the Fab Lab in my school for the past three years, peeking in the door, continually amazed by the exceptional and creative work being produced by students. I have been even more impressed by the enthusiasm of our students. I observed those who sat silently in my Algebra 1 or Geometry class come alive in a hands-on work space, innovating and using skills I imagined they had but couldn’t tap into. Previously, a professional development opportunity gave me a cursory preview of digital fab tools. However, I was reluctant to try out all that digital fabrication has to offer until now.
Project Based Learning (PBL) is a central focus at STEM School Chattanooga, so I have cross-curricular support and input from my team of teachers. Last year, our students were supported in their study of quadratic functions and Newton’s Laws by building trebuchets or catapults. They had a great time and built some interesting devices. However, as teachers, we wondered how deeply they understood the math and physics associated with their designs. This year, the goal is to teach students to use digital fabrication to better illustrate the engineering design process that allows for multiple iterations in prototyping. Access to design software, a laser cutter, and a 3D carving machine or “Carvey” enables our students to make adjustments to their launching device with better precision. It gives them better insight into the effect of the math and physics used in determining the trajectory of their launched object. This could be accomplished as a project in either a math or science class.
As a part of the SCOPES-DF cohort, not only am I tasked with incorporating digital fabrication in my own classes, but I’m also brainstorming ways to make it more accessible for all classroom teachers. In this regard, I have tried to identify the barriers that were holding me back and what I could do to overcome them. My biggest concerns were not personally knowing how to use all of the fabrication tools and which would be most useful for each of my project ideas. I teach 9th graders who mostly have not used the technology either, so how could I juggle teaching course material while providing them the needed time to learn how to use the tools? Also, I was uncertain of how much time is necessary for successful implementation and how to balance that with the need to address all of my course standards.
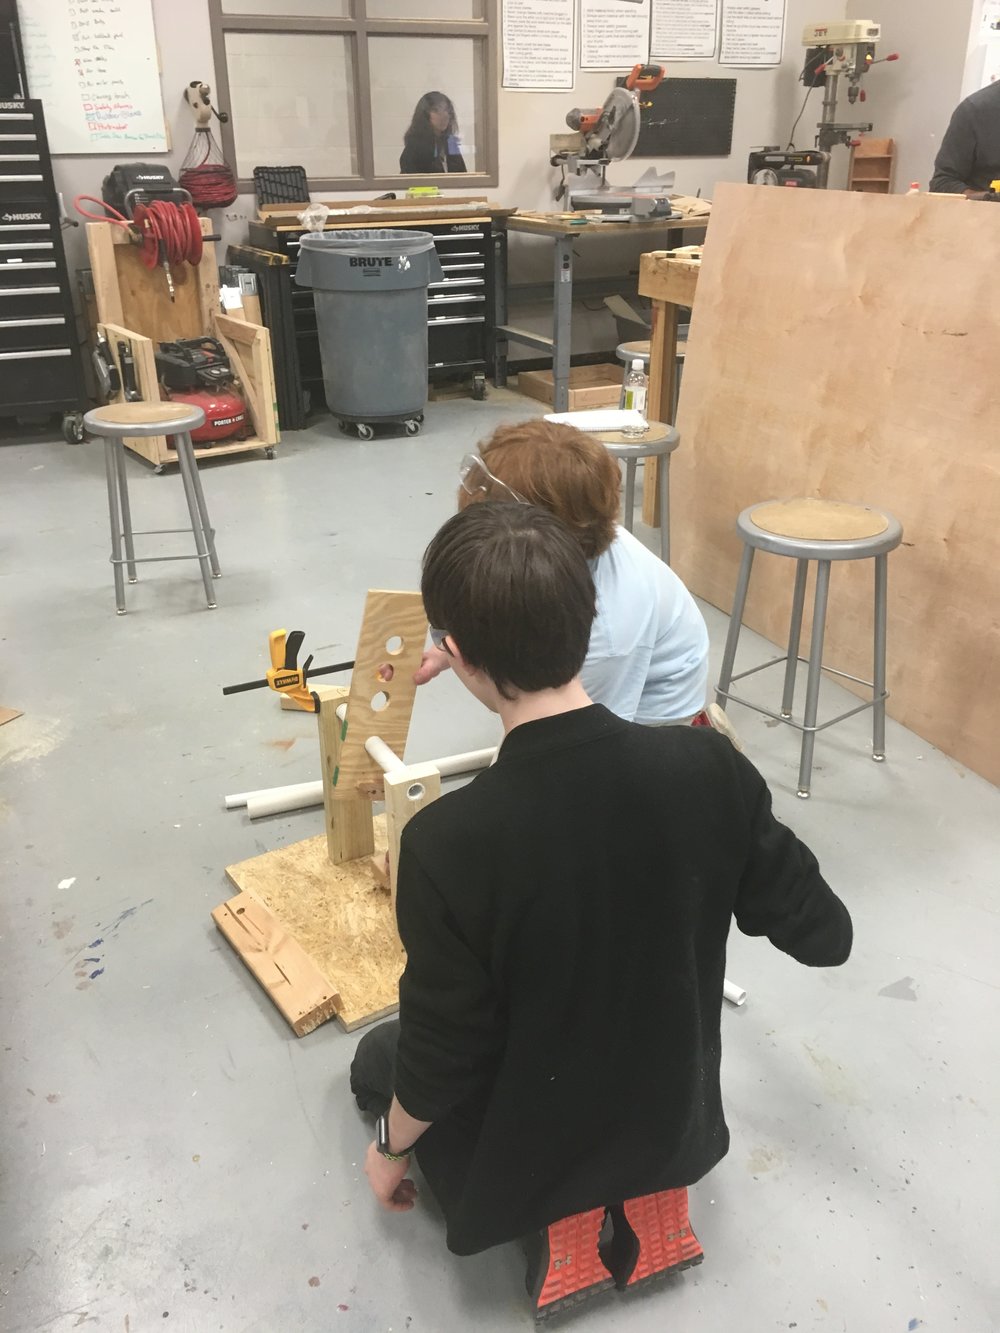
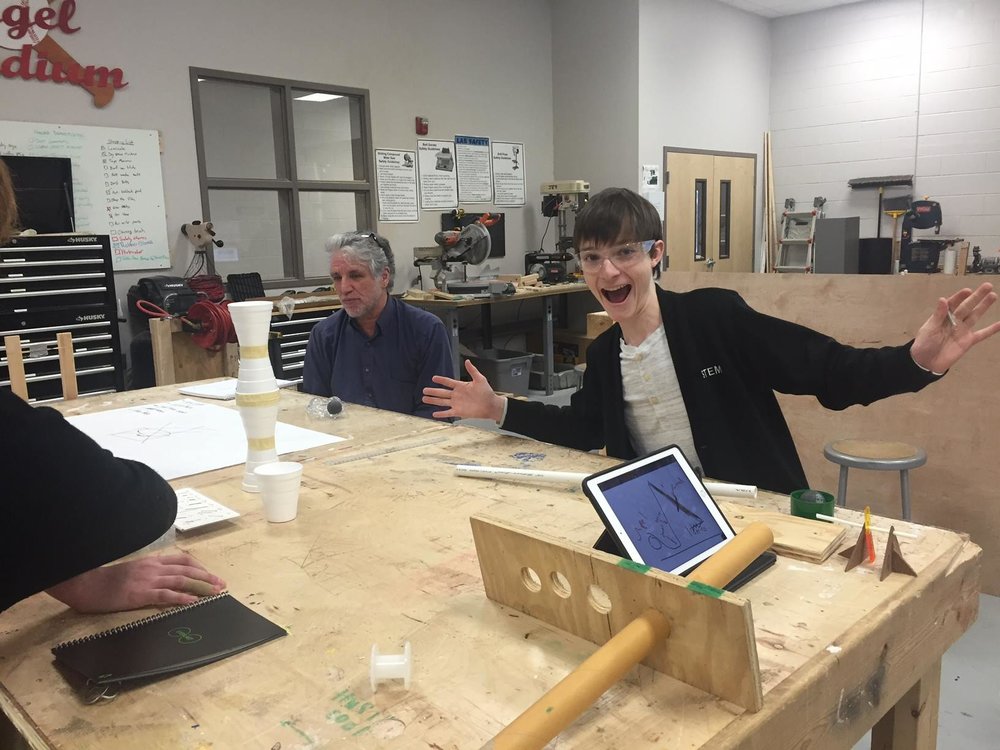
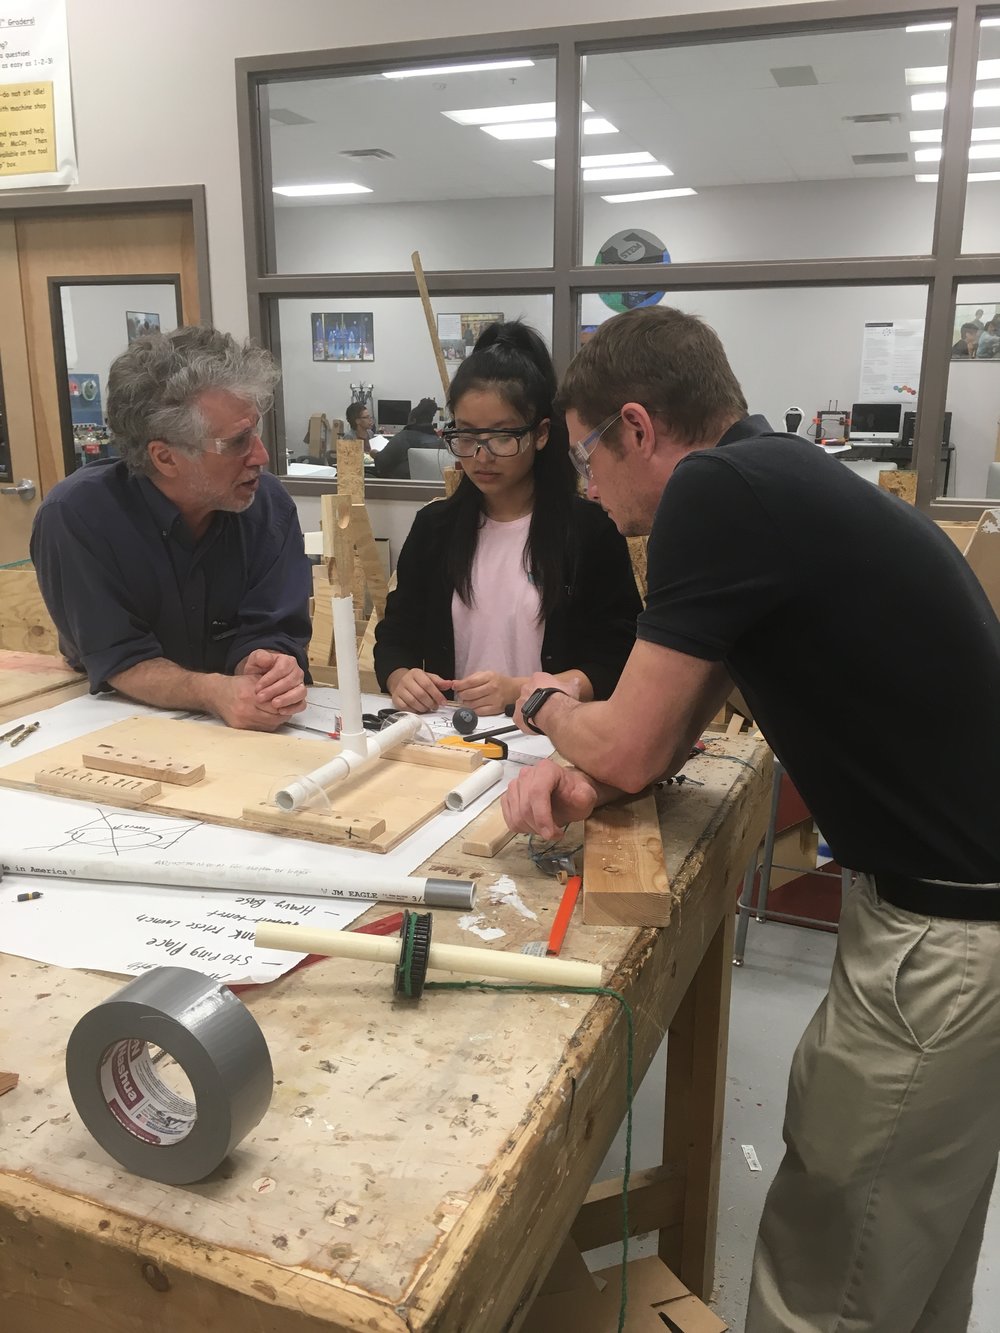
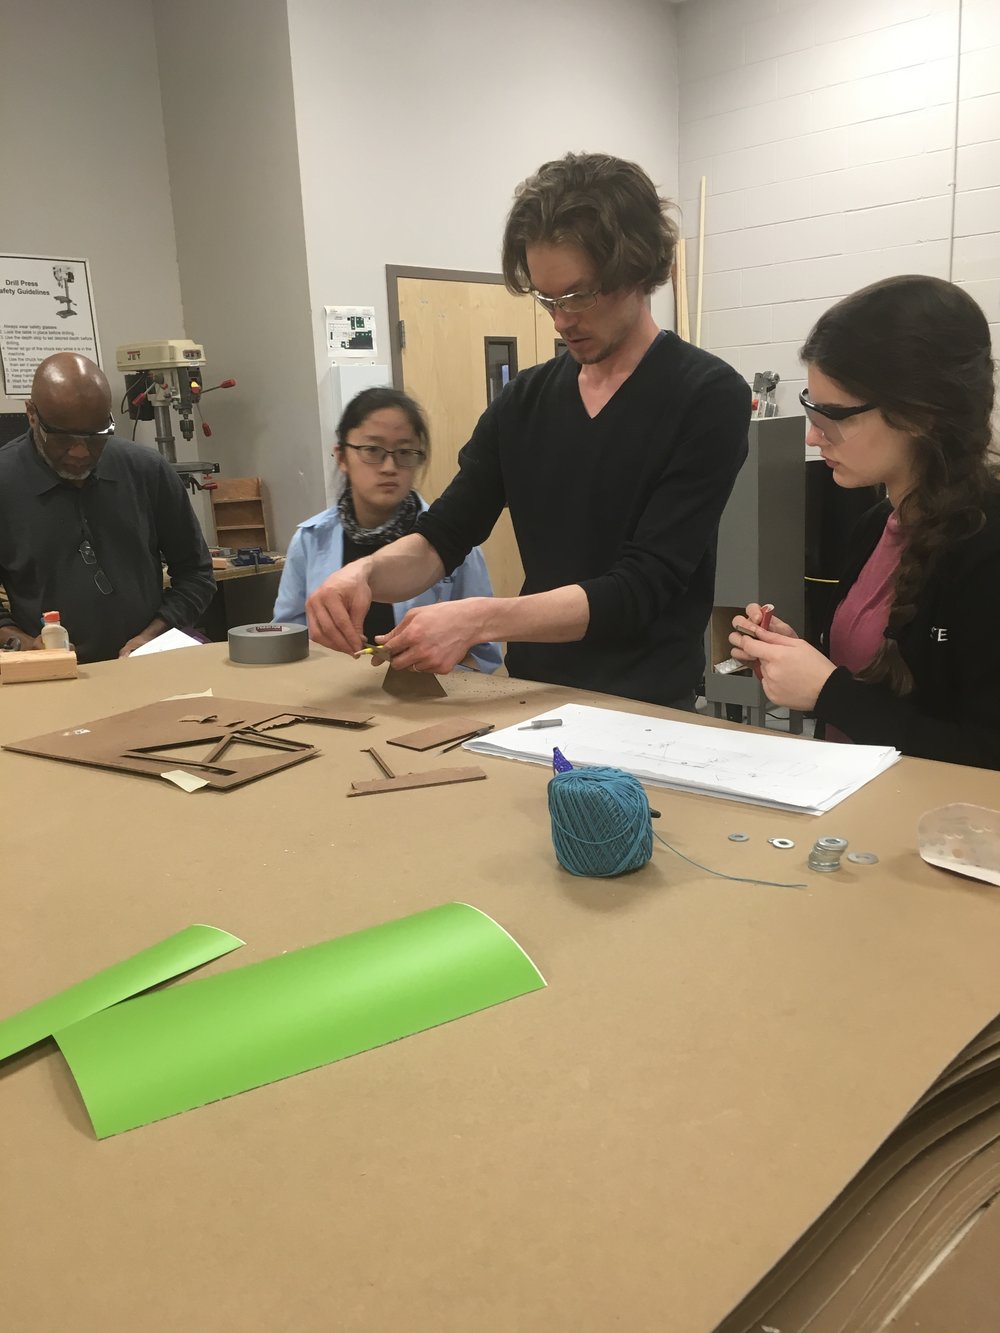
Rather than just jumping into the project with 80 students, I chose six who had shown an interest in the fab lab and asked them to complete each step of the lesson, from learning to use design software to building a final product with a CNC ShopBot. The benefit to using a small group was twofold; I could troubleshoot problems I probably wouldn’t have considered, and I had a group of experts who could provide technical assistance to their classmates. As we begin this project, I have included some reflections from my student experts. Like them, I can’t wait to watch this project evolve!
Lili and Eron
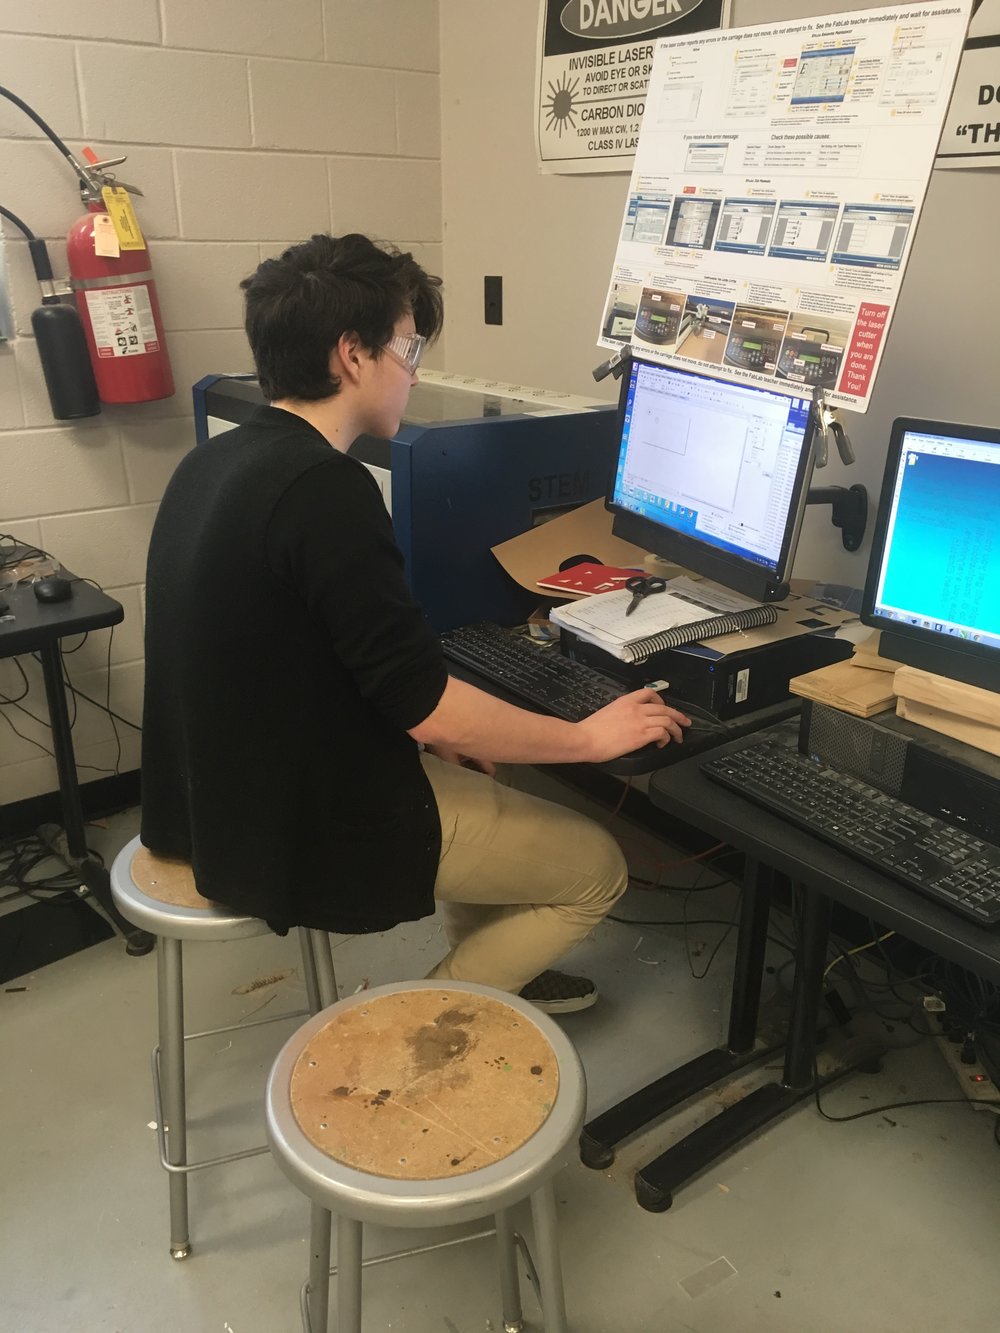
First, we started off by using Tinkercad, an online 3D modeling software that helps you make a digital model of the object you are trying to make. After a few attempts at creating an adequate model, we finally had one that would suffice. We built the side supports using two triangles. We created these using the Carvey with a strong cardboard type material. We used a straw to connect the two sides together. Also, we laser cut an acrylic stick for the payload to hang from. Our prototype was almost finished, the only part we did not complete was attaching the weights and the sling.
Nelly and Eron
When we were assigned the task we got a piece of paper so we could write down our ideas and sketch out a tiny model. During the thought process we wanted to include as many variables as possible so that we could make it more precise. After that we collected materials to build the catapult. The tools we used were the laser cutter, table saw, and drill. The materials we used were wood, acrylic, a spring and a string. We thought it was actually fun although we did run into a couple of problems (like not finishing), but overall it was a good experience.
Rachel and Lili
After being assigned to make the final product, Rachel and I decided to build a trebuchet based on our prototype. We went back to Tinkercad and improved our prototype. Then, we ran into the problem that we could not transfer our design in Tinkercad as an SVG to the laser cutter, so we had to bring the file over to Inkscape, another 3D modeling software, and then import them to the laser cutter. After transferring our model to the laser cutter, we cut out all of our pieces and glued them together. Since we had our base done we moved on to the sling. Our sling was made of duct tape and was attached to our base with string. Once finished with the sling, we added washers to the opposite side of the sling. When done with the trebuchet, we put in the ping pong ball and tested it out. Looking back on this and seeing what we did, we agree that we should continue to work on a better sling, but the overall end product was effective and functional.
Andrew and Alec
Initially, when we were assigned to build either a catapult or a trebuchet, we discussed what would be best. We decided to make a semi-detailed design on Notability. Then, we spent time finding resources, like wood and PVC, that best fit our design. We cut some wood but ran into problems with the material. Some of the wood we used kept splitting where we drilled holes. Also, we had to braid string so that it would be able to withstand a spring. Reflecting on our challenges, there were better ways of accomplishing some parts of our catapult. For example, we could have positioned our spring mechanism better, allowing it to work more effectively. In the given time and the issues encountered along the way, our end model was able to fire a ping pong ball about 10 feet. We had an exceptional experience and hope to have an opportunity like this again!