- Loading…
In this interdisciplinary STEM lesson, students explore how plants respond to their environments by observing and guiding the growth of pea plants through 3D-printed maze boxes toward a light source. Students begin by watching videos and images of plant phototropism to spark curiosity about how plants move and respond to light. They then use Tinkercad to design and modify three enclosed boxes of varying difficulty, each posing a unique challenge for plant growth.
Students plant pea seeds in their printed boxes and monitor their growth over time, making detailed observations about how the plants navigate through the obstacles. Using their data, students compare how different box designs impacted plant success and identify which features helped or hindered growth. Finally, they synthesize their findings into a science poster, using digital tools to communicate their design process, results, and reflections.
Using a Light Sensor to measure and collect data on height/growth
By recording the plant’s height at regular intervals—such as every few minutes or hourly—I can track how quickly the plant is growing and even begin to notice patterns, like what times of day most growth occurs. This helps me and my students explore how environmental factors like light and temperature might influence plant development throughout the day.


Next Generation Science Standards (NGSS)
2-LS4-1
Make observations of plants and animals to compare the diversity of life in different habitats.
Clarification: Emphasis is on the variety of living things in each habitat.
Assessment Boundary: Specific animal and plant names are not required.
3-5-ETS1-2
Generate and compare multiple possible solutions to a problem based on how well each is likely to meet the criteria and constraints of the problem.
Common Core State Standards – ELA Anchor Standards
Writing Standard 6
With some guidance and support from adults, use technology—including the Internet—to produce and publish writing as well as to interact and collaborate with others.
Students should demonstrate sufficient keyboarding skills to type a minimum of one page in a single sitting.
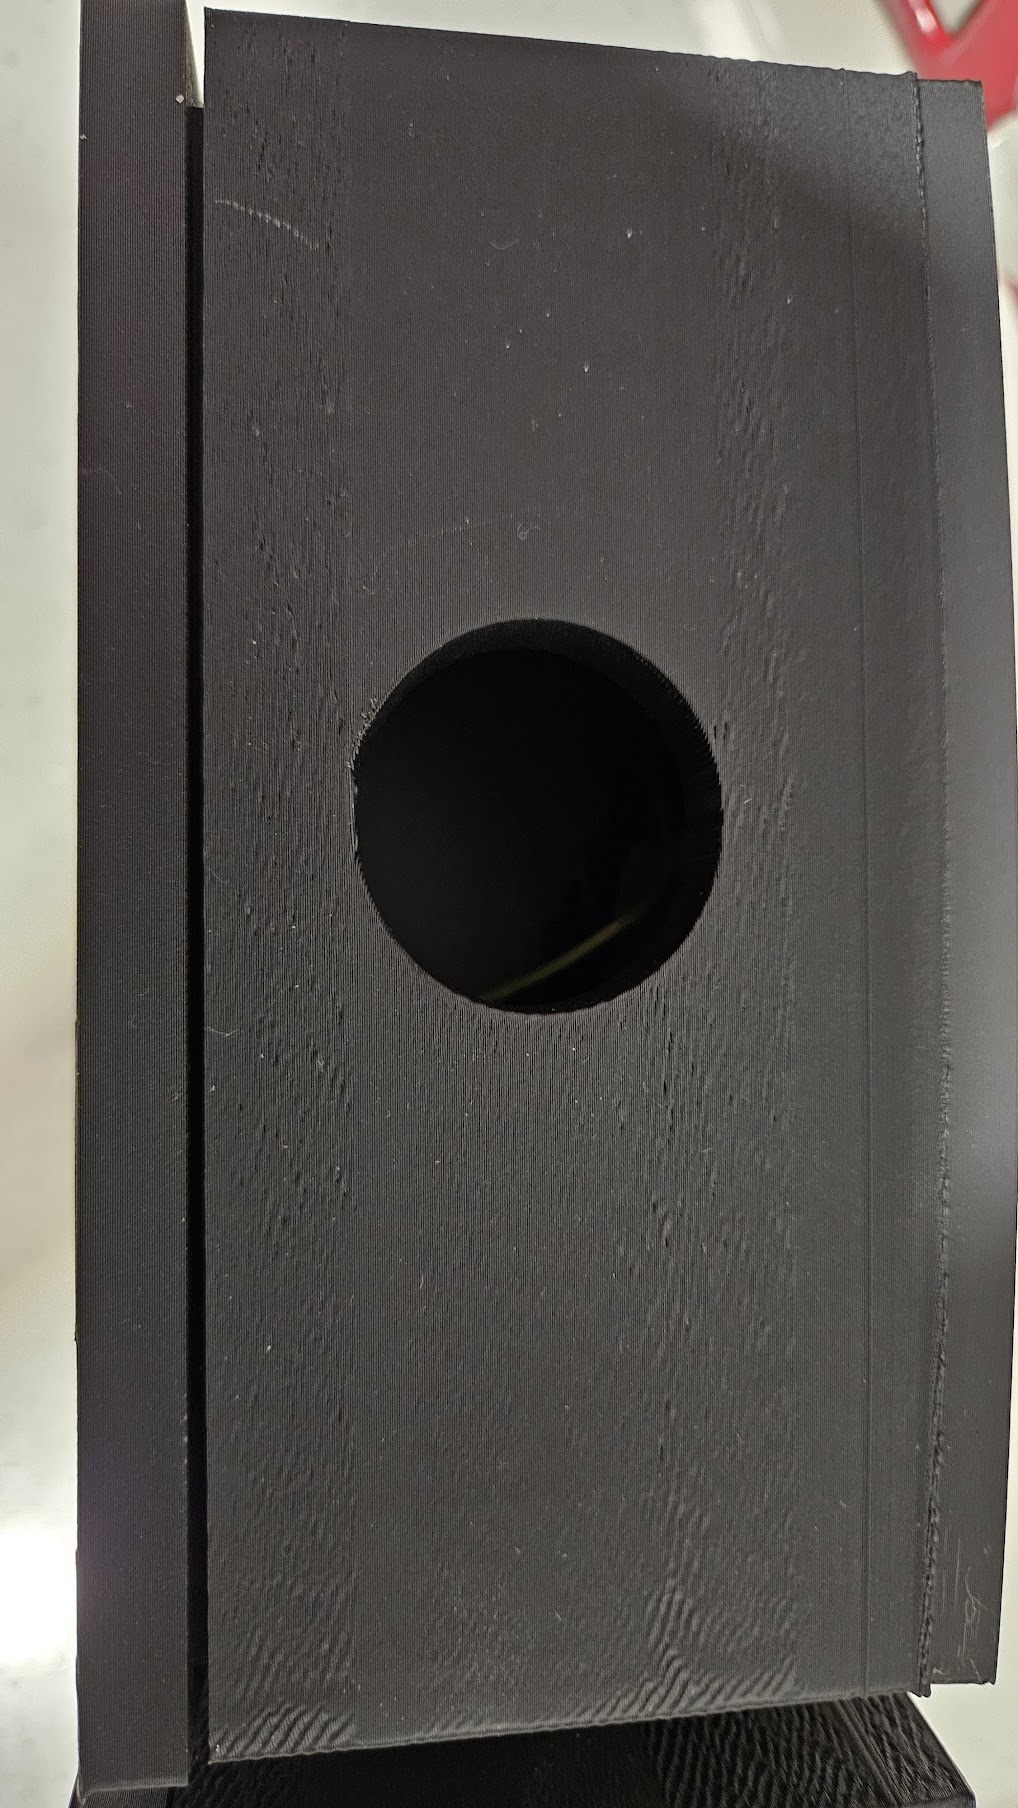
2. Whew—there’s definitely a steep learning curve (for me included) when it comes to creating those boxes. I made several mistakes along the way. I didn’t just download a template—I built the box from scratch, including the shelves, the hole at the top, and the cover. Each step came with opportunities for misalignment or imprecision. Time was definitely a major factor. But in working through those challenges, I realized how valuable it was to model persistence and a growth mindset for my students. By navigating the trial and error myself, I could better support others through the process and show that learning—even for the teacher—is iterative and hands-on.
To create the teaching aid, I started by brainstorming the purpose: I wanted a structure that would challenge plant growth in a way that made phototropism visible and meaningful for learners. Rather than downloading a pre-made file, I decided to build the plant maze box from scratch in Tinkercad. I designed the outer walls, added internal shelves to create obstacles, included a top hole for the light source, and developed a removable cover to allow observation.
Throughout the fabrication process, I encountered several challenges—imprecise measurements, alignment issues, and print failures. I had to iterate multiple times, adjusting dimensions and shelf placements to ensure a balance between structural integrity and plant accessibility.
What I learned most during this process was the importance of patience, precision, and iterative design. I gained a deeper appreciation for how small changes in design can impact function. I also realized how valuable it is to experience the making process firsthand—not just to improve the final product, but to better anticipate the learning curve students might face. This process helped me see that the act of designing and fabricating is as much a part of the science learning as the plant growth itself.
The teacher presents a puzzling phenomenon or interesting scenario to spark curiosity and surface students’ prior knowledge. This could be through a demonstration, video, or question. The teacher does not correct misconceptions yet but listens carefully to students’ initial ideas to understand where they are starting from. The goal is to emotionally and cognitively hook learners, creating a need-to-know that drives the rest of the lesson.
To spark curiosity, students will observe a series of time-lapse videos and striking images showing plants bending, twisting, and stretching toward light sources. The footage will include sunflowers rotating throughout the day, bean plants curving dramatically around obstacles, and seedlings navigating through mazes. As they watch, students will be prompted to notice and wonder: Why are the plants moving? How do they know which direction to grow? and What’s causing these strange shapes?
We’ll invite students to share their initial thoughts and questions, setting the stage for an investigation into phototropism—how plants sense and respond to light.
Students engage in hands-on investigation, working in pairs or small groups to explore a phenomenon or test materials. The teacher takes a facilitative stance, allowing students to make predictions, observe, collect data, and begin noticing patterns—without formal explanations or vocabulary. This phase allows students to develop shared experiences they can later use as a foundation for meaning-making. It's a space for sensemaking through action.
What is Slicing?
Imagine you want to 3D print something. You have a finished 3D model of it, but what do you do now?
We need to prepare it for 3D printing using “Slicing” software. The 3D printer needs instructions, like a recipe for baking a cake. Slicing in 3D printing is like cutting the cake into thin layers, but instead of using a knife, we do it with a computer.
Here’s how it works:
So, slicing in 3D printing is like breaking down your 3D model into tiny, printable layers so that the printer knows exactly how to build your object. It’s a crucial step that makes 3D printing possible!
Not every 3D printer uses the same Slicing software. For example, our Bambu Lab printer uses BambuStudio while our Prusa printers use PrusaSlicer. These software’s also have their differences in usage and capabilities. Understanding the basics of slicing software equips you with the foundational knowledge to operate various 3D printers, as the core principles remain consistent across different printers.
Directions: Create a 3 d image using TinkerCad, alter size and shape, include 1 new feature, and create 1 point with a ‘hole”
Tinkercad Design Challenge: Maze Plant Light Blocker
Directions:
Instead of simply delivering content, the teacher orchestrates a social learning environment where students co-construct meaning with peers and the teacher. Drawing on their exploratory (explore stage) experiences, students begin articulating ideas and using observation and data. The teacher introduces key scientific concepts and terms but always in response to students' ideas. Through scaffolded dialogue, visual tools, and peer explanation, students are supported in moving from everyday language toward disciplinary understanding. Learning is situated within each student’s Zone of Proximal Development, with the teacher and peers providing support as needed.
Phototropism
Definition: The growth of a plant in response to light, where the plant bends toward the light source.
Facilitation Tip: Ask students to observe how their plants grow through the maze and connect it to the term “phototropism.” Prompt them with questions like, “How do you think your plant knows where the light is?” or “What happens when the light source is blocked?”
Tropism
Definition: The directional growth of an organism in response to an environmental stimulus (such as light, gravity, or touch).
Facilitation Tip: During the exploration of the different box designs, guide students to make connections between their maze structure and the concept of tropism. “Why do you think the plant’s growth changes in each different box? What does that tell you about how plants sense their environment?”
Stimulus and Response
Definition: A stimulus is a change in the environment (like light), and the response is how the plant or animal reacts to it (e.g., growing toward the light).
Facilitation Tip: Encourage students to recognize that plants are responding to their environment. Ask, “Can you identify the stimulus in your experiment? What is the plant’s response to it?” This helps them understand how plants are reacting to their different habitats (the boxes).
Habitat
Definition: The natural environment where a plant or animal lives, which includes factors like light, temperature, and available resources.
Facilitation Tip: Connect the idea of different “habitats” to the boxes they created. Have them consider how the different box designs mimic real habitats with varying challenges for the plants. “How does your maze design change the plant’s habitat? How does that impact its growth?”
Engineering Design Process
Definition: A series of steps used by engineers to solve problems, including defining the problem, brainstorming solutions, designing and testing prototypes, and improving designs.
Facilitation Tip: Encourage students to apply this process to their maze design. Ask guiding questions: “What was the problem you wanted to solve with your maze design? What was your first idea? How did you test it, and how can you improve it?”
Criteria and Constraints
Definition: Criteria are the desired outcomes or goals of a design, while constraints are the limitations or restrictions that must be considered.
Facilitation Tip: Prompt students to identify their criteria (e.g., the plant must grow toward light) and constraints (e.g., the box must fit in a small space or the plant must go through a narrow path). “What are the criteria for your design? What constraints did you have to consider while building your maze?”
After students begin their explorations, encourage them to make detailed observations. Ask questions like, “What do you notice about the way your plant grows through the maze? Is it growing straight or bending?” This will help them recognize the concept of phototropism in action.
As students collect data on plant growth, ask them to compare their findings. “What happened in the Easy vs. Hard box? How did the plant grow differently?” This helps students use their observations to make connections to the scientific concepts and think critically about how their design influenced plant behavior.
Have students share their findings with one another. Encourage them to discuss why their plants reacted the way they did in different boxes. “What did your group learn about plant behavior in the maze? Did you find anything surprising?” This fosters peer learning and helps deepen understanding through shared experiences.
Bring in real-world examples of phototropism in nature, such as how plants grow toward the sun. Discuss how this process helps plants survive in different habitats. “Can you think of any places where plants might have to grow toward light in nature? How is that similar to what we did with our mazes?”
Throughout the exploration stage, use and reinforce terms like “design,” “prototype,” “criteria,” and “constraints.” As students work on their mazes, guide them to think like engineers: “How does your design meet the criteria? What changes can you make to improve it?”
Students apply their new understanding in a design challenge, scenario, or open-ended task that extends thinking and activity to push intellectual boundary. The task is slightly more complex than what they’ve done before, inviting students into new conceptual territory. In line with Vygotsky’s notion of learning leading development, the task is meant to stretch their abilities with temporary supports (such as diagrams, sentence stems, or team roles). As students grow more confident, these supports are withdrawn. Collaboration continues to play a key role, with peers helping one another solidify and extend understanding.
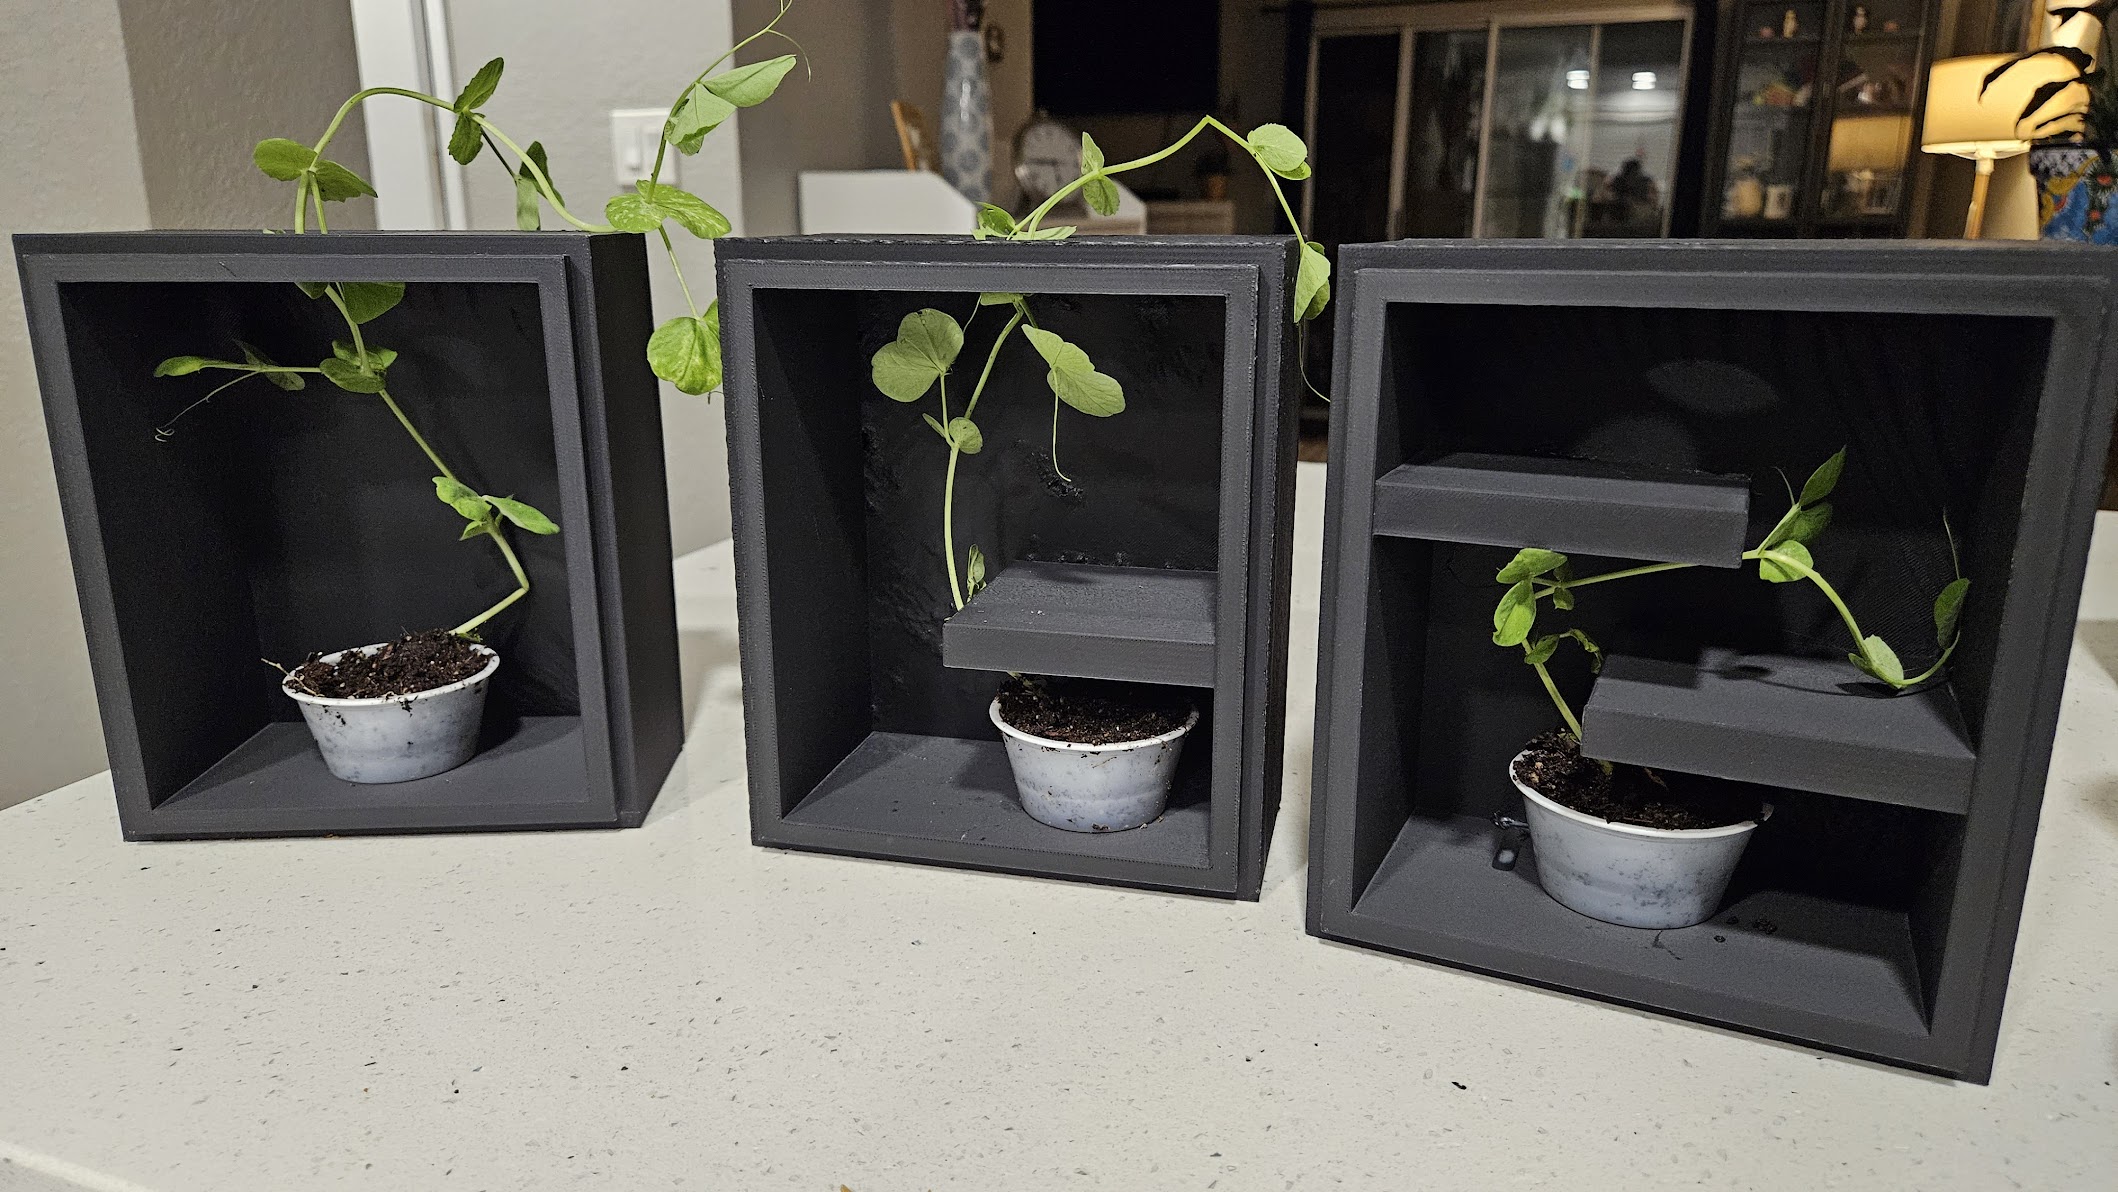
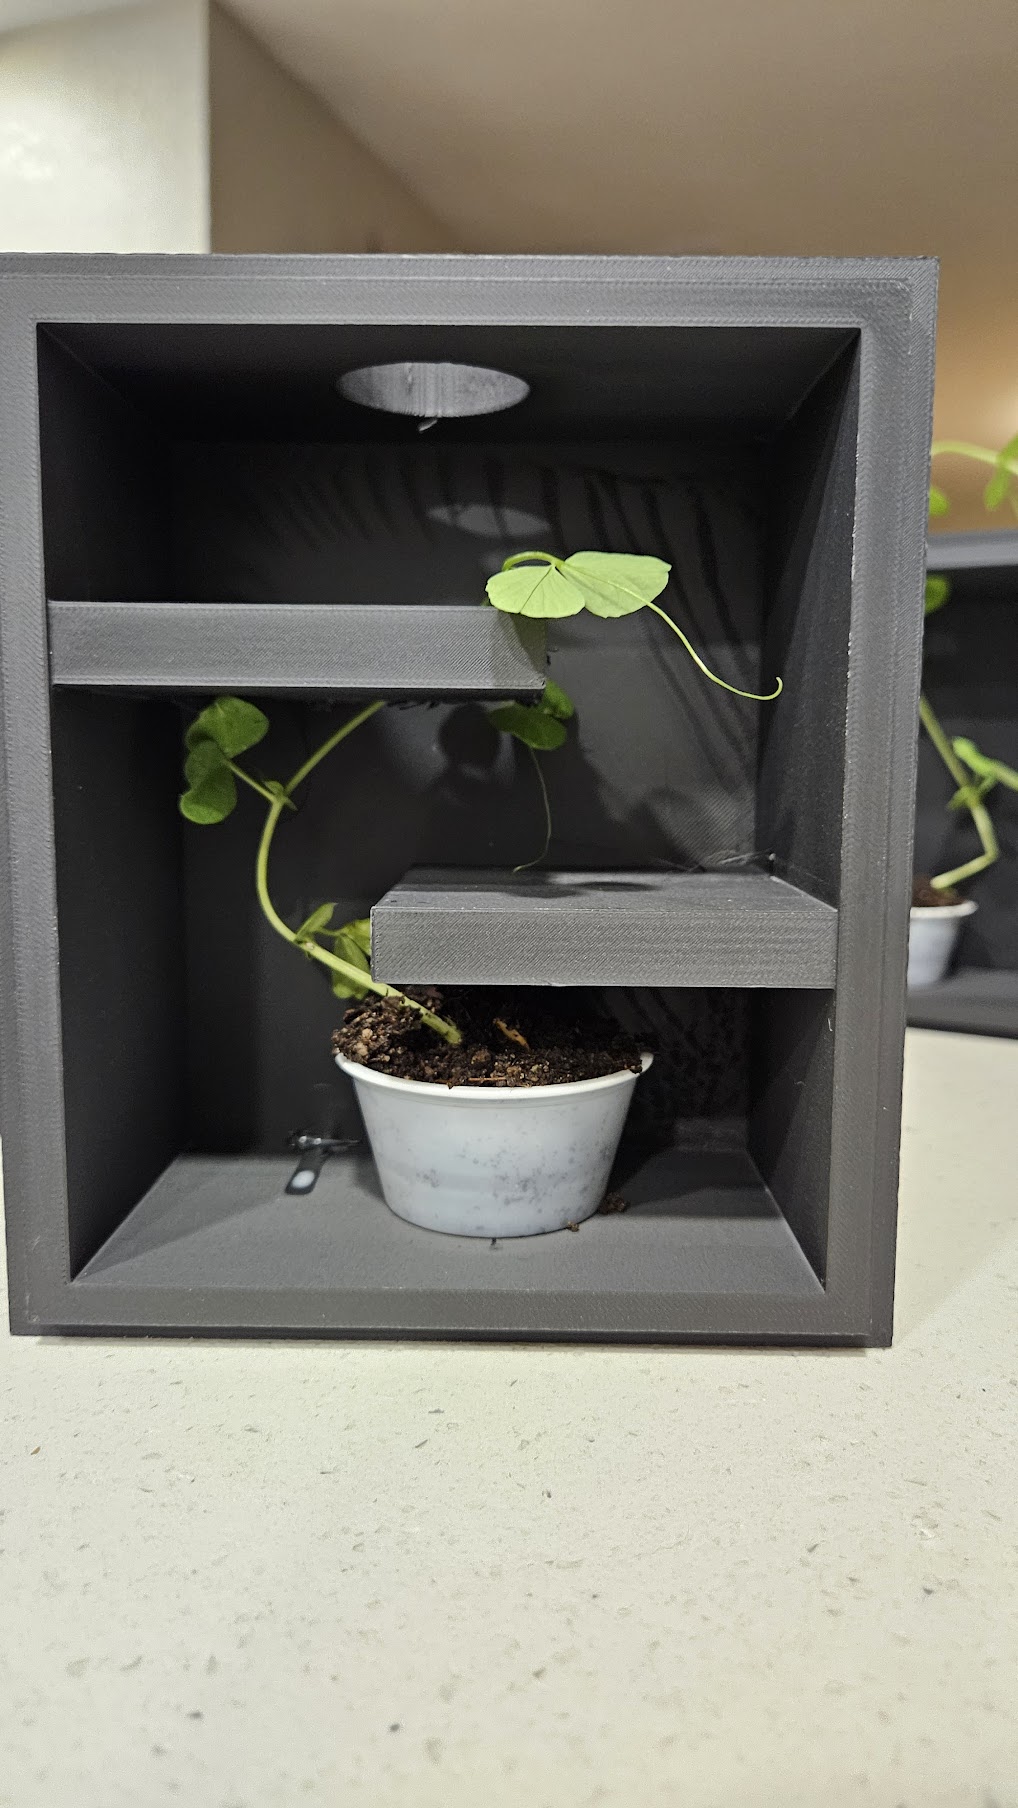
Tinkercad Challenge: Design 3 Plant Growth Boxes
Objective:
Design three enclosed boxes that each create a different level of challenge for a pea plant to grow through toward light.
Directions:
Change the size and shape of each box. Think about how the dimensions might affect plant growth (e.g., taller vs. wider, narrow paths vs. open spaces).
Include a feature that changes how light enters or how the plant must grow (e.g., a window, curved wall, internal divider, or reflective surface).
Use the “hole” tool to create at least one intentional opening in each box—this could be for light entry or plant exit.
Label or Color-Code
Clearly label or color each box as Easy, Medium, or Hard for plant growth.
Assessment is both formative and summative, often embedded in student presentations, self-reflections, or final products. The teacher checks for understanding of core concepts and students’ ability to use evidence, apply vocabulary, and reason scientifically. Feedback is used to inform instruction and support ongoing development. In keeping with sociocultural principles, evaluation often values process as well as product, highlighting how thinking has evolved over time.
Title:Create a catchy and clear title for your poster (e.g., “Chasing the Light: How Pea Plants Navigate 3D Growth Mazes”).
Question / Purpose
Hypothesis
Conclusion
Reflection / Next Steps
I use the HC-SR04 sensor with my Arduino to measure distances ranging from 2 cm to 400 cm, with an accuracy of about 3 mm. It's a reliable and versatile tool that's commonly used for things like obstacle detection and level measurement, but in my case, I’m using it to monitor the growth of my pea plants over time. By recording the plant’s height at regular intervals—such as every few minutes or hourly—I can track how quickly the plant is growing and even begin to notice patterns, like what times of day most growth occurs. This helps me and my students explore how environmental factors like light and temperature might influence plant development throughout the day.
By recording the plant’s height at regular intervals—such as every few minutes or hourly—I can track how quickly the plant is growing and even begin to notice patterns, like what times of day most growth occurs. This helps me and my students explore how environmental factors like light and temperature might influence plant development throughout the day.
Pedagogical Rationale for Science Poster Rubric: Light Maze Plant Growth Project The use of a rubric for the Light Maze Plant Growth Project supports both instruction and assessment by providing a clear, consistent, and equitable framework for evaluating student understanding and communication of scientific concepts. This rubric-guided approach ensures that both process and product are valued, aligning with research-based best practices in science education. 1. Supports Transparent Expectations Rubrics clarify expectations by breaking down the components of the poster into defined criteria—such as hypothesis, experimental design, data analysis, scientific reasoning, and visual communication. This transparency helps students understand what high-quality work looks like and how they will be evaluated, promoting self-regulation and goal setting. 2. Reinforces Scientific Practices The rubric is intentionally designed to assess science and engineering practices aligned with the Next Generation Science Standards (NGSS), including: Asking questions and defining problems Planning and carrying out investigations Analyzing and interpreting data Constructing explanations and designing solutions Engaging in argument from evidence These dimensions emphasize the importance of scientific thinking rather than rote content memorization. 3. Encourages Metacognition and Reflection By reviewing the rubric before, during, and after the project, students are encouraged to reflect on their understanding and the effectiveness of their communication. This metacognitive process deepens learning and fosters a growth mindset. 4. Fosters Equity in Assessment Rubrics provide a consistent and objective way to assess diverse learners. All students are held to the same criteria, which helps minimize subjective grading and supports fair evaluation across different learning profiles. 5. Develops Communication and Literacy in Science Poster presentations require students to synthesize complex information and present it visually and verbally. The rubric supports development in disciplinary literacy by assessing clarity, coherence, and the integration of visuals with scientific content. These are essential skills for scientific communication and 21st-century careers. 6. Connects Content with Inquiry The Light Maze Plant Growth Project invites students to explore phototropism and plant behavior through hands-on experimentation. The rubric reinforces this inquiry-based approach by valuing creativity in experimental design, accuracy in data collection, and thoughtfulness in conclusions.
4 – Exceeds Expectations
3 – Meets Expectations
2 – Approaching Expectations
1 – Needs Support
1. Observations of Plant Growth in Maze Boxes
(2-LS4-1 – Diversity in Habitats)
4: Student provides detailed, accurate observations for all maze environments (easy, medium, hard), clearly comparing ease/difficulty of plant growth
3: Student provides clear observations comparing at least two environments
2: Observations are incomplete or vague; limited comparison of environments
1: Observations are missing, incorrect, or unrelated to plant growth in environments
2. Description and Reasoning About Plant Behavior
(2-LS4-1 – Scientific Reasoning in Varied Environments)
4: Student clearly explains how plant growth changed in each box and why one design supported growth better; reasoning uses evidence
3: Student describes how growth changed and gives a basic reason why one design worked better
2: Student gives limited or unclear explanation of growth changes or reasoning
1: No explanation of growth differences or reasoning
3. Design and Comparison of Box Models
(3-5-ETS1-2 – Engineering Design Solutions)
4: Student designs and compares three box models (or at least two with depth), explaining which worked best and why, using design criteria
3: Student compares at least two models and identifies which worked better with basic explanation
2: Designs are shown but comparison or reasoning is unclear or incomplete
1: Little or no evidence of model comparison or reasoning about design
4. Digital Poster Creation and Sharing
(CCSS W.6 – Technology Use)
4: Poster is well-organized, digitally designed, and clearly communicates the experiment; student shares and presents confidently
3: Poster is clear and digitally produced with essential content and visuals; student shares work
2: Poster is partially digital or lacks clarity in structure; limited sharing or presentation
1: Poster is not digital, poorly formatted, or not shared/presented
Purpose: To help you review your own poster and scientific work before sharing it with others. You will identify strengths and areas for improvement based on the learning goals.
Directions:
Optional tool: Use a color-coded sticky note system (green = great job, yellow = needs work) to mark areas on your poster as you review.
Purpose: To get helpful advice from a partner that will improve your final presentation.
Directions:
After peer review, revise again if needed. You can update your conclusion, visuals, or design based on your partner’s ideas
Having trouble? Let us know by completing the form below. We'll do our best to get your issues resolved quickly.
"*" indicates required fields