- Loading…
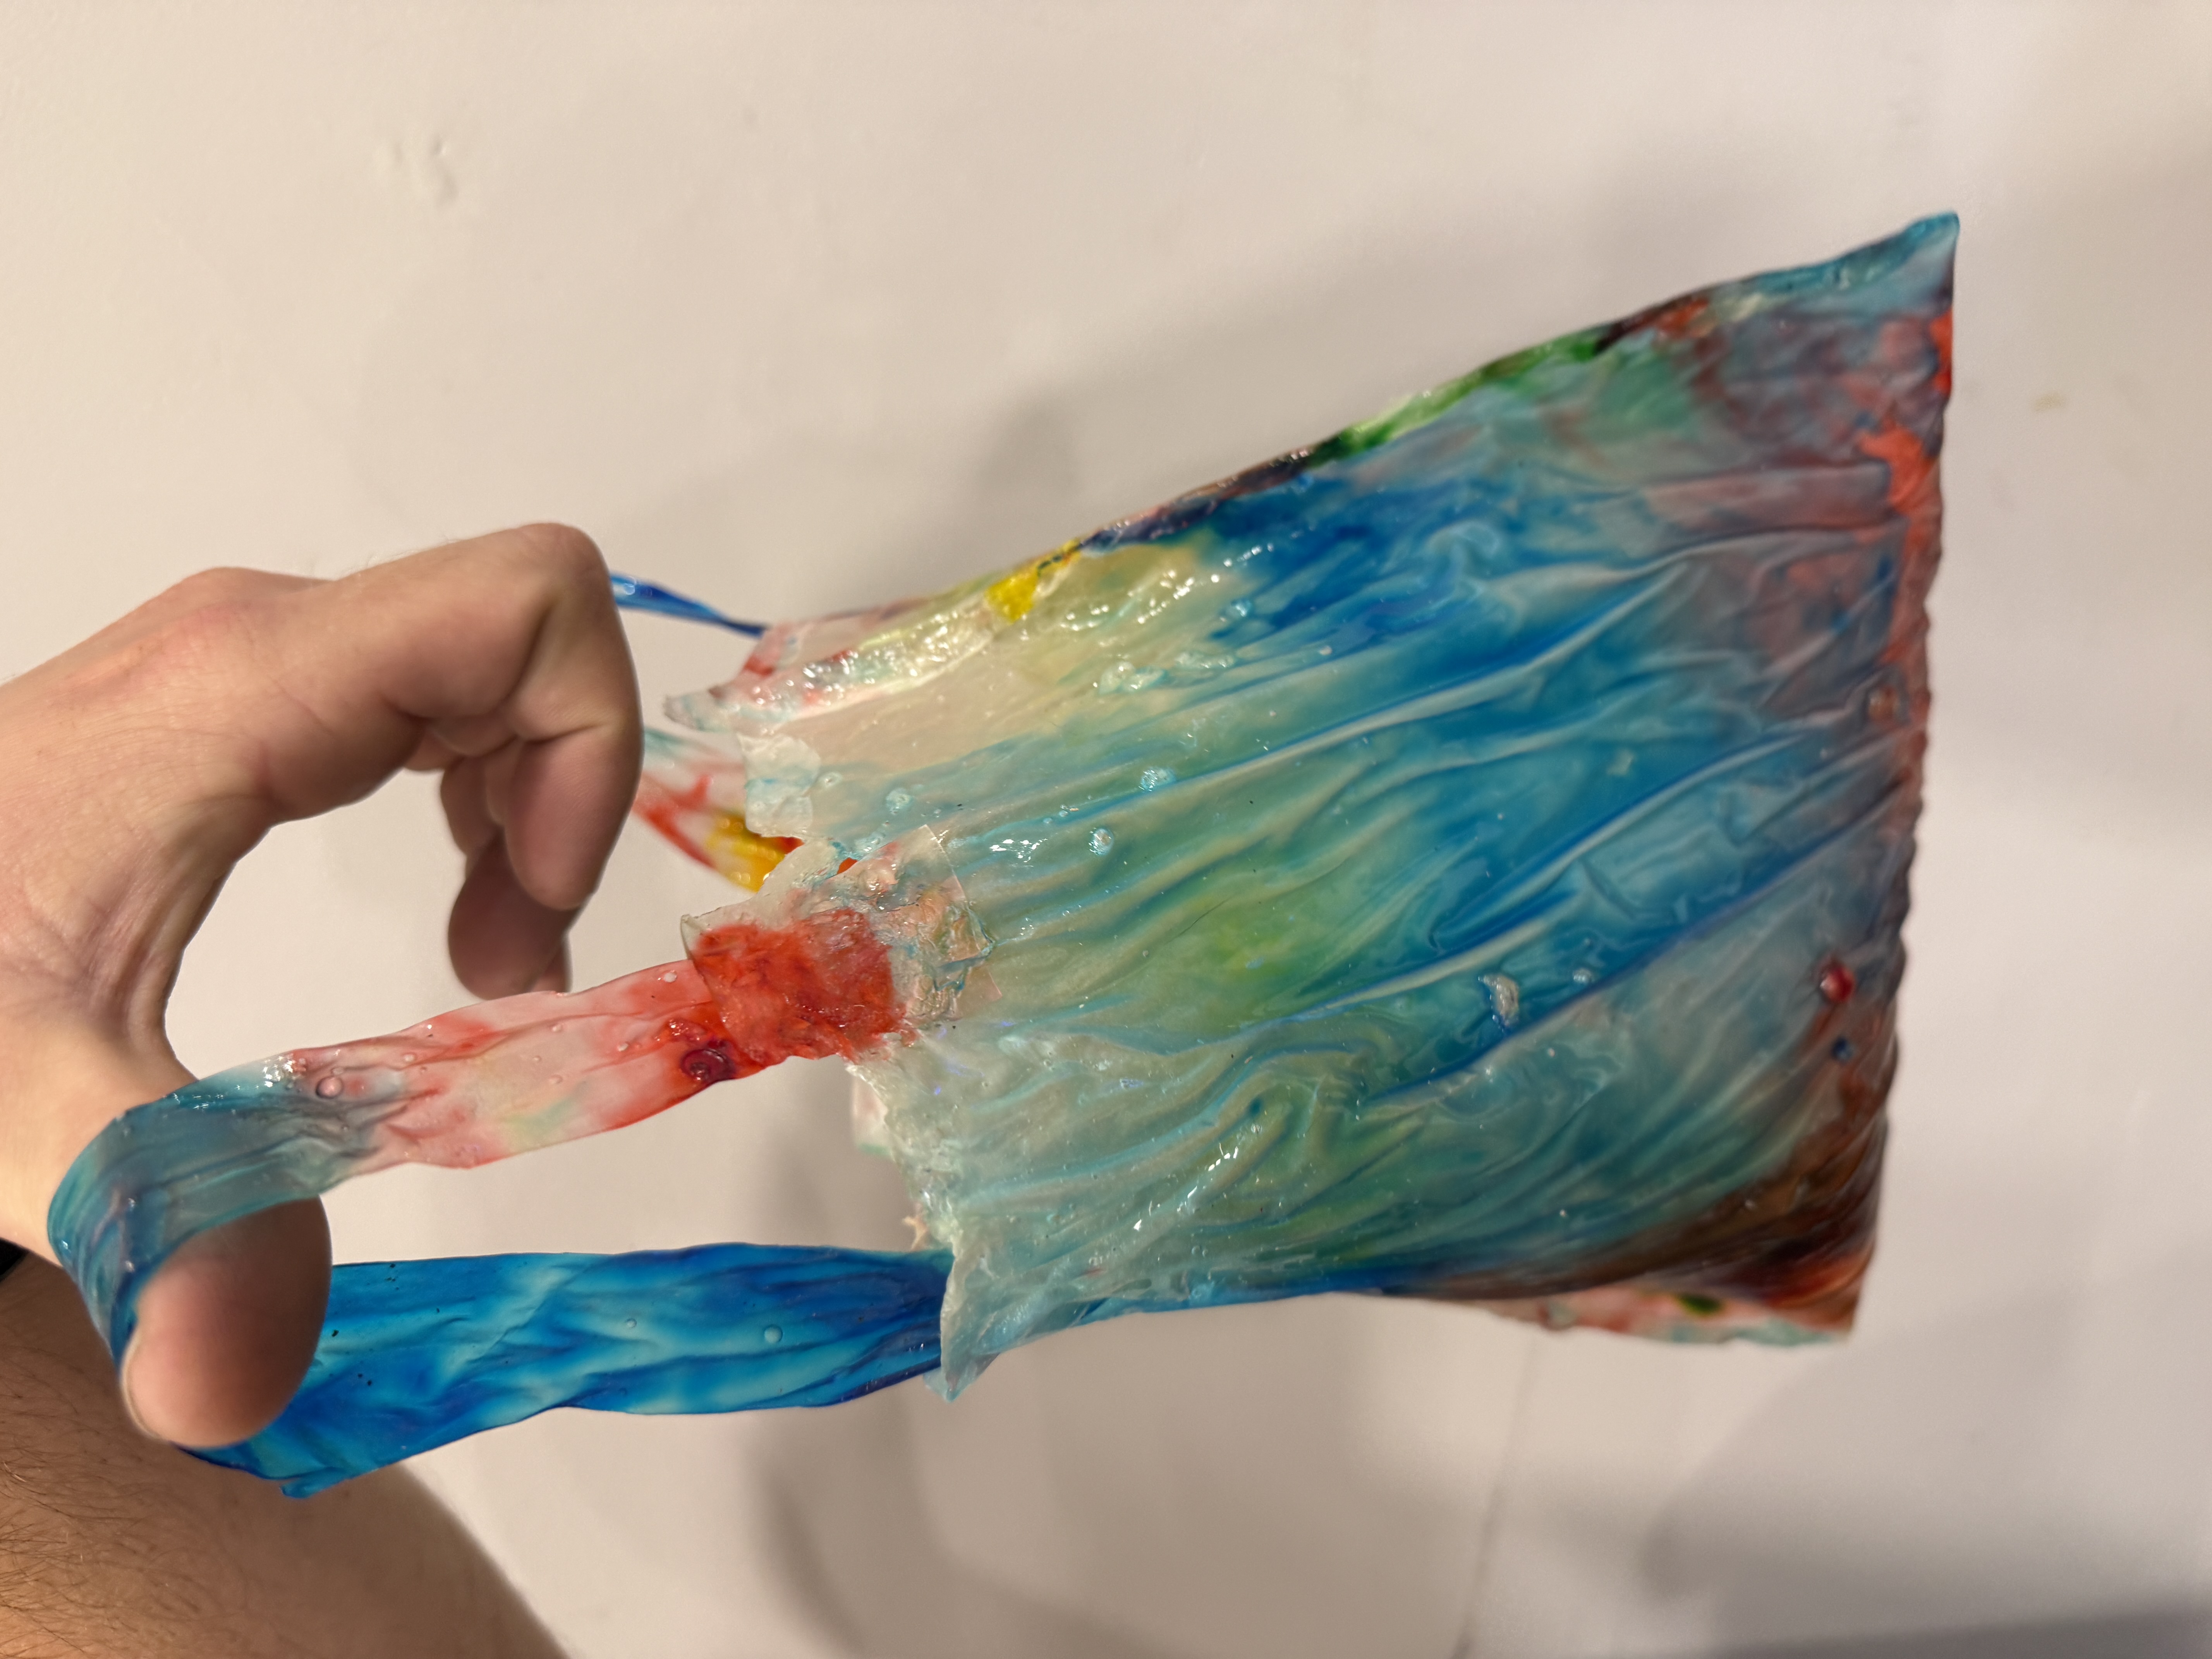
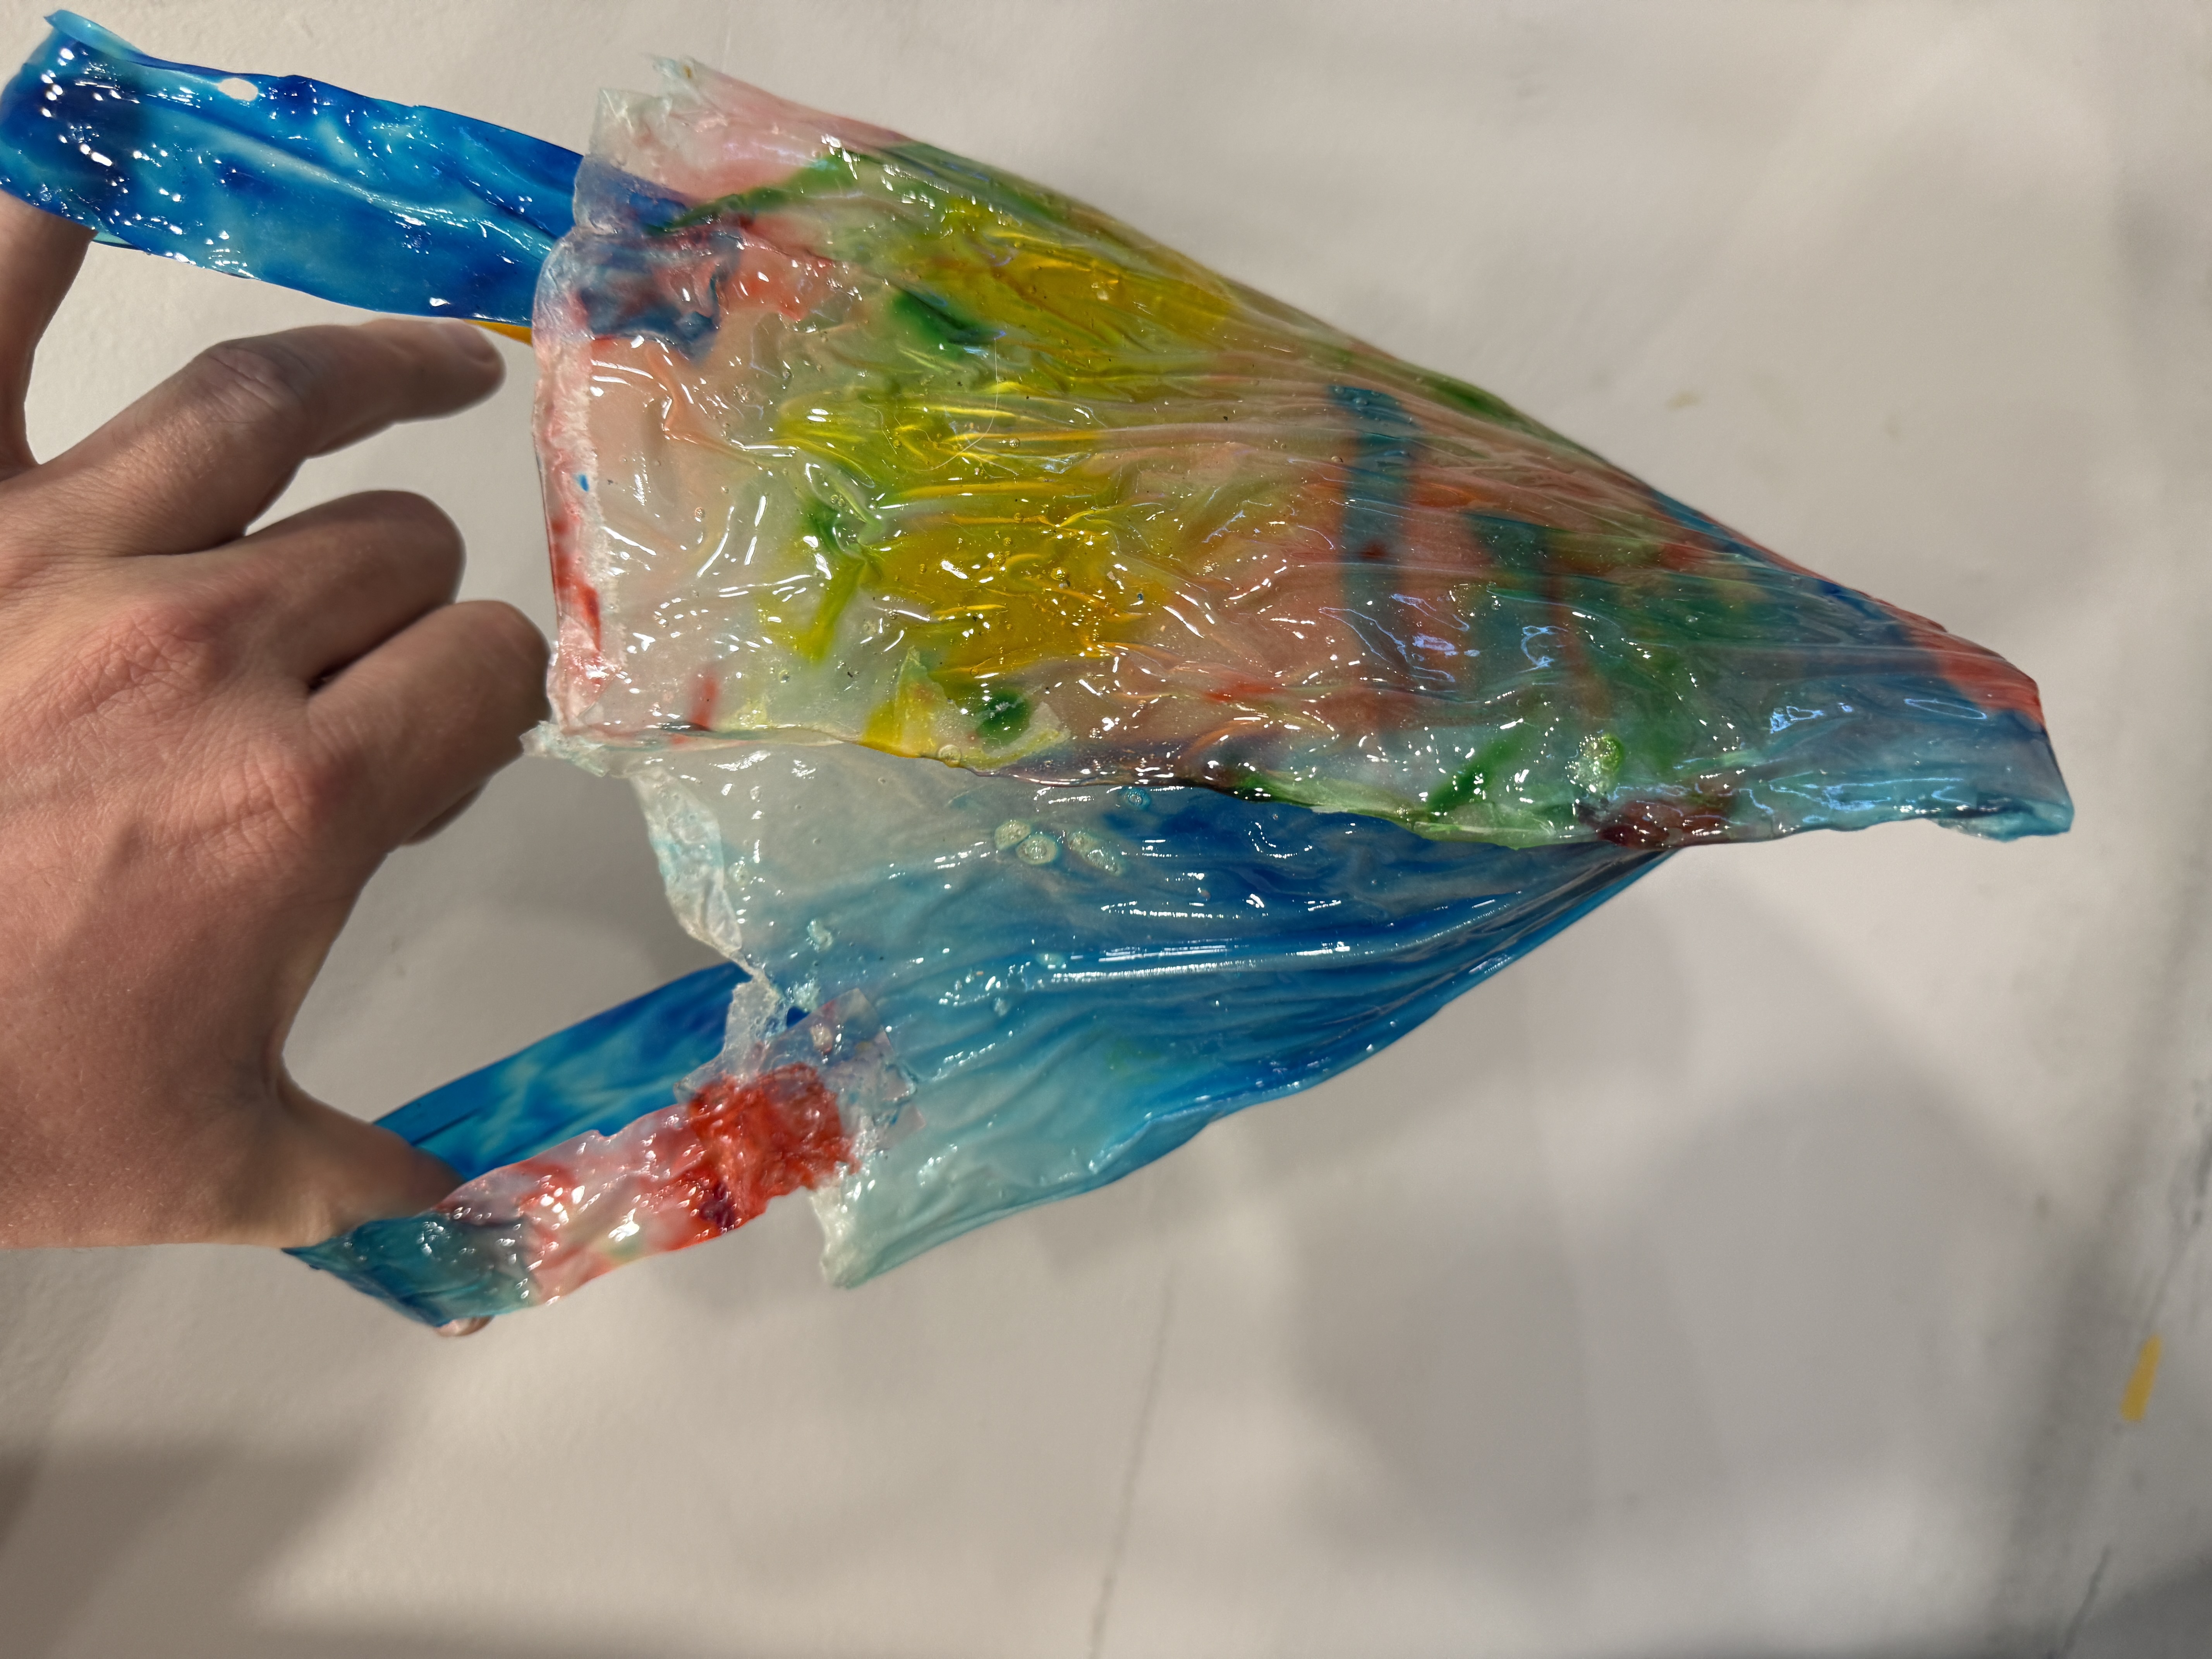
In this hands-on, project-based lesson, students explore the science of materials and sustainability by designing and creating their own reusable bags from homemade bioplastics. Using simple ingredients: water, gelatin, glycerin, and vinegar, students investigate how bioplastics are formed and how their properties compare to conventional plastics.


Baking sheets
Parchment paper
Ruler
Scissors
Hot plate
Sauce pan
Measuring spoons
Stirring spoon or spatula
Water
Unflavored gelatin
Glycerin
White vinegar
Food coloring (optional)
This lesson was a fun one to create. When I first learned of bioplastics the task seemed very daunting but after learning how to make the bioplastics it was simple and I couldn’t wait to try it with students.
This summer I helped develop the curriculum for an invention and fabrication summer camp for students and I felt that this was the perfect opportunity to test it with students. This lesson gave me the opportunity to allow students to think outside the box with materials they could use for their inventions that were sustainable. The process of creating the bioplastic with students was one that was tougher than I had anticipated. When I had created the bioplastic bag at home the process was simple and straight forward but after testing it with students I realized that I needed to go back to the drawing board.
Initially I had made it so that I would only be evaluating based on the final product but realized after consulting AI that I needed to evaluate at several different times during the lesson. So instead of just evaluating the product that was created I needed to evaluate the students understanding of how bioplastics are made and what the different materials did for the overall product.
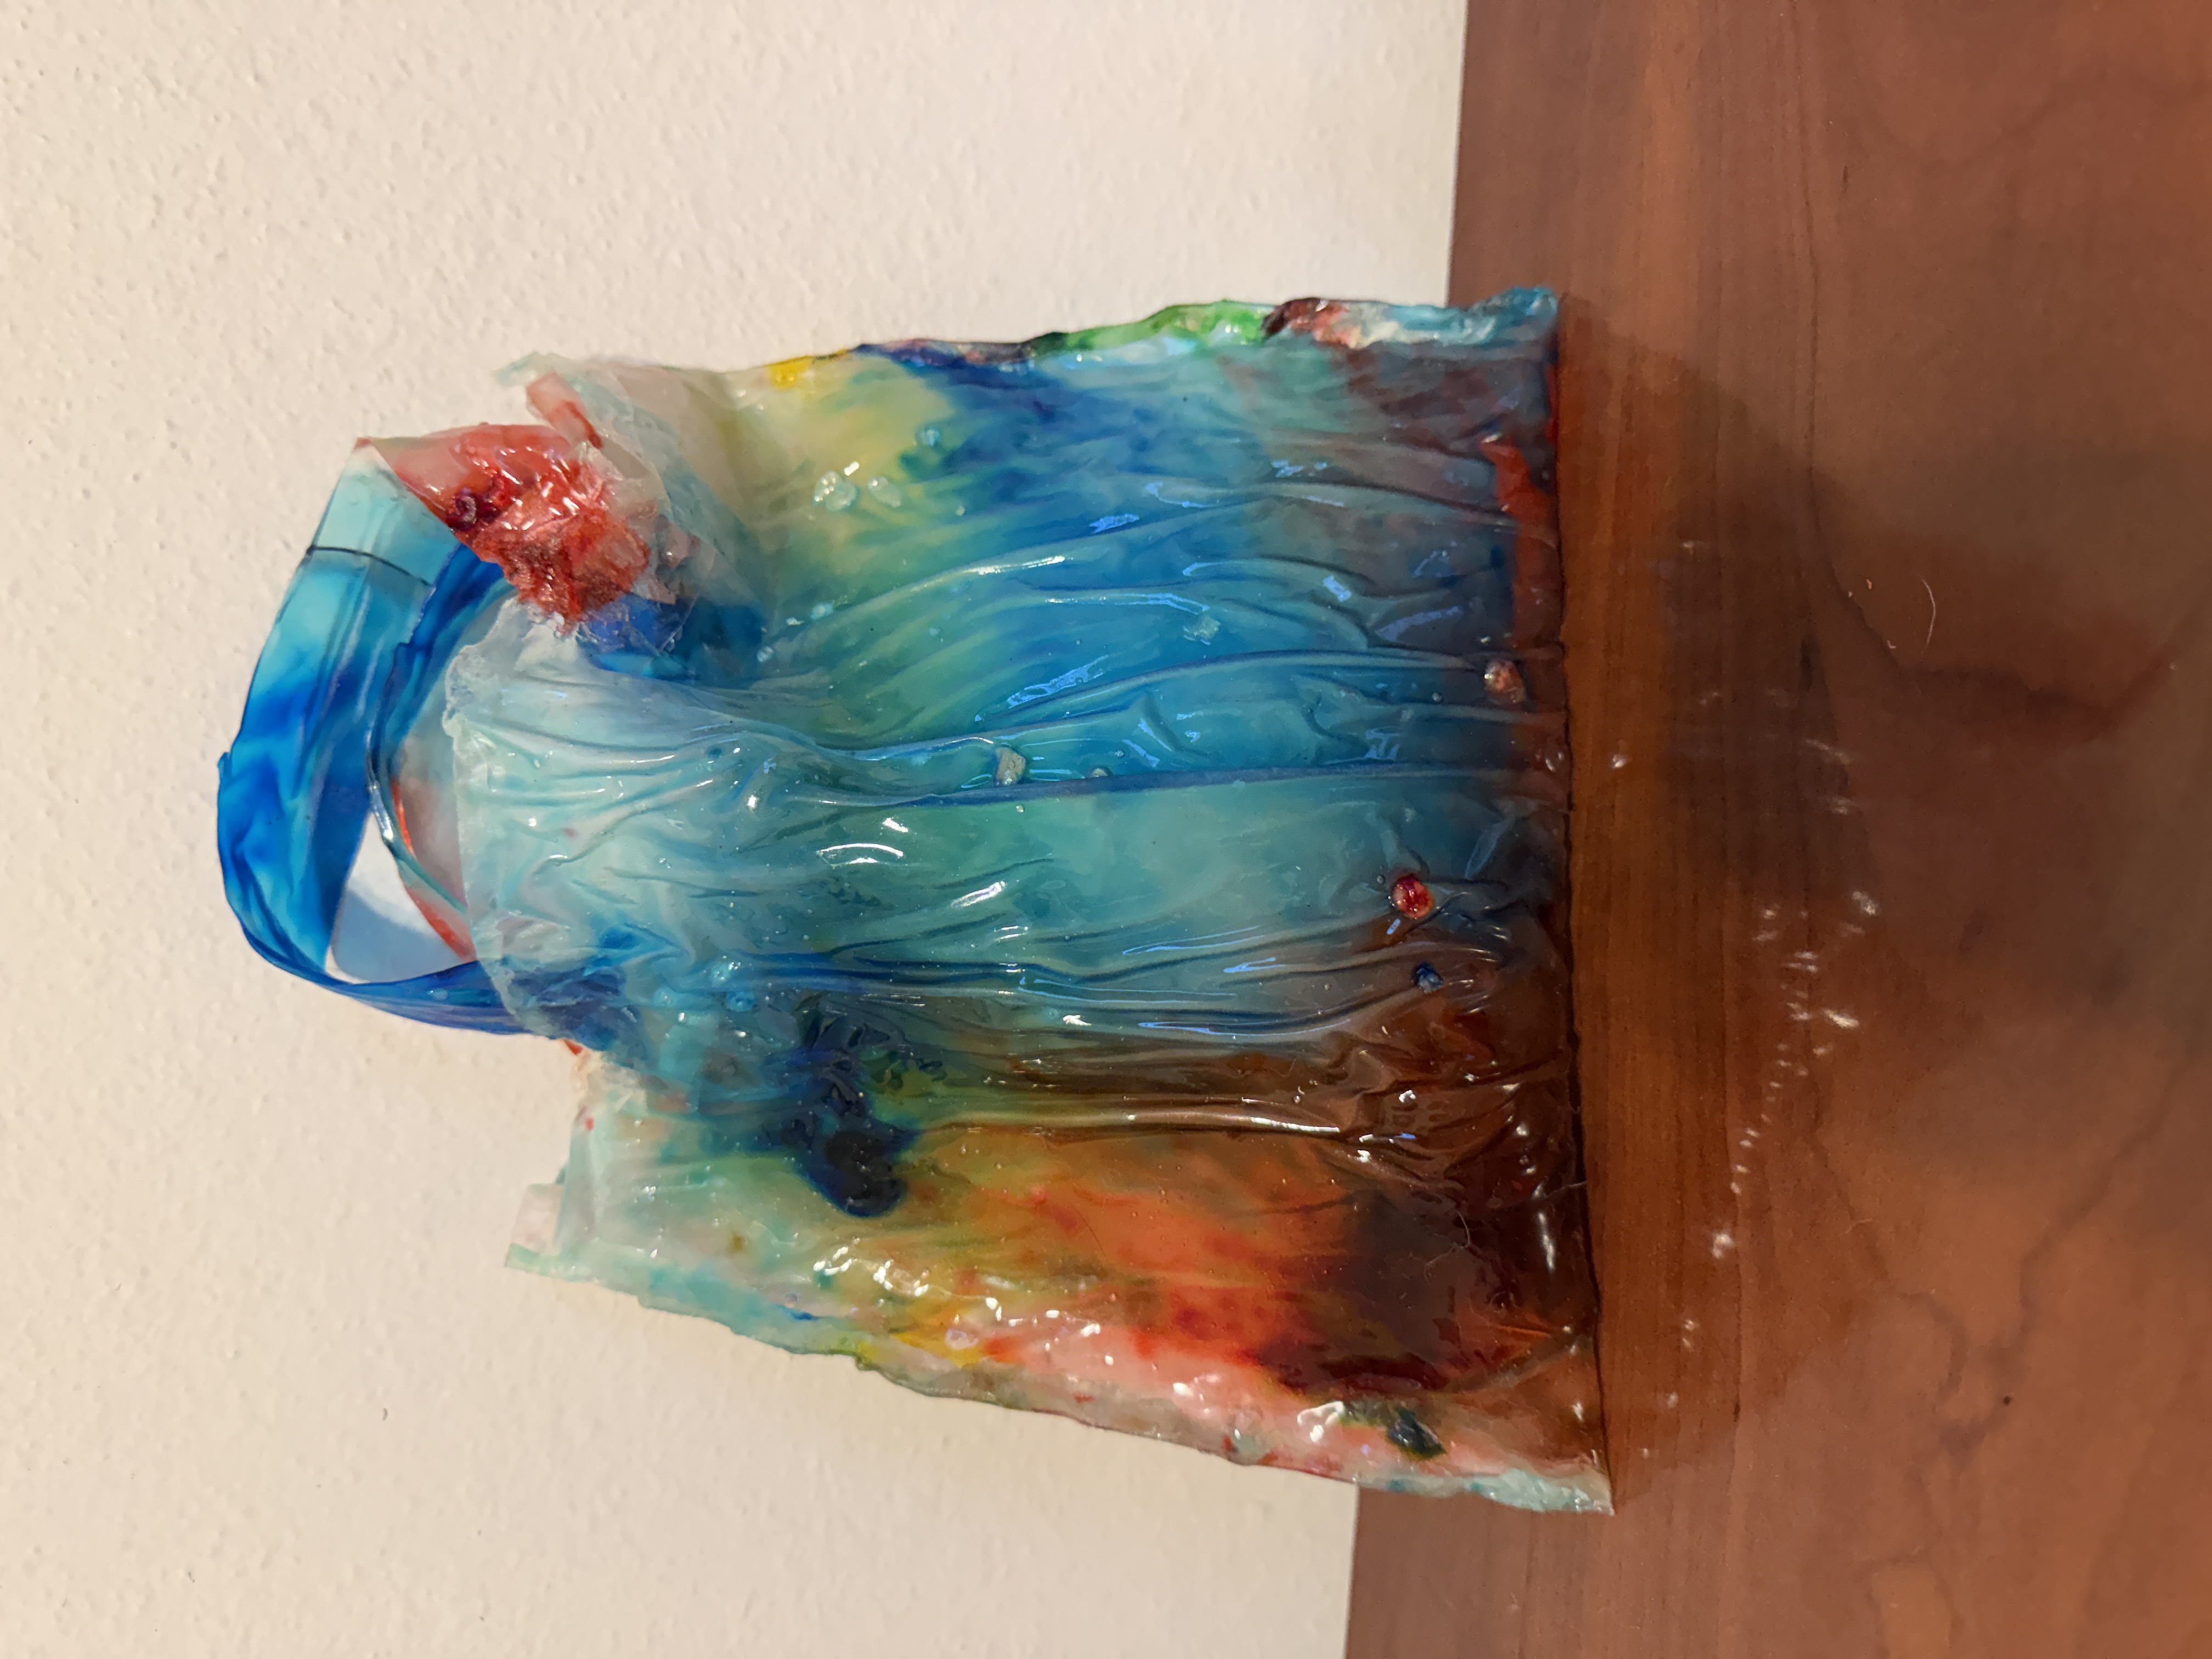
Overall students were very engaged in this lesson but there are things I will make adjustments for next time. The first adjust I would make is using a loom or bigger baking sheets so that students have ample material to create their biobags. The students enjoyed being able to create their own bioplastics but in the end there wasn’t enough material so they could make a descent size bag it was more like a micro bag. One of the things that we experienced was some groups had different consistencies to their mixtures so some groups mixtures took longer to dry than others and that pushed back the amount of time we would have to spend on this activity. With this in mind I would create more checkpoints during the mixing process to ensure that all the groups had more similar mixtures.
The assessment protocol also helped me gauge how much the students were actually leaning about the materials and the sustainability of the product. The next time I teach this lesson I would like to include a day where students are testing the bags that they created against the other groups. Some of the things I would like them to test for is flexibility, durability, and strength.
Engage students with this activity. Show students a plastic bag and a reusable bag and guide them through a discussion on sustainability of plastic.
Engage students by showing them a plastic bag and a reusable bag and guide them in a discussion. Ask them:
Then introduce the activity that will be done over the course of the next few days.
For the next few days students will not only be scientists they will also be designers seeking a way to create a reusable product. Students will then watch a short video about the sustainability of plastic and how bioplastic is an alternative and a much more sustainable product.
Walk students through the run down of the various materials that are used to create bioplastic and what their purposes are.
Explain to students the key science of bioplastics. Introduce what bioplastics are and give them a brief yet interactive rundown of each material used.
Ask students what might happen if we changed the ingredients? What properties make for a good reusable product?
Give students a brief demonstration of how to create bioplastics before allowing them to create it on their own.
During this demonstration guide students through how to make the bioplastic. Mix the ingredients safely in a sauce pan that is over a hot plate. Add 2 tablespoons water and let that heat up but do not boil. Once water is heated up sprinkle 1 tablespoon of gelatin over the water and stir until it dissolves keeping in mind not to boil. Once the gelatin is dissolved add 1 teaspoon glycerin and 1/2 teaspoon white vinegar and stir until the mixture thickens add food coloring if desired. Once mixture has thickened line your baking sheet with parchment paper and pour the mixture evenly over the parchment paper. Allow to sit untouched and dry for 24-48 hours depending on thickness. Once the demonstration has completed allow students to work in groups to complete their own mixture of bioplastic. Before students leave follow up with a brief discussion about what they think will happen as the mixture dries?
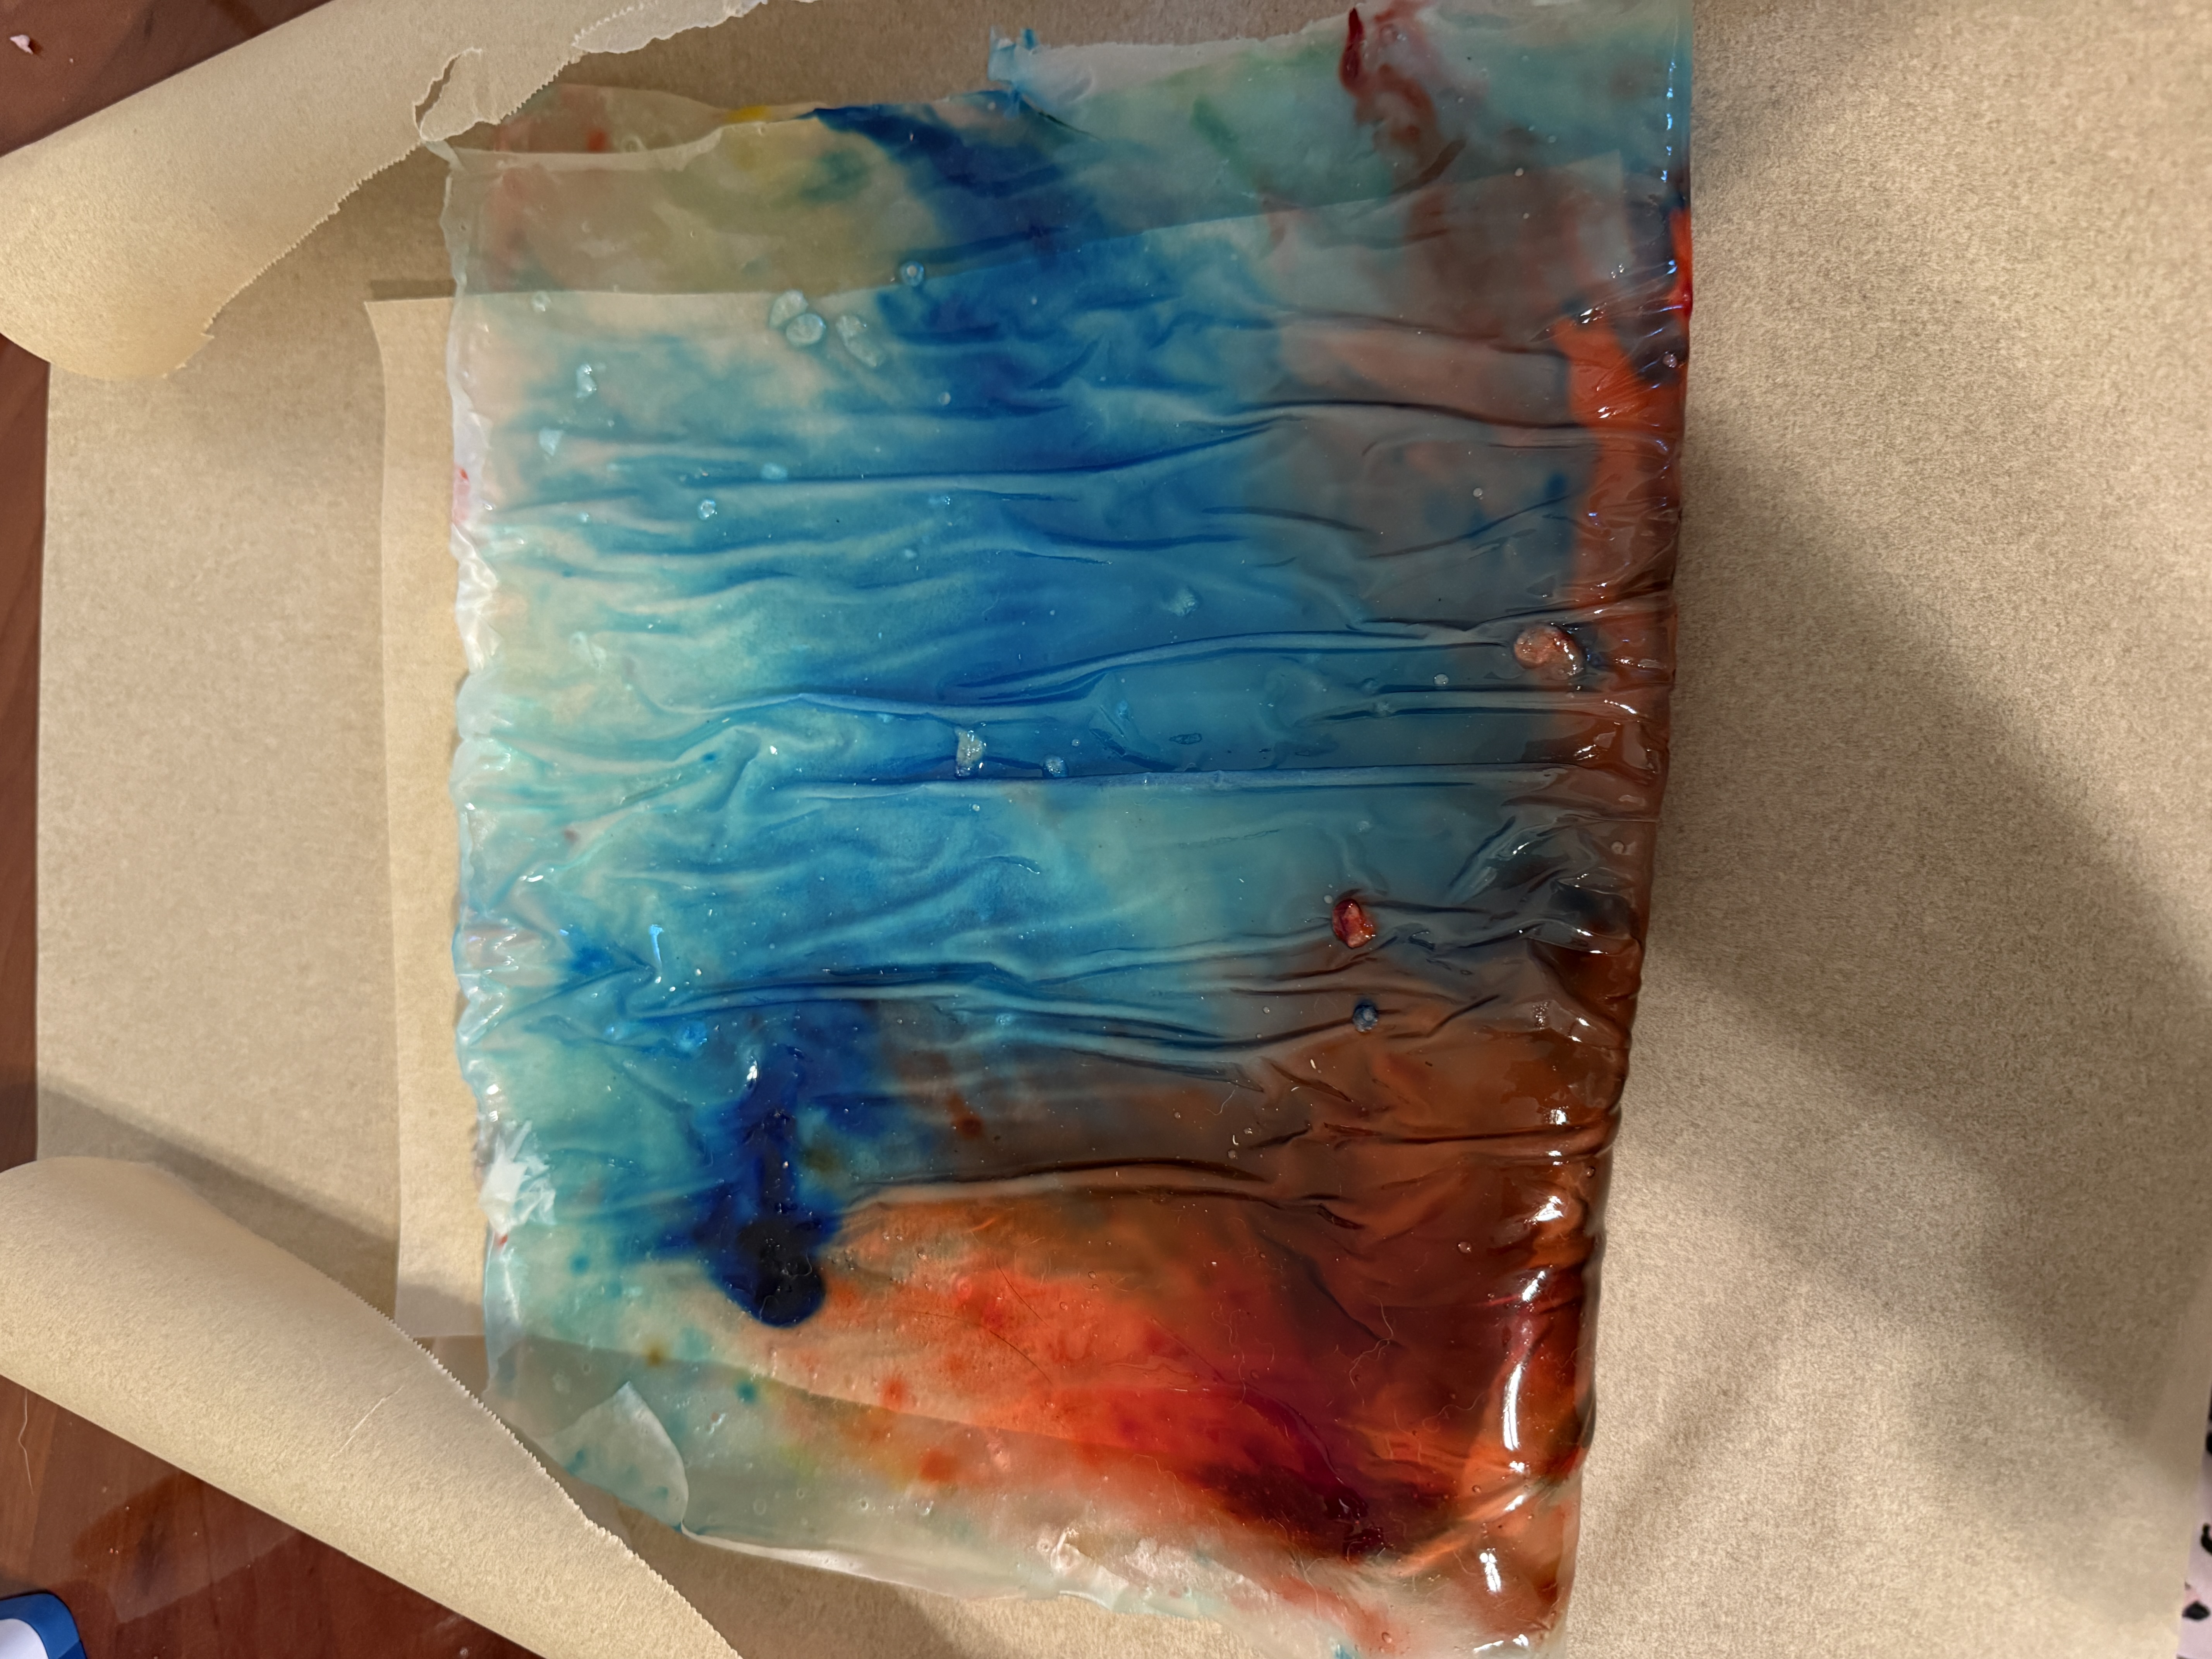
The following day allow students to make observations about the state of the bioplastics. Engage them in a brief discussion.
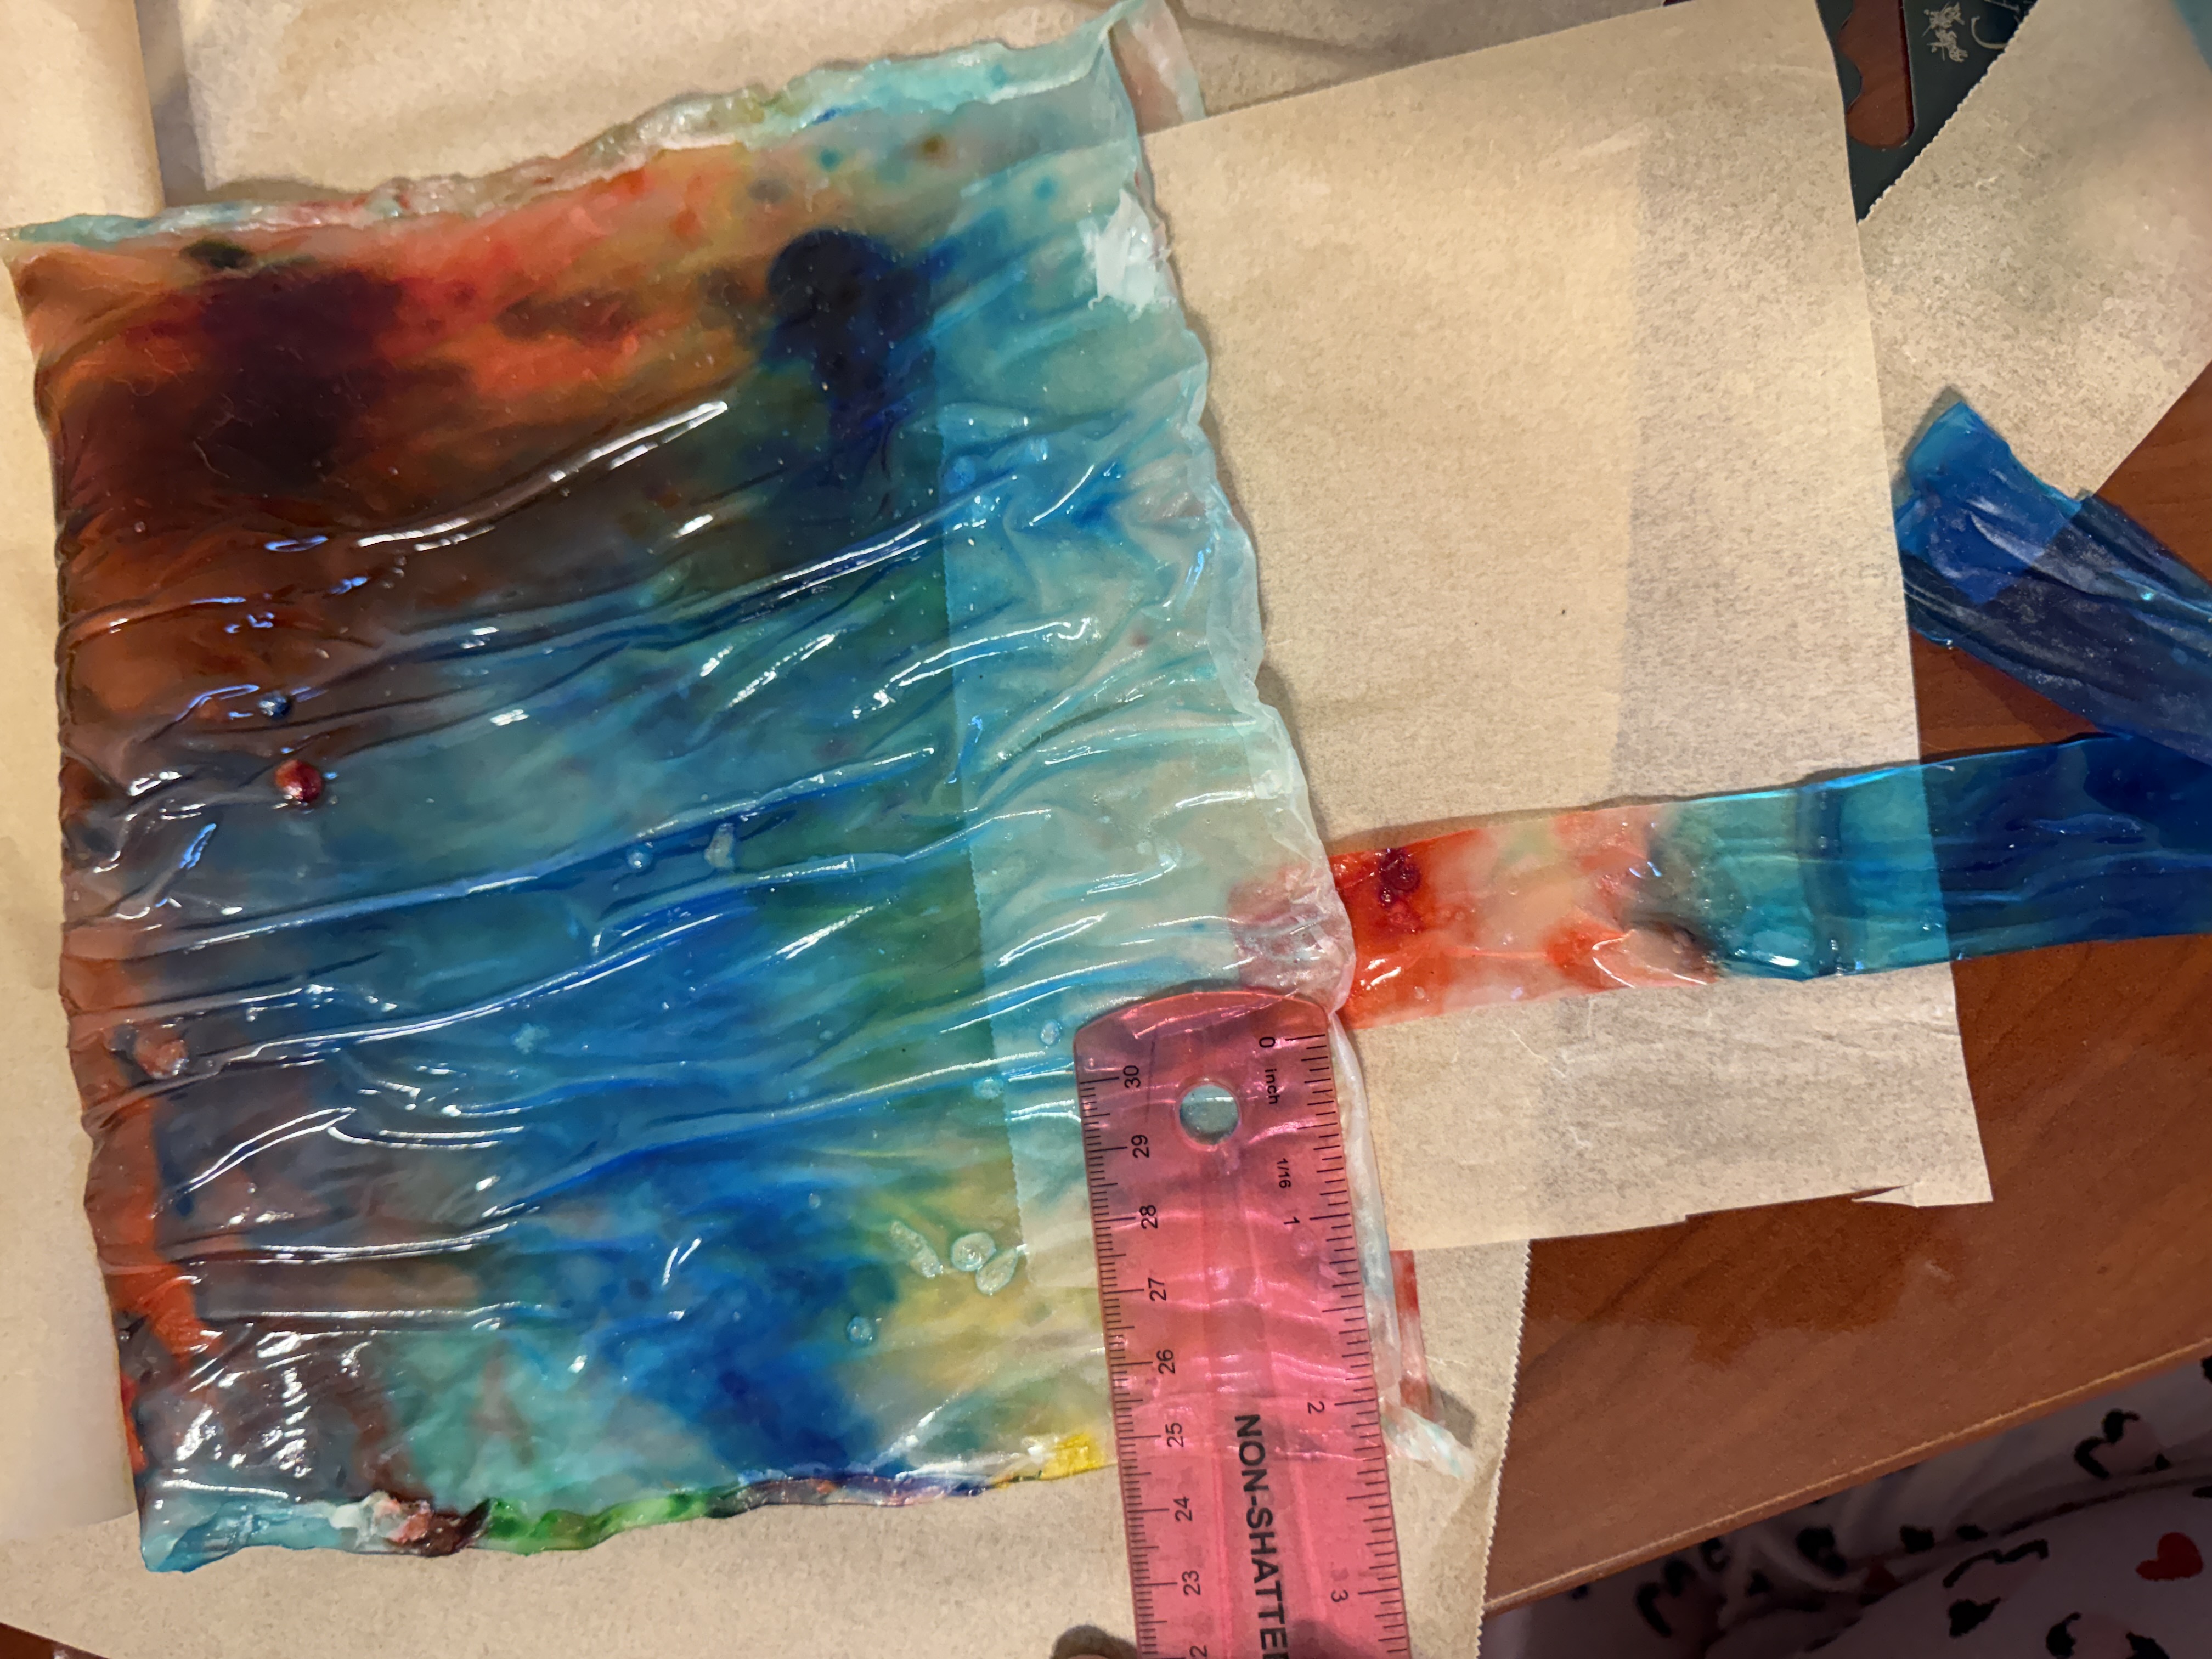
Allow students to observe their dried bioplastics and ask what has changed about their bioplastics and and what properties do they notice?
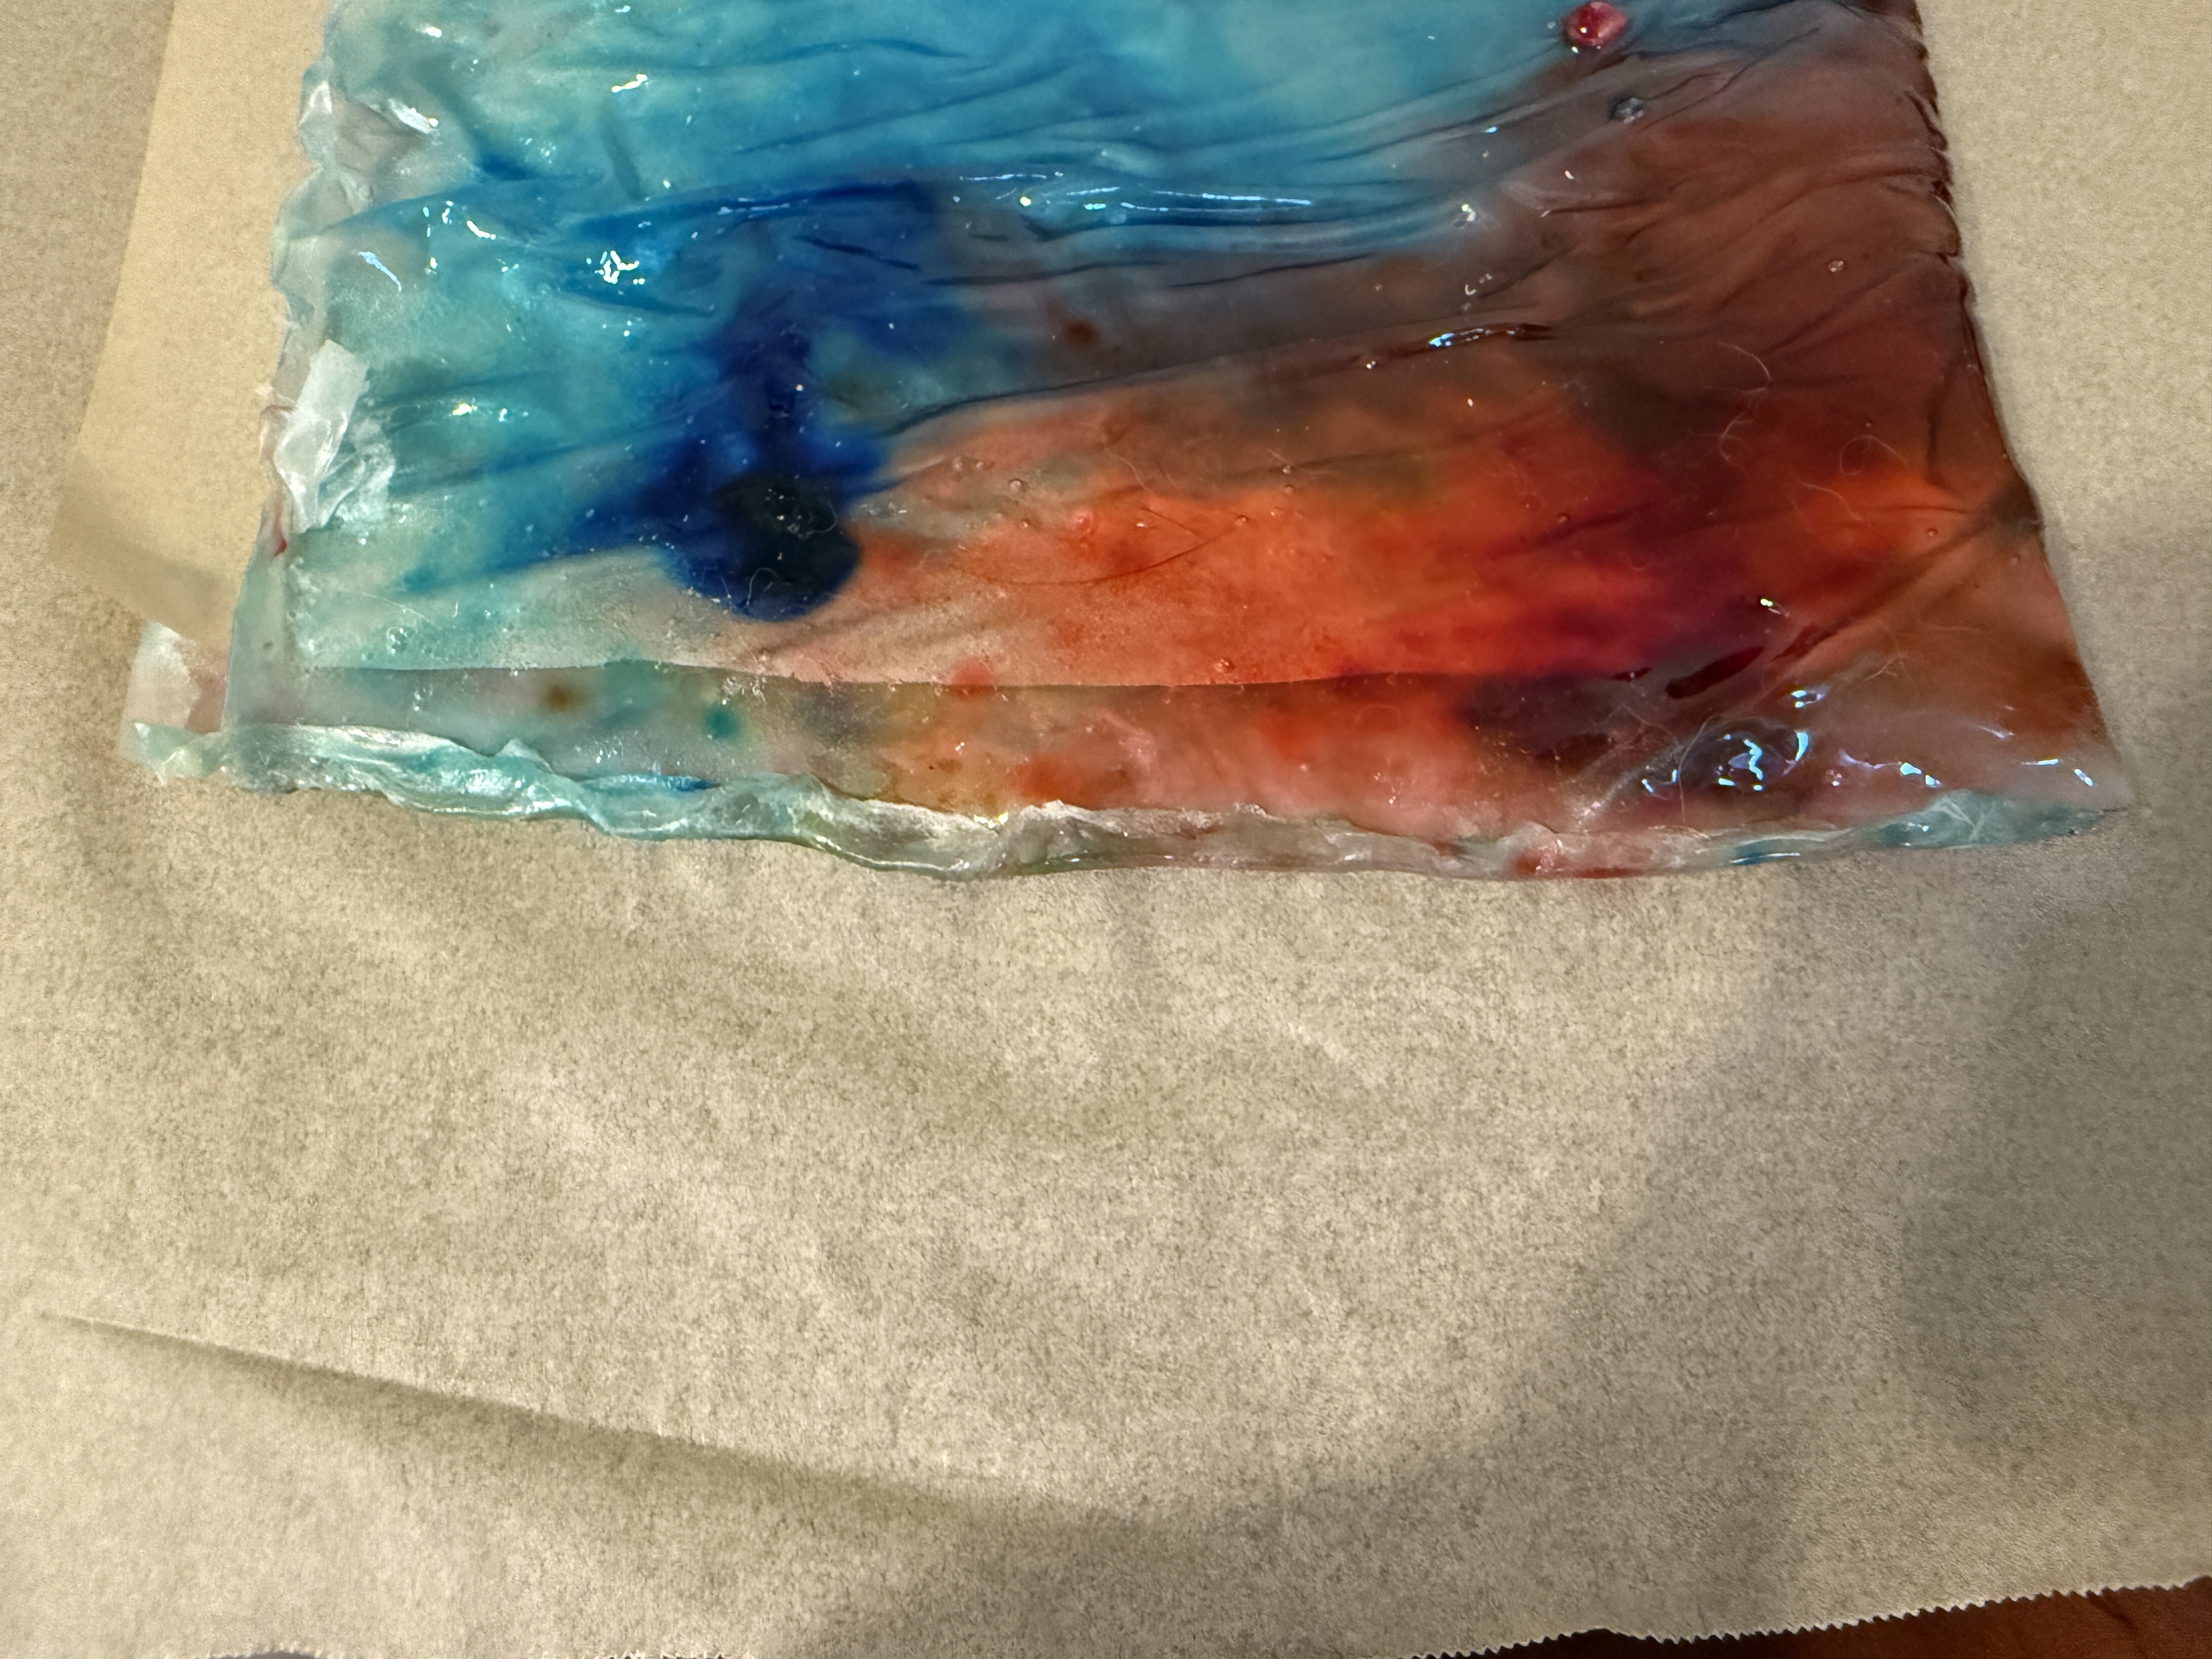
Then present to them that they will be designers today and will need to design a reusable bag using the bioplastic that they have. Allow students time to design their product.
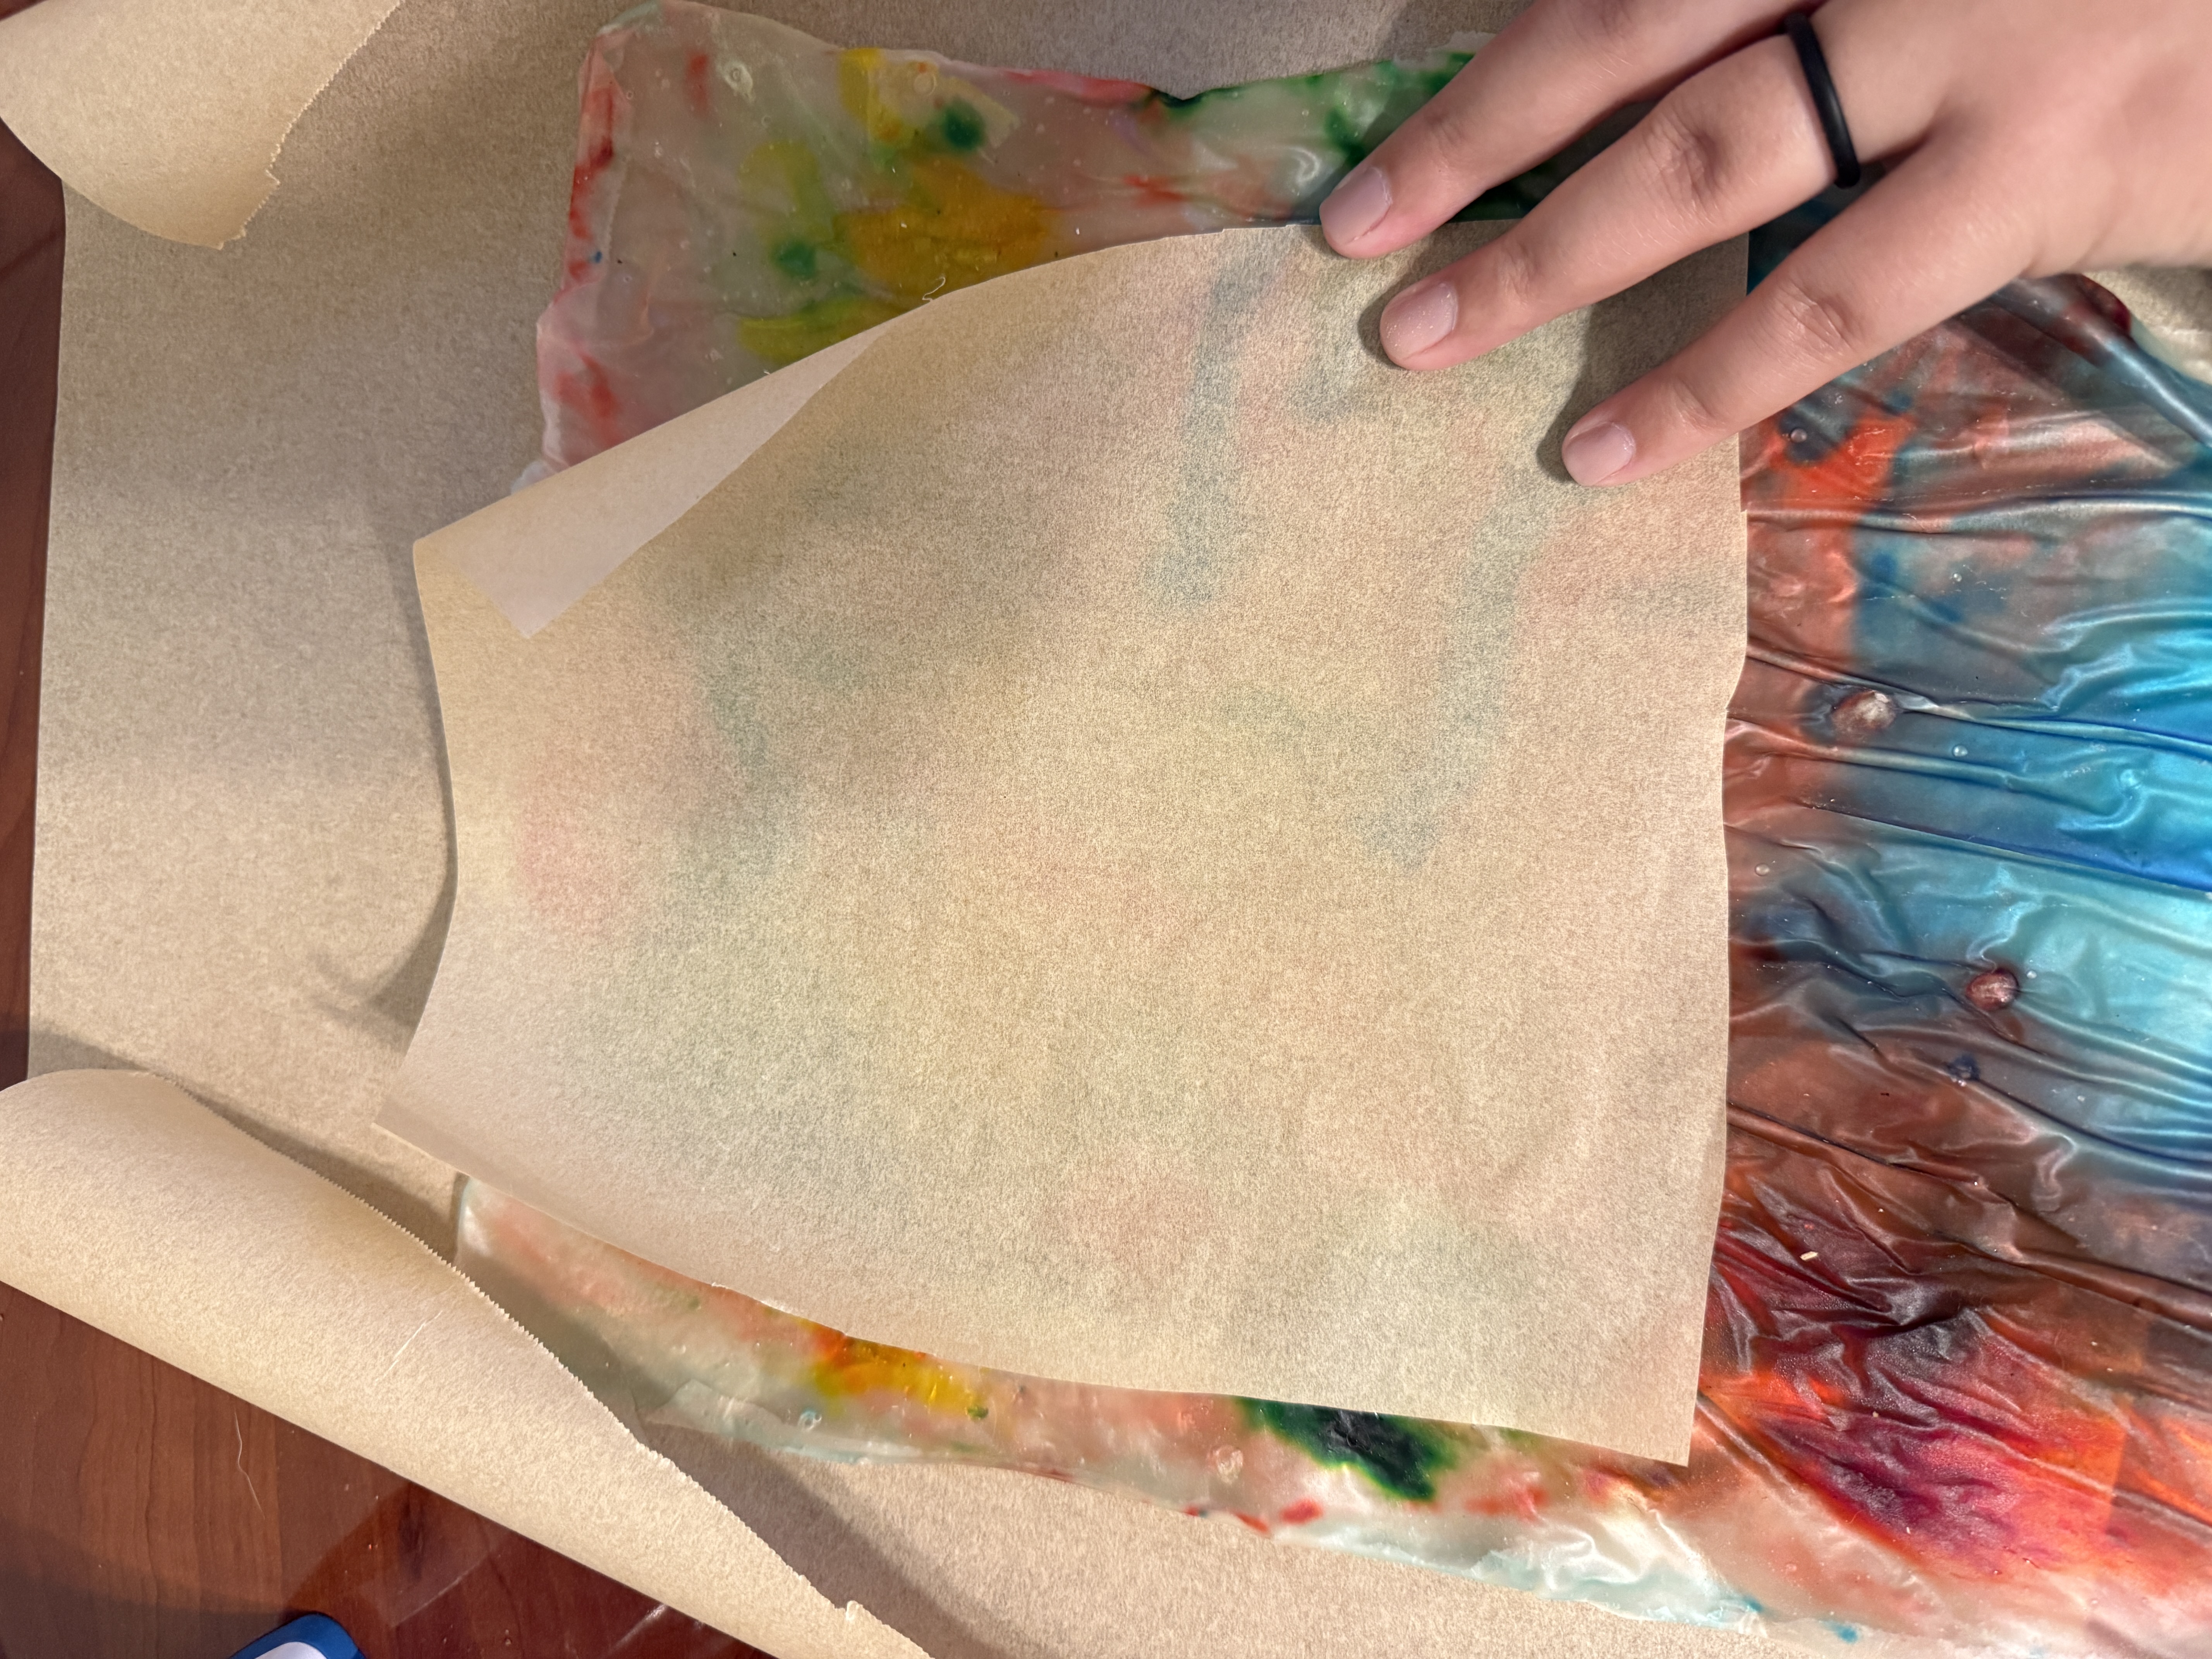
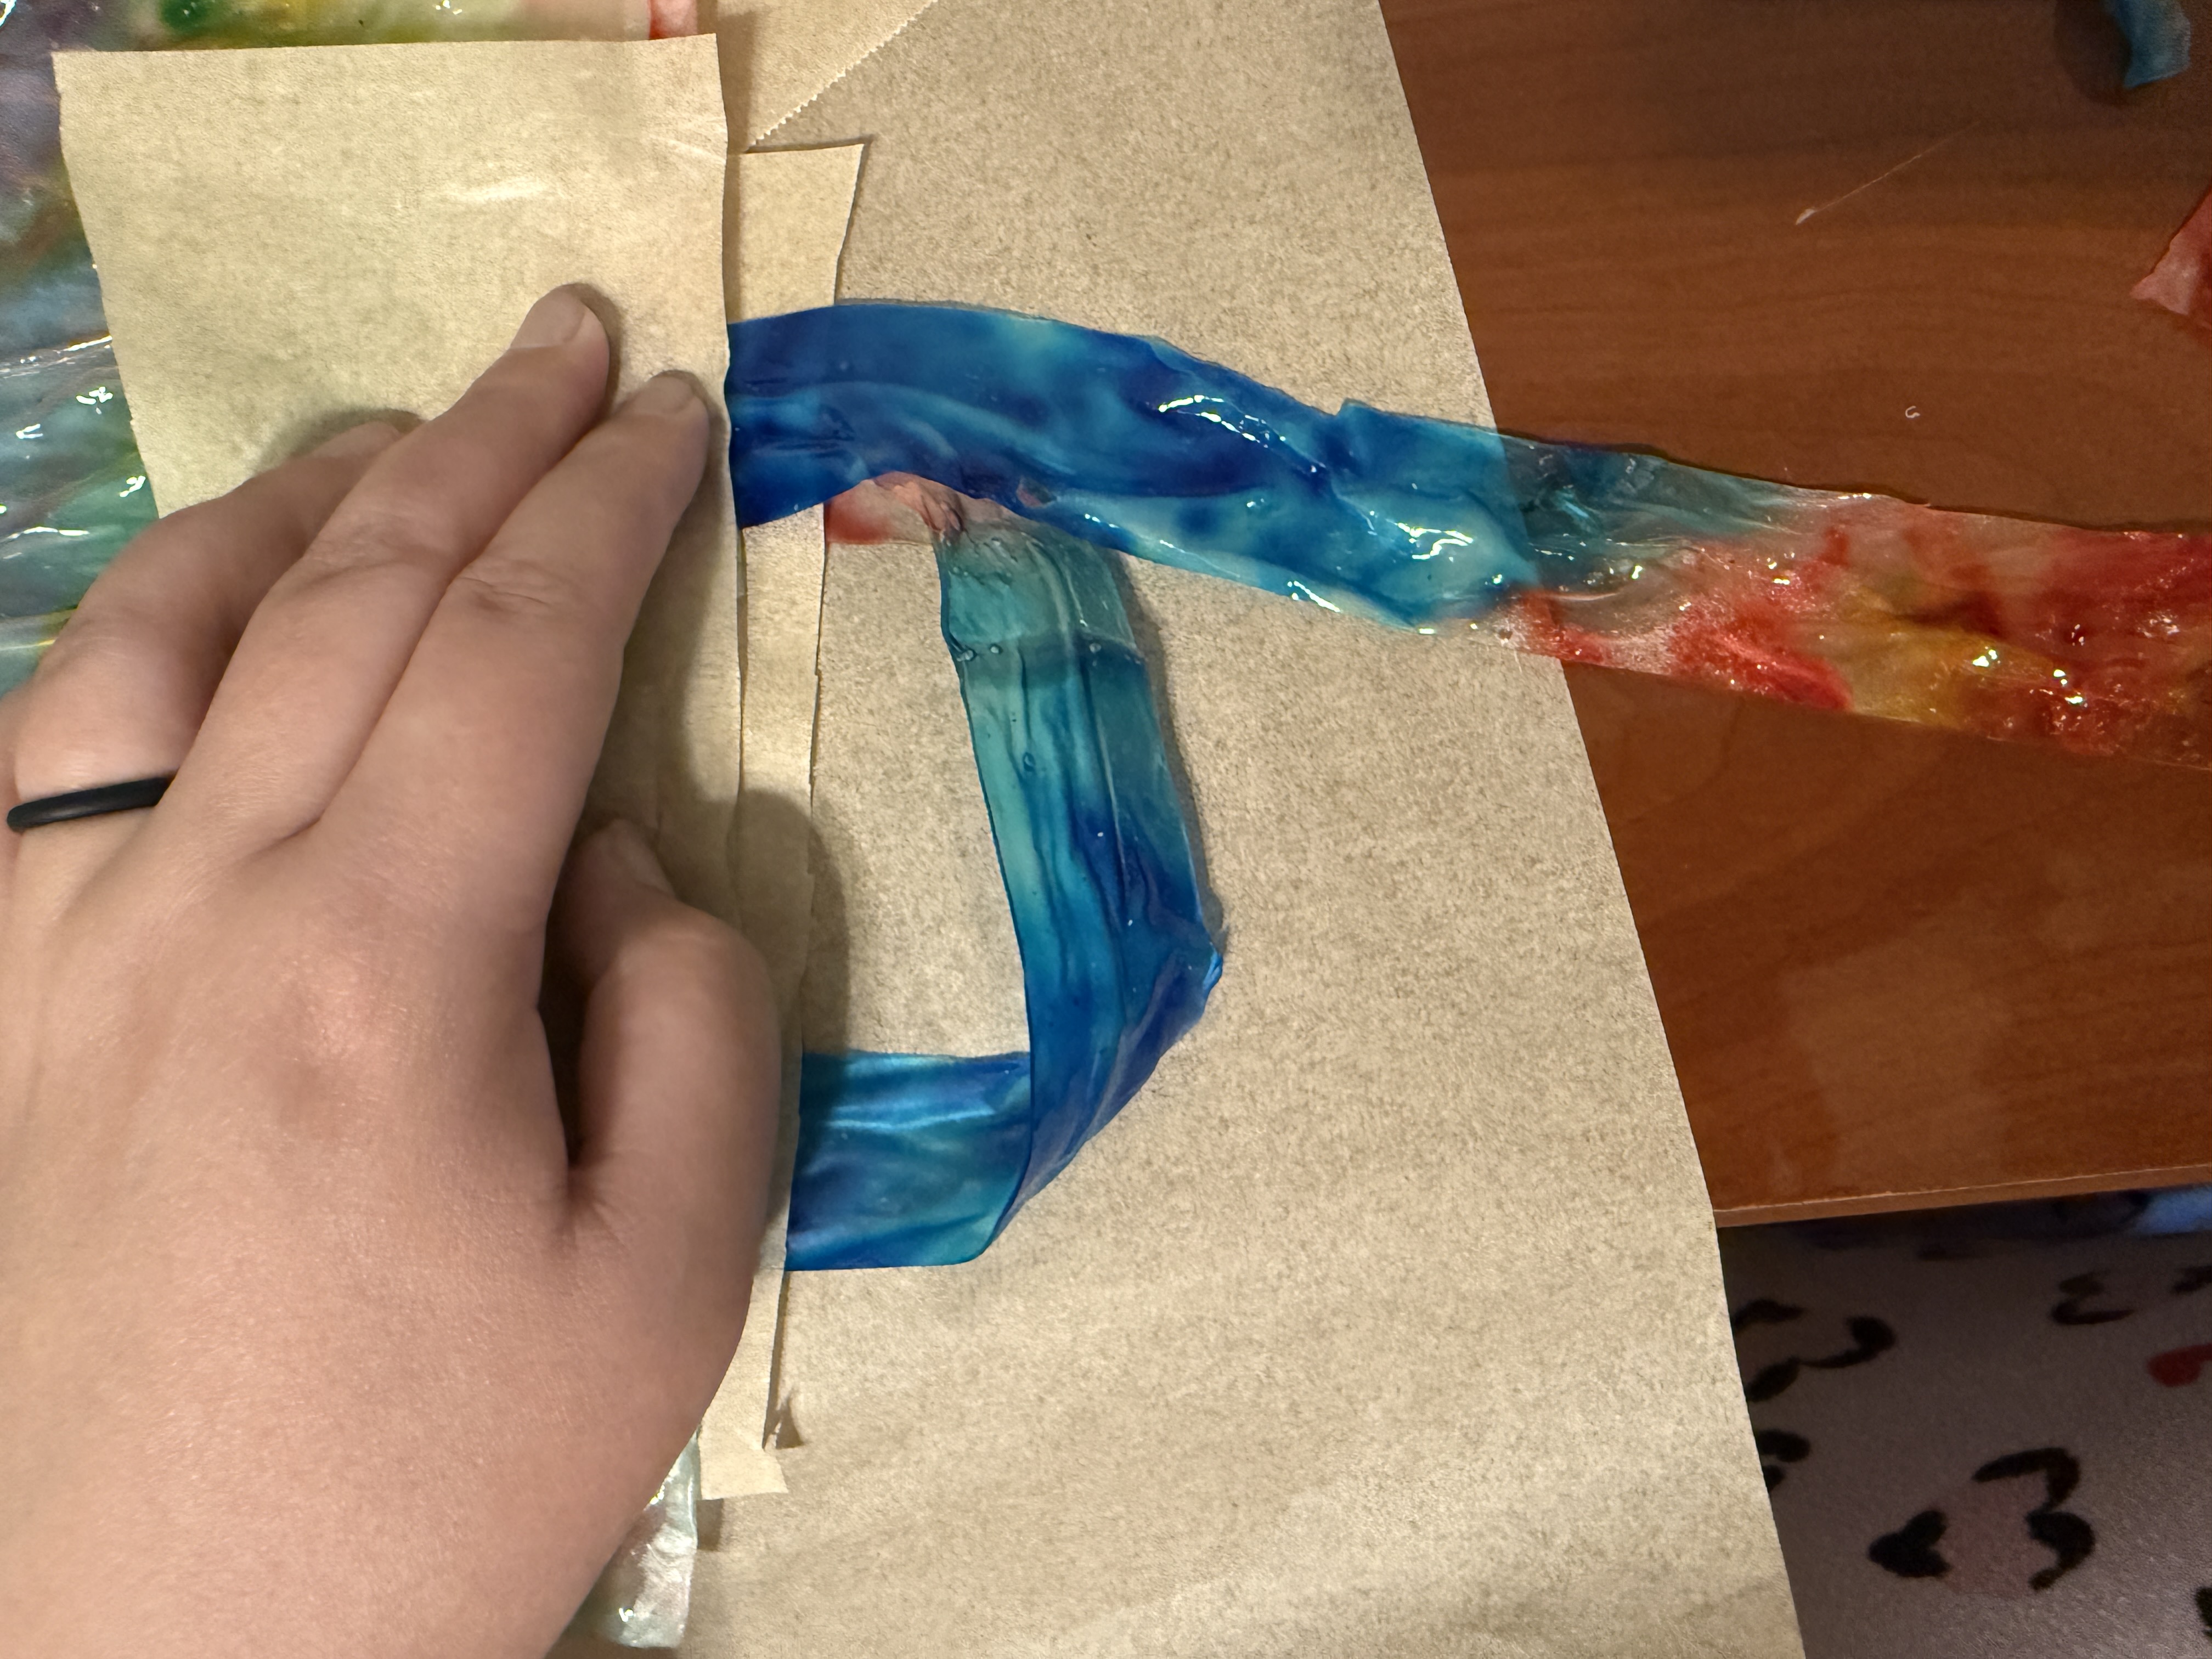
Once students have had a chance to design their bag allow them to construct their bag.
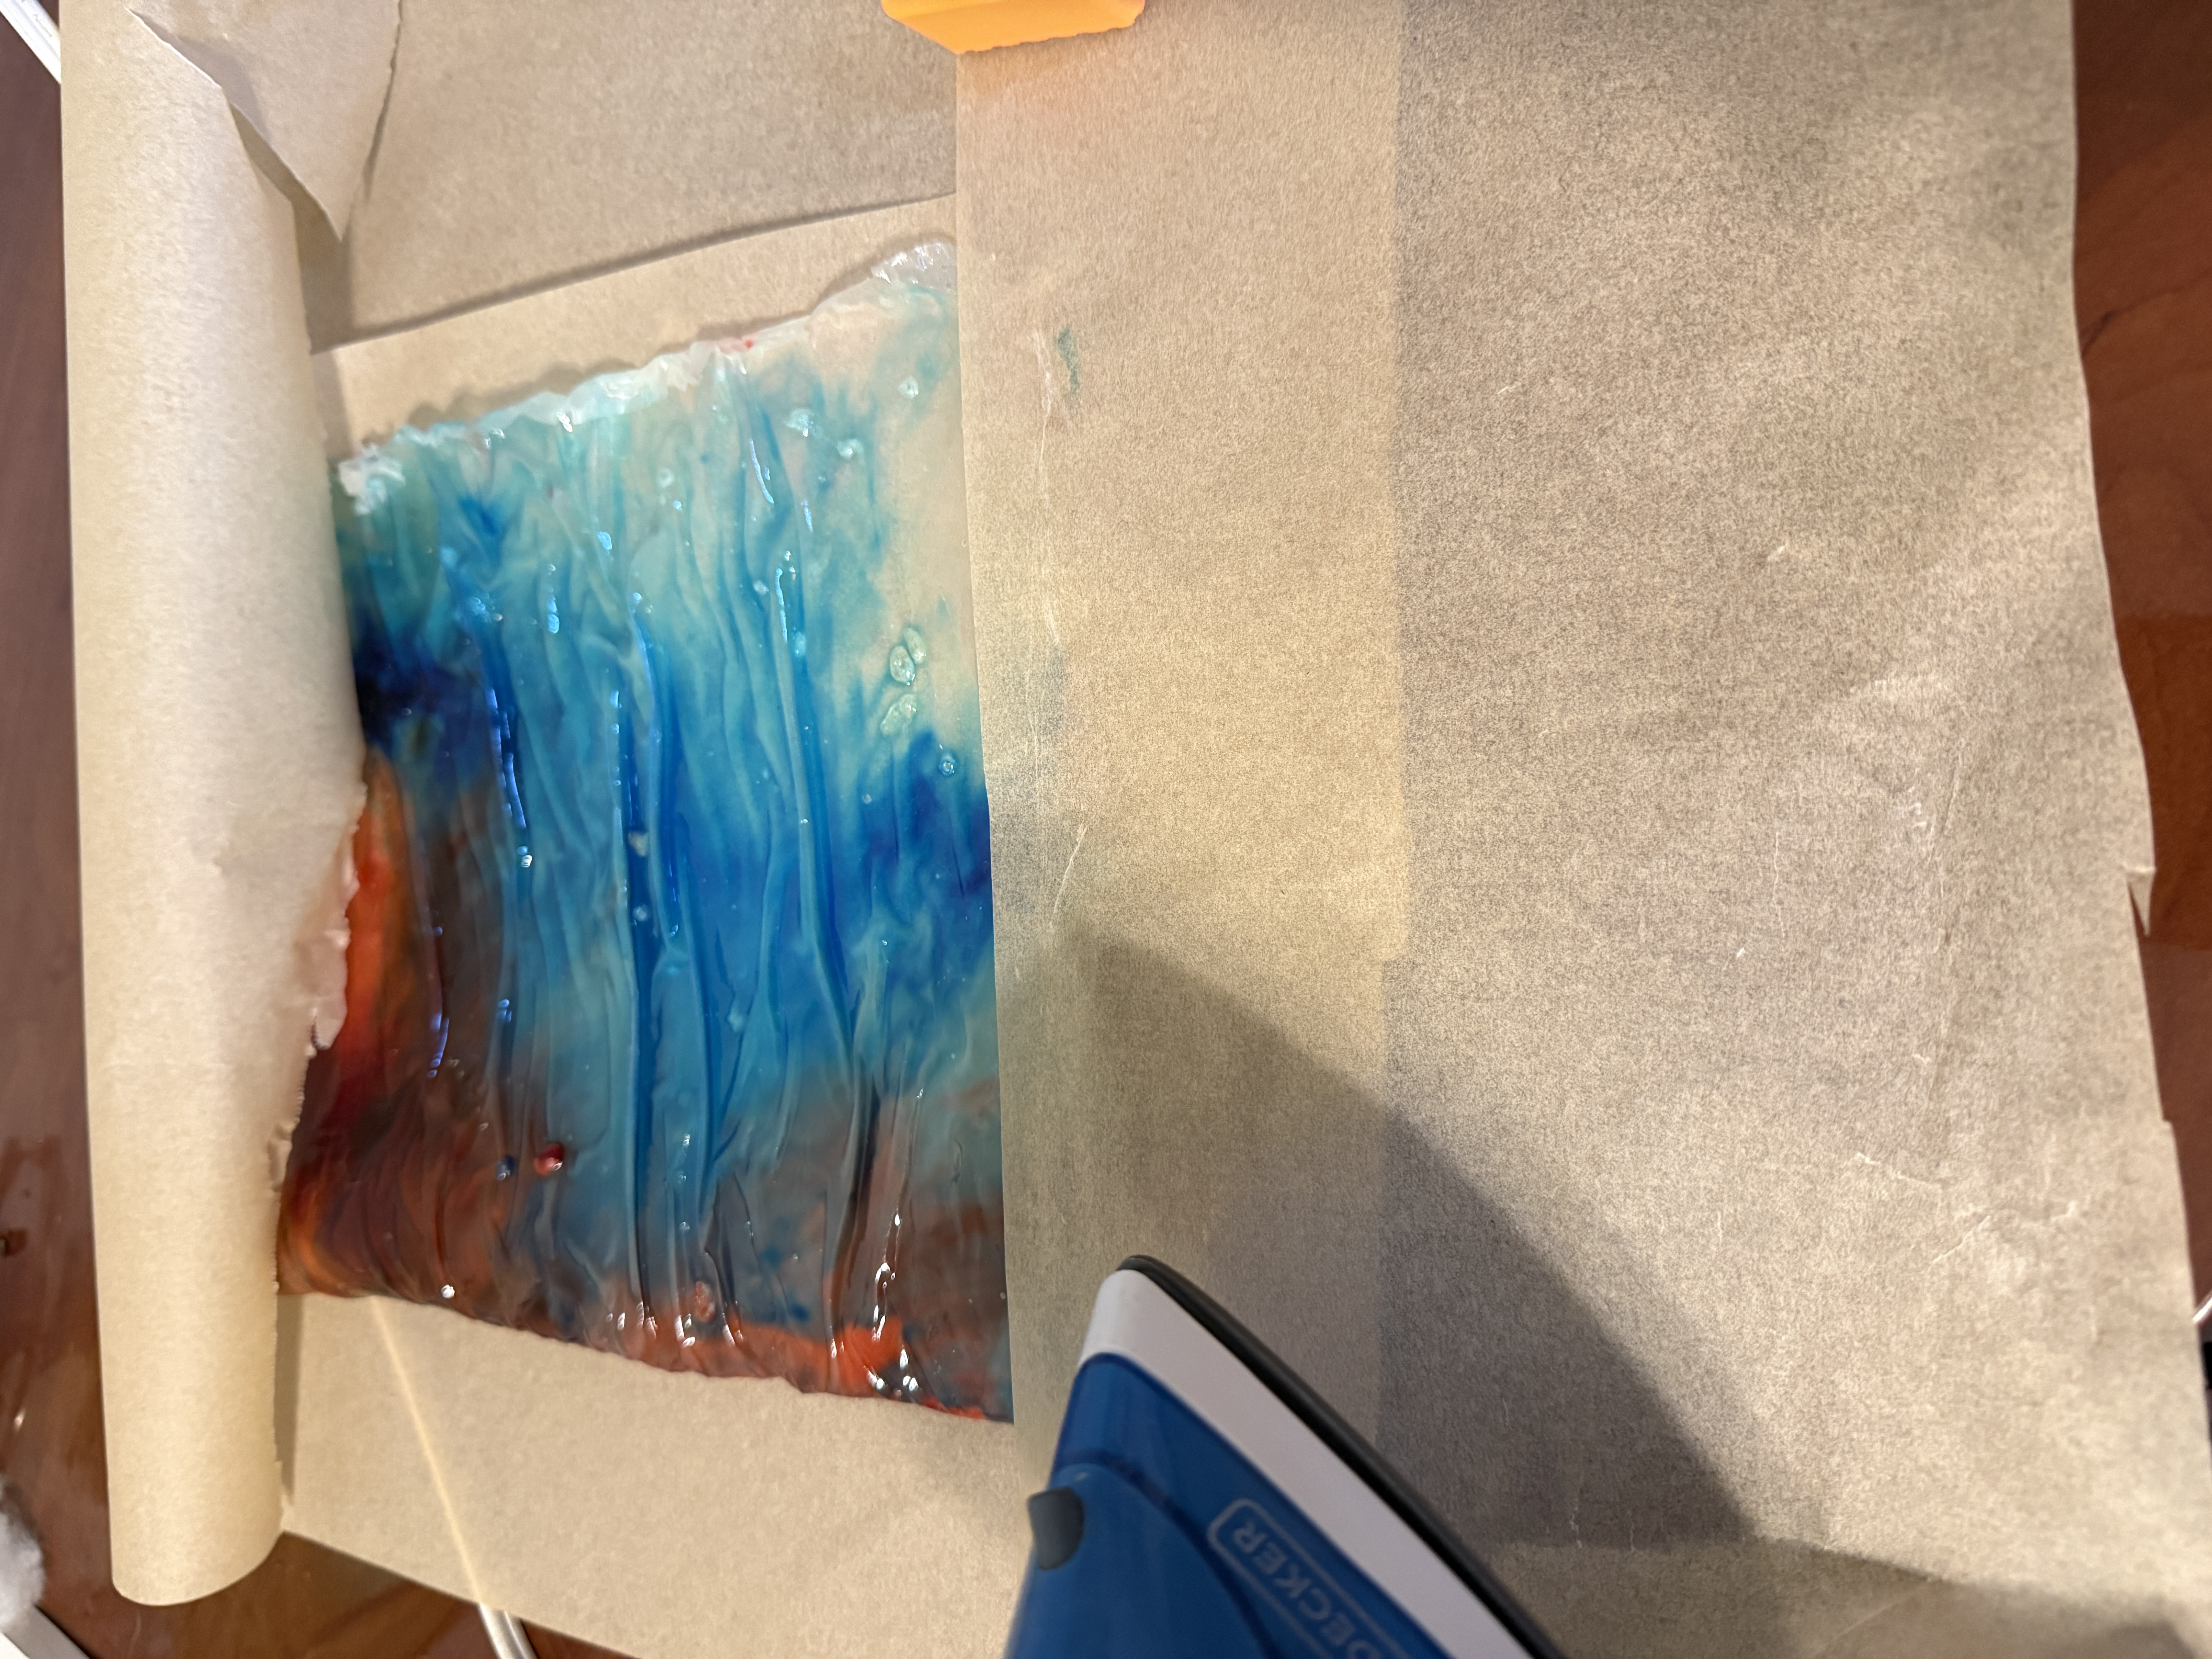
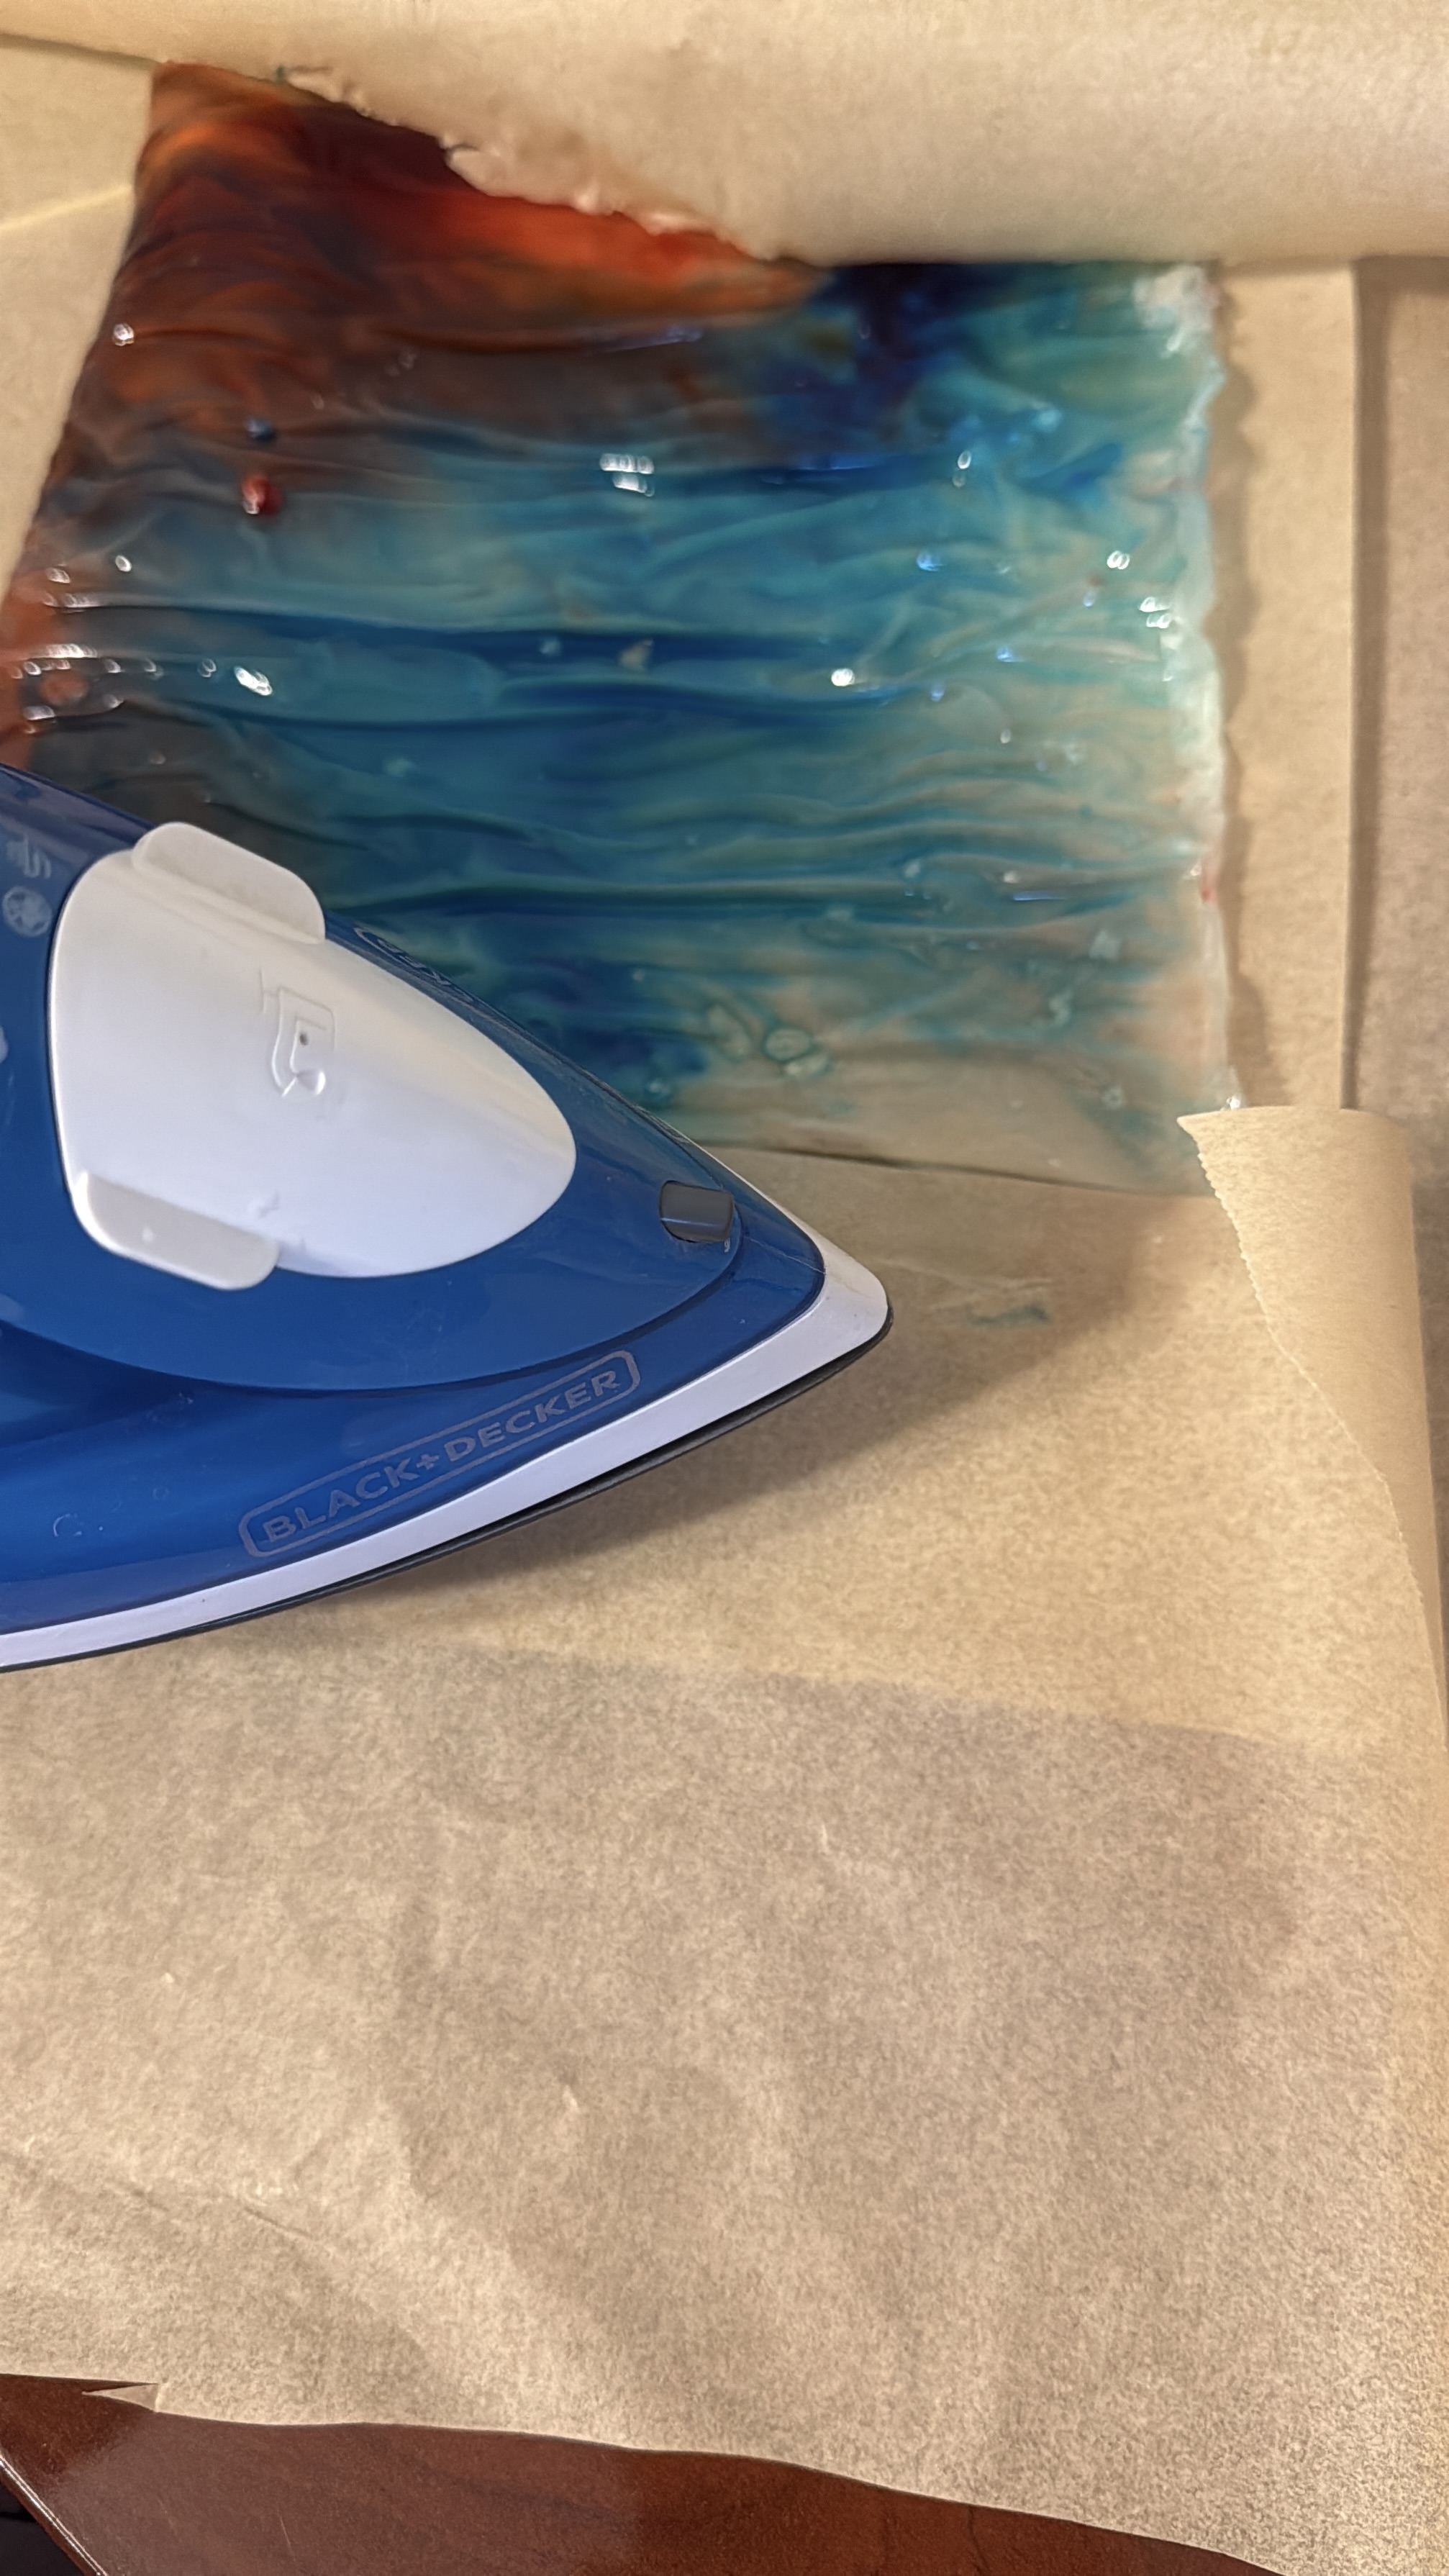
After students have had a chance to design their bag allow them time to construct their bag. Give students a demonstration of how to use the iron on the bioplastic and go over safety. Once students are familiar with the safety allow students to use the iron with direct supervision and support. Inform students that the bioplastic does not need a lot of heat or it will melt and mess up the bag.
Once students have construct their bag and have a final product instruct students to reflect on their bag and how it will be more sustainable than conventional plastic.
Once students have constructed their final product instruct students that they need to reflect on what they have learned throughout this activity. Ask students to create a short video of how they created the bioplastic necessary to construct their bag and how it will be more sustainable for the environment versus conventional plastic.
Having trouble? Let us know by completing the form below. We'll do our best to get your issues resolved quickly.
"*" indicates required fields