
- Loading…

Science, Social Science, Environmental Studies, Computer Science, Mathematics, and Fab Lab instructors can contribute.
Material Required
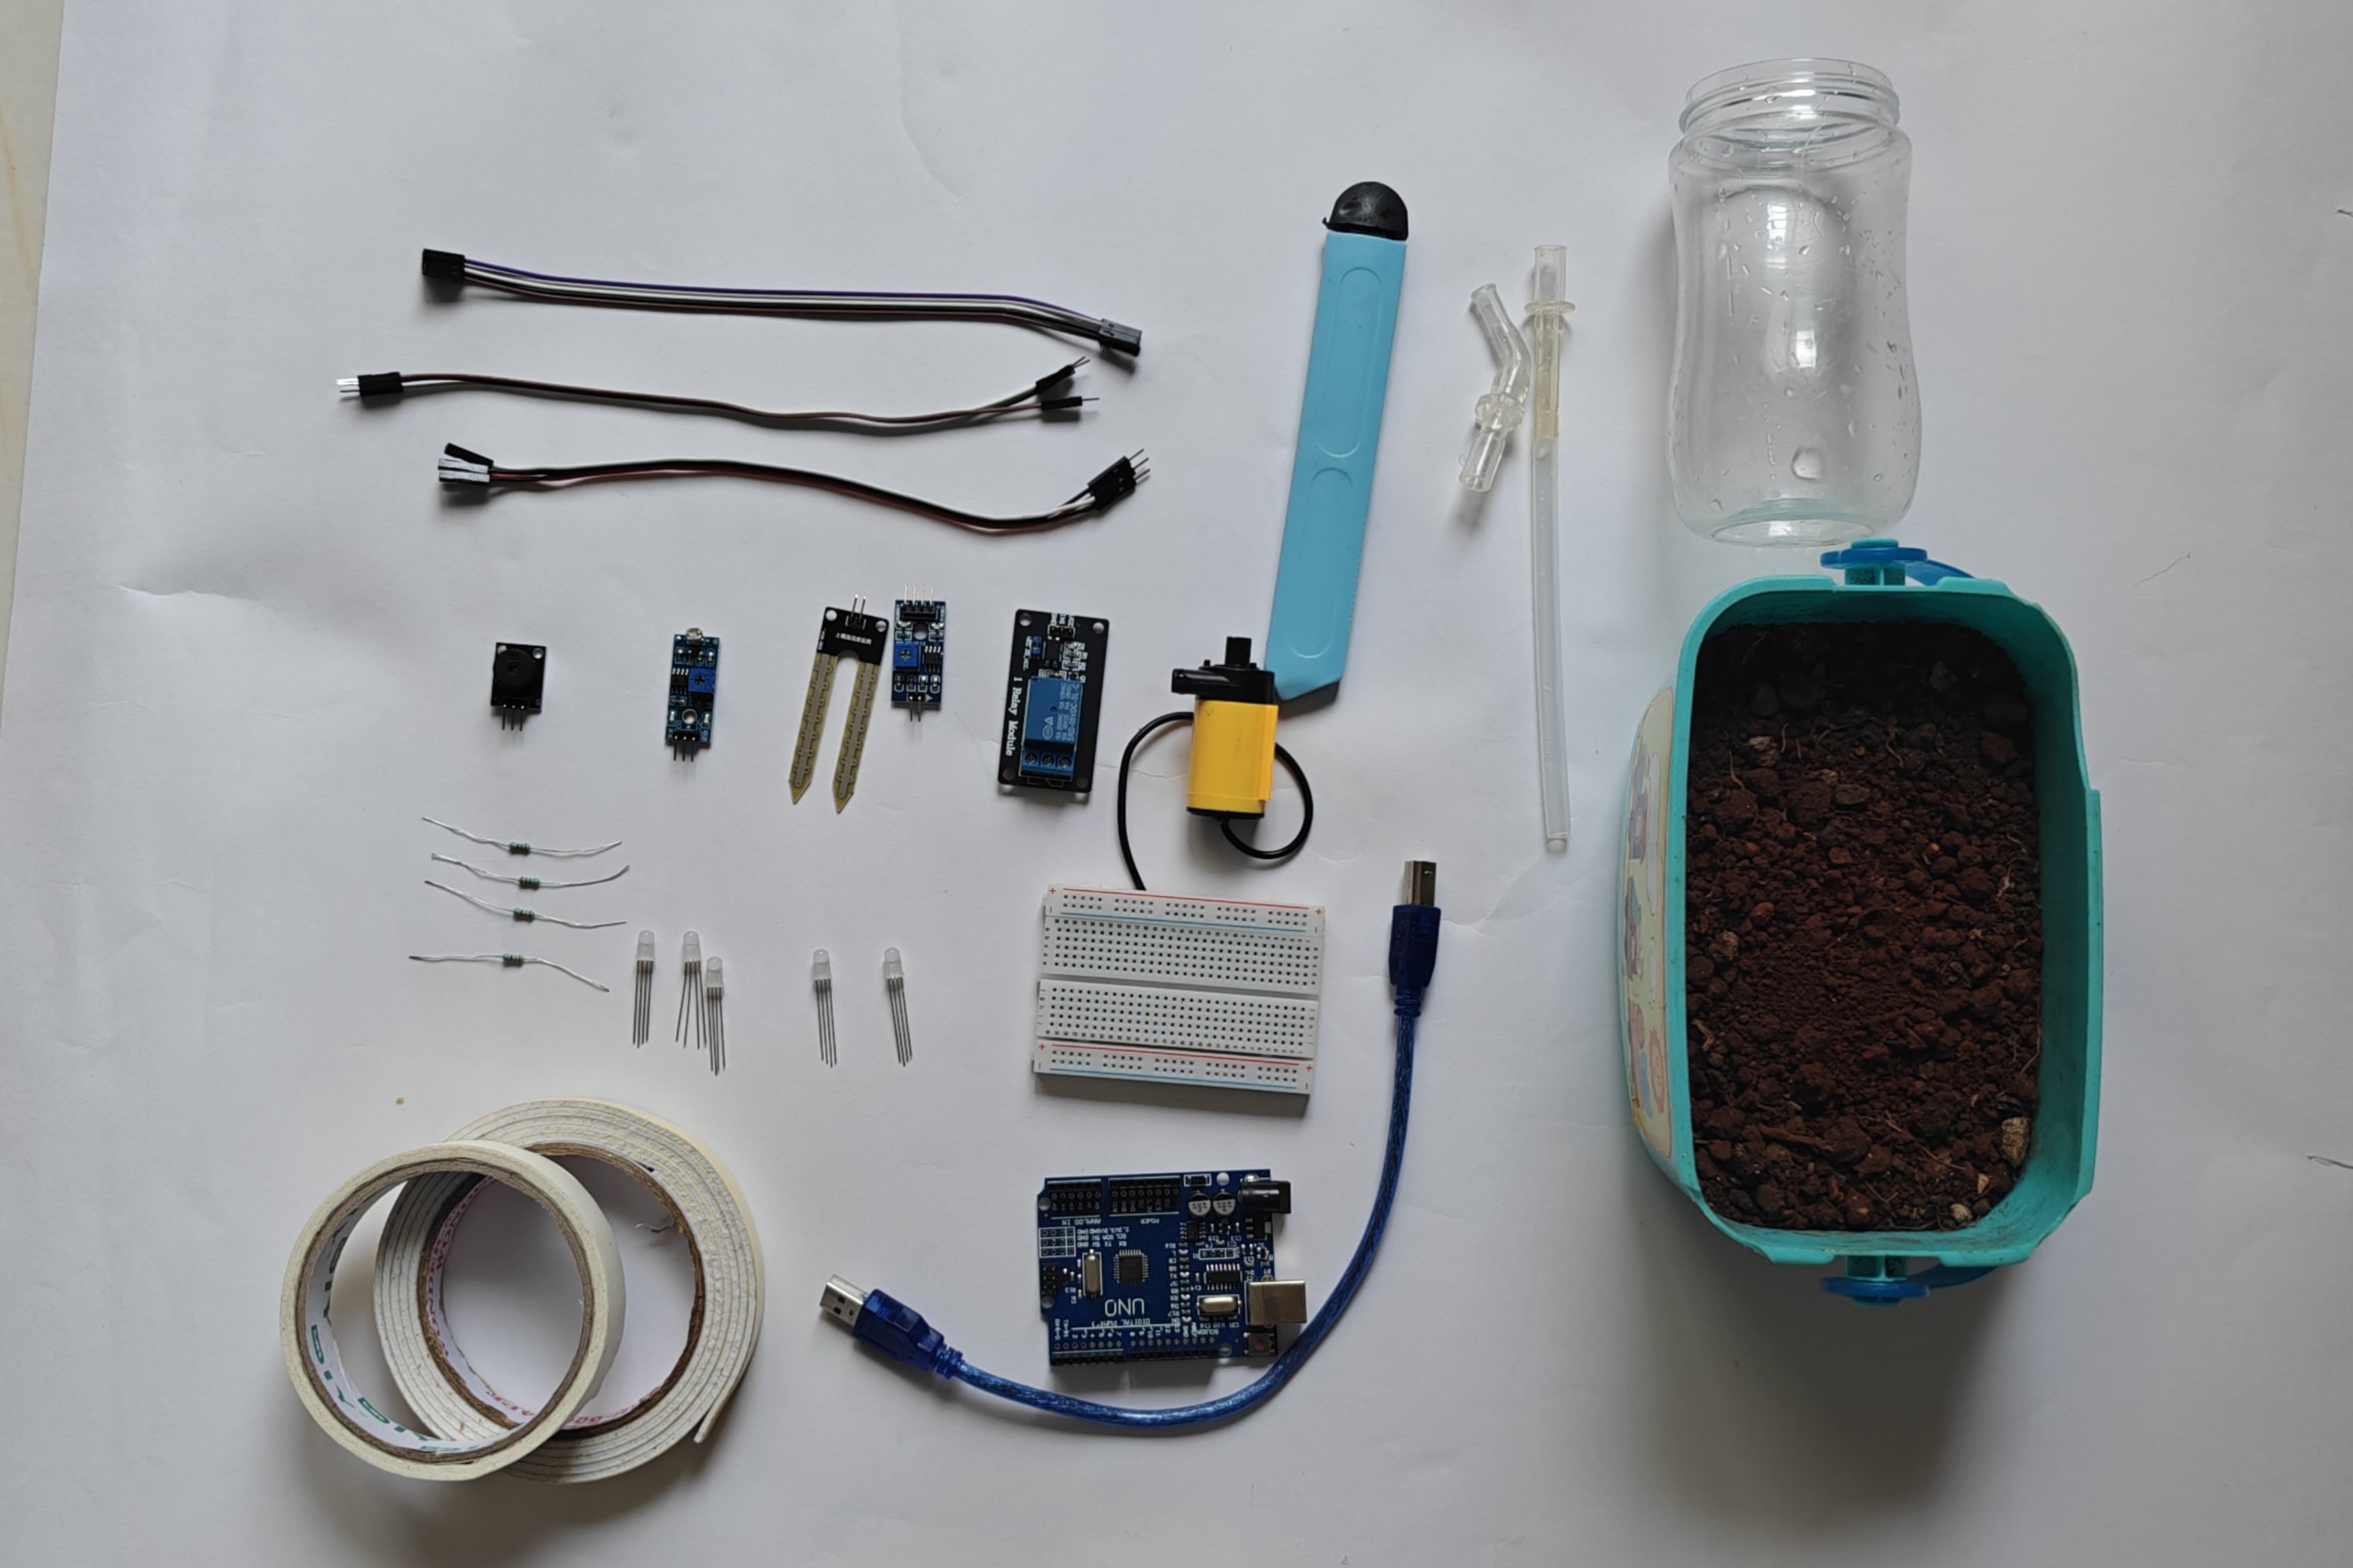
1. For growing plant
2. Electronics
3.Other
Understand plants
Investigate like a scientist
Work with sensors
Think computationally
Build and make
Connect it to the world
Communicate their work
This project started with a simple question: Can we water a plant automatically? But asking why a plant needs water led us to explore light, air, nutrients, soil, and even how people grew plants in the past.
One good question can naturally connect many subjects. My biggest learning was that true interdisciplinary learning comes not from the technology we use, but from the questions we ask and the curiosity they create.
I learned that technology works best when it comes after understanding the problem. Students first experience the challenges of caring for a plant, which makes them genuinely interested in using sensors. I realised that the slow experiments and observations were more valuable than simply building a working circuit. Even deciding what “dry soil” means made students use their own data and reasoning to make a decision.
Students observe the plant and identify its basic needs. They also explore different types of soil by comparing their colour, texture, and appearance, and discuss how soil may affect plant growth.
.jpeg)
.jpeg)
Students begin by observing a plant and discussing what it needs to stay healthy. They then explore different types of soil by observing and comparing their colour, texture, moisture, and appearance. Through hands-on observation, students start connecting the characteristics of soil with plant growth and plant needs.
Students expose plants to different amounts of water and sunlight and observe the changes over time.
.jpeg)
.jpeg)
.jpeg)
Students experiment with plants by giving them different amounts of water and sunlight and observe what happens over time. They look for simple changes such as leaf colour, drooping, growth, and how wet or dry the soil feels. They record and compare their observations and discuss what helps a plant stay healthy.
Through this activity, students experience a real challenge: it is not always easy to tell exactly what a plant needs just by looking at it. This naturally leads them to think about how we could help the plant communicate its needs. They will try to understand the language of plant.
After observing the plants and seeing how they respond to different amounts of water and sunlight, students are introduced to a real-life challenge.
In this step teacher starts by asking:
“What if we are not around to check the plant every day? How would we know if it needs water or more sunlight?”
Students share their ideas based on what they have seen during the experiment. They might suggest touching the soil, looking at the leaves, or checking how the plant is growing.
The teacher then takes the discussion a little further:
Students think about possible solutions and share their ideas. Technology is not introduced immediately. Instead, students first understand the problem and realise that simply looking at the plant may not always be enough.
The teacher then introduces the challenge:
“Can you find a way to help the plant speak to us and tell us when it needs water or sunlight?”
This challenge naturally creates curiosity about how sensors and simple electronics could help the plant communicate with us.
Here students will discover how soil-moisture and light sensors can help the plant “speak” about its condition.


Now that students have experienced the challenge, the teacher asks:
“What if we could give the plant a way to communicate with us?”
Students explore a soil-moisture sensor and a light sensor and connect them to what they observed during the plant experiment.
“The sensor cannot speak like us, but it can give us information about what the plant is experiencing.”
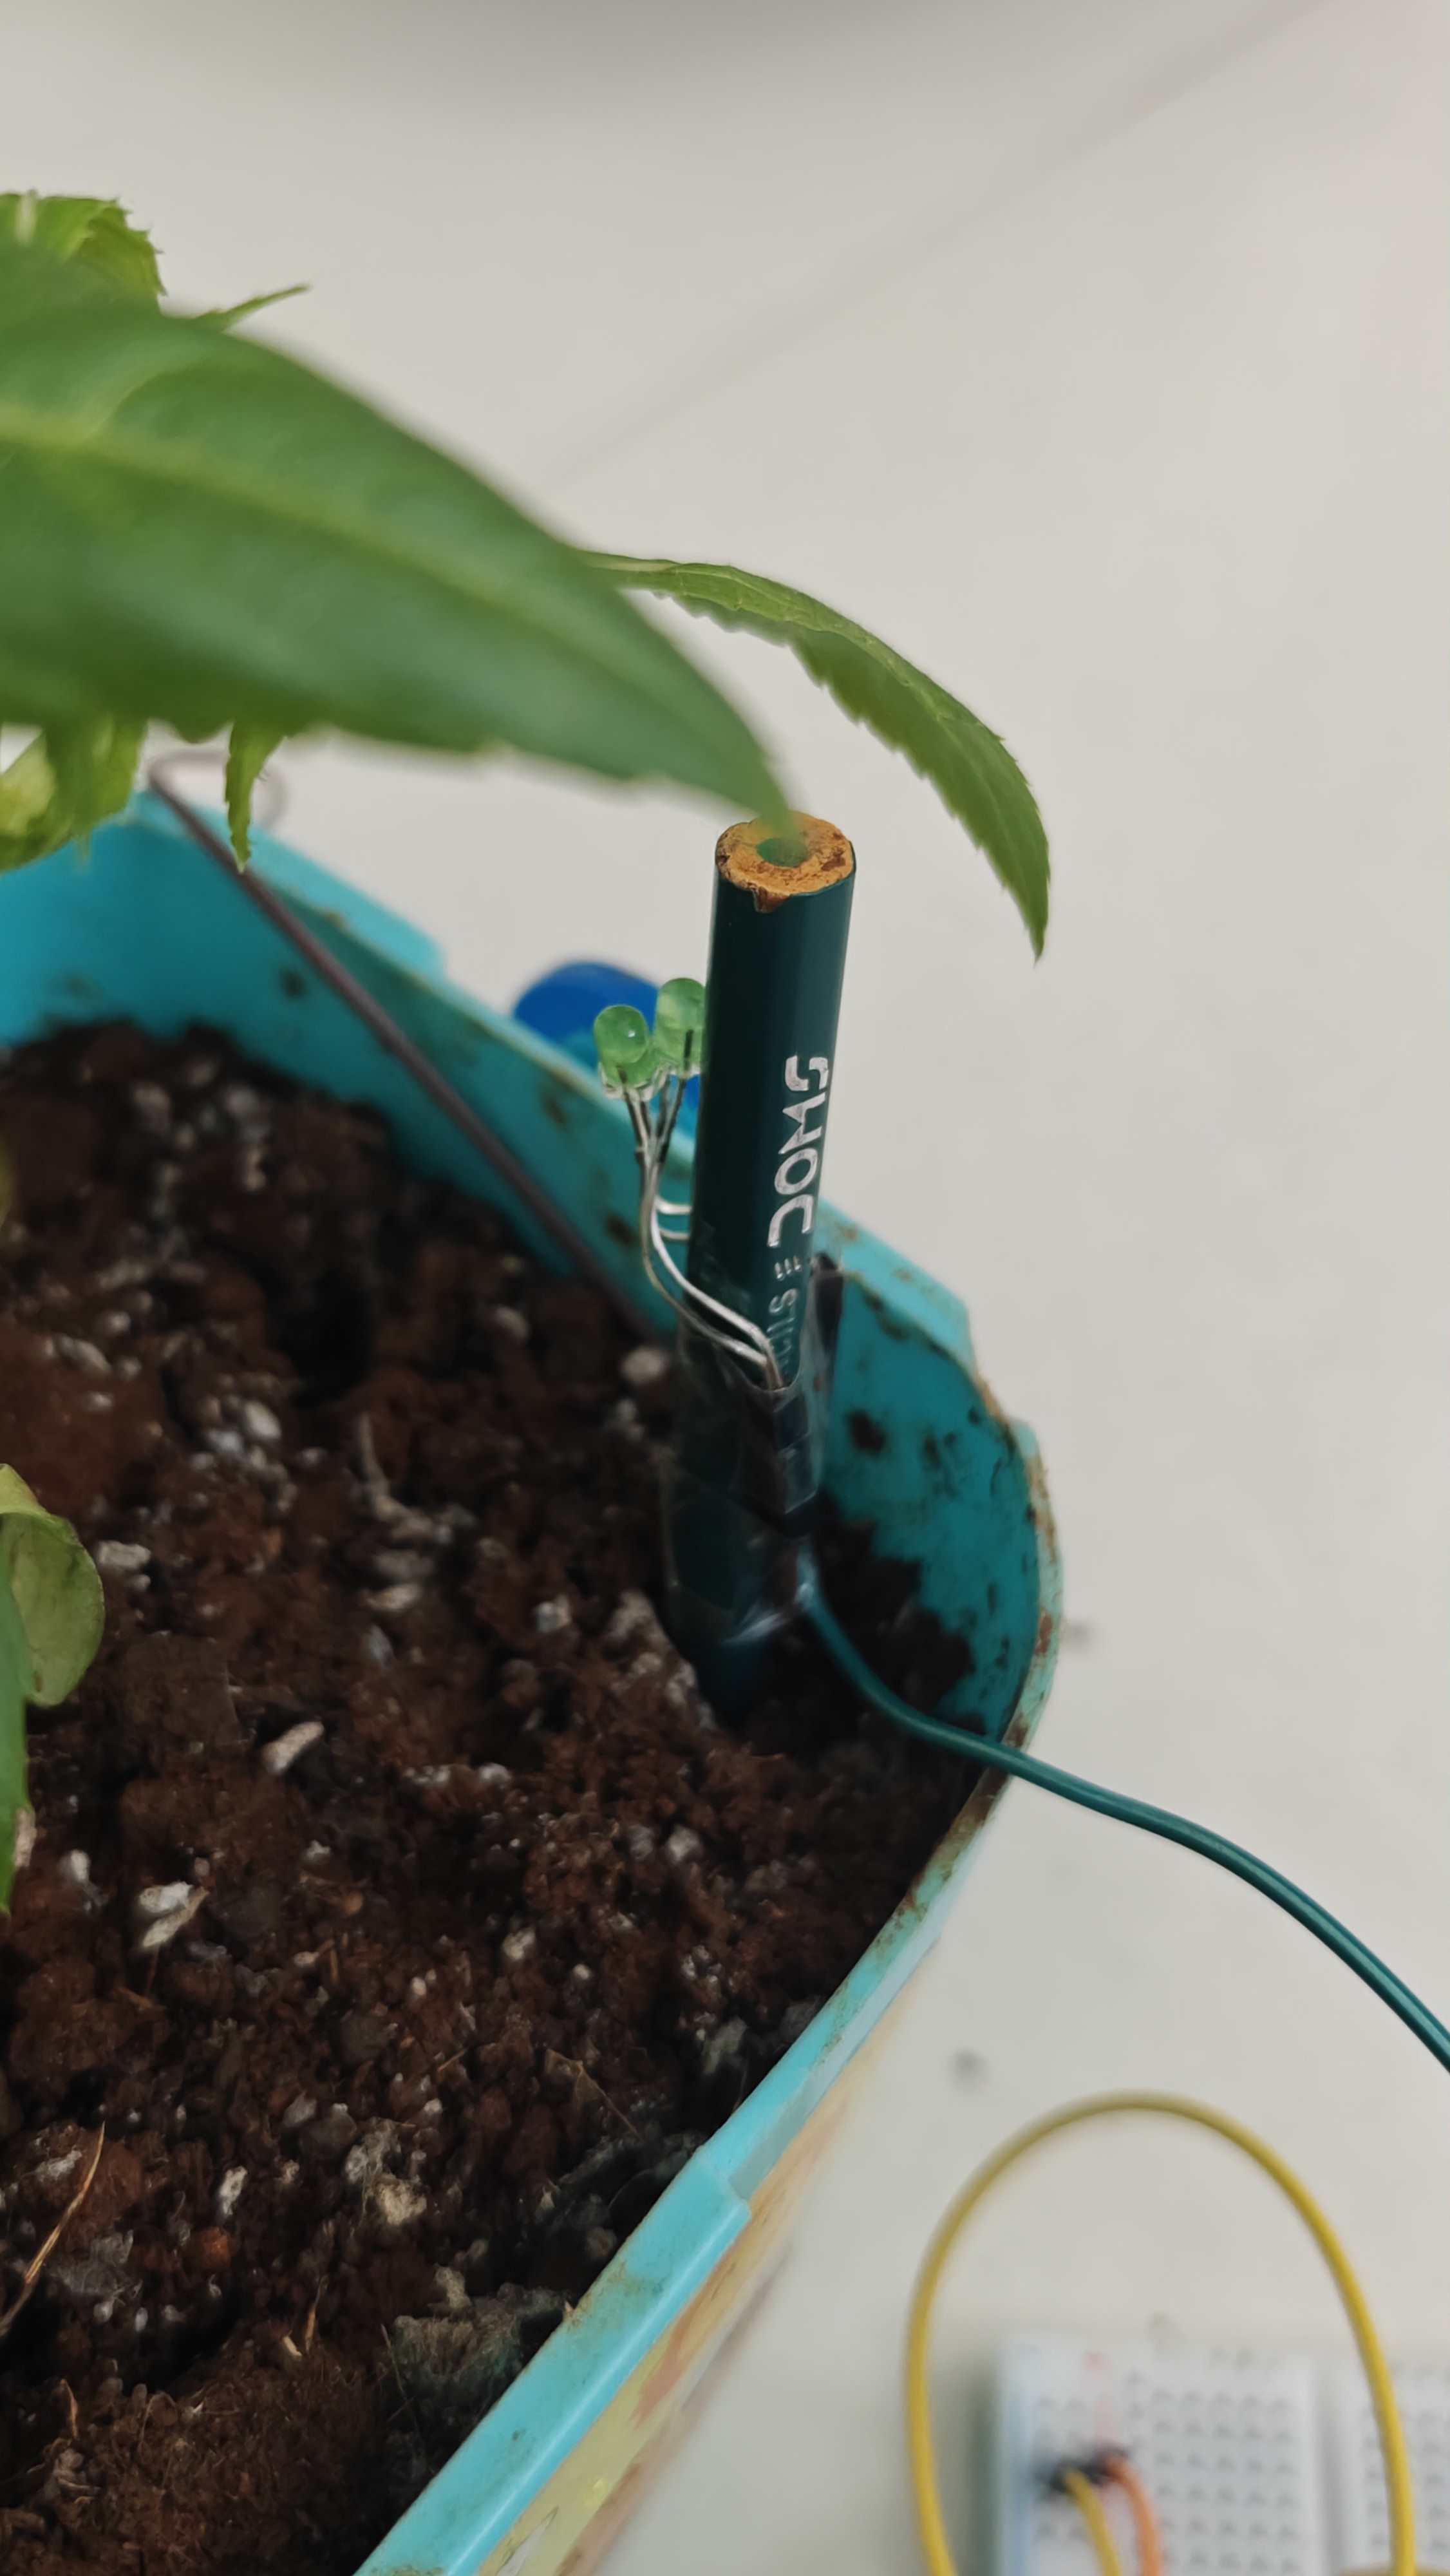
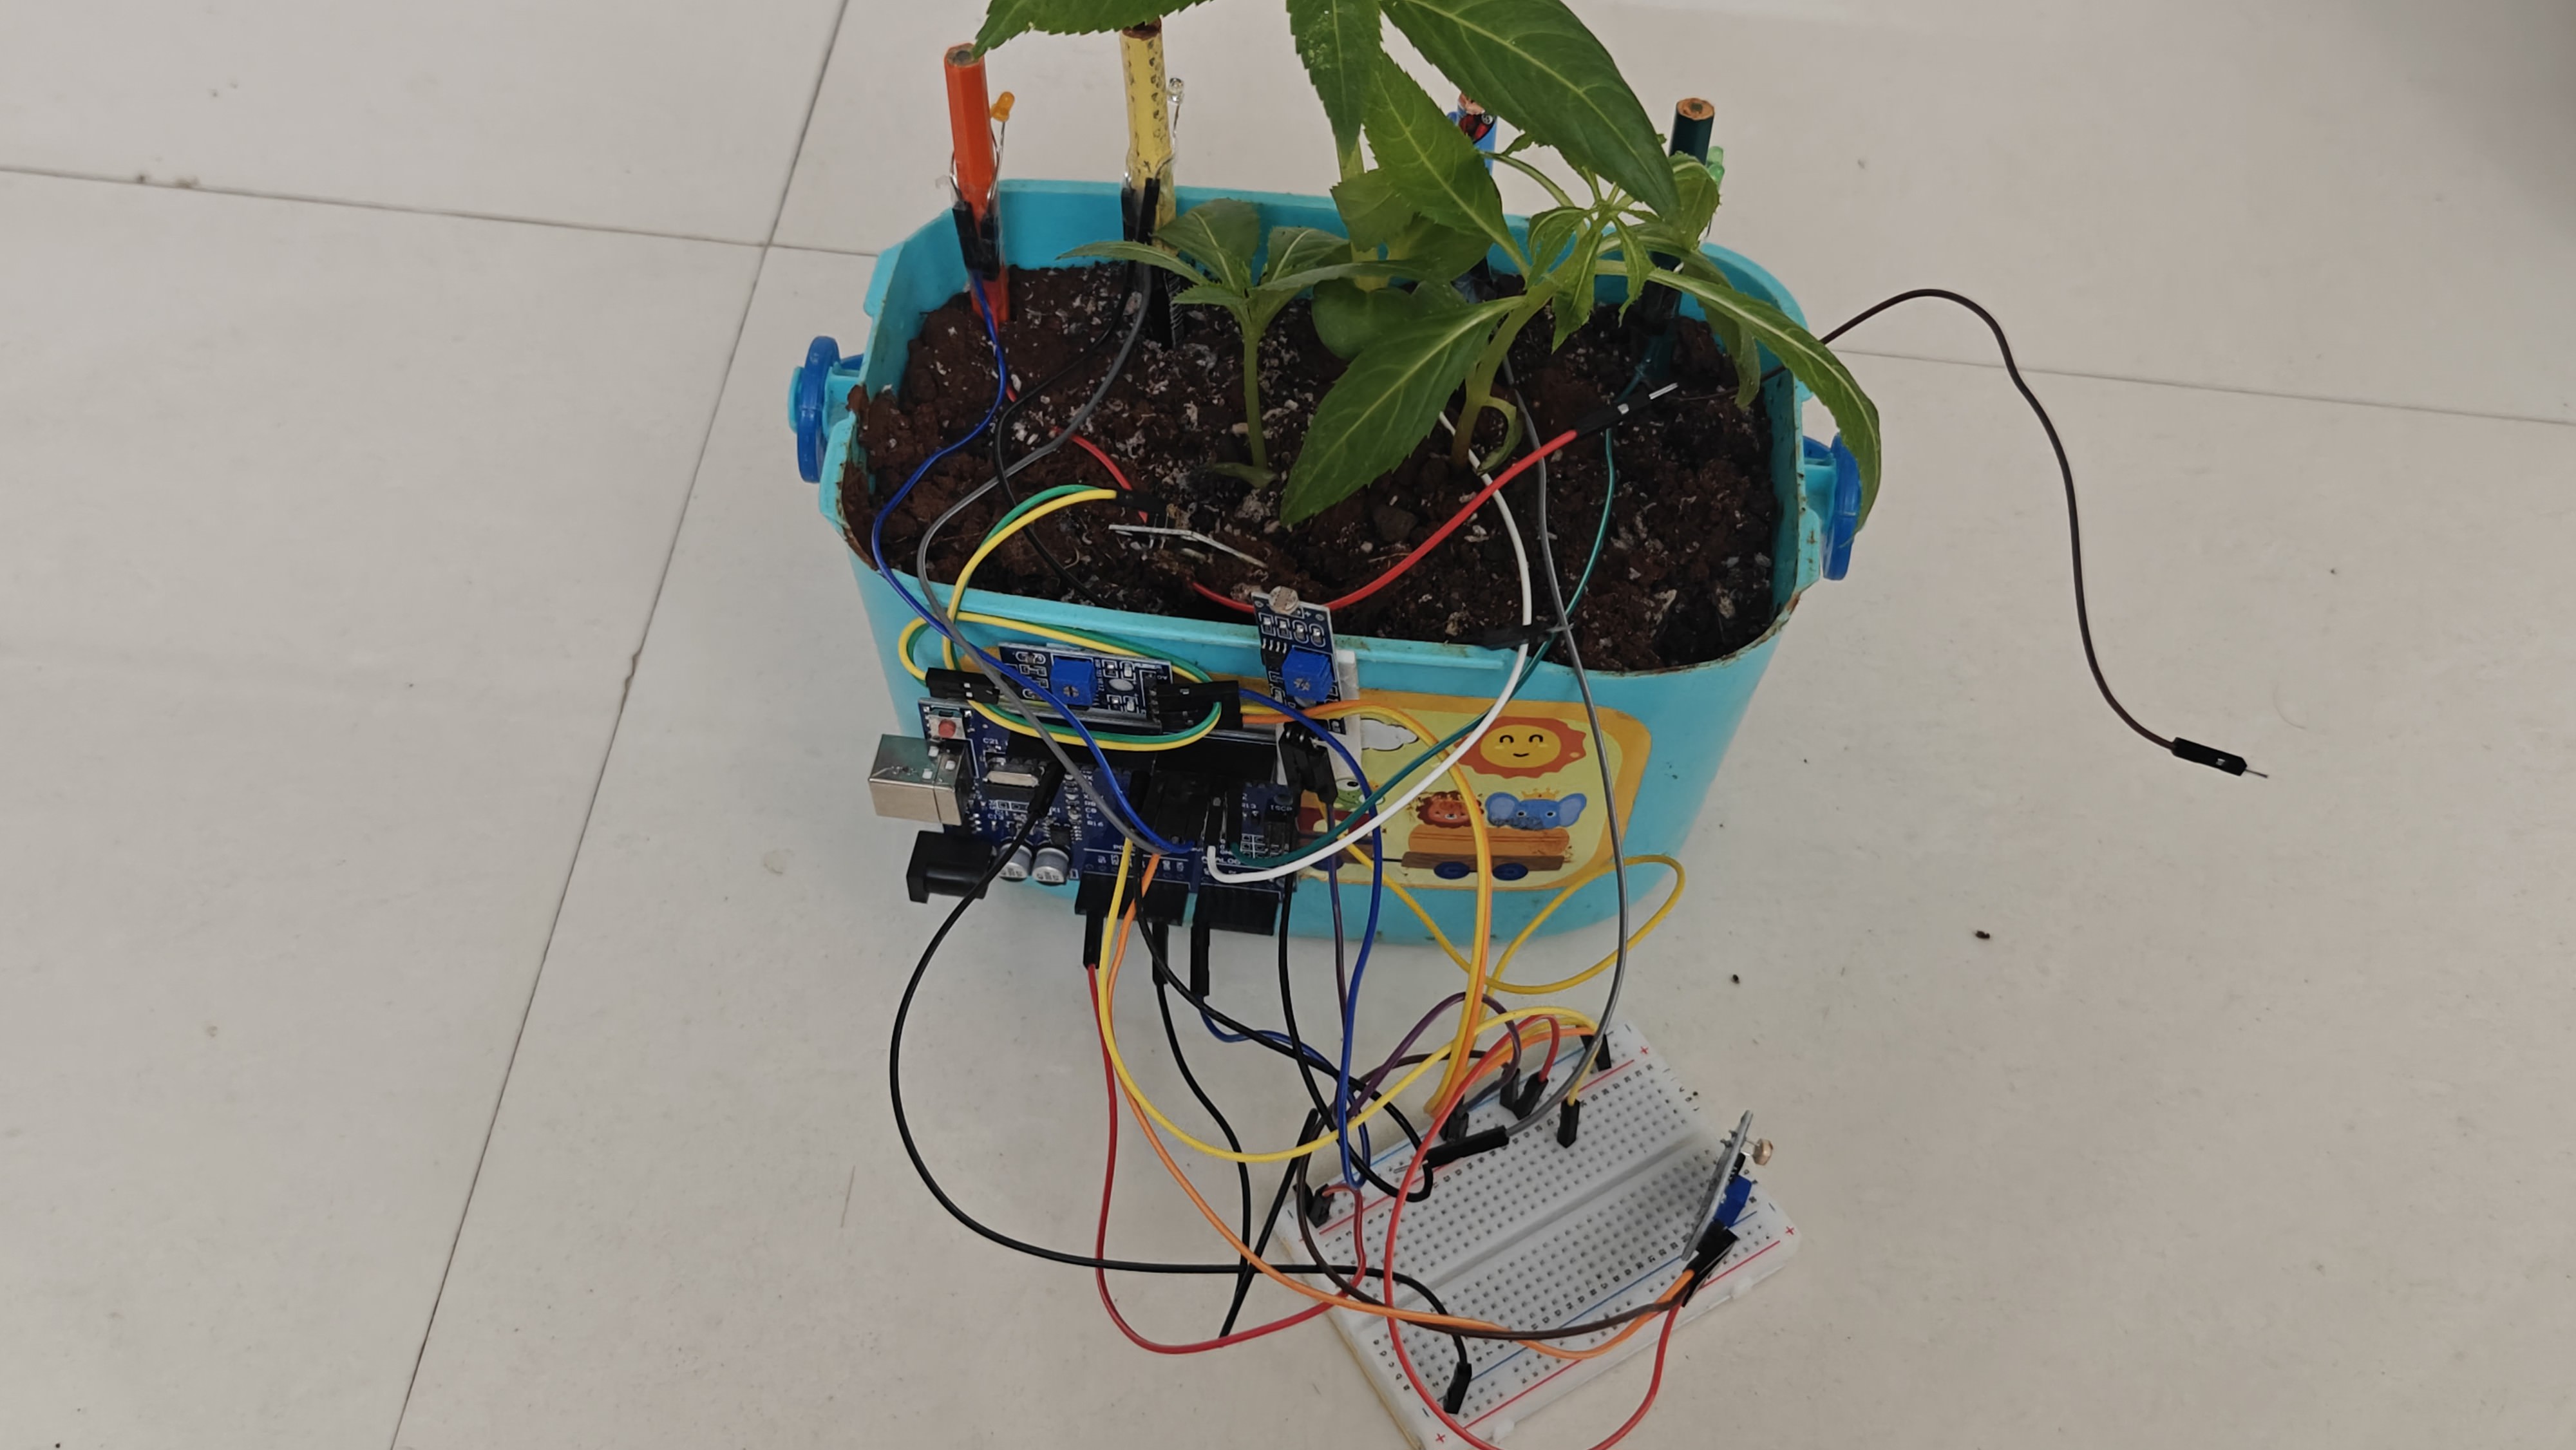
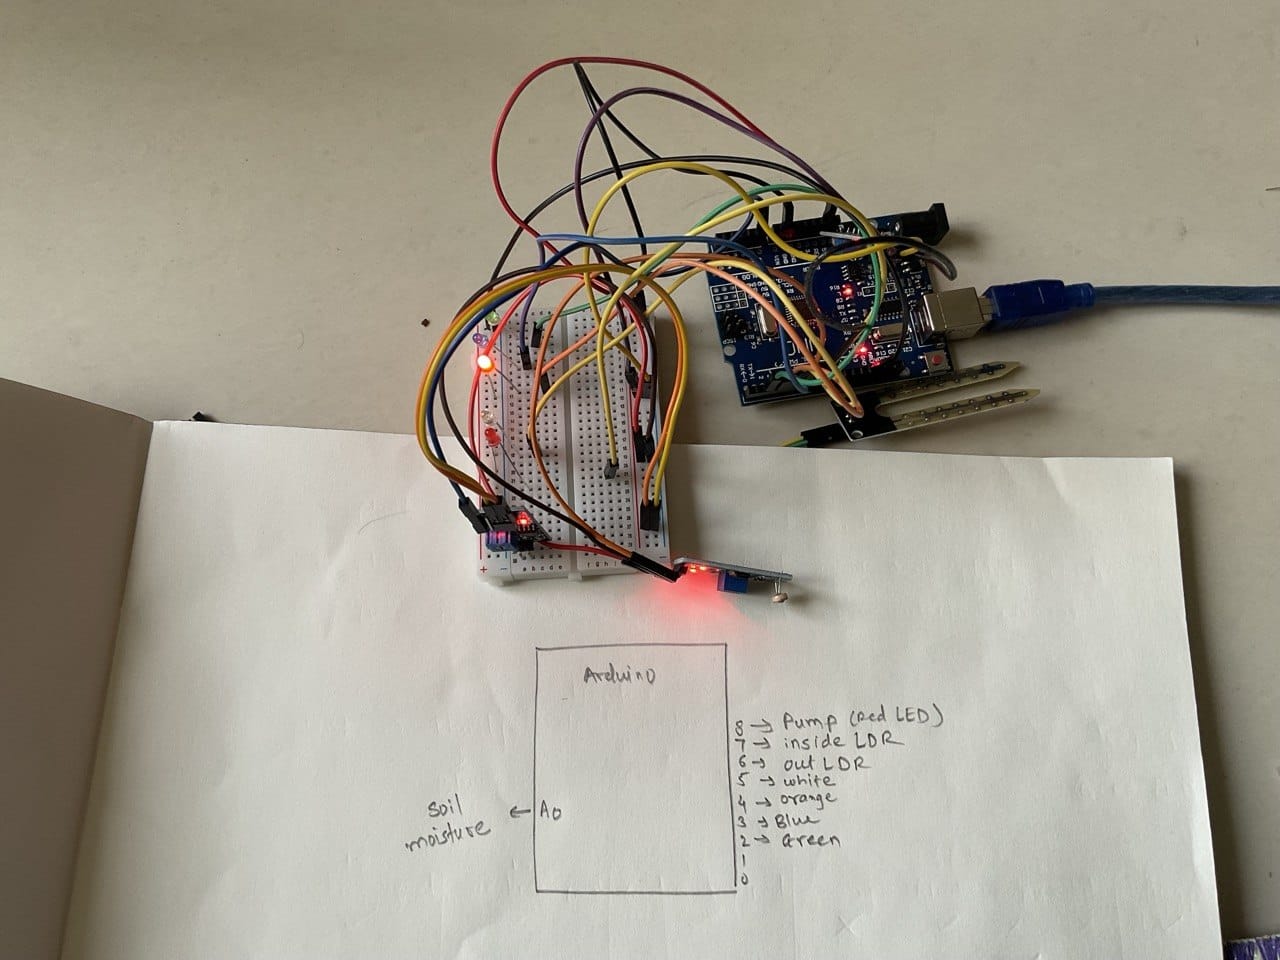
Students connect the sensors, Arduino, and LEDs to create a simple plant-monitoring system.


Students now turn their ideas into a working system. Before starting, the teacher revisits the question:
“How will our plant tell us what it needs?”
Students identify the role of each component:
Instead of simply giving students a wiring diagram to copy, the teacher encourages them to think about how the components work together.
Teacher: “The soil sensor tells us the soil is dry. Who will decide what that means?
Students: “Arduino!”
Teacher: “And how will the plant tell us that it needs water?”
Students connect this idea to the LED indicators they designed earlier.
Teams then build the circuit step by step. They first connect and test one sensor, then add the second sensor and finally the LEDs. This helps students identify problems more easily.
The teacher can guide them with questions:
The goal is not to build a perfect circuit immediately, but to help students understand that building, testing, finding errors, and fixing them are all part of engineering.
Students use simple If–Then rules to make the LEDs communicate the plant’s needs.


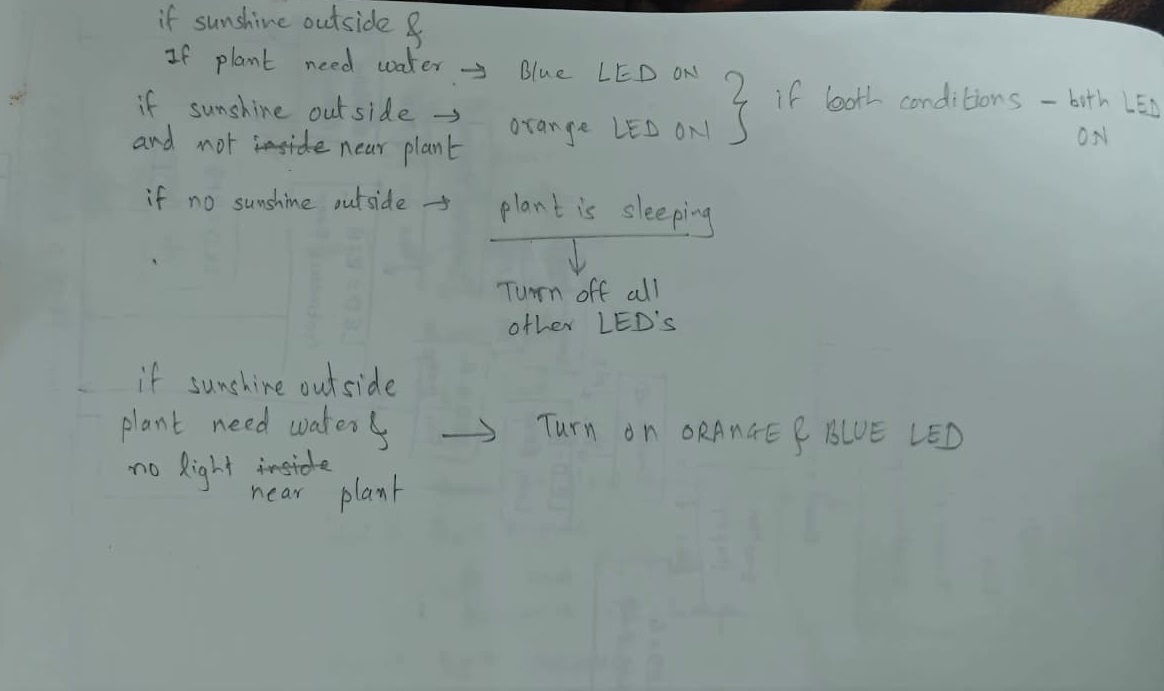
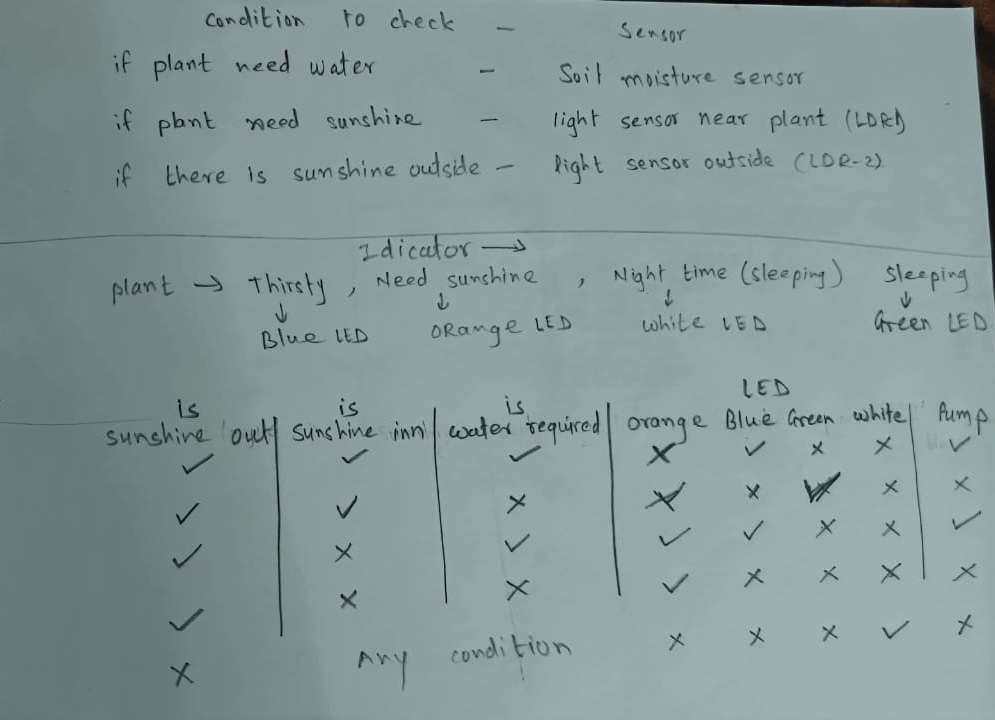
Once the circuit is ready, students give their plant a “voice” using simple If–Then rules.
The teacher introduces the idea without code:
“If the soil is dry, then what should the plant say?”
Students create rules such as:
IF soil is dry → THEN blue LED turns ON.
IF light is low → THEN orange LED turns ON.
IF soil and light are good → THEN green LED turns ON.
Students first write these rules on paper and then convert them into Arduino code. This helps them understand that programming means giving clear instructions to make decisions.
The teacher then introduces thresholds:
“The sensor doesn’t understand ‘dry’ or ‘wet.’ It gives us a number. We need to decide which number means the soil is dry.”
Students test sensor readings and choose a suitable threshold.
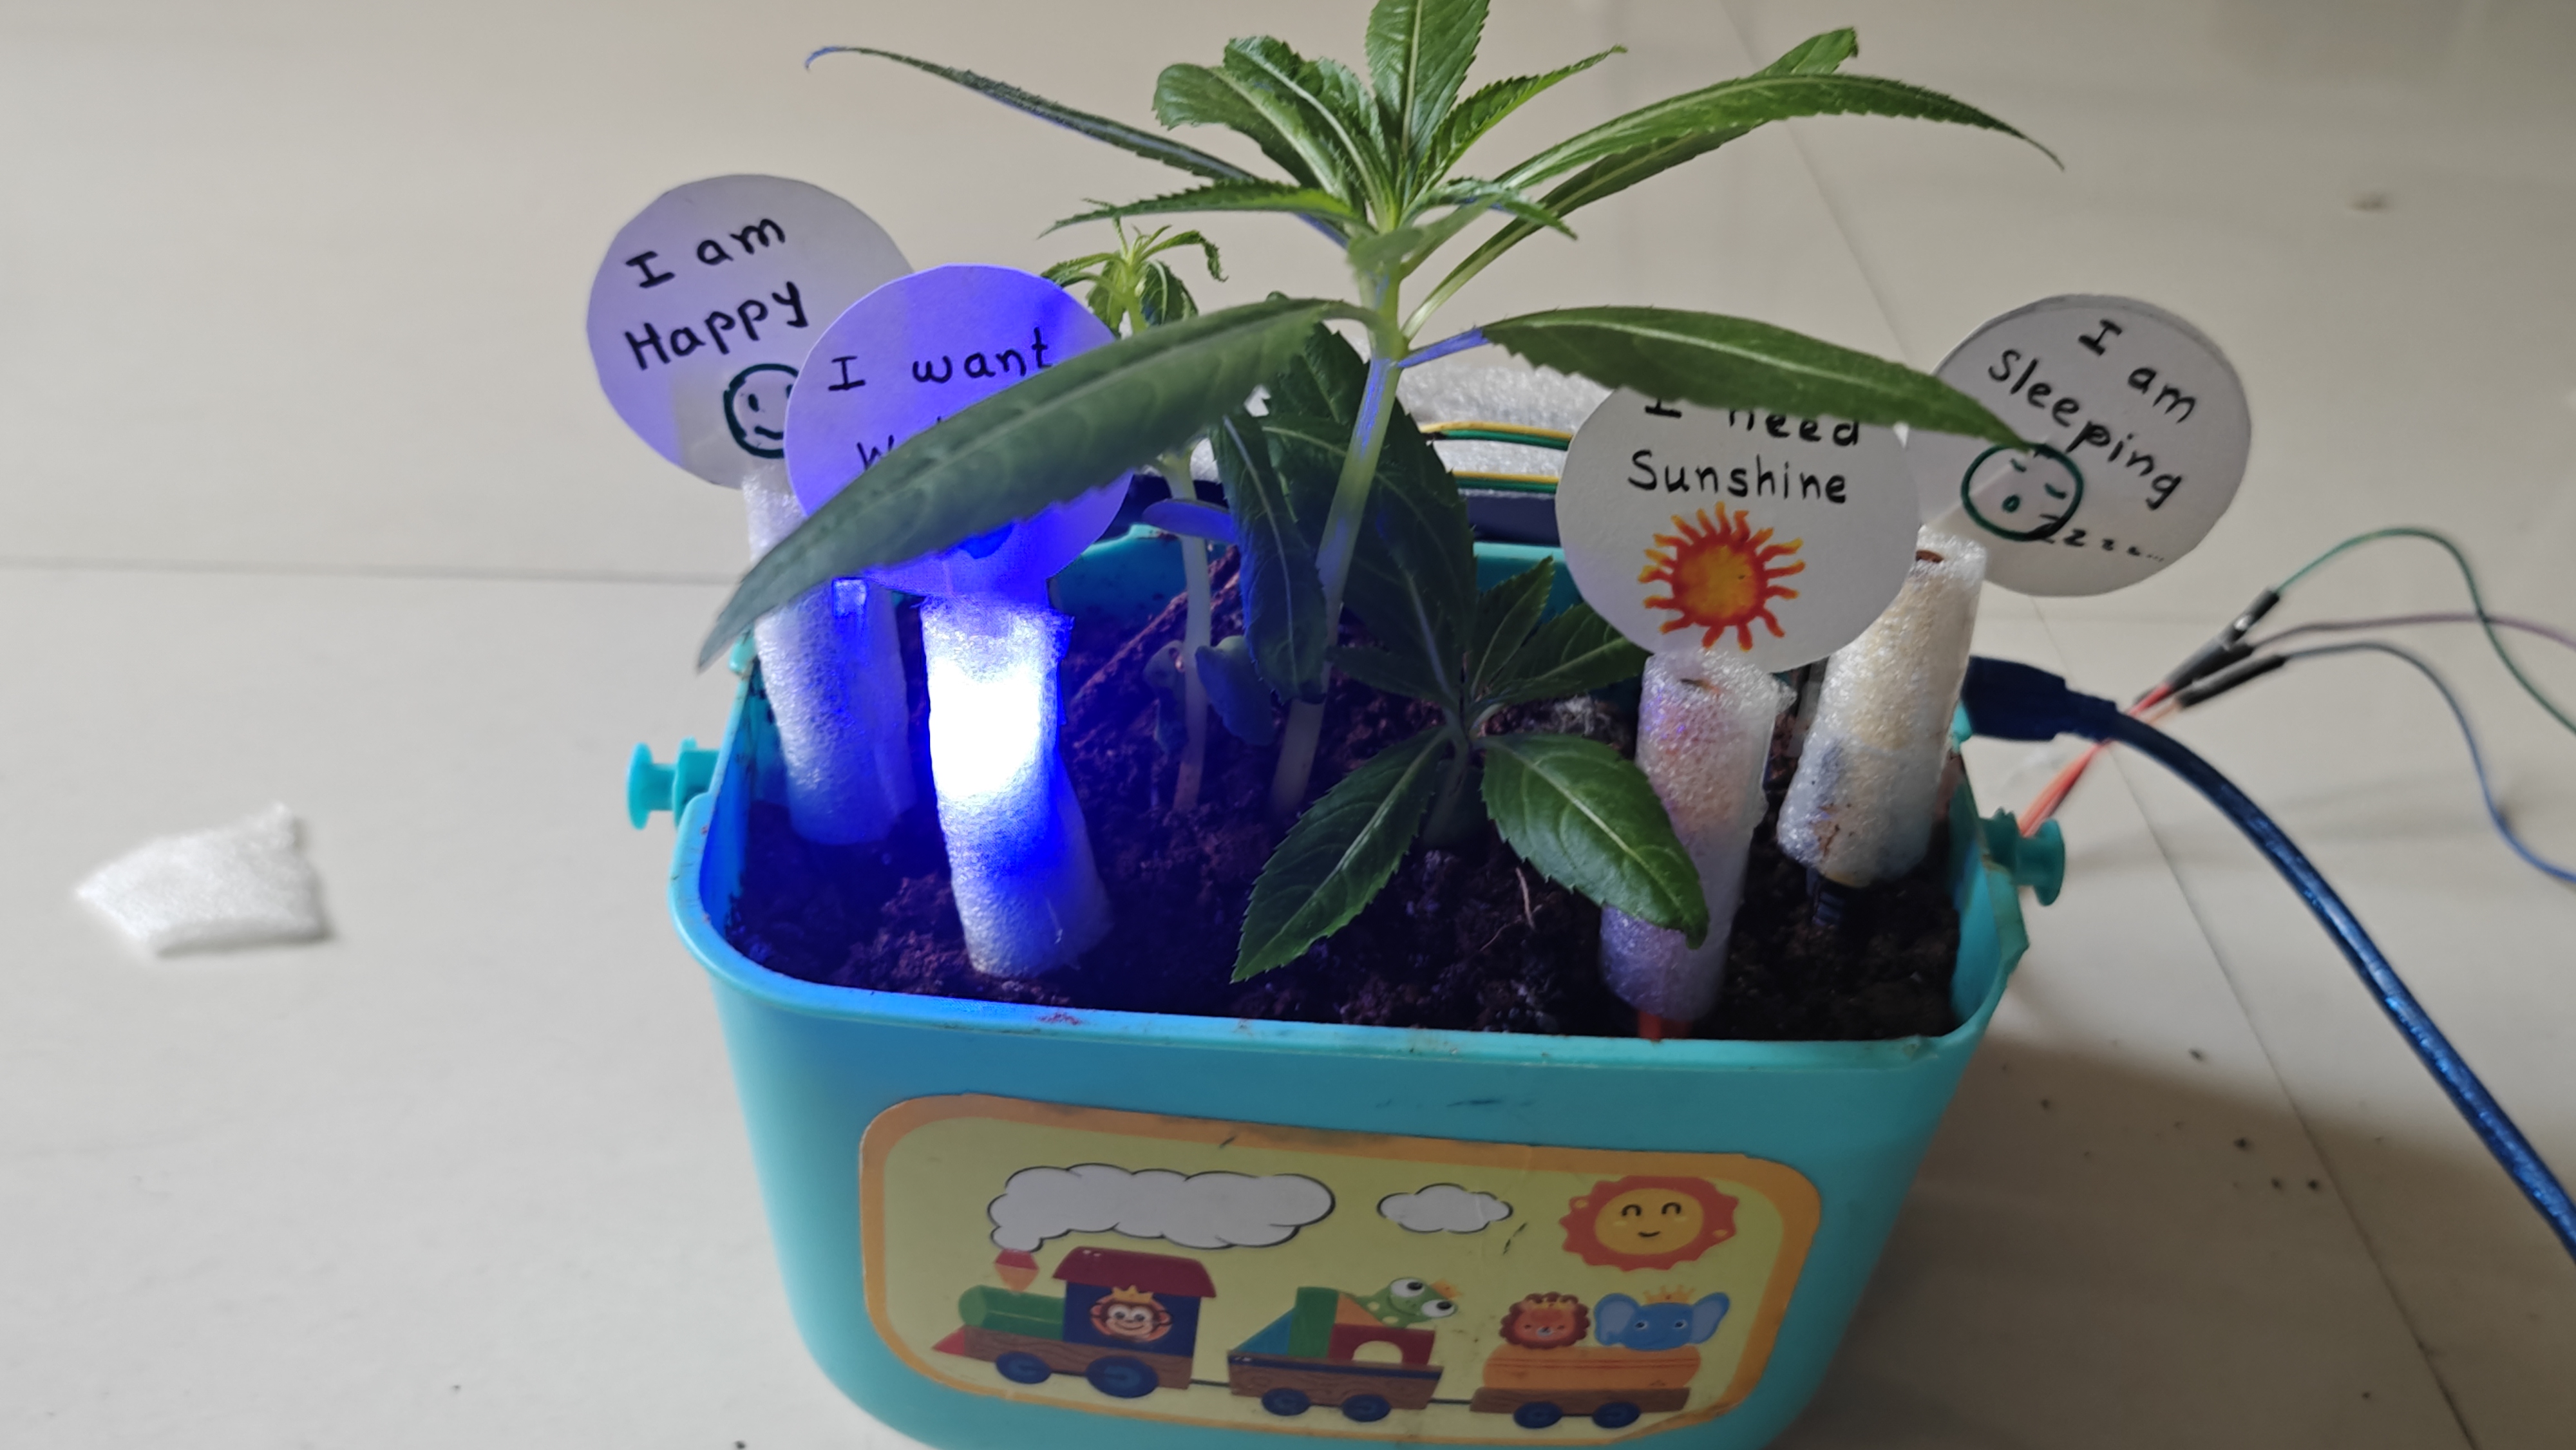
The LEDs become the plant’s voice:
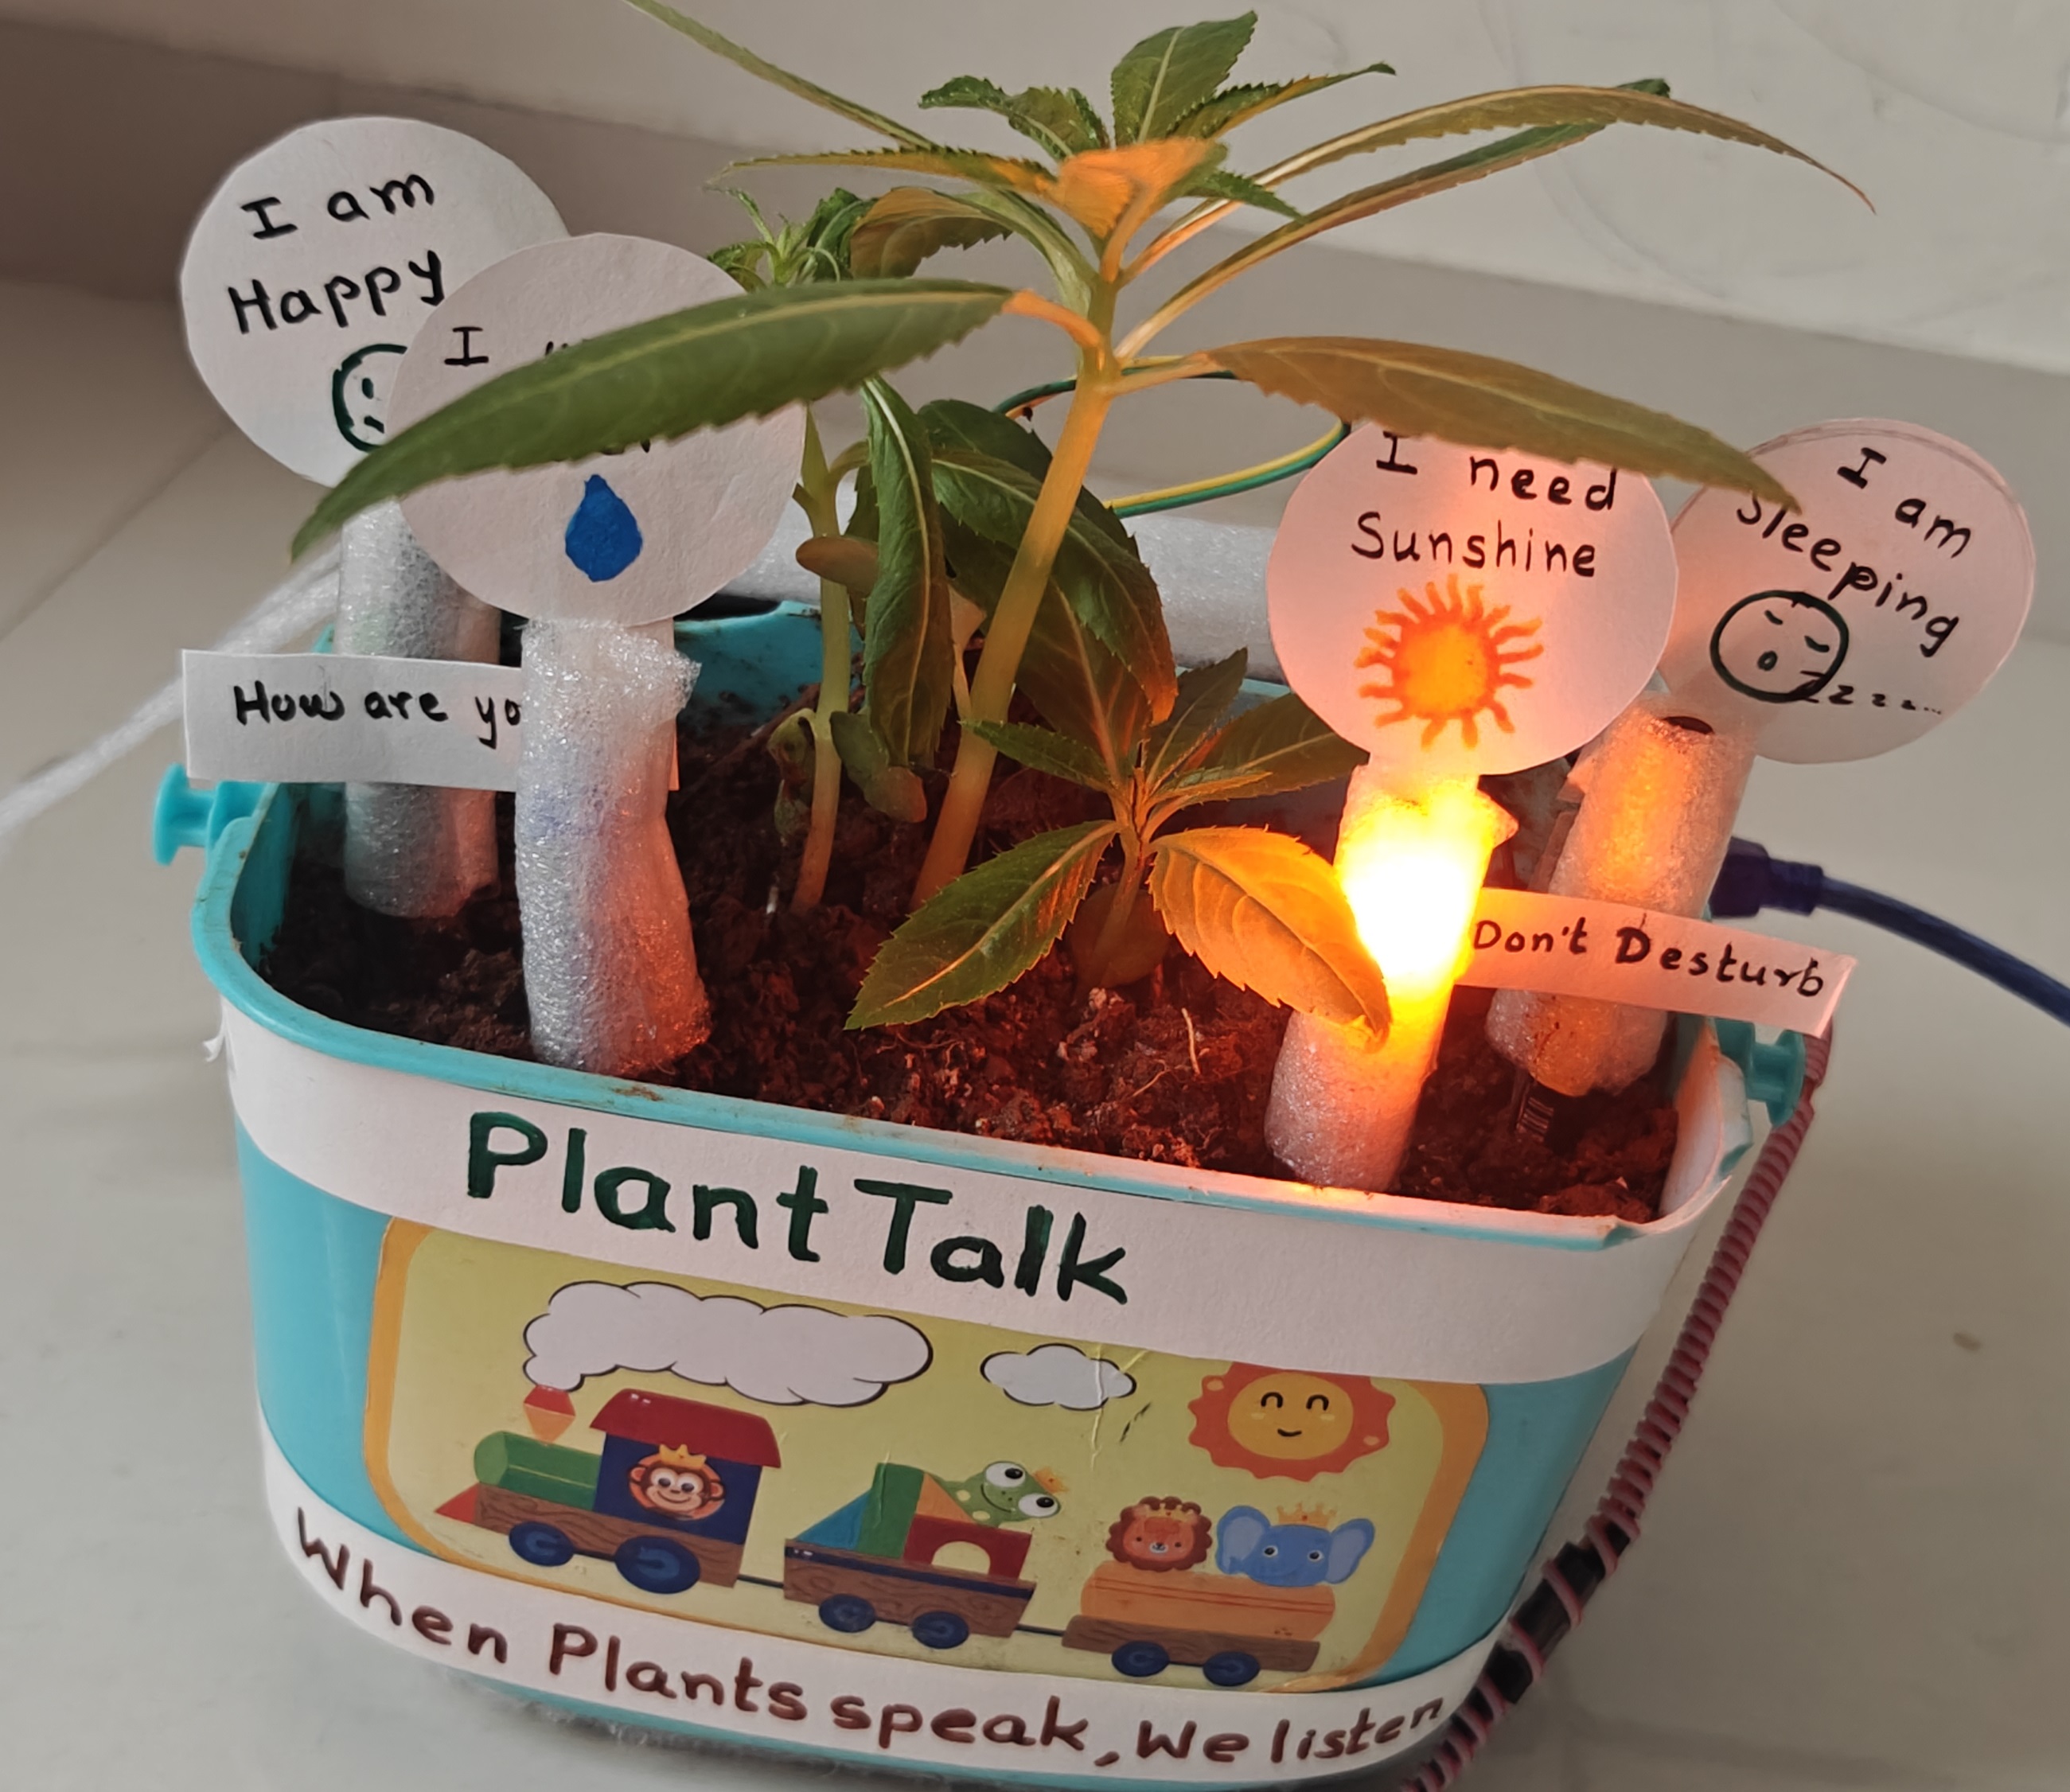
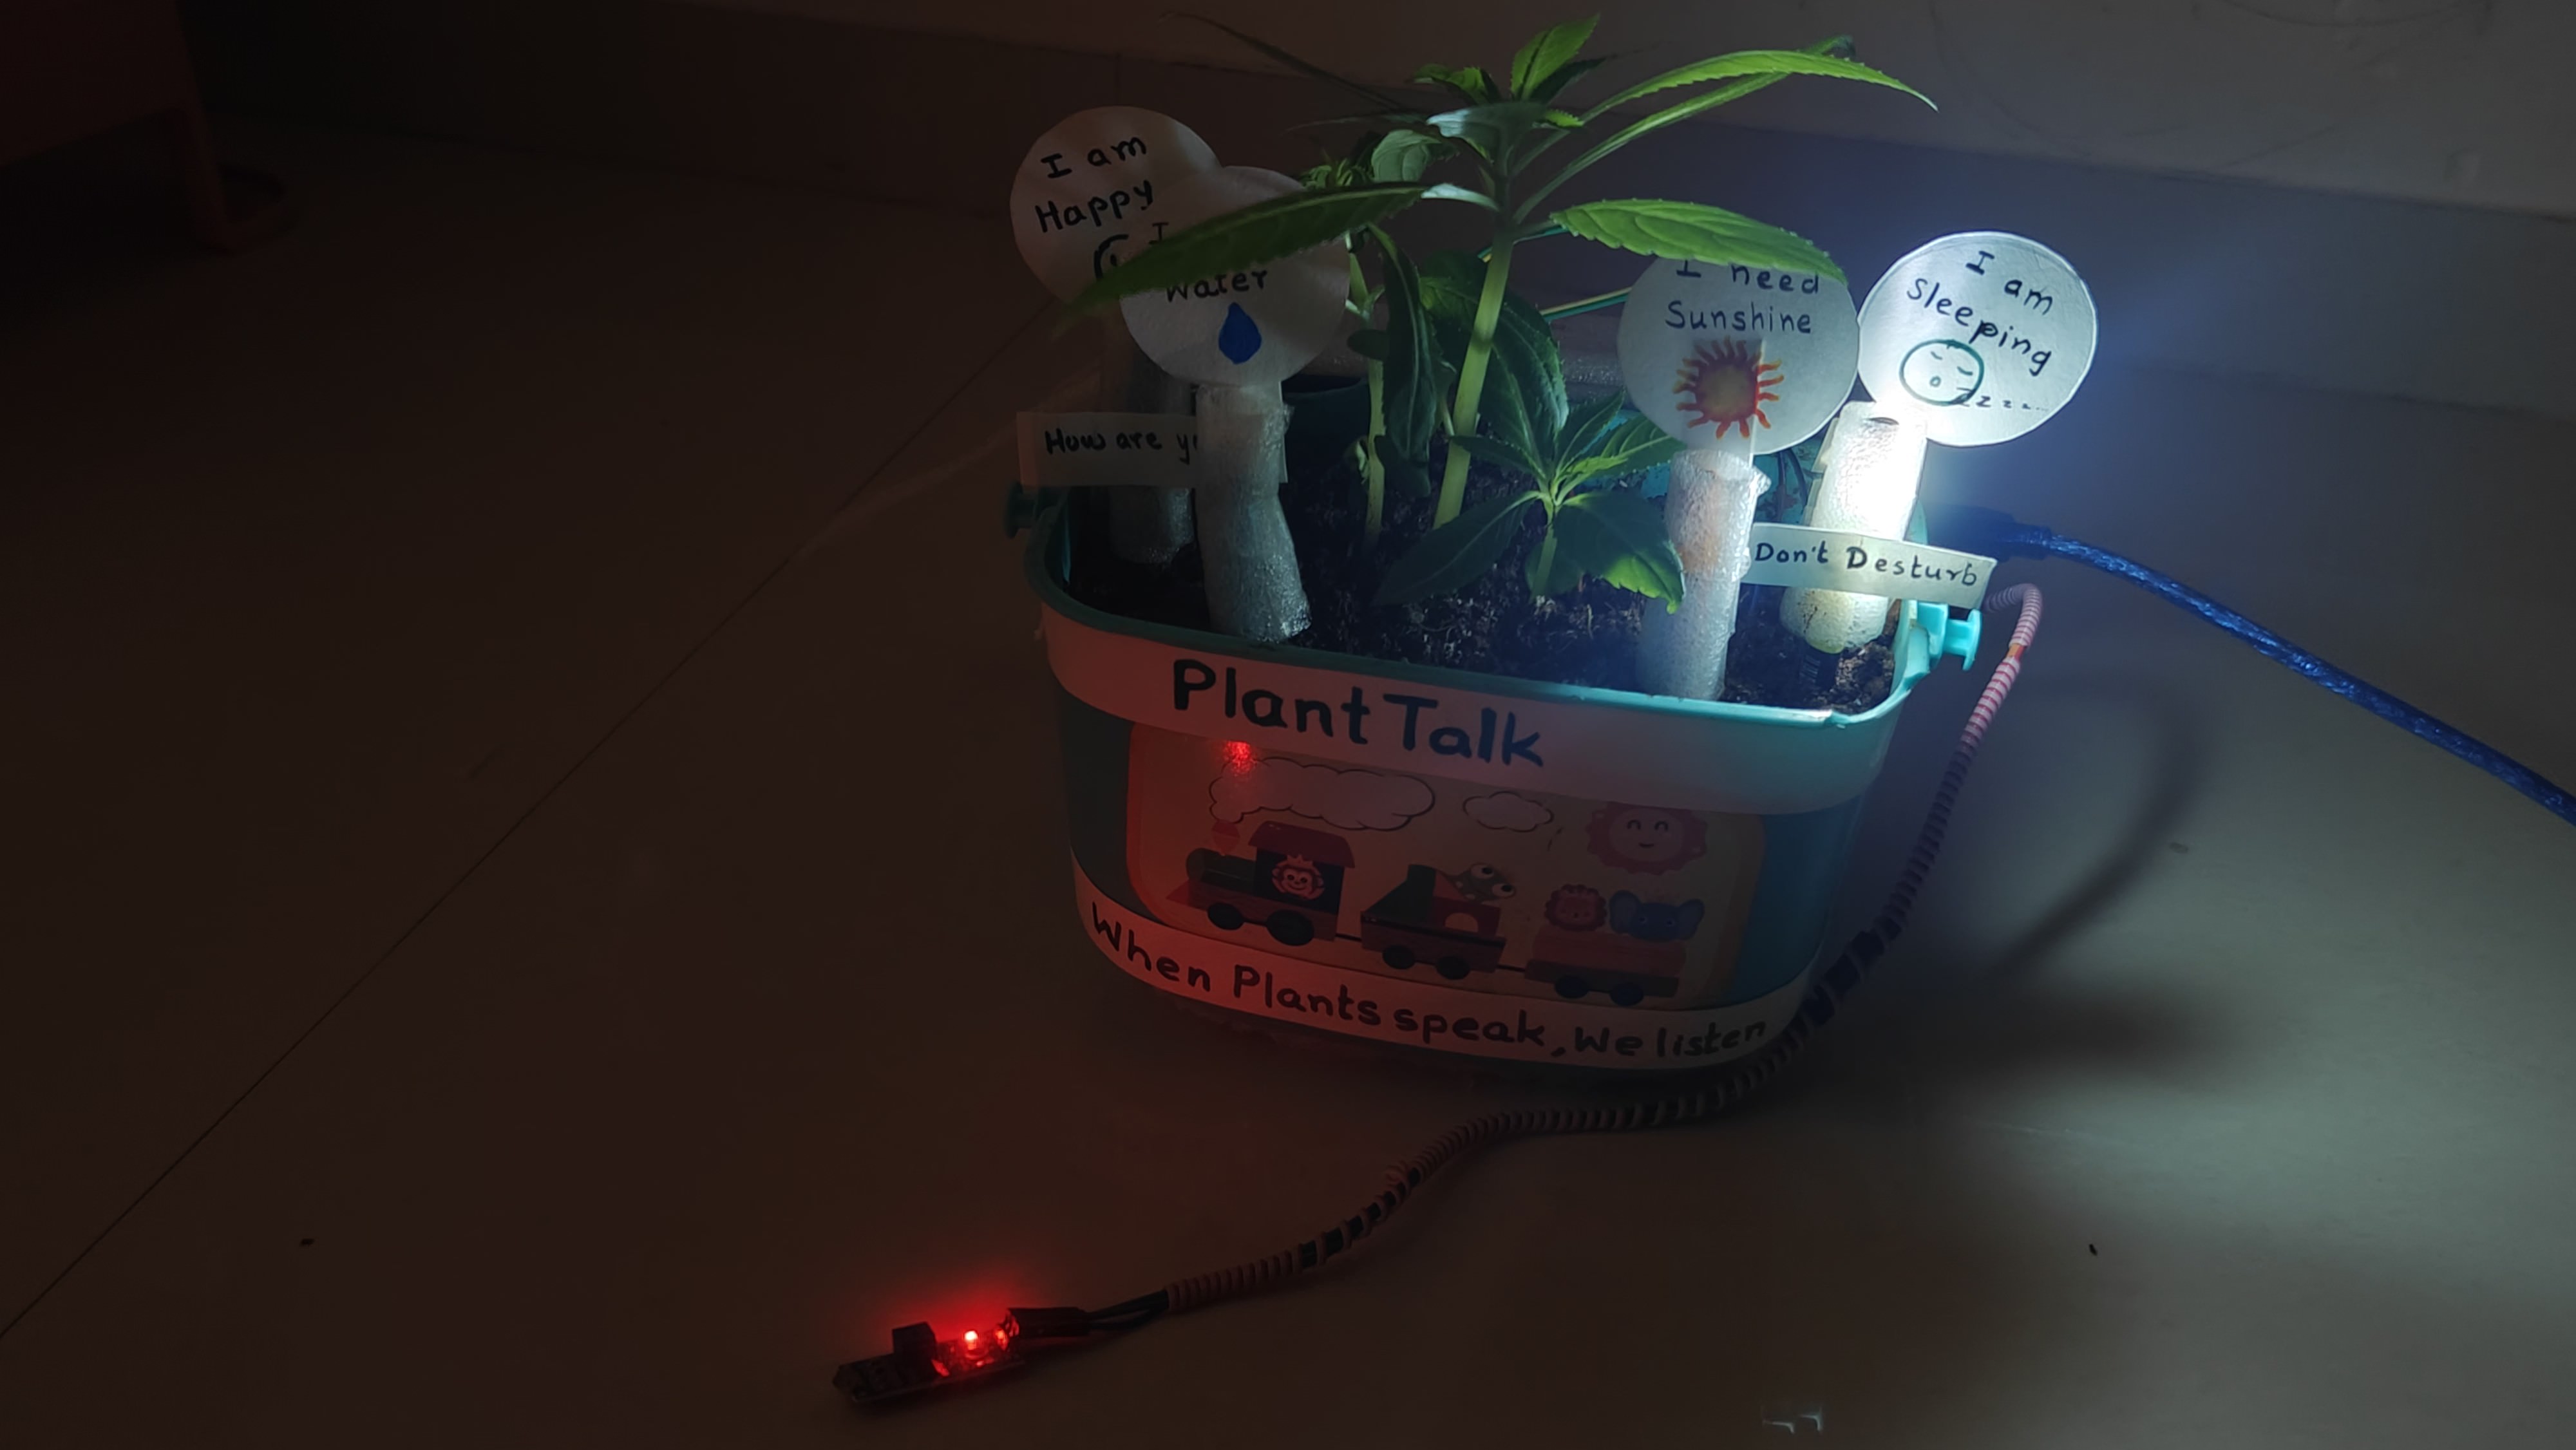
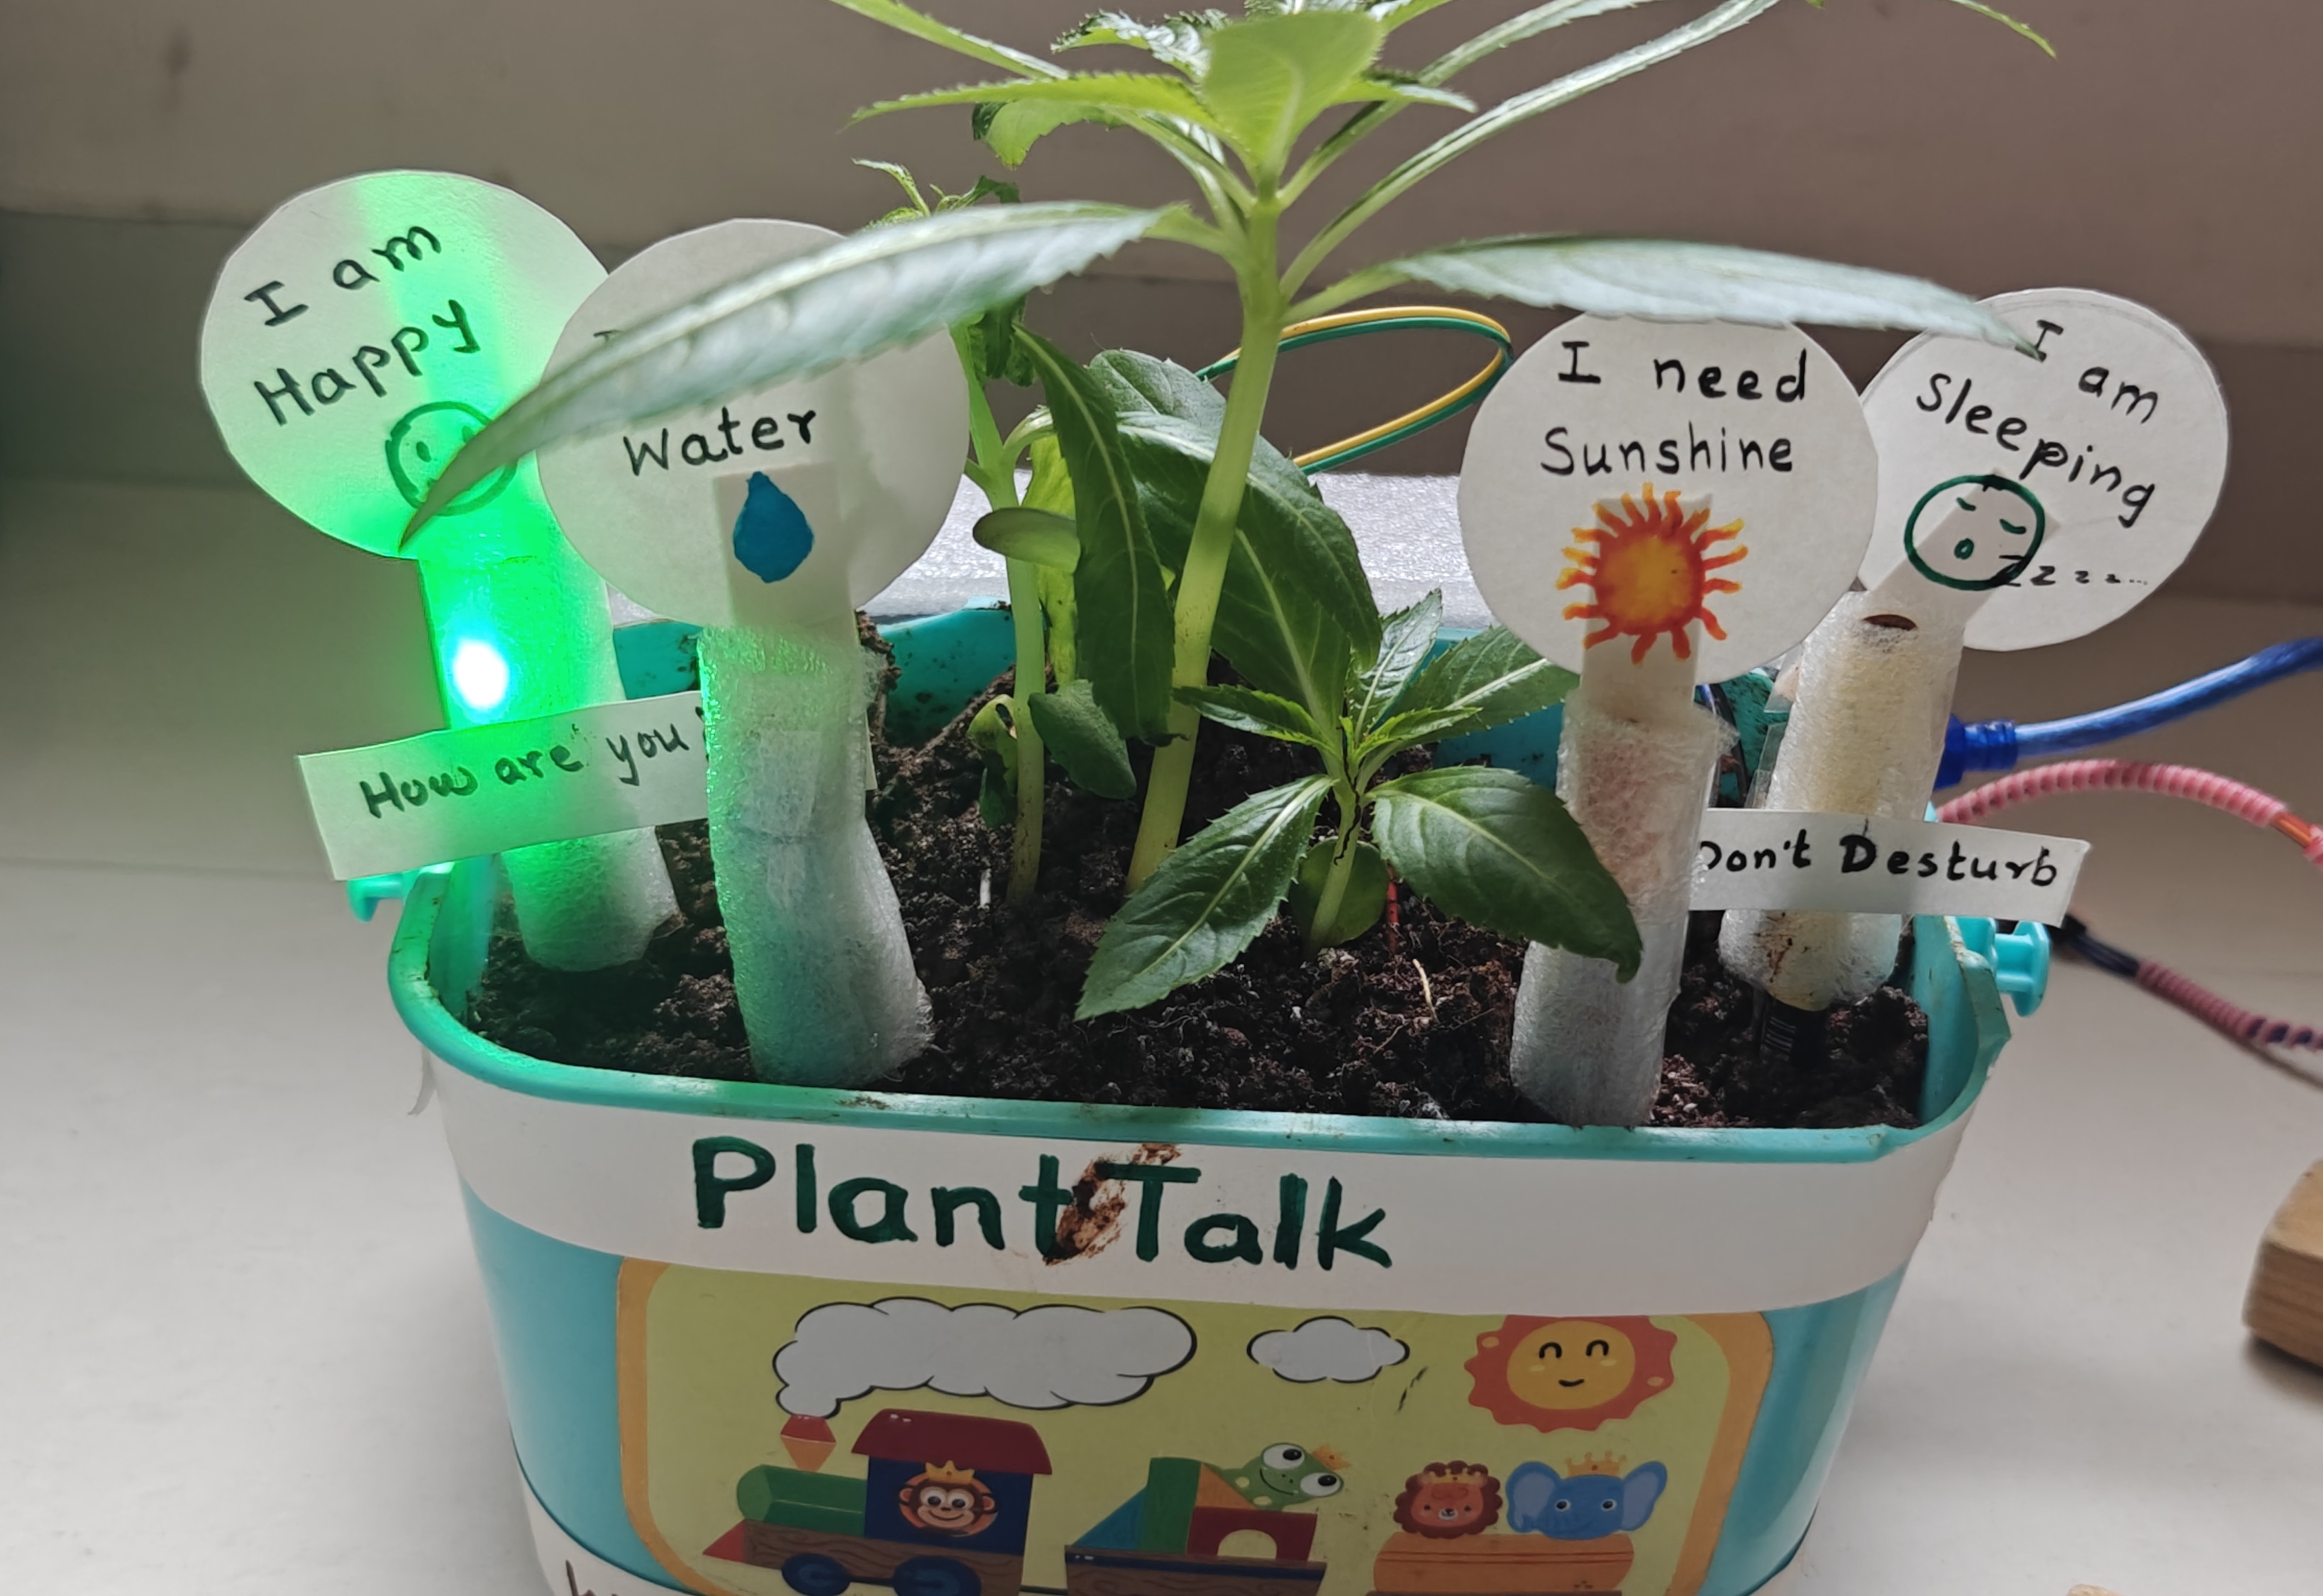
Green → “I am happy.”
Blue → “I need water.”
Red → “I need sunlight.”
Further students can add CO2 sensor – to understand if plant use to release CO2 in night? or pump for pouring water automatically.
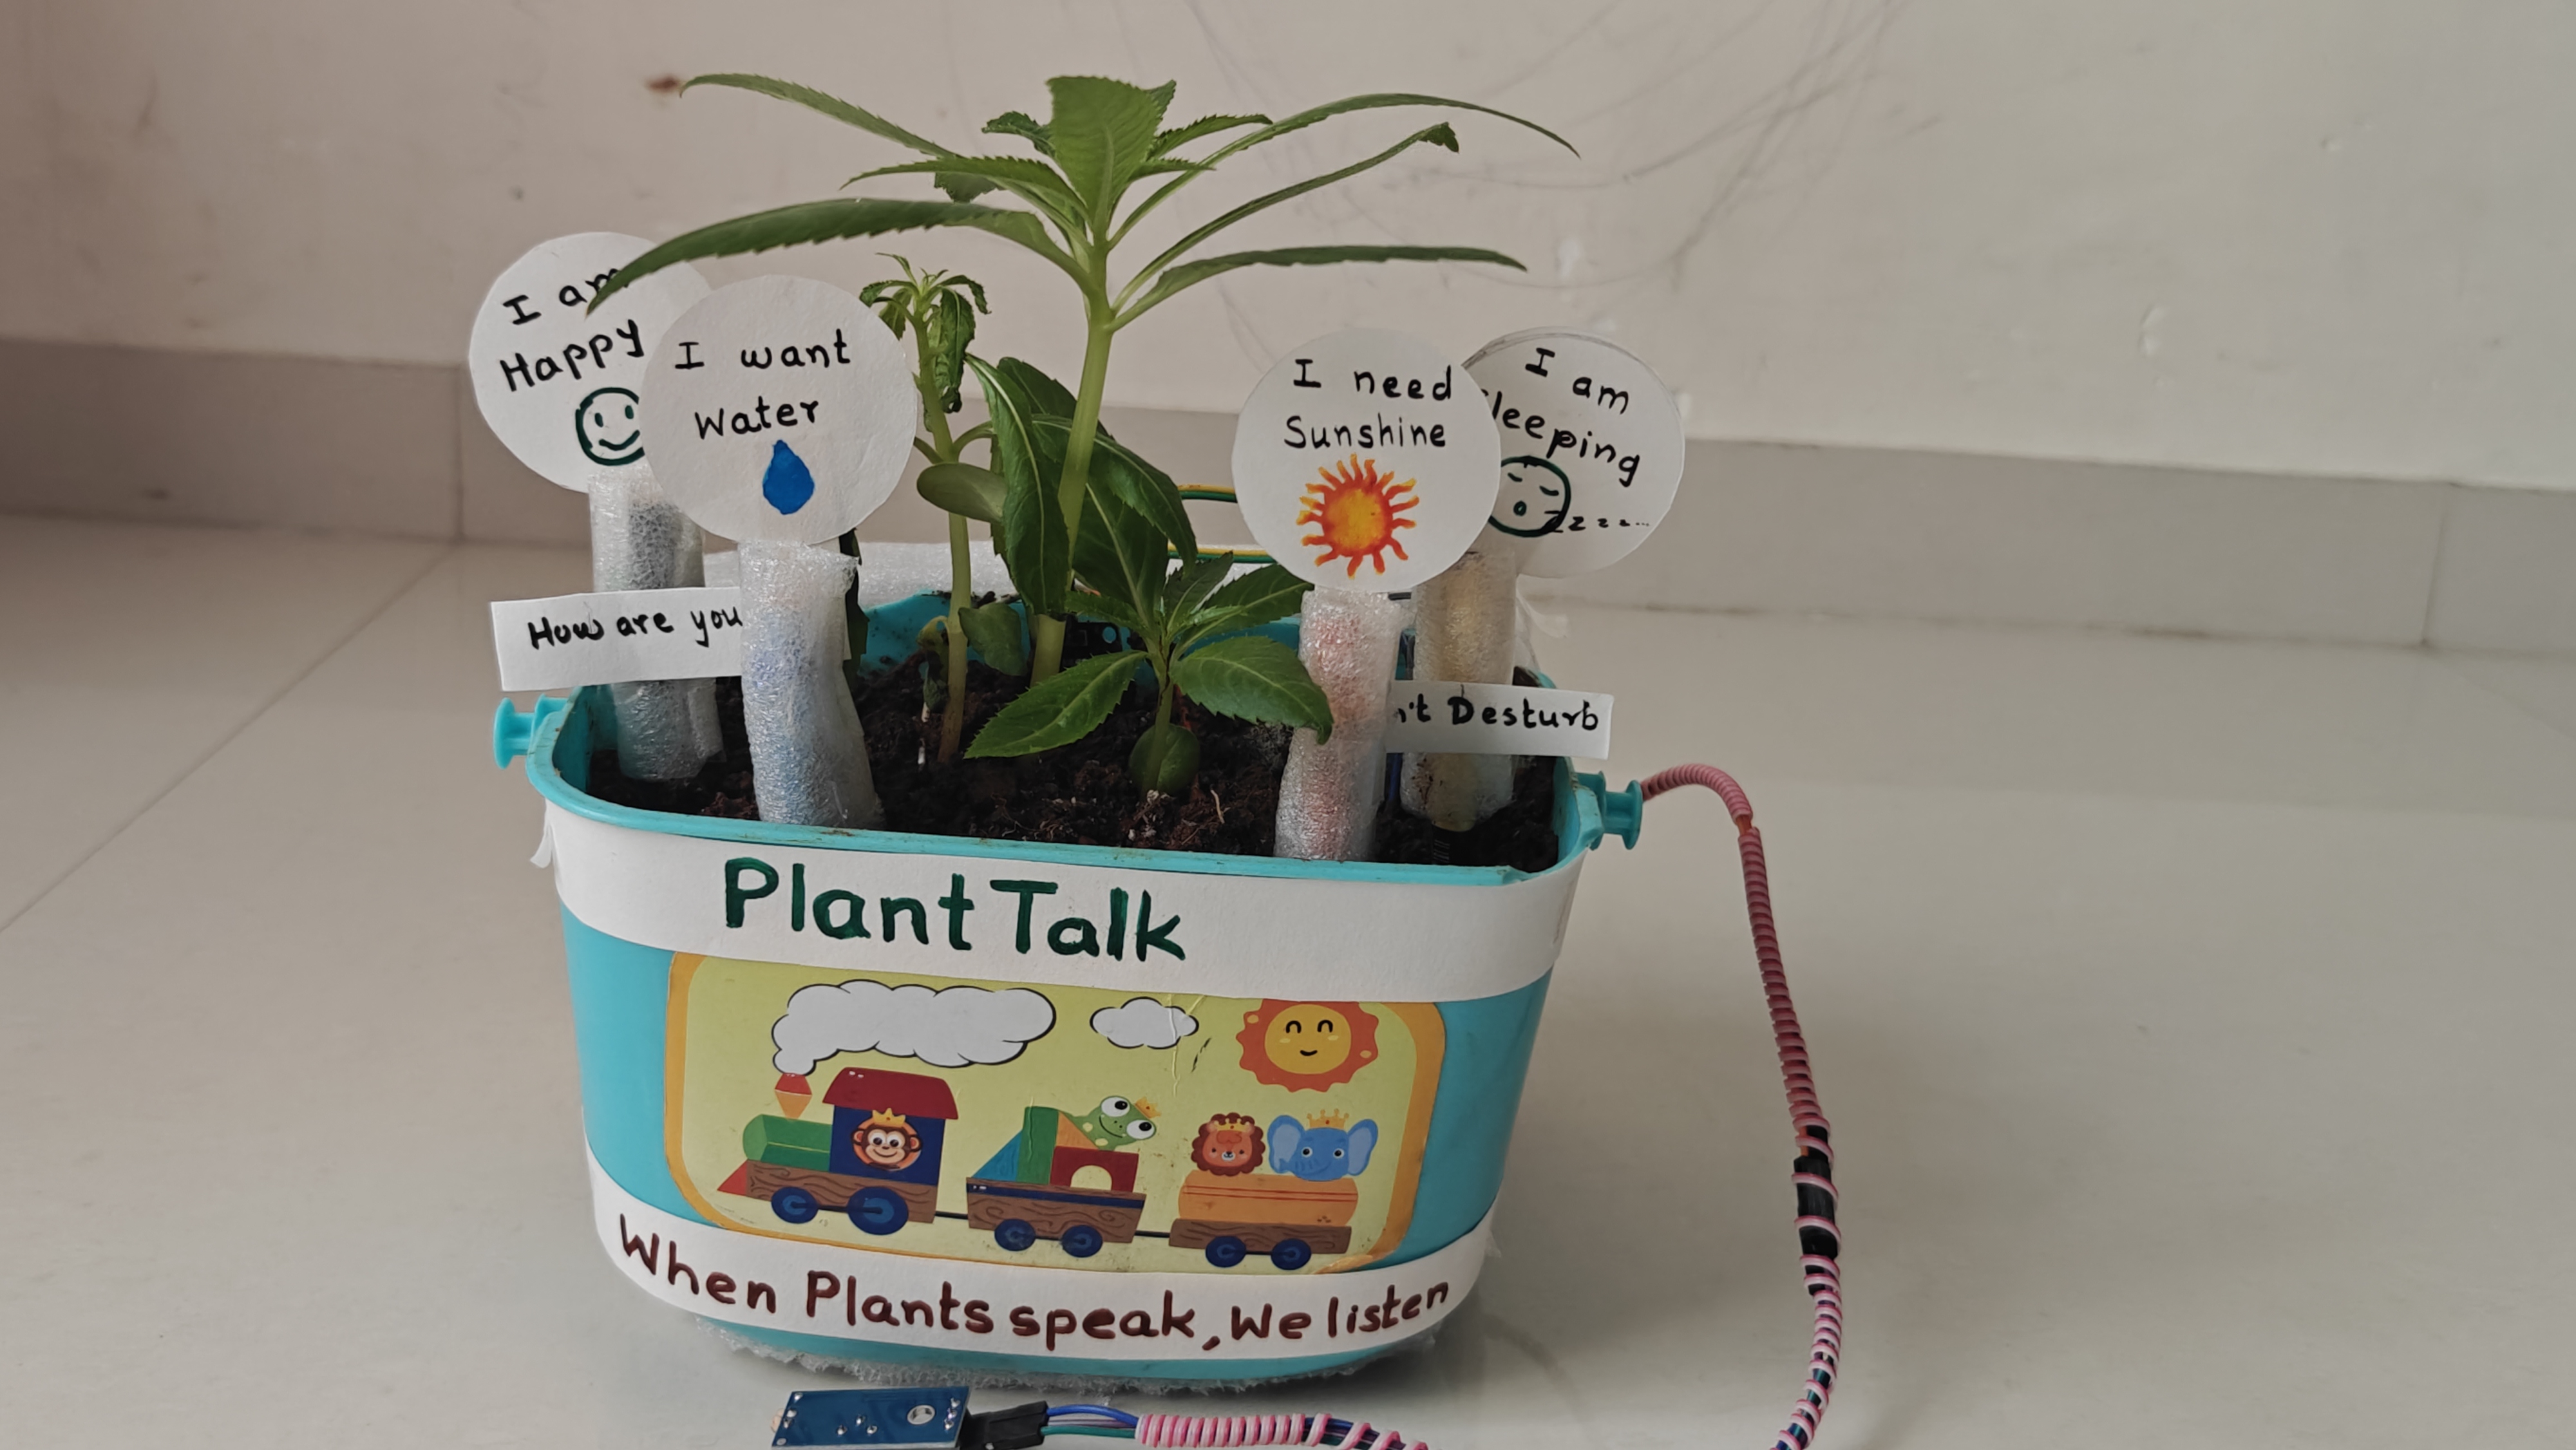
Now that the circuit and program are working, students give their “Plant Speaks” system a finished look.


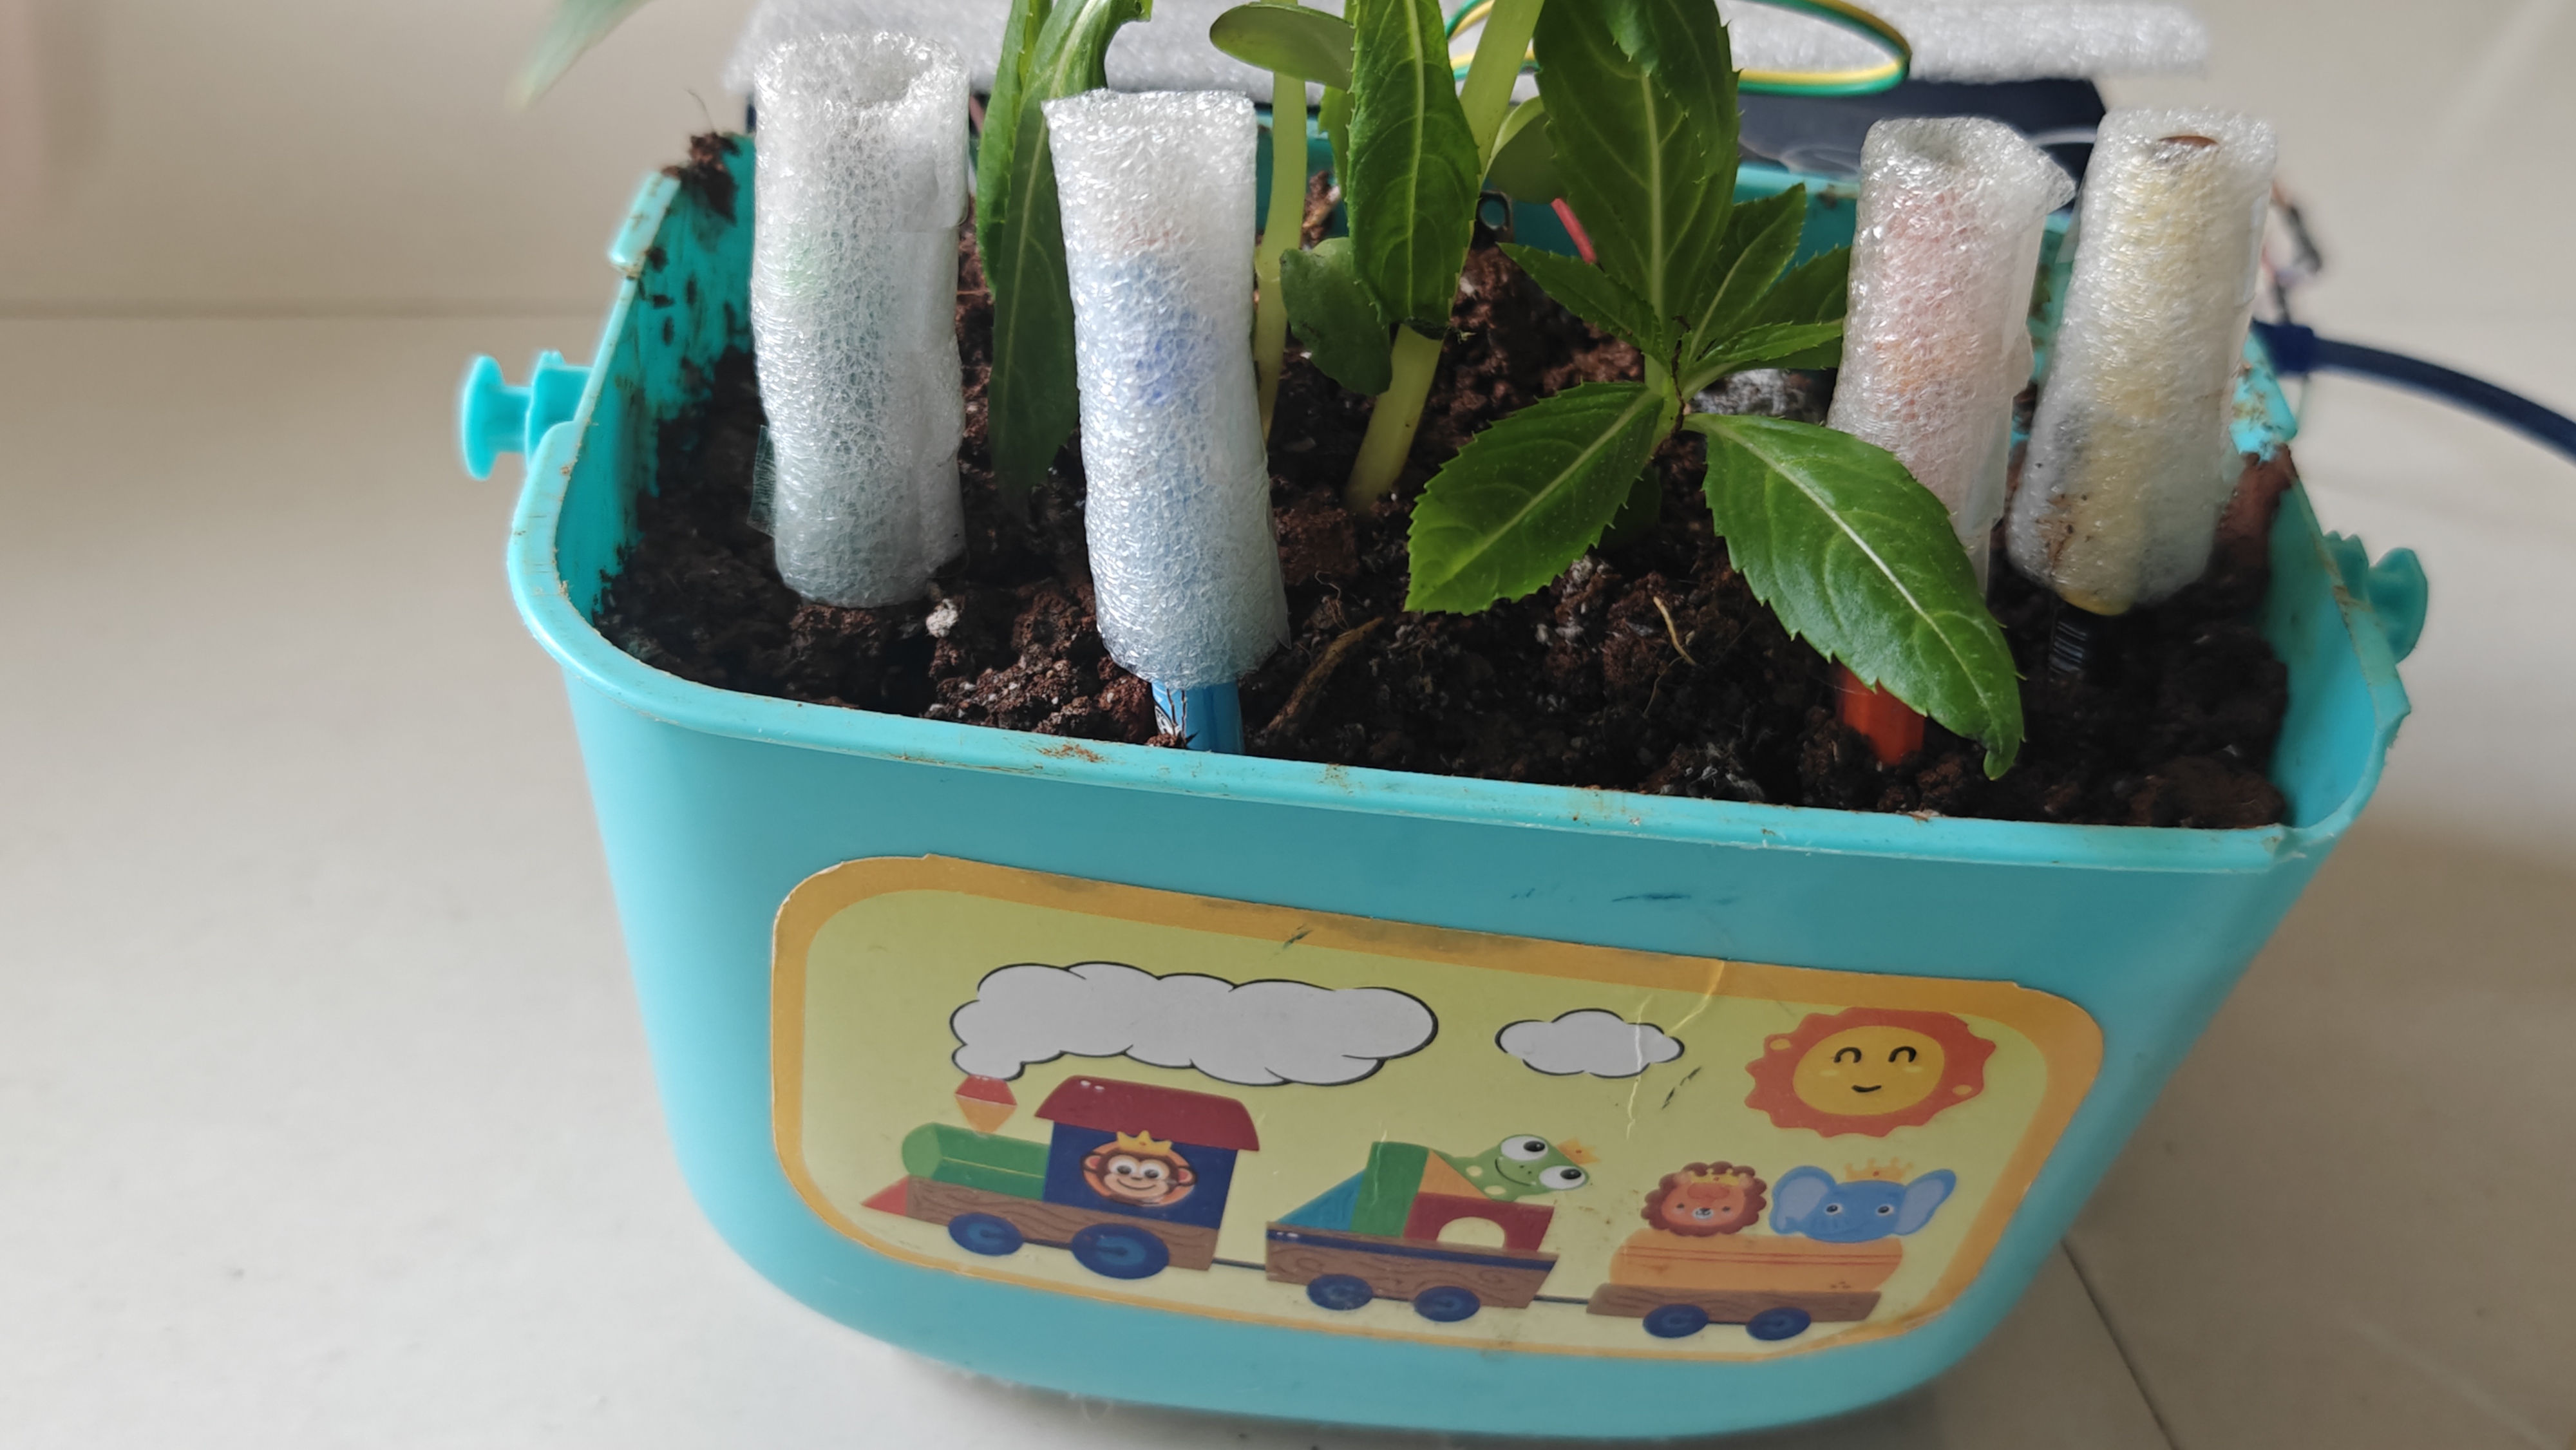
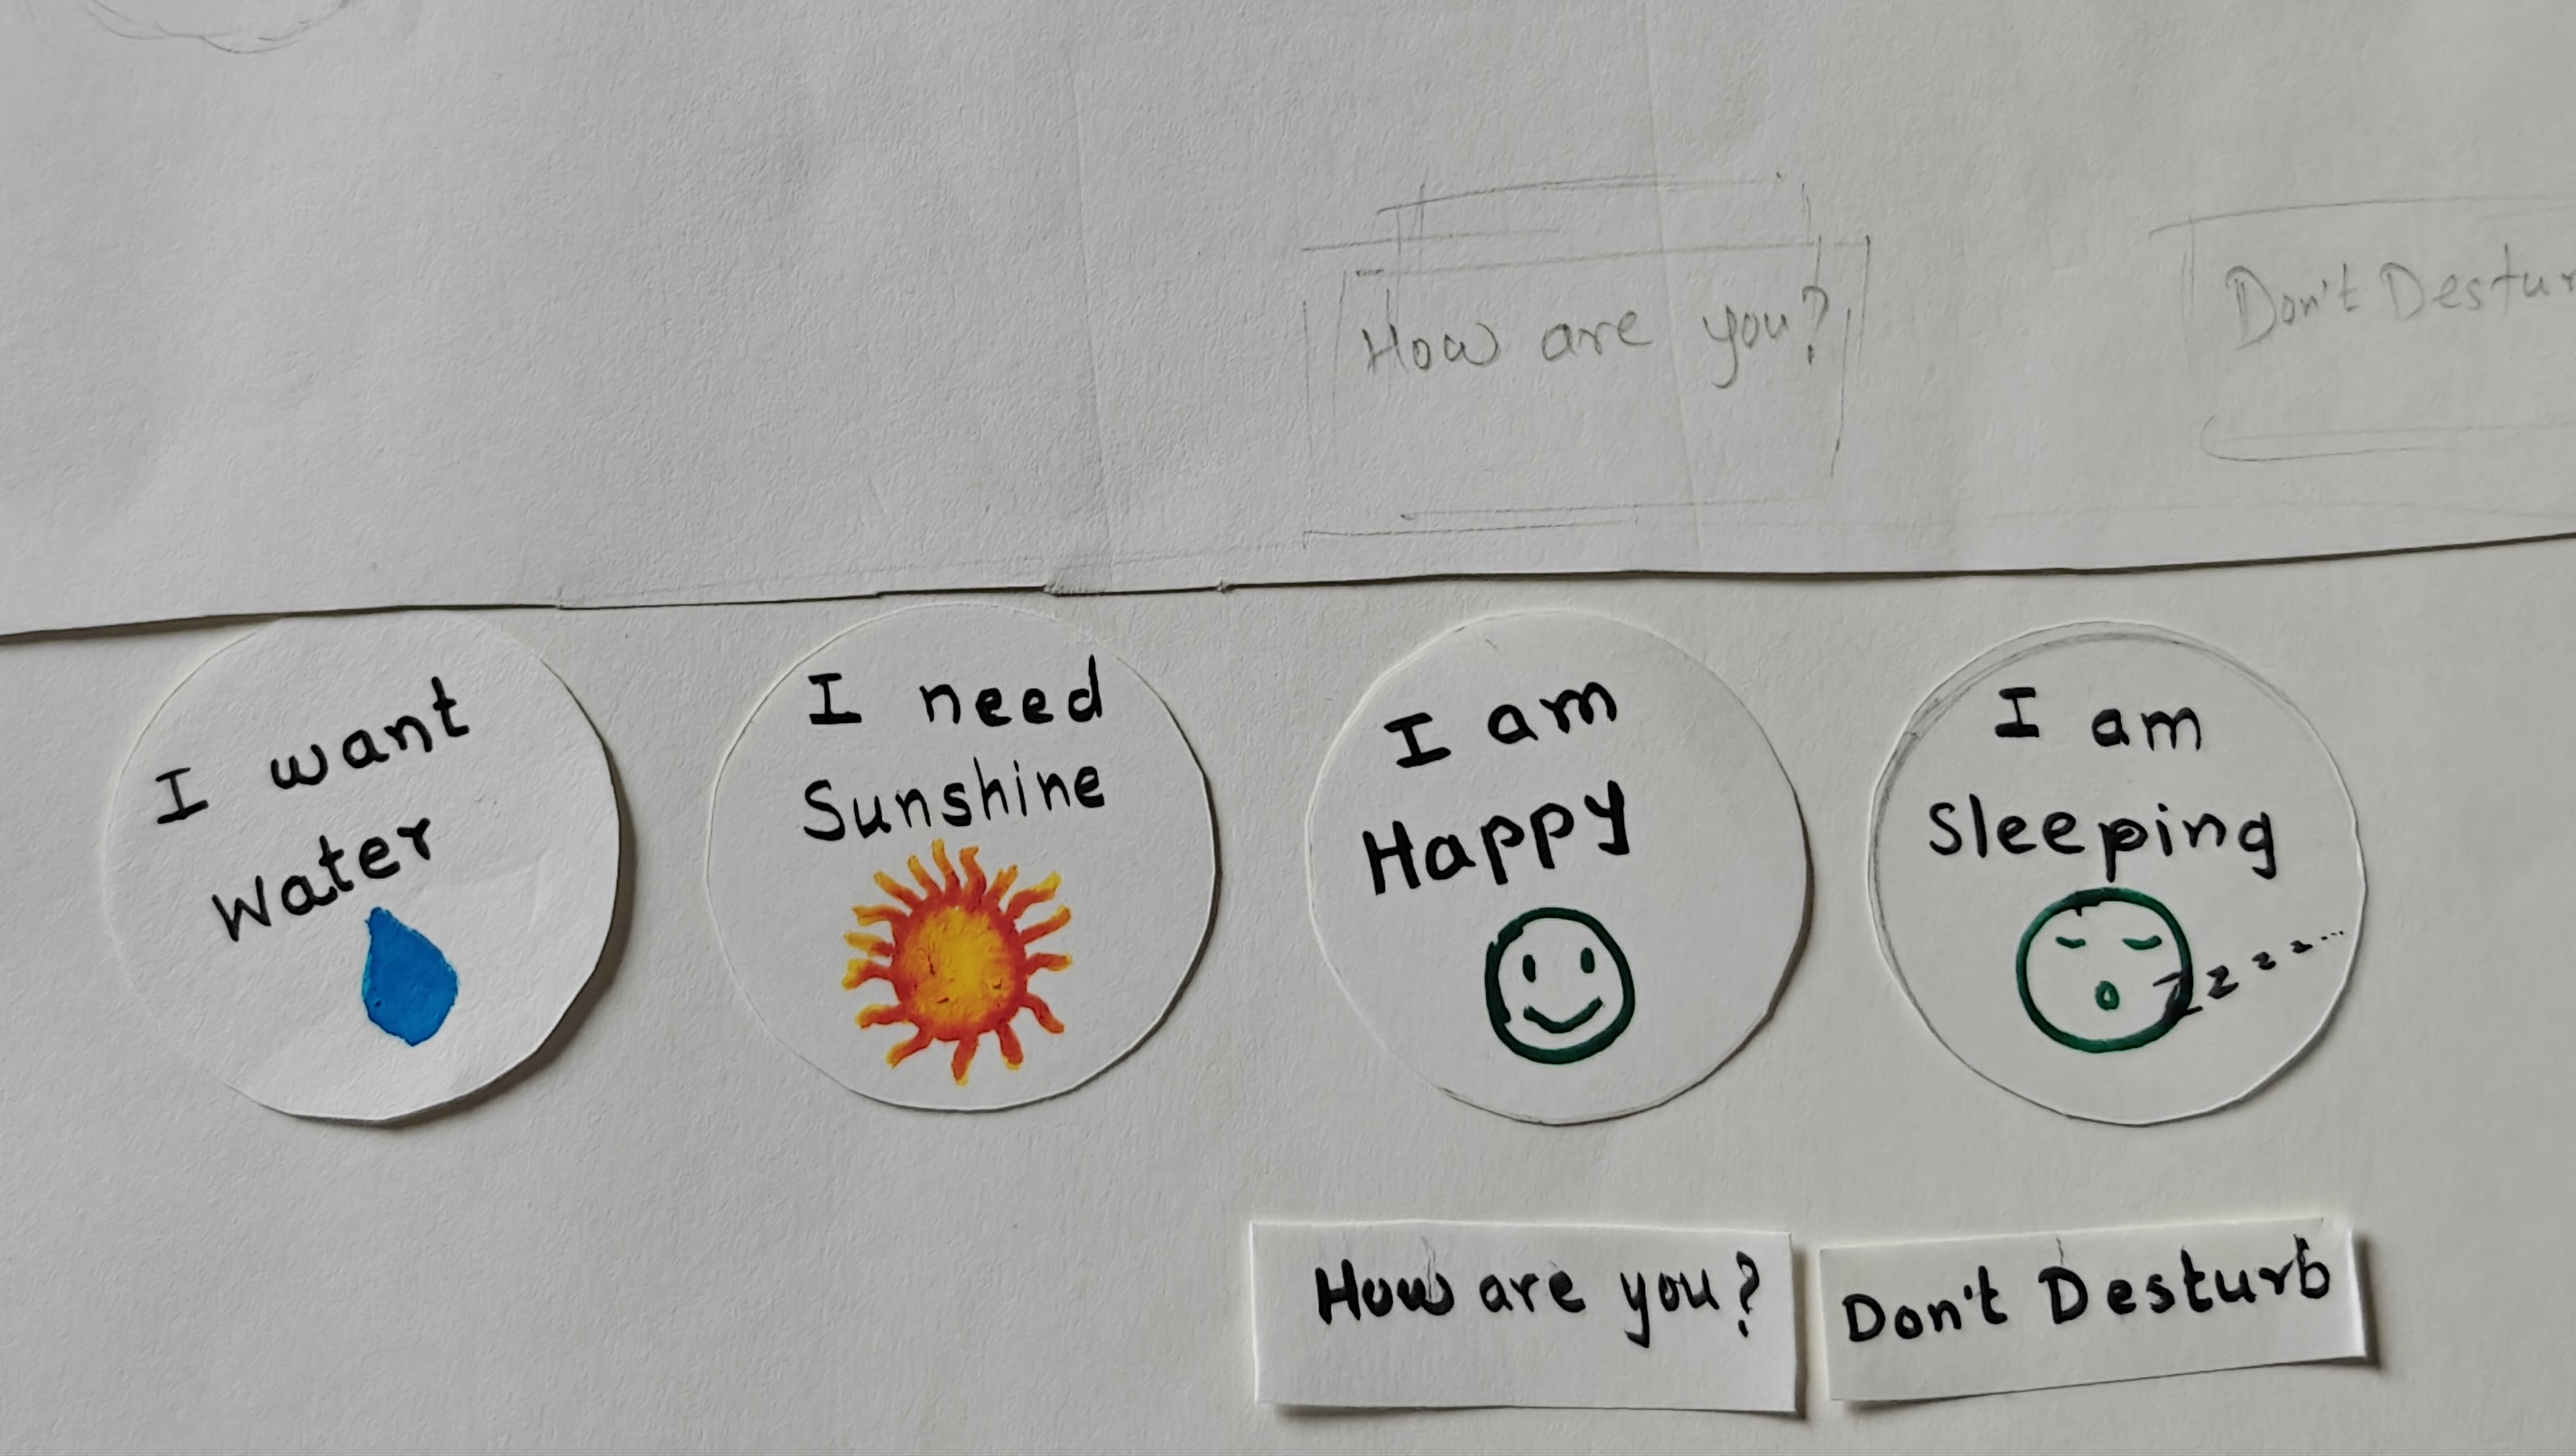
Students now give their “Plant Speaks” system a neat, finished look. They cover the LEDs with simple diffusers and place the Arduino, wires, and other components neatly inside a box, while keeping the sensors connected to the plant. Paper boards telling words of plant will be placed
Students then test the system with dry/wet soil and different light conditions and observe whether the correct LED communicates the plant’s needs
Students change the plant’s conditions and check whether the system correctly responds.Students identify errors or unexpected behaviour and modify their circuit, code, or thresholds


Students test their “Plant Speaks” system under different conditions, such as dry or wet soil and bright or low light. They observe whether the correct LED communicates the plant’s needs.
If the system behaves unexpectedly, students identify the problem and make improvements by adjusting the circuit, code, or sensor thresholds. They test again to check whether their changes have improved the solution.
“Build, test, find the problem, improve, and test again.”
Having trouble? Let us know by completing the form below. We'll do our best to get your issues resolved quickly.
"*" indicates required fields