- Loading…

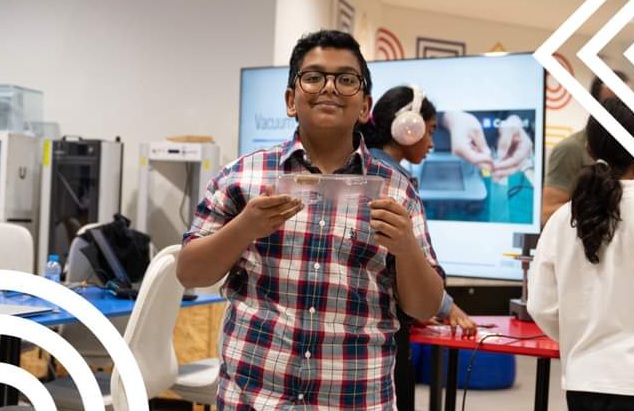
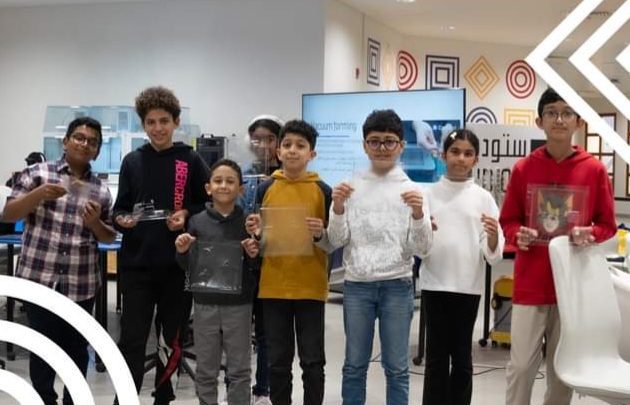
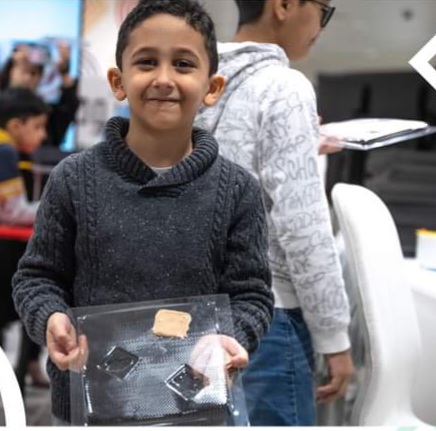
In this workshop, participants are going to learn about the basics of Food Molds creation, how to use the vacuum former and how to create personalized/custom food molds that can be used multiple times, using many edible materials, like chocolate, jelly and many others. Participants will also learn about how the food manufacturing process flows and how to use whatever technology is available to improve food manufacturing time and quality.


Presentation
1- Introduce the participants to Studio 5.
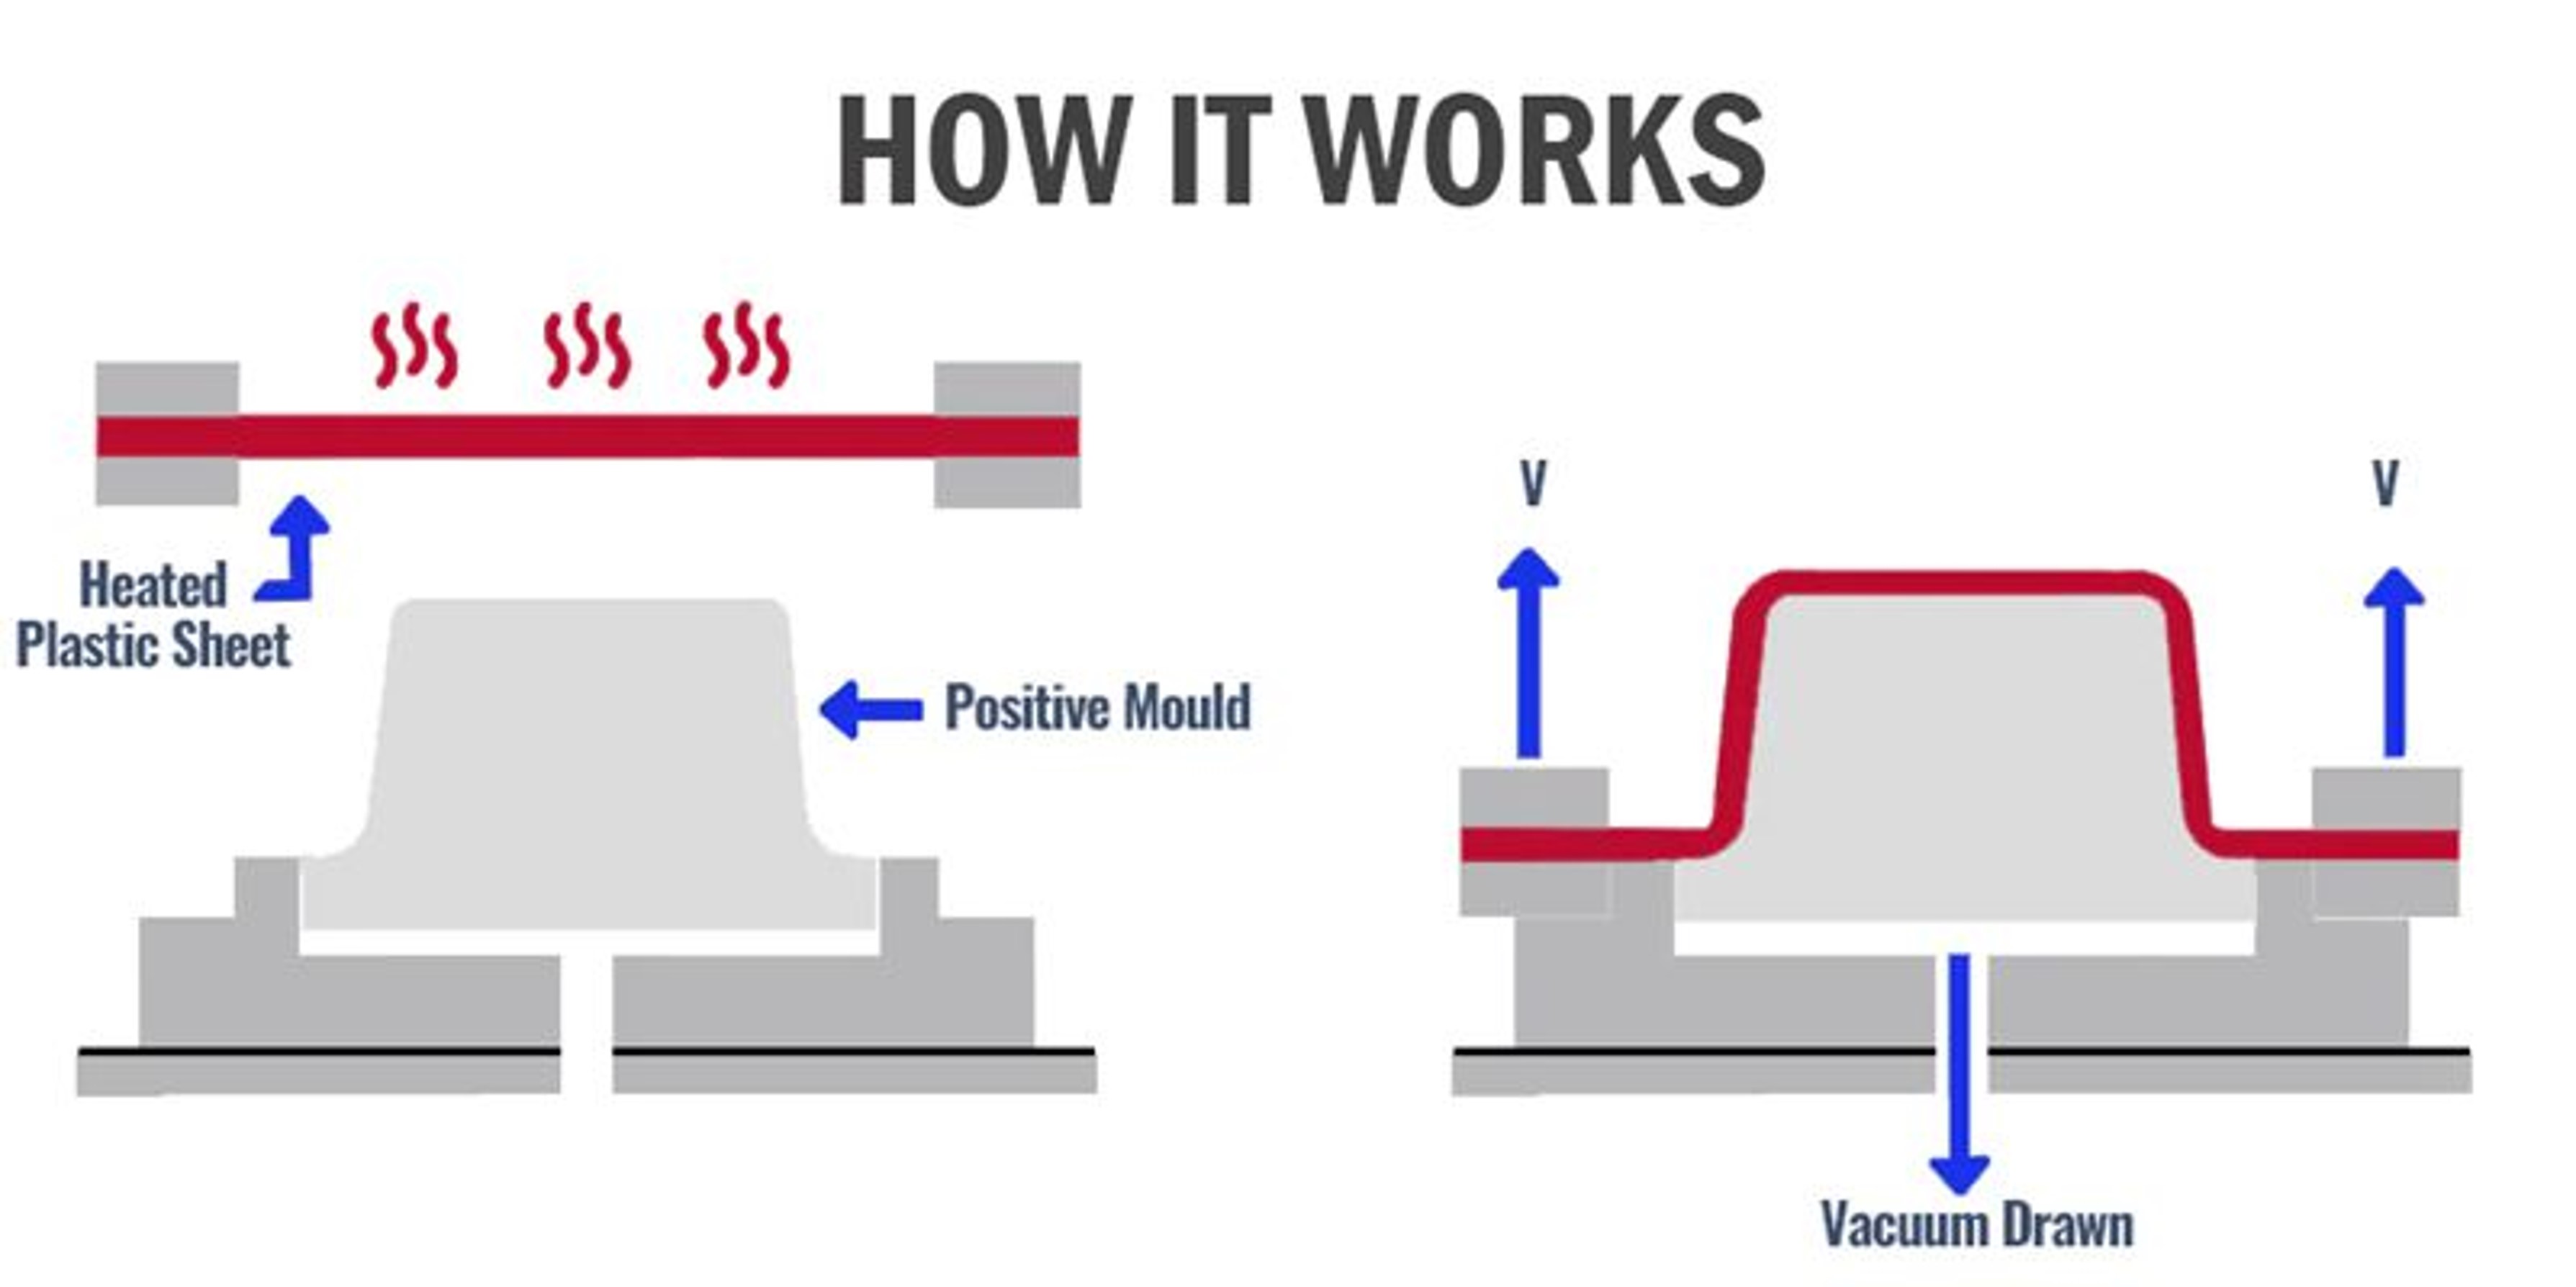
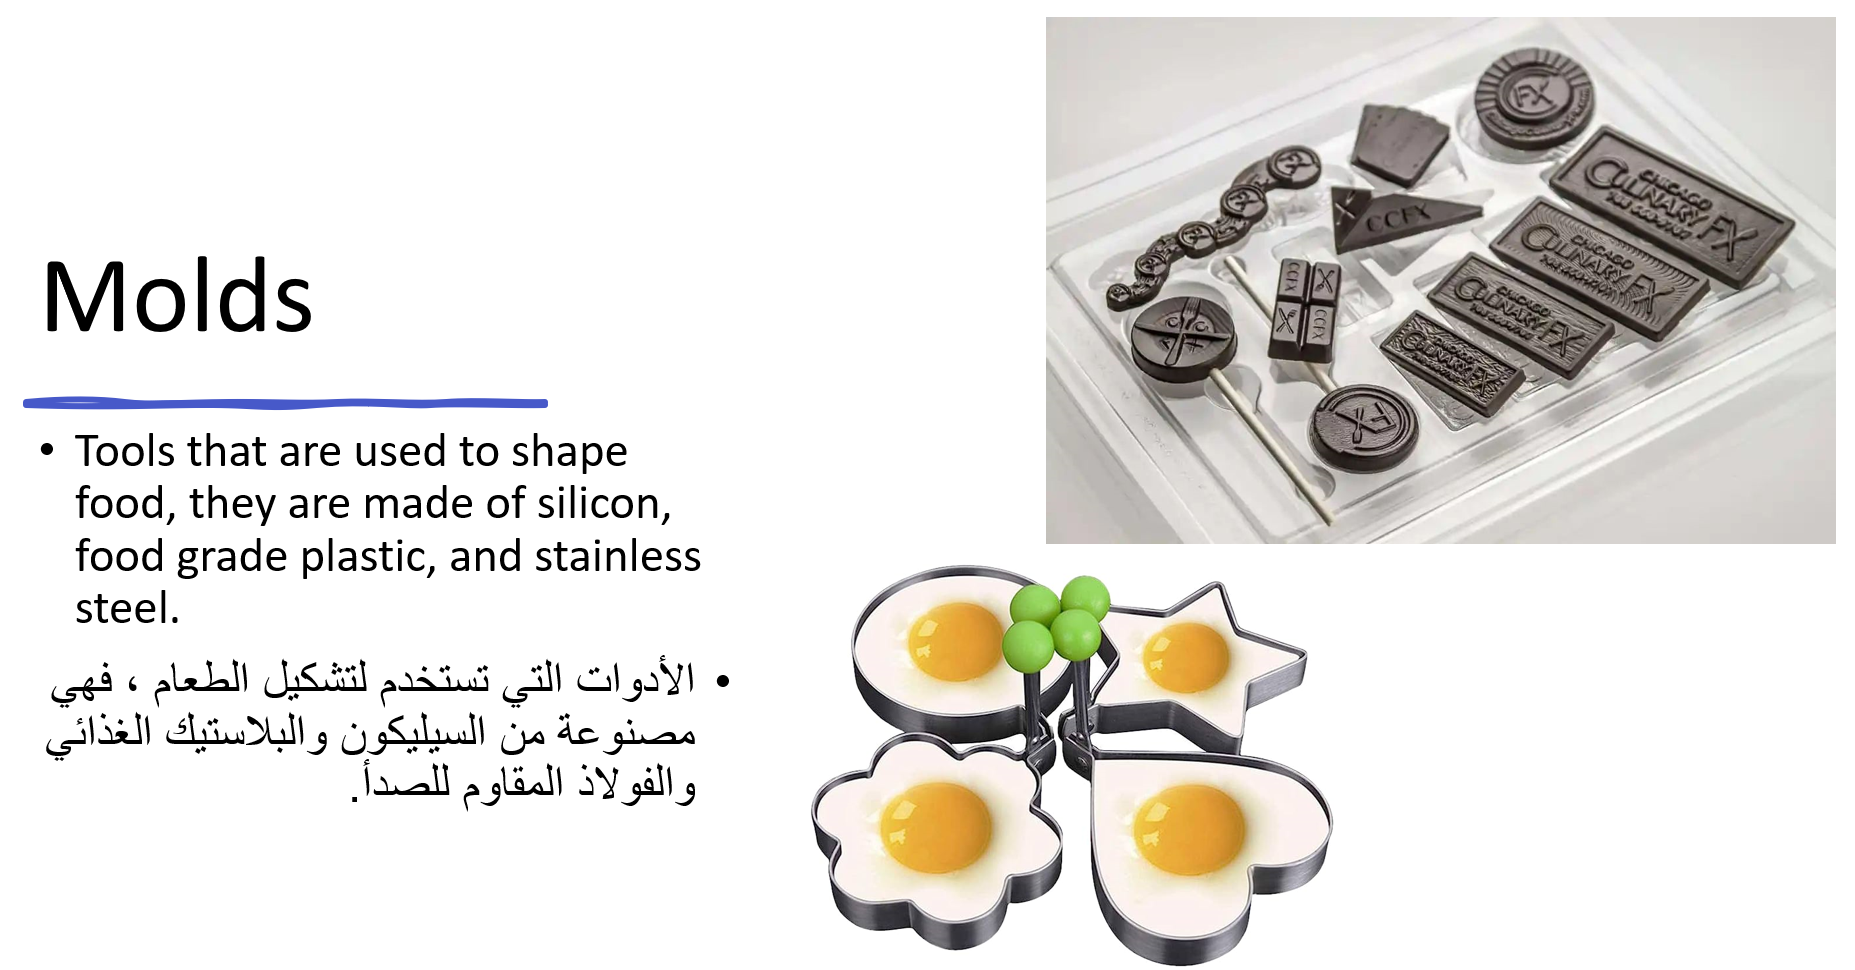
2- Introduce the participants to the concept of positive and negative molds.
3- Show the participants a video about food printers.
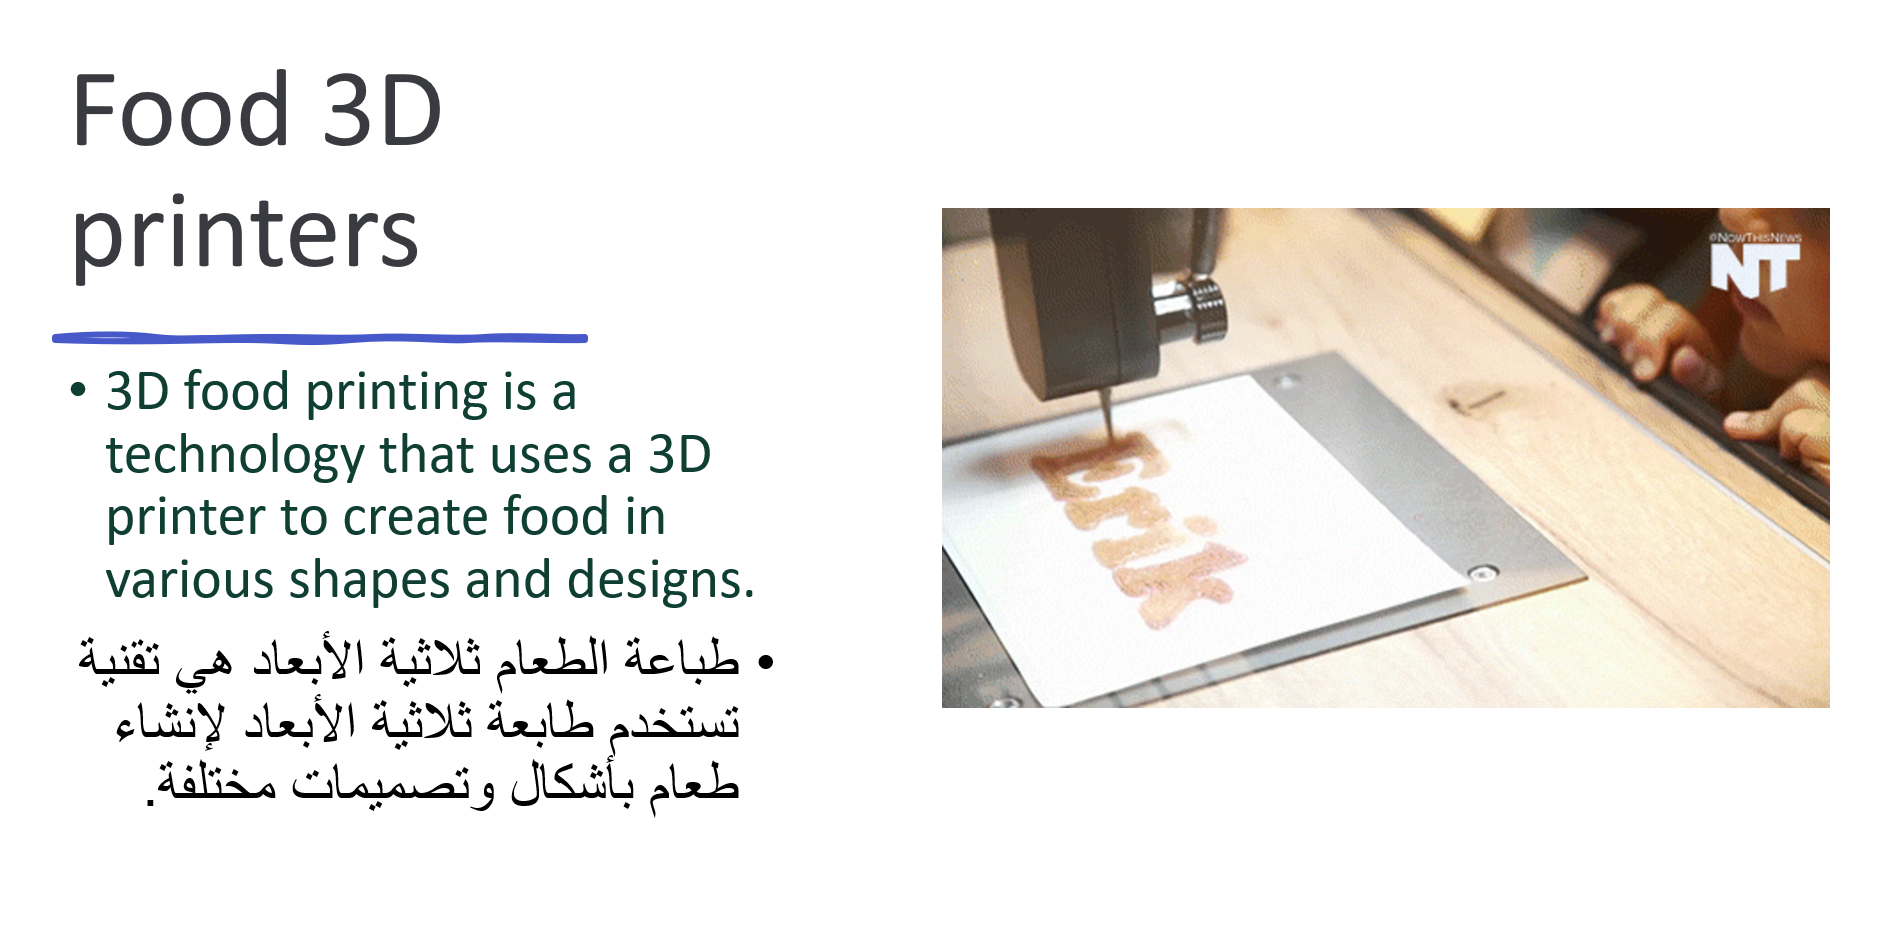
4- Ask participants what we can also design and print.
5- Introduce the participants to Inkscape, an open source design software.
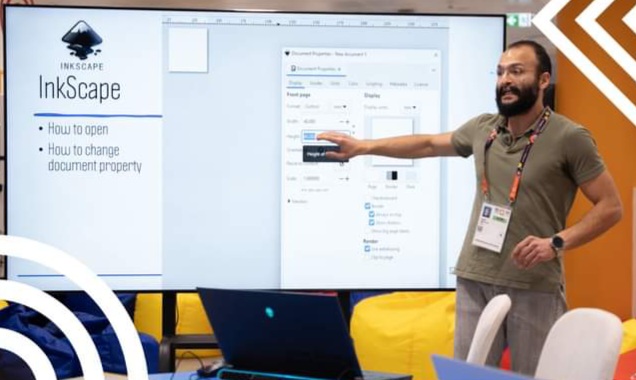
6- Introduce participants to basic and simple design patterns, how to use design tools and how to save svg files to be laser cut later on.
7- Show the participant the laser cutter in action.
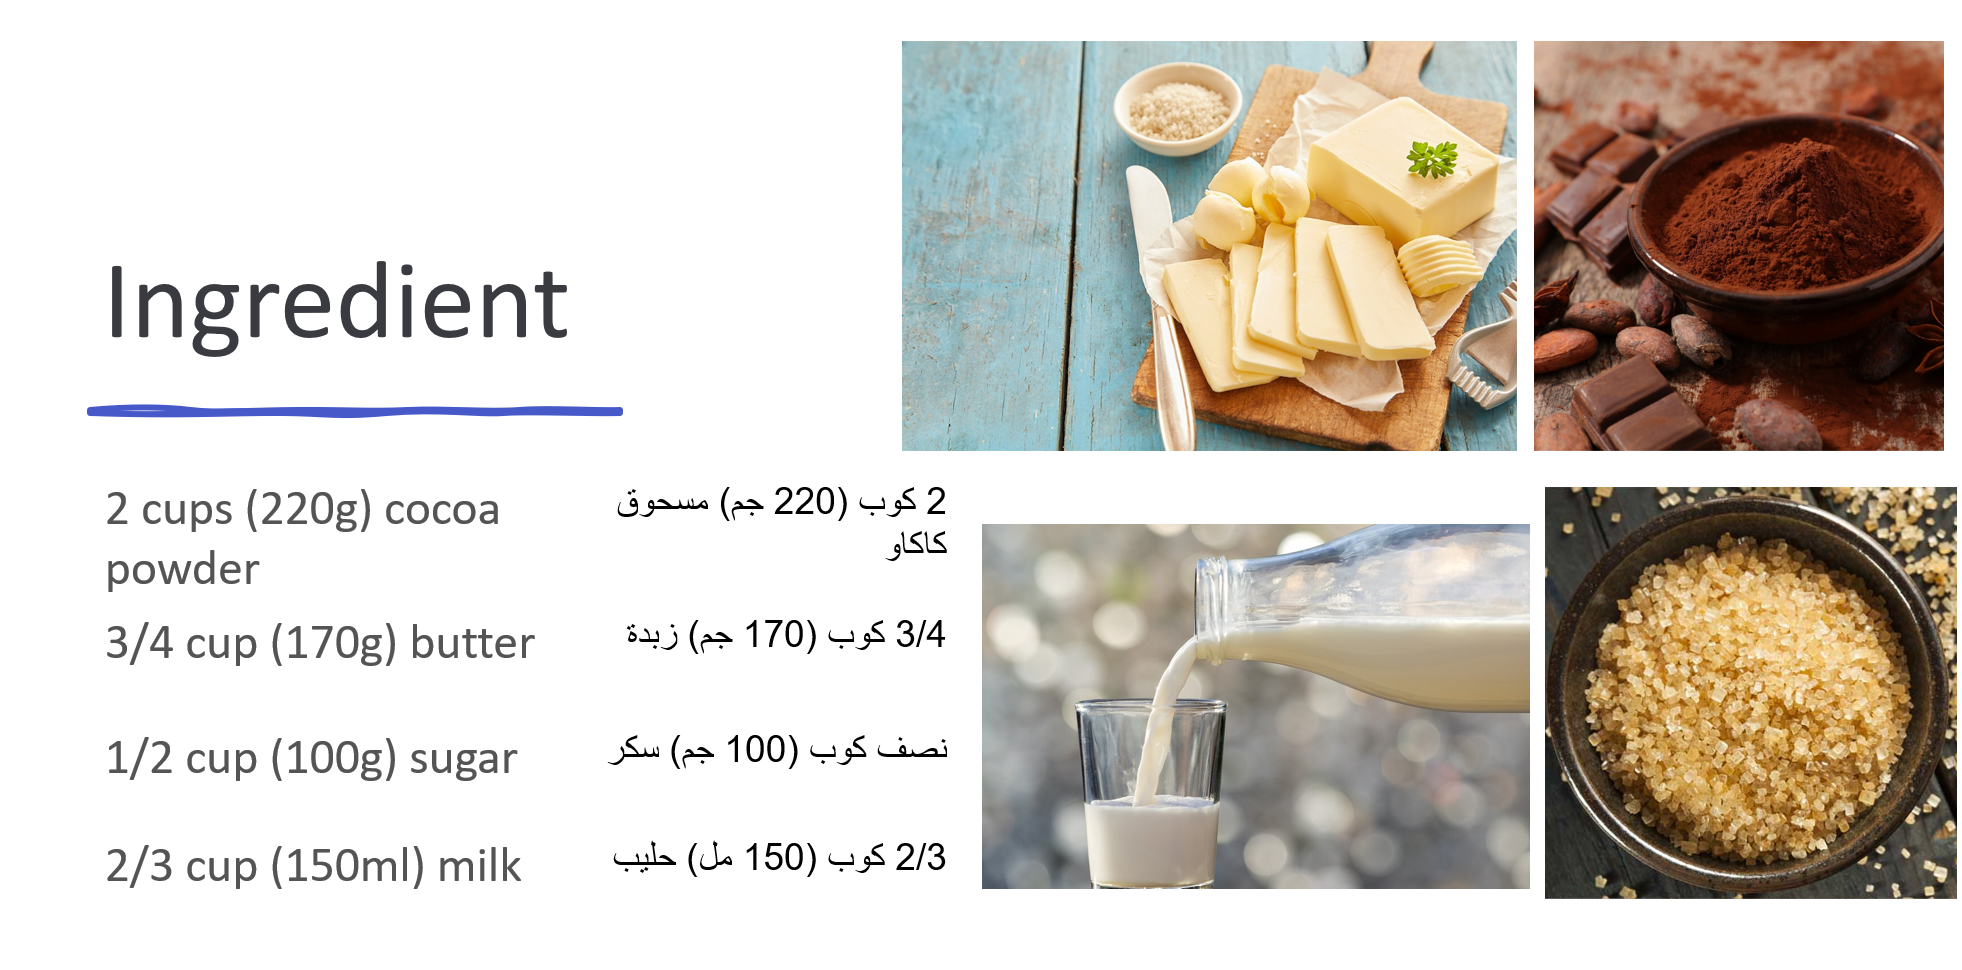
8- Show the participant how to create a paste to be used inside molds.
9- Show the participant how to apply everything step by step.
Prototype
1- Show participants Inkscape software and its main feature.

2- Design the shape in Inkscape with participants.

3- Save the design to be laser cut.
4- Start the laser cut process.
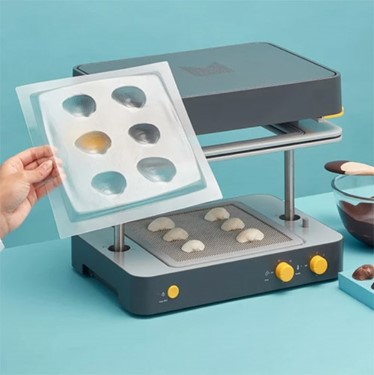
5- Get the Vacuum former ready.


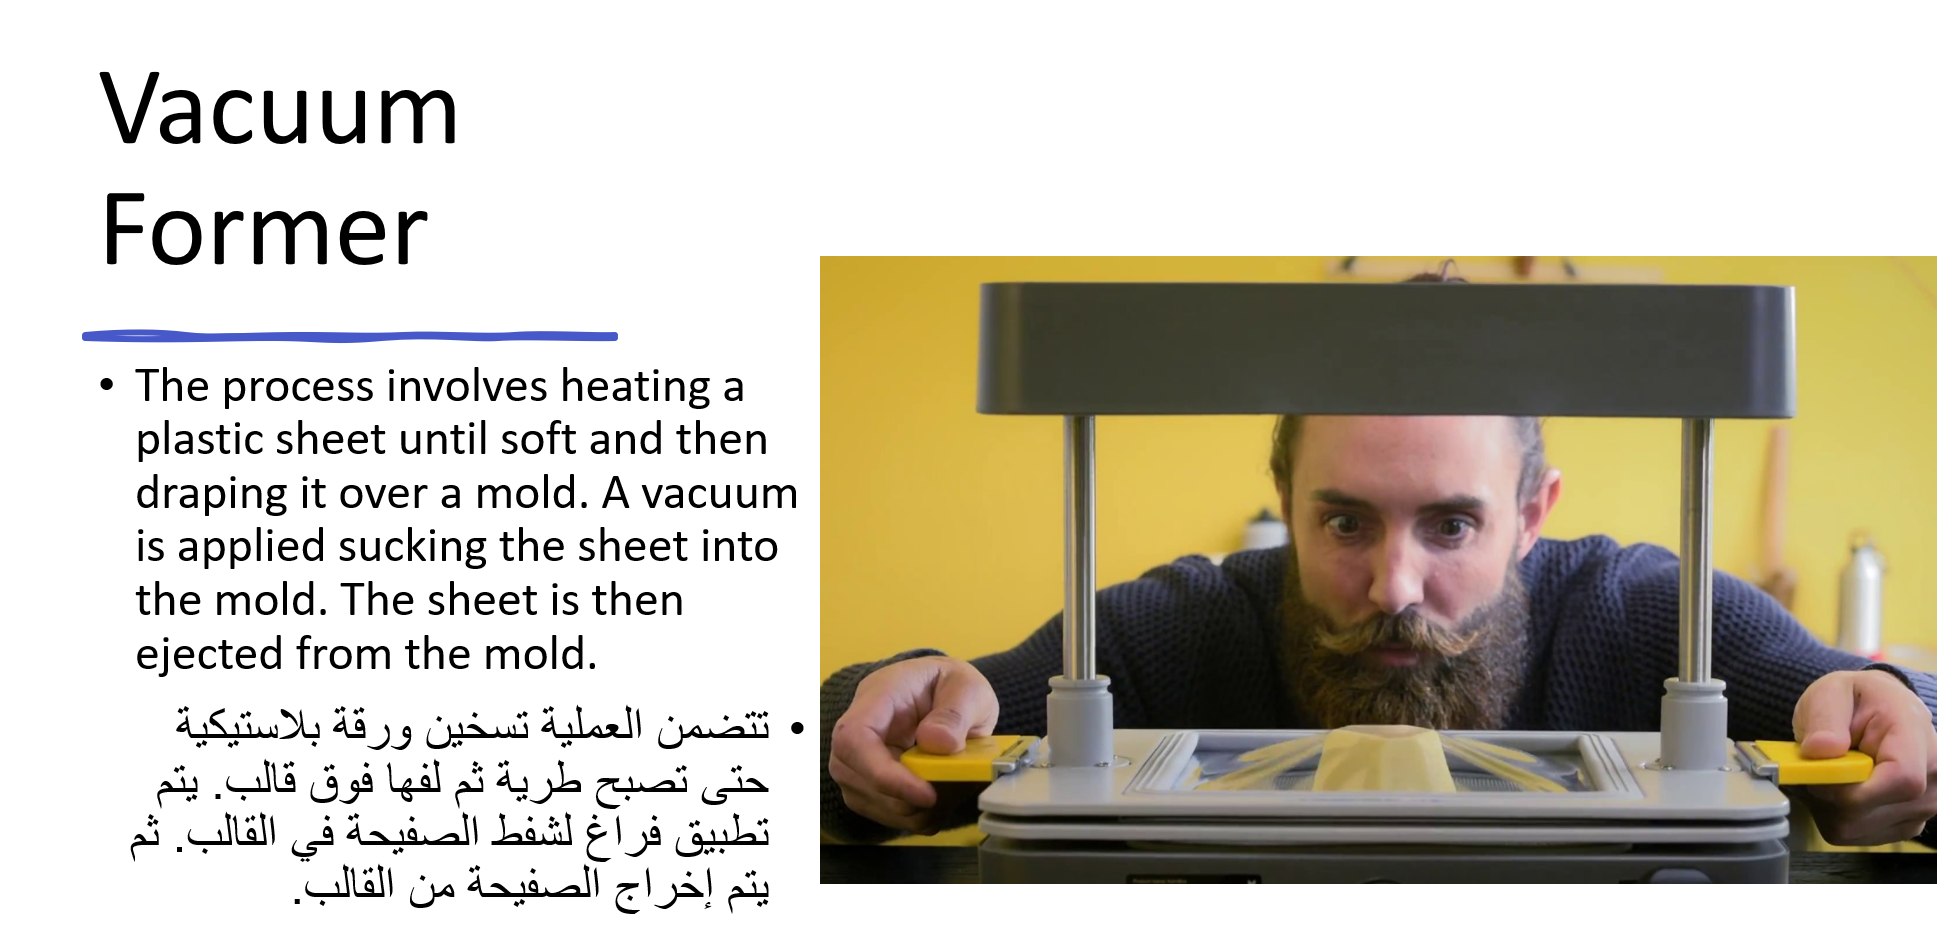
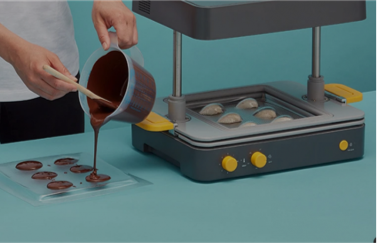
6- Place the casting sheet and the positive mold inside the vacuum former.
7- Create a negative mold.

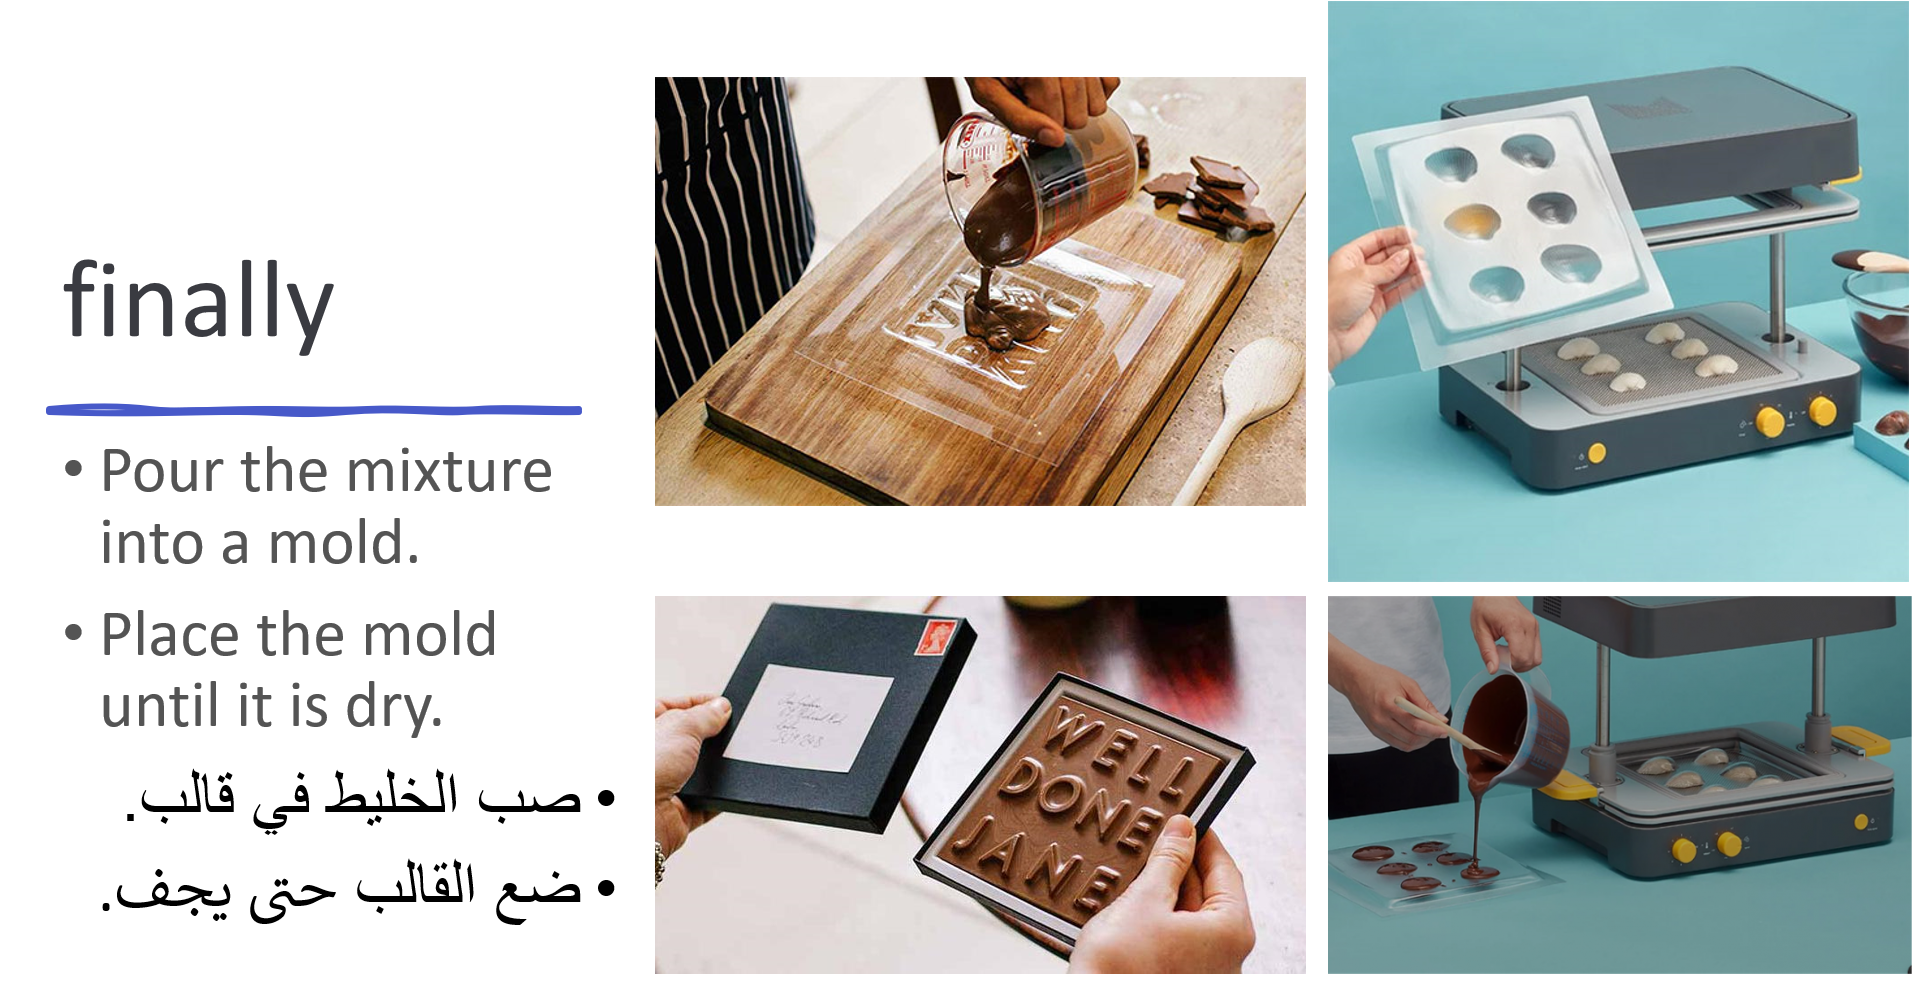
8- Fill in the negative mold with chocolate paste or any kind of paste that has been prepared earlier.

9- Wait until the paste dries.


Having trouble? Let us know by completing the form below. We'll do our best to get your issues resolved quickly.
"*" indicates required fields