- Loading…

This project one of the part of Diwali celebration with self creativity.
Its celebration includes millions of shining on housetops, outside doors and windows,
Around temples and other buildings in the communities and countries where it is observed.
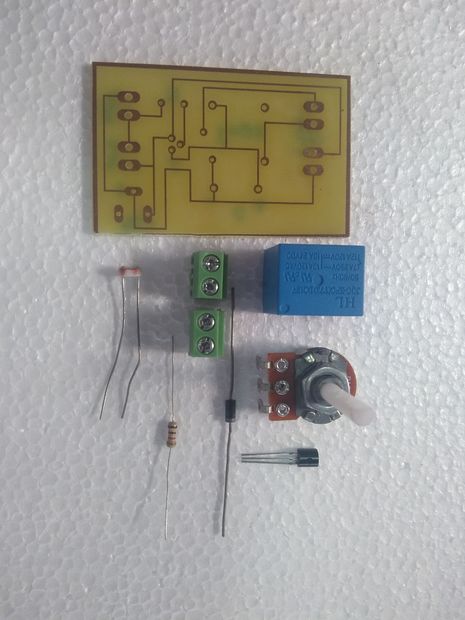

1k resistor 1
Diode: IN4007 1
Transistor BC547 1
Relay 5VDC 1
LDR 1
10K potentiometer 1
Green screw connector 2
Power supply connector 1
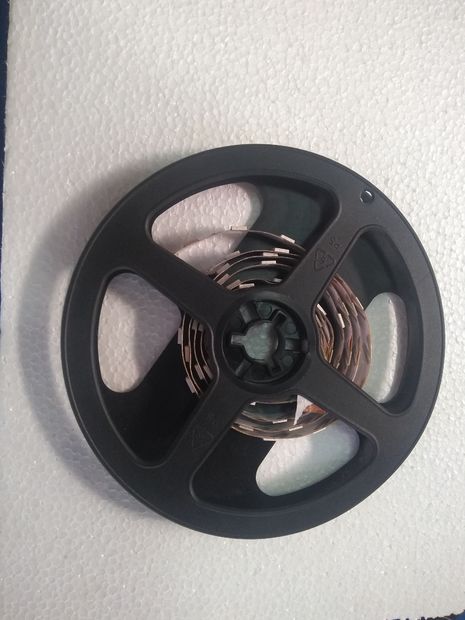
LED strip (with 9 LED’s)
Adapter 9V /1A
Connecting wires – 1 meter
Lantern material :
MDF sheet
Gelatin paper / Butter paper
Decoration material
Thread , Fevicol
Tools required :
Soldering gun and Metal, flux
Glue gun
Needle
Scissor
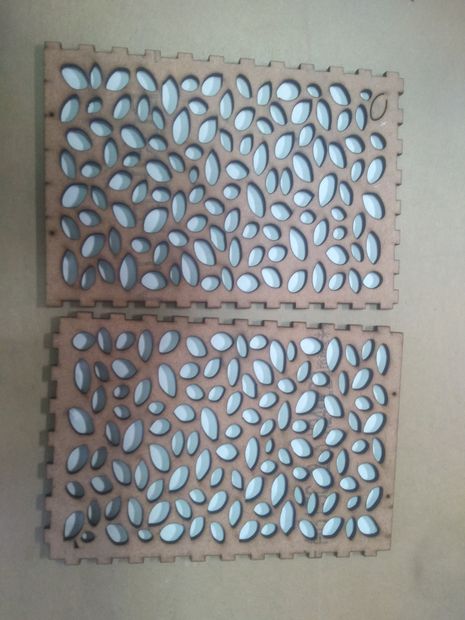
In Diwali you will find different types of lanterns made from Papers , MDF sheets , Plastic sheets etc. But here we are concentrating on MDF sheet designs. So to make this download any design template (Vector graphics image) from internet which needs to be suitable for your lantern. Now import that downloaded image into either Inkscape or Corel draw software to make this laser cut file and for additional improvements. Here I used Inkscape (https://inkscape.org/en/https://inkscape.org/en/) for edge detection and holes addition to hang decoration. Below Pictures showing selection of design and edge detection method for downloaded PNG image using Inkscape software. Once its done open Box designer (https://boxdesigner.connectionlab.org/ ) to design lantern box with proper dimensions. Here you have to put only Length, Hight and Breadth parameters to design box;it creates PDF file of parts that need to import inside Ink scape software. Finally you have to export design in DXF format.
Introduce them with Inkscape 2D design software.
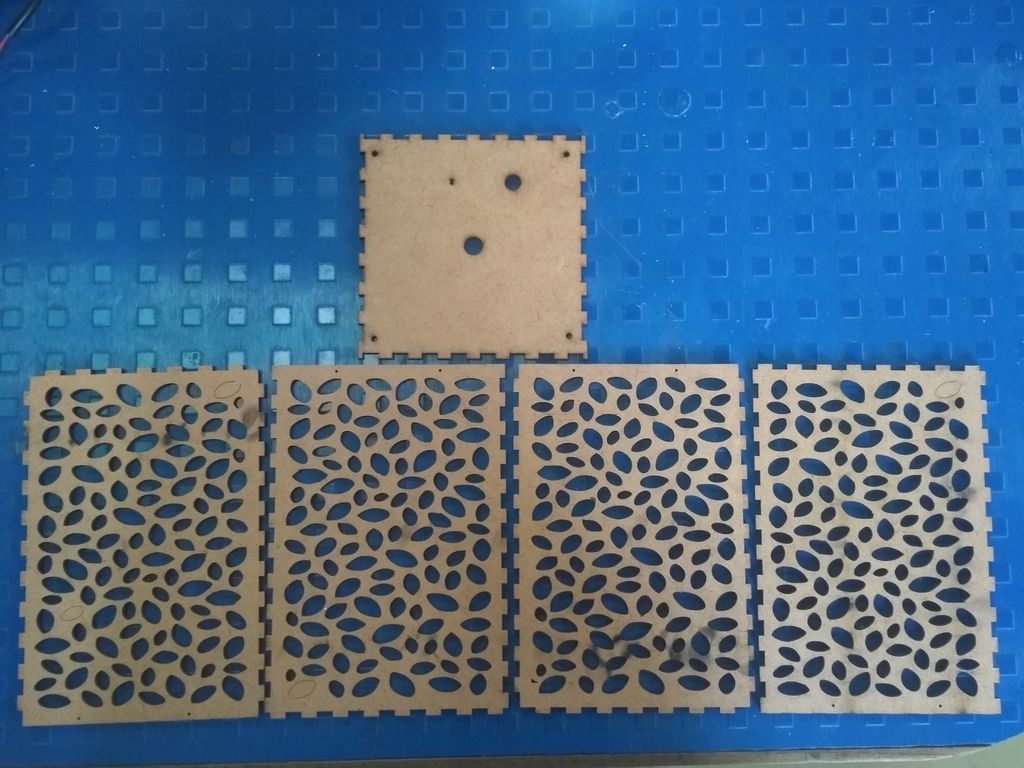
Import exported DXF file in laser machine software. Here I’m used SIL laser cutter with RD works software. Now arrange it properly and give it to laser cutter to cut on 2.5mm MDF sheet. Make younr parts ready for assembling. Pictures showing cut parts and their orientation.
Introduce them with Laser cutter and its machine software.
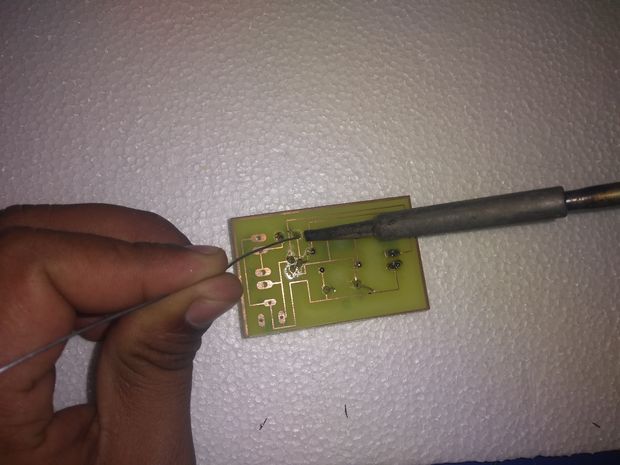
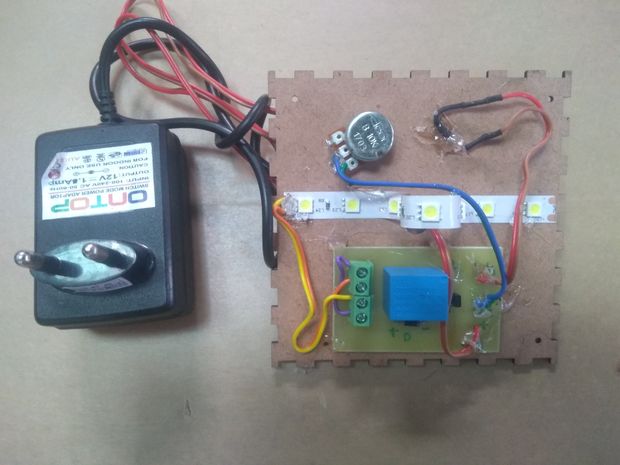
This part makes difference in this lantern compare to others. Here we used LDR circuit which detects light intensity and operates LED strip accordingly. If light intensity is LOW (usually at night time) it starts LED strip and when its HIGH it stop supplying voltage to LED strip (usually at day time). So lets make this circuit !! First you need mentioned components, tools and PCB board on table. Arrange one by one component on PCB with referring shown circuit diagram and signs on PCB board. Solder it with high precision and make necessary wire connections. Here we need external wire connections for Potentiometer, LDR sensor and for LED strip. Do it as shown inside pictures.
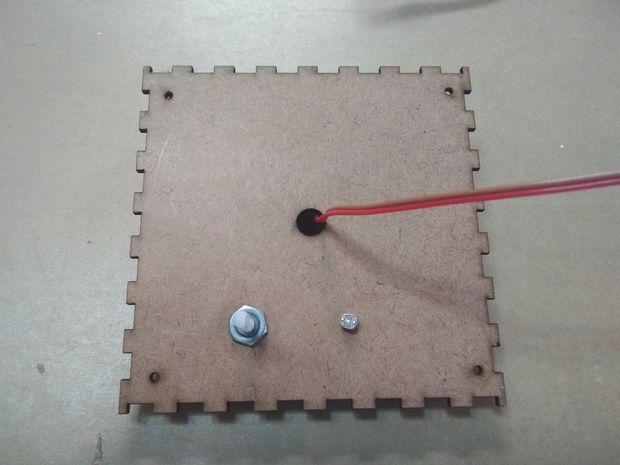
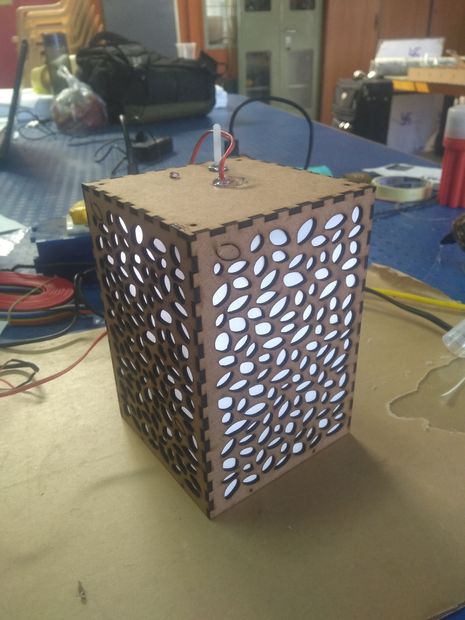
Let’s start assembling laser cut parts and electronics part together. First take top laser cut part of lantern and fix electronic circuit on it as per shown in picture with help glue gun. Now place potentiometer and LDR sensor on top of plate and make connection with external wires from bottom side as per shown in picture. Now paste led bulb strip at bottom side and connect external wire connection with it. Connect adapter connection to board . Now enclose lantern with other remaining laser cut parts all these are press-fit and make it ready for decoration.
For decoration you can use any type of material (waste, recycled etc.) here I used decoration lase and Moti to decorate lantern hangers and for border decoration. From inner side you can paste any type of colour papers like gelatin paper or thin card-sheet paper. Make hanging arrangement with help of thread and holes made on top side. So yes your lantern is ready to operate automatically !!!
Having trouble? Let us know by completing the form below. We'll do our best to get your issues resolved quickly.
"*" indicates required fields
Thank you for your fab contribution!