- Loading…

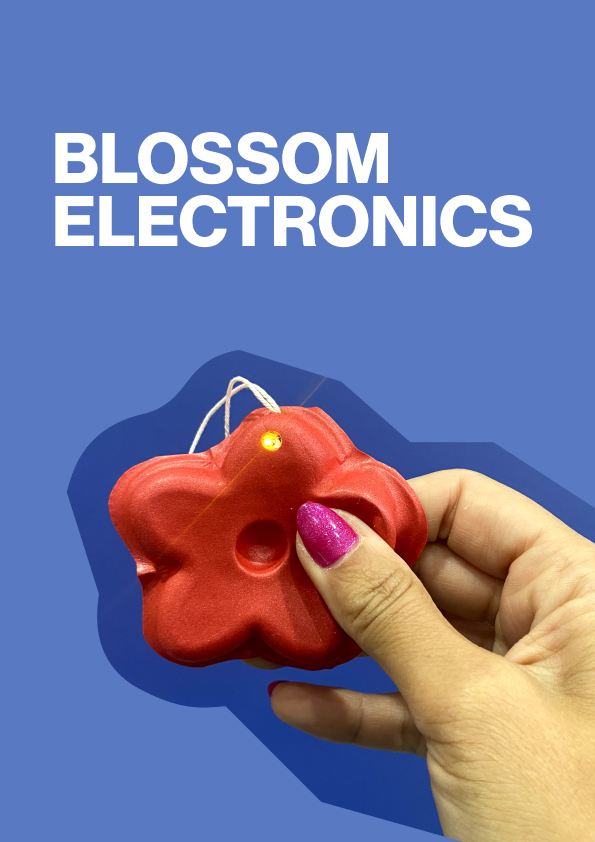
Celebrate Women’s Day with an activity inspired by one of the brightest women in science, Katharine Burr Blodgett! This engaging and hands-on electronics activity emphasizes the significance of women and girls in tech.
This lesson plan guides participants in creating a beautiful electronic flower using easily accessible materials like, a coin battery, an LED, and conductive tape. Through this project, students will not only develop their creativity but also gain practical insights into basic electronics. By combining crafting with technology, we aim to inspire the next generation of female innovators and emphasize their role in shaping the future of technology. Join us in fostering a supportive and inclusive environment for women and girls in the world of tech!
The best thing about this activity is that it leverages several technology aspects commonly found in a FabLab, providing a hands-on experience that incorporates 3D printing, vacuum forming, crafting, and basic electronics. The varying levels of complexity in each step cater to different age groups, ensuring an inclusive and engaging learning experience that fosters interest in various facets of technology.
Materials:
Equipment:
Before we start... This activity is inspired by Katharine Burr Blodgett, a super scientist! 🌟 She was just 20 when she became the first female scientist at General Electric in 1918! She even went to Cambridge University and became the first woman to get a Ph.D. in physics. Her inventions also helped make solar panels more efficient and created better lighting for us. But that's not all! Working with Dr. Irving Langmuir, they invented something amazing—coating glass with a single molecule to make it glare-free and invisible! She patented it in 1939, and now it's used in telescopes, eyeglasses, and more. Besides being a brilliant scientist, Katharine loved acting in plays in her spare time. 🎭 In 2007, she got a spot in the National Inventors Hall of Fame! 👩🔬✨
Now let’s start with the activity!
If you’re designing the flower yourself, opt for an image with less complexity along the edges. Also, ensure that the 3D model of the flower includes a hole in the middle to enhance the definition during the vacuuming process.
Participants can utilize open-source software to create their own flower or personalize existing designs. This step is tailored to engage an older target age, encouraging creative expression and individuality.
For the softwares you can use the following.
For kids and beginners:
– Tinkercad
Open source / Educational license:
– Blender – free, open-source 3D model creation software
– Fusion 360
Others:
Rhino, Meshmixer, Moment of Inspiration (MoI), 3ds Max – used in all types of 3D model creation, including video game design, architecture, and 3D printing, Siemens NX – for designing and creating advanced 3D models, Solidworks – for designing and creating professional parts for industrial use, Catia – Advanced design software used for creating surfaces and engineering systems
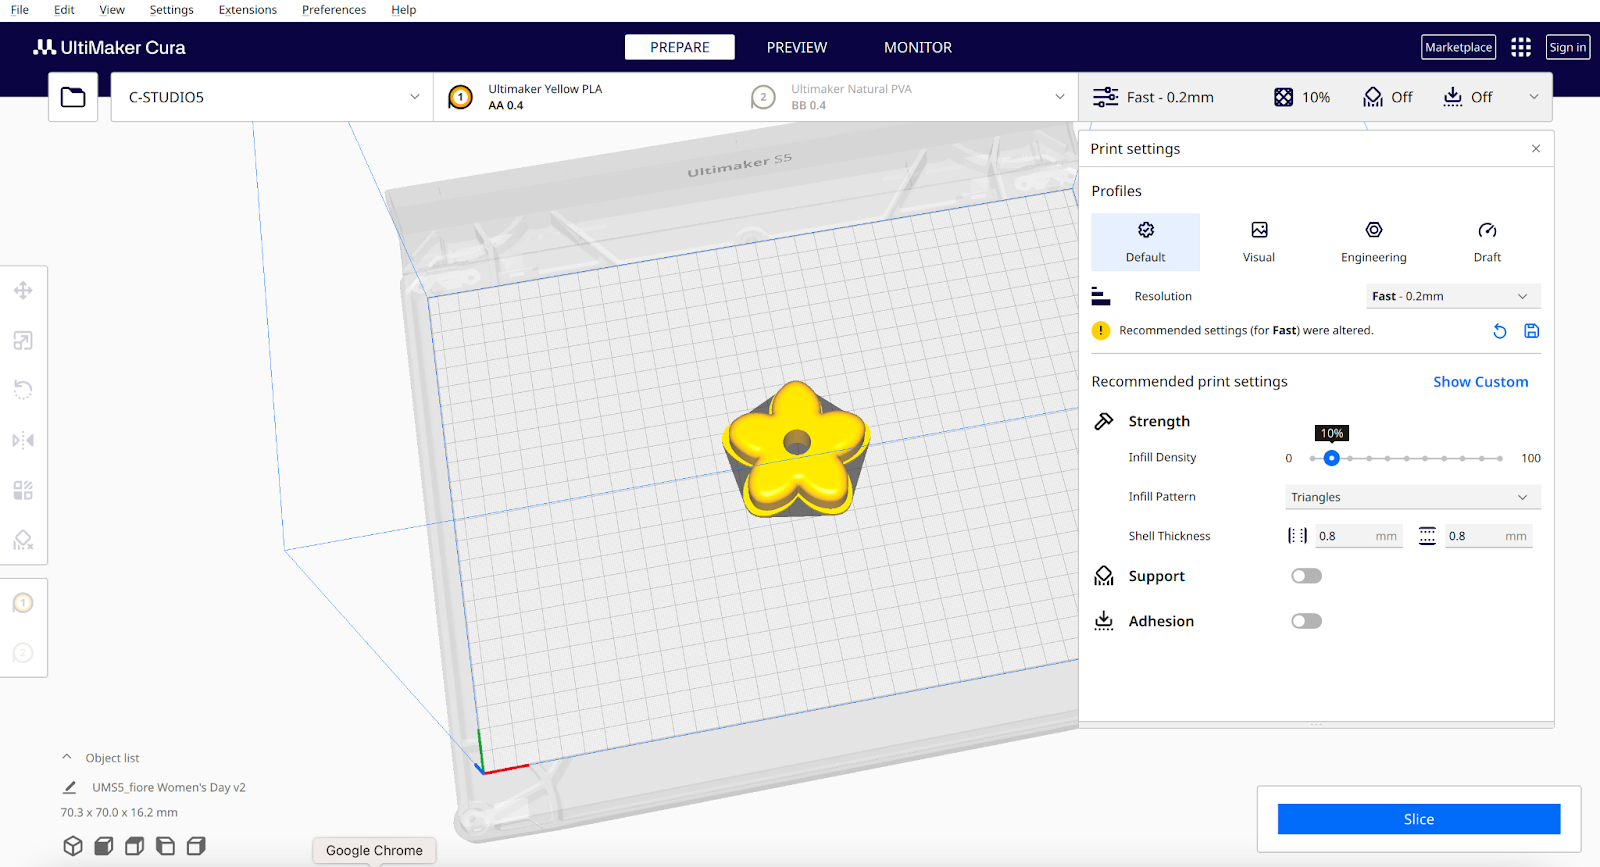
In Step 2, participants, including children and young adults, will be introduced to the slicing process and empowered to launch their own 3D prints.
For the slicing of the shared file mentioned earlier, it is recommended to use PLA filament, set at 10% infill, with no support, and opt for a fast print. (This configuration was successfully tested on an Ultimaker S5 using Cura slicing.)
After setting the parameters SLICE > SAVE TO REMOVABLE > EJECT
Or you can download the file ready to be printed here
In this Step participants will learn how to start a print and the fundamentals about 3D printing.
Once your file is ready you can upload it to the machine and launch the print. While the file is printing (this requires 54 minutes), you can present 3D printing using this presentation.
To launch the print check that the required filament is loaded (1), insert the USB (2), select the file (3), and start the print (4).
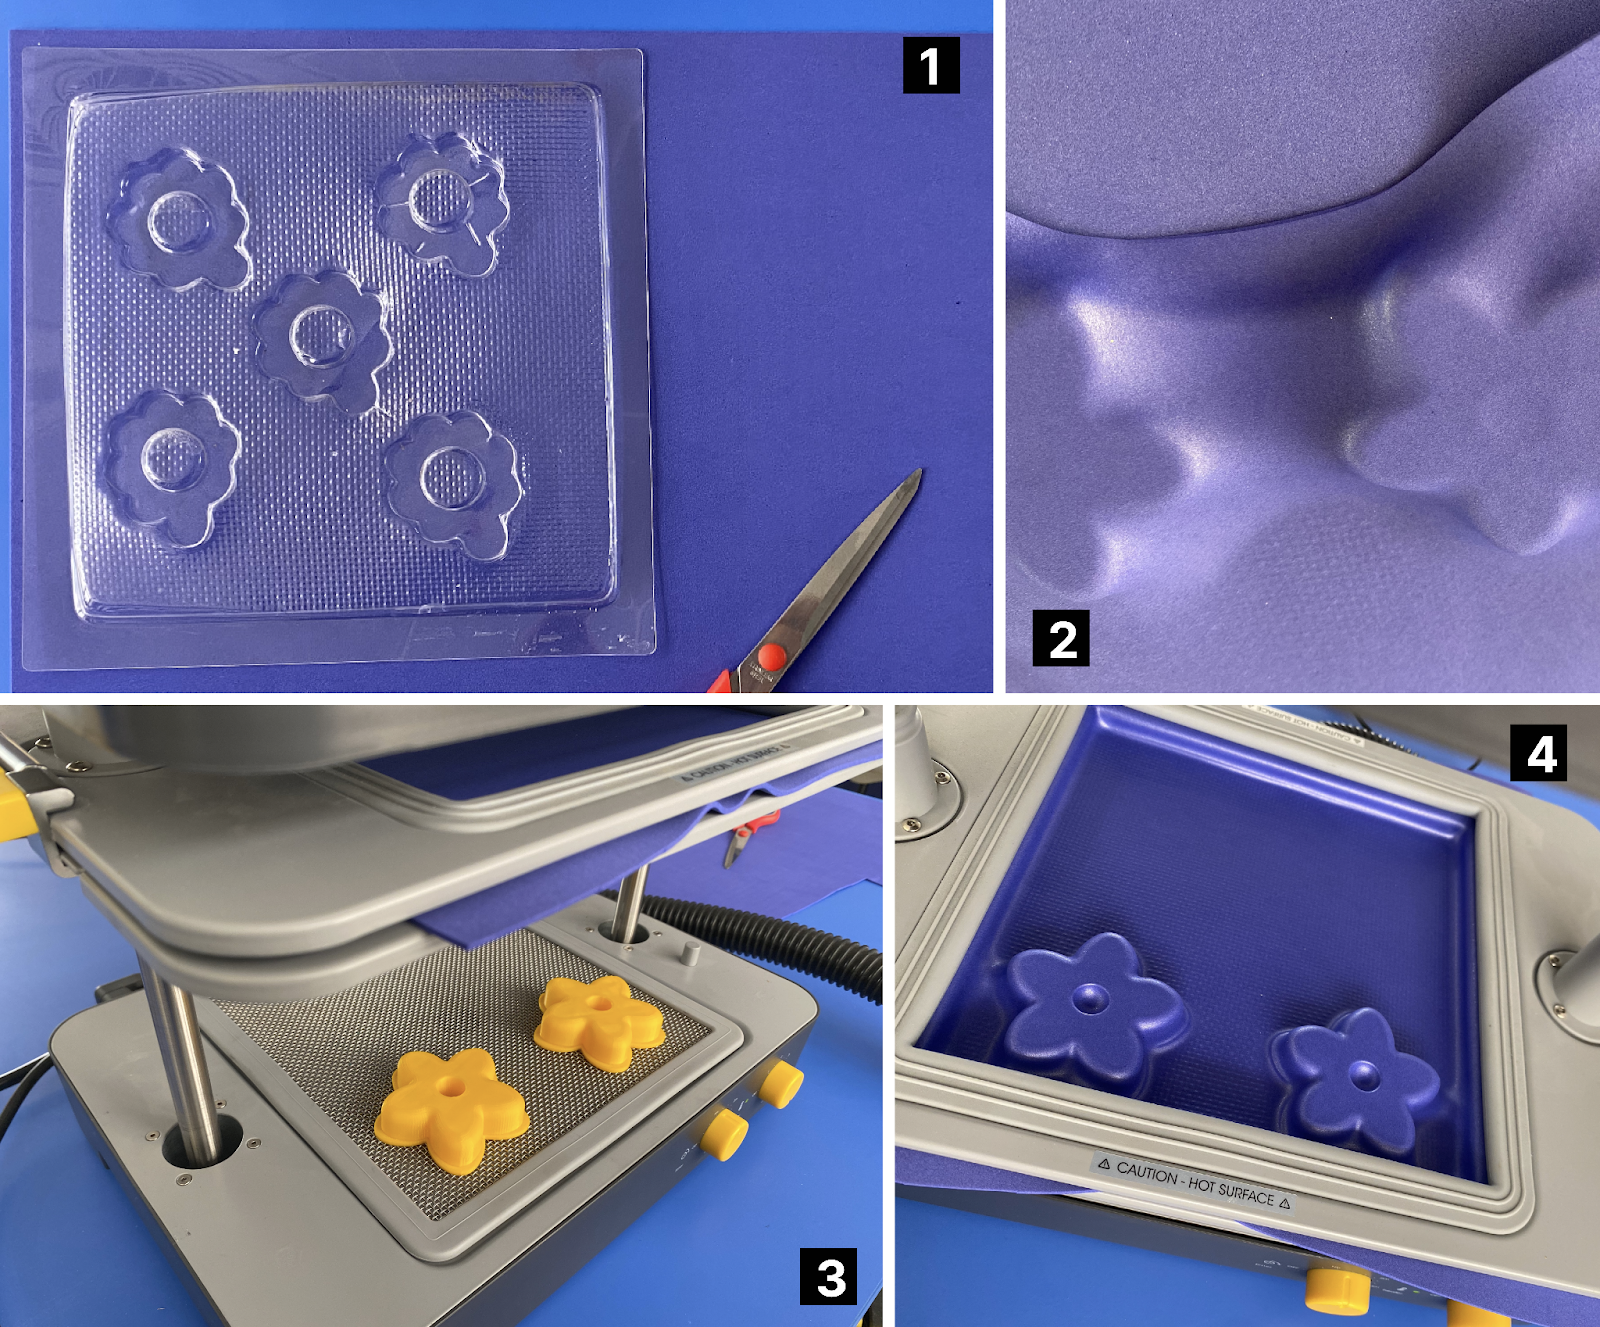
Produce a flower through the vacuum-forming process, involving shaping a material (like gomma EVA) over a mold using a vacuum to create a detailed and intricate floral design.
Follow the steps:
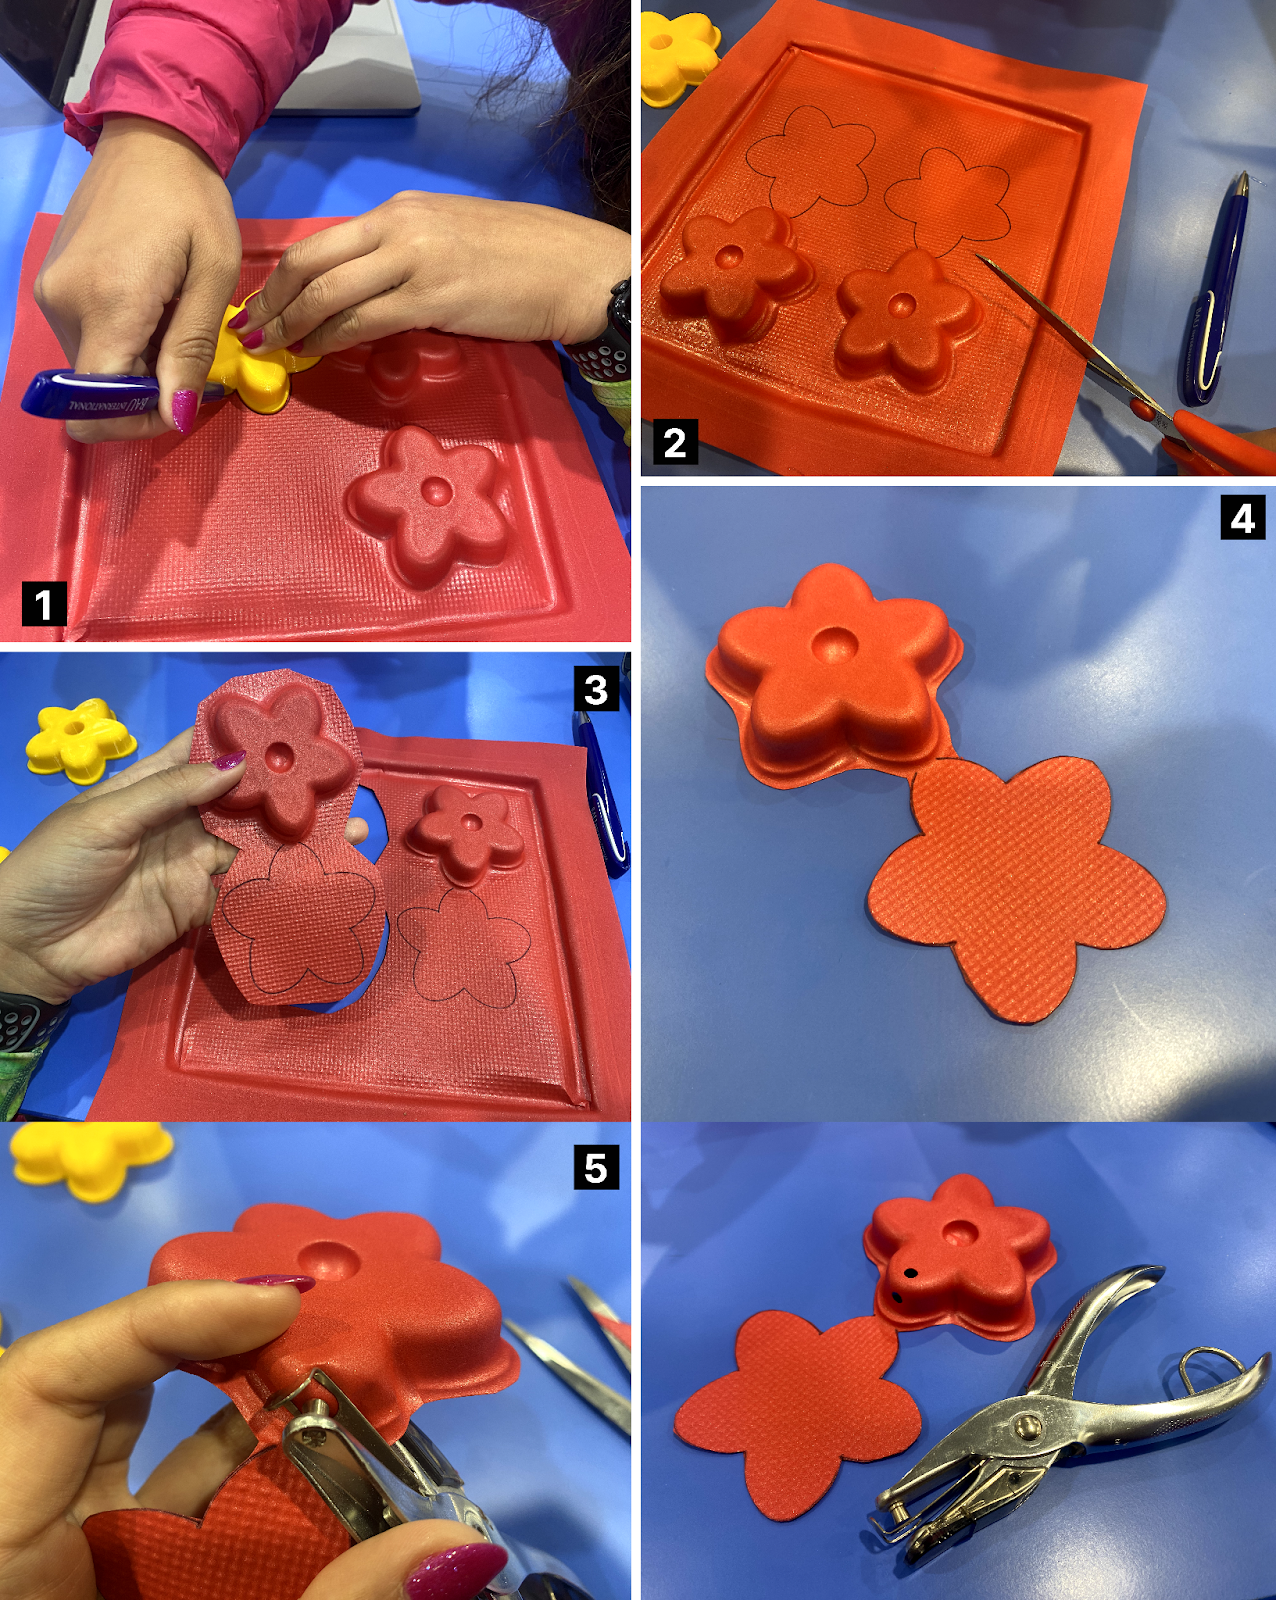
Prepare the flower to hold the electronics! Keep going; you're almost done.
Follow the steps:
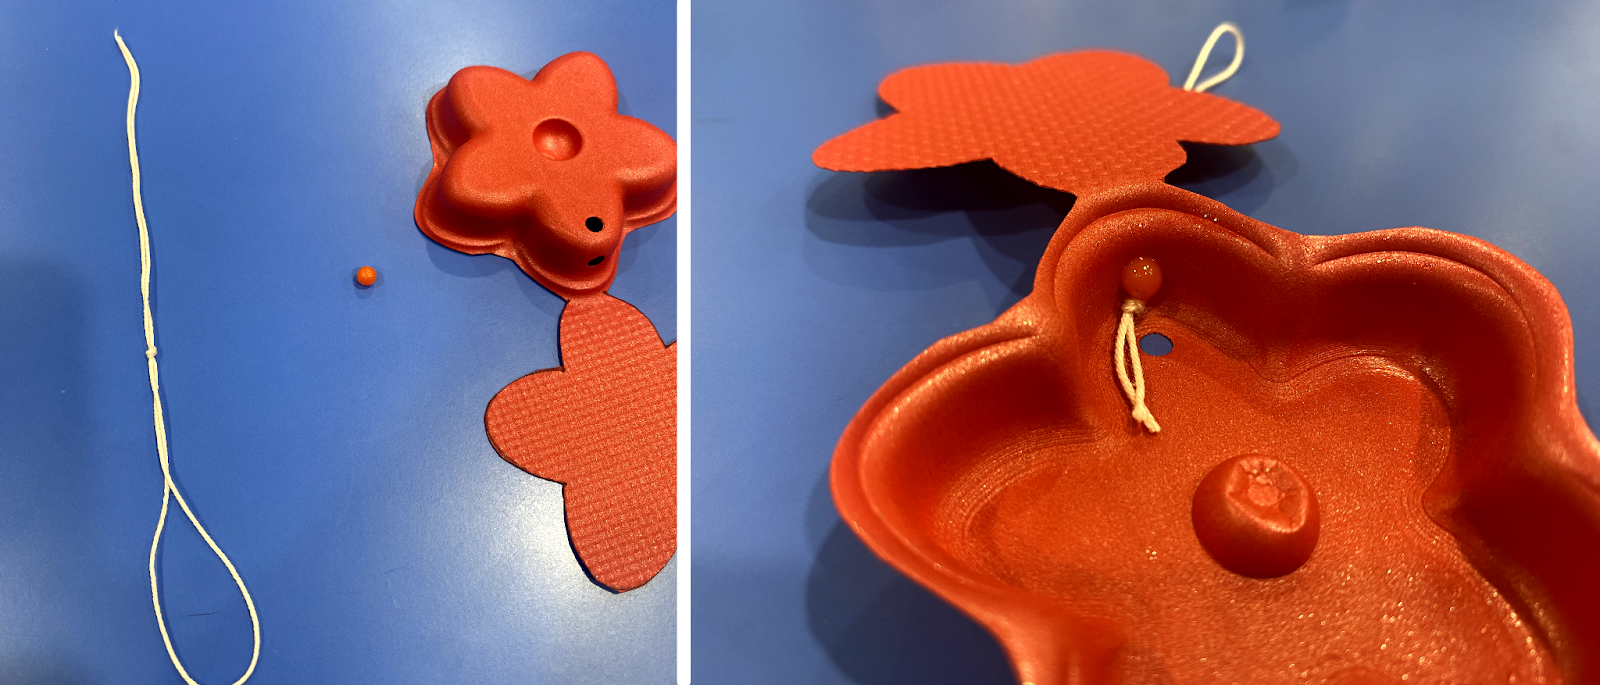
In this step, participants will attach a keychain to the flowers.
Various materials can be used to create a keychain; for this activity, we have chosen to use a pink wire and beads that, upon contact with water, become slightly adhesive.
In this step, participants will integrate all the electronic components to complete the activity. Employing a glue gun, a coin battery, an LED, and conductive tape is crucial for this phase.
Follow the steps:

Congratulations! You build your first interactive flower!

Having trouble? Let us know by completing the form below. We'll do our best to get your issues resolved quickly.
"*" indicates required fields