- Loading…
This lesson integrates digital fabrication into an 8th grade Earth and Space Science unit on plate tectonics. Using a vinyl cutter, teachers will guide students to create continental and landmass stickers. Ultimately, students will create a Pangaean sticker of the future and infer the shape of this landmass through core ideas around convection currents, continental drift, sea floor spreading, and plate boundaries.
Teacher Note:
This lesson assumes educators have an introductory level of experience with Inkscape and their vinyl cutter. If an educator using this lesson has no prior experience, they should use preparatory periods to explore these tools. Additionally, this lesson requires educators to manage large quantities of students’ files. For specific questions, leave a comment on the lesson below or reach out to local Fab Lab managers.
Digital Fabrication Software & Equipment:
Inkscape
Vinyl Cutter
Vinyl (at least 6” per student)
Design Files:
USGS Fossil and Mountain Chain Evidence
Additional Materials:
Introduce students to key terms and concepts using these lesson plans.
Create stickers of landmasses with evidence of continental drift using Inkscape.
Share with all students USGS Fossil and Mountain Chain Evidence
Open a new Inkscape document
Within File, select Import
Locate the file and select OK
Select the image
Within Path, select Trace Bitmap → this will make a Trace Bitmap window appear
In the Trace Bitmap window, select Brightness Cutoff
Select OK and close the Trace Bitmap window
Move the traced, darker image and original image to opposite sides of the canvas
Select the traced, darker image
Press “3” to zoom into the selected image
Within Object, select Fill and Stroke… → the Fill and Stroke window will appear
Close the Fill and Stroke window
Within Path, select Break Apart → this will separate all shapes within the traced image
Select the largest outline of each continent or landmass (Greenland, India, Australia/Papua & Papua New Guinea)
Drag each of the largest outlines onto the canvas
Assign new shapes, such as stars and squares, to serve as symbols of evidence
Add these symbols inside the landmass outlines in the locations of their evidence (Refer back to the original image when placing these representative shapes)
Within Object, select Fill and Stroke…
Select outline traces of the eight landmasses
Select the symbols (stars, squares, etc.)
Depending on your vinyl cutter, you may need to format the design differently to export the Inkscape file to the cutter. “Package” it with a rectangular box in the background.
Export the file and vinyl cut stickers for groups of students.
Here is one example of evidence landmass stickers: Sticker Examples
SAFETY NOTE: Only those trained on the vinyl cutter should operate the machine. While the vinyl cutter is in operation, ensure any extremities or loose clothing are kept clear of the moving blade. Users should always remain present while cutting and pause the machine first before adjusting or removing any material.
Present students with information on types of plate boundaries in station activities.
Day 5 Lesson Plan: Introduction to Plate Tectonics
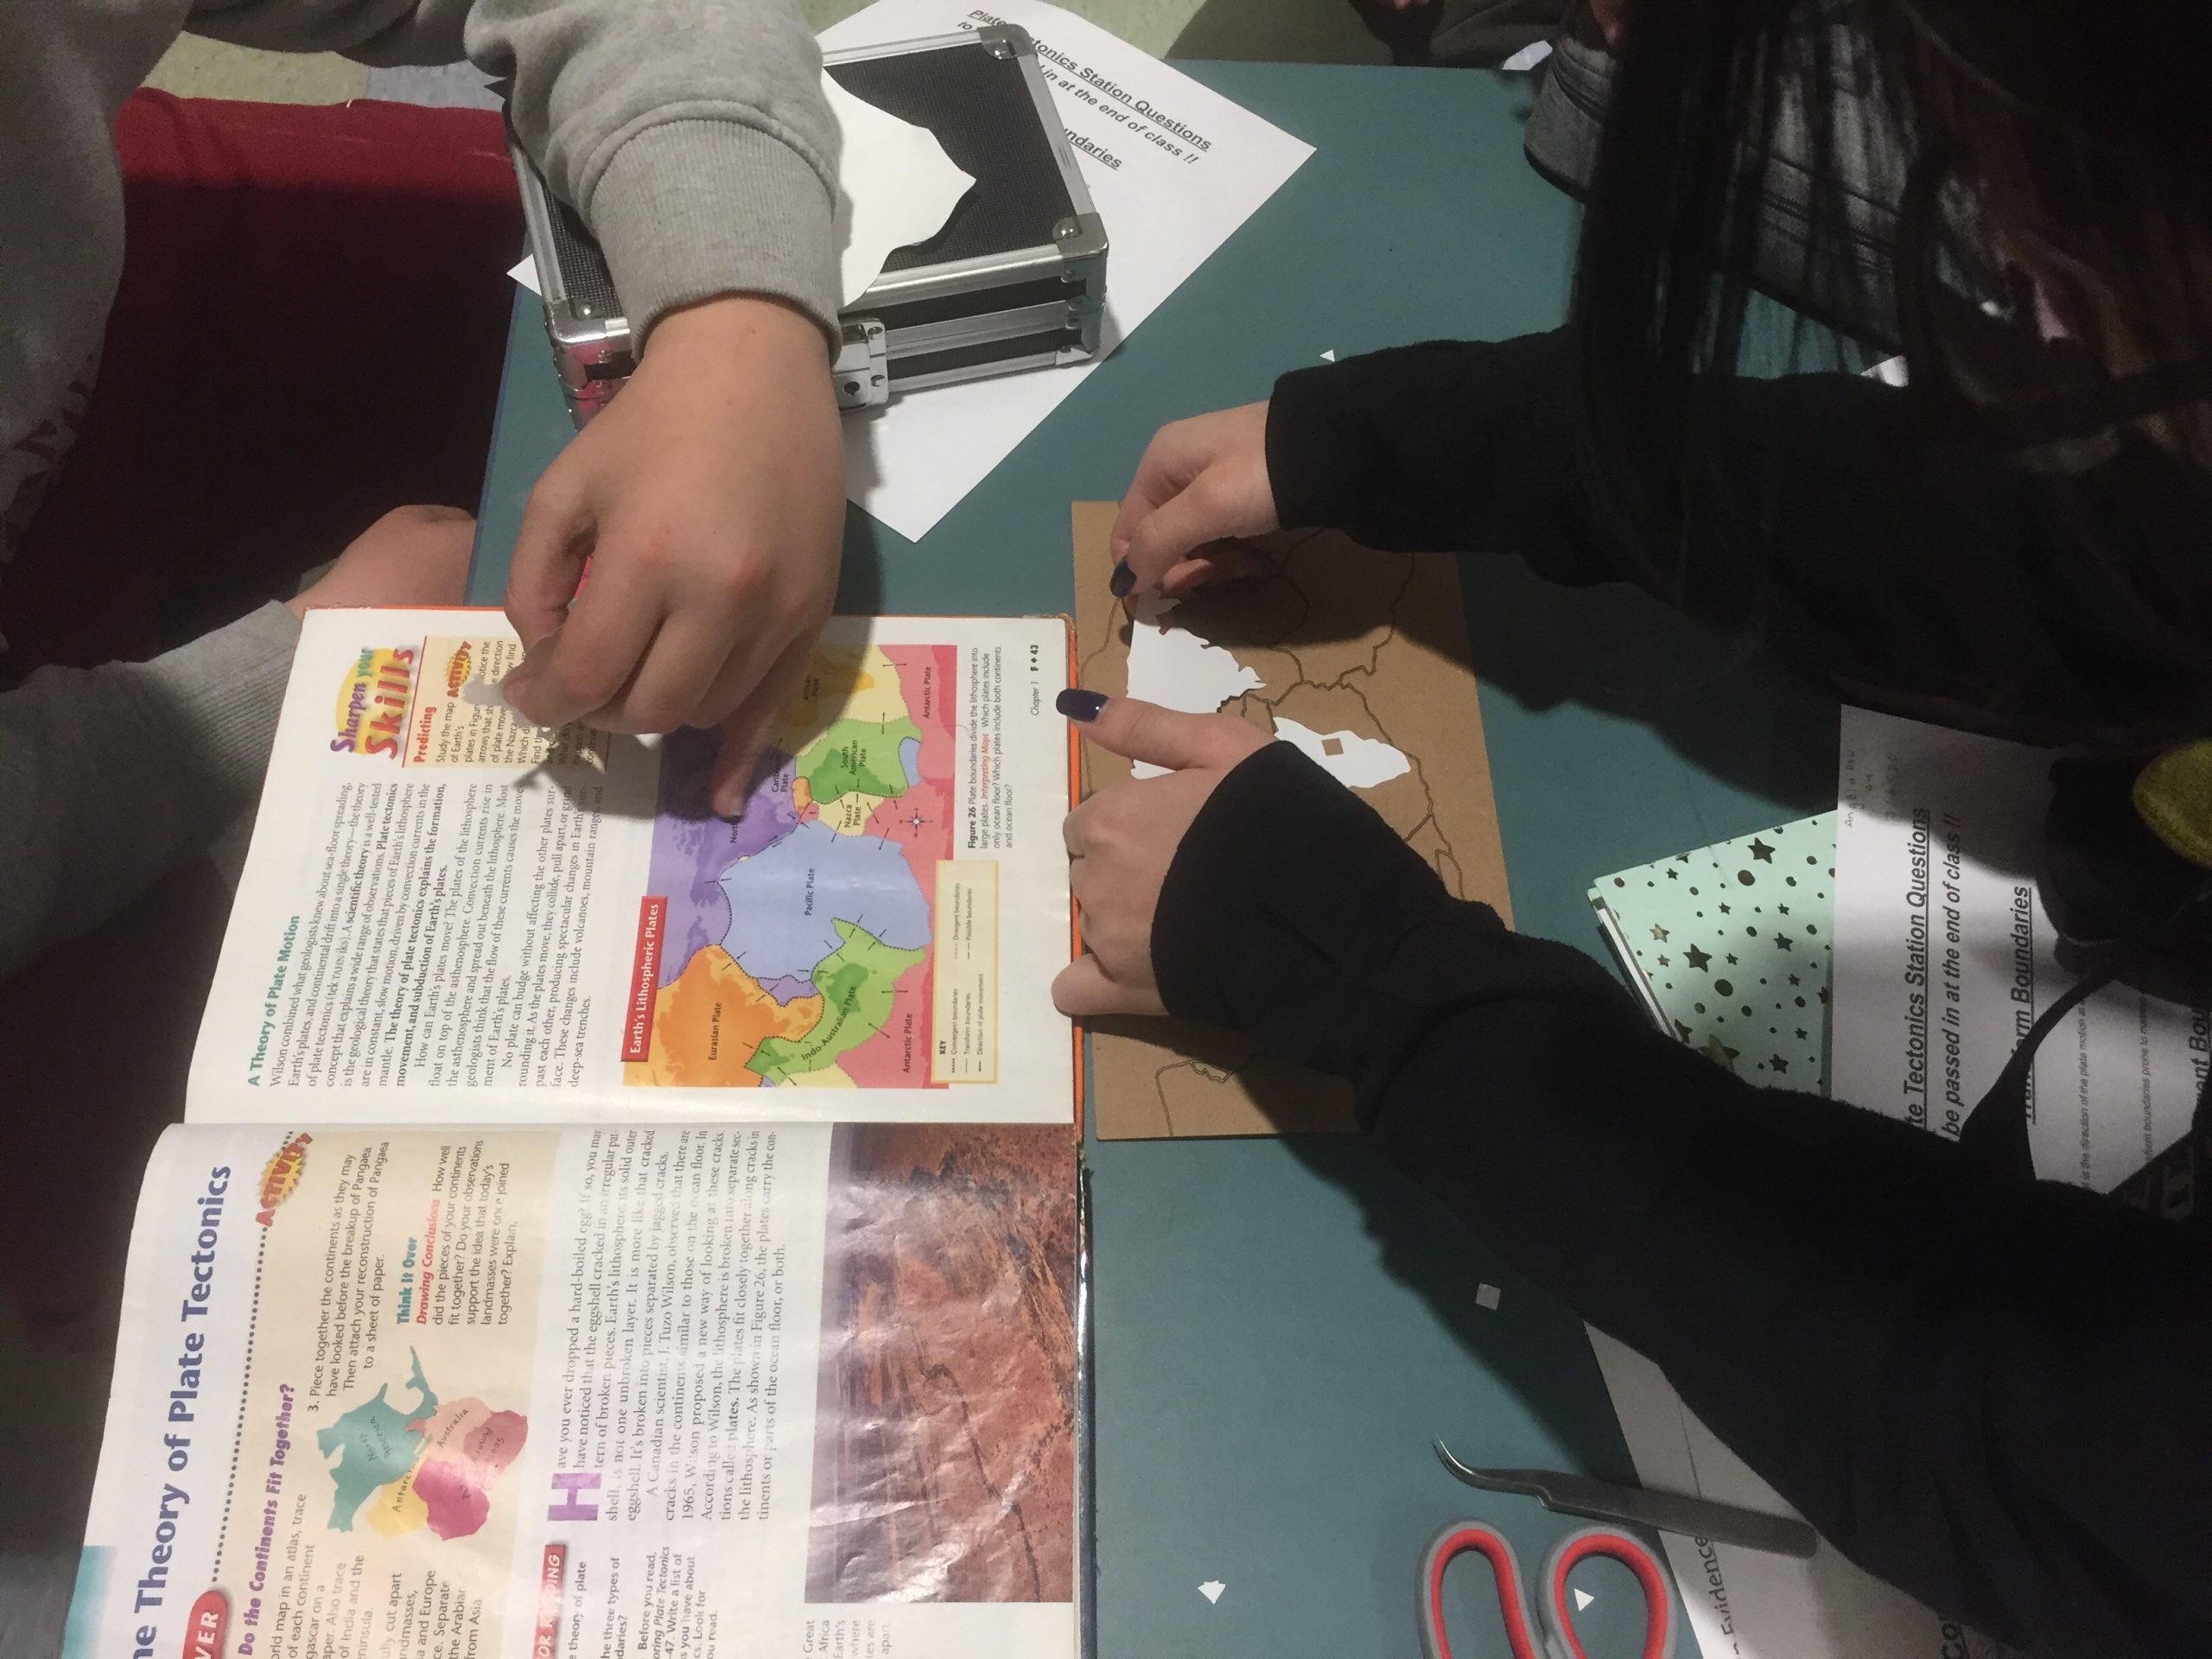
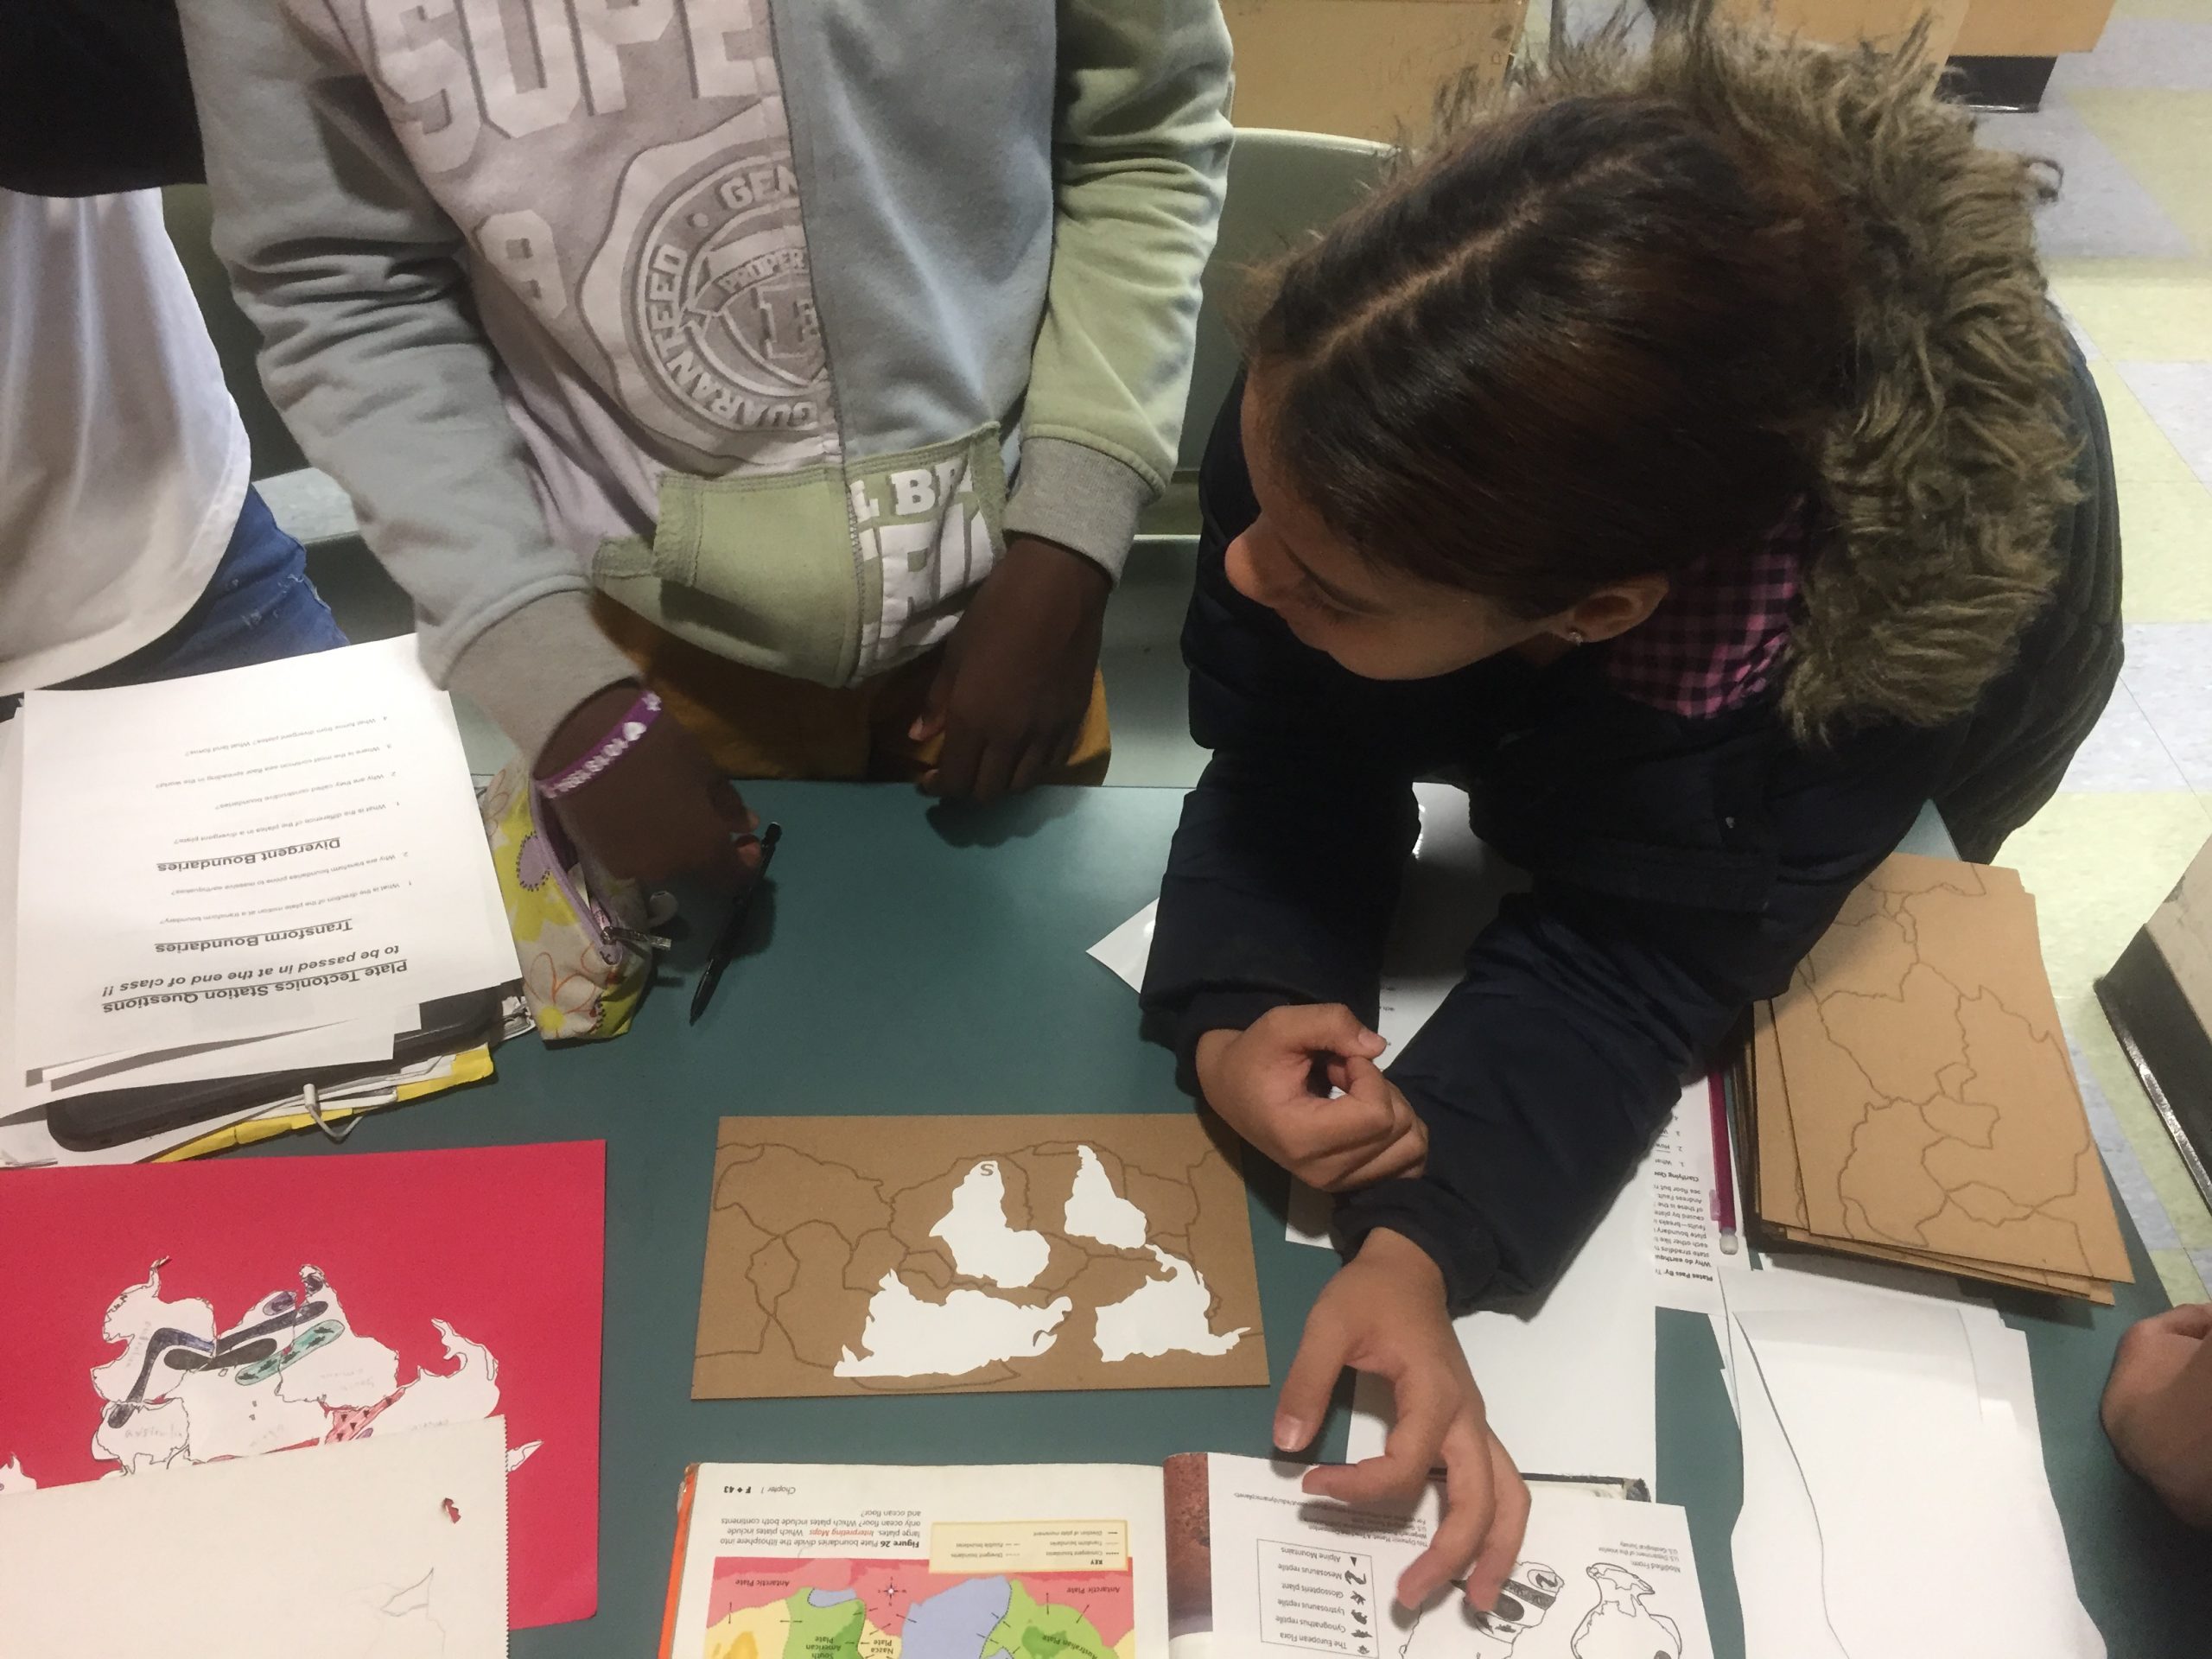
Sticker station activity: Print or create a map of the world’s tectonic plate boundaries from the USGS Plate Boundary Stencil. Using the stickers for yesterday’s lesson, have students place the stickers on the map. Ensure students understand the landmass stickers represent evidence of continental drift.
Create a sticker of a future Pangaea using evidence from plate boundaries.
Share with students the Future Pangaea Inkscape Map
With the adjustable “Map of the World: Future”, use the arrow keys to move the landmasses with the following directions
Once students have moved their landmasses to create one or multiple super-continents, delete the translucent background.
Select the newly moved landmass shapes
Within Path, select Union → this will create a stencil of overlapping landmasses
Select outline traces of the super-continent(s)
As before, export the file to the vinyl cutter. Add a gray background box if necessary.
Once all of the designs of students’ future Pangaea have been cut, allow students to explain why they believe the world will take the shape they created. Educators may want to display students’ work up to this point for everyone to see the world of past, present, and future.
Having trouble? Let us know by completing the form below. We'll do our best to get your issues resolved quickly.
"*" indicates required fields


