- Loading…
What is De-zo?
The Traditional art of paper-making in Bhutan is known as De-zo. The people engaged in making De-zo are known as Dezop. Dezho is mainly used as carrying bags, wrapping gifts, envelopes and to write religious scriptures. It is made from the bark, fiber and pulp of Daphne and Edgeworthia plants. The paper also repels termites and insects.
Use of De-zo and Paper circuits:
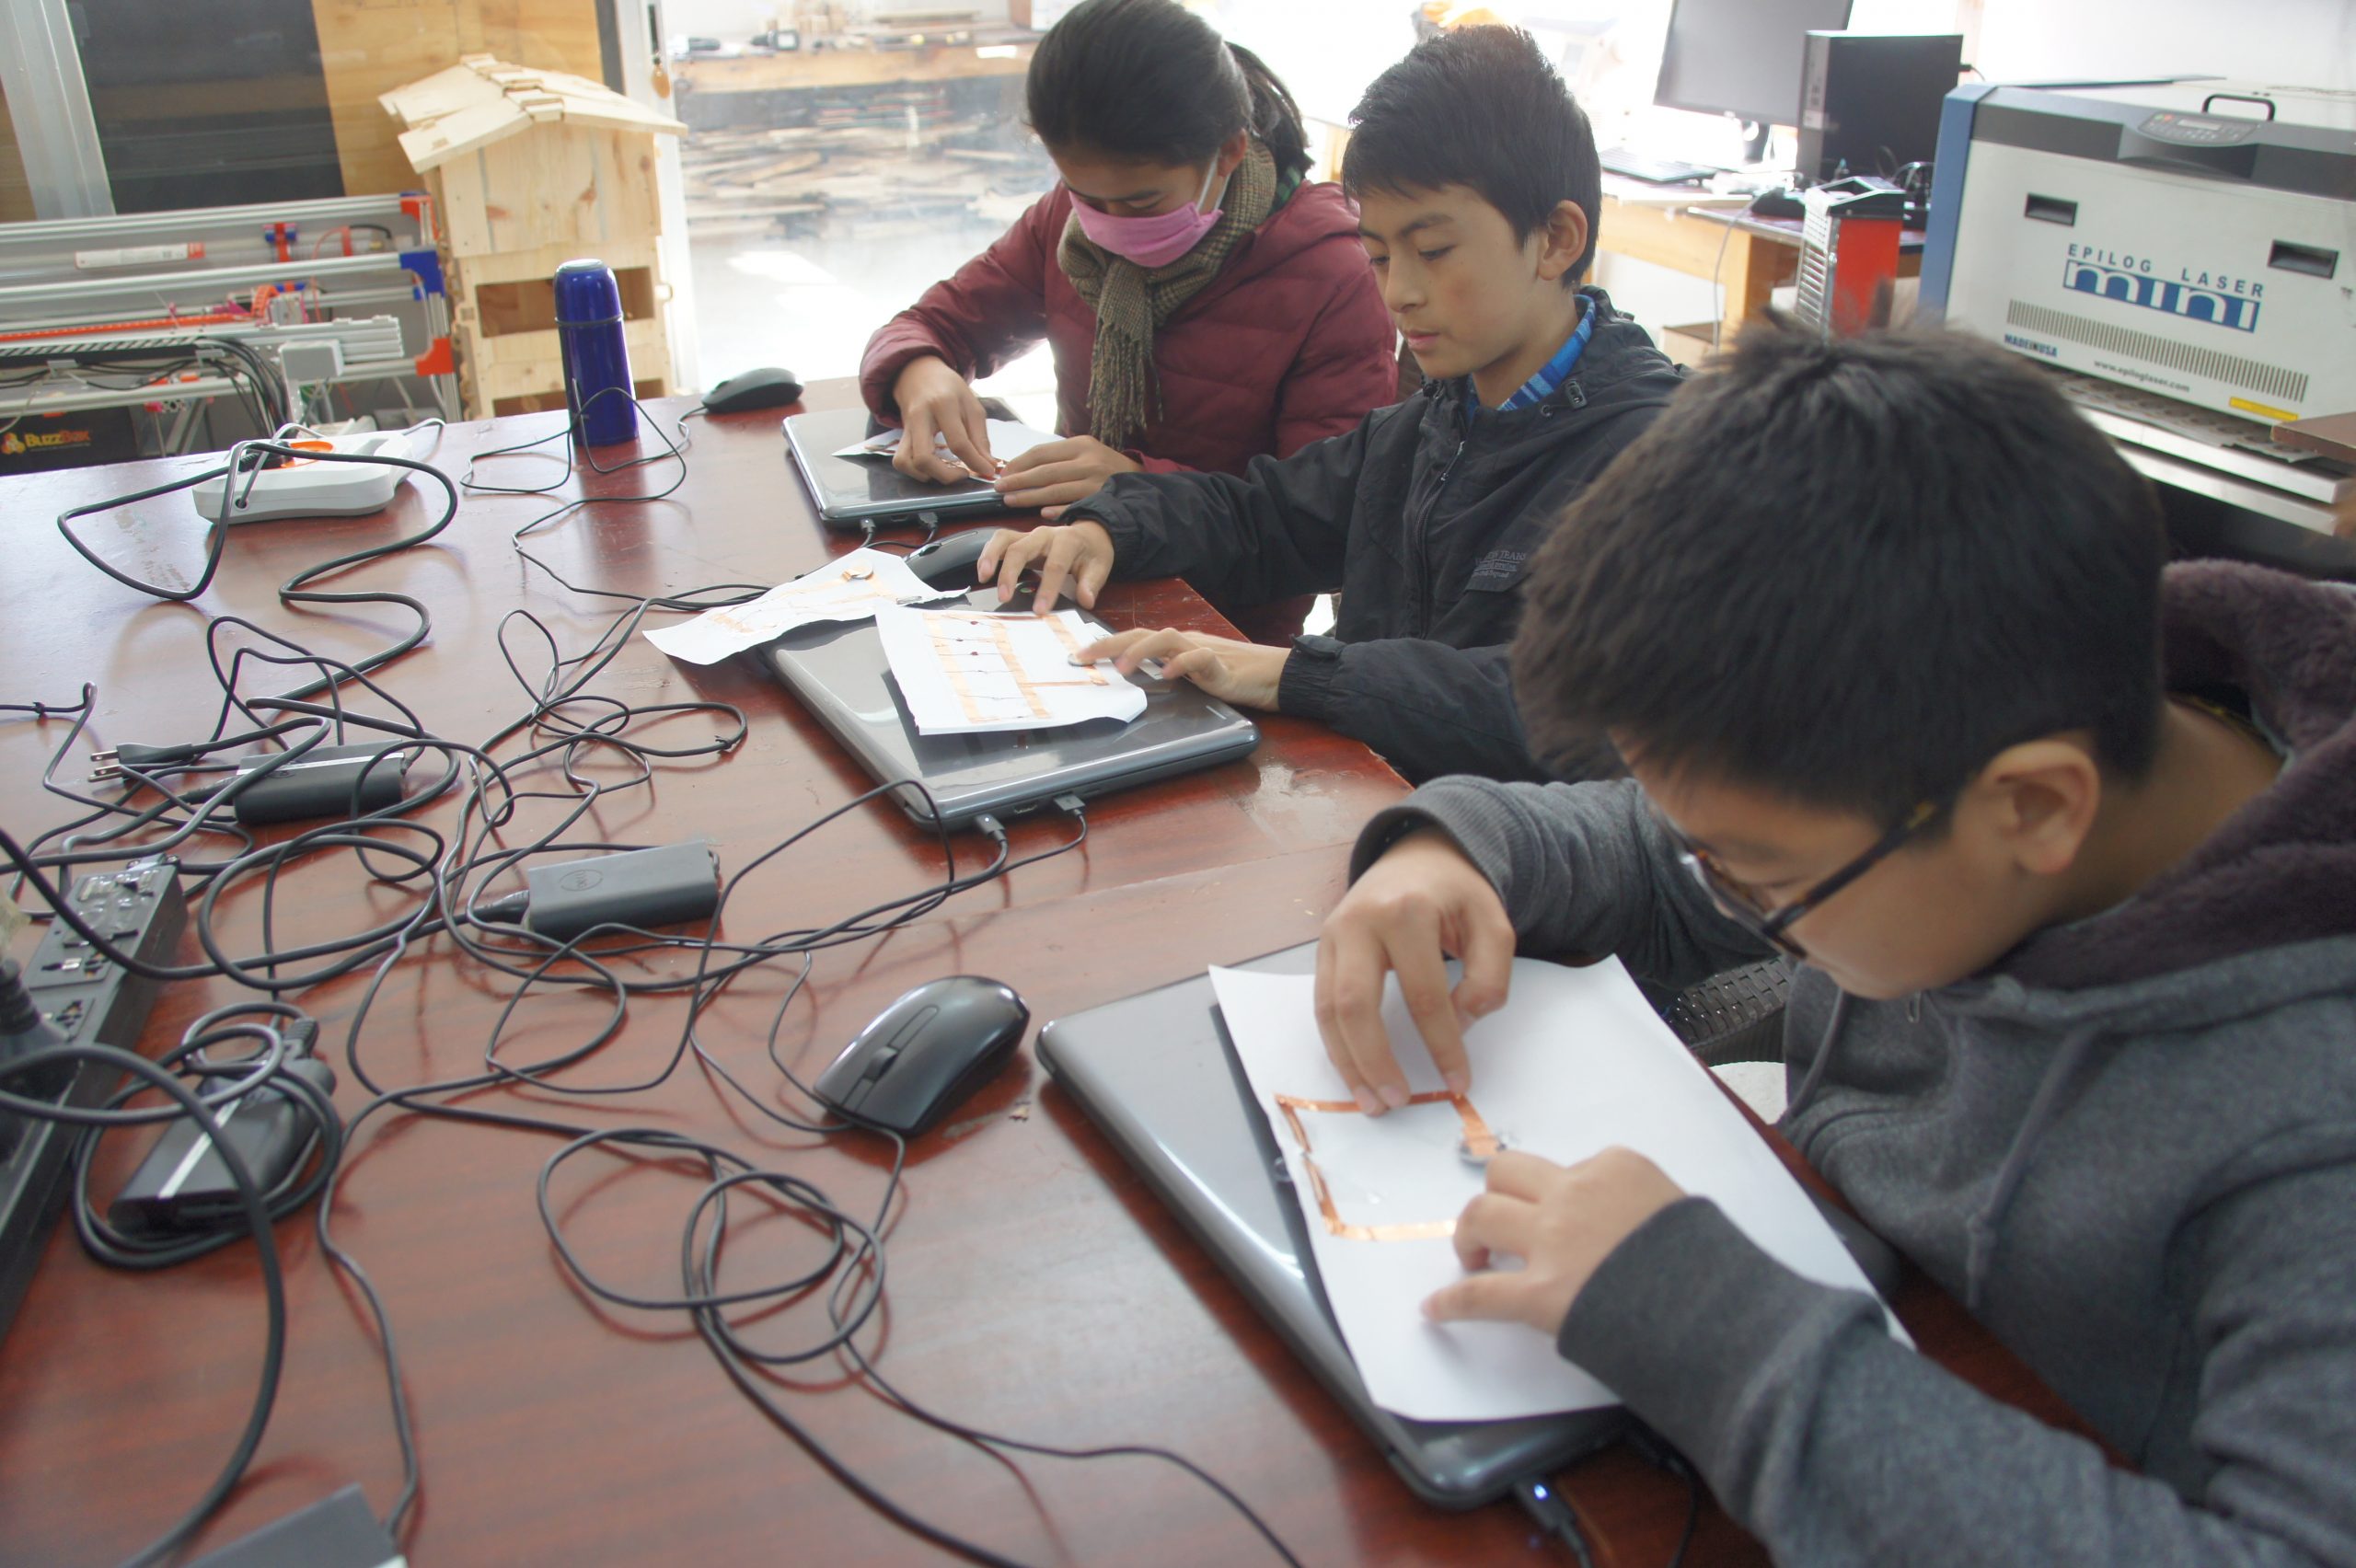
By using Paper circuits we can teach the students about how circuits work. Using Paper circuits on Dezho could help the students know about the history behind the traditional way of making paper and as well as learn about the circuits.
Tools
Materials
The bark is soaked in water and boiled, then washed and cleaned to sort the good fibers from the bad.

The bark is pounded into a pulp, and mixed with water and vegetable starch made from Hibiscus plant roots.


A thin layer of the pulp is filtered out, using a wooden frame and a bamboo screen which is elegantly shaken in a rhythmic fashion to spread out the material.

The pulp sheets are pressed to squeeze out excessive water, and every single sheet is then spread onto a smooth surface to dry.


This is your finished product.

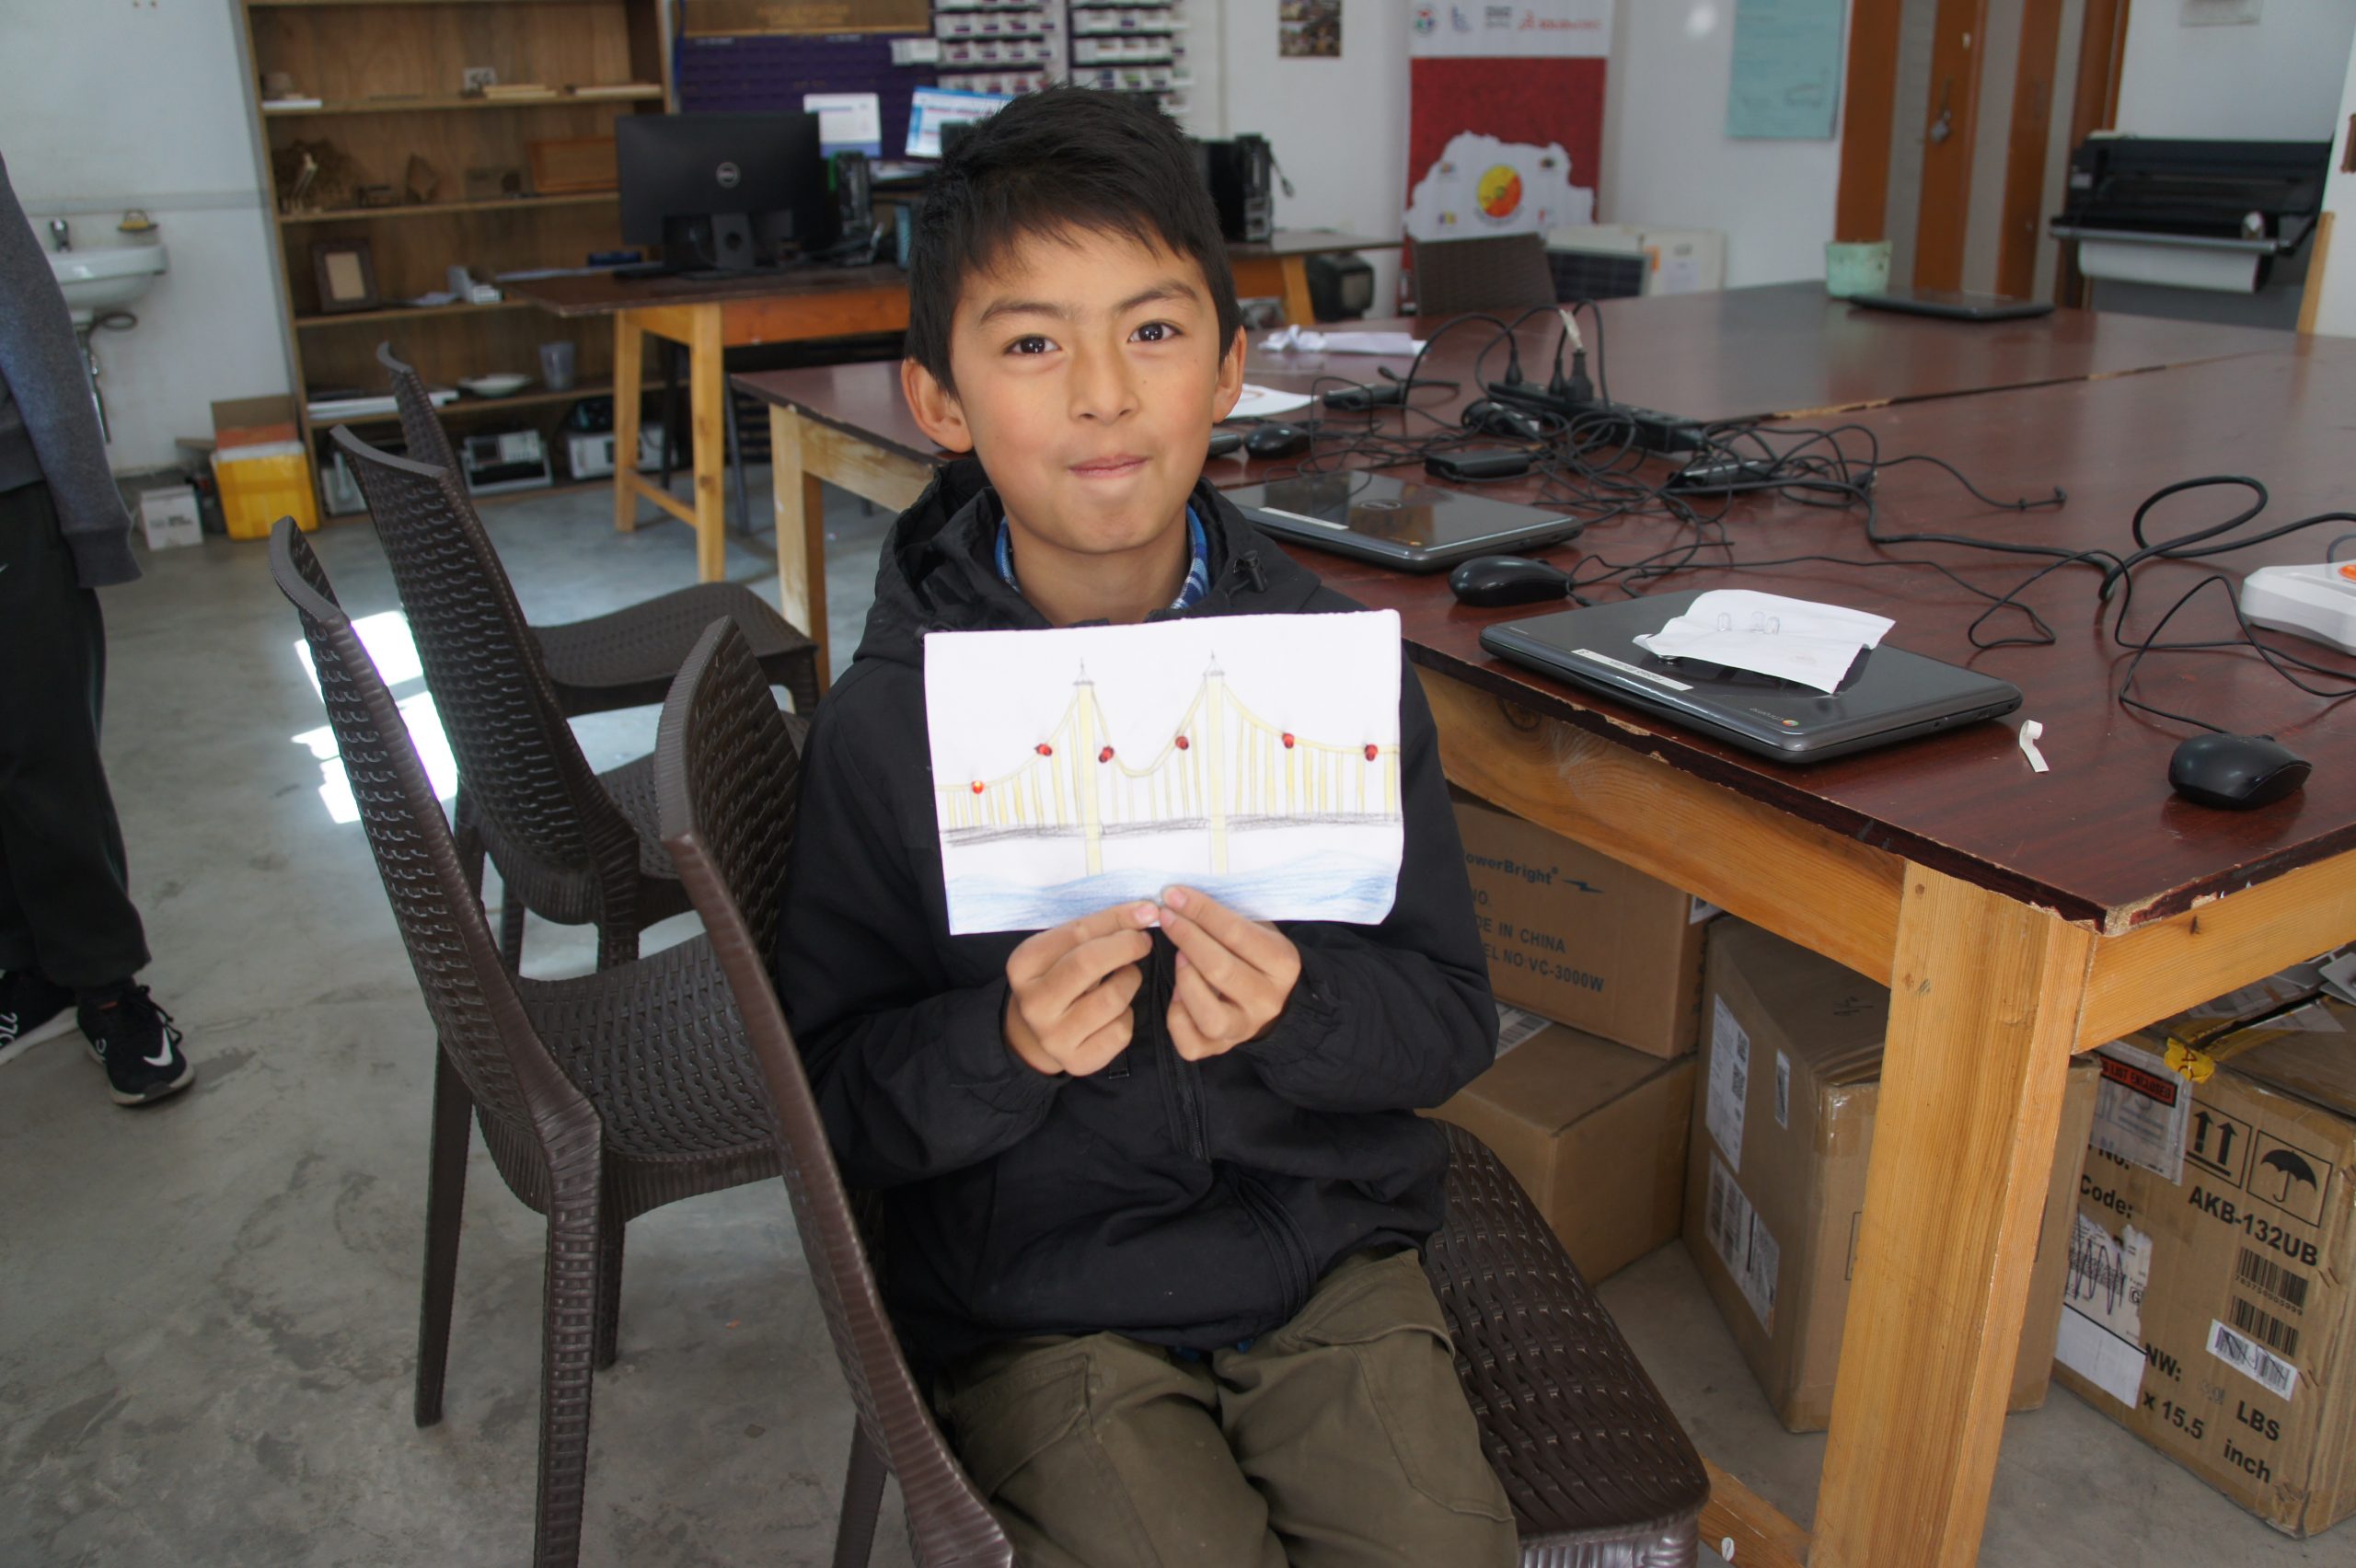
Begin by downloading the project templates at the link below: https://www.countryflags.com/en/bhutan-flag-vector.html Select your template and print it on the Dezho paper.

Flip over your project template and apply your copper tape to all the black lines.


Cut a tiny “X” in four of the dragon balls on the template to fit the led through the hole.

The next step is to mount the LEDs to the circuit. Before you do this, you must make verify which leg is positive and negative. Look closely and you will notice one leg is longer than the other. The long leg is positive (+) and the short leg is (-) negative. Mount the LEDs to the template making sure the long leg goes on the (+) side and the short leg on the (-) side. Use copper tape to secure the legs to the copper tape below.

Place a CR2032 battery on top of the copper roll with the negative (+) side facing up.

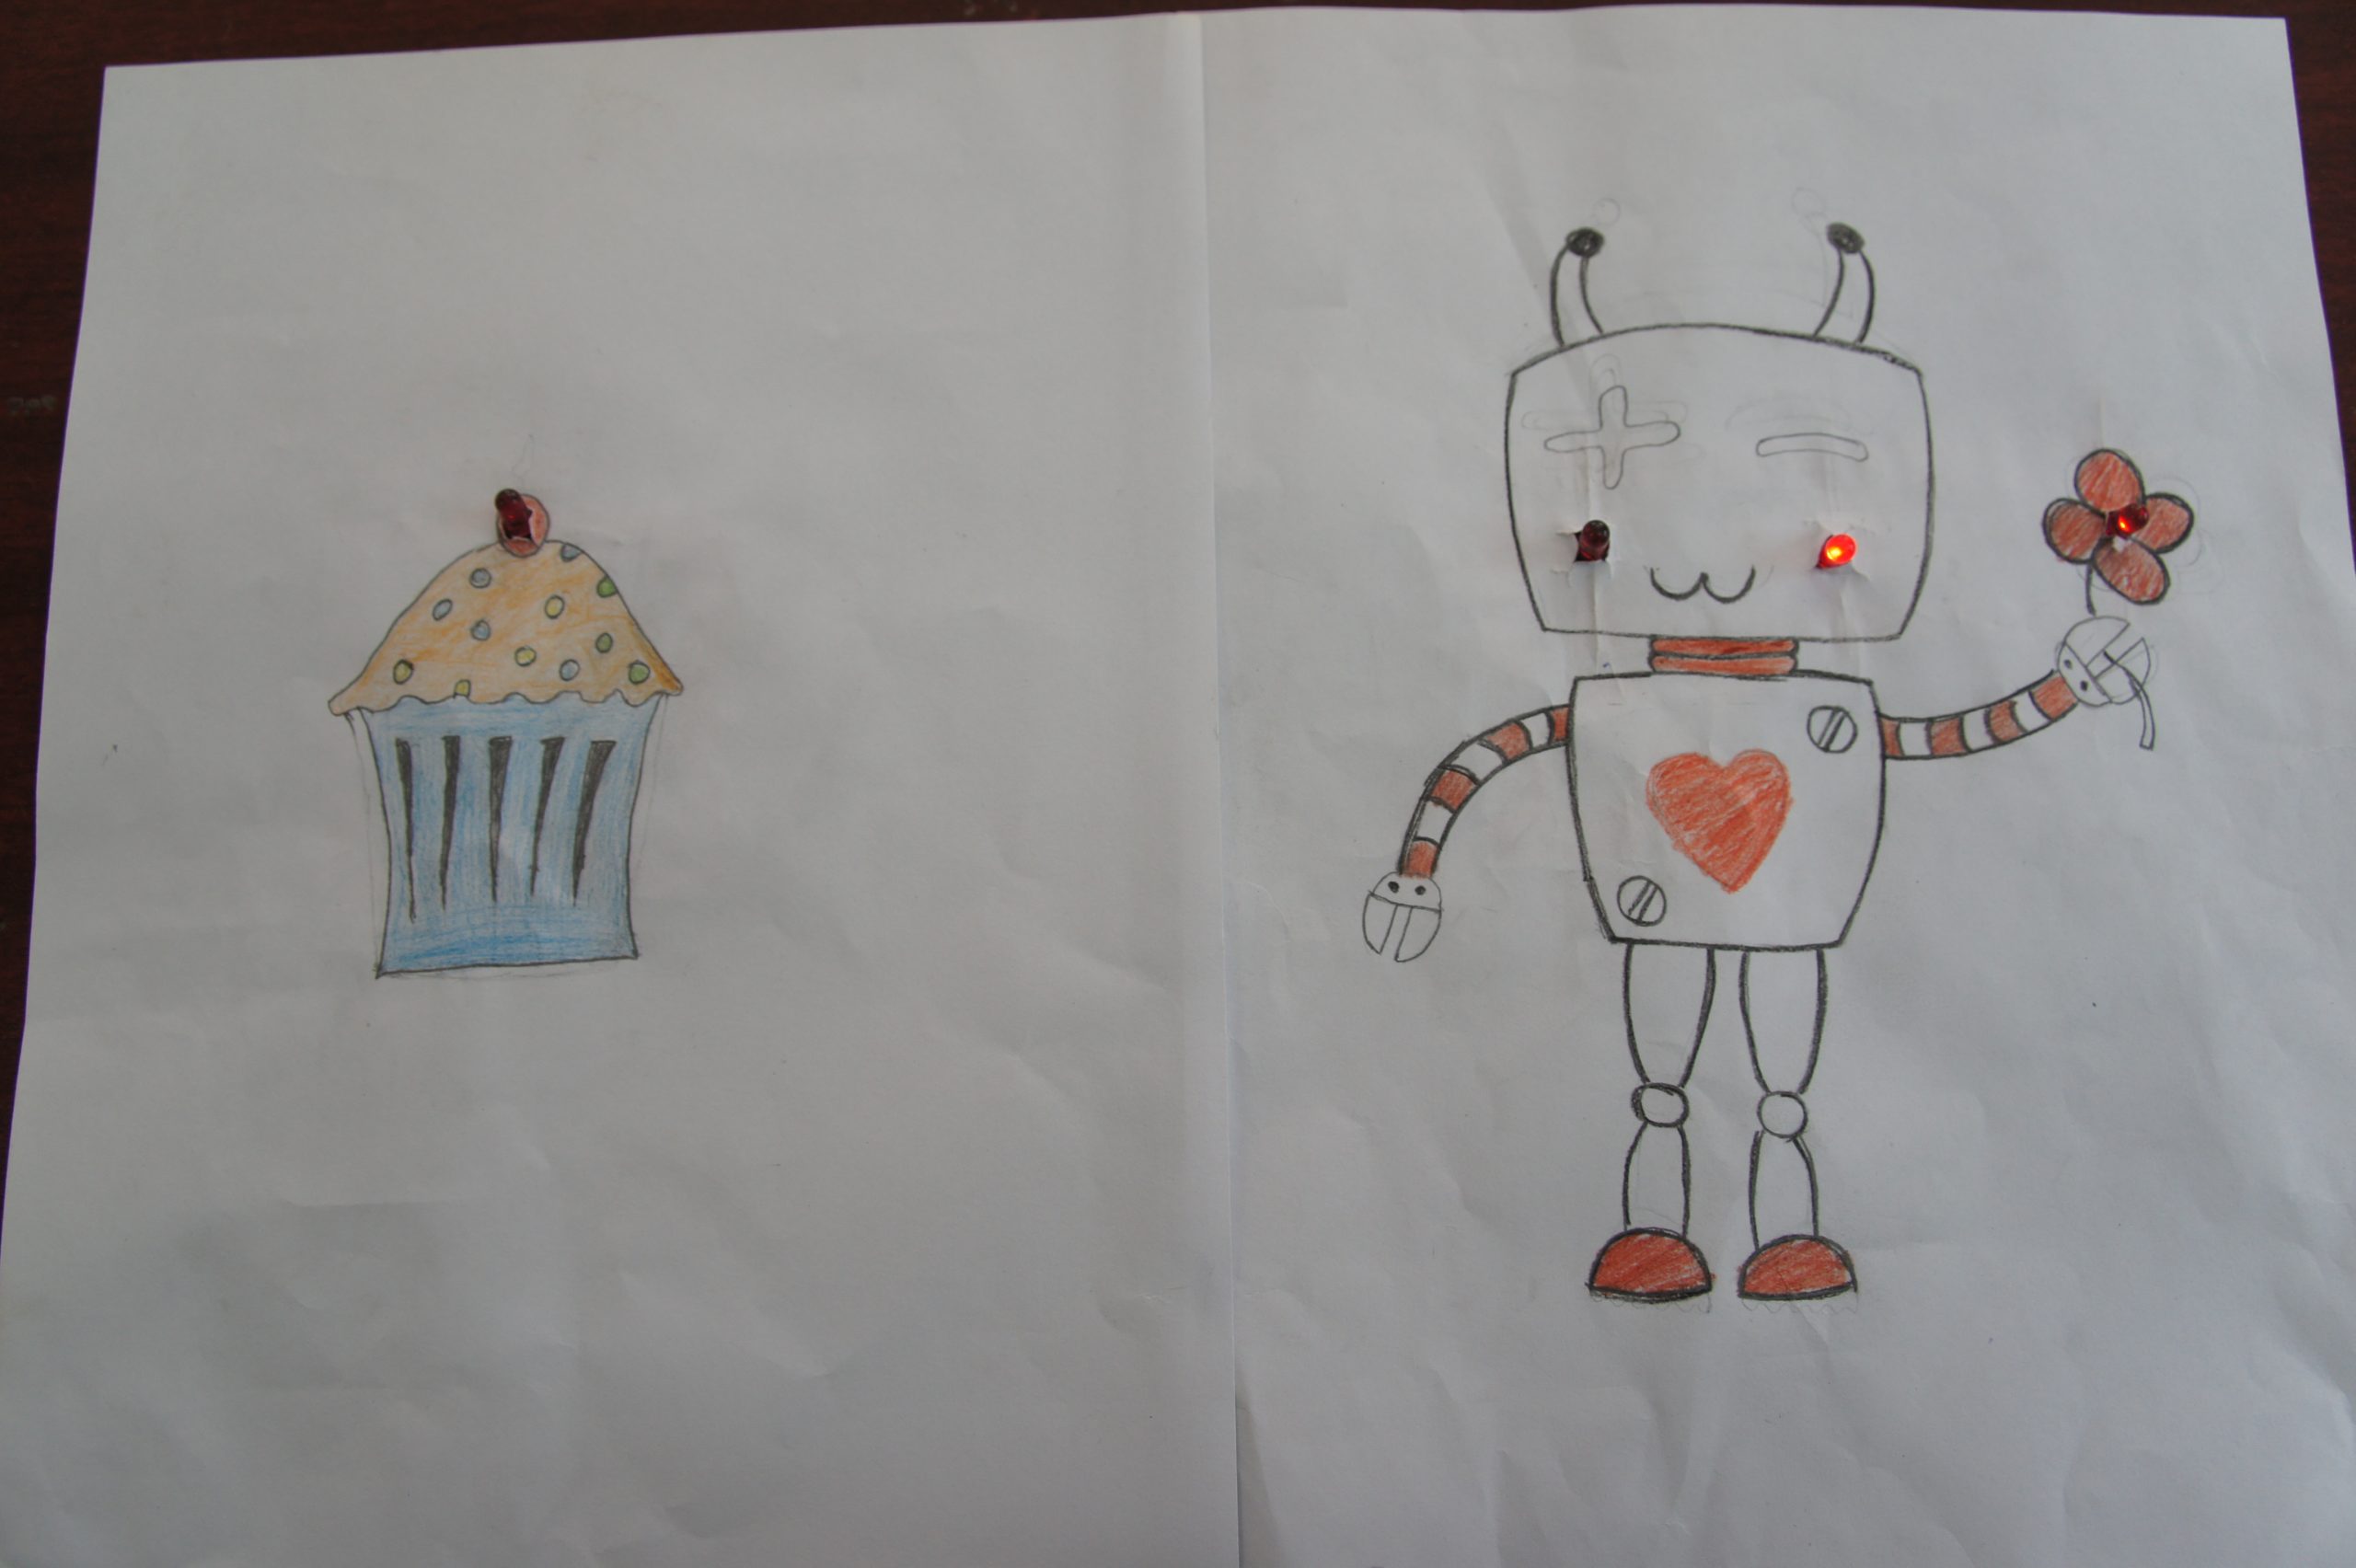
This is your finished paper circuit.

Having trouble? Let us know by completing the form below. We'll do our best to get your issues resolved quickly.
"*" indicates required fields