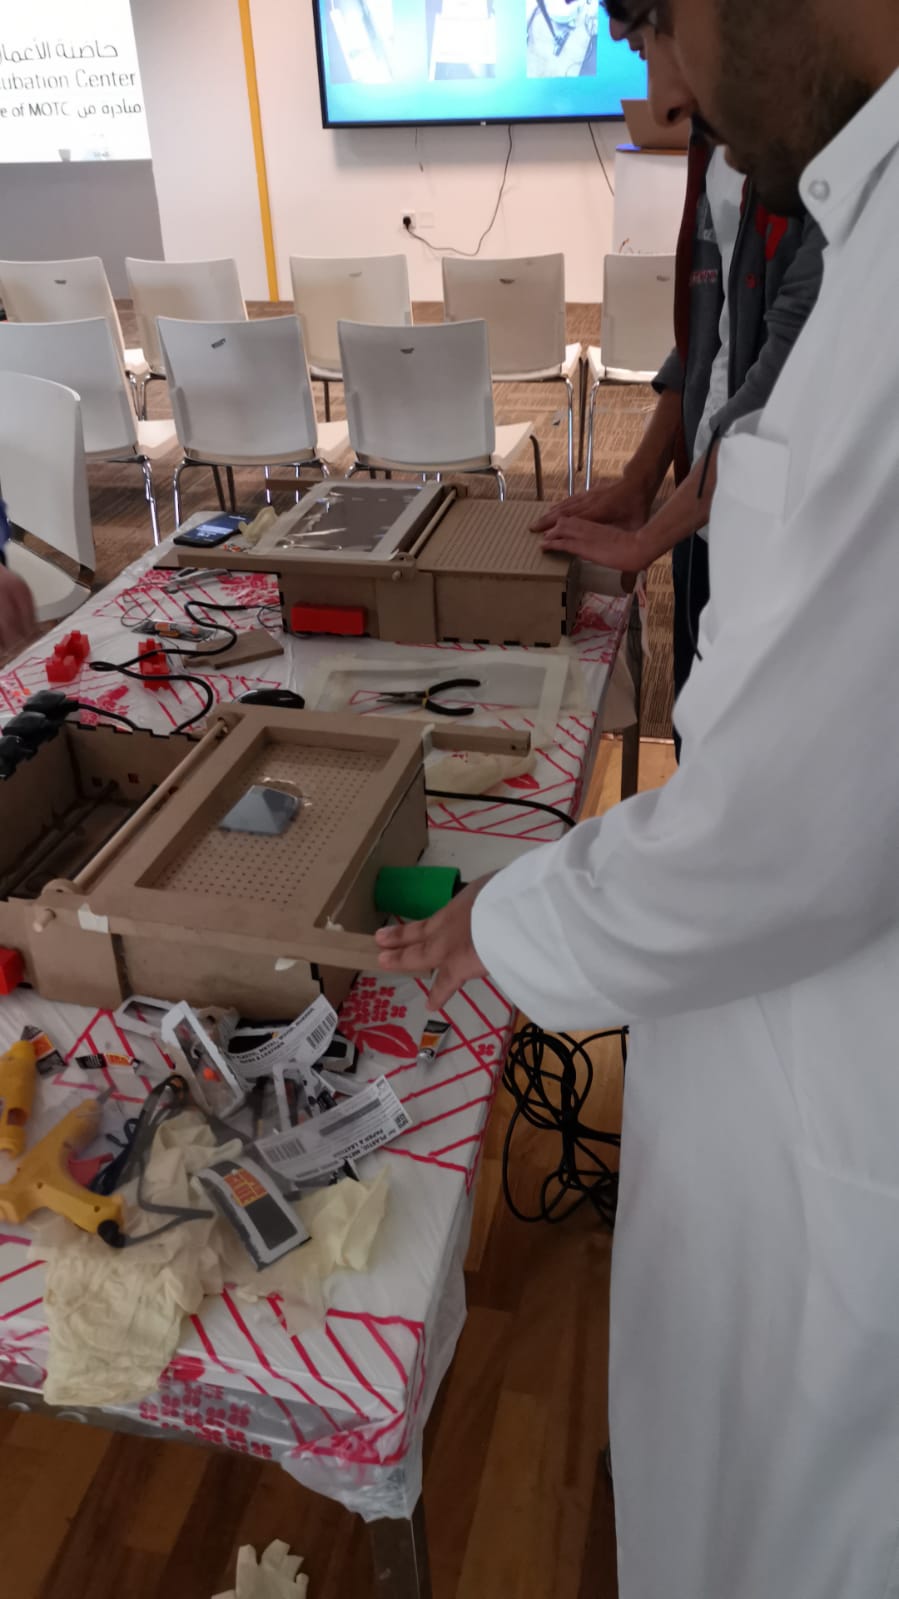
Main Box Assembly
In this step students will assemble the main box of the machine .
1- Bottom Plate
2- Connect bottom to left
3- Connect right side
4- Attach Vacuum Inlet Plate
5- Attach Down plate


In this session students will make a simulation using the high temperature of summer at the desert in a manufacturing technology called Vacuum Forming. When there is a lack of electricity resources.
Also, Students can use electric source to operate the machine.
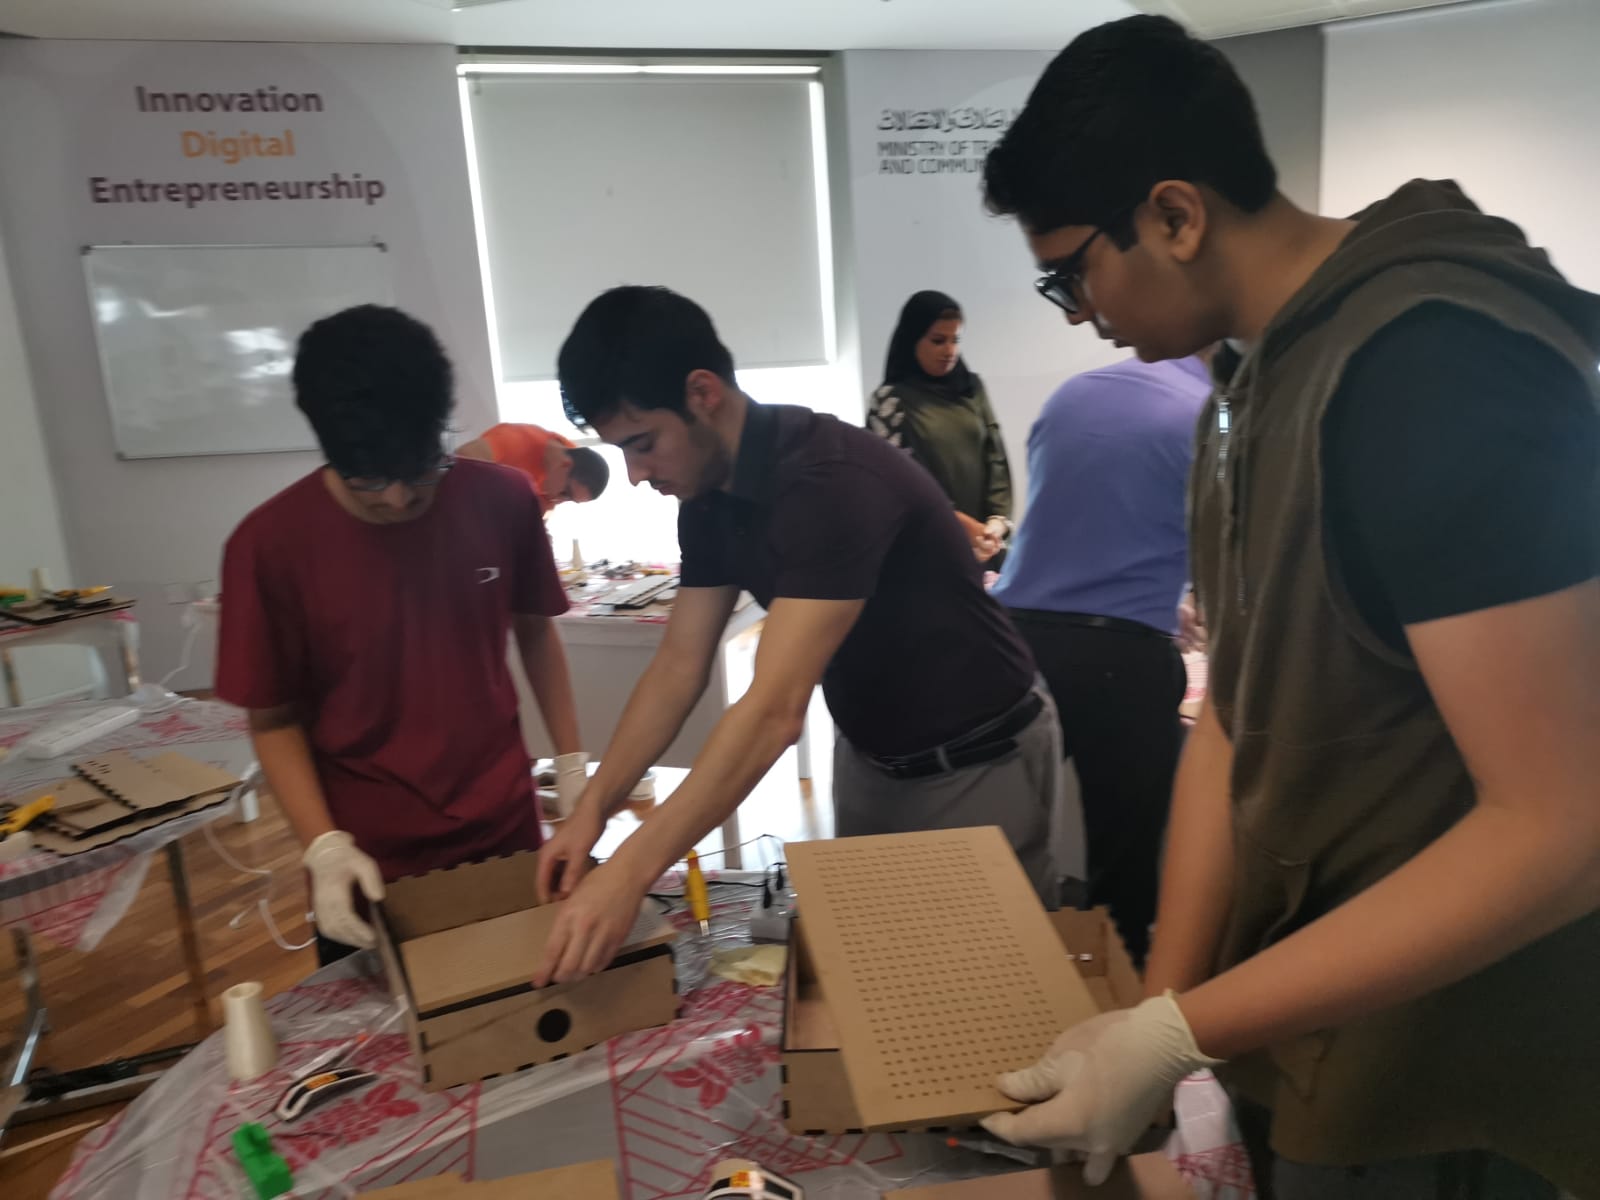
Students will build a Vacuum forming machines using a pre-laser cut wood kit.


In this step students will assemble the main box of the machine .
1- Bottom Plate
2- Connect bottom to left
3- Connect right side
4- Attach Vacuum Inlet Plate
5- Attach Down plate
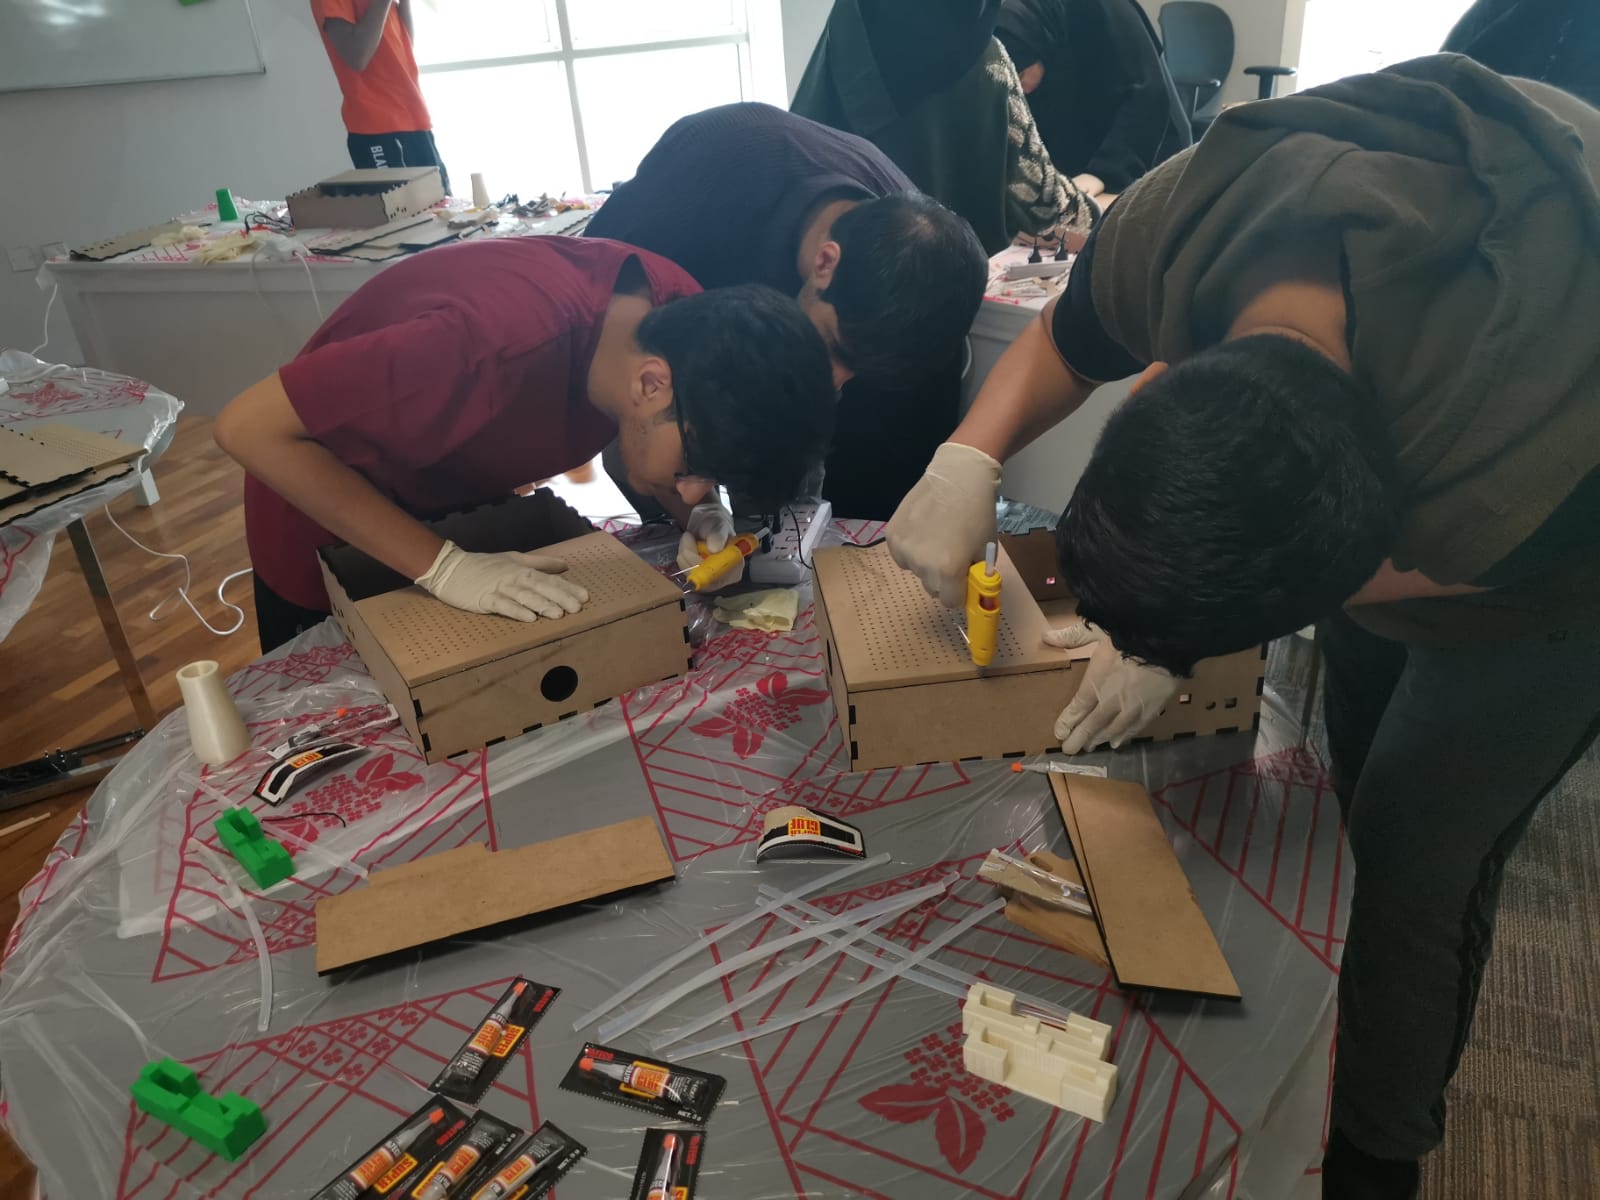
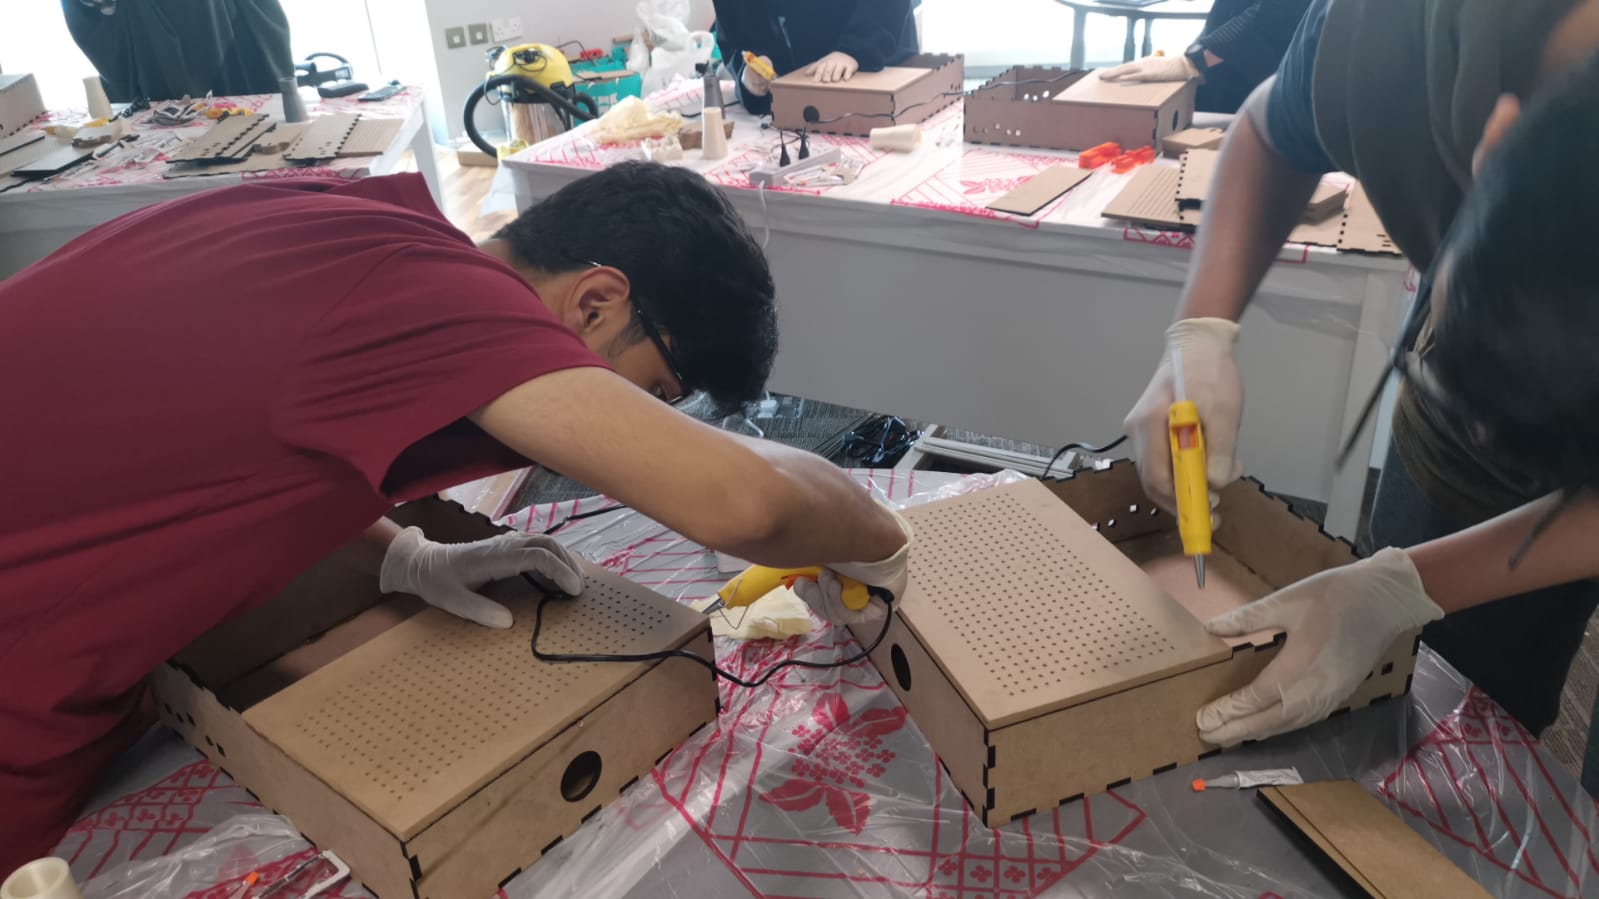
In this Step, Students will glue the sides of the main box to the bottom. they will use hot glue and super glue.

1- Glue the Vacuum Area with Hot Glue.
2- Glue the Heating Area with Super Glue
In this step students will assemble and close the Vacuum Chamber.

1- Attach the Vacuum plate to the box on the top of the vacuum area.
2- Add hot glue to the angles of the vacuum plate.
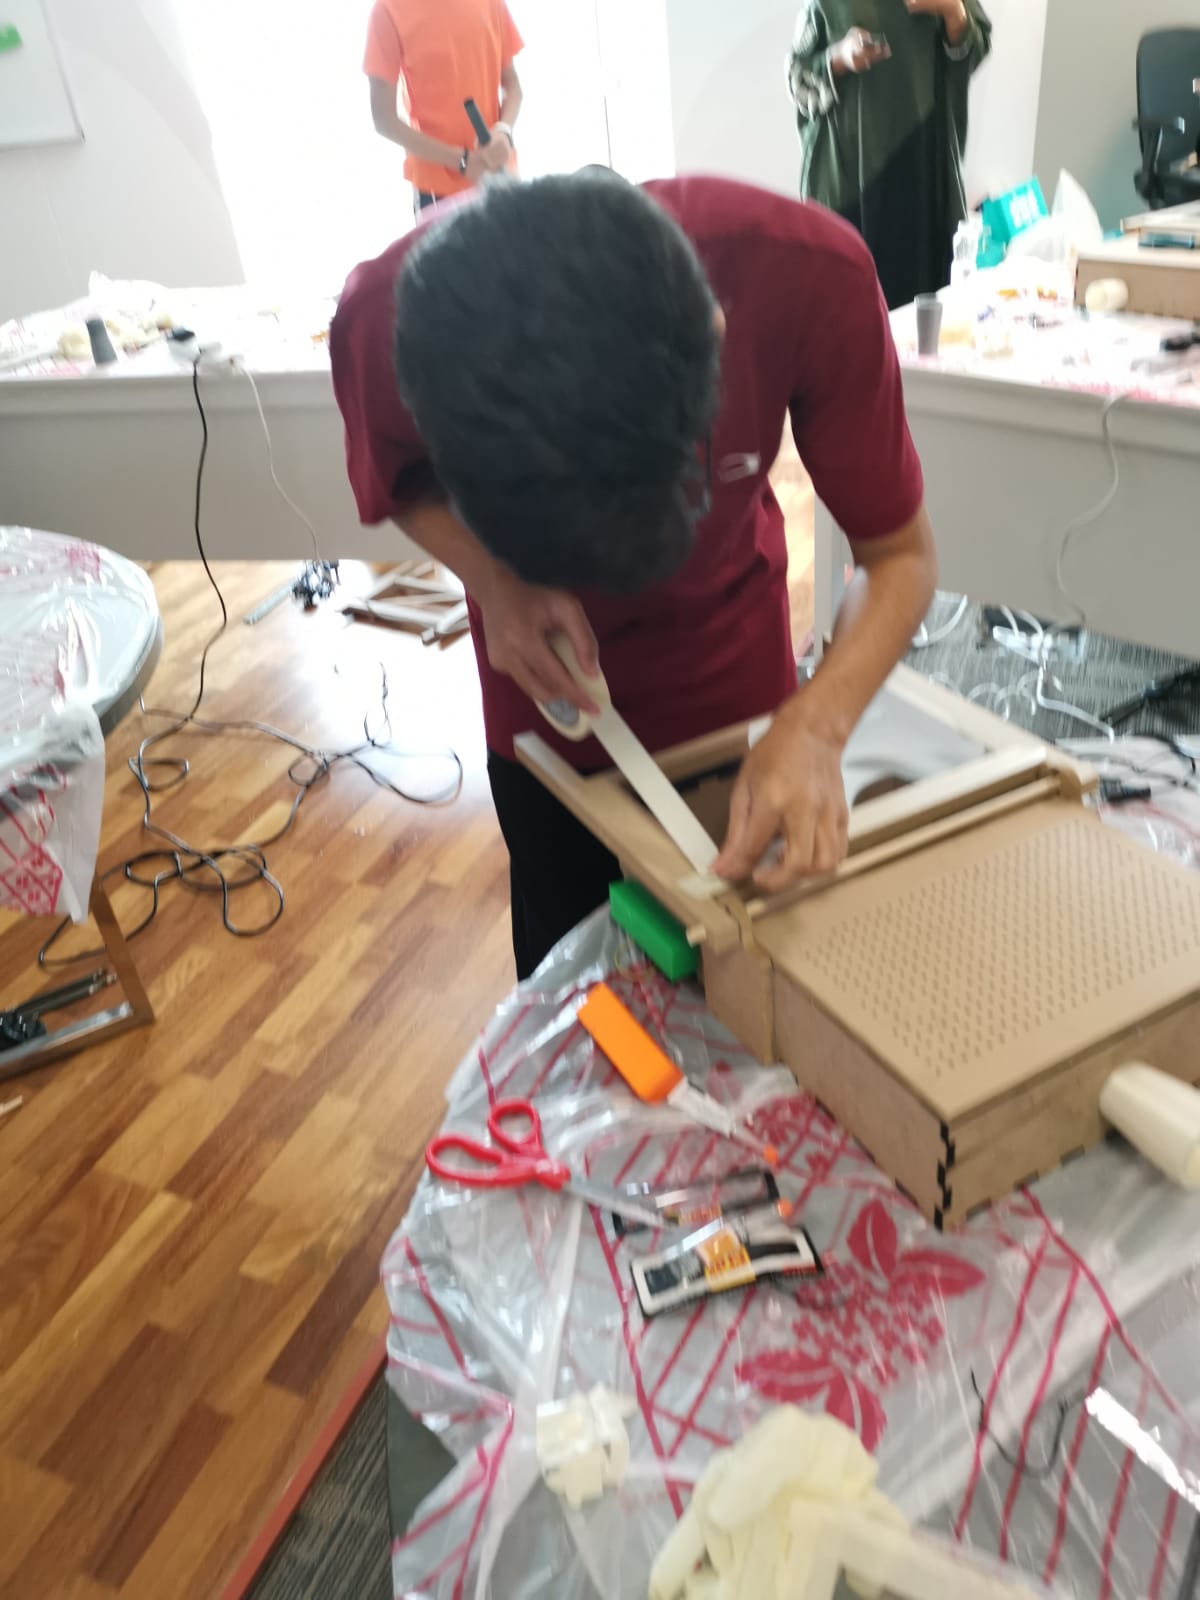
In this Step the joint mechanism, the joint plate and the wood stick will be attached to the machine.

1- Prepare the Joints
2- Attach joints to the sides with glue
3- Align edges as in picture 3
4- Do for the other side.

5- Attach joint holder to the side joints using the sticks.
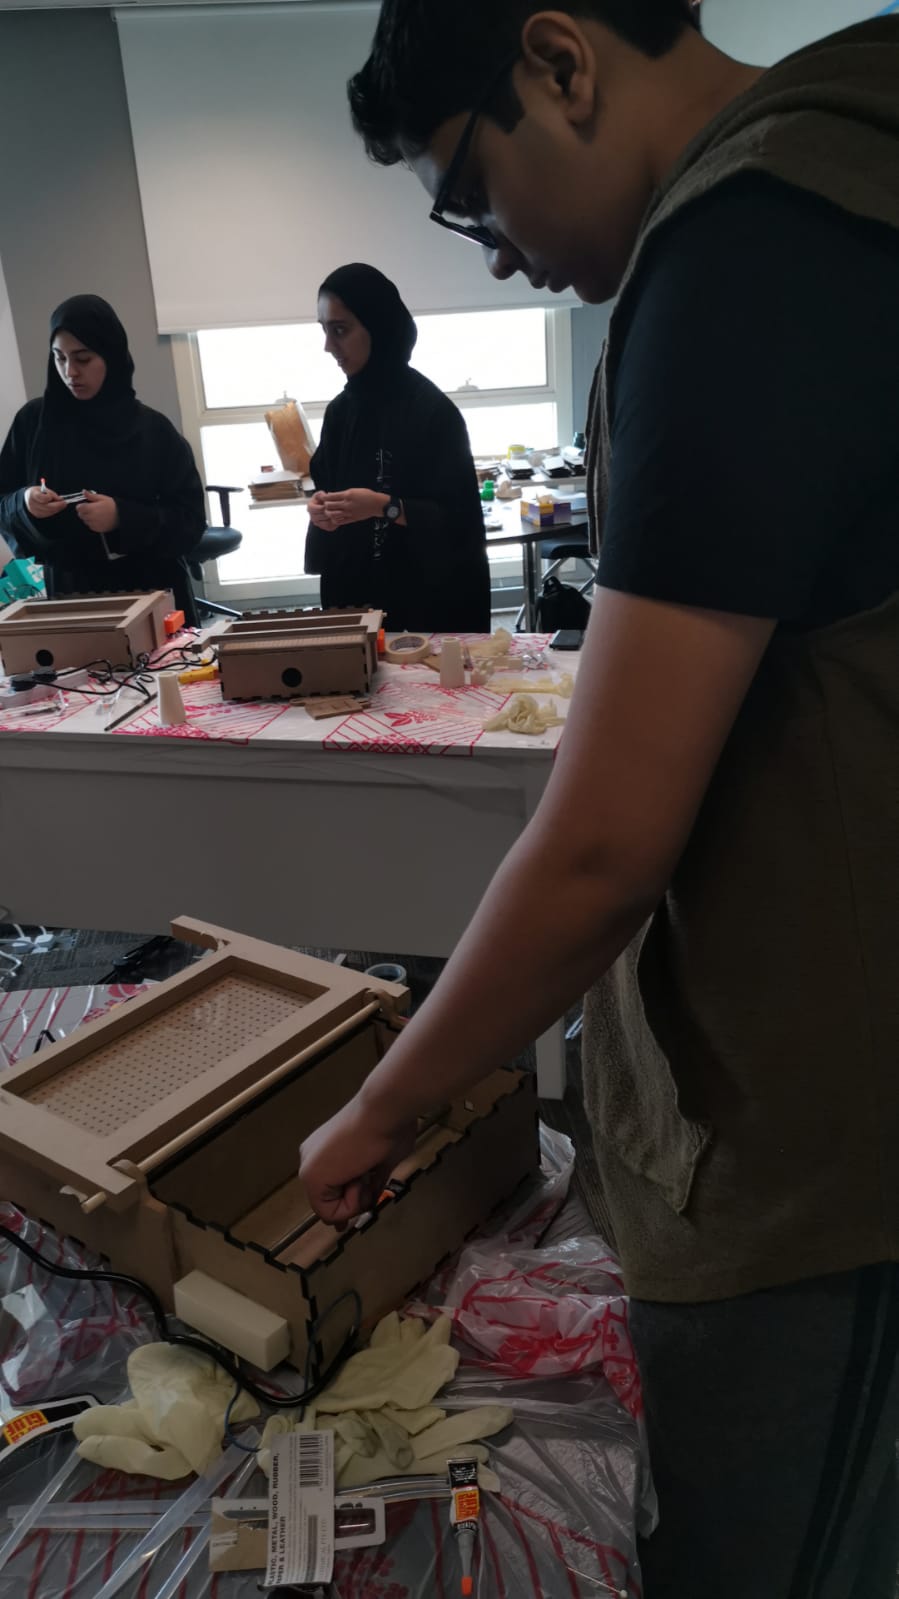
In this step students will assemble the electrical System and attach it to the machine.

1- connect one side of each heating element using electrical wire.

2- Insert the heating elements in the side holes m attach them with another wire from the other side. Connect the positive and negative wires of the cord to the both sides of the heating elements. Add the 3d printed protections to the sides.
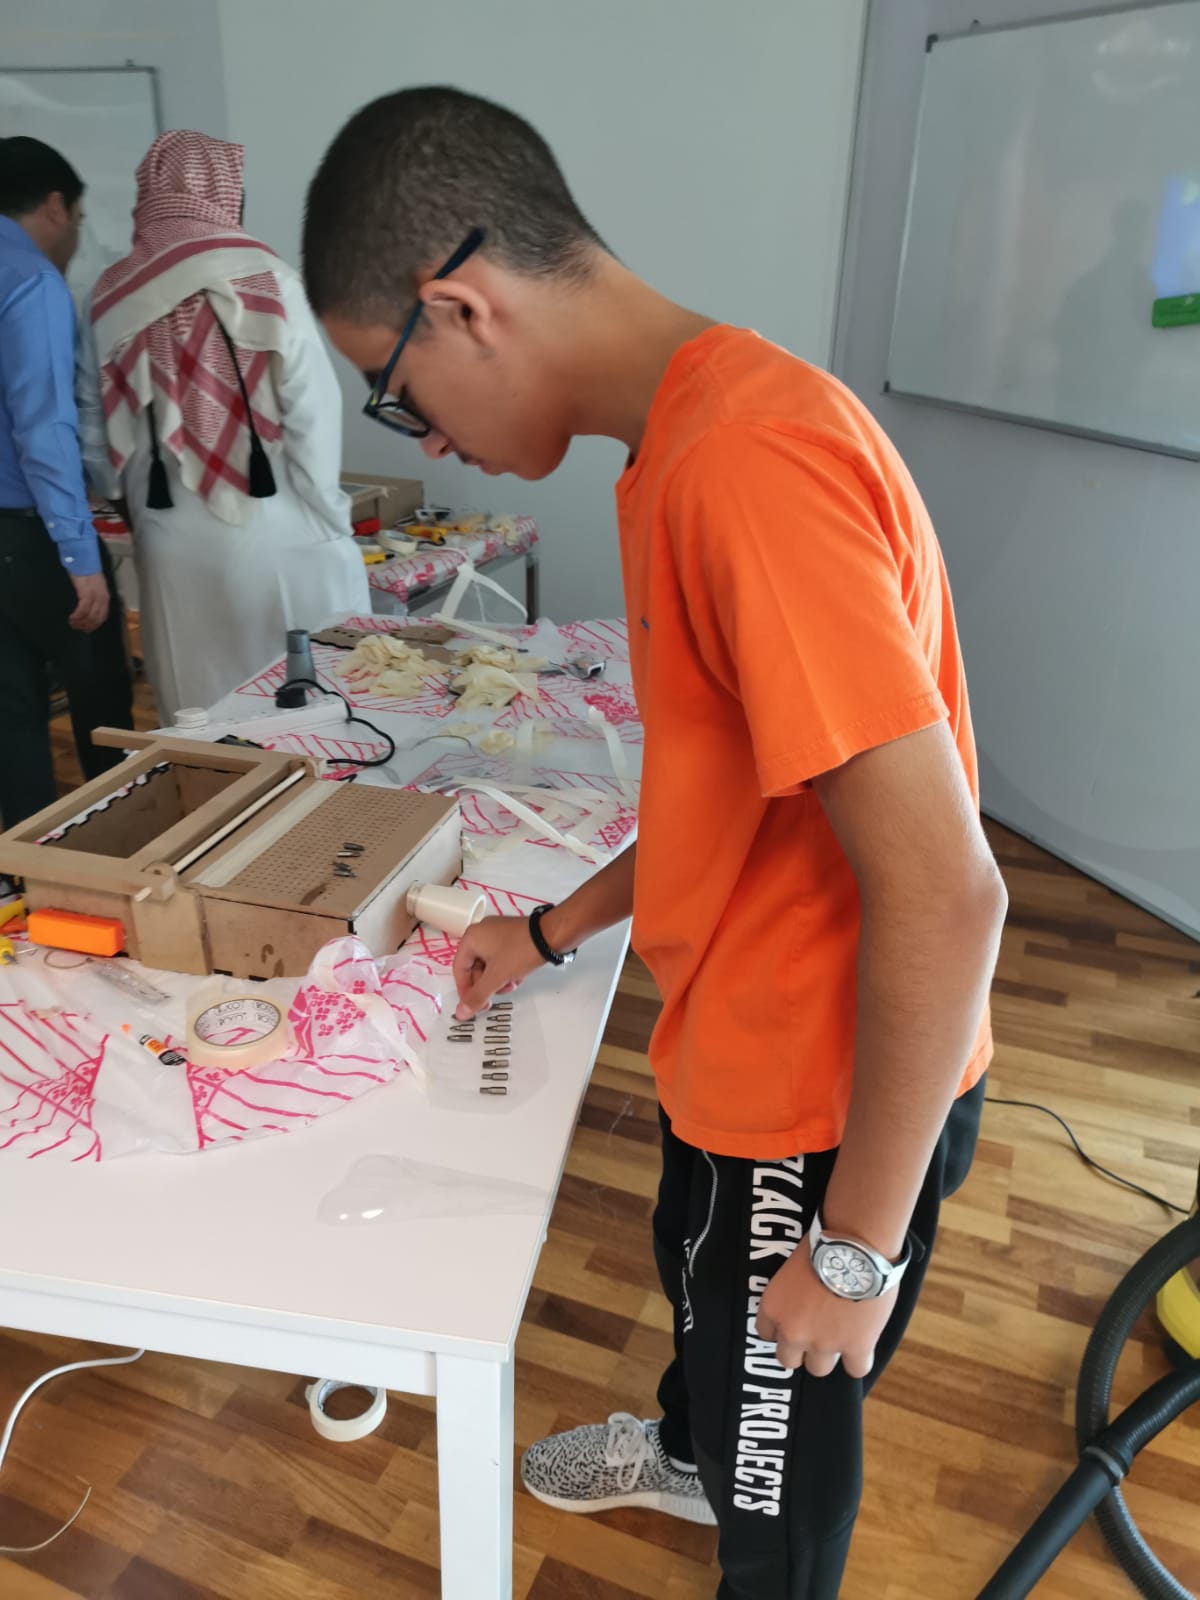
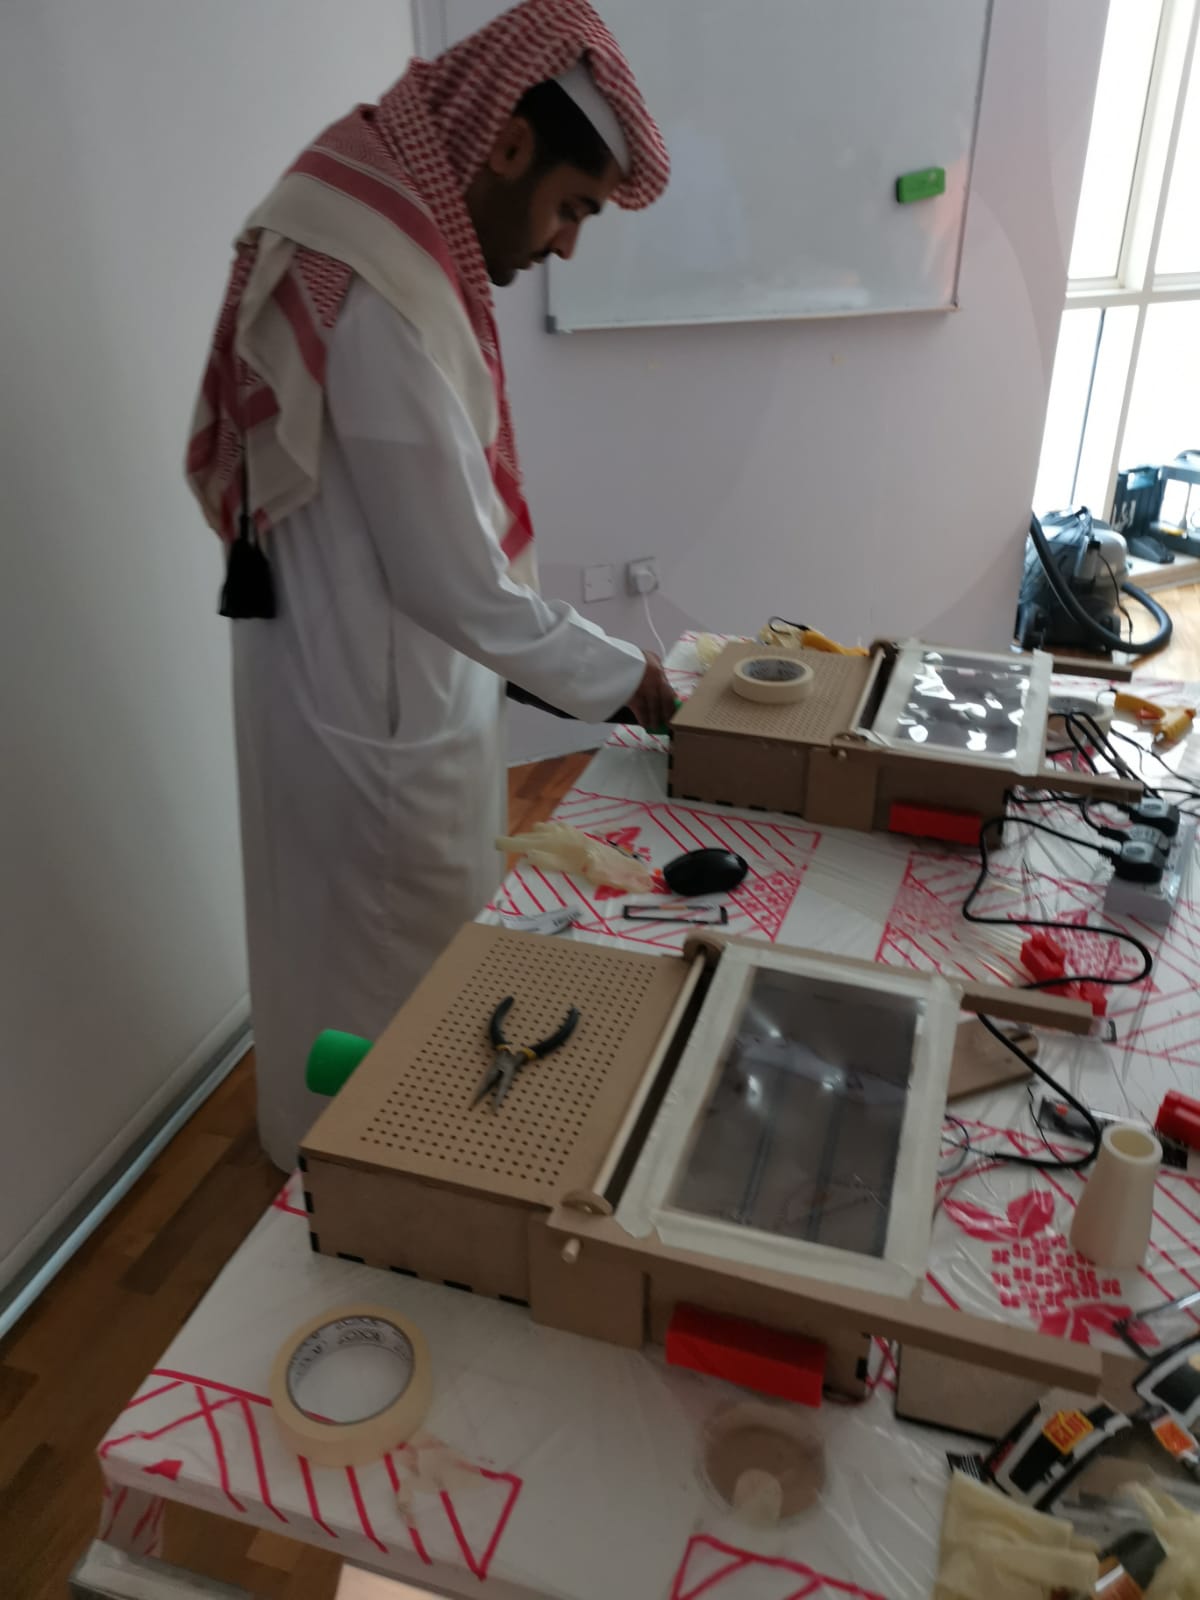
Students will test and operate the machine

1- Attach plastic sheet to the holder using paper tape.

2- Connect the cord to electricity, and prepare the vacuum cleaner.

1- Attach the vacuum former, Flip the plastic sheet to the heating chamber and wait until became flexible, put your pattern at the top of the middle of the vacuum plate. turn on the vacuum cleaner and flip and press the sheet over the pattern. Wait few seconds and remove.
Having trouble? Let us know by completing the form below. We'll do our best to get your issues resolved quickly.
"*" indicates required fields