Drone Design - SCOPES Digital Fabrication

Lesson Details

Age Ranges
Standards
Fab-Safety.1, Fab-Electronics.1, Fab-Modeling.1, Fab-Fabrication.1, Fab-Design.1, Fab-Safety.2, Fab-Modeling.2, Fab-Fabrication.2, Fab-Design.2

You need to login or register to bookmark/favorite this content.

Author

Brandon Prentice
Brandon Prentice
K-12 teacher
Brandon Prentice is a fabrication teacher and instructional coach for the Trinity-Area School District, located in southwestern Pennsylvania.  He is a graduate of California University of Pennsylvania, earning his BS and MEd in Technology Education. A major part of his… Read More

Summary

Experiment with the science behind drone flight as grades 9-12 students design, fabricate, and build their own indoor drone. This lesson has students using various capabilities inside the fab lab in order to explore the engineering design process when creating a working drone. Final designs are then sent through a series of flight challenges to complete for a final project grade.

The Instructions

Fabricating a Design

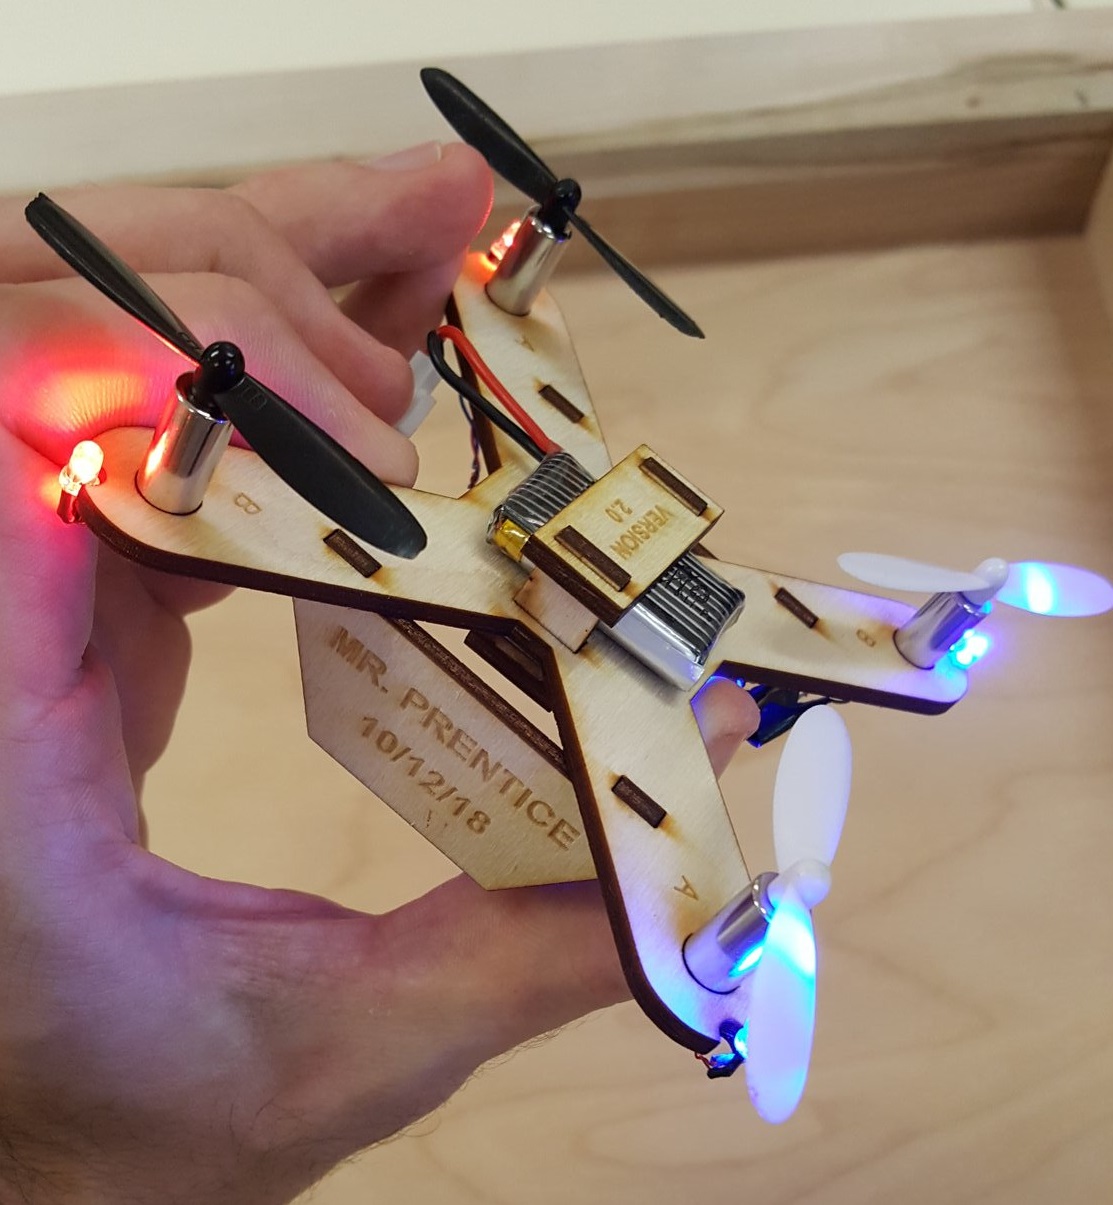
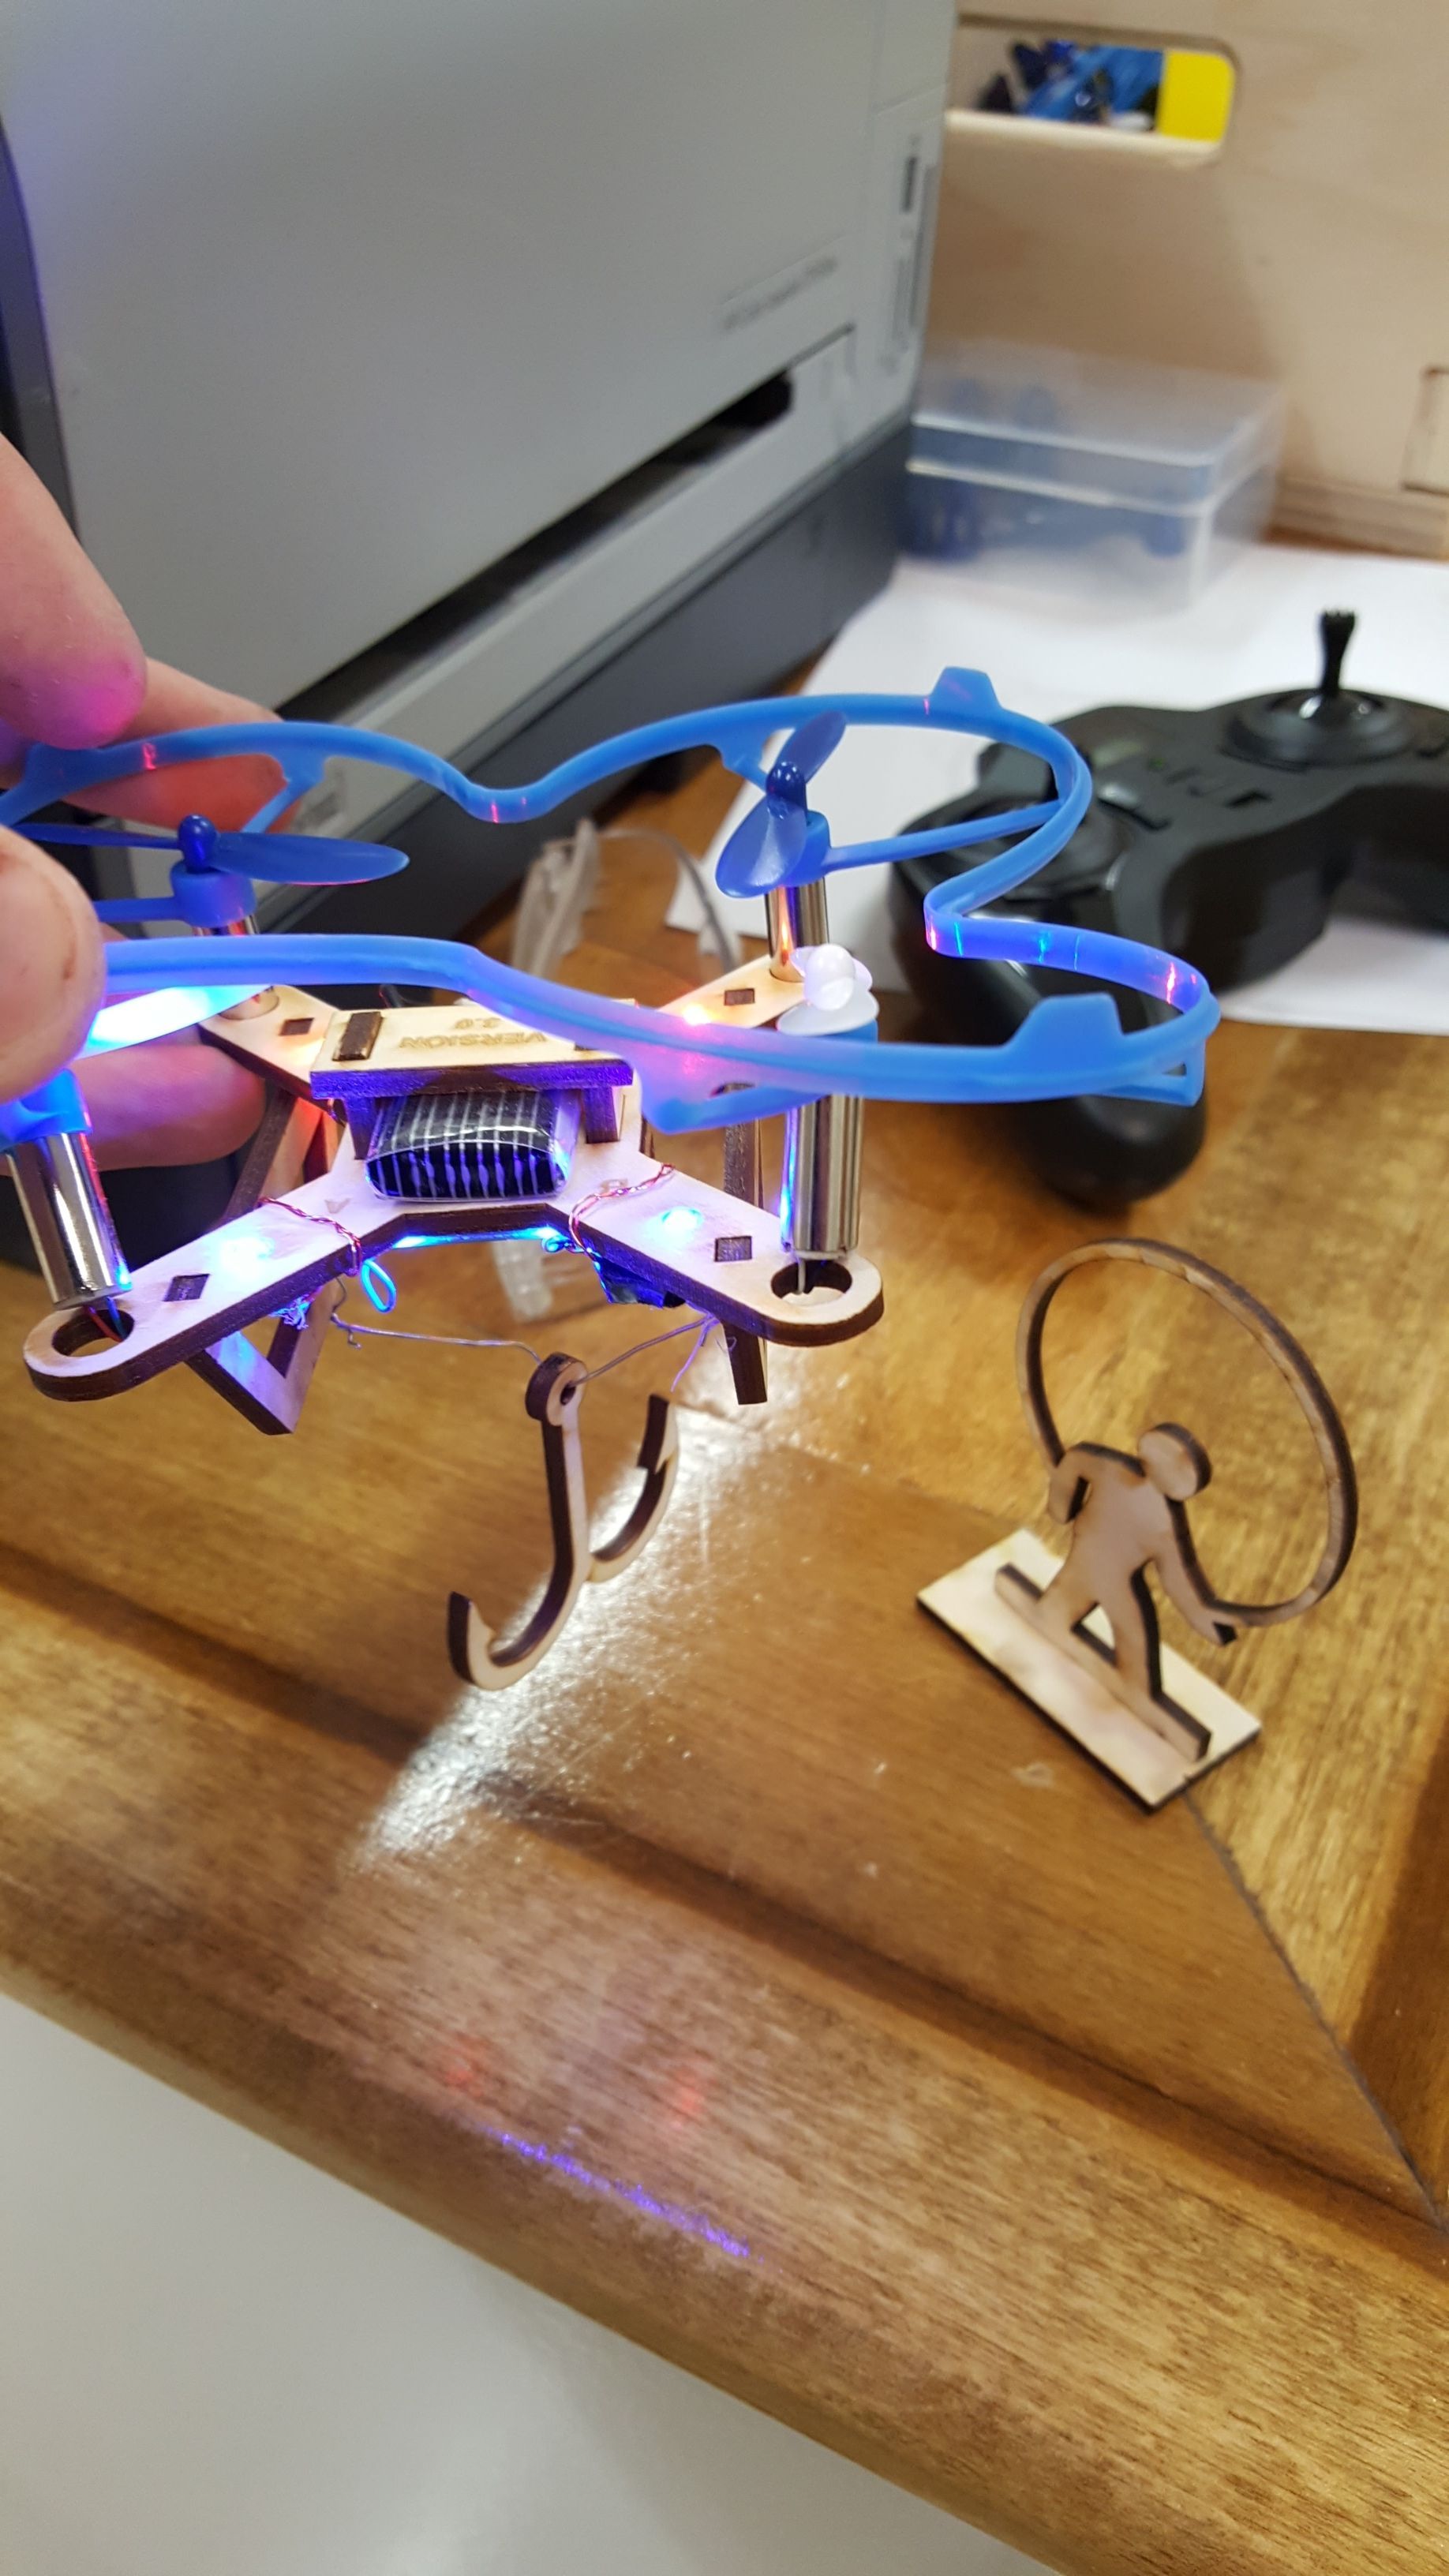
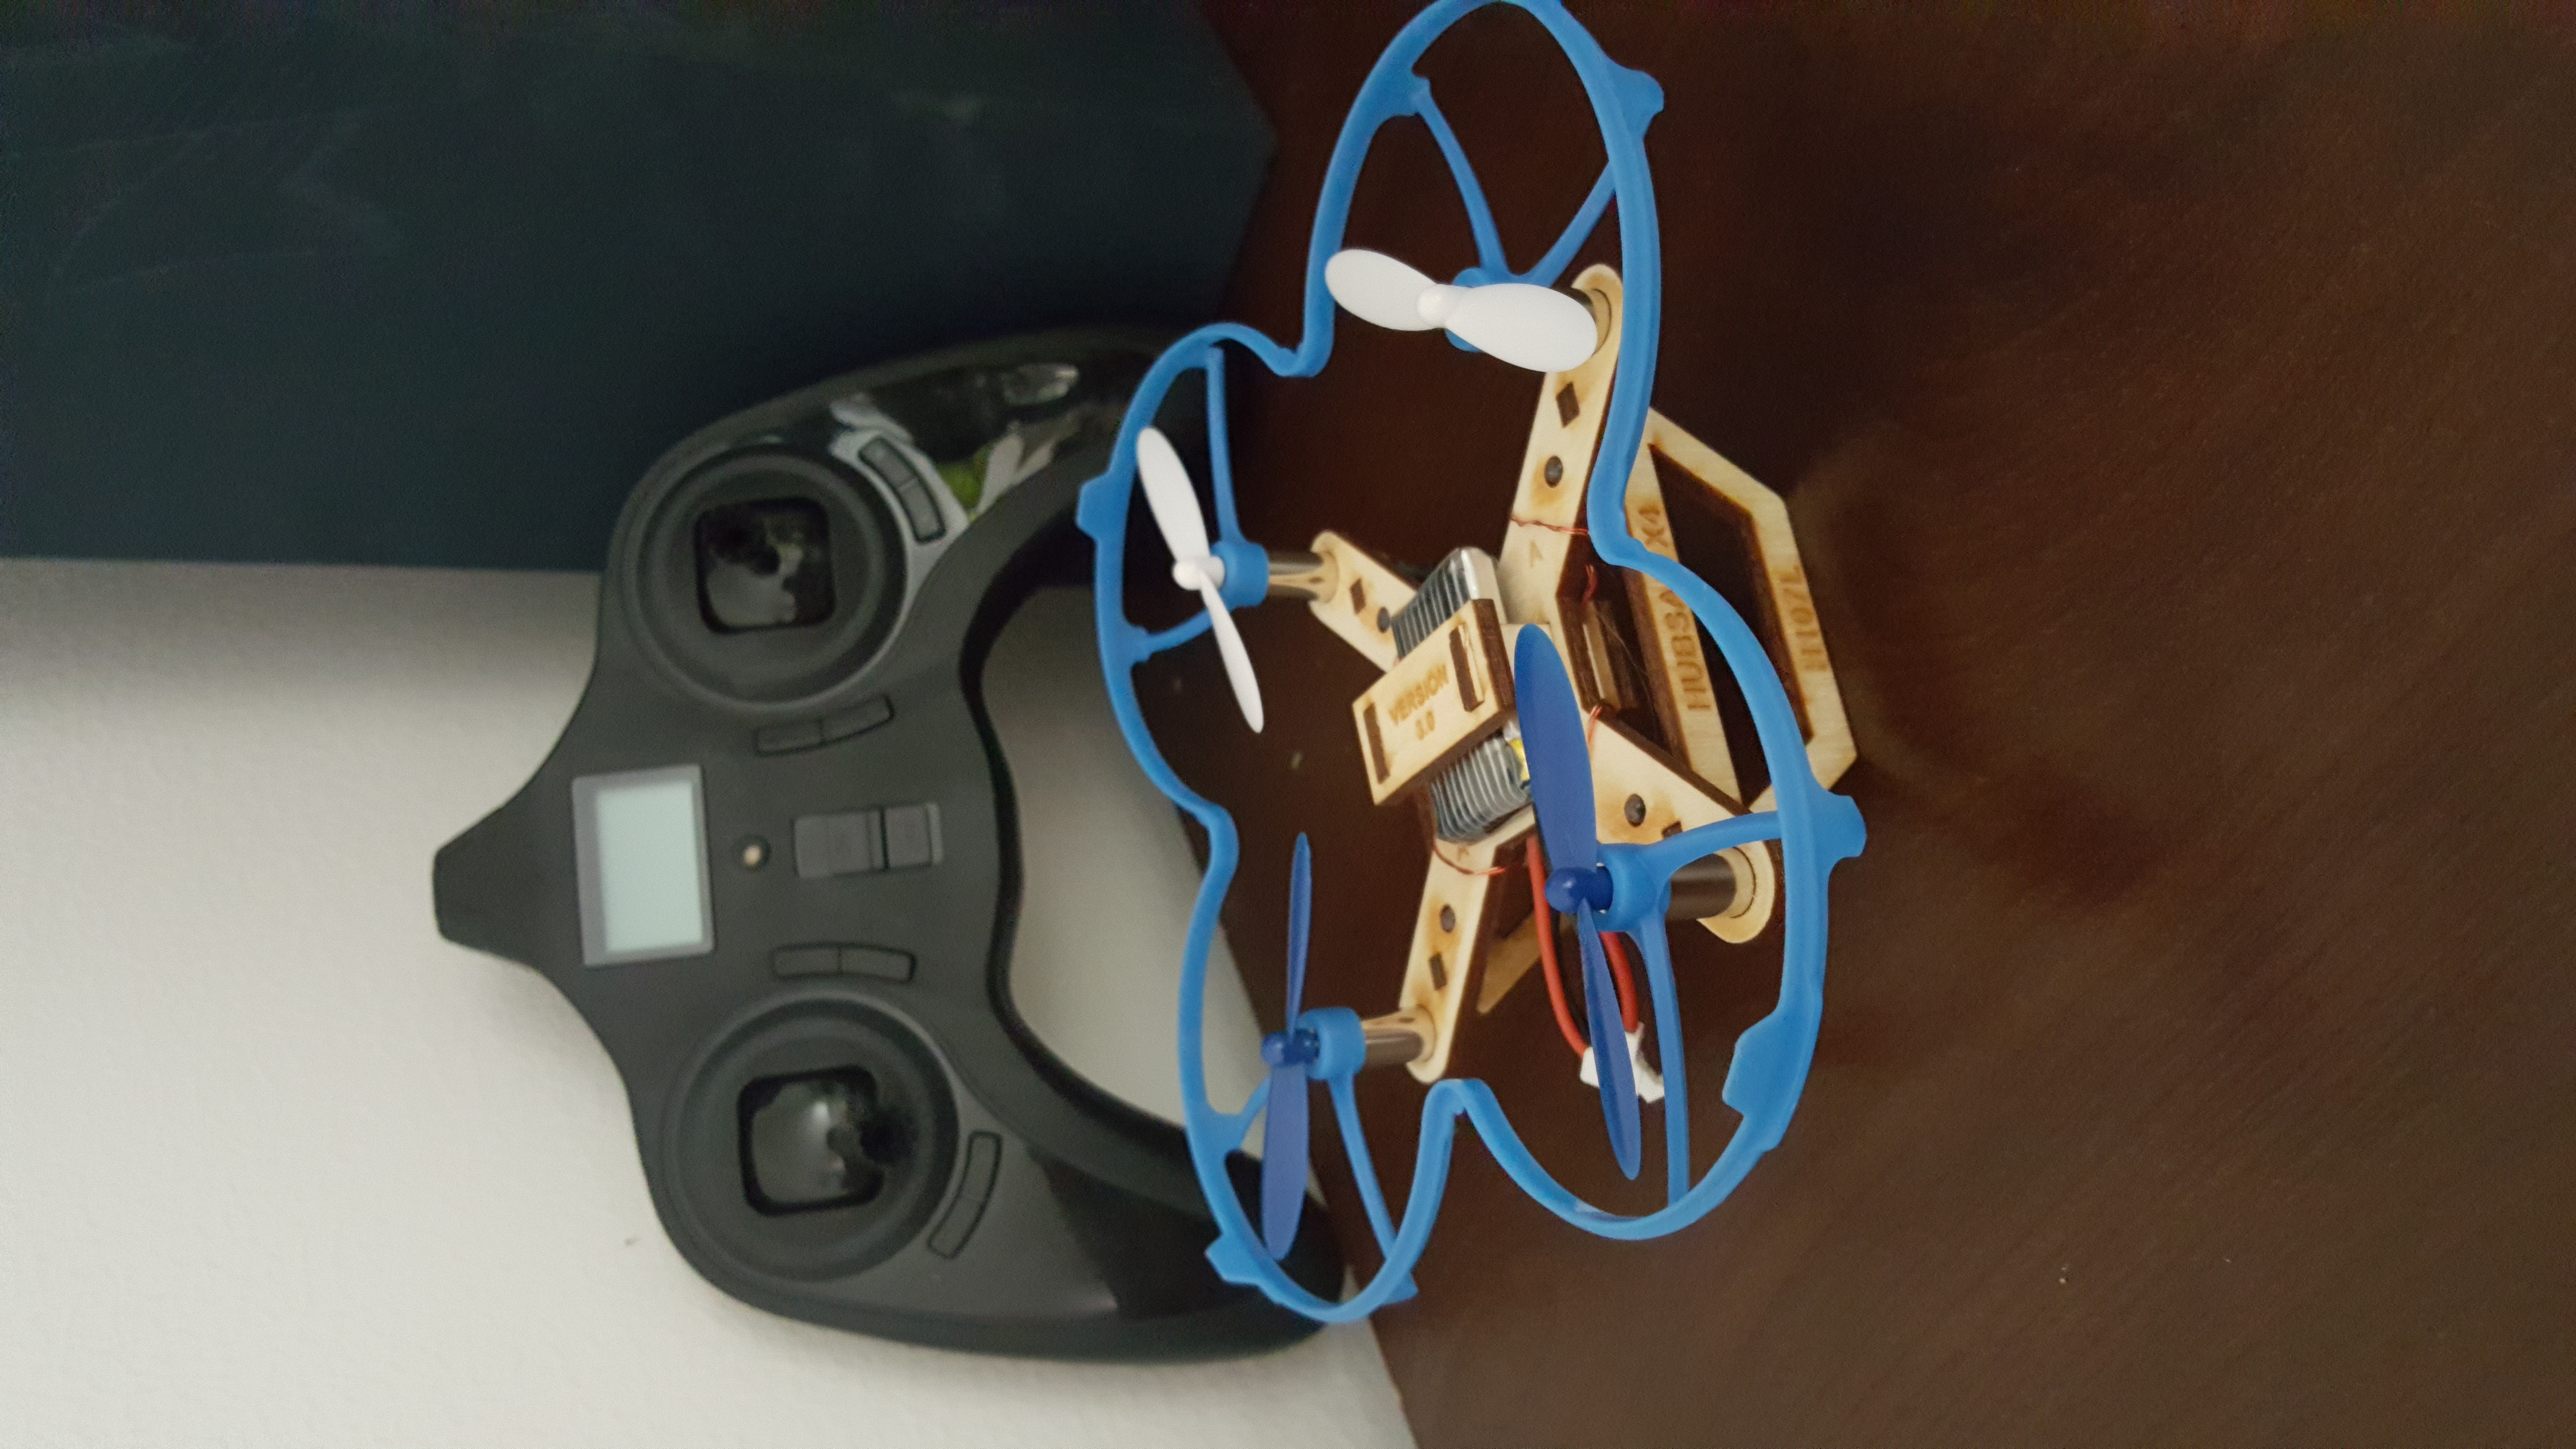
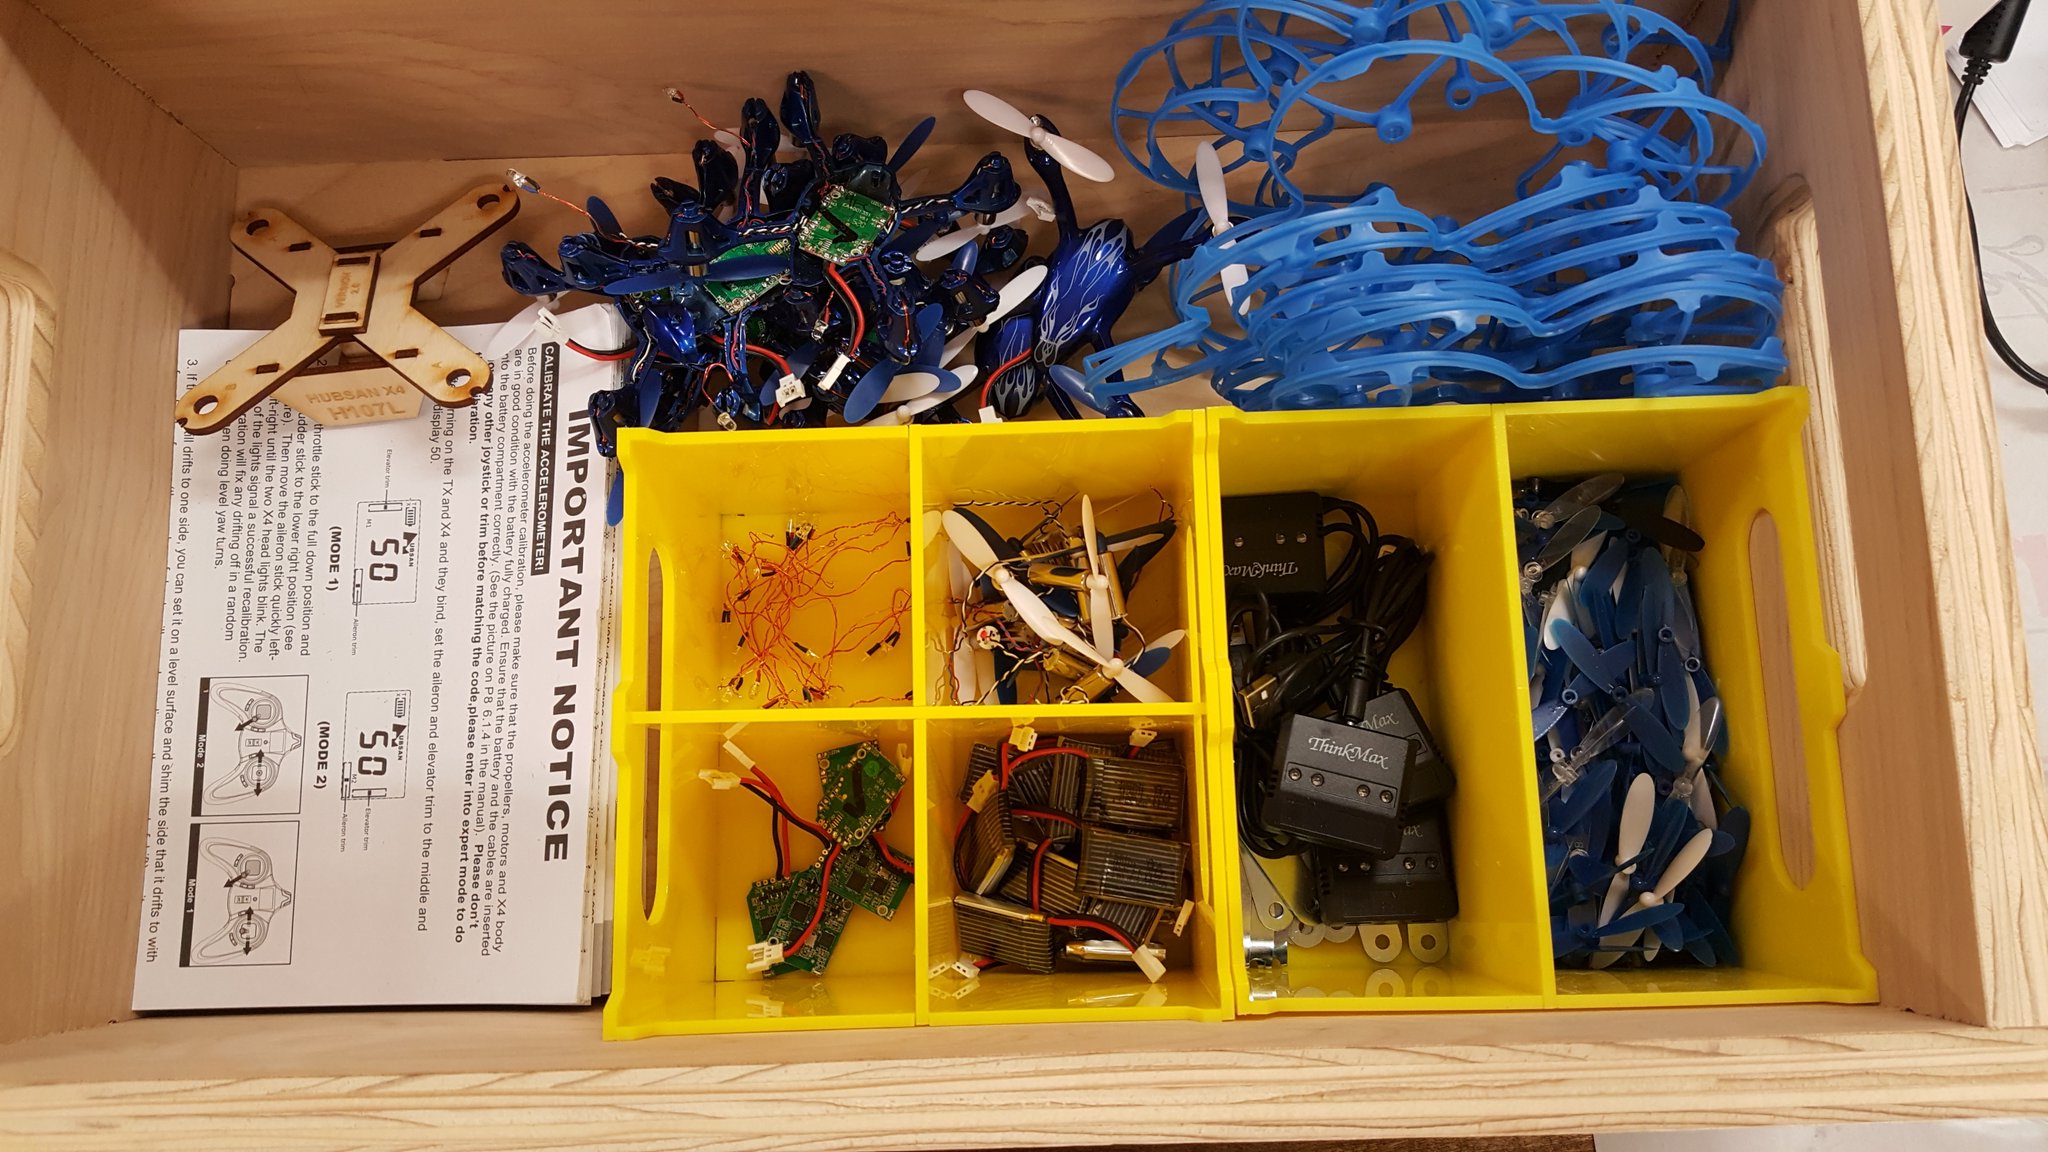
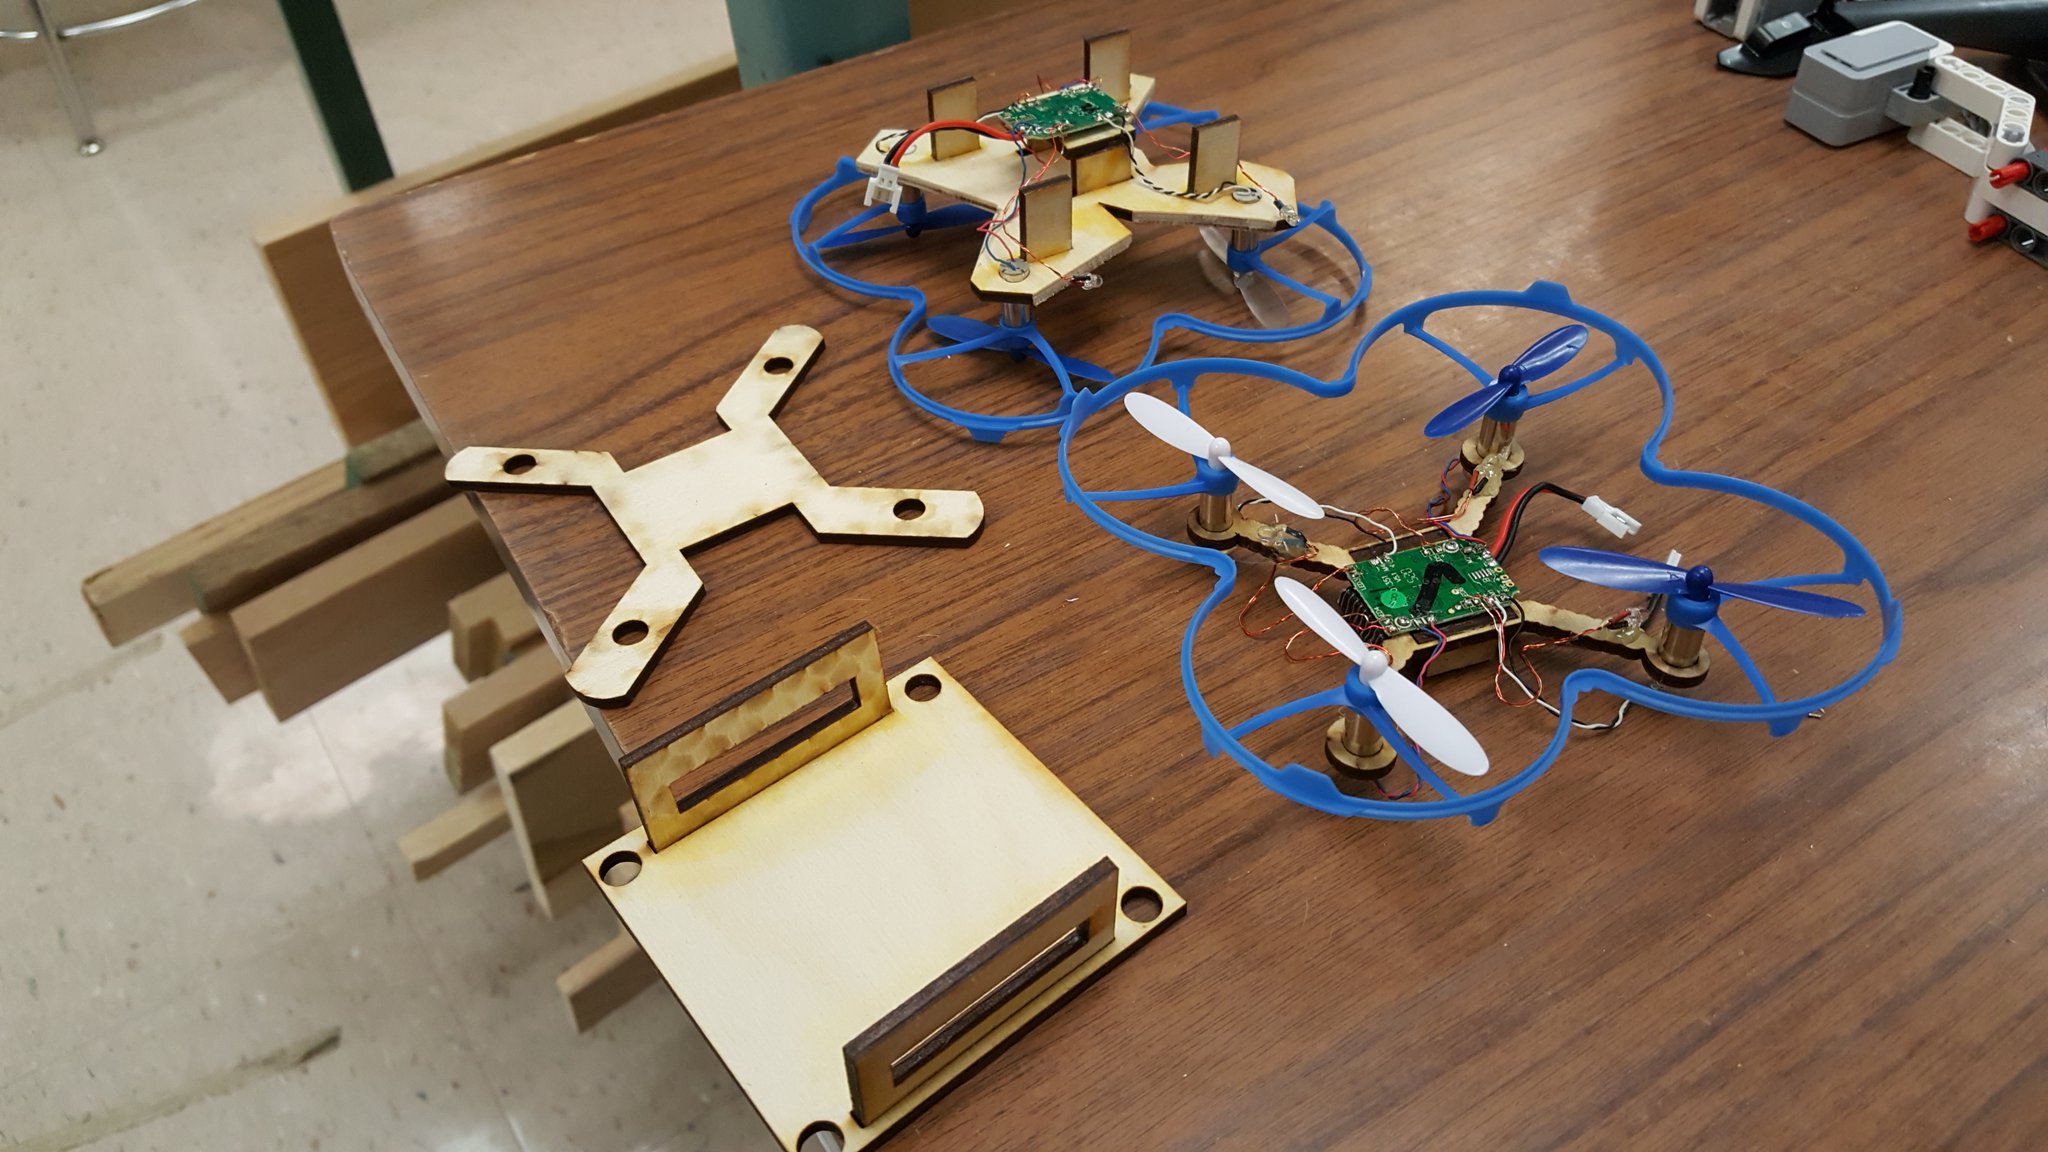
Students use their base knowledge with different fabrication machines to choose their own methods in the design and fabrication of their drone's skeleton.

  • This project is intended towards the end of a course focused on fablab processes. Once the class has had exposure to all of the different kind of tools and machines offered in the lab, it is up to the student to decide on which specific route he/she will go and which materials they want to use. Students must only use the following design constraints below due to fitting the motors/bumper snug:

  • The drone being used in this particular example is the Hubsan x4 H107L shown in the above drawing. The letters “A” & “B” represent which propellers are made to spin clockwise (A) and counter-clockwise (B), in relations to the circuit board mounted.


Soldering the Electronics

Students must use soldering skills in order to add all of the components that need to come together to make the drone operate.

  • Students use the soldering skills taught to them in previous lessons to carefully attach all of their drone components in the correct orientations using a teacher-made “Drone Station” box:


  • Make sure that student differentiate all of the positive (+) and negative (-) wires for both the LEDs and motors, which are:
  • LED Positive: Red
  • LED Negative: Brown
  • “A” Motor Positive: Red
  • “A” Motor Negative: Blue
  • “B” Motor Positive: White
  • “B” Motor Negative: Black

When looking at the circuit board, all motors are expressed as M1, M2, M3, & M4, while LEDs are all LED1, LED2, LED3, & LED4.


Flight Challenges

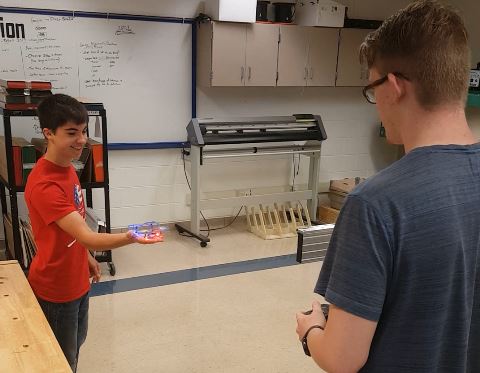
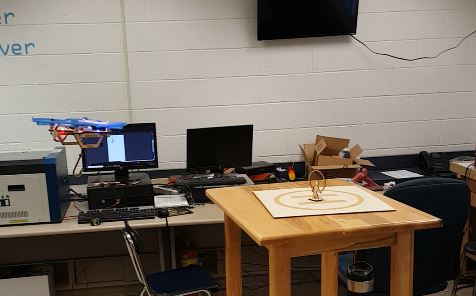
Students put their drone's design to the test by completing a series of tests that show both their piloting skills and design efficiency.

  • It is important to first spend some time teaching the fundamentals on how a drone operates and how it relates to the flight controller.


  • Once the students understand the principals of throttle, yaw, pitch, and roll, show the students the proper method in calibrating the trim levels towards their specific weight design (shown in Hubsan manual).


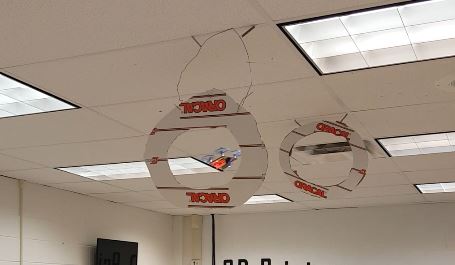
Students are then tested through the use of specific challenges designed by the instructor. Make sure to test all challenges to check difficulty level. The challenges I created include:


Ring Challenge:


Zig-Zag Challenge:


Rescue Challenge:


Students are usually graded by the challenge and not the design, due to the direct impact their design makes when piloting the drone.

Standards

  • (Fab-Safety.1): I can safely conduct myself in a Fab Lab and observe operations under instructor guidance.
  • (Fab-Electronics.1): I can follow instructions to build a simple electrical circuit using conductive material, basic components, and power.
  • (Fab-Modeling.1): I can arrange and manipulate simple geometric elements, 2D shapes, and 3D solids using a variety of technologies.
  • (Fab-Fabrication.1): I can follow instructor guided steps that link a software to a machine to produce a simple physical artifact.
  • (Fab-Design.1): I can be responsible for various activities throughout a design process within a group under instructor guidance.
  • (Fab-Safety.2): I can operate equipment in a Fab Lab following safety protocols.
  • (Fab-Modeling.2): I can construct compound shapes and multi-part components ready for physical production using multiple representations.
  • (Fab-Fabrication.2): I can develop workflows across four or more of the following: modeling softwares, programming environments, fabrication machines, electronic components, material choices, or assembly operations.
  • (Fab-Design.2): I can participate in design reviews with prepared presentation materials as well as give and receive feedback from peers.

Lesson Feedback