- Loading…
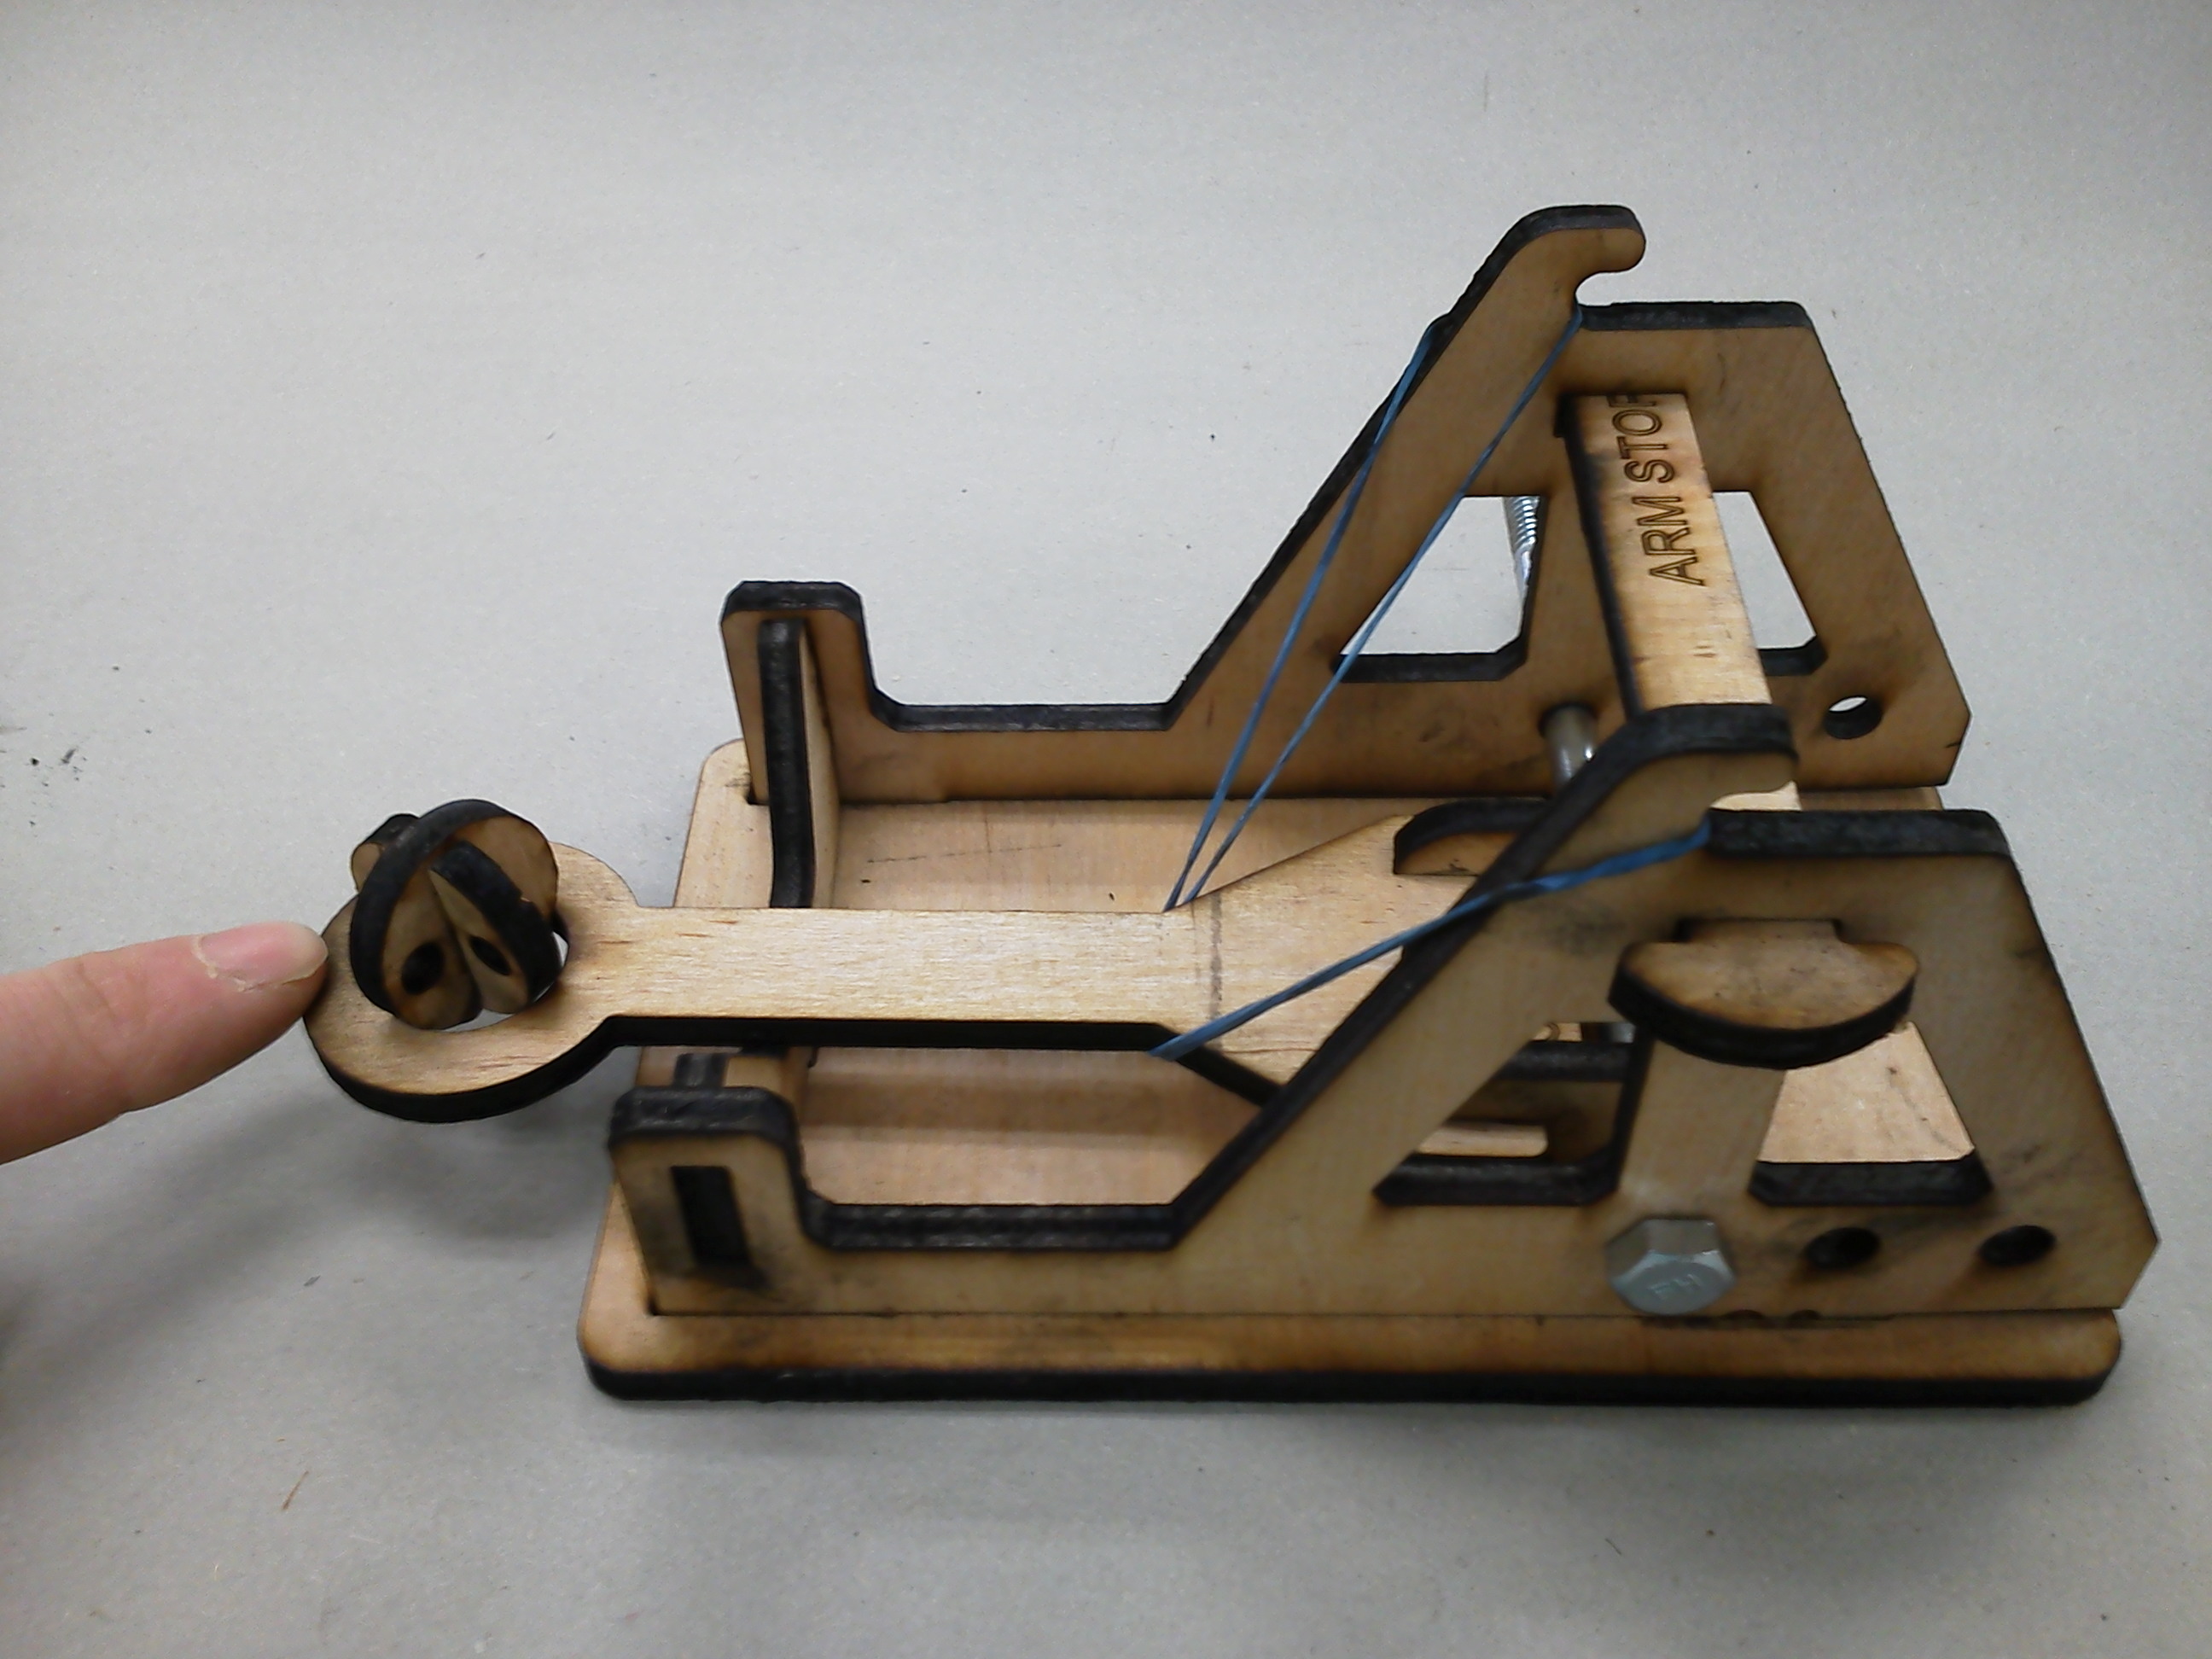
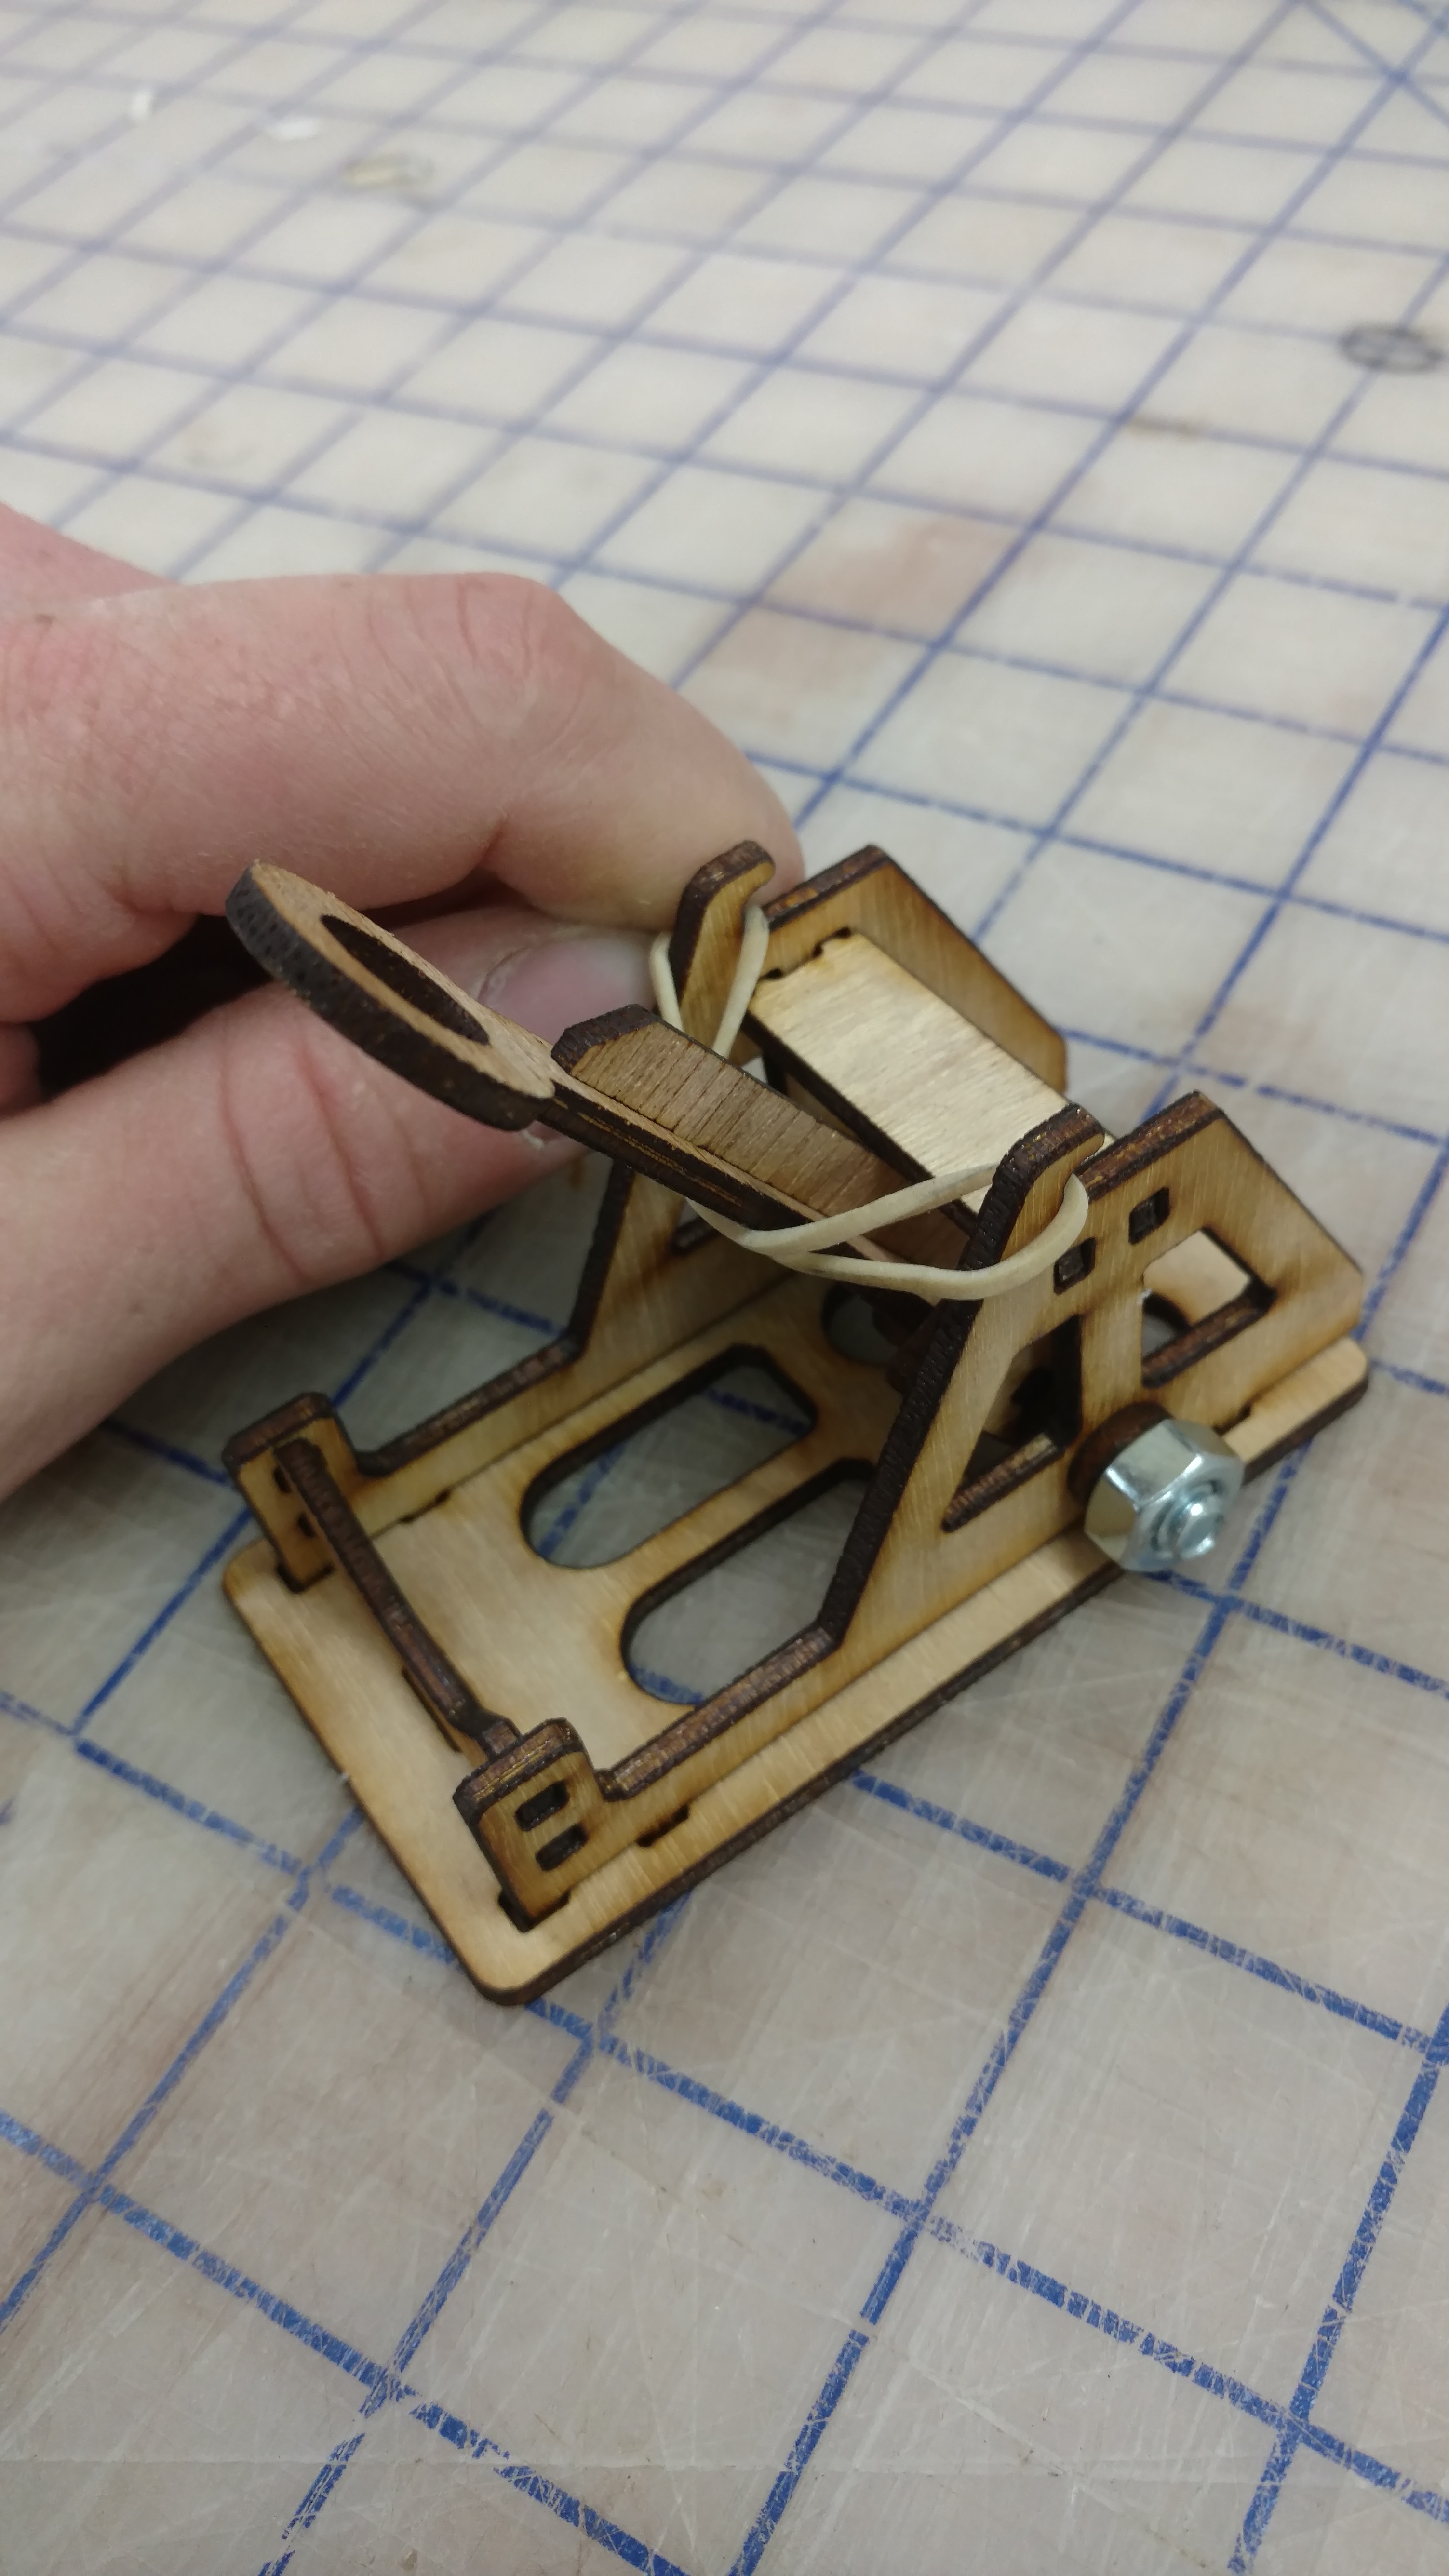
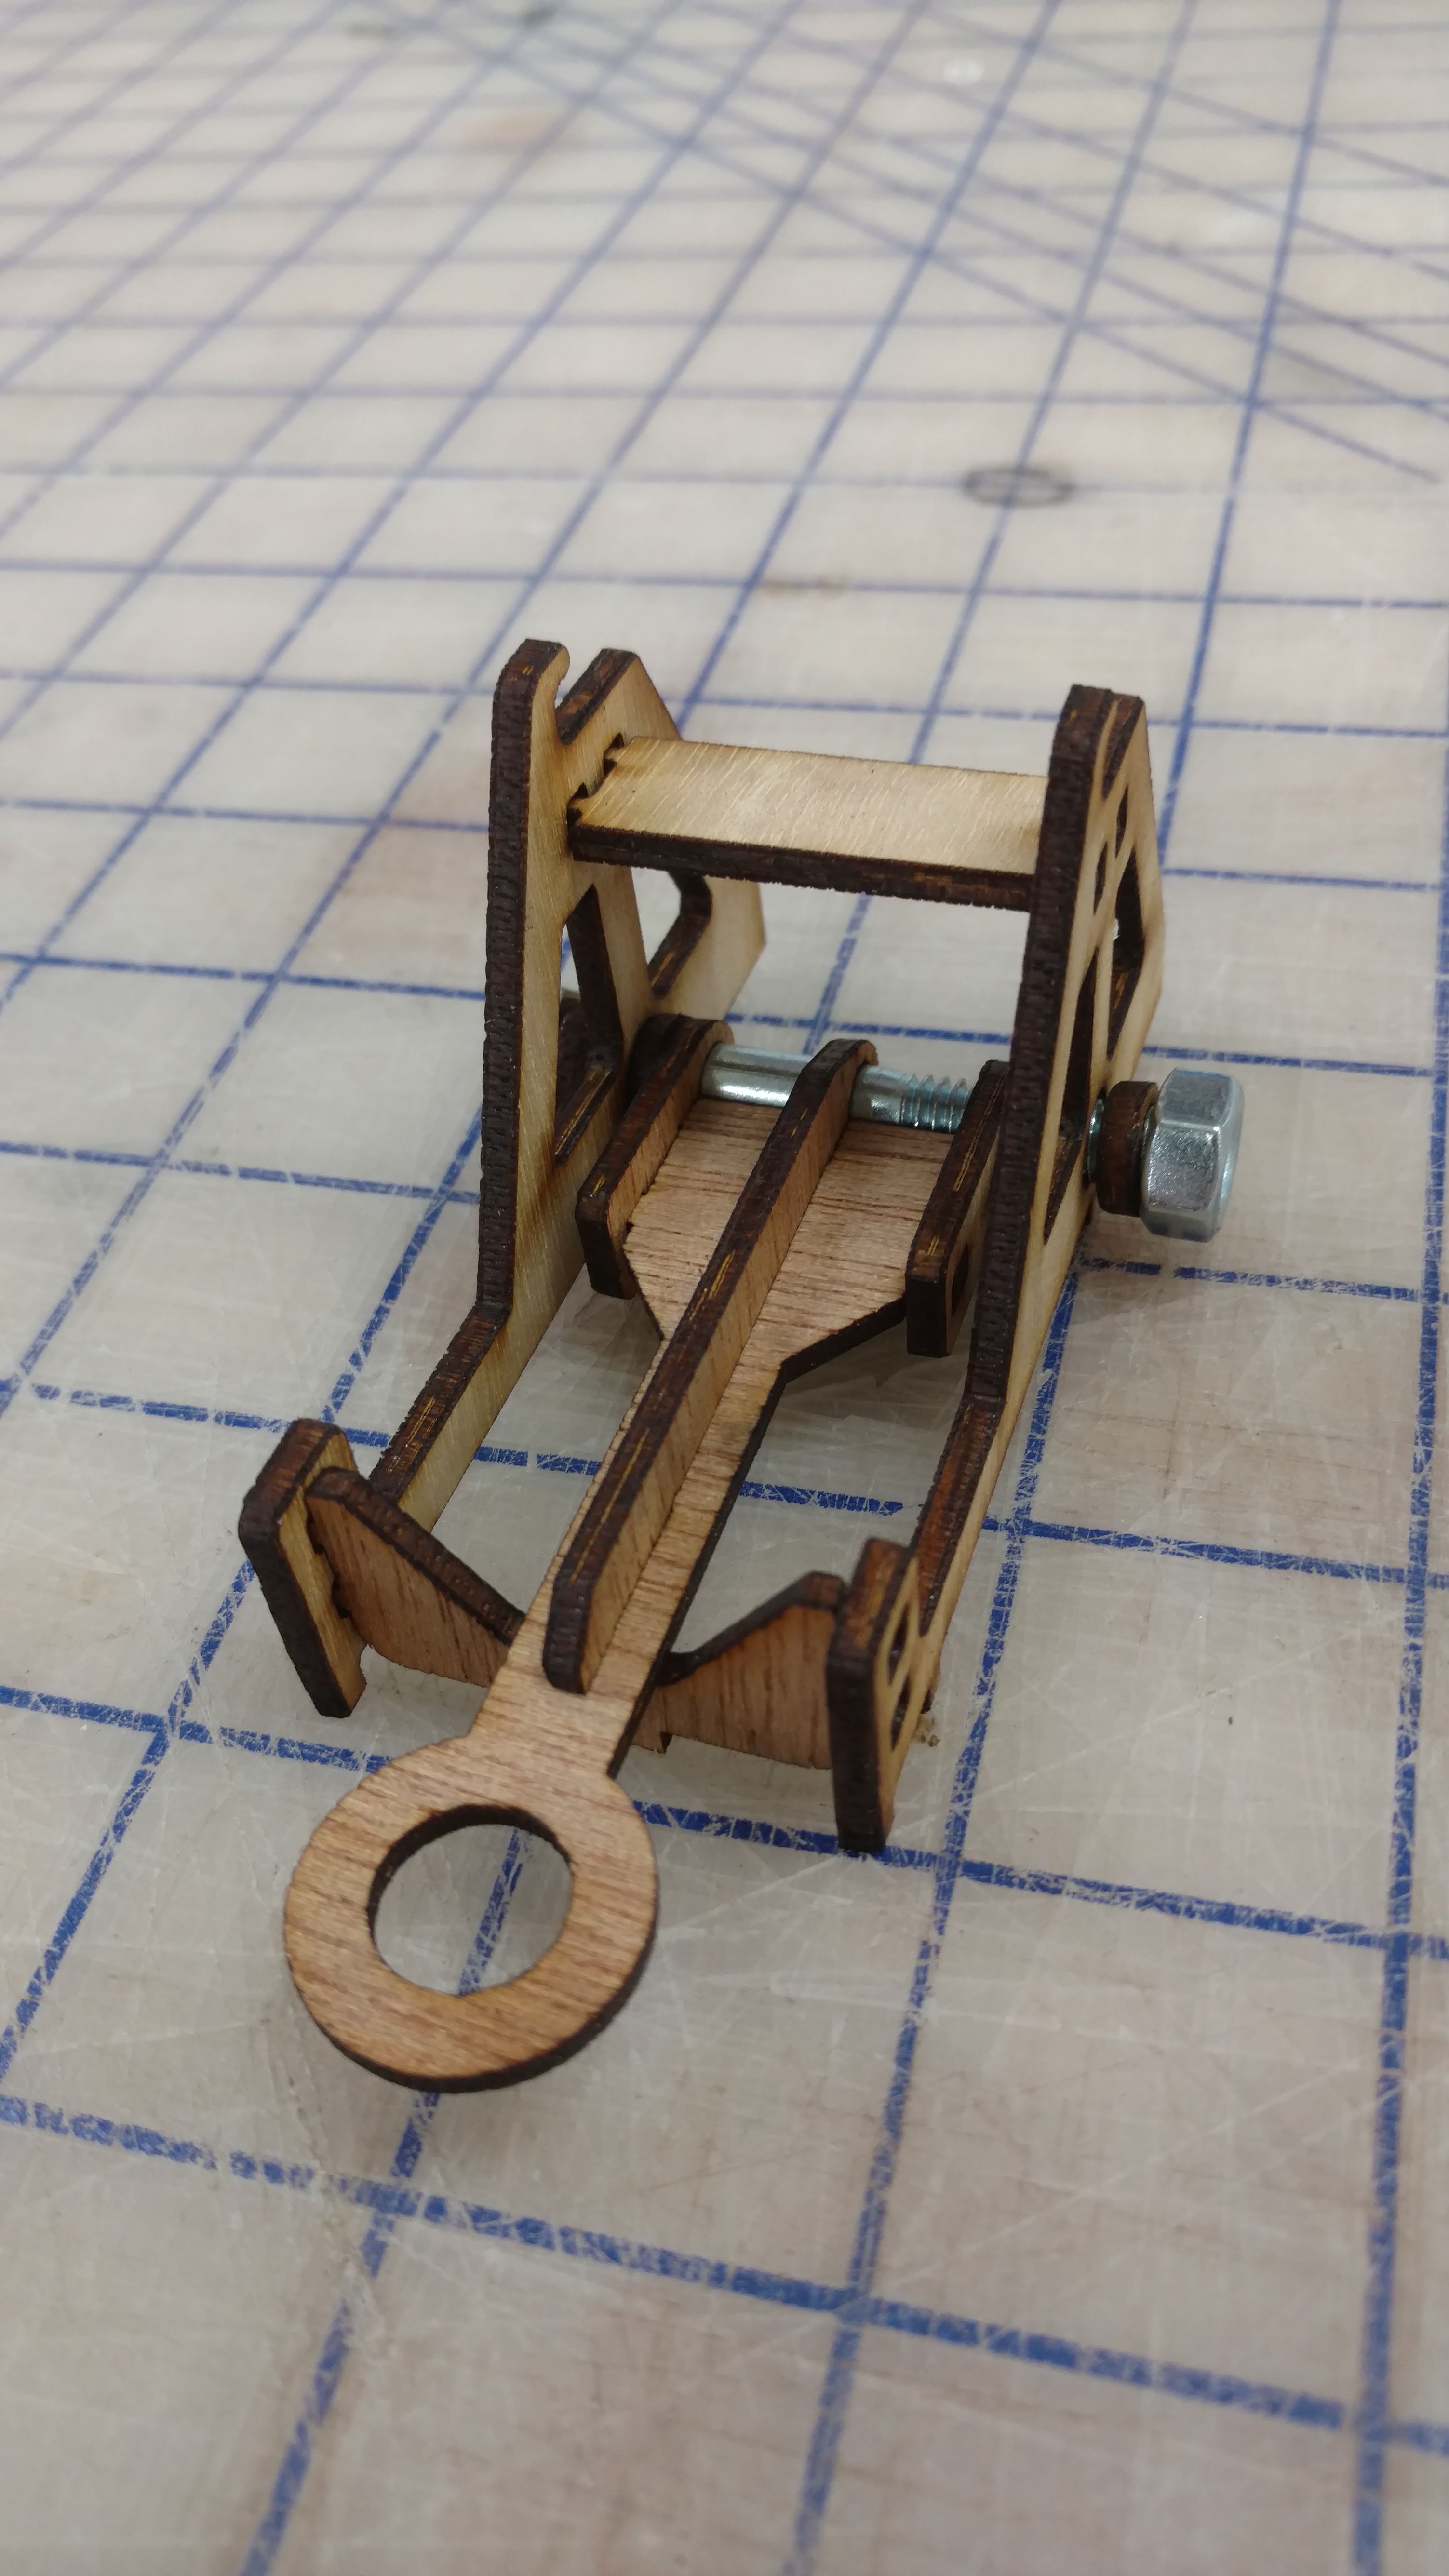
In this project you will be working in small teams to create a device capable of throwing a ping pong ball.
The device must be made with (and only with) the materials provided.
A full assembly of the parts required must be created in Inventor and all parts must be laser cut. No
modifications to any part may be done by hand (drilling, cutting, filing, etc). Remember all wood pieces will be .200” thick.
The device must sit on the ground when firing (no hand held devices). Power for propulsion may not
come directly from a human source (no throwing, hitting, flicking, etc)
Materials provided:
1- Ping Pong Ball (may not be modified)
1- Rubber Band
1- 2” 10-32 bolt
1- 1” 10-32 bolt
2- 10-32 nuts
1- 12×9” piece of luan (.200” thick)
Hot glue (for assembly of parts only)
Scoring will be determined by three categories:
Maximum distance
Accuracy
Design quality
Introduce the project to the students
This is totally up to your preference how much backstory you give, but I tend to explain a bit about siege warfare and how catapults (and many other types of siege engines) came to exist.
I’ll then explain that the students will all be creating their own catapults and will be challenged to throw a ping pong ball as far and as accurate as possible.
Distribute rules and specifications
Next, I’ll give the students a sheet detailing the exact materials they’ll be working with. I won’t distribute the materials yet.
The students then will discuss design plans and make sketches of possible designs.
Pass out materials and start fabricating
The students will then receive materials and start fabricating their designs.
Once parts are cut they may start assembling and testing their machines.
Testing the catapults!
Once all teams are completed with the project, we will line up the catapults to a tape line on the floor and test for distance. Each team will get 5 chances.
After the distance test, we will place a small box (about shoebox sized) at a distance of 10 feet. Teams will have 5 chances to make a shot into the box.
Assigning a grade for the project
Team grades will be assigned based upon:
-distance score
-accuracy score
-design complexity
-construction quality
-teamwork and participation
Having trouble? Let us know by completing the form below. We'll do our best to get your issues resolved quickly.
"*" indicates required fields