- Loading…
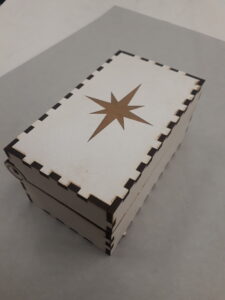
Making a box for small items
Material for the box (I used HDF)
Design for the box (I used a ready one from Boxes.py)
When making a box to assemble together you need to know how wide is the part that the laser is burning away since this varies between materials. In FabLab we measured the kerf by using a tool made for calculating the kerf. So we used the laser cutter to cut the tool part out of different materials and measured the width of the cap that the tool parts have (divided by ten since there are ten parts).

I started by looking at the design options in Boxes.py and figuring out which one would be the best for me. I wanted a treasure chest type a box with some smooth surface to add my own design in. I ended up choosing the Integrated Hinge Box (https://www.festi.info/boxes.py/IntegratedHingeBox?language=en) Then I was thinking about the measures that would work for me, adding in the material thickness (HDF was 3mm) and the burn we had calculated (0,09 in my case) and downloaded the box design. Then I changed the setting to work with the laser cutter I was using and added my own design features.

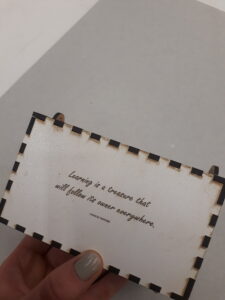
Before laser cutting the design I had to play a little with the placement of pieces to fit the printing on the piece of HDF I was working with. We also did some test pieces first to see if they would fit together. Choosing the right settings for cutting is still a little mysterious for me but luckily my local instructor was there to help. I was happy to see how well the laser cutter did with the fine lettering in my box!


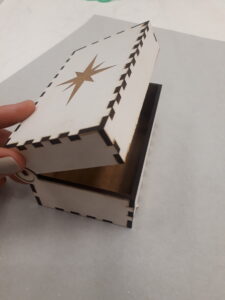
After the cutting it was time to assemble the box. This took quite a lot of thinking because I had to attach the hinge parts in certain point of assembling in order to get it in. The fitting was quite tight but still working, I can be sure it won't fall apart. I am happy with my end result and learned so much during the process. It was also good repeat for the things I have learned in previous tasks.


Having trouble? Let us know by completing the form below. We'll do our best to get your issues resolved quickly.
"*" indicates required fields