- Loading…
Unboxing your very first 3D printer can be filled with both excitement and uncertainty. Intended for first time users of 3D printers, this lesson aims to clarify the basic vocabulary, management and and common troubleshooting tips to help make your first print a success.
3D Printer (already set up and software installed)
Computer Connected to the Internet
Time and Patience!
"The beginning of wisdom is to call things by their proper name." - Confucius
Where to begin with the 3D printing process? This section will walk you through the 3D printing workflow.
Step 1: It Starts With a Design
Before you can begin printing, you will need to design an object to print. While there are many options to design a 3D object, a good place to start for beginners is Tinkercad. Tinkercad is a 3D Design program that is web based, so as long as you have an internet connection, you can design 3D Objects. For inspiration, I also like to to check out Thingiverse.com
Step 2: Get Your Design to the 3D Printer
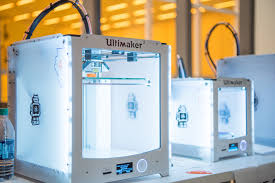
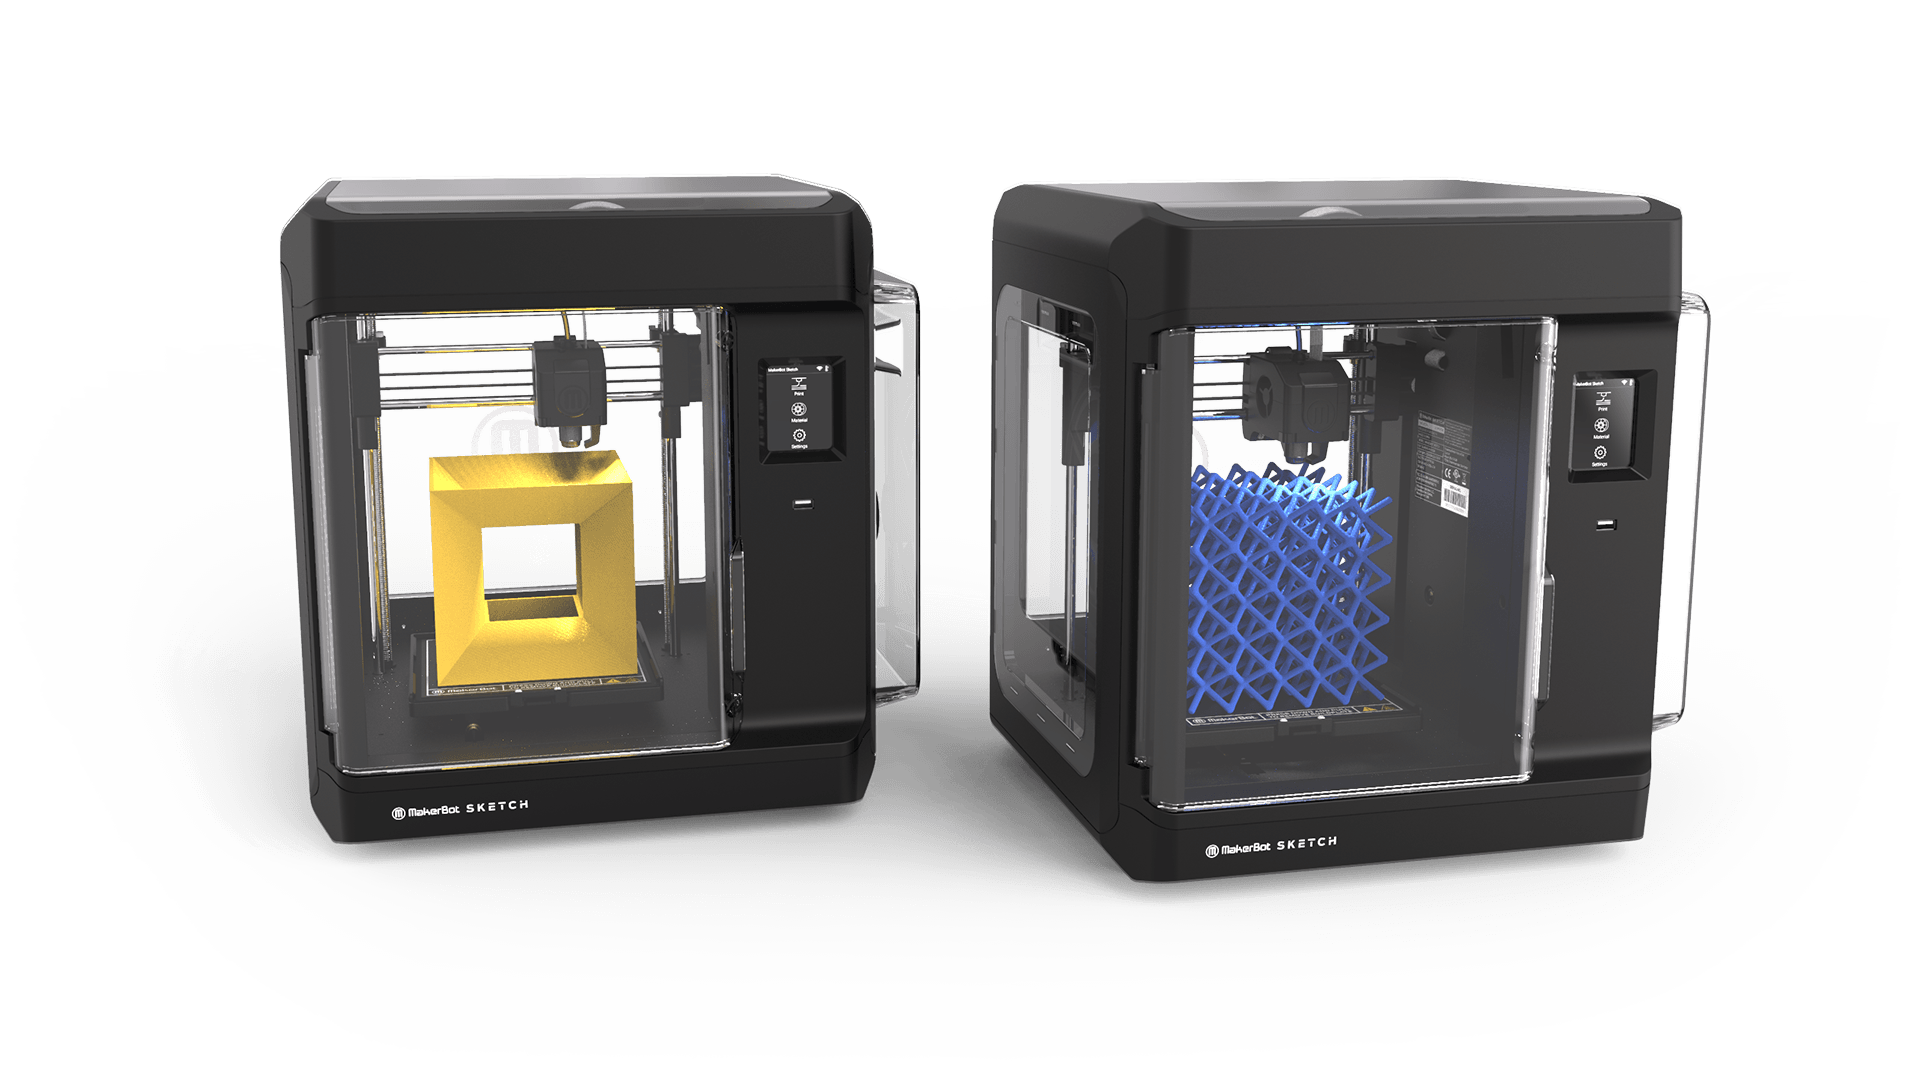
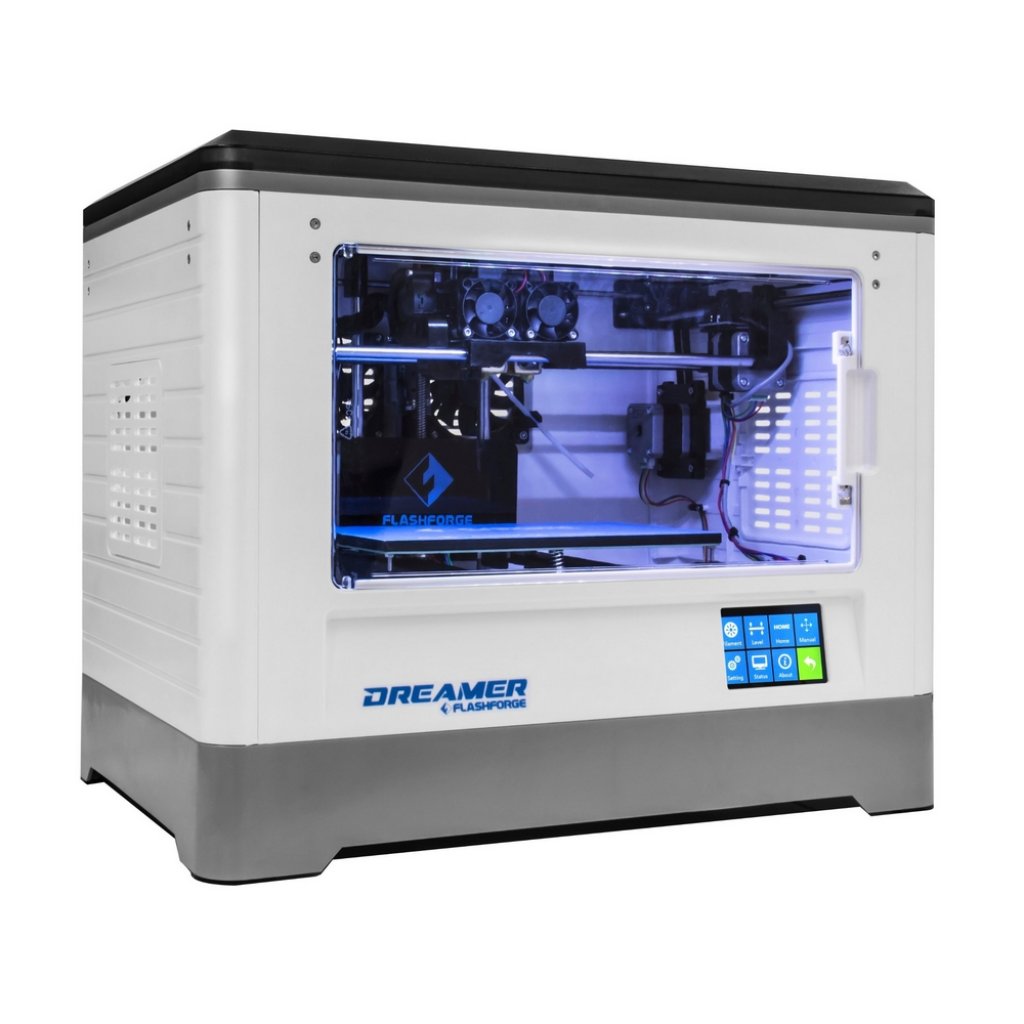
Once you have designed your object in a 3D modeling program, you need to get your file to the printer. When you install your printer on your computer, your printer manufacturer will include some software that lets prepare your prints. With Ultimaker printers, you use Ultimaker Cura; Makerbot uses MakerBot Print; Flash Forge uses FLashPrint. From Tinkercard or your preferred 3D modeling program, download your design file as a .stl (or recommended file format for your printer). Then open your file in your printer’s software.
Step 3: Prepare the Print
After opening your design file in your printer’s software (again Ultimaker Cura, MakerBot Print, Flash Print etc.) you will need to adjust some settings so you have a successful print. Basic settings you will want to adjust, are the the fill type and density, including a raft, the need for supports and speed. These settings will vary from project to project and from printer to printer. The best way to understand the impact of these settings is to experiment by printing a simple shape and adjusting the settings between each print. Note: adjust settings adjusts your print time. It’s good to test which settings impact how long your print takes.
Step 4: Prepare Your Printer
You will want to make sure your printer is physically set up for your print. Be sure you have the correct filament loaded, and prepare the print bed for proper adhesion: most use rub a bit of glue stick or put some masking tape on the glass print bed.
Step 5: Print!
All that is left to do, is to print your file!
Things happen when 3D printing. Filament does not adhere, nozzels get clogged, and settings can just be off. Here are some quick tips for when things go wrong.
Having trouble? Let us know by completing the form below. We'll do our best to get your issues resolved quickly.
"*" indicates required fields


