- Loading…
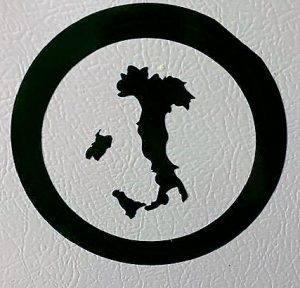
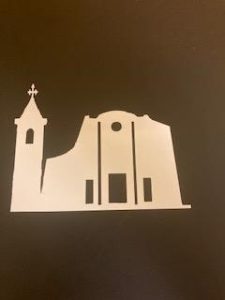
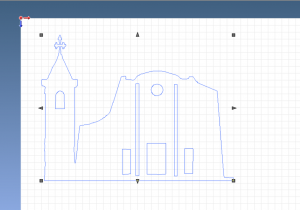
This lesson fits in with a Italian Culture and Traditions unit we teach in Italian 3. Monuments are places that are often noted in travel books and visited on tours, but why? What can these stone statues, ruins, or relics teach us? Teaching students to recognize these monuments allows them to build a greater understanding of the country they are studying on various levels. First, you can use this to help reinforce geography. Before talking about culture and traditions, we always do a short unit in which they study the geography of the country. Localizing the monuments helps provide a review of some of the major cities as well as smaller communities of great cultural importance. Each student will be assigned a province with certain monuments. Student will prepare a presentation and produce a logo with one of the monuments from the province or of their traditions using the vinyl laser cutter.
We will review culture and traditions as well as the historical importance of monuments.
Having trouble? Let us know by completing the form below. We'll do our best to get your issues resolved quickly.
"*" indicates required fields
I have made a lesson plan for making a model of monuments ‘Ponte de Alpine’ bridge in the fab lab. Please visit https://vadic.vigyanashram.blog/2019/09/17/education-through-expedition-ponte-del-alpini-bridge/
Making models of monuments using fab tools and make them as a game is good learning exercise. Yogesh Kulkarni, Vigyan Ashram