- Loading…
This lesson shares how to make a unique bracelet design that is both fun, easily customized, and can be made from many different types of materials.
Tools:
Materials:
Here is the step-by-step :) Just remember, you can make this out of many different types of materials. These are what I decided to work with.
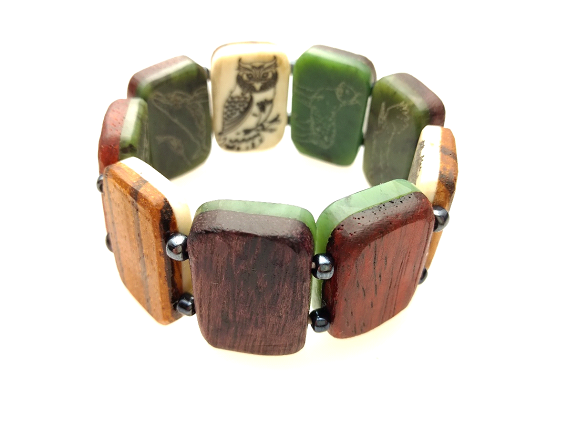
Create the shape of your beads. Circles, ovals, squares, or overall simple shapes

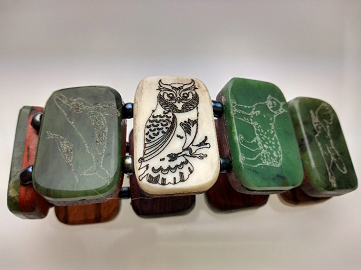
Find or create images to put onto the beads. Simple line drawings work the best. Too intricate of images do not burn well on antler or wood due to the small size of the beads. For this example, I found images on Google and did simple tracing through Aspire. Some images I had to delete extra lines to make more simple images. 
Using the Bandsaw, slice a wall off of a straight piece of antler. Try to get a dense and thick piece.

Using the belt sander, flatten the bottom, top, and sides to get a rectangular piece that is as even thickness as possible.

Using the Laser, lightly burn an outline of the bead on a piece of wood. This will serve as a guide for placing the antler over.
Place the antler over the burn mark where you want the bead to come out of. There will generally be curves in your antler still so cutting one bead at a time is the easiest way to make sure you can cut beads exactly where you want all the way down your antler piece.
Cut out your first bead. Move the next section of antler you want cut over the same bead mark and cut your next one. Repeat until you can’t cut any more beads.
Using the Bandsaw, slice a piece of wood for the backing of the beads. You can cut the beads out of the slice with the laser, or just leave the wood slice as is.

Glue the antler bead to the wood using superglue. You can glue multiple beads to a slice of wood and then cut them out with the bandsaw.
*If you cut out wood backings with the laser cutter, you can just glue the antler to the wood backings individually.

Using the Beltsander, clean up the edges of the beads by sanding off all of the burn marks and trimming and edges that aren’t flush.
After cleaning up the beads, carefully drill the holes.
Sand the beads to as smooth as you want them to be.
Cut a bead out of wood and leave the wood in place. Then place the beads, antler side up, in the holes cut out of the wood.


On the computer, place the images you want burned into the bead outlines.
Do NOT move the bead position on the computer, or the wood in the laser cutter. These are you guides to make sure you are burning exactly where you want on the beads.
Burn the images onto the beads.
IMPORTANT!
Make sure the auto focus plunger lands on the beads and not the wood or the focus will be off.
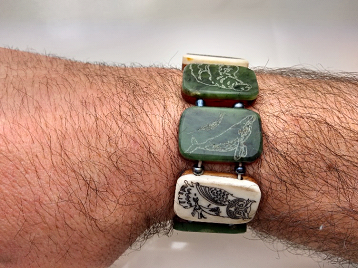
String the beads up with whatever you want. I used stretchy cord so it was easy to take on and off. 
Having trouble? Let us know by completing the form below. We'll do our best to get your issues resolved quickly.
"*" indicates required fields