- Loading…
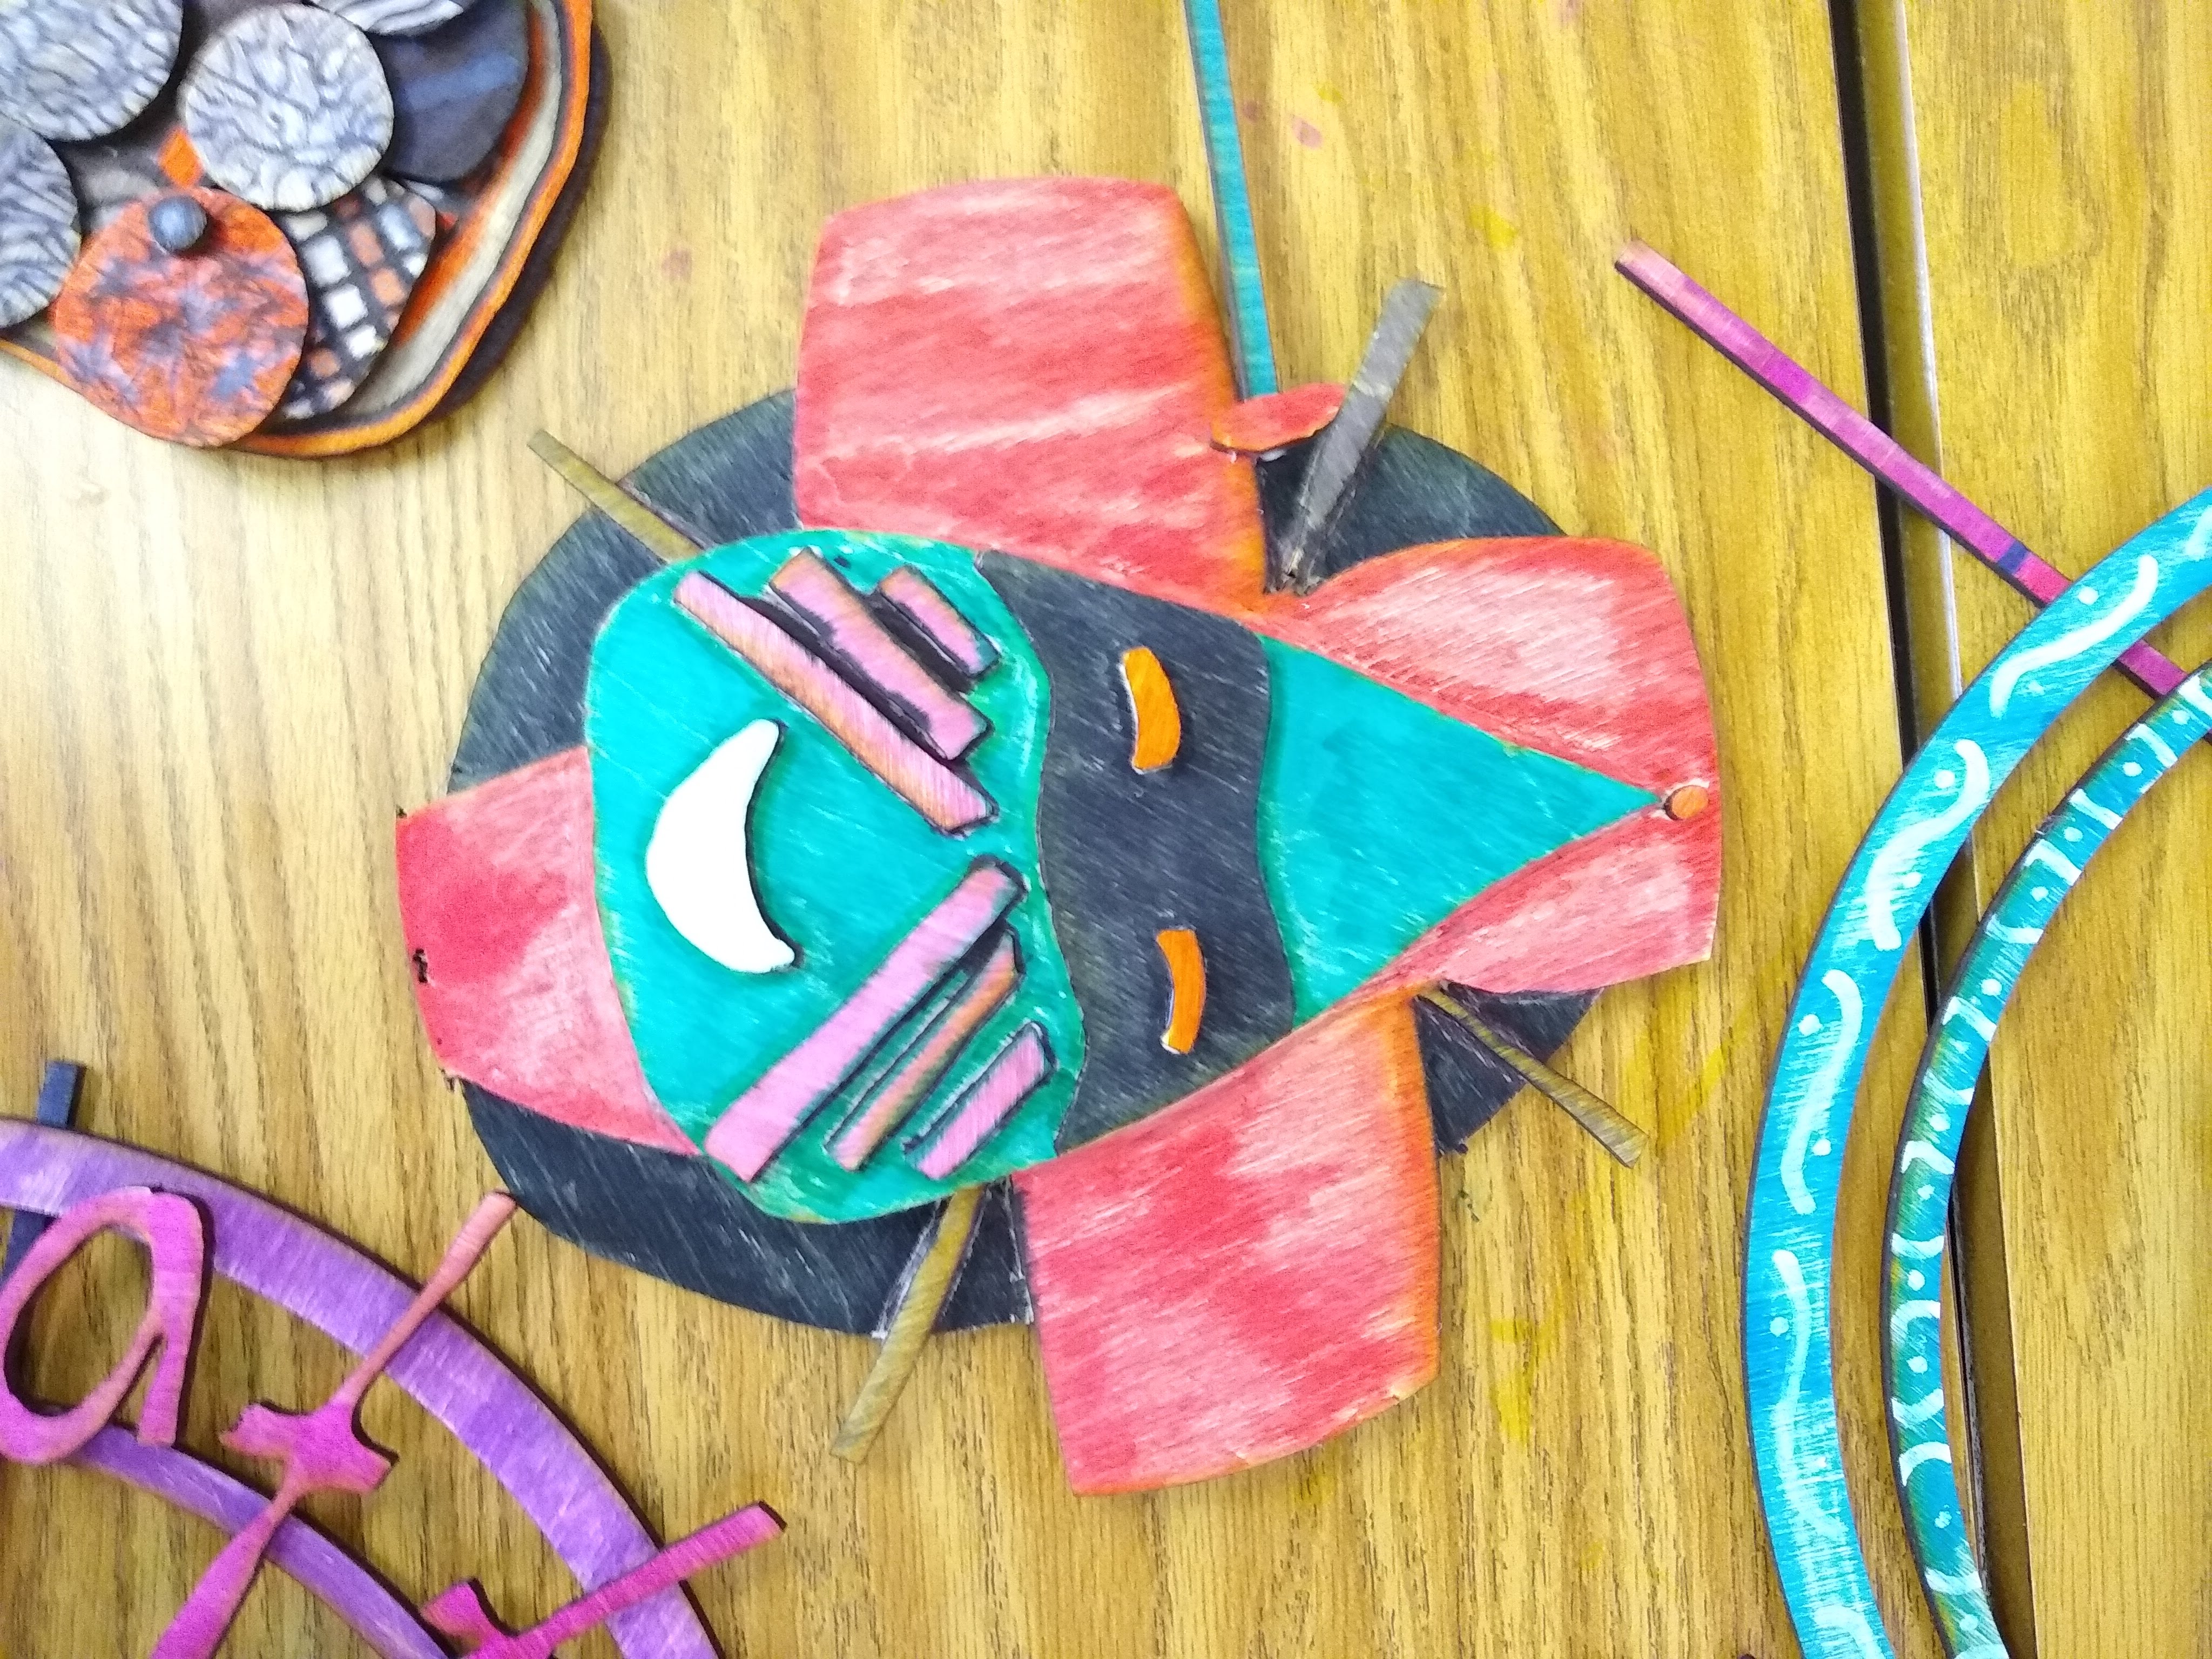
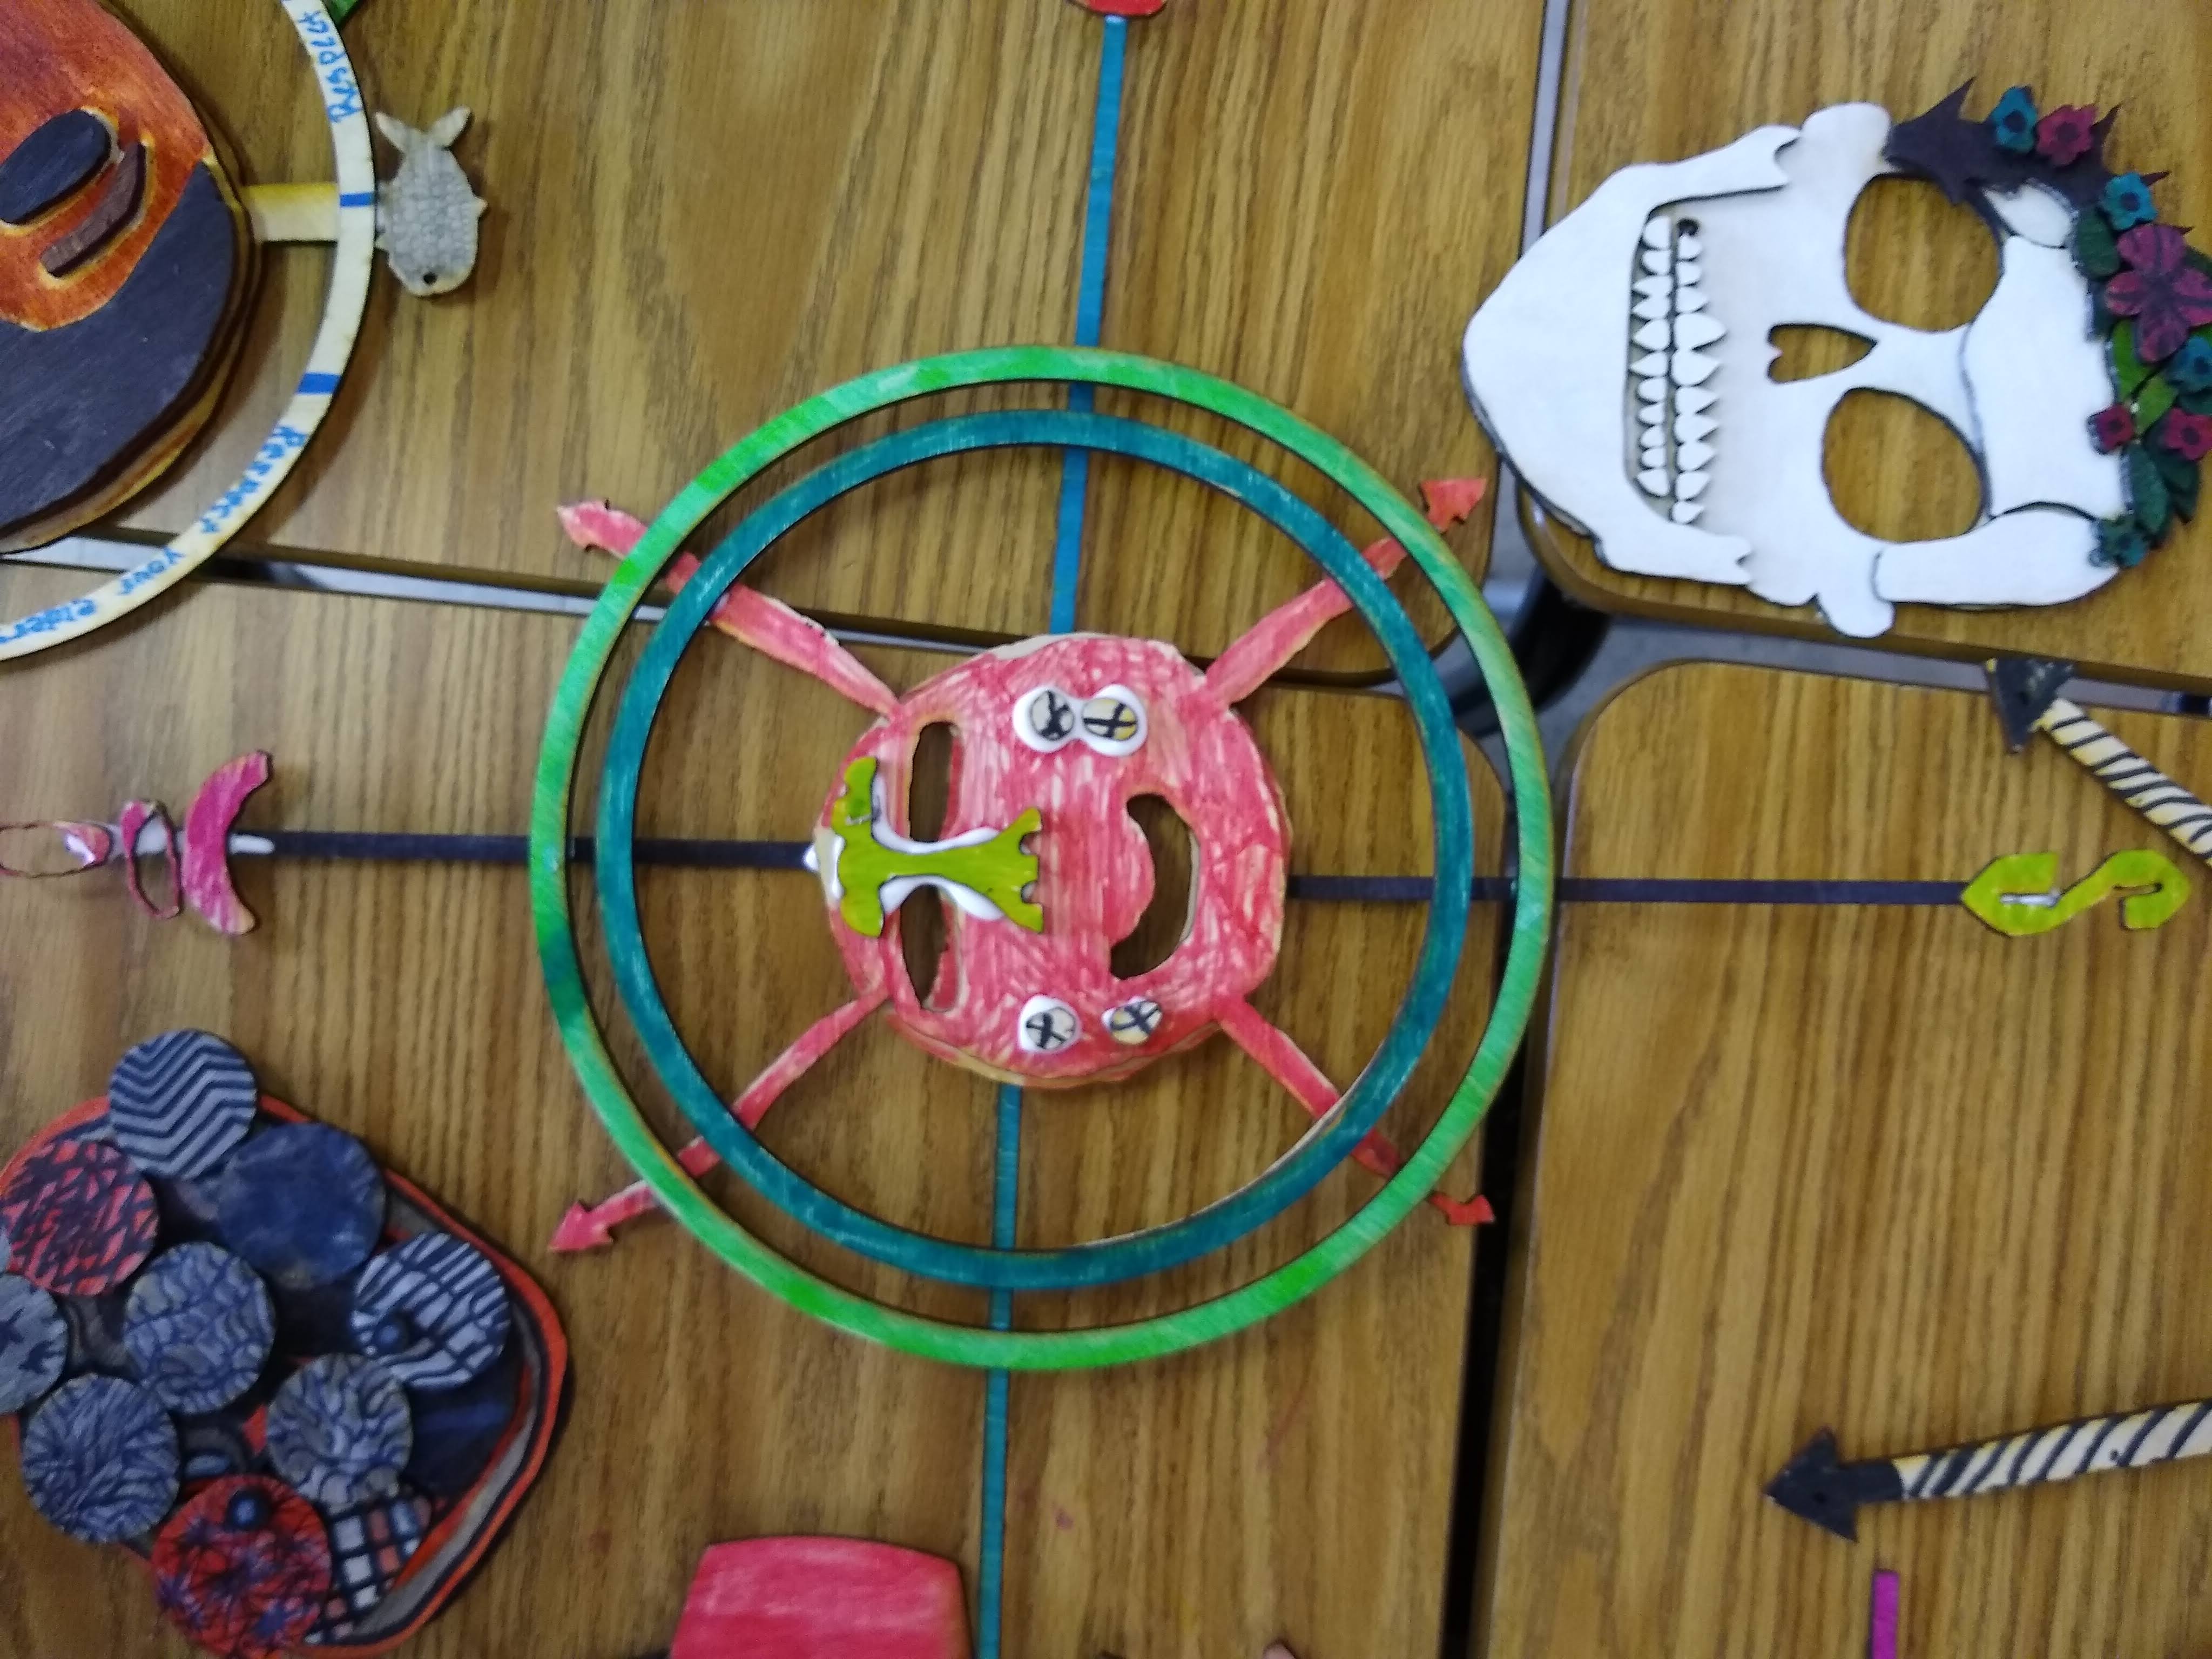
This lesson takes the classical mask making style of the indigenous people of Alaska and combines it with tech-based lessons that include design, spacial reasoning, and math!
These masks can be made in a more traditional method or with a modern twist. The key is to get students interested in how they want the overall image to look before splitting out the layers.


Laser Cutter (Glowforge)
1/8 inch plywood
Paper
Pencil
Thin Sharpies
Markers
Glue
Clamps
Overall Image development
The first thing you want to do is get an overall picture of what you want your mask to look like. So draw in all the details, the more details the better. We will get to layering once you’ve decided to draw out your mask.
Taking it layer by layer
Now you need to start thinking in 3D! Figure out how much detail will be on the mask and how many layers you want it to be. See my attached example as a chronological approach to drawing out the details. Make sure you trace everything over with a black think sharpie, so that the Glowforge can clearly see your cut lines.
Continue to pull layers
Once you’ve chosen how many layers you want make sure to draw out all the details from that layer on one sheet of paper. Make sure you trace everything over with a black think sharpie, so that the Glowforge can clearly see your cut lines.
Depending on how many layers you have, you''l want to keep using a new sheet to make a new layer. Make sure you trace everything over with a black think sharpie, so that the Glowforge can clearly see your cut lines.
The details are important, but not too much detail. Remember we just want to draw what we want cut out. For example if you draw a full rose with all the details of the petals, the Glowforge will cut out all the individual pieces and depending how big your rose is, this may be a lot of little pieces. You can go back later and draw in the detail onto the laser cut wood piece. Make sure you trace everything over with a black think sharpie, so that the Glowforge can clearly see your cut lines.
Now if you have a Glowforge, yay!! Your work has been cut in half. If you don't have a Glowforge, you will need to upload the drawings into an illustration program that is compatible with your laser cutter. However you get there, the next step is to cut out all the pieces.
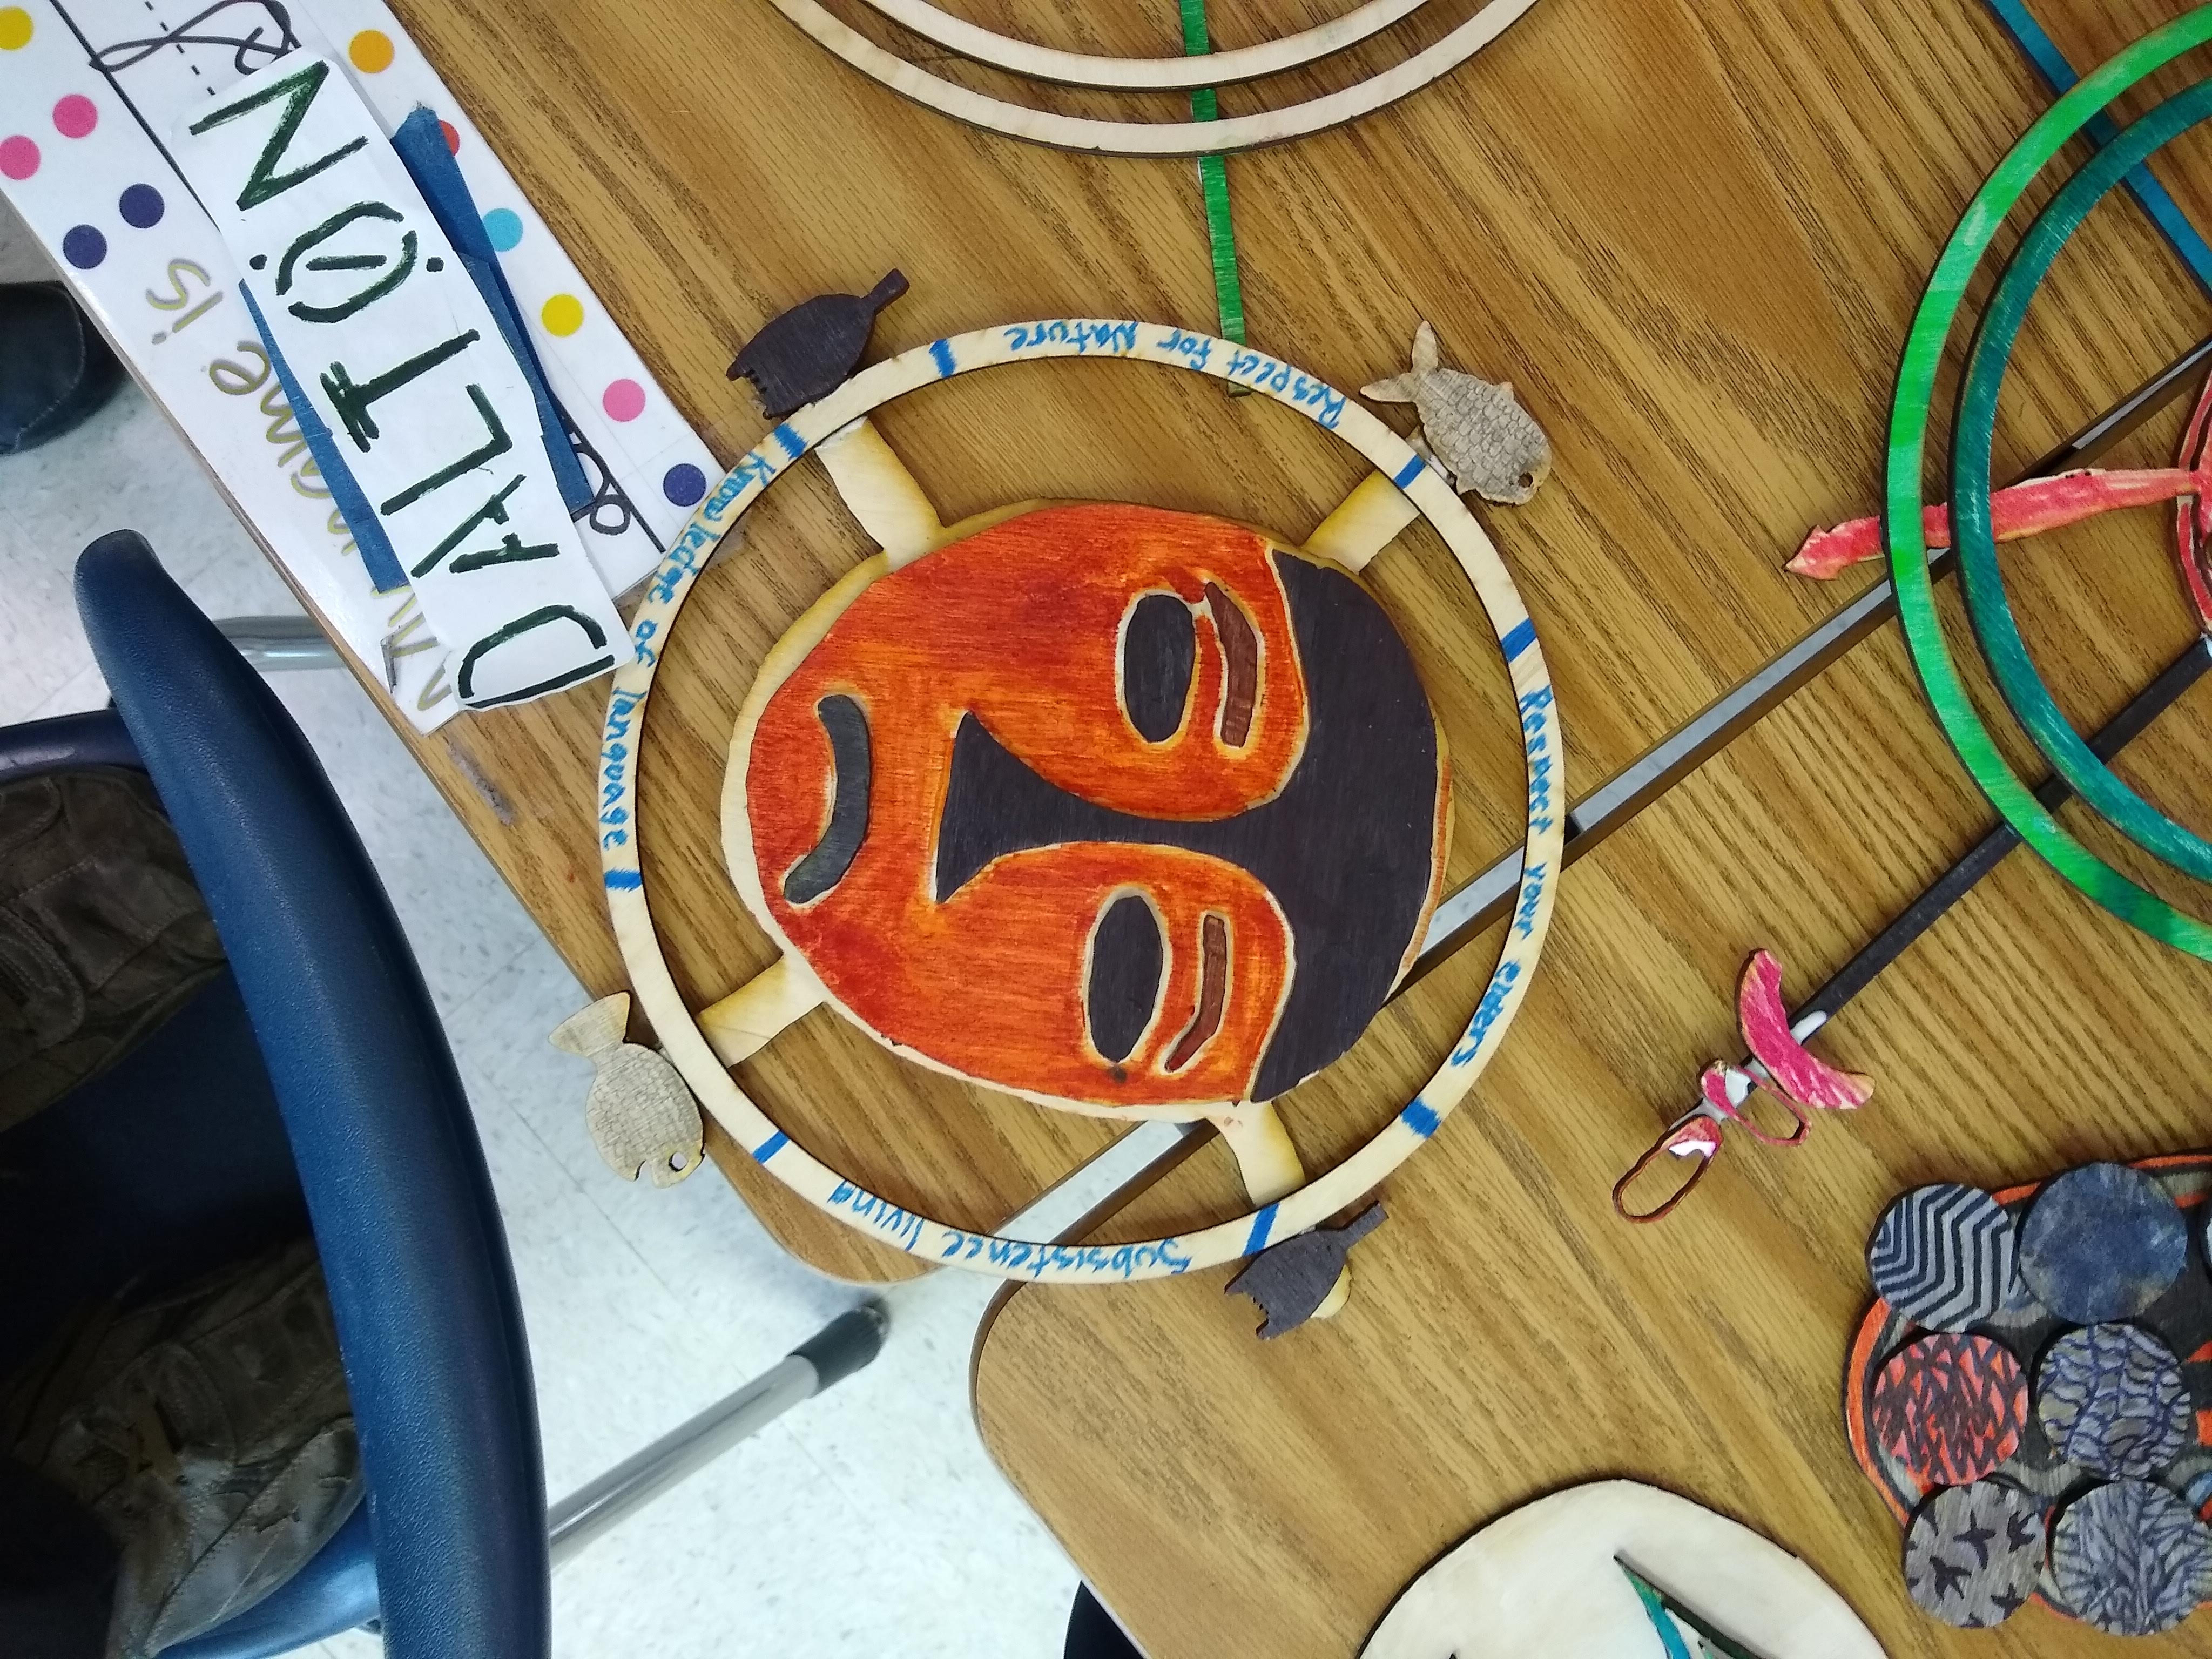
Laser cut all the pieces of the mask. Ensure when scaling the masks to the size of wood available that you scale all drawings together, so that everything fits on top of one another.
You have all your laser cut pieces and you are ready to start building up your mask.
Check that you have all the pieces you need by stacking them up to mimic your original drawing.
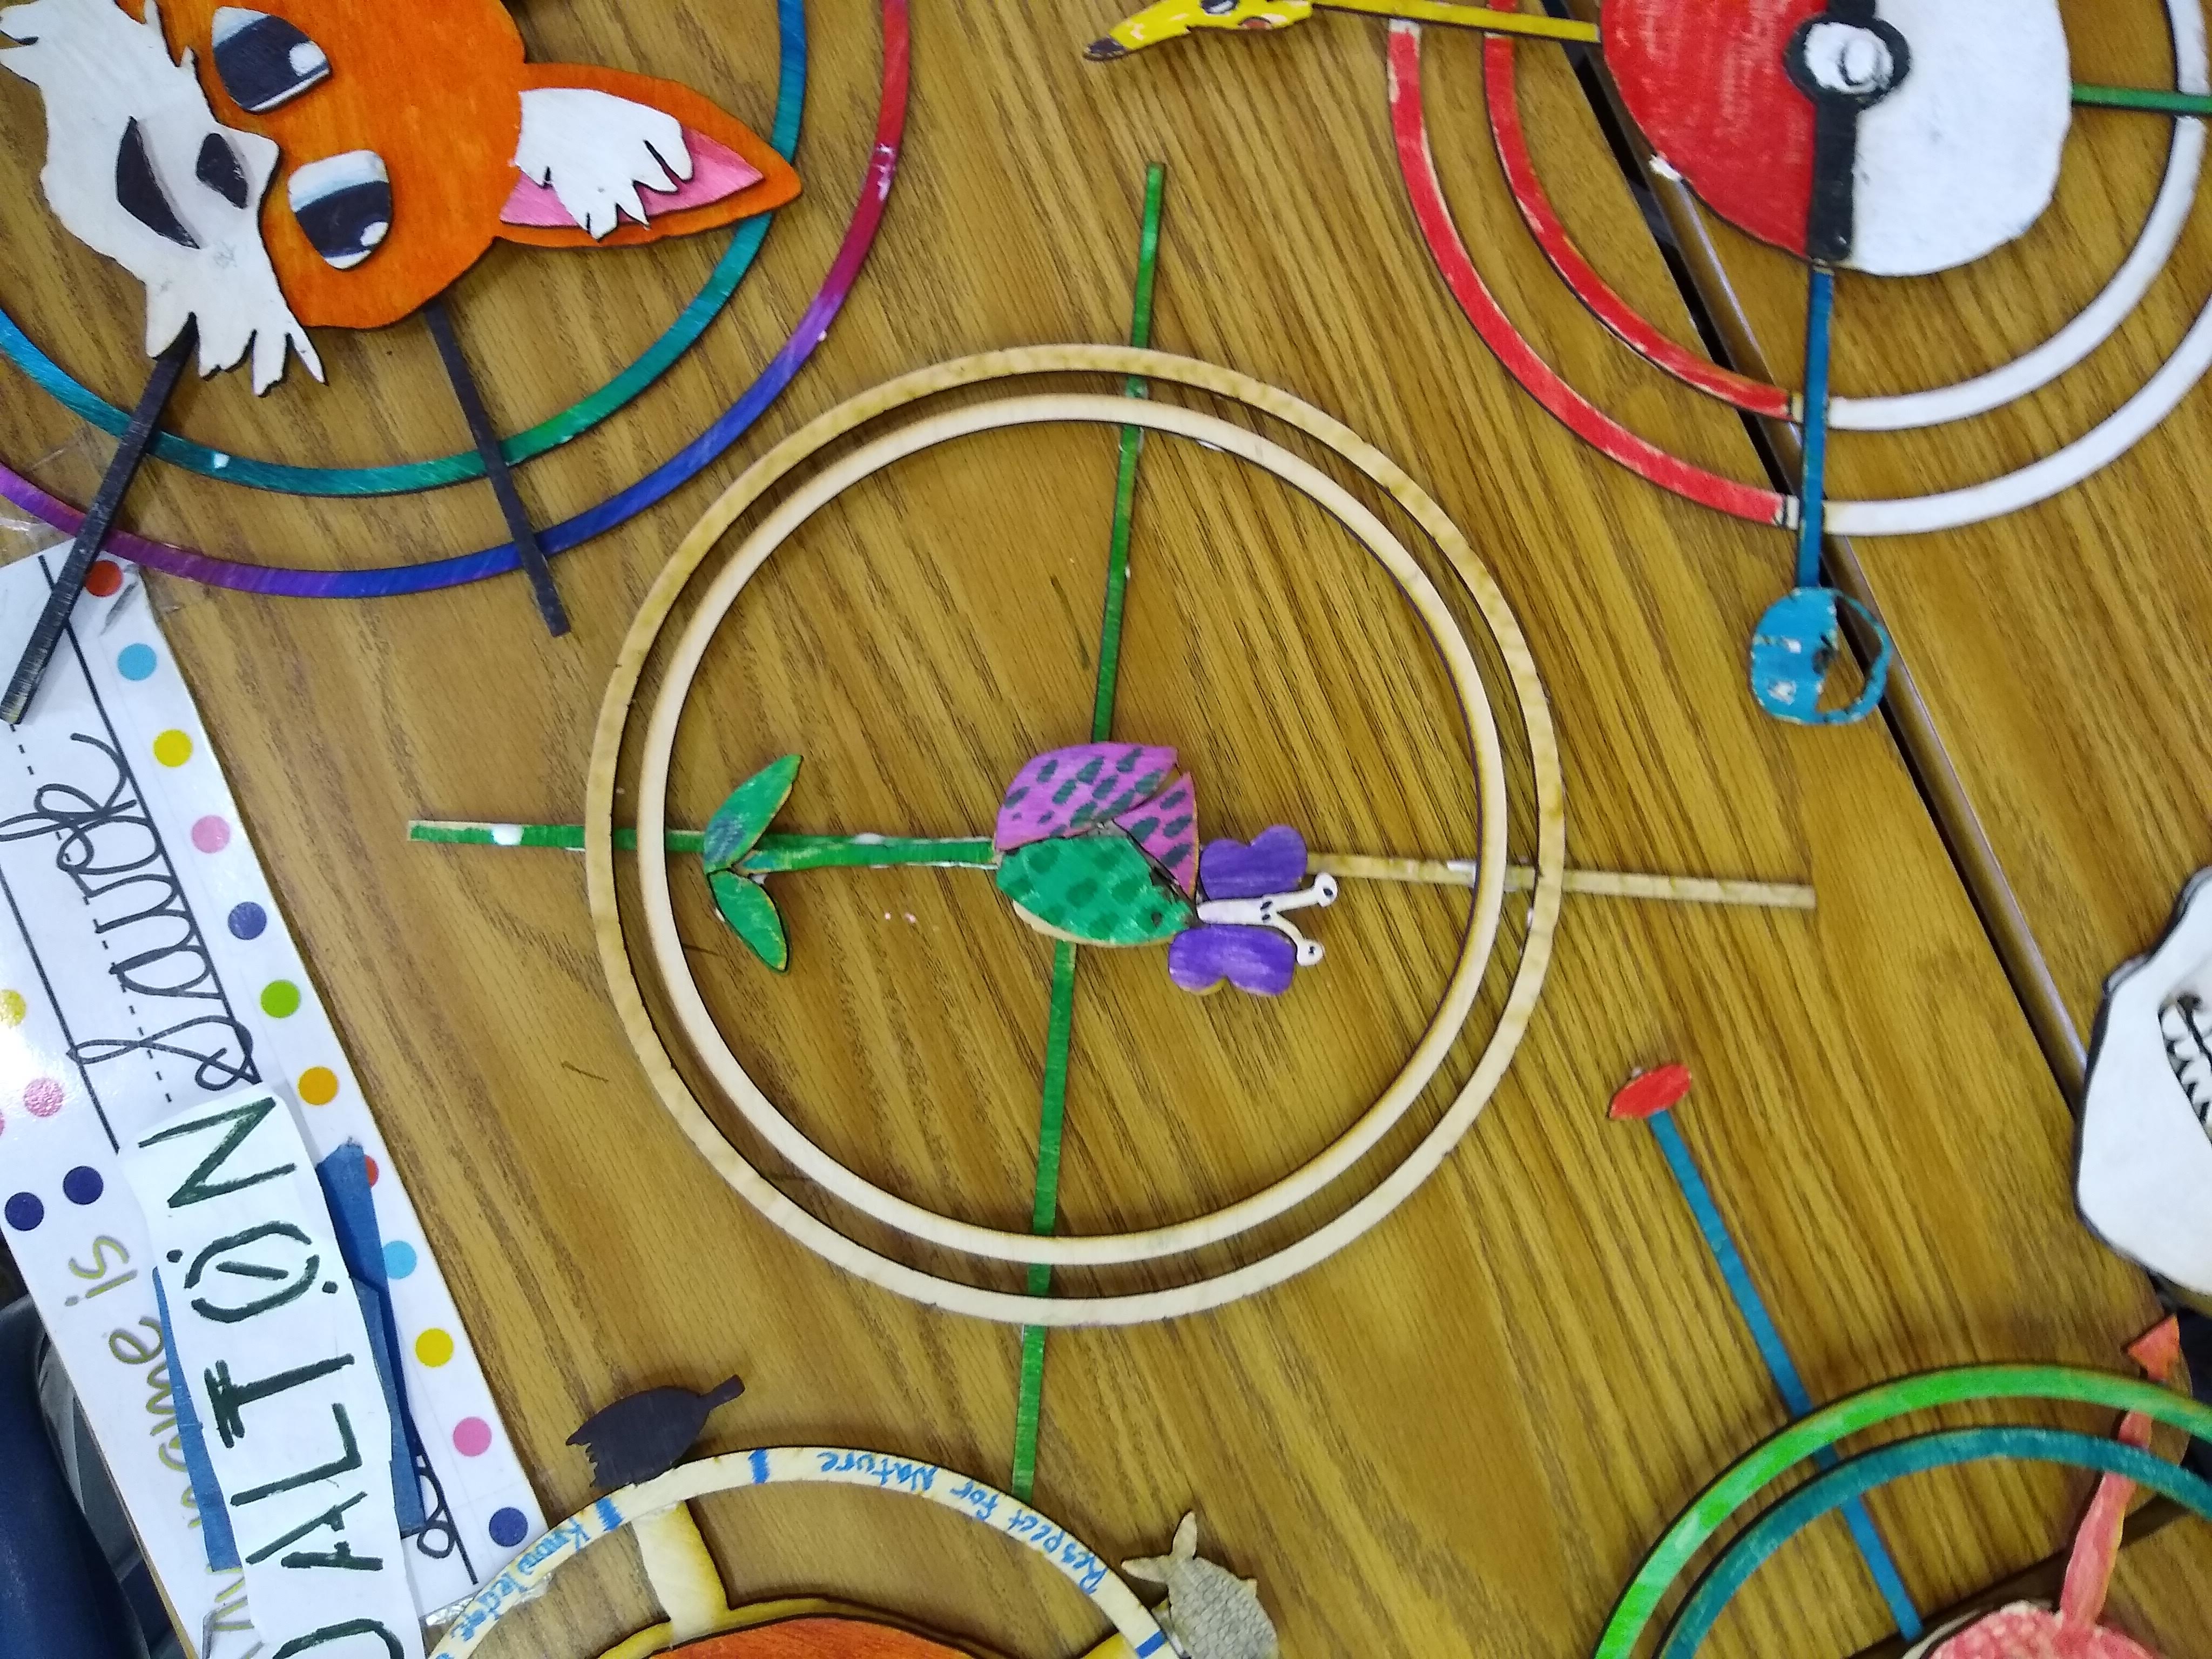
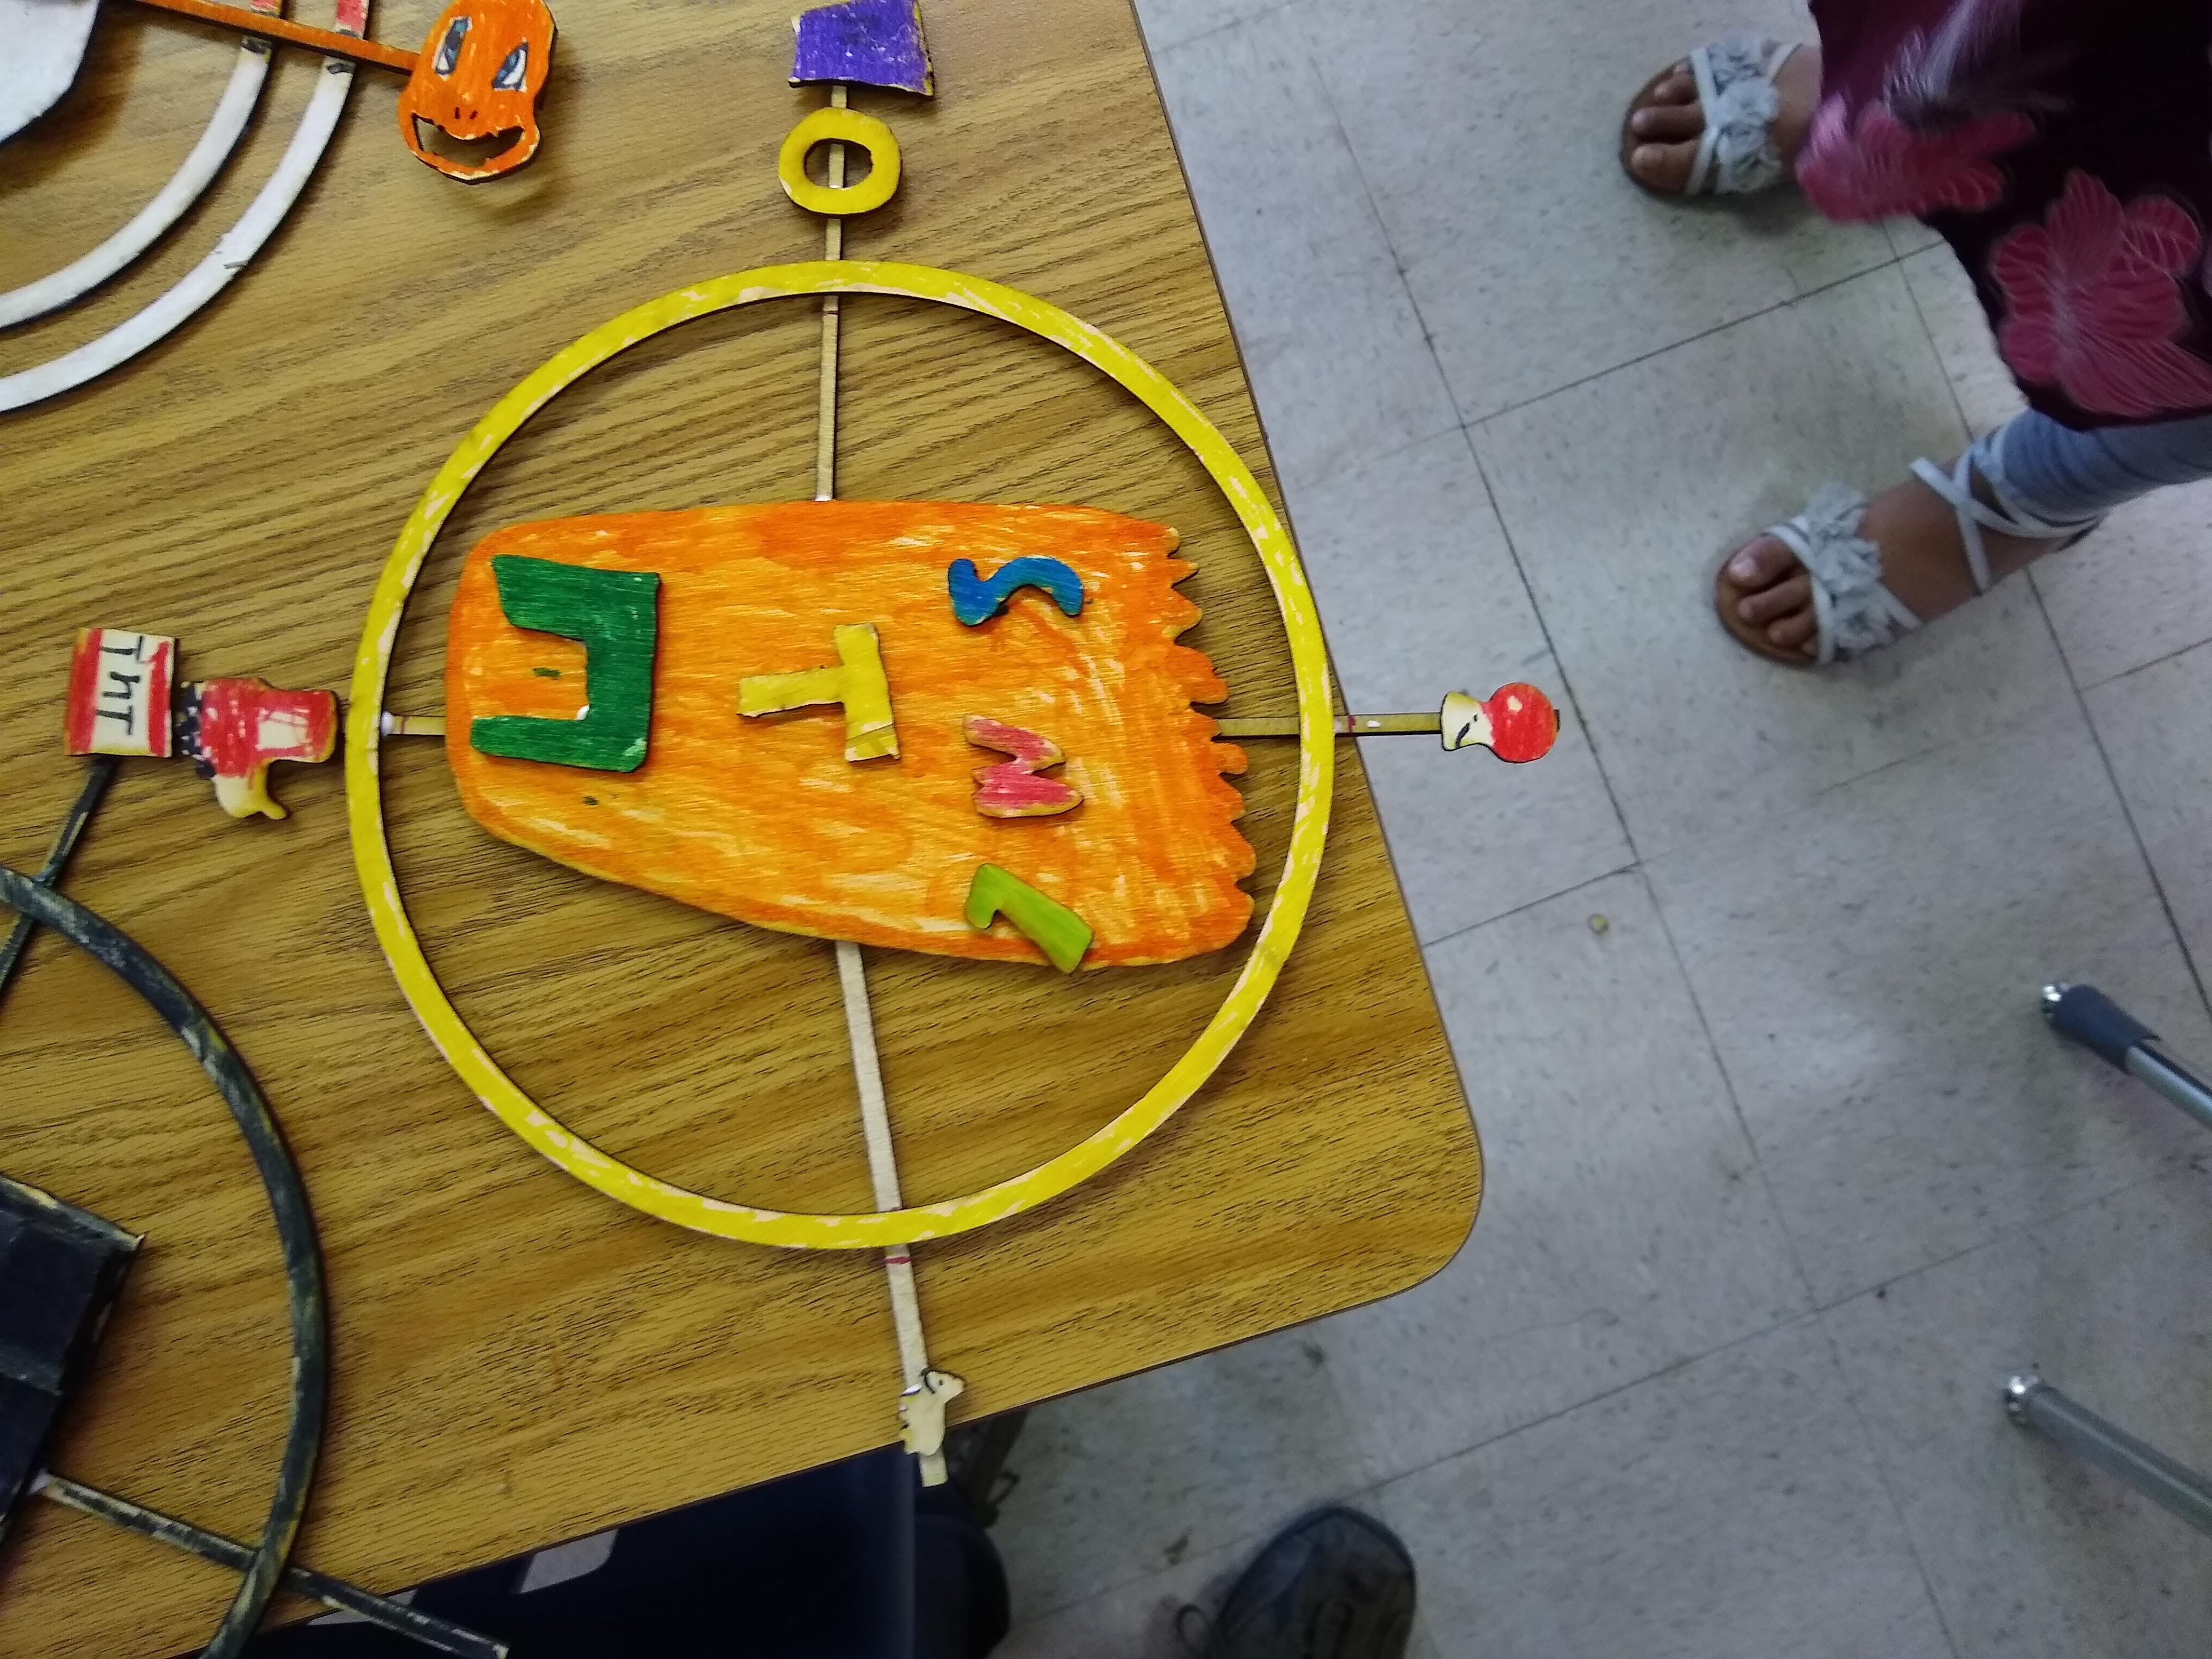
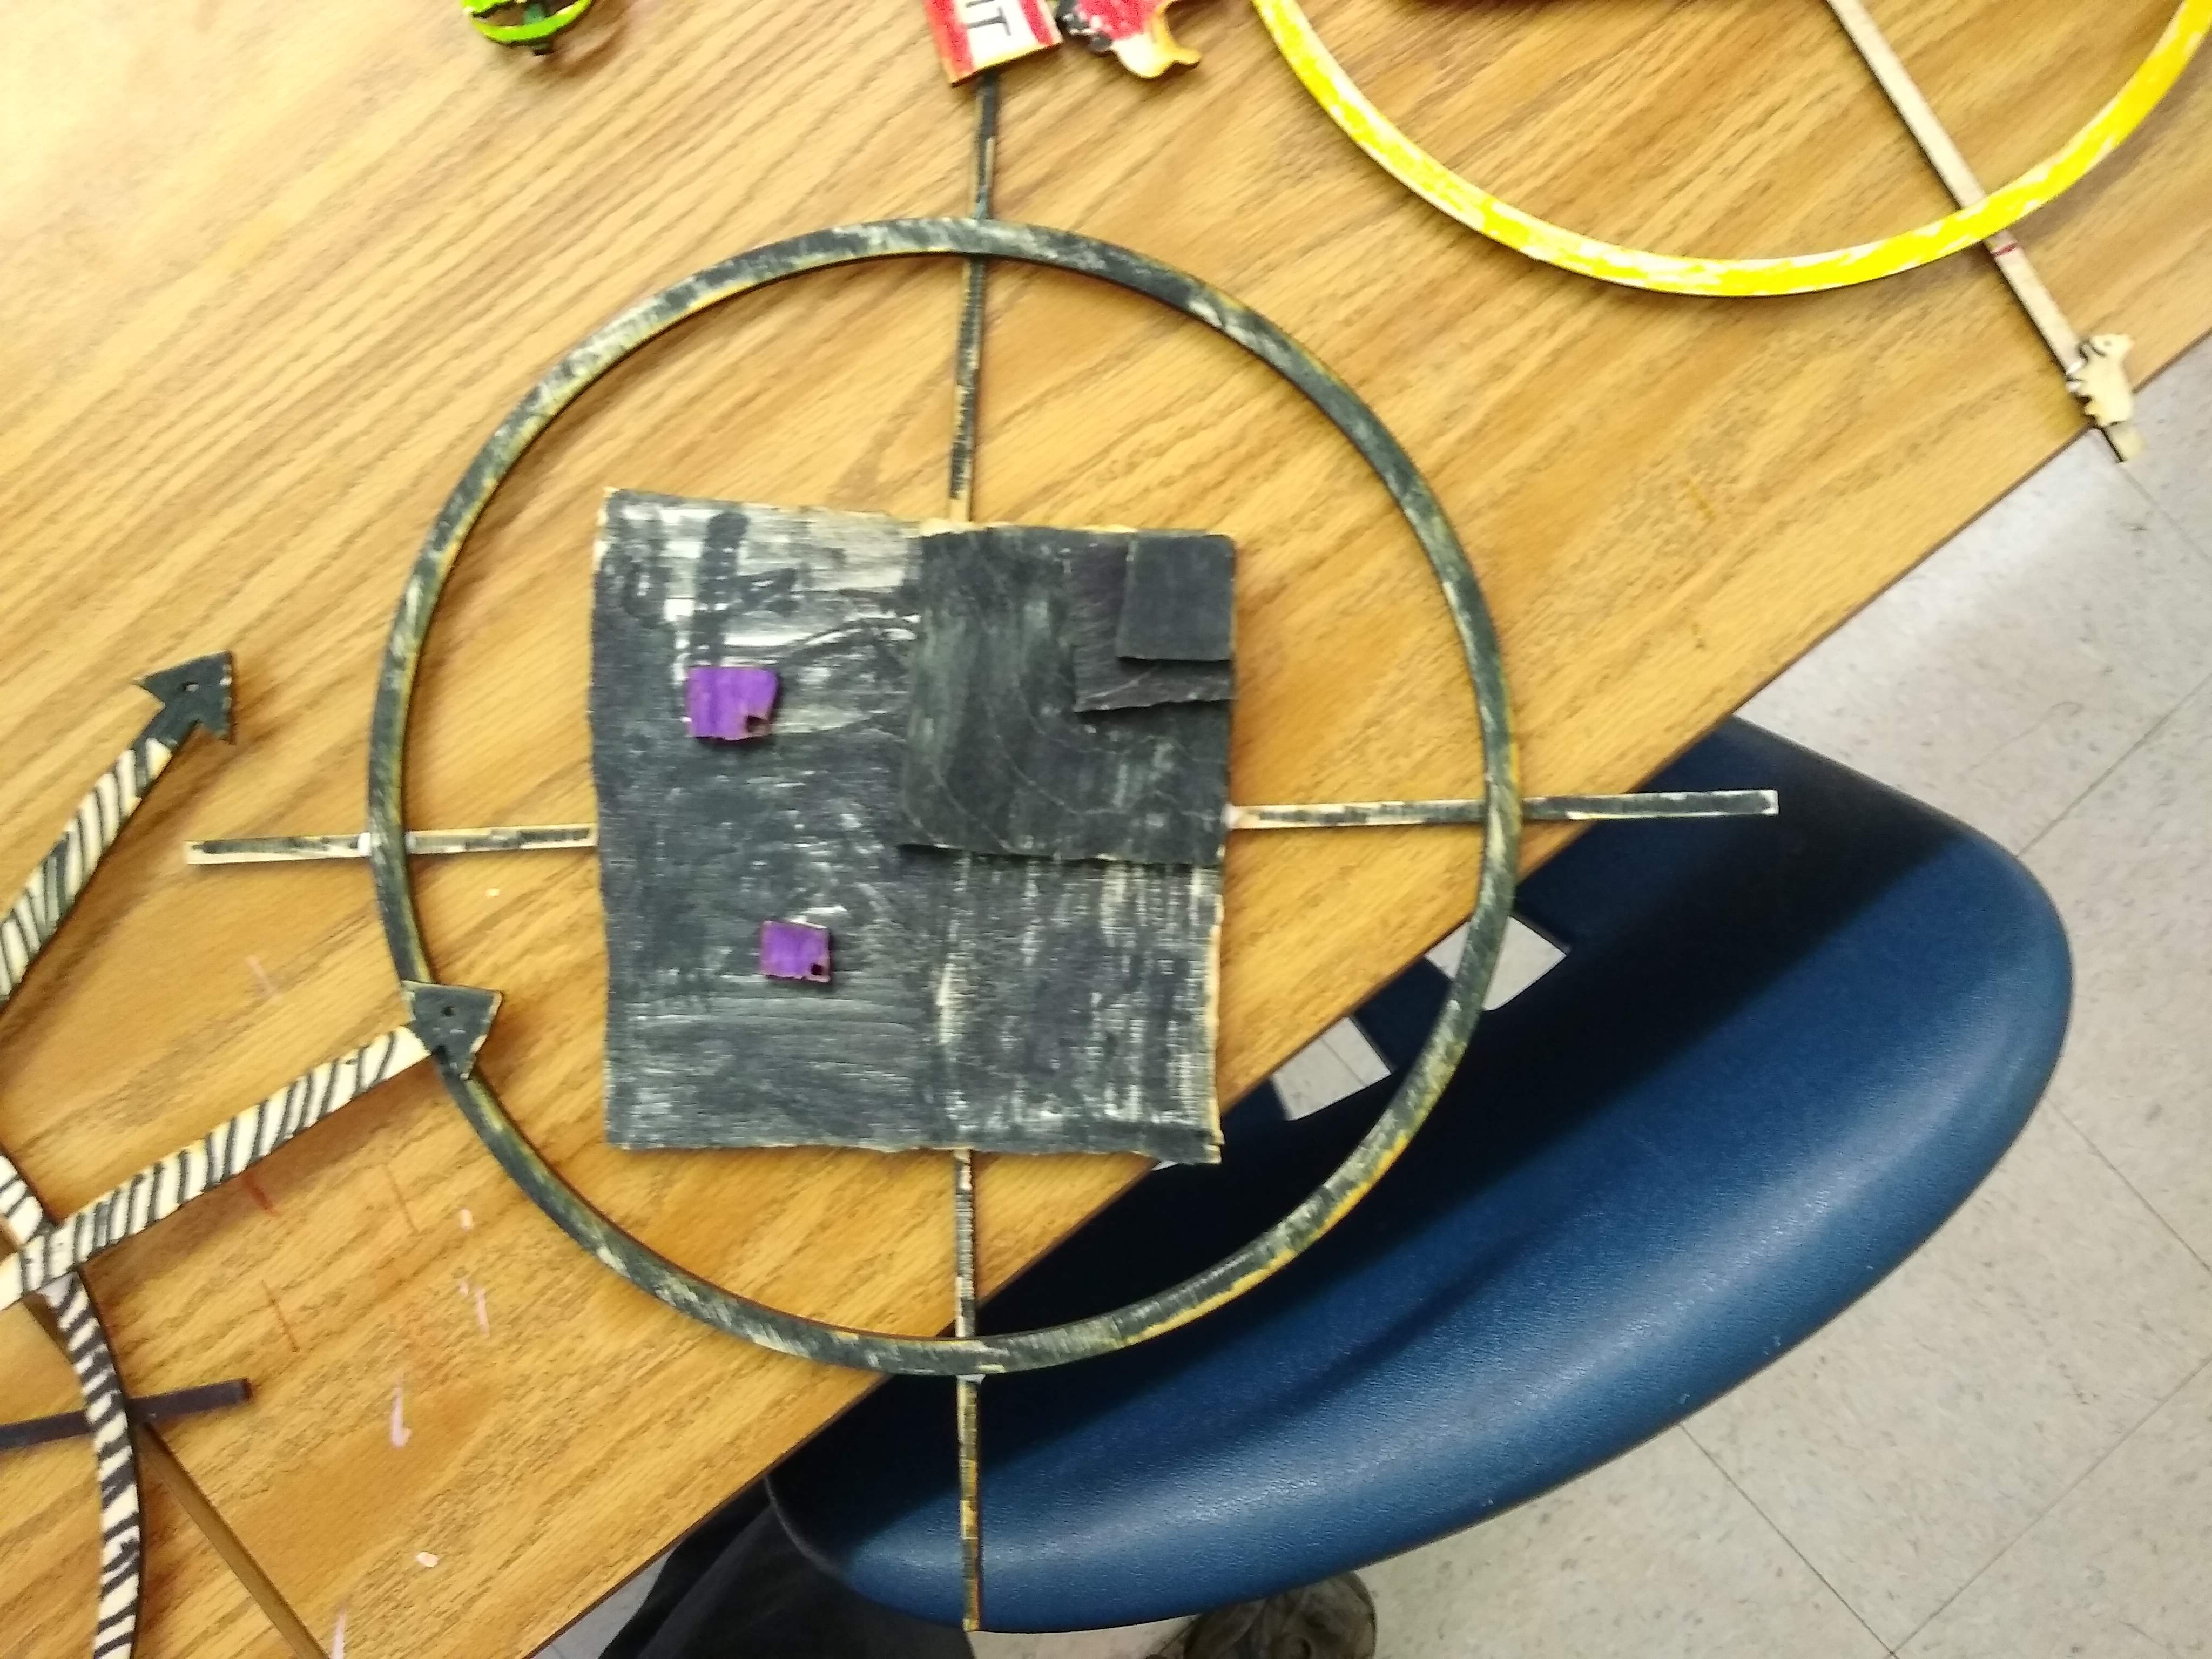
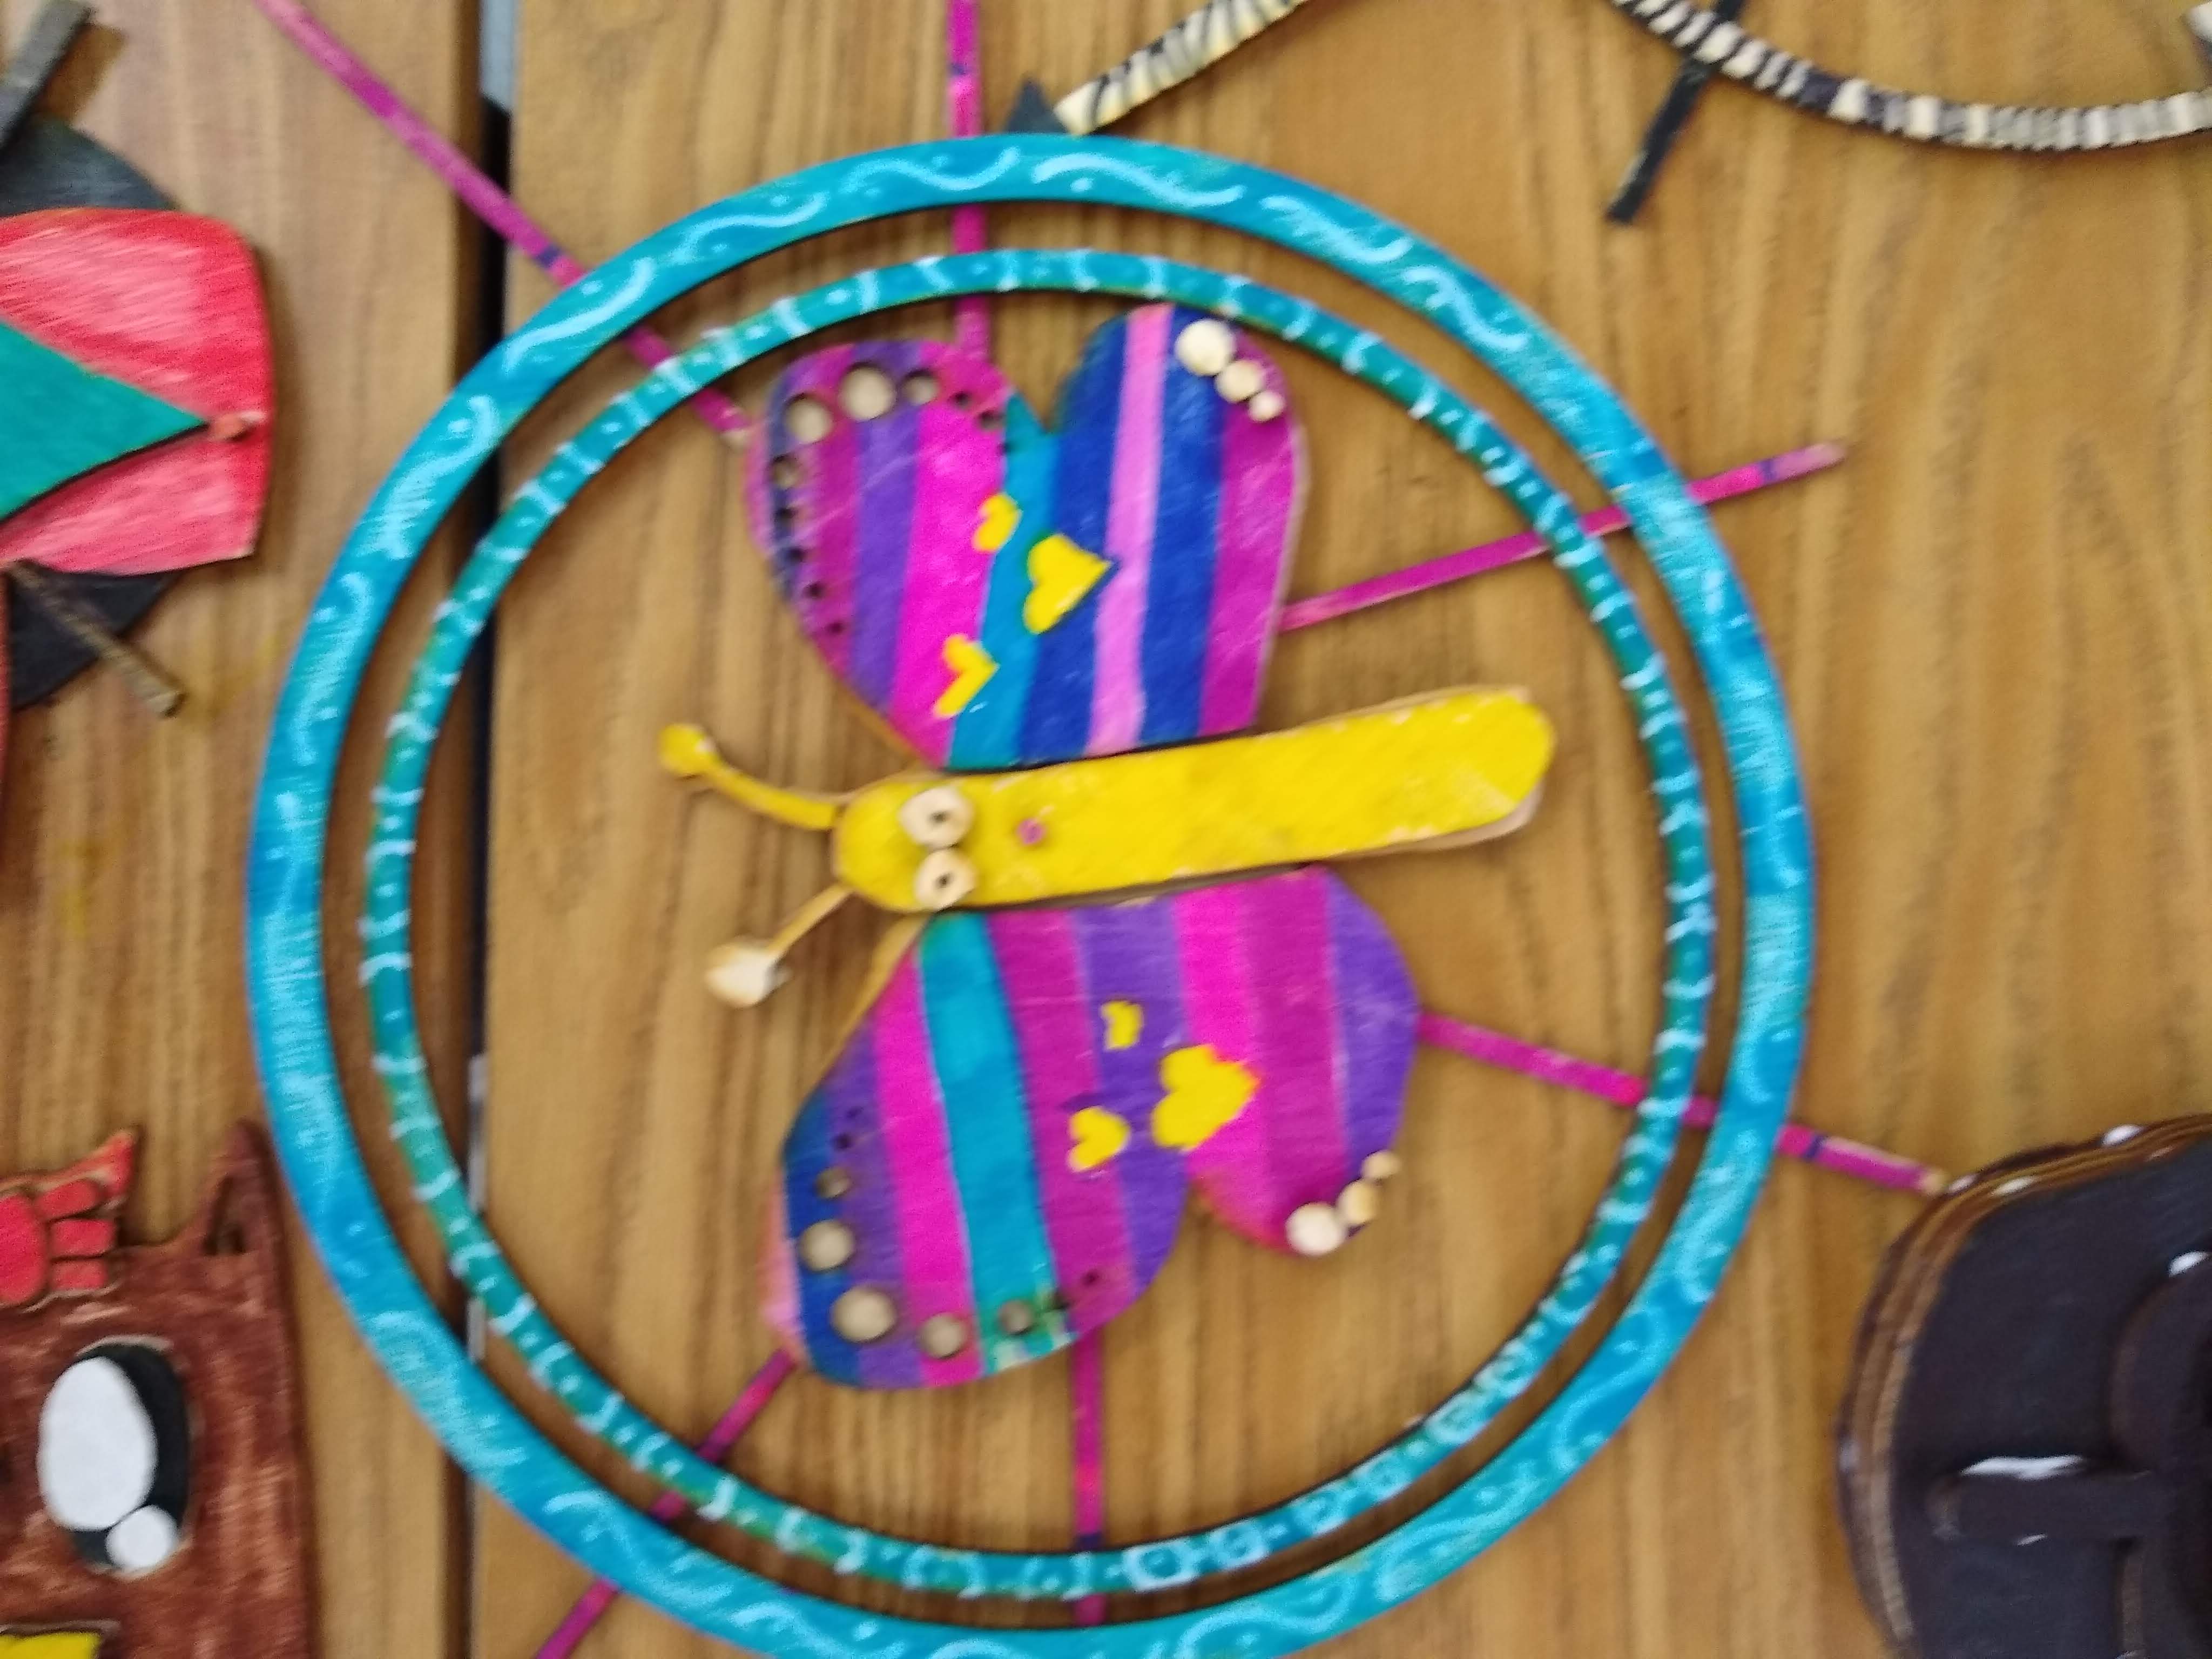
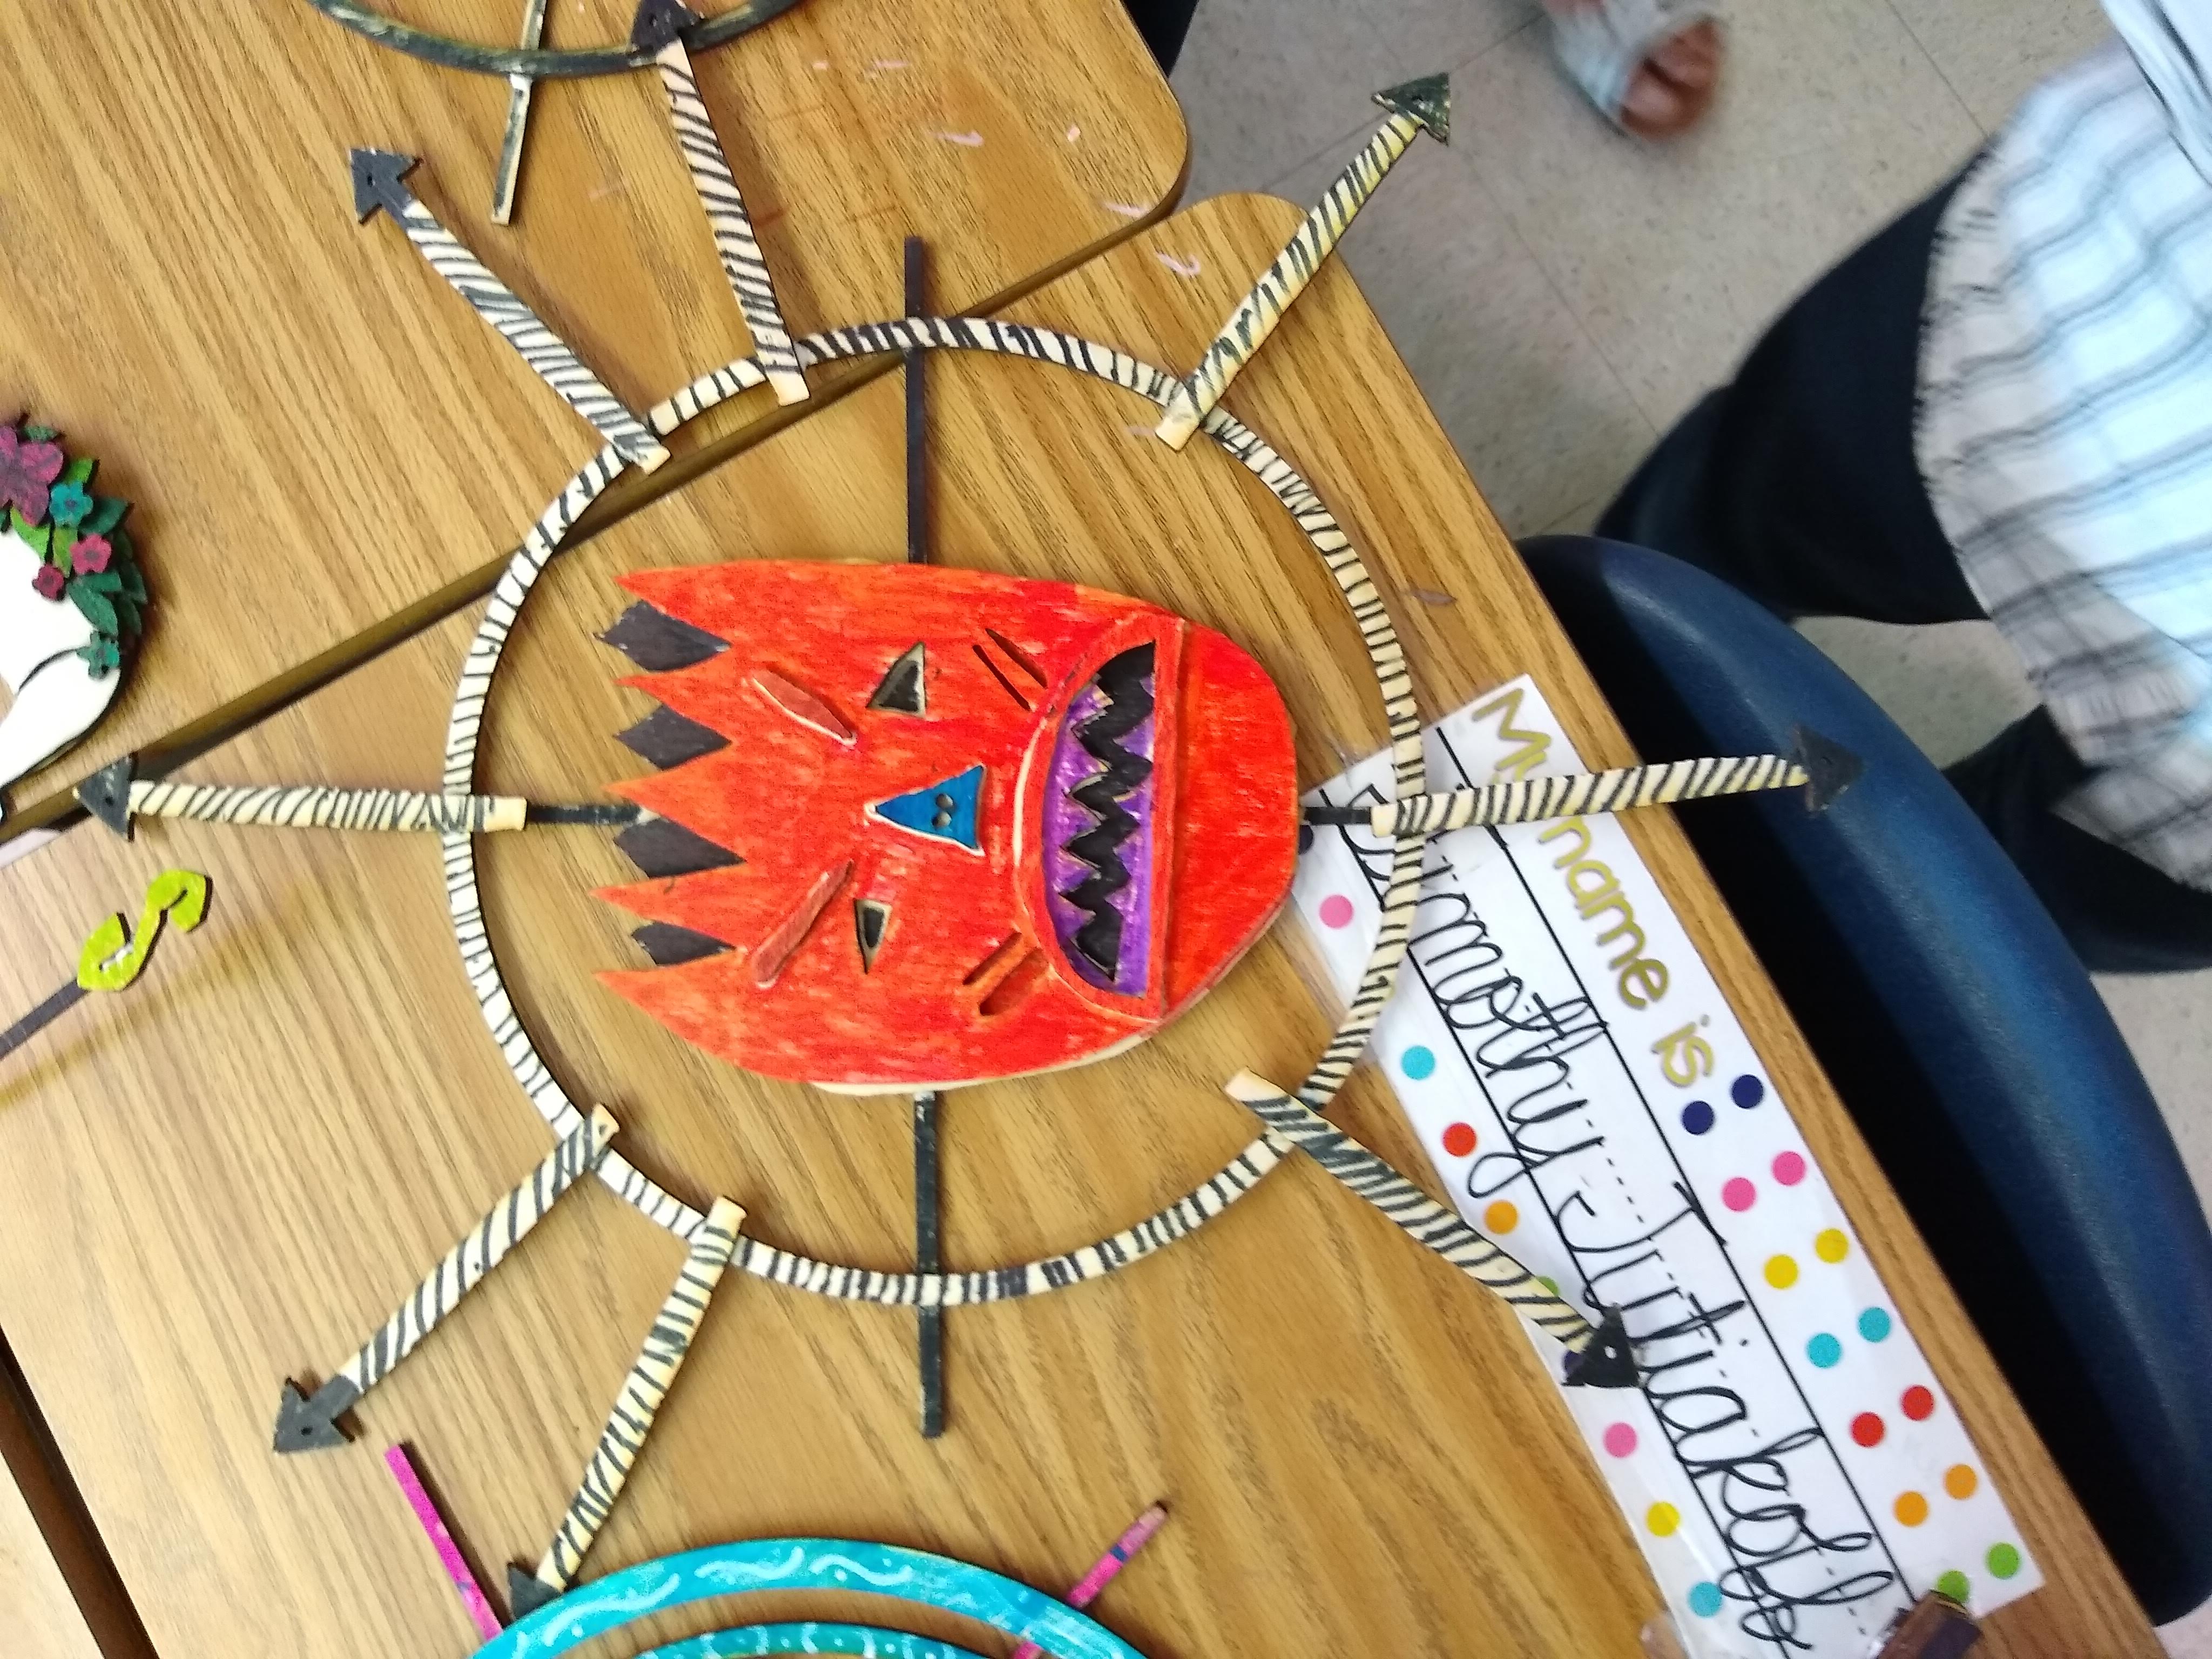
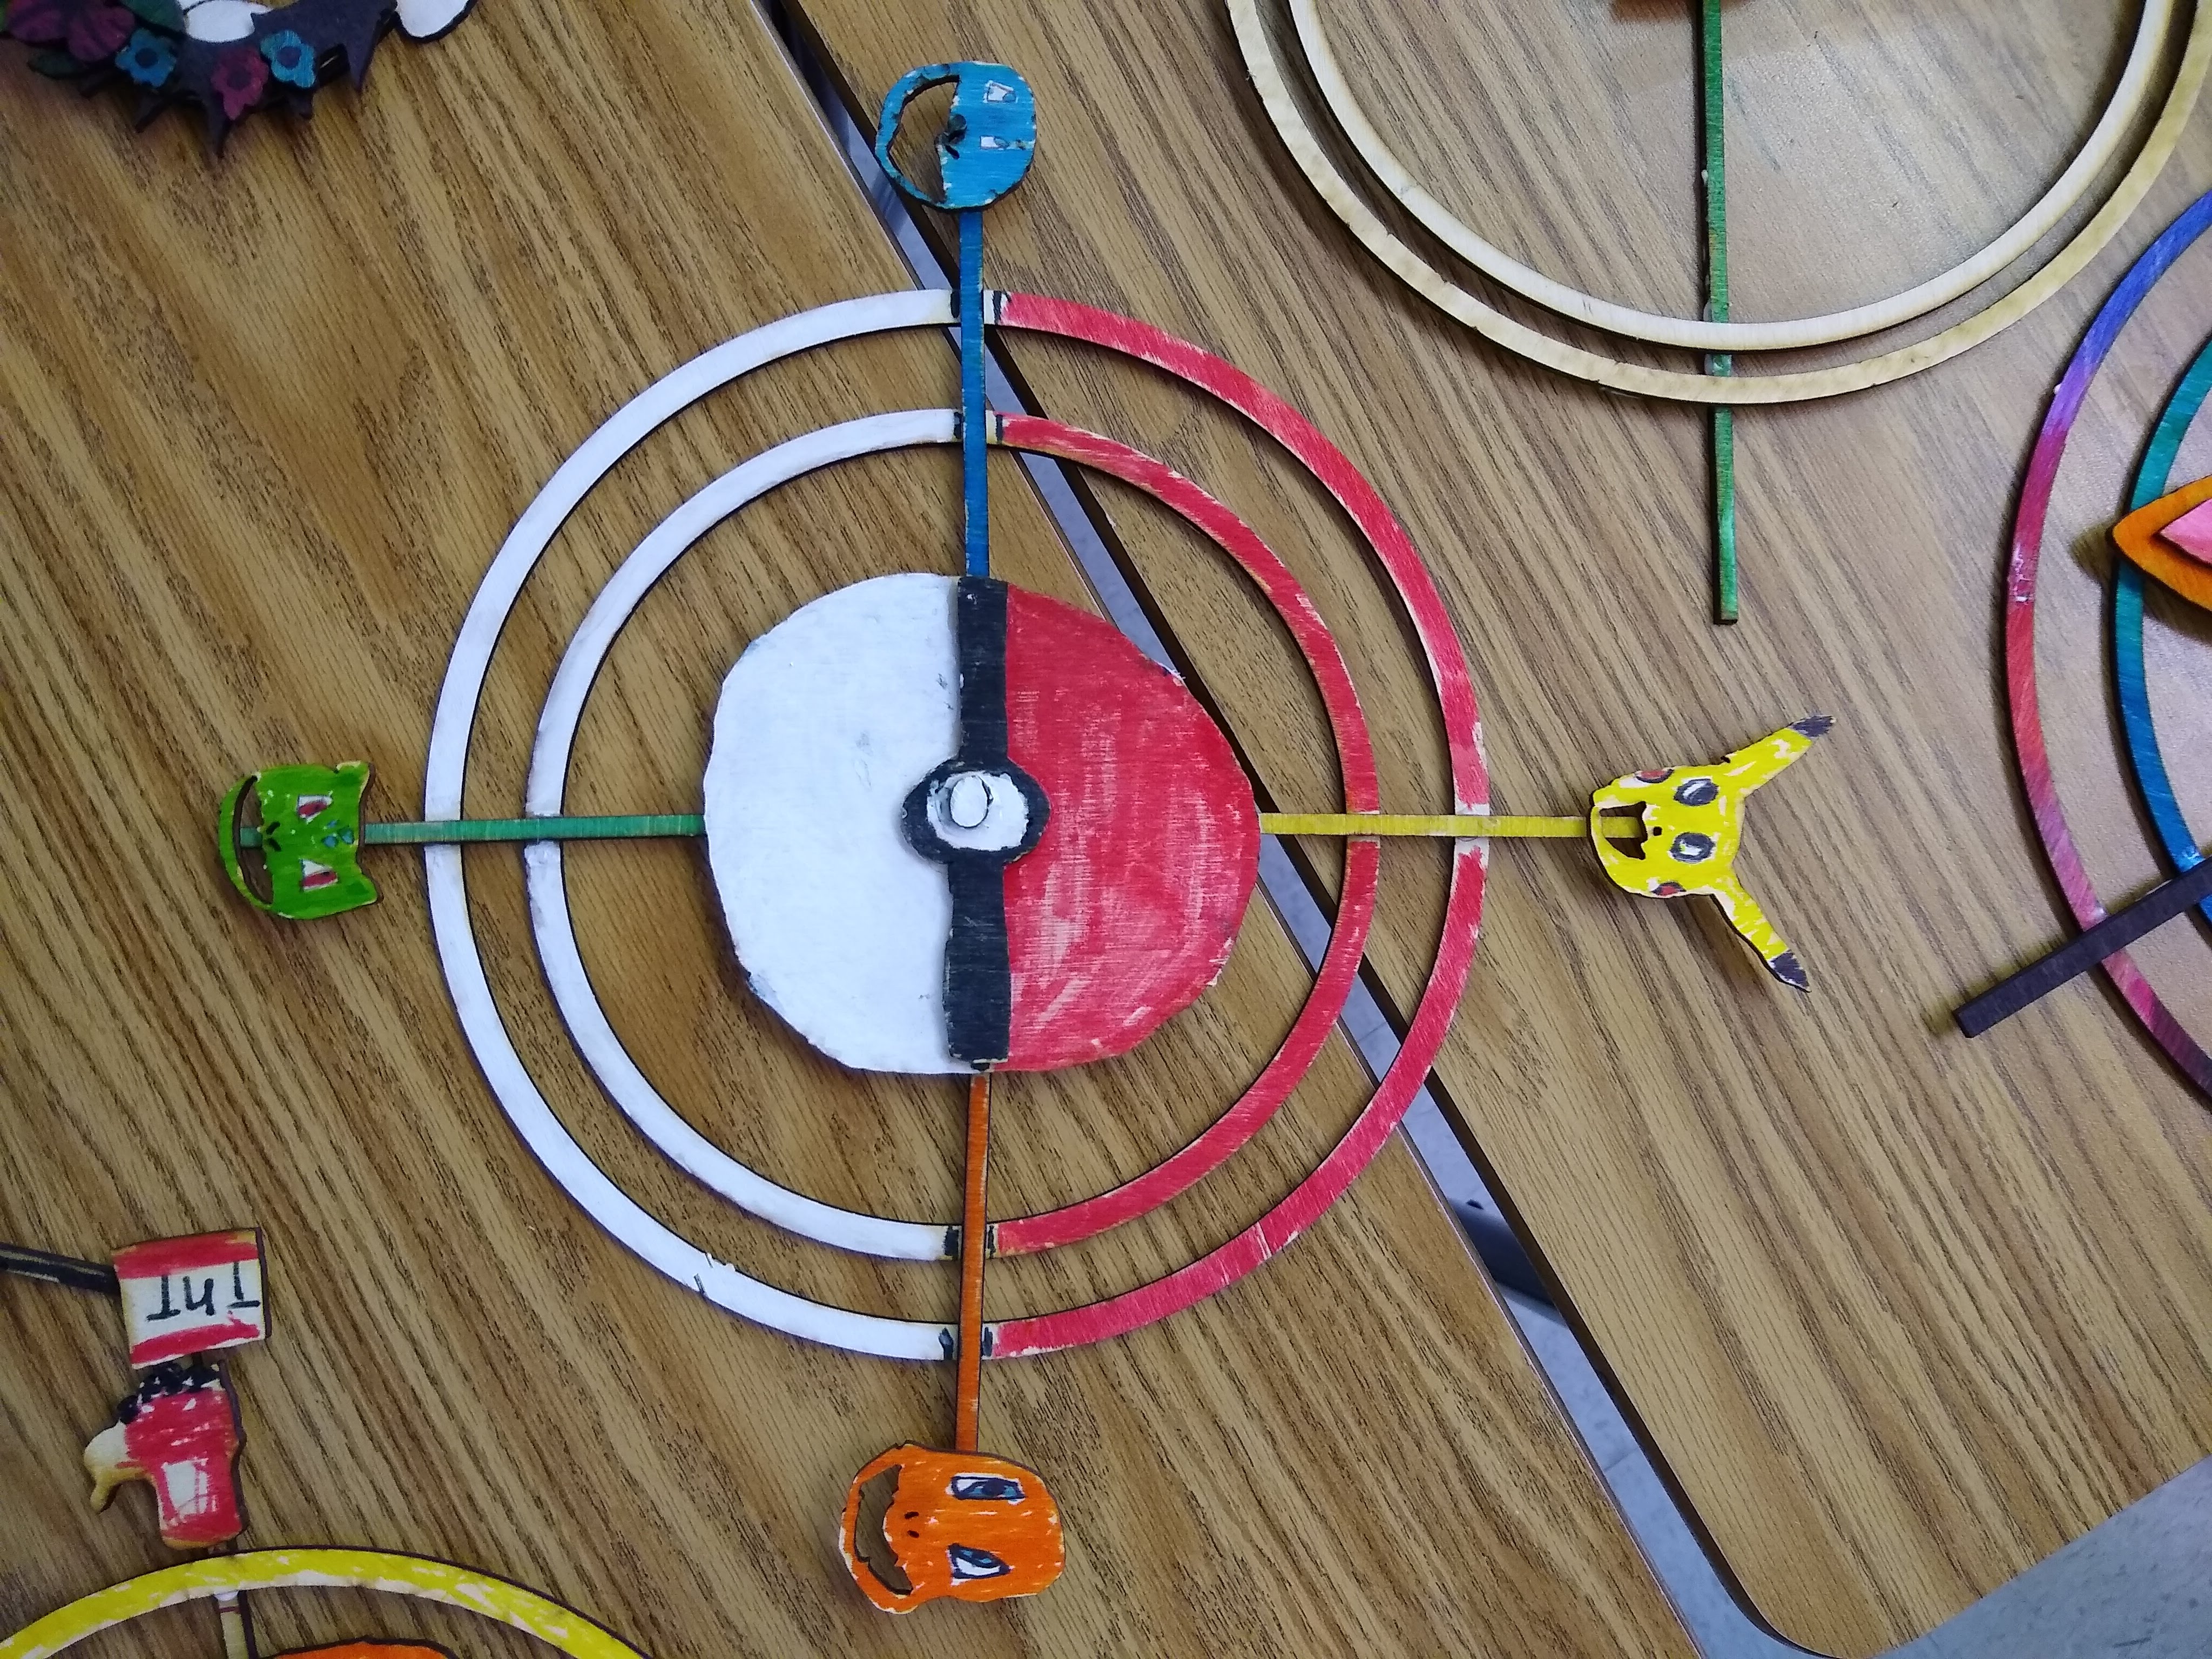
Color is an important part of any design. Have the students decorate their masks by coloring them and drawing in those last, fine details.
Using markers, paint, or colored pencils, color the wood pieces that were cut.
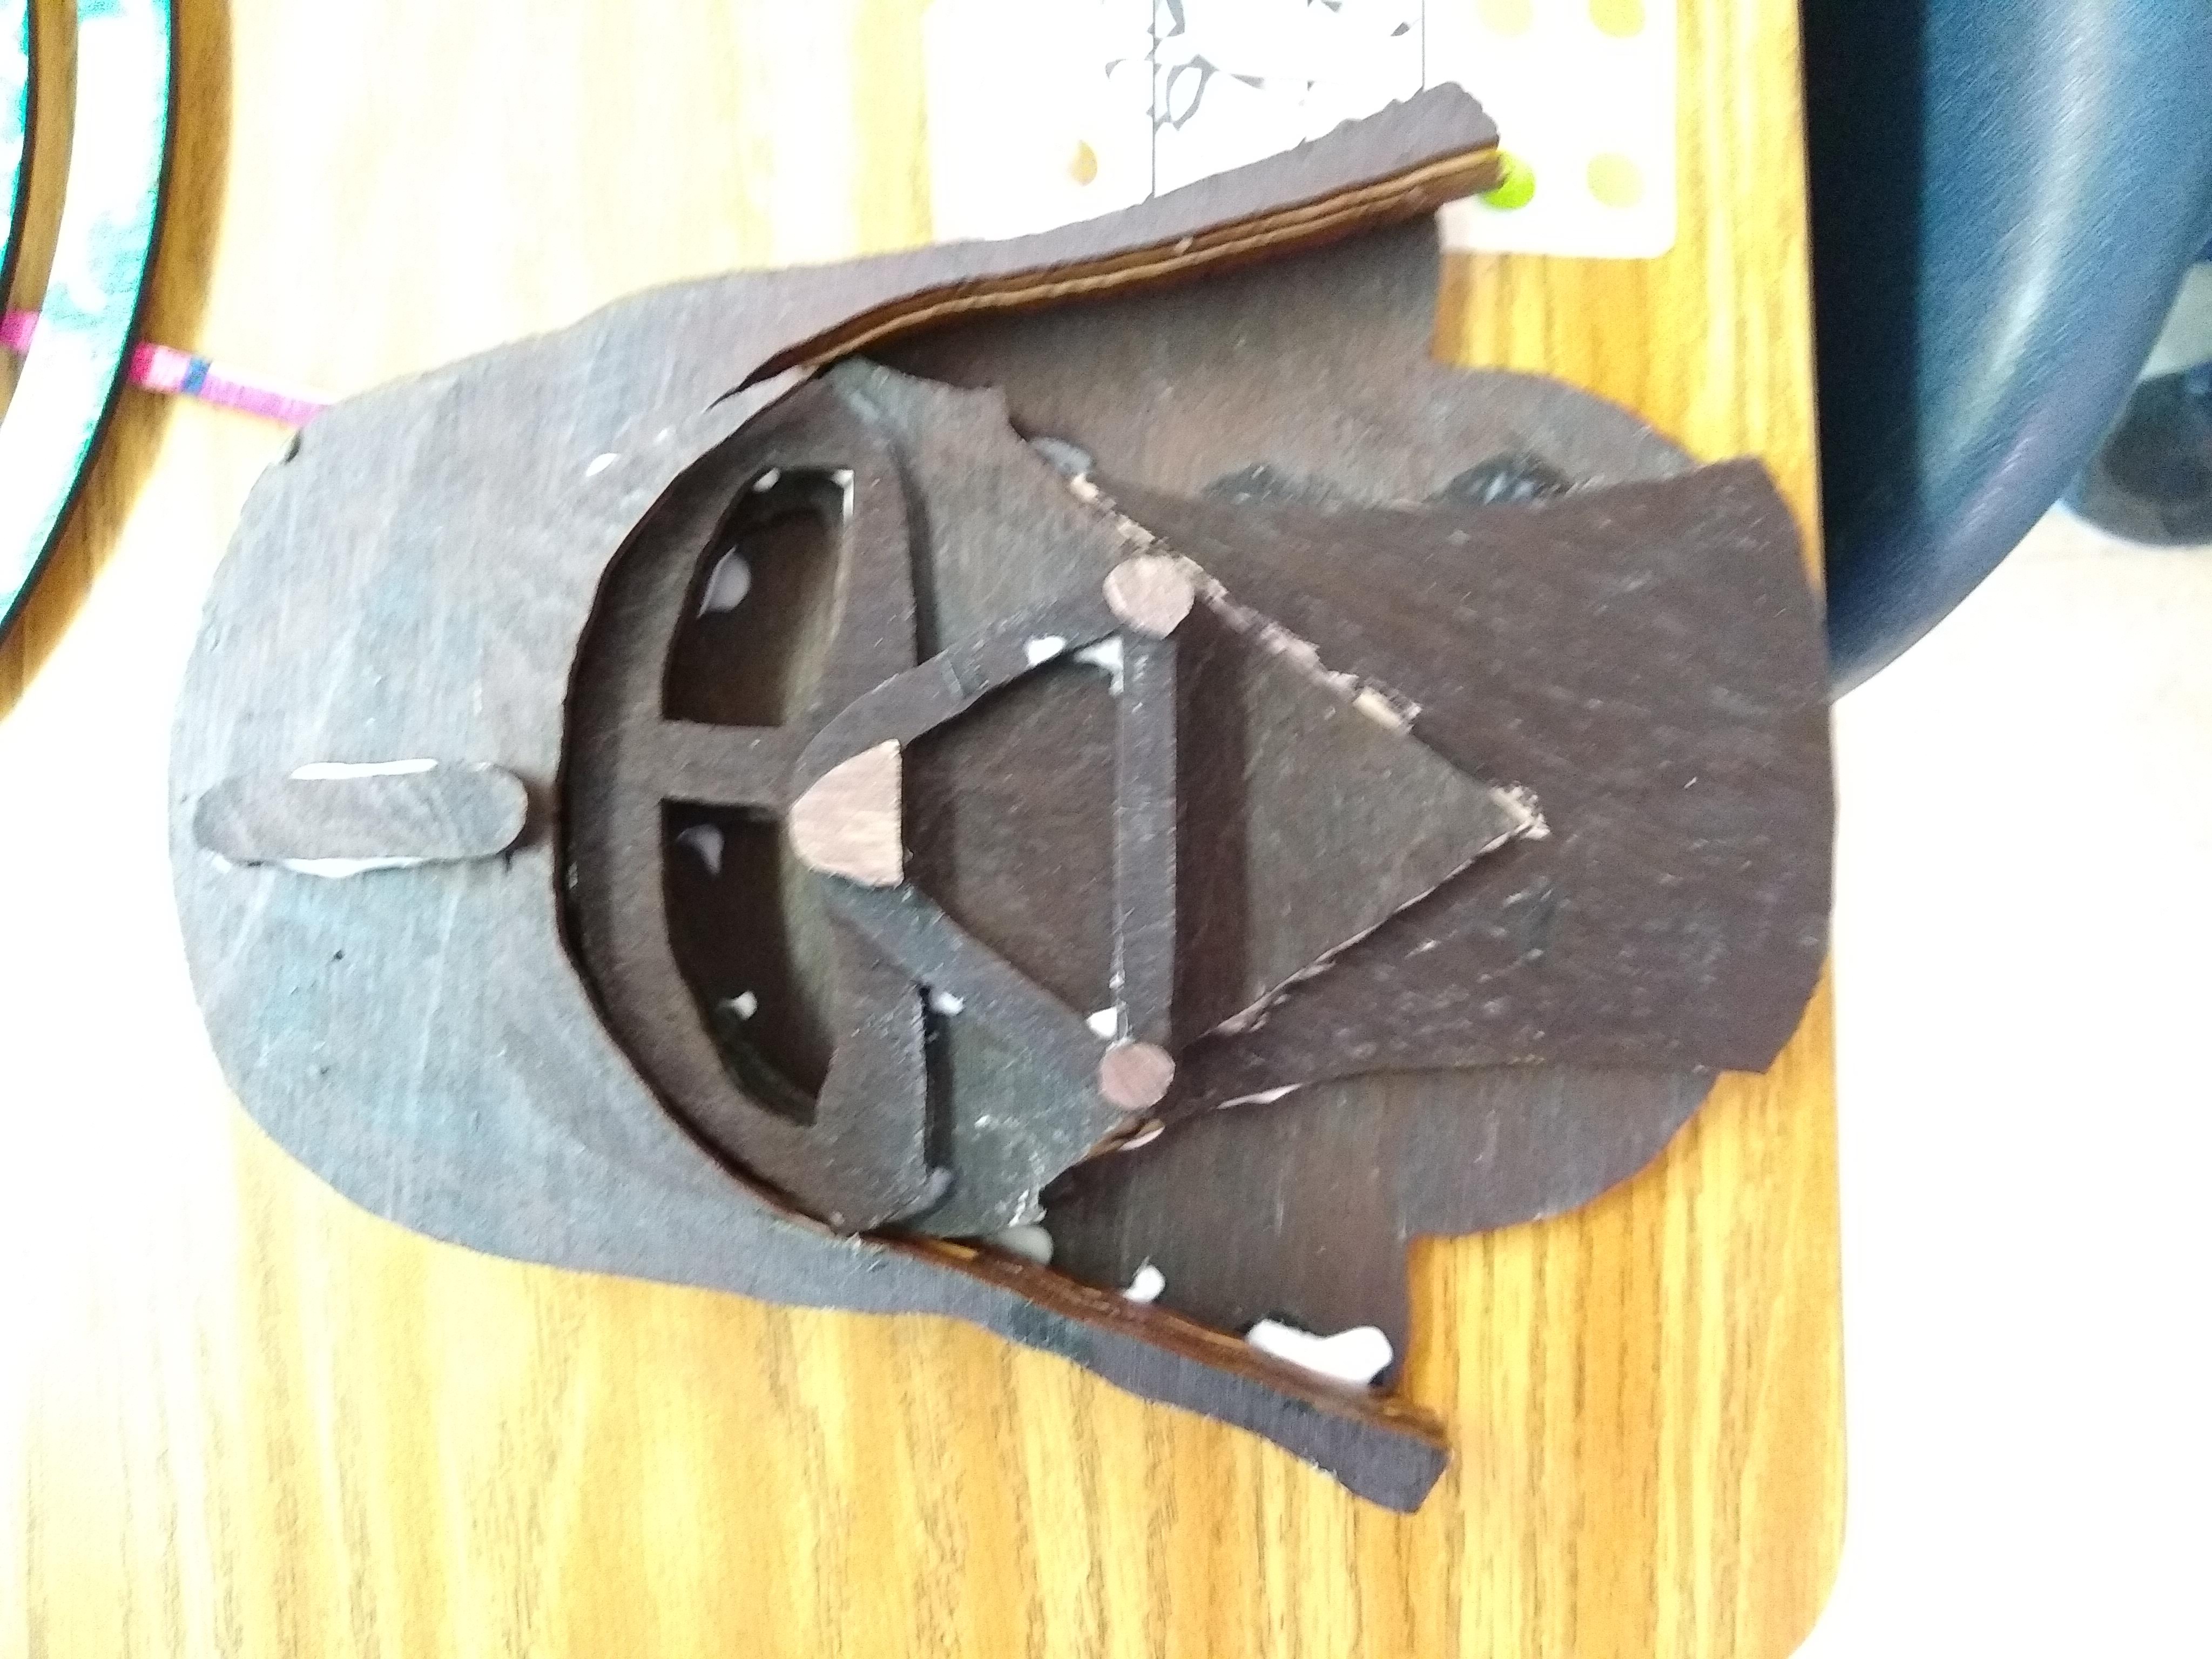
In order for it all to stay together, we must secure it. I recommend tacky glue or wood glue.
Glue the pieces of the mask together. The pieces can be clamped until everything is done drying.
Play with the masks, asks the students the story behind their mask. Use this as a time to bond and get to know one another and marvel at the creations you just finished!
Having trouble? Let us know by completing the form below. We'll do our best to get your issues resolved quickly.
"*" indicates required fields