Mask Making - SCOPES Digital Fabrication

Lesson Details

Subjects
Age Ranges
Fab Tools

You need to login or register to bookmark/favorite this content.

Author

Melvin LaPrade
Melvin LaPrade
Other
Melvin W. LaPrade, Consultant Fab Foundation’s SCOPES-DF project, Melvin founded the National Urban Research Group (NURG) when he was a Ph.D. Candidate at the Massachusetts Institute of Technology Department of Urban Studies and Planning. In the beginning, NURG conducted research… Read More

Summary

Digital Fabrication Across the Curriculum (Phantom Mask Aligned to National Standards for Theatre Education): Using the Phantom of the Opera as a case study, students gain appreciation for the terminology and vocabulary of the theatre. This is a mini-capstone project, using Fab Lab concepts and tools. Student will create their own digital fabricated Phantom theme masks.

What You'll Need

Prerequisite: Students will listen to the Andrew Lloyd Webber’s Broadway musical release, and watch scenes from the 2004 film adaptation. They will also watch the 1925 Lon Chaney version of Phantom. Instructor (or co-teacher) must know how to operate and teach with a laser cutter and vinyl cutter.

Key Vocabulary 

Blocking
Projection
Character motivations
Character objectives
Physical characterization
Vocal characterization
Ensemble
Given circumstances
Turning point
Exposition
Rising action
Conflict
Climax

Materials List

  • Felt, fabric or thin flexible plastic (e.g. thin acrylic or delrin. NOT vinyl)
  • Adhesive Vinyl
  • Construction Paper
  • Thread/yarn
  • Paint/markers/etc
  • Ribbon
  • Other decorative items as available

Hardware

  • Laser Cutter (designed for an Epilog Mini 24”x12”)
  • Vinyl Cutter (designed for a Roland CAMM-1 GX-24)

Design Files: https://drive.google.com/drive/folders/0B1pKagGIBY3maHR6OUNCODRvWGc?usp=sharing

Find more vector files for masks at https://thenounproject.com/sally.rodriguez/collection/carnaval-masks/?oq=phantom%20mask&cidx=4

The Instructions

Step One: Intro to the Story

Introduce students to the tragic saga’s main cast:

  • Erik the recluse composer who lives in the cellars beneath the Paris Opera House, frequently referred to as, “the Opera Ghost”
  • Christine the budding young opera star, Erik’s student and Raoul’s love interest
  • Raoul the younger brother and Christine’s childhood friend
  • Phillipe a handsome and wealthy aristocrat
  • Richard the new manager of the Paris Opera House, initially skeptical of the existence of the Opera Ghost

Theme

Discussions from the introduction primer, Study Guide for the Phantom of the Opera builds students’ background knowledge and prepares students to understand the themes and appreciate the artistry of the Phantom. Discussions based on exercises in the Study Guide include:

  • The central themes of class or social differences in society, physical appearance, and the influence these factors have on relationships.
  • The setting is primarily in the Paris Opera House, in an age where the elite attended the Opera as a social duty and sign of social status.
  • Students will research the history of the French Opera House, history of Opera, and the social hierarchy of French society.
  • Student will explore the blatant gender stereotypes within the cultural and historical context.
  • Students will explore the central questions: Who is the villain? Is it really the Opera Ghost? Who is the hero? What makes a hero?

Step Two: Elements of Plot

  1.  Introduce the concepts of plot and graphic organizer.
  2. Watch Flocabulary Video (Elements of Plot): https://www.flocabulary.com/unit/fivethings/
  3. Discuss elements of a plot.
    • Question for Students: What are the parts of a story that you know every story must have?
    • Answer: Exposition (setting, characters, background information), rising action, climax, falling action and resolution. Point them out on the graphic organizer/diagram.
  4. In small groups, have students fill in the plot diagram from Phantom and prepare to share their responses with the rest of the class.
  5. Have student groups share their plot diagrams. They will lead a discussion concerning each plot diagram.
    • Qestions for Students
      1. Do the choices for rising action move the story toward its climax?
      2. Do the choices for falling action lead to the resolution?
      3. Do you agree with the choice for the climax?

Formative Assessment. What are the five Elements of Plot?

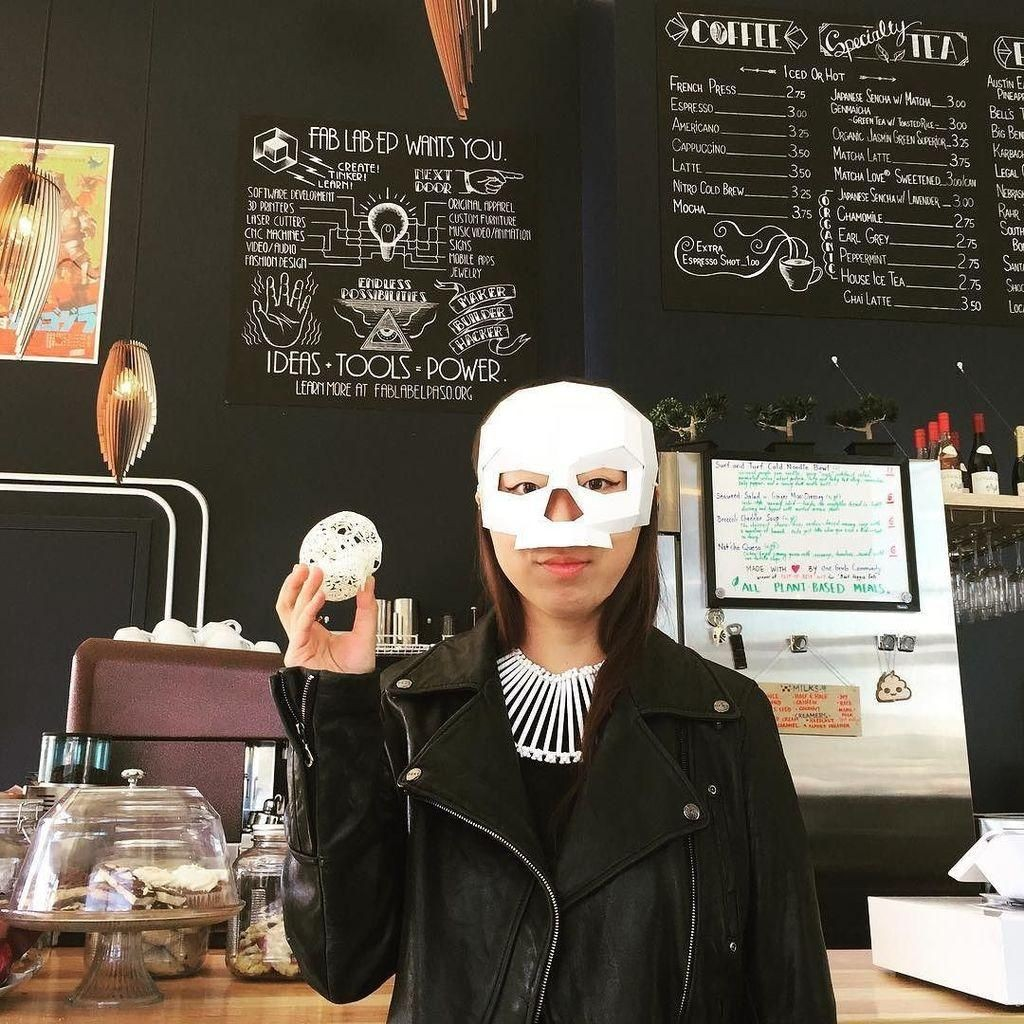
Step Three: Significance of the Mask


  1. Bell Ringer. The scene where Christine unmasks the Phantom was made famous in the 1925 silent movie of the story starring Lon Chaney.In whole-class:- Compare the movie and play scenes of the Phantom’s unmasking.
    – Ask students: Did the Broadway play succeed in making the theatrical unmasking effective?
    – Why or why not?
  2. In small groups, have students compare and contrast the depiction of Erik’s unmasking in the film to that in the text. How faithful is the screen version to the novel?

Step Four: Pre-Design

Have student teams explore how masks are used to hide identity; hide deformity; and change personality, addressing the following questions:

  • How would your mask be used? For entertainment? For protection?
  • What would your mask show the world?
  • What would your mask hide?

Mask Making Build Pre-Design Process

Introduce students to the tools and materials to which they will have access during the mask making process:

  • Laser Cutter
  • Vinyl Cutter
  • Felt, fabric or thin flexible plastic (e.g. thin acrylic or delrin. NOT vinyl)
  • Adhesive Vinyl
  • Construction Paper
  • Thread/yarn
  • Paint/markers/etc
  • Ribbon
  • Other decorative items as available

Guide students to brainstorm and sketch out the plan for their masks.

  • Rough pen and pencil sketches, including basic measurements to personalize the mask to students’ faces, are extremely helpful for a starting point.
  • Prototyping mask designs by hand-cutting paper and testing them will improve the final models
(Fab Lab Oita Mask Making)

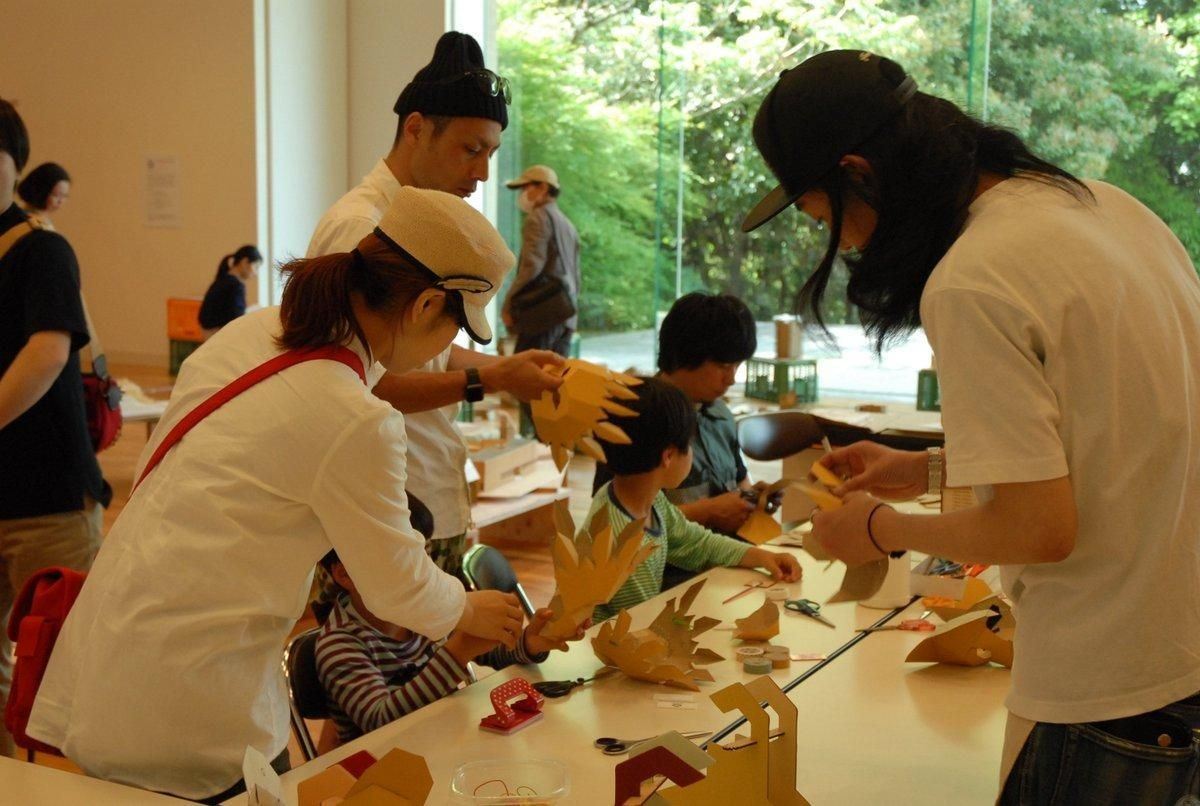
Have the students translate their brainstormed ideas into 2D vector graphic files, including both decorative etching and vector cut-outs to create their mask out of felt, fabric or thin plastic on a laser cutter.

  • The included design file is a sample capable of being cut out on an Epilog Mini 24”x12” laser cutter. Students can use it as a starting point, or teachers can use it as a sample for demonstration purposes.


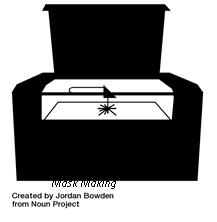
Have students cut the masks out of the appropriate materials on the laser cutter. Do NOT use vinyl in the laser cutter for safety considerations.

Step Five: Making the Mask Post-Production (optional)

Extension activity:

  • Students can further decorate their masks with a combination of vinyl decals, paint and any other craft materials available.
  • Students can also create iterations of their masks with other Fab Lab tools, such as the 3D printer or CNC router.
(Champaign Urbana Fab Lab)

Step Six: Reflect and Assess

Formative Assessment:

  • Did students demonstrate an understanding of mask characteristicsin designing their own mask?
  • Did students try a variety of digital design and fabrication techniques to create mask elements?
  • Did students make wise choices?
  • Did students exhibit craftsmanship with digital fabrication tools?
(Fab Lab El Paso/Fab Lab Berlin)

Lesson Feedback

One Response

  1. SCOPES-DF March 8, 2019
Load More