- Loading…

Participants will learn how to create an electric circuit without cables but using conductive tape and sticker LEDs. Also, they will learn how to fold origami sheet into the shape of a sheep.
After conducting this workshop, participants will be able to:
●Construct a functional electric circuit.
●Learn how to construct an electric circuit using conductive tape and LED sticks and battery coin.
●Learn the difference between open and closed circuit.
●Learn the technique of folding origami sheets.
●Understand how a 2D sheet can be transformed into a 3D shape.


1- Cardboard card (containing engraved numbers and lines, indicating the order of folding and where to fold + containing a drawing of the structure of the circuit where it should be placed).
2- Coin battery.
3- Copper tape.
4- Sticker LED.
5- Colors.
6- Glue guns.
7- Glue sticks.
8- Wood sticks.
9- Double faced tape.
10- Stancil sheets (pre-cut to stickers in different shapes and colors).


Participants will discuss what they will be doing in this workshop, the theme of it, and the final product.
1- Who are we and what we do (Studio 5/6)?
2- Ice breaking activity using origami sheets.
3- Introduction to digital fabrication concept and
tools.
4- Discuss what we will be doing today; Origami integrated with electricity.
5- Introduce the Origmi art.
a. What is the origami.
b. What is the meaning of the word.
c. Where it comes from.
d. What do you need to make it.
6- Explain why we are making the shape of a sheep; as Eid Al Adha is coming in few days, which is the second of two Islamic holidays celebrated worldwide each year.
7- Discuss how we can transform a 2D paper into a 3D object by folding.
8- Discuss what we will be building today
9- Show the components used to build the circuit.
10- Learn the difference between open and closed circuits.
11- View the final prototype.

Participants will follow a step by step video to build the origami.
1- The instructor will a play a step by step origami making video.
2- The instructor will build an origami with the participants, pause at every step, showing them how to fold.
3- The instructor and contributors should make sure that all the participants are following the steps and help them in case they faced issues.
4- The cardboard paper has numbered lines indicating where to fold, to help the participants in building the origami.
5- Once all participants are done making their origami, they can move to adding electricity to it.

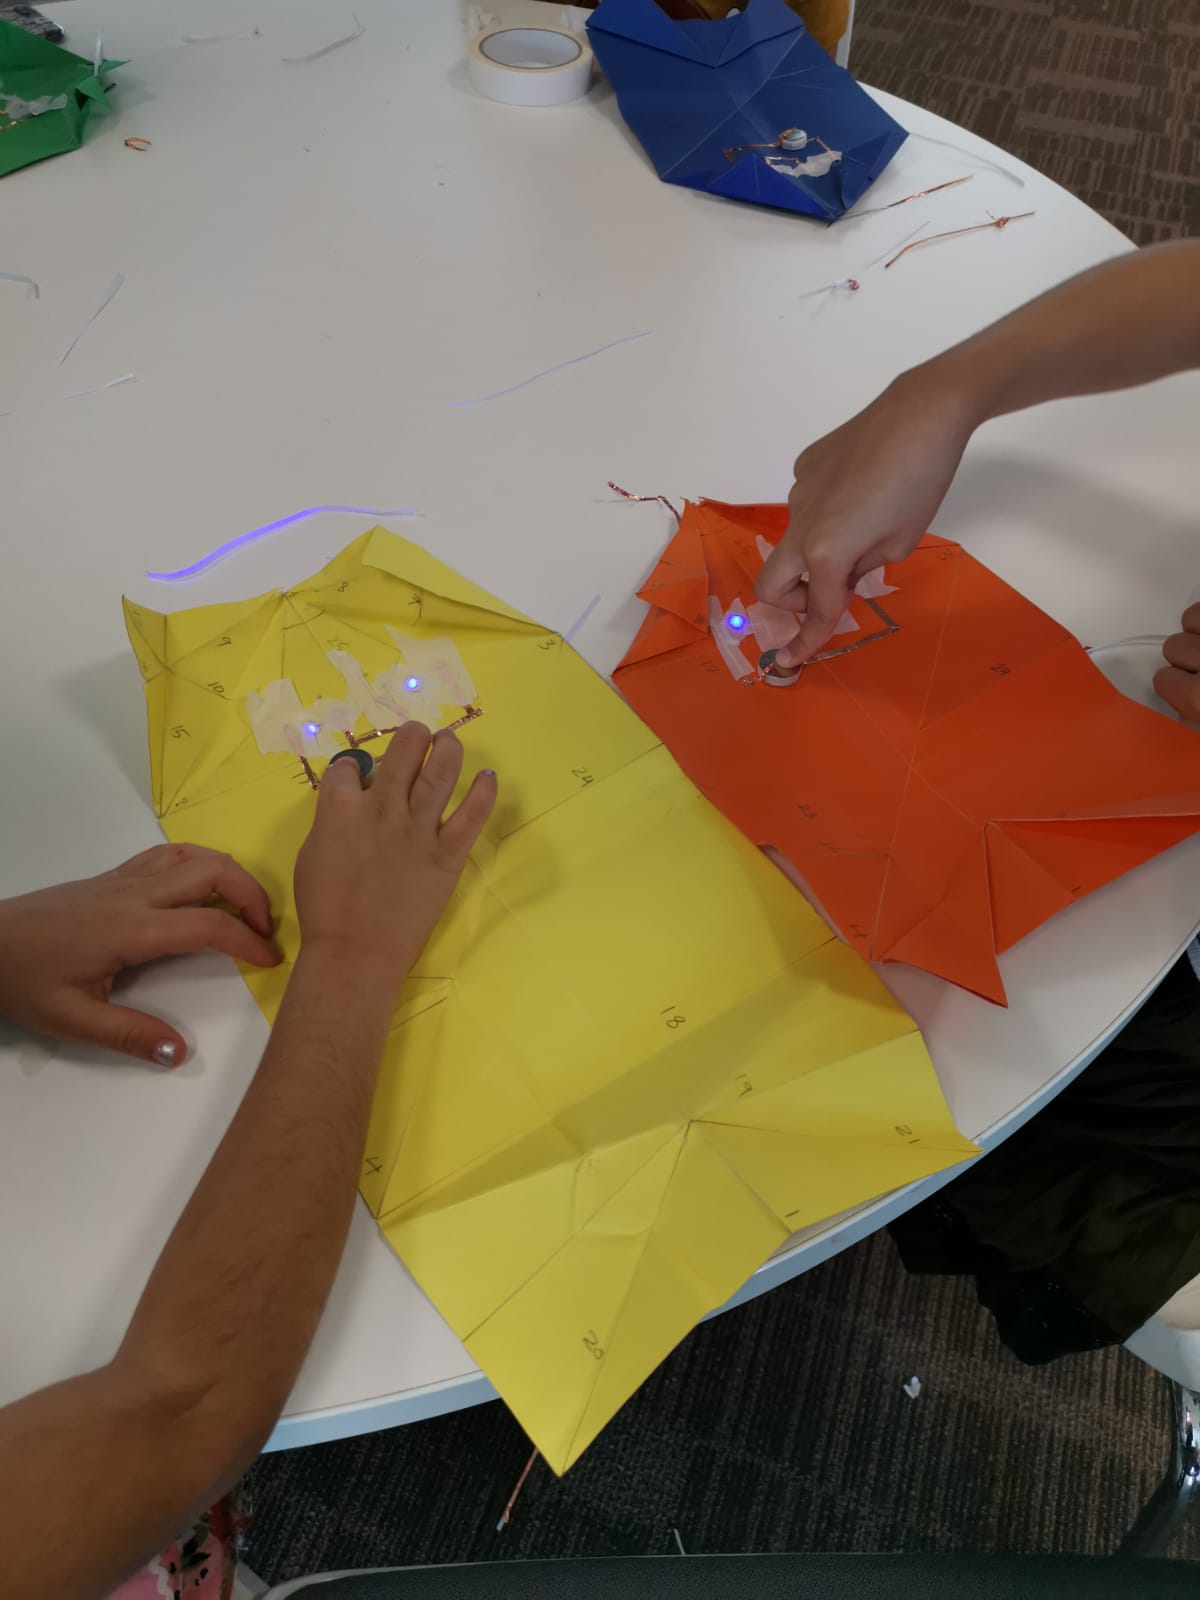
Participants will build the circuit using the components provided.
1- Look for the correct area of the origami to place the circuit on (where the circuit is lines are indicated).
2- The structure of the circuit is already drawn on the cardboard paper to help participants.
3- Take the first piece of the copper tape, remove paper from the sticky side, and place in the correct place (hence: on the lines drawn).
4- Make sure to follow the right procedure in corners, which are:
a. Fold the copper tape to the opposite direction of where you want it to go.
b. Fold it back to the correct direction where you want it to go.
this step is important to make sure that the copper side is always connected and not isolated with the sticky side.
5- Take the second piece of the copper tape, remove paper from the sticky side, and place in the correct place (hence: on the lines drawn).
6- Take the sticker LED, remove paper from the sticky side, and place it in the correct place (hence: where you drew your lines earlier).
7- Make sure that the sticker LED is in contact with the two copper tapes, each on one side.
8- Make sure that there is space between the two copper tapes and they are not connected.
9- Place the battery in the correct place, make sure that one side (negative pole) is touching the first copper piece, and the other side (positive pole) is touching the second copper piece.
10- Use paper tape to fix the battery from moving.
11- Test the circuit and fix any issues if found.

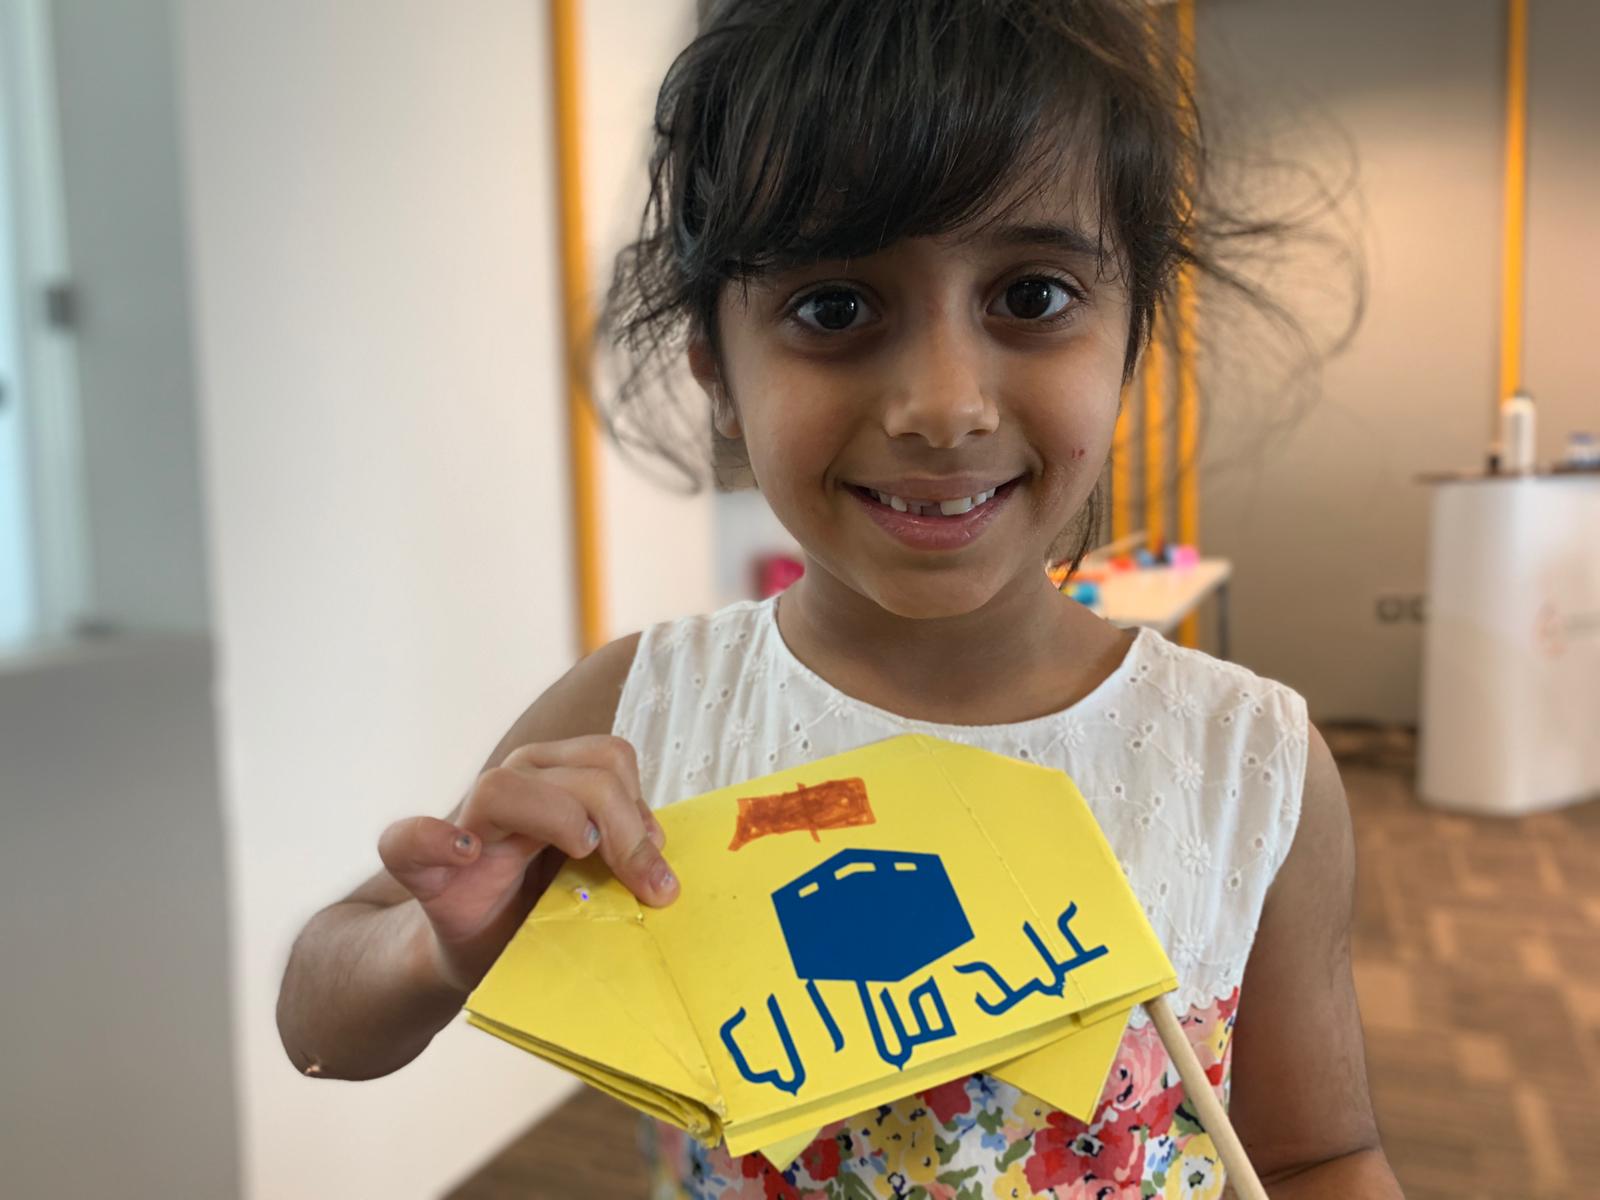
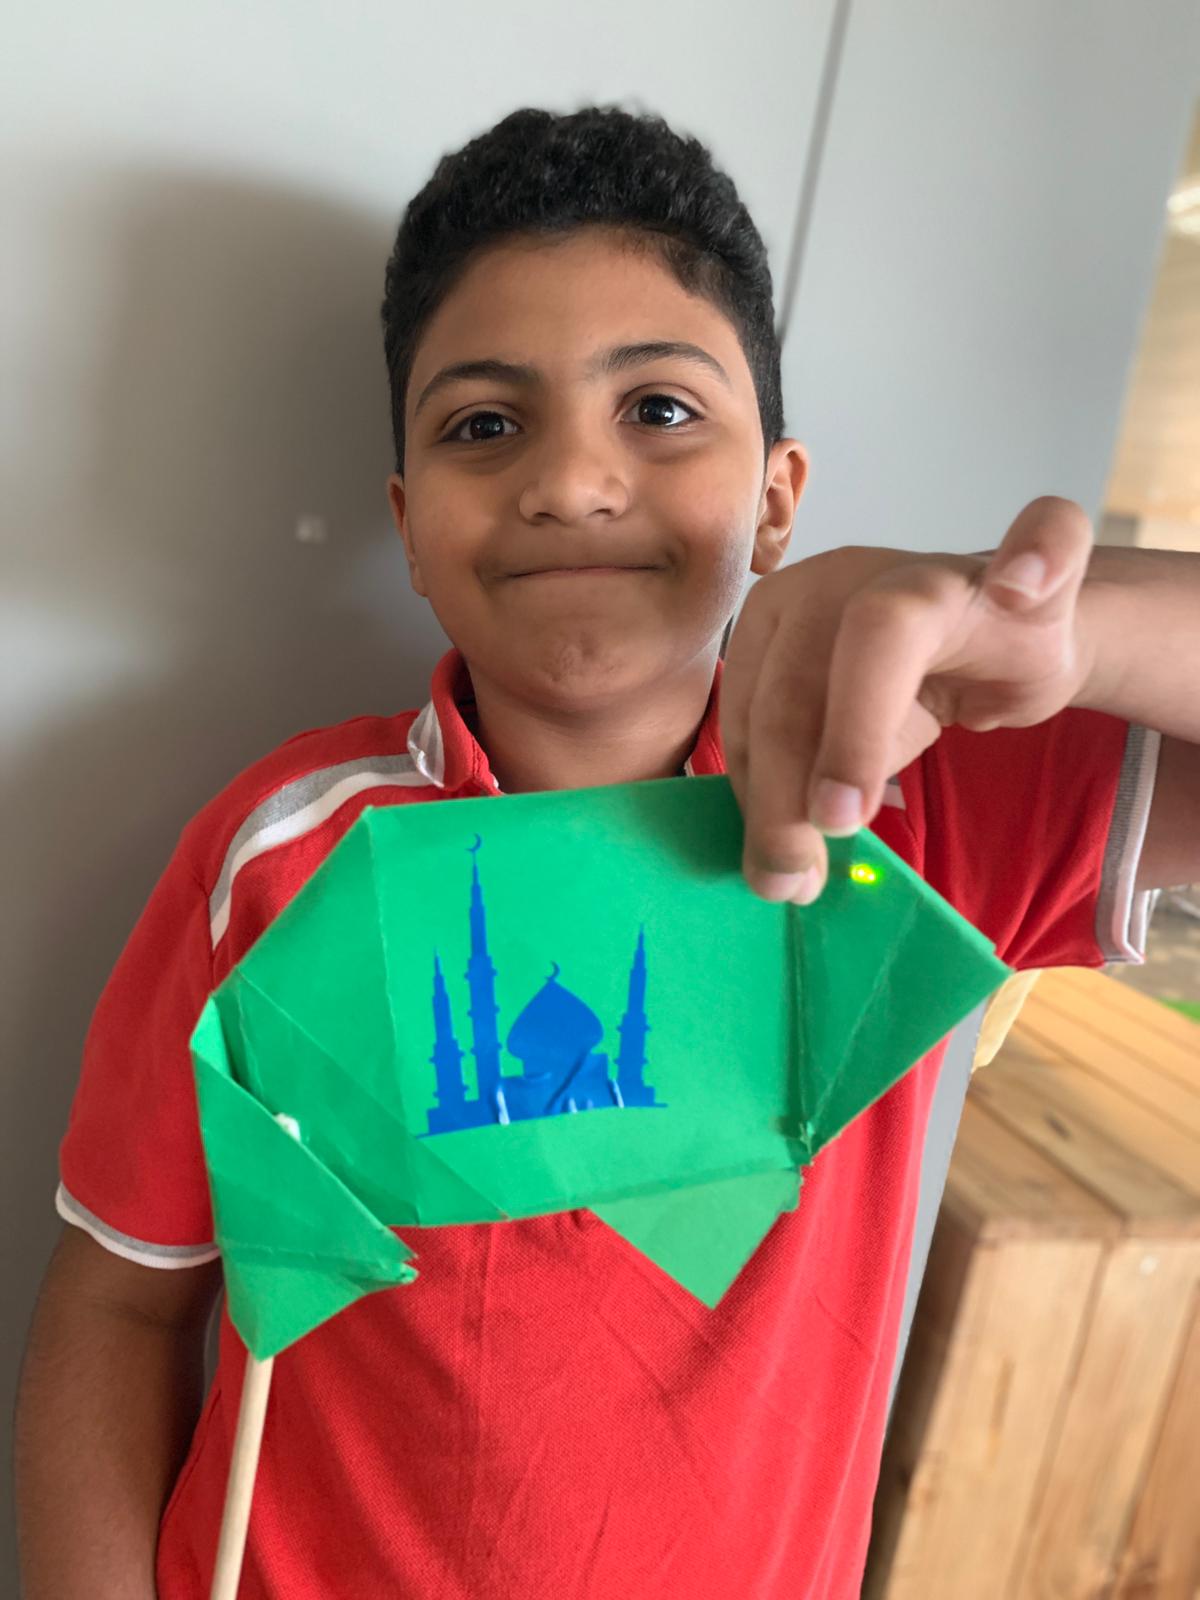
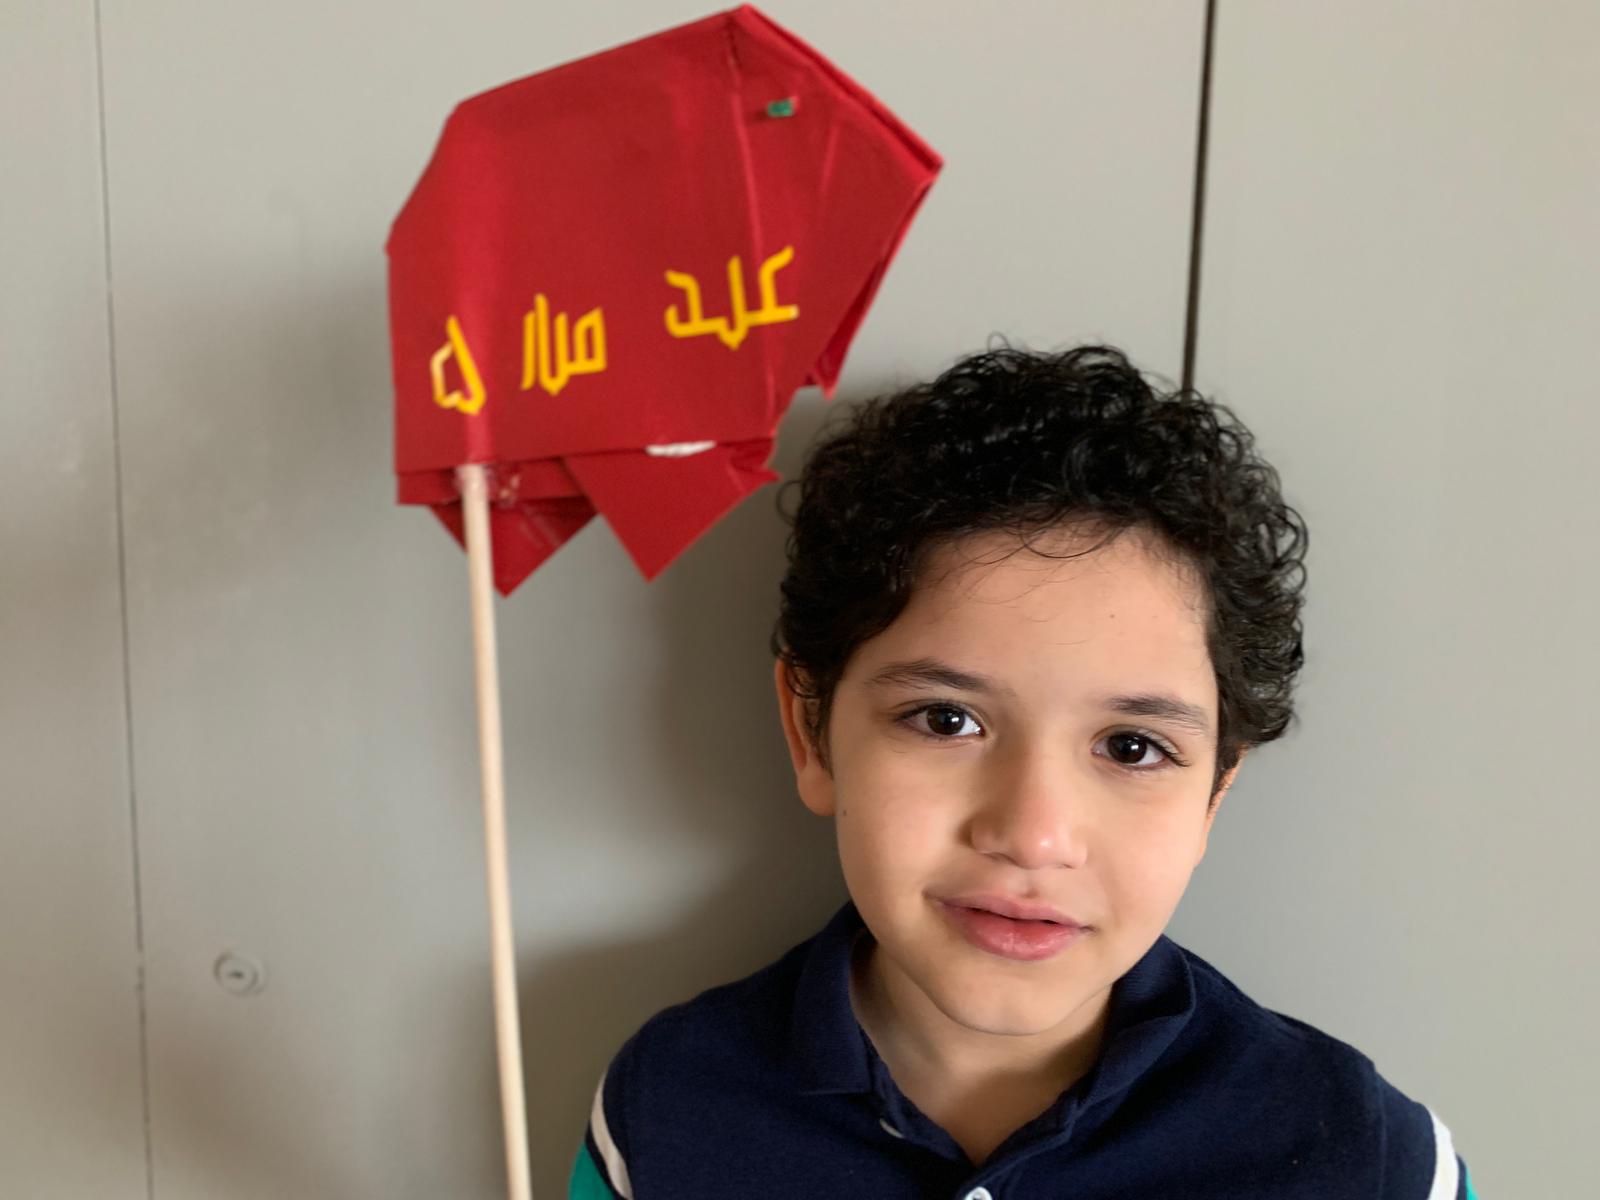
Participants will decorate and personalize their origami using stickers and colors.
1- Participants will use pre-cut stencil sheets (stickers) and colors to decorate their origami.
(hence: the stickers are cut into Arabic words and Islamic shapes to represent the Eid celebration).
2- The participants will use double faced tape to fix their origami and make sure it won’t get ruined.
3- The instructor will help the participants in sticking a wood stick at the back of the origami using glue gun.
4- The participants will enjoy having a customized lighting sheep origami to celebrate the Eid with!

Having trouble? Let us know by completing the form below. We'll do our best to get your issues resolved quickly.
"*" indicates required fields