- Loading…
In this art lesson, students are introduced to the concept of tessellations through the works of M.C. Escher. They learn how repeating shapes can fit together without gaps or overlaps, focusing on the translation style of tessellation.
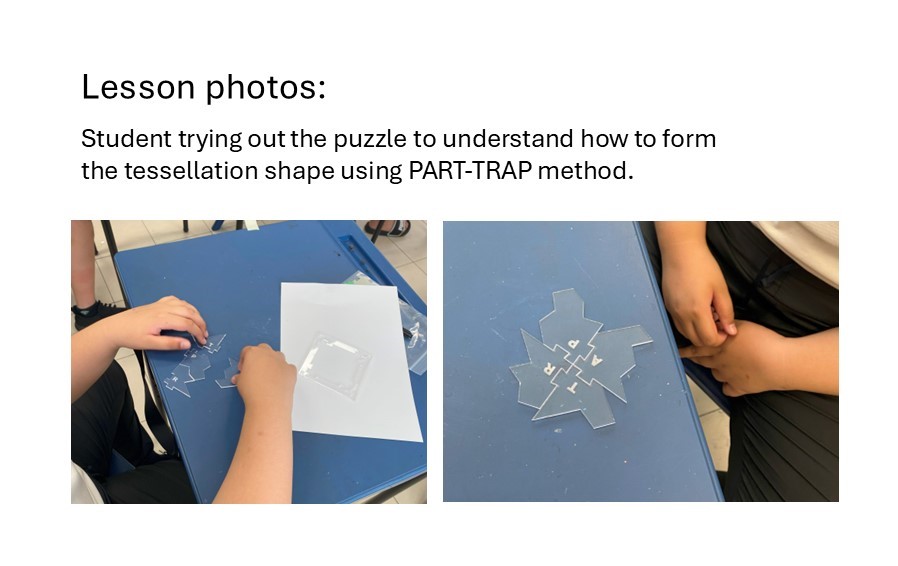
Using a pre-cut puzzle manipulative, students explore how shapes can interlock and repeat, helping them understand how to form their own tessellation template. With this hands-on experience, they then design a translation-style tessellation artwork based on creative themes such as animals, nature, or faces.


Materials Preparation:
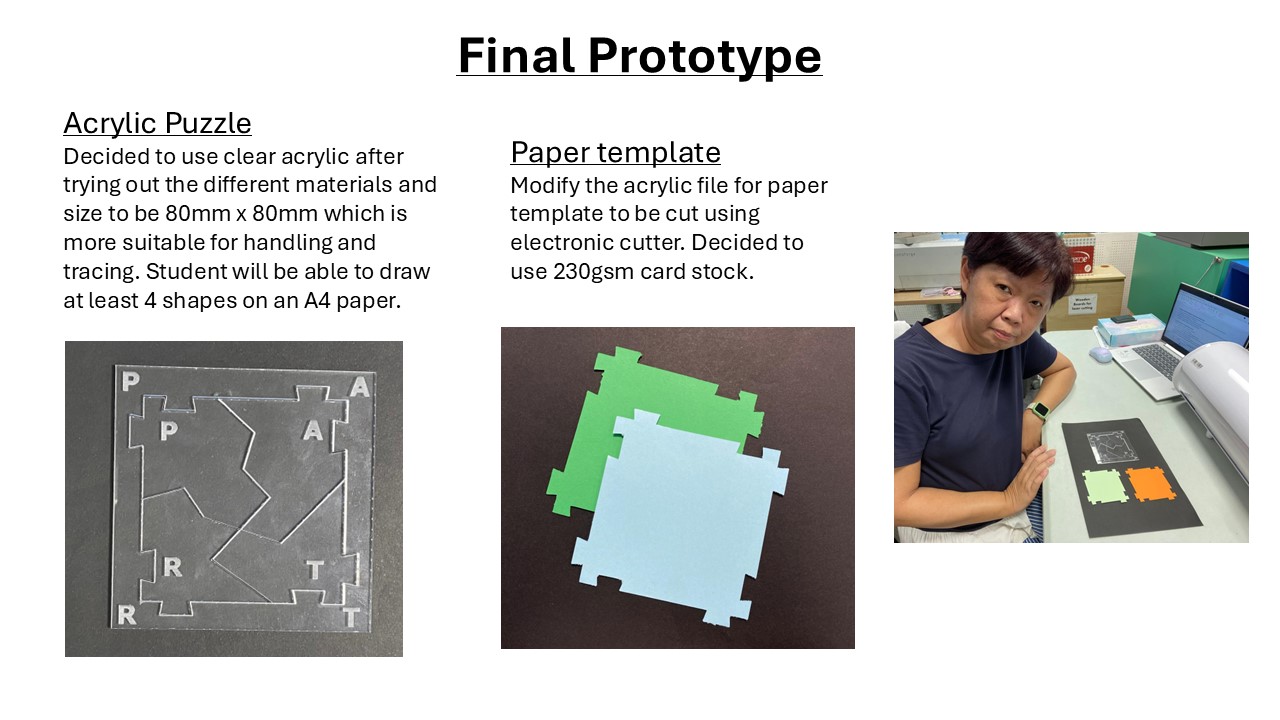
Use the files in the attachments to pre-cut clear acrylic puzzles (laser cutting) and paper templates (electronic cutting). Recommend to use 230gsm stock card for the paper templates.
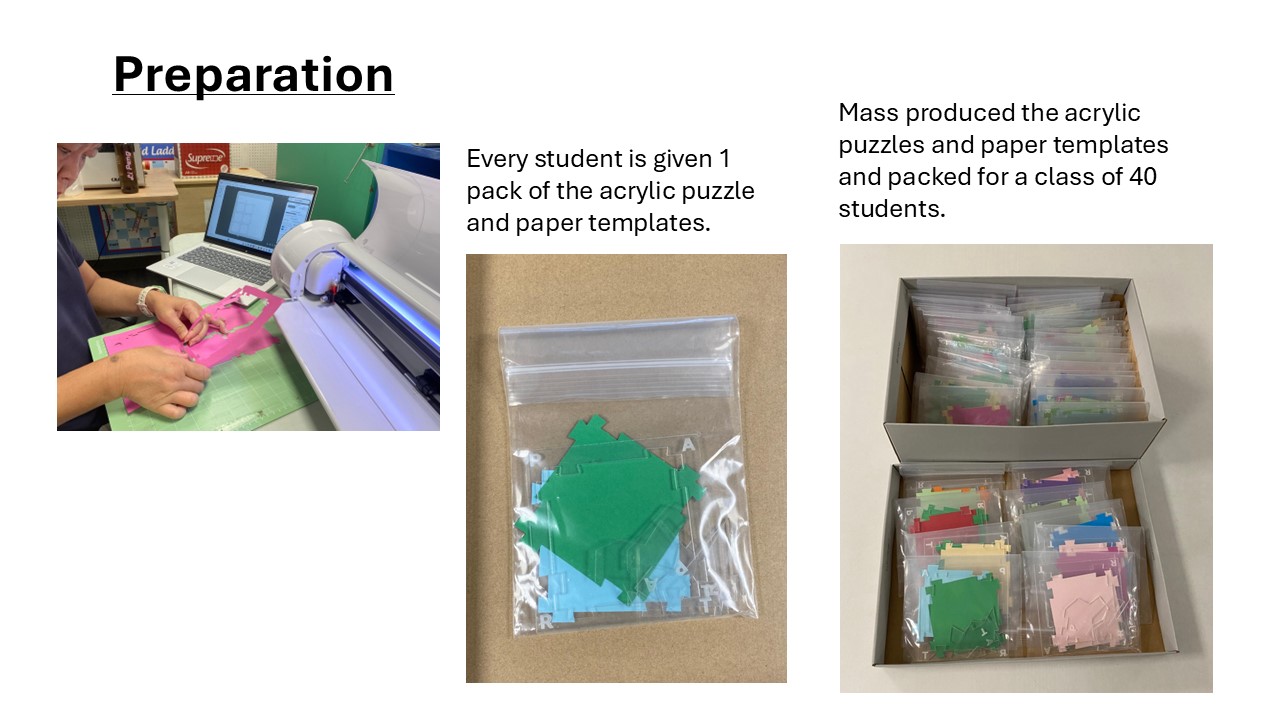
Materials for students:
• 1 set of Tessellation puzzle (Pre-cut)
• 2 pcs of paper templates (Pre-cut)
• 2 pcs of drawing papers (A4)
• Scissors, tape & colouring materials
Materials for teachers:
Google slide link:
Tessellation Art Lesson (with embedded videos)
Video link (for teacher’s reference only. Not to be used in lesson):
PART-TRAP Tessellation reference video
Students will :
1) Explain what a tessellation is and identify examples around them.
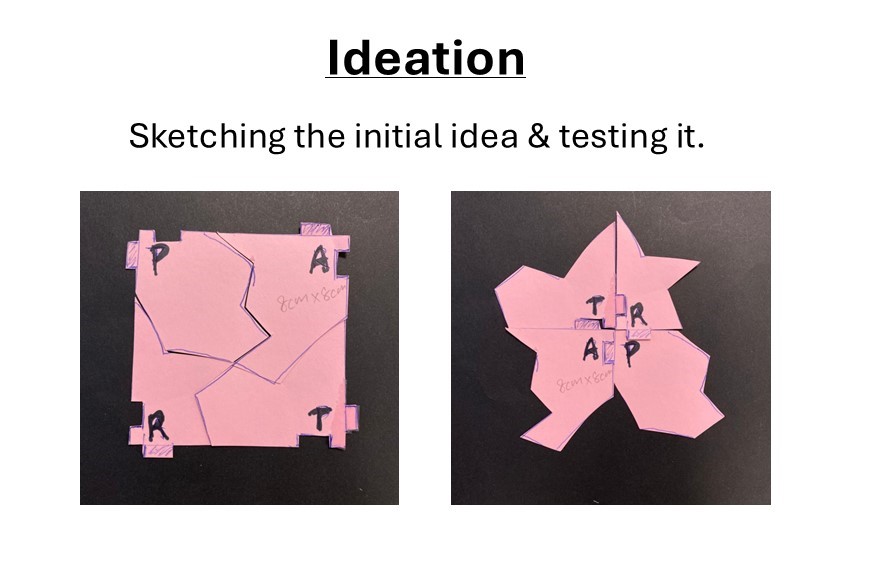
2) Use the PART–TRAP method to create a tessellation template.
3) Design a Translation-style tessellation artwork based on a theme given.
Question 1:
Could you have done this activity without the teaching aid you have fabricated? How do you think digital fabrication improves the activity vs utilizing traditional methods? What is the extra value?
While it is possible to conduct the tessellation activity using traditional methods such as hand-drawing or cutting shapes manually, the teaching aid I fabricated through digital fabrication significantly enhanced the learning experience.
The laser-cut tessellation puzzles were accurate, neat and reusable, which helped students understand how shapes can fit together without gaps.
The pre-cut paper templates produced using an electronic cutter significantly reduced the time needed for preparation and eliminated inaccuracies in shape cutting — an important improvement since cutting skills were not the focus of this lesson.
Digital fabrication also allowed me to prototype and refine the teaching aid quickly, saving preparation time and enabling a more engaging, hands-on experience. Compared to traditional methods, it promoted student independence, as they could focus more on exploring creativity and pattern design rather than struggling with the technical accuracy of shapes.
From a teacher’s perspective, the extra value of using digital fabrication lies in how it enhances instructional efficiency and learning quality. It allows me to design customized, accurate teaching tools that support diverse learners and make abstract concepts more tangible. More importantly, it models how technology can be used meaningfully in education — to inspire creativity, streamline processes, and create richer hands-on learning experiences for students.
Question 2:
What are some challenges you expect when you do the activity with your class?
Some challenges I expect include students having difficulty understanding how the PART–TRAP method works at first, especially how to rearrange the pieces to form a tessellation shape. Some students may also draw overly complicated lines or include more than one horizontal and vertical line, which makes their tessellation shapes difficult to fit together. Others might draw diagonal lines, cut the same line more than once, or trim their shapes in order to make them “perfect,” which results in shapes that were unable to be tessellated. Students may also struggle with cutting and tracing neatly, which could affect how well their shapes fit together.
Low-ability learners may also find it hard to follow multi-step instructions or visualize how the shape repeats across the page. To address these, I will provide clear step-by-step visual guides, video demonstrations, and model common mistakes so students can learn what to avoid. I will also check in more frequently with struggling students and remind everyone that tessellation art is about effort, creativity, and learning from mistakes, not perfection.
Question 3:
What did you learn during the fabrication process?
During the fabrication process, I learned the importance of careful planning and decision-making at every stage. I had to consider a suitable size for the puzzle template so that it would be easy for students to trace and handle on an A4 size paper.
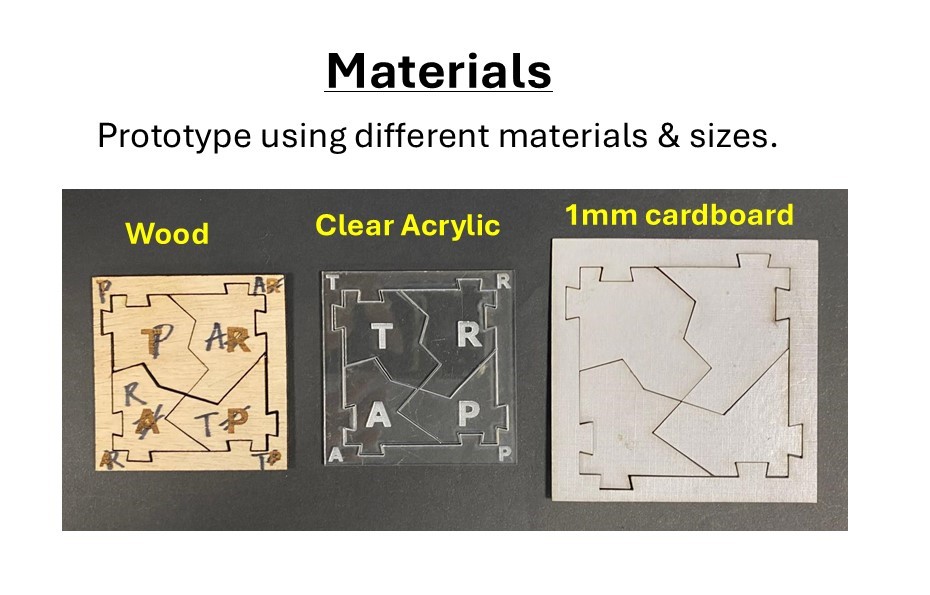
Choosing the right material was another key step — I tested wood, acrylic, and cardboard before deciding on clear acrylic, as it allows students to see through and align their shapes more accurately during tracing.
The process was time-consuming, especially when cutting multiple acrylic puzzles and paper templates, but it gave me a better appreciation of the precision needed in digital fabrication.
I also learned to anticipate how young learners would interact with the acrylic puzzles, ensuring it was safe, durable, and supported the lesson’s main goals. Overall, this experience helped me understand how thoughtful design and fabrication choices can make learning tools more engaging, effective, and student-friendly.
Whole class art discussion using See–Think–Wonder questions to spark curiosity. (Refer Slide #1 to 8)
1. Inform students of the lesson objectives.
2. Introduce elements of art and vocabulary on shapes.
3. Show a picture of M.C. Escher artwork. Ask students the 3 questions:
4. Introduce artist M.C. Escher and his artwork.
Explicit teaching of tessellation (Refer Slide #9 & 10)
1. Explain what tessellations are and show some real-life examples.
2. Describe the 3 types of tessellation style (translation, reflection, rotation) with diagrams.
Demonstrate creating a tessellation shape using the PART–TRAP method. Students follow the instructions and practice how to trace and tessellate. (Refer Slide #11 to 16)
1. Inform students that this is an individual activity. Distribute the materials to each student but instruct them not to start yet.
2. Slide 13 : Play step 1 video on screen: Arrange the puzzle pieces to spell the word PART.
Highlight to students about the shape (i.e. square)
3. Slide 13 : Play step 2 video on screen : Separate the pieces and re-arrange them to spell the word TRAP.
Highlight to students about the new shape (i.e. irregular shape)
4. Instruct students they have 3-5 min to use the tessellation puzzle to make the shape. Teacher walks around to check on students’ understanding by looking at the puzzle formation.
5. Slide 15 : Play step 3 video on screen: How to use this shape to make a Translation tessellation.
Highlight to students that there should not have any gaps or overlapping when tracing.
6. Instruct students they have 10 min to trace and tessellate the shape on a drawing paper. Students draw at least 3 shapes to show their understanding of translation tessellation.
7. Pause at this stage to ask students about what challenges they have so far or any other questions.
Students to design their own tessellation artwork using their template. Encourage students to use the given themes (animals, nature, faces, monsters, etc.) (Refer Slide #17 to 19)
1. Go through the task instructions:
Design and create a TRANSLATION style tessellation artwork with a chosen theme.
2. Guide students to write the letter P,A,R,T at the 4 corners of the pre-cut puzzle template using the visuals in slide.
3. Next draw 1 horizontal line (left to right) & 1 vertical line (top to bottom). Show the visuals and emphasize that lines can be straight or wavy but should not be too complicated, diagonal or more than 1.
4. Students cut along the lines, re-arrange the pieces to spell TRAP. Remind them not to cut the same line more than once.
5. Instruct students to tape the template and start tracing on another new drawing paper. Remind them about gaps and overlapping.
6. Encourage students to use their imagination and draw on each shape based on the theme they have chosen.
7. Colour and complete their artwork.
(Refer Slide #21)
End the lesson by showing the Success Criteria on screen and summarized the learning objectives of the lesson :
– I can create a tessellation shape using the PART-TRAP method.-
– I can create a Translation style tessellation artwork with my chosen theme.
Having trouble? Let us know by completing the form below. We'll do our best to get your issues resolved quickly.
"*" indicates required fields
