- Loading…
What is Troe-ko?
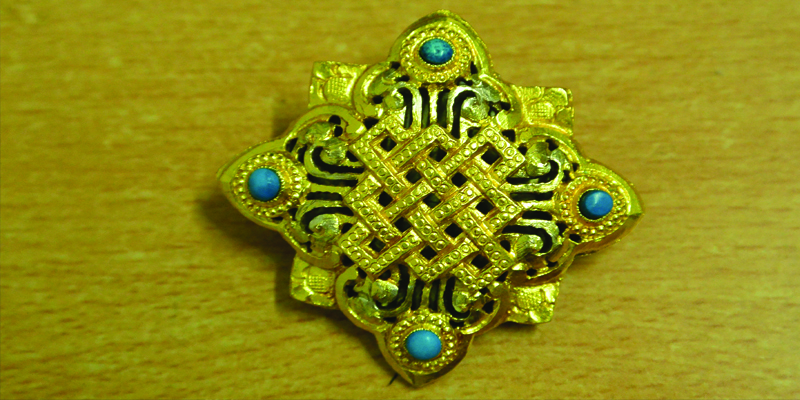
The craft of making traditional ornaments in Bhutan is known as Troe-ko. Its products are widely used by Bhutanese women.
There are two types of Bhutanese jewelry:
The master craftsman who makes those beautiful ornaments is regarded as Troe Ko Lopen. They shape gold, silver and copper into all kinds of ornaments and ritual items. Troe-ko is one of the oldest methods of making ornaments which is very rare and the most unique craft in the world. By maintaining Troe-ko, it helps the country maintain its culture and traditions.
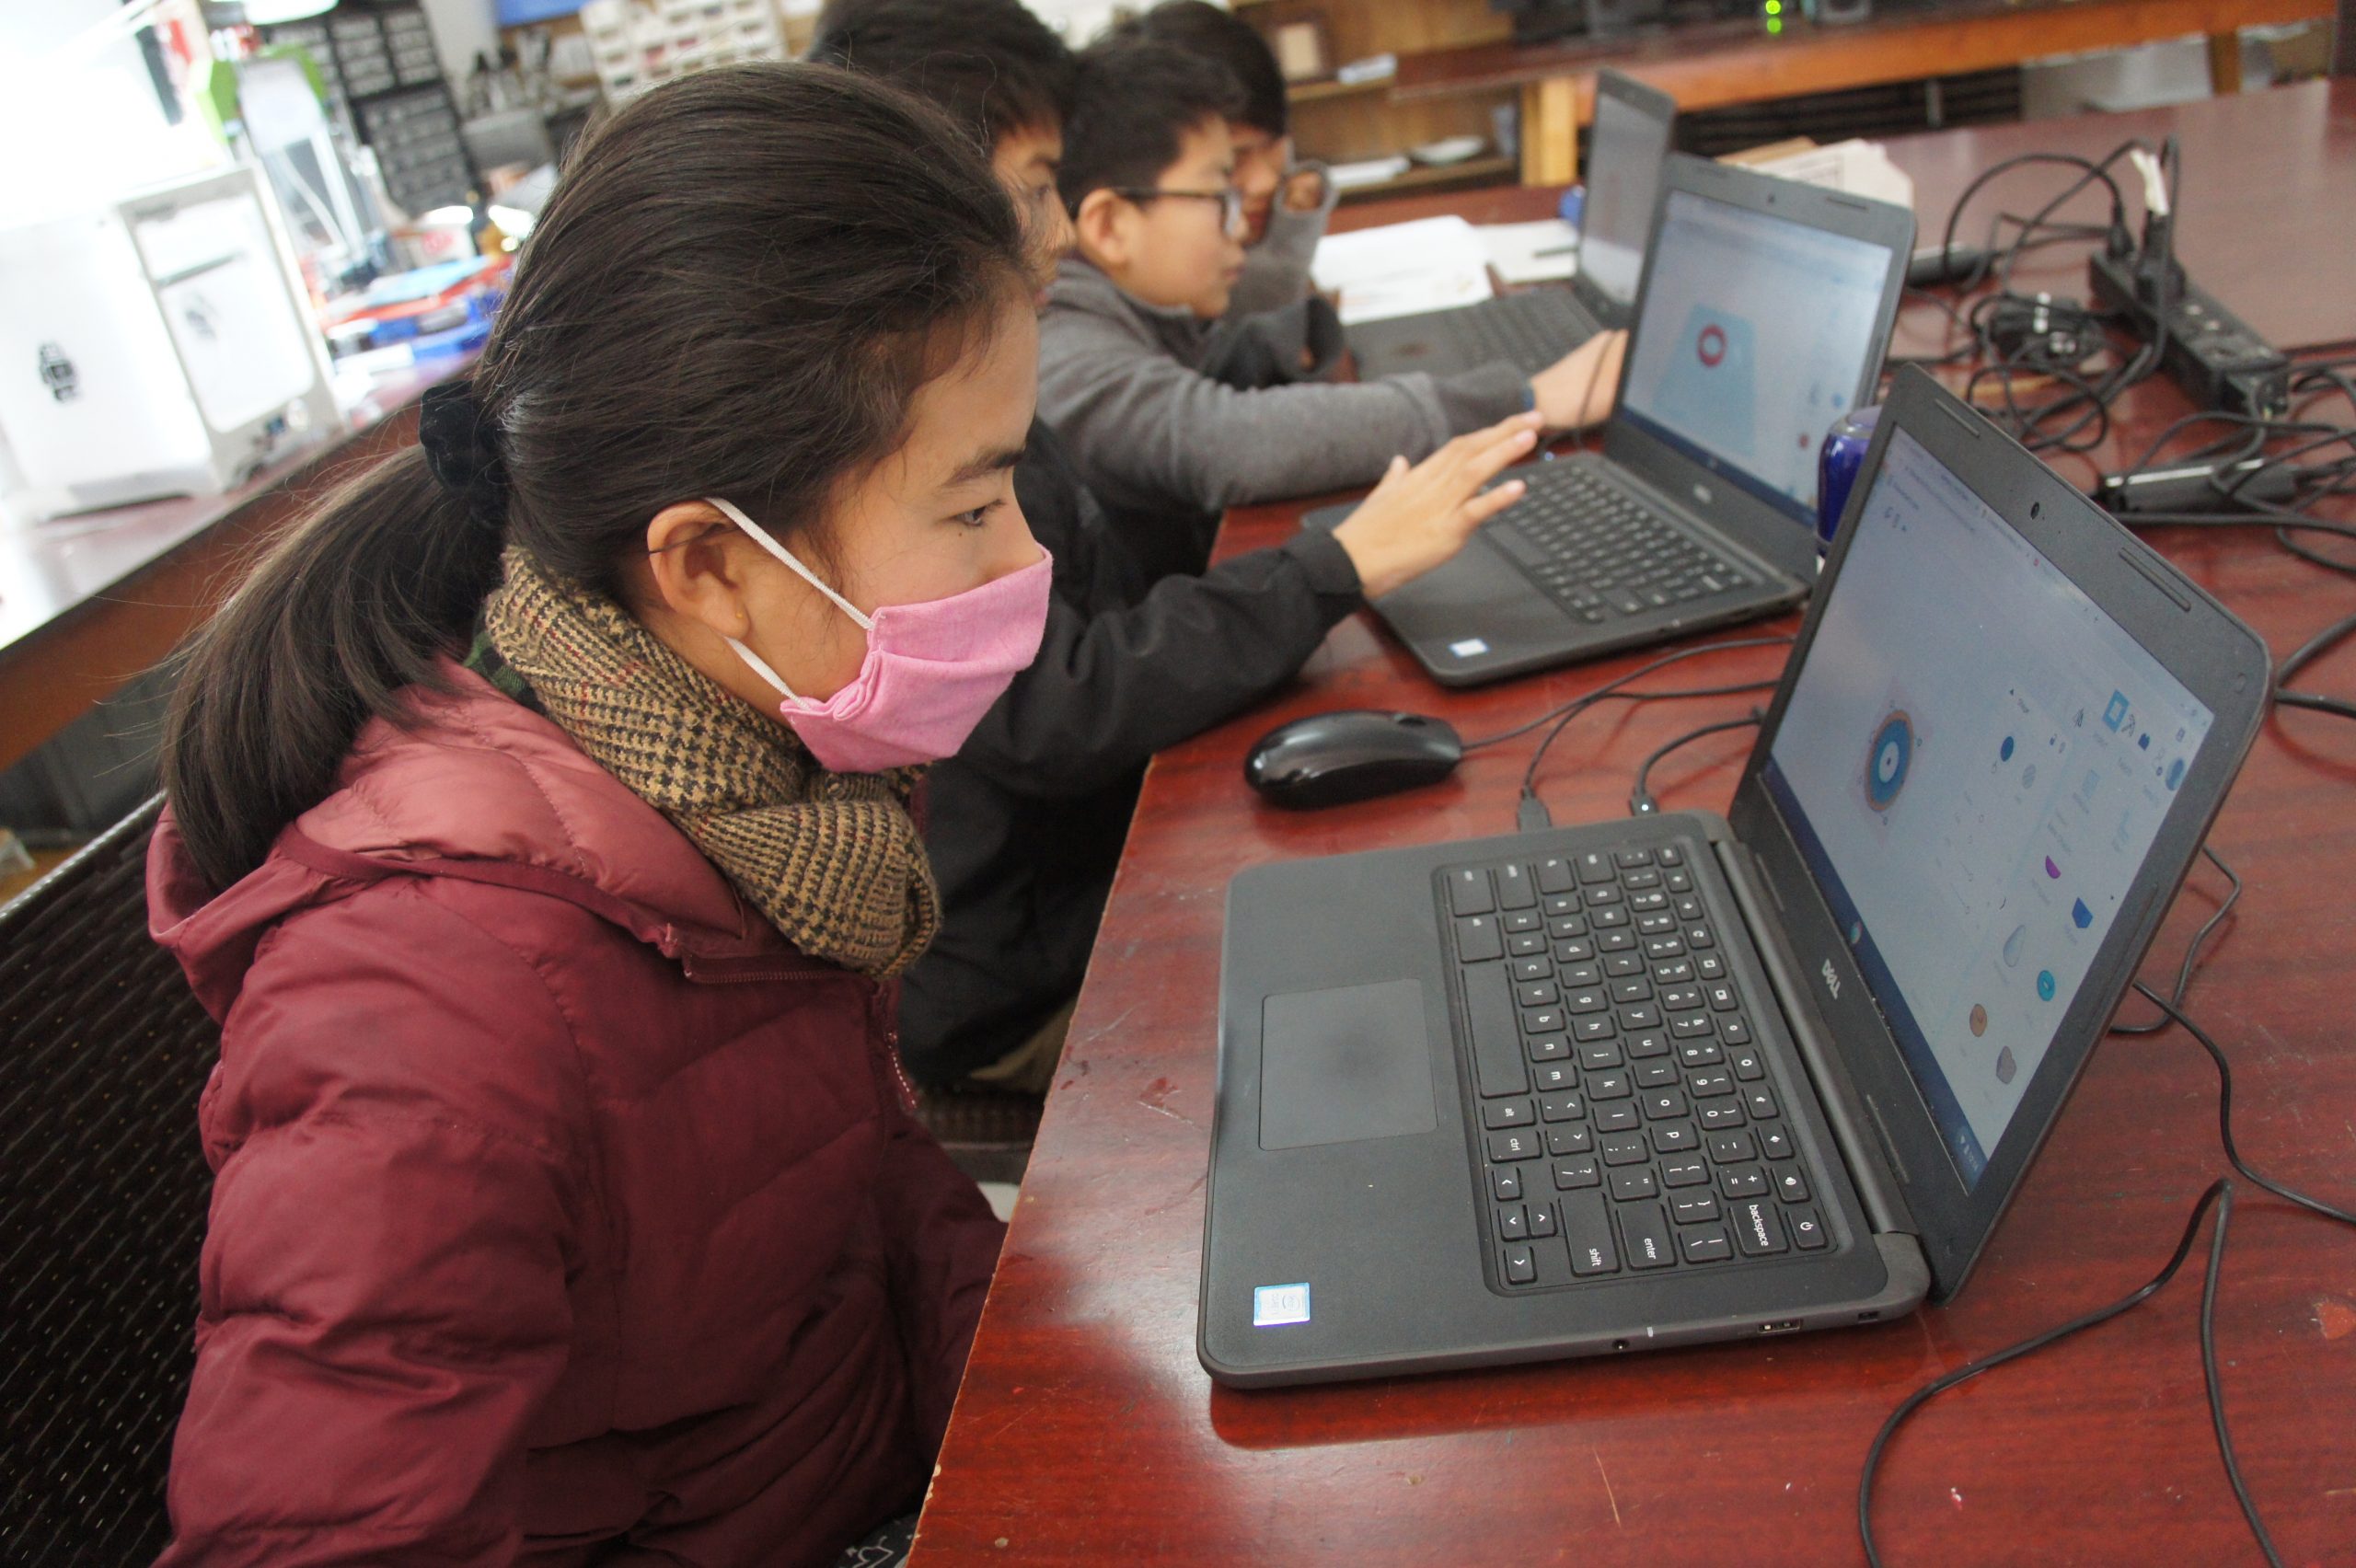
Use of Troe-ko and 3D printing:
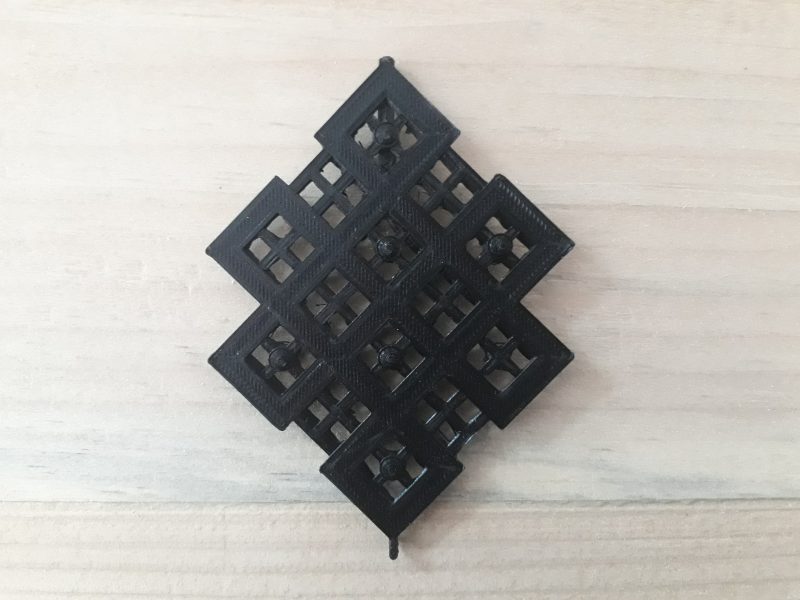
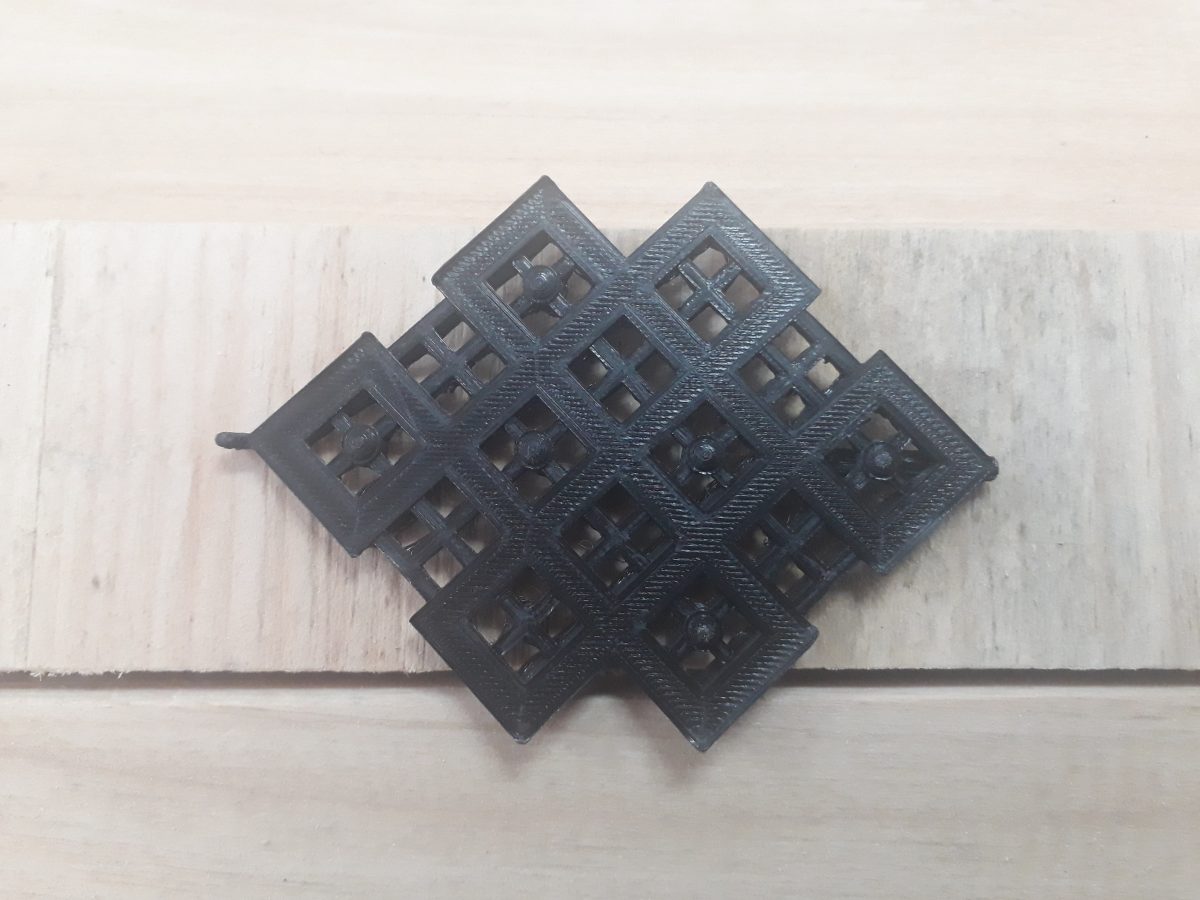
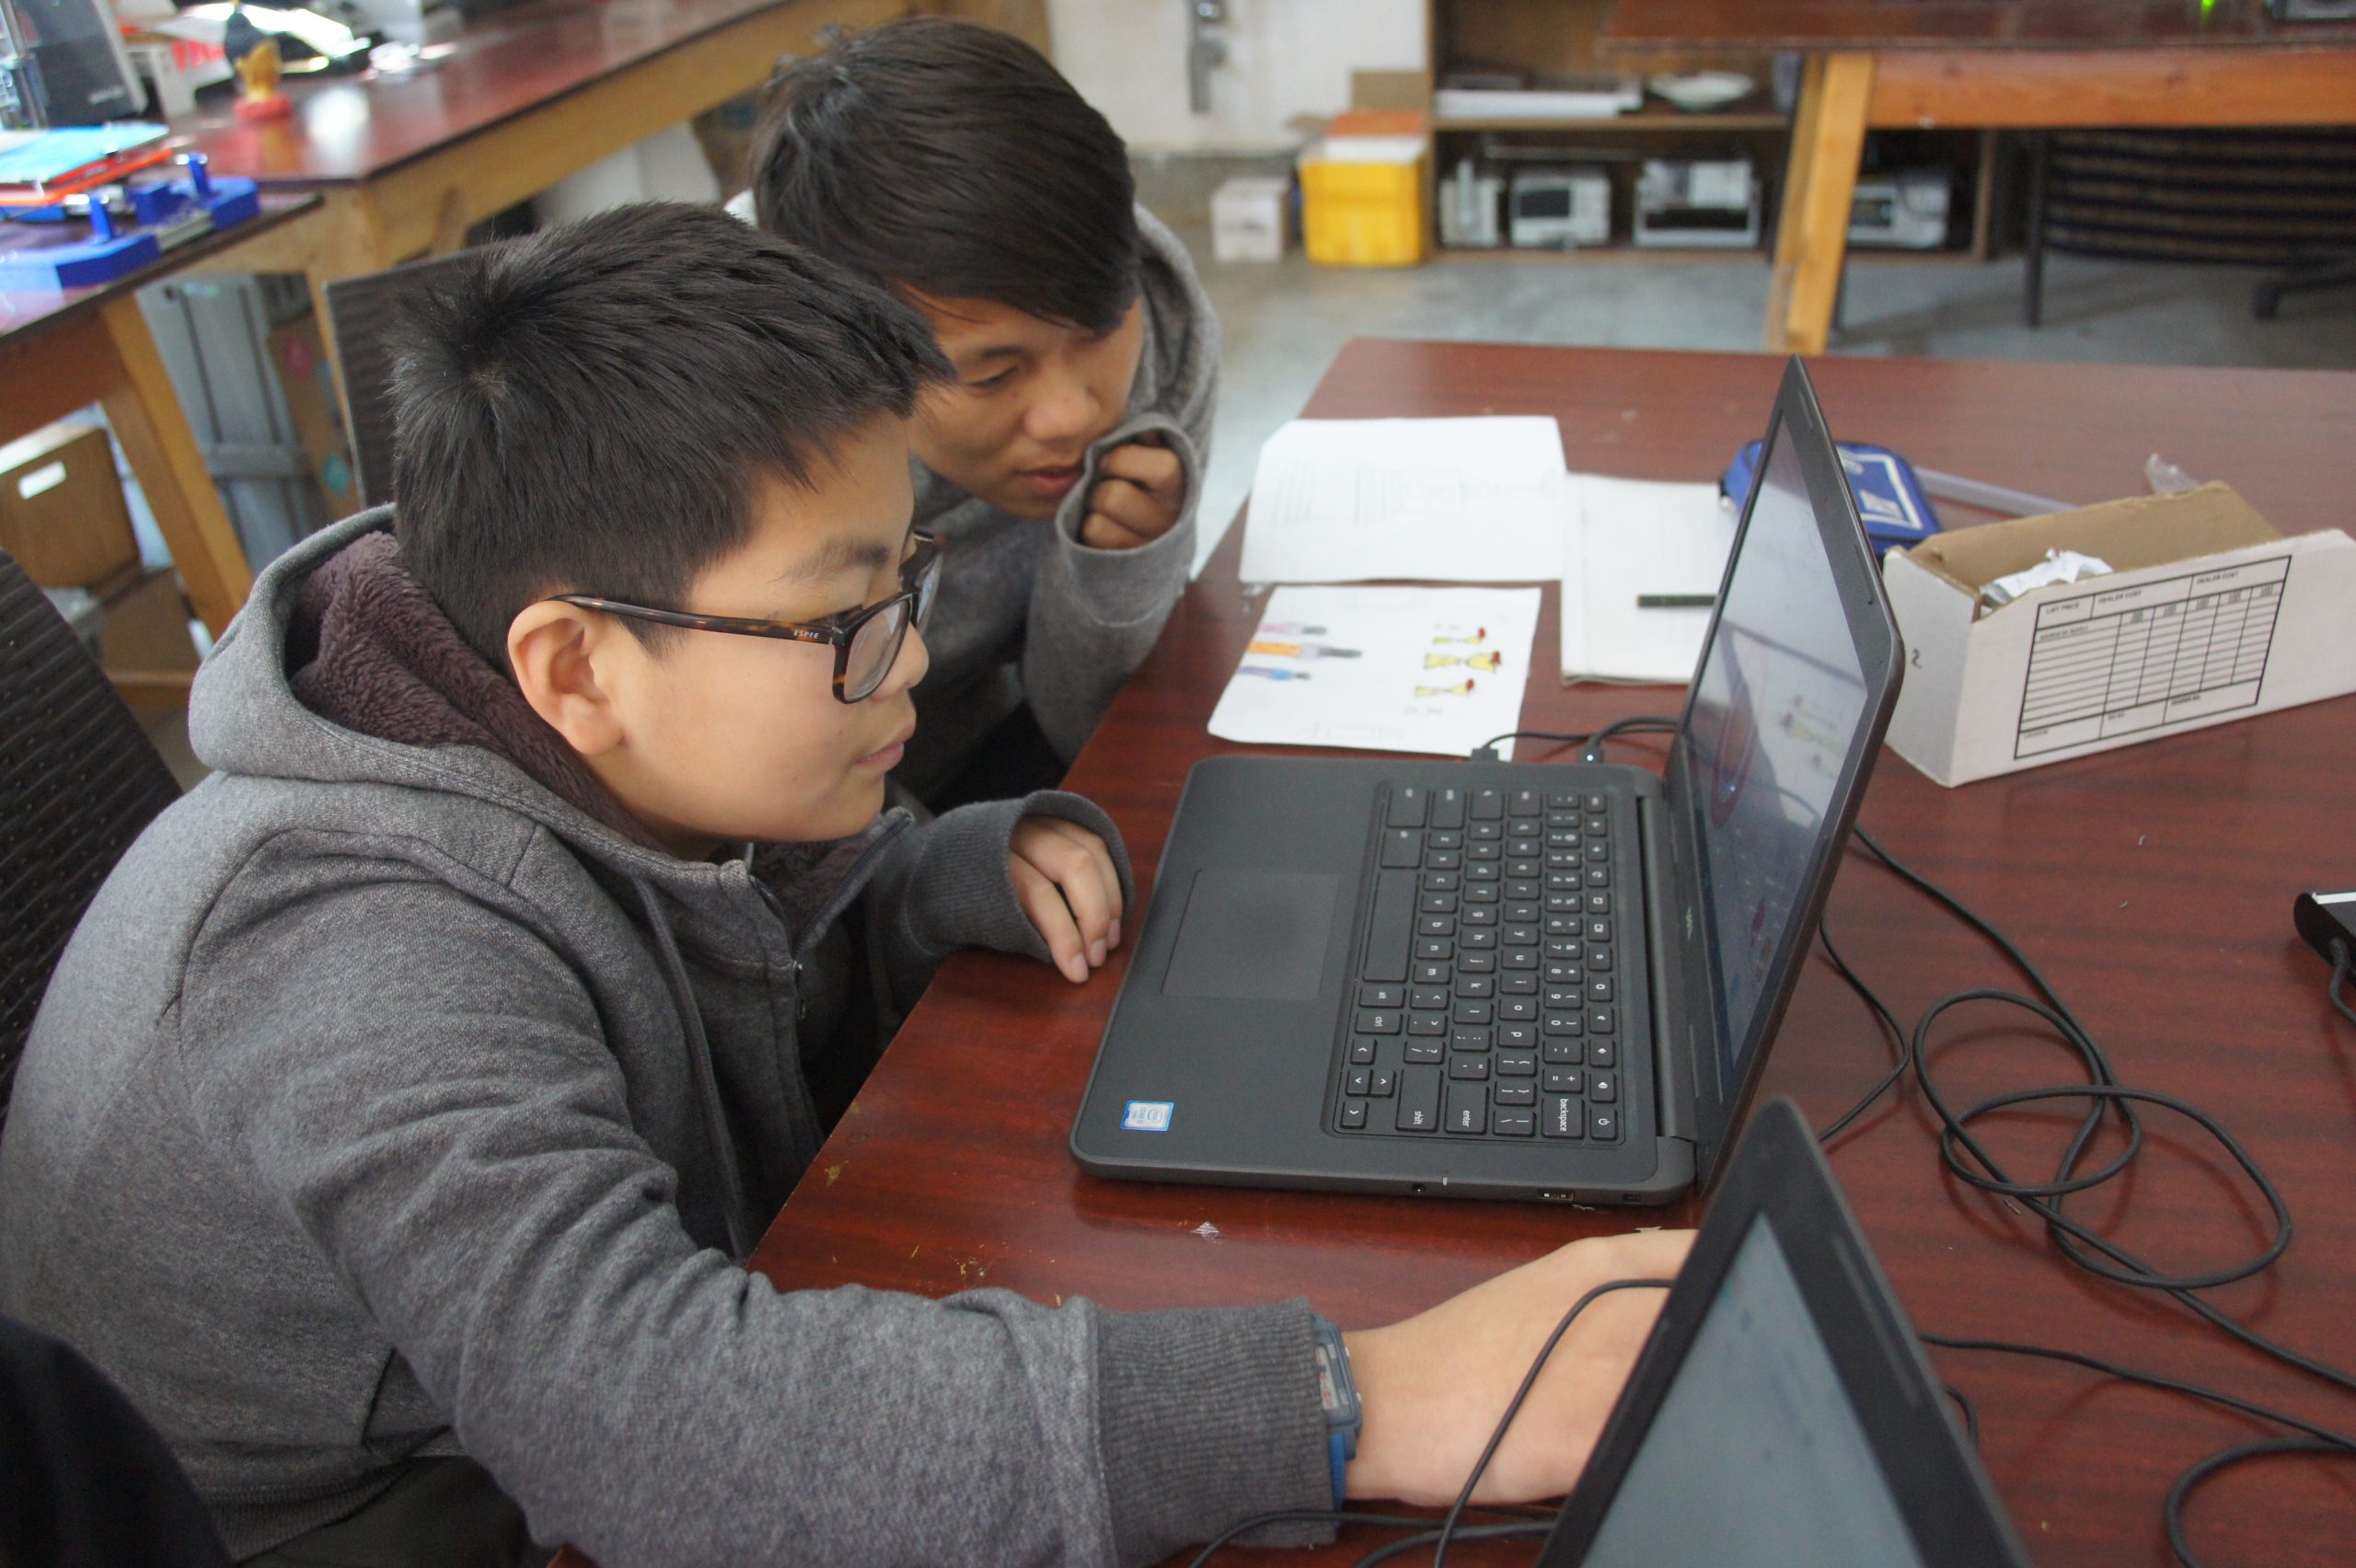
By in cooperating Troe-ko and 3D printing to teach the students, can help preserve the traditions and as well as it being cost efficient. Students will be taught how to design and print traditional ornaments which will help them develop an interest on the countries traditions and peek an interest on technologies. By using 3D printing it will be easier to design and make complicated ornaments.


Tools
1. Computers or laptops
2. 3D printer
Materials
1. Paper/Notebooks
2. Pens/ Pencils
3. PLA Filament
Software
1. Corel Draw
2. Tinkercad 3D Design
First drag the square shape from the basic shapes to the work plane as shown on the right side and scale the shape’s height to 2 mm using the white dot.

Drag another square shape which is a hole to the work plane and place it in the middle of the previous shape, use align tool or using Ctrl L to align on the keyboard. Scale the shape to 10 x 10 mm.

Now select both the shapes and group them together by clicking the button as shown on the right side or by pressing Ctrl G to group them together.

Then click the shape and then click duplicate button as shown on the right side or use Ctrl D to duplicate the shape and drag it.

Duplicate the shapes and place it as shown on the right side and group them by pressing the group button or use Ctrl G on the keyboard. We will know the group have worked or not by the color. If they are grouped the color will be same and can change the color by clicking solid as shown on the right side. Choose your desired color.

Drag another square and scale its height to 1.5 mm and 2 x 10 mm as shown on the right side.

Then duplicate the shape and press the rotate icon as shown on the right side to 90 degree and make it a cross shape.

Now select all the shape and group them together. It should look like the shape on the right side.

Drag a cylinder shape to the work plane as shown on the right side. Scale the cylinder’s diameter to 5 mm and its height to 2 mm and place it in between the cross shape as shown on the right side.

Now drag a half sphere to the work plane and place it on top of the cylinder. Scale the half sphere to 4 x 4 mm and its height to 1 mm.

Change the color of the sphere and place it on top of the cylinder shape as shown on the right side. Now select all the shapes and group them, this will turn the shape to same color, so select solid and tick the multicolor as shown on the right side.

Drag another square on the work plane. Scale the shape to the height of 1 mm and 3 x 20 mm. Rotate the shape to 45 degree.

Place the shape under the previous shape as shown on the right side.

Go to text and number as shown on the right side.

From text and numbers drag letter J to the work plane as shown on the right side. Rotate the letter J to 90 degree.

Place the letter under the previous shape as shown on the right side.

Drag the pyramid shape to the work plane as shown on the right side. Rotate the shape to 90 degree and place it under the shape as shown on the right side.

Scale the shape as shown on the right side.

Place the shape as shown on the right side and group them together.

Drag torus shape to the work plane as shown on the right side. Scale the shape’s diameter to 5 x 5 mm as shown on the right side.

Rotate the shape to 90 degree and place it as shown on the right side. Place the shape to its position as shown on the right side.

Select all the shapes and group them together. Here is your complete 3D koma.

Safety issues:
While using the 3D printer students must be cautious not to touch the nozzle of the printer as it is hot. While printing model students should not touch the 3D printer.
Having trouble? Let us know by completing the form below. We'll do our best to get your issues resolved quickly.
"*" indicates required fields