- Loading…

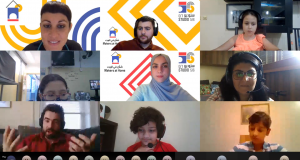
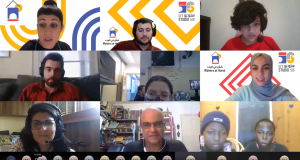
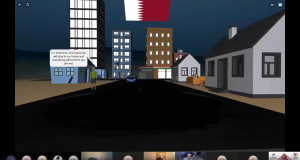
This is an international workshops, where participants from different parts of the world were introduced to the subject of the workshop, the International Day of Education event. They got the chance to discuss their thoughts and ideas about the importance and the future of Education. They were also introduced to the Co-spaces platform where they learned how to customize their own character and design their environment, expressing their vision of the future of Education.

Duration: 5 min. The organizers will wait for the participants to join, introduce themselves, and have an ice-breaking activity.
1- Introduce yourself.
2- Wait for all students to join.
3- Ice breaking activity.
Duration: 10 min. The instructor will explain the topic of the workshop, some technical concepts, and what is the digital prototype of this workshop.
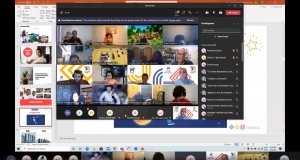
Introduction to Microsoft Teams interface.
2- The reason we are celebrating this day (The International Day of Education).

3- Brainstorming: how do you imagine future classrooms to be like?.
4- Explain the difference between virtual and real.
5- Explain the meaning of Virtual Reality.
6- Explain how VR works.
7- The uses of VR.

8- Question to participants: Have you experienced VR before.
9- Introduction to Co-spaces platform.

10- Explain what we will be doing today.
11- How to access the classroom on CoSpaces.
12- How to share your project.

13- How to build a cardboard headset to have the VR experience.
Duration: 5 min. The instructor will guide the students to join the Cospaces classroom and open the shared project.
1- Share the class code with participants and show them how to enter to the class through co-spaces website.


2- Guide the participants to access the shared project, under the classes tab.

3- Guide the participant to enter to the correct scene, based on their country.

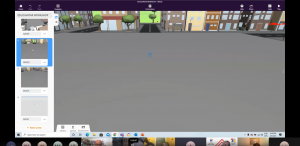
4- Explain the interface of Co-spaces, the different sections of the platform, and how you can move around it.
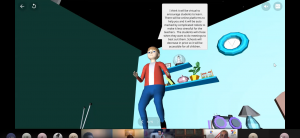
Duration: 30 min. The instructor will teach the students how they can add, customize, and program a character in the 3D environment. The character will represent the participant and his/her thoughts about the future of education.
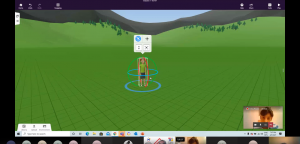
1- Design your own character.
•Drag and drop the character model from the library (people section).

•Show how you can change the scale and position of the character.
•Change the material properties (hair, pants, skin, sweater) of the character to represent your looks.

•Select an appropriate animation(posture, action) for that character.
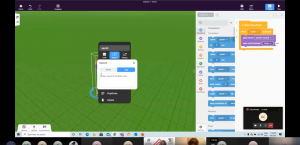
•Add speech box to the character, saying a message about the future of education.
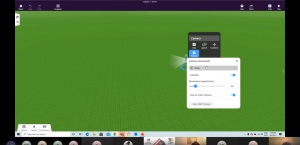
•Enable the co-blocks property of the character, so you can program it from the co-blocks section.

•Explain how you can use co-blocks to program the character to perform different actions (ex: when character is clicked, change the speech box text).

Duration: 30 min. The instructor will guide the participants to join separate breakout rooms, based on the country they're joining from. They design the environment of their scene to represent their country.
1- Guide the participants to move to separate virtual rooms, divided based on the country they are attending from.
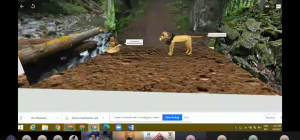
2- Design the environment around the character.
•Select the appropriate environment from the built-in environments in Co-spaces.

•Add different components from the library to represent your home country.
•Change the scale/position of the components.
•Upload 3D models, images, videos to the environment.

•Show how you can attach the images to the components.
3- Ask the participants to get back to the main meeting room and share what they have done in their environments.
4- Ask the participants to move around the project, discovering the scenes of the other countries.
Having trouble? Let us know by completing the form below. We'll do our best to get your issues resolved quickly.
"*" indicates required fields