- Loading…

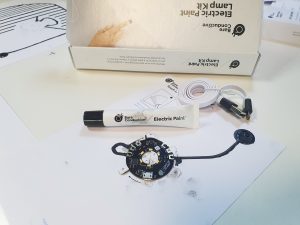
In this workshop, participants are going to learn how to create interactive lights using smart materials and a pre-programmed electrical board that has different functionalities installed in it, participants are going to use the conductive paint as a replacement of wires as well as touch and proximity sensors, the lamps that the participants are going to create are going to be fabricated using paper.


Presentation:
1- Who are we and what we do in Studio 56.
2- Open Question: What are we going to do today?

3- What are smart materials?
• Show video about smart materials.

4- What is conductive paint.

5- Open Question: what is electricity?
6- What is an electrical circuit?
• Show video about electrical circuits.

7- What are the basic components of an electrical circuit?
8- Can wires be replaced in an electrical circuit?
• Explain how wires can be replaced in an electrical circuit.

9- non-smart materials vs smart materials.

10- Explain the light up board.
11- Explain the first activity step by step.
12- Show a video of how a proximity sensor works.
13- Explain the second activity step by step.
1- Open the kit and remove the components and instructions of each activity from it.
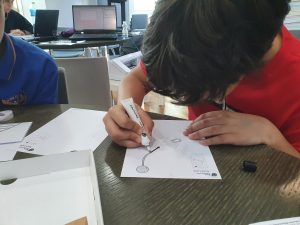
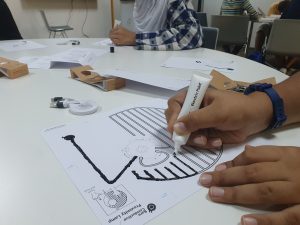
2- Paint on activity 1 instructions paper as mentioned in the instruction using the conductive paint.

3- wait for the conductive paint to dry.
4- while waiting for the paint to dry in activity 1, start painting in activity 2 instruction paper.

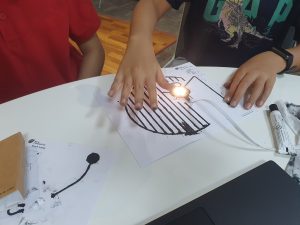
5- After the paint dries in activity 1 install the light up board on the instructions paper as mentioned.

6- Cold solder the light up board in activity 1 using the conductive paint.

7- Wait for the cold solder to dry in activity 1.
8- Connect the light up board to the laptop.
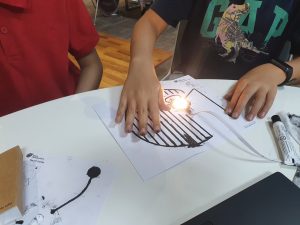
9- test to see if the prototype is working as intended.

10- Use the lamp cover instruction in activity 1 to attach it to the lamp prototype.
11- test the full prototype.
12- clean the light up board from the conductive paint.
13- install the light up board to activity 2.

14- cold solder the light up board in activity 2.

15- wait for the cold solder to dry in activity 2.
16- Connect the light up board to the laptop.
17- test to see if the prototype is working as intended.

18- Use the lamp cover instruction in activity 2 to attach it to the lamp prototype.
19- test the full prototype.

Having trouble? Let us know by completing the form below. We'll do our best to get your issues resolved quickly.
"*" indicates required fields