- Loading…
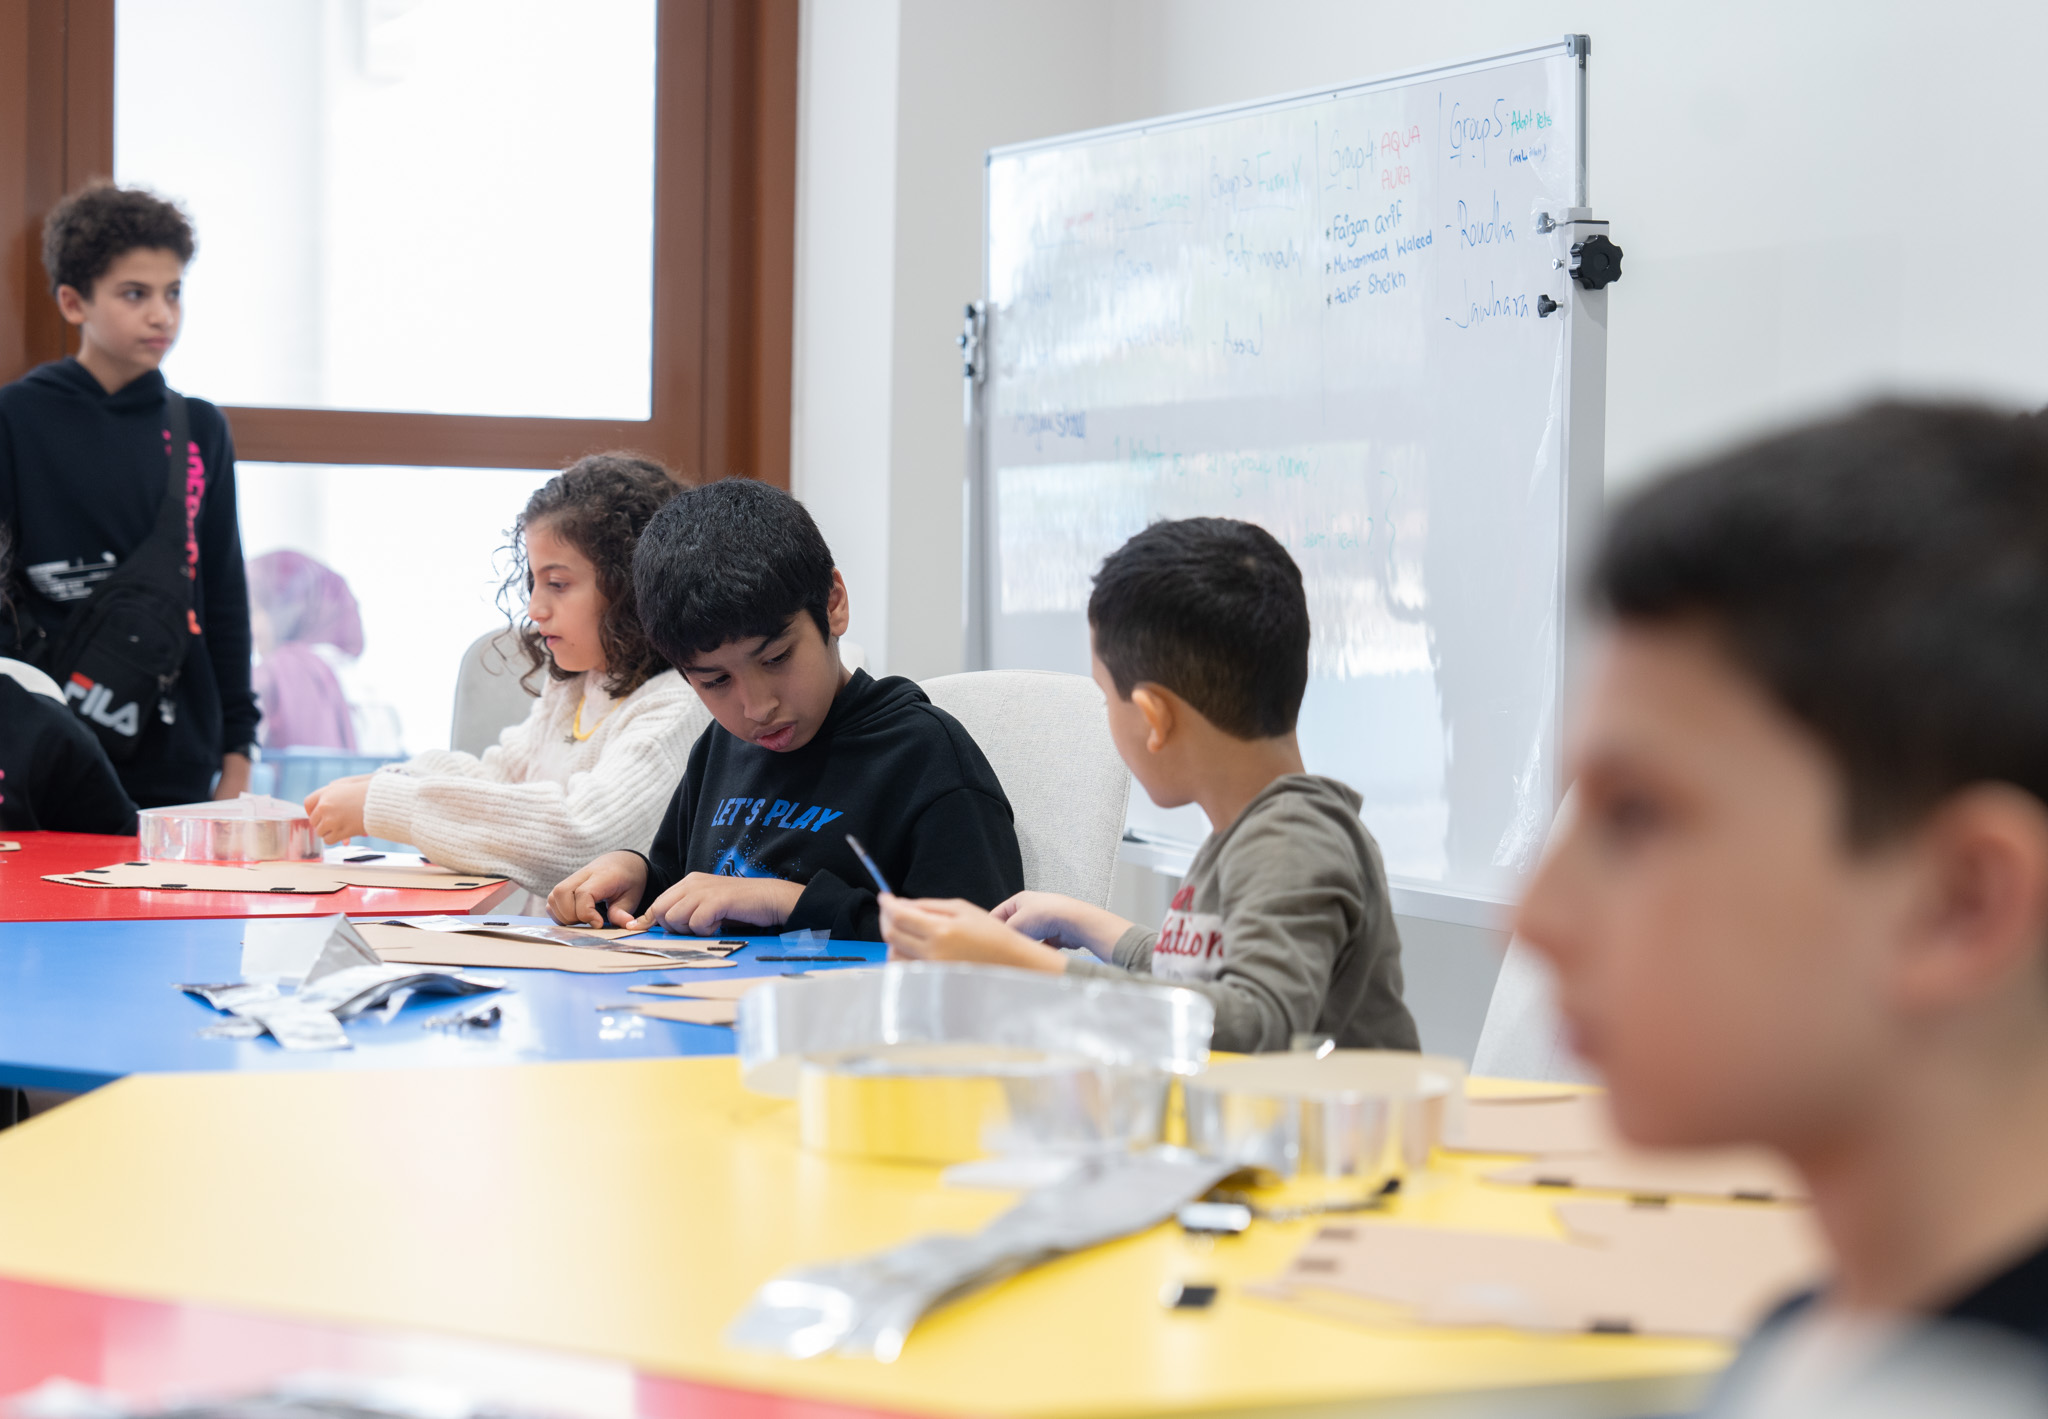
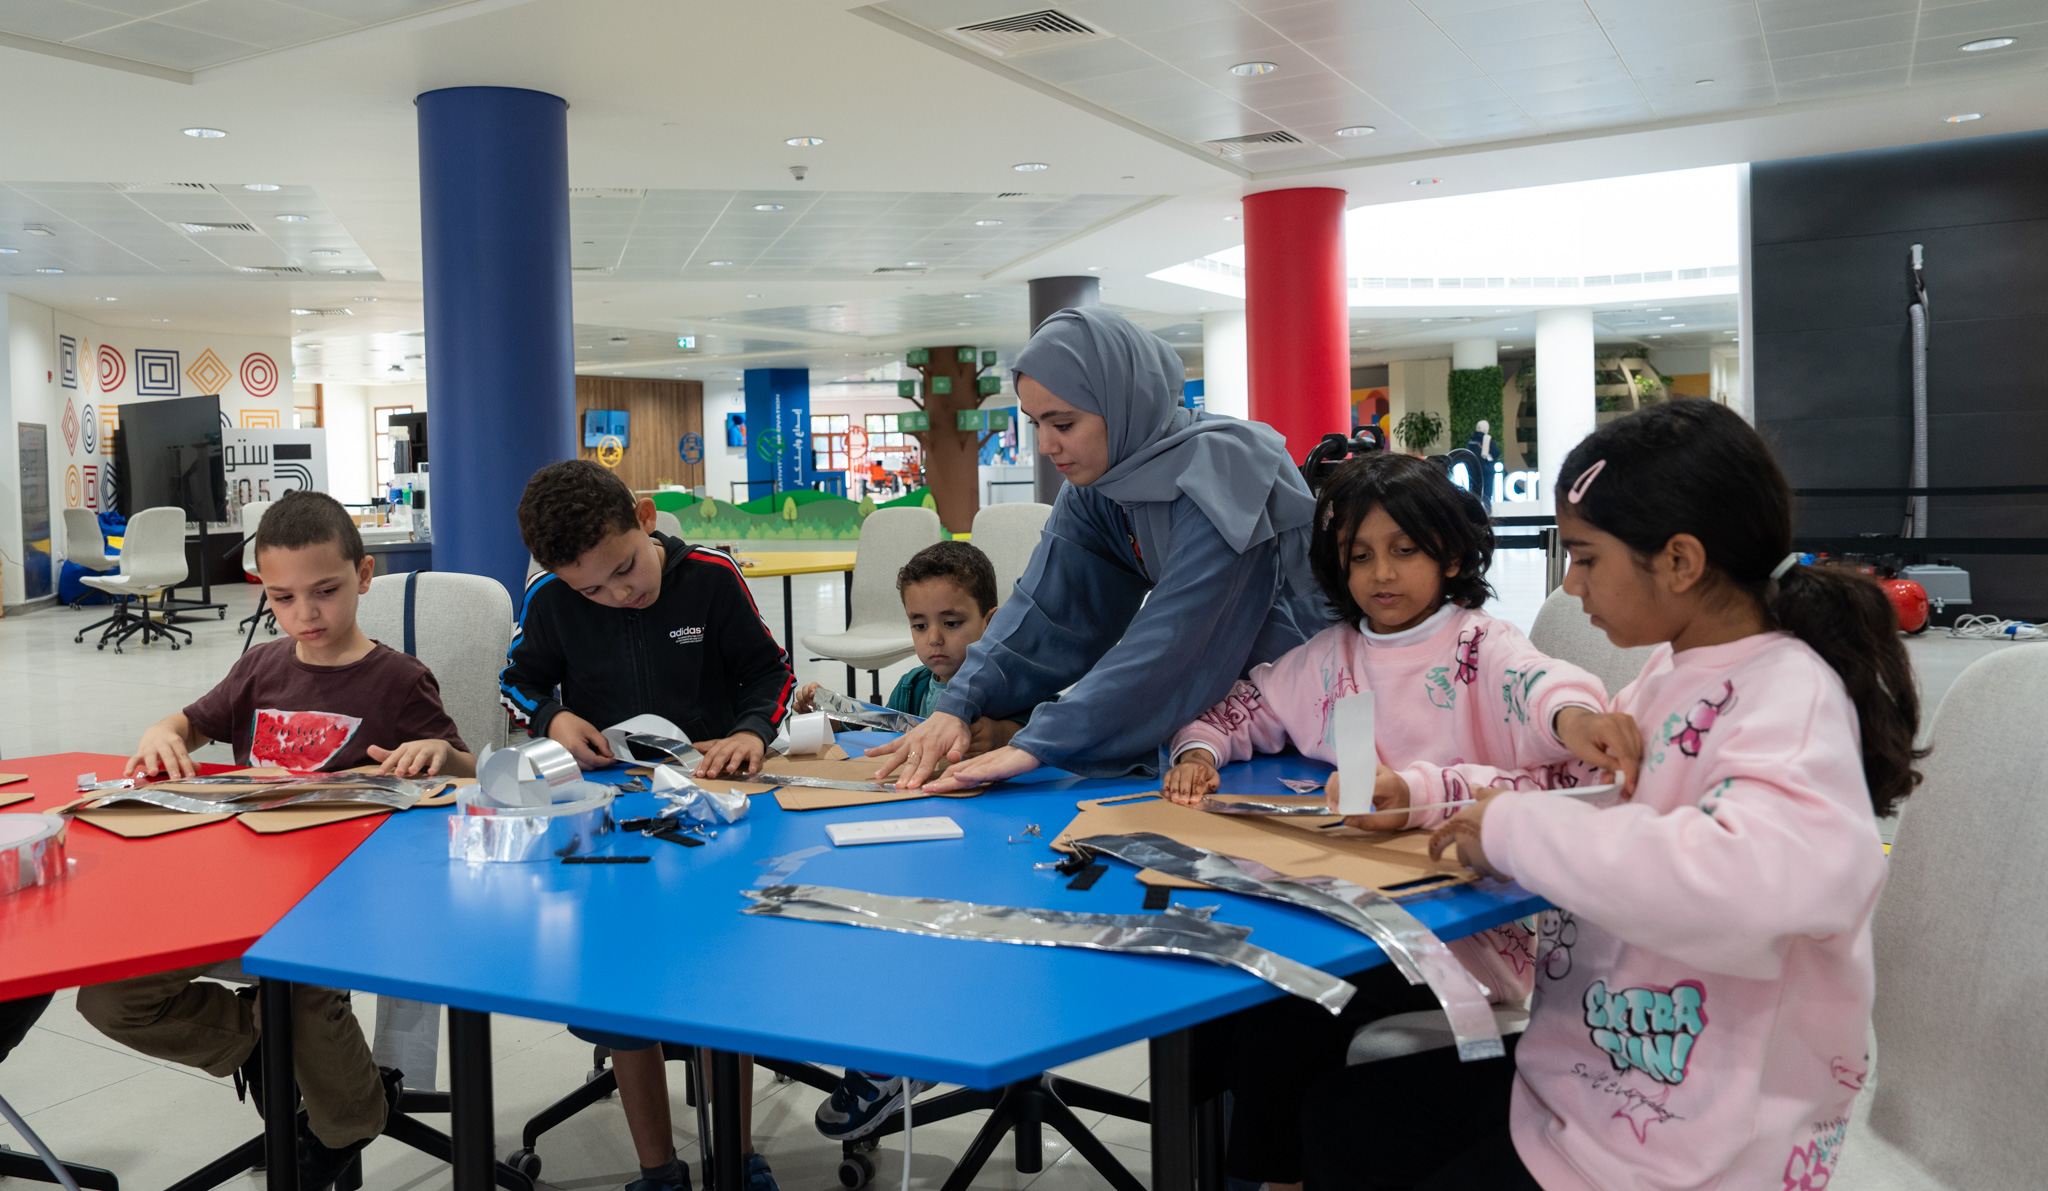
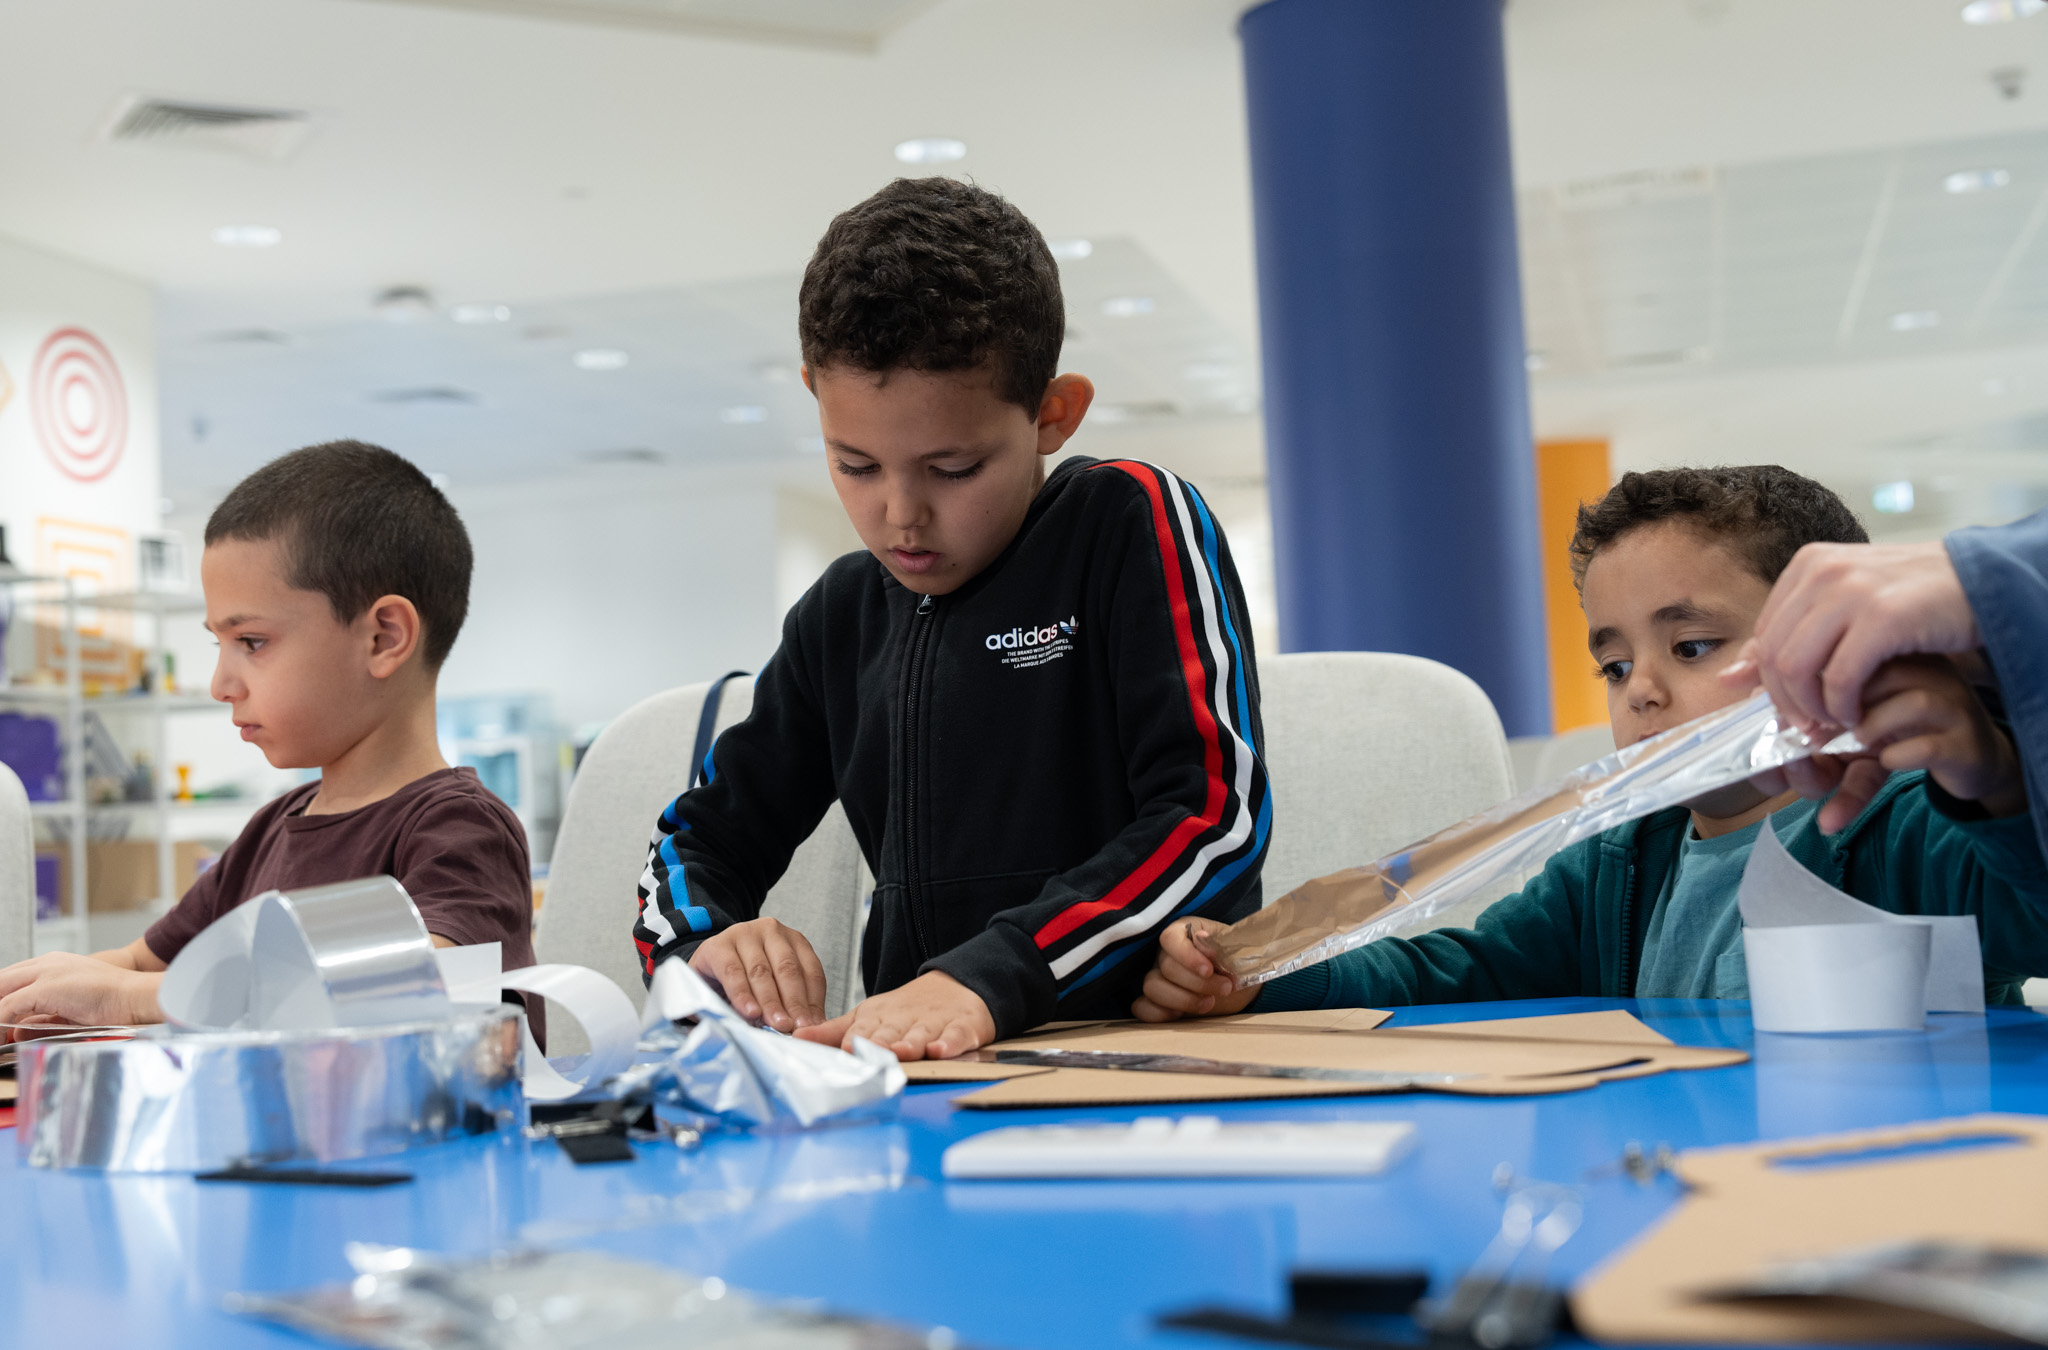
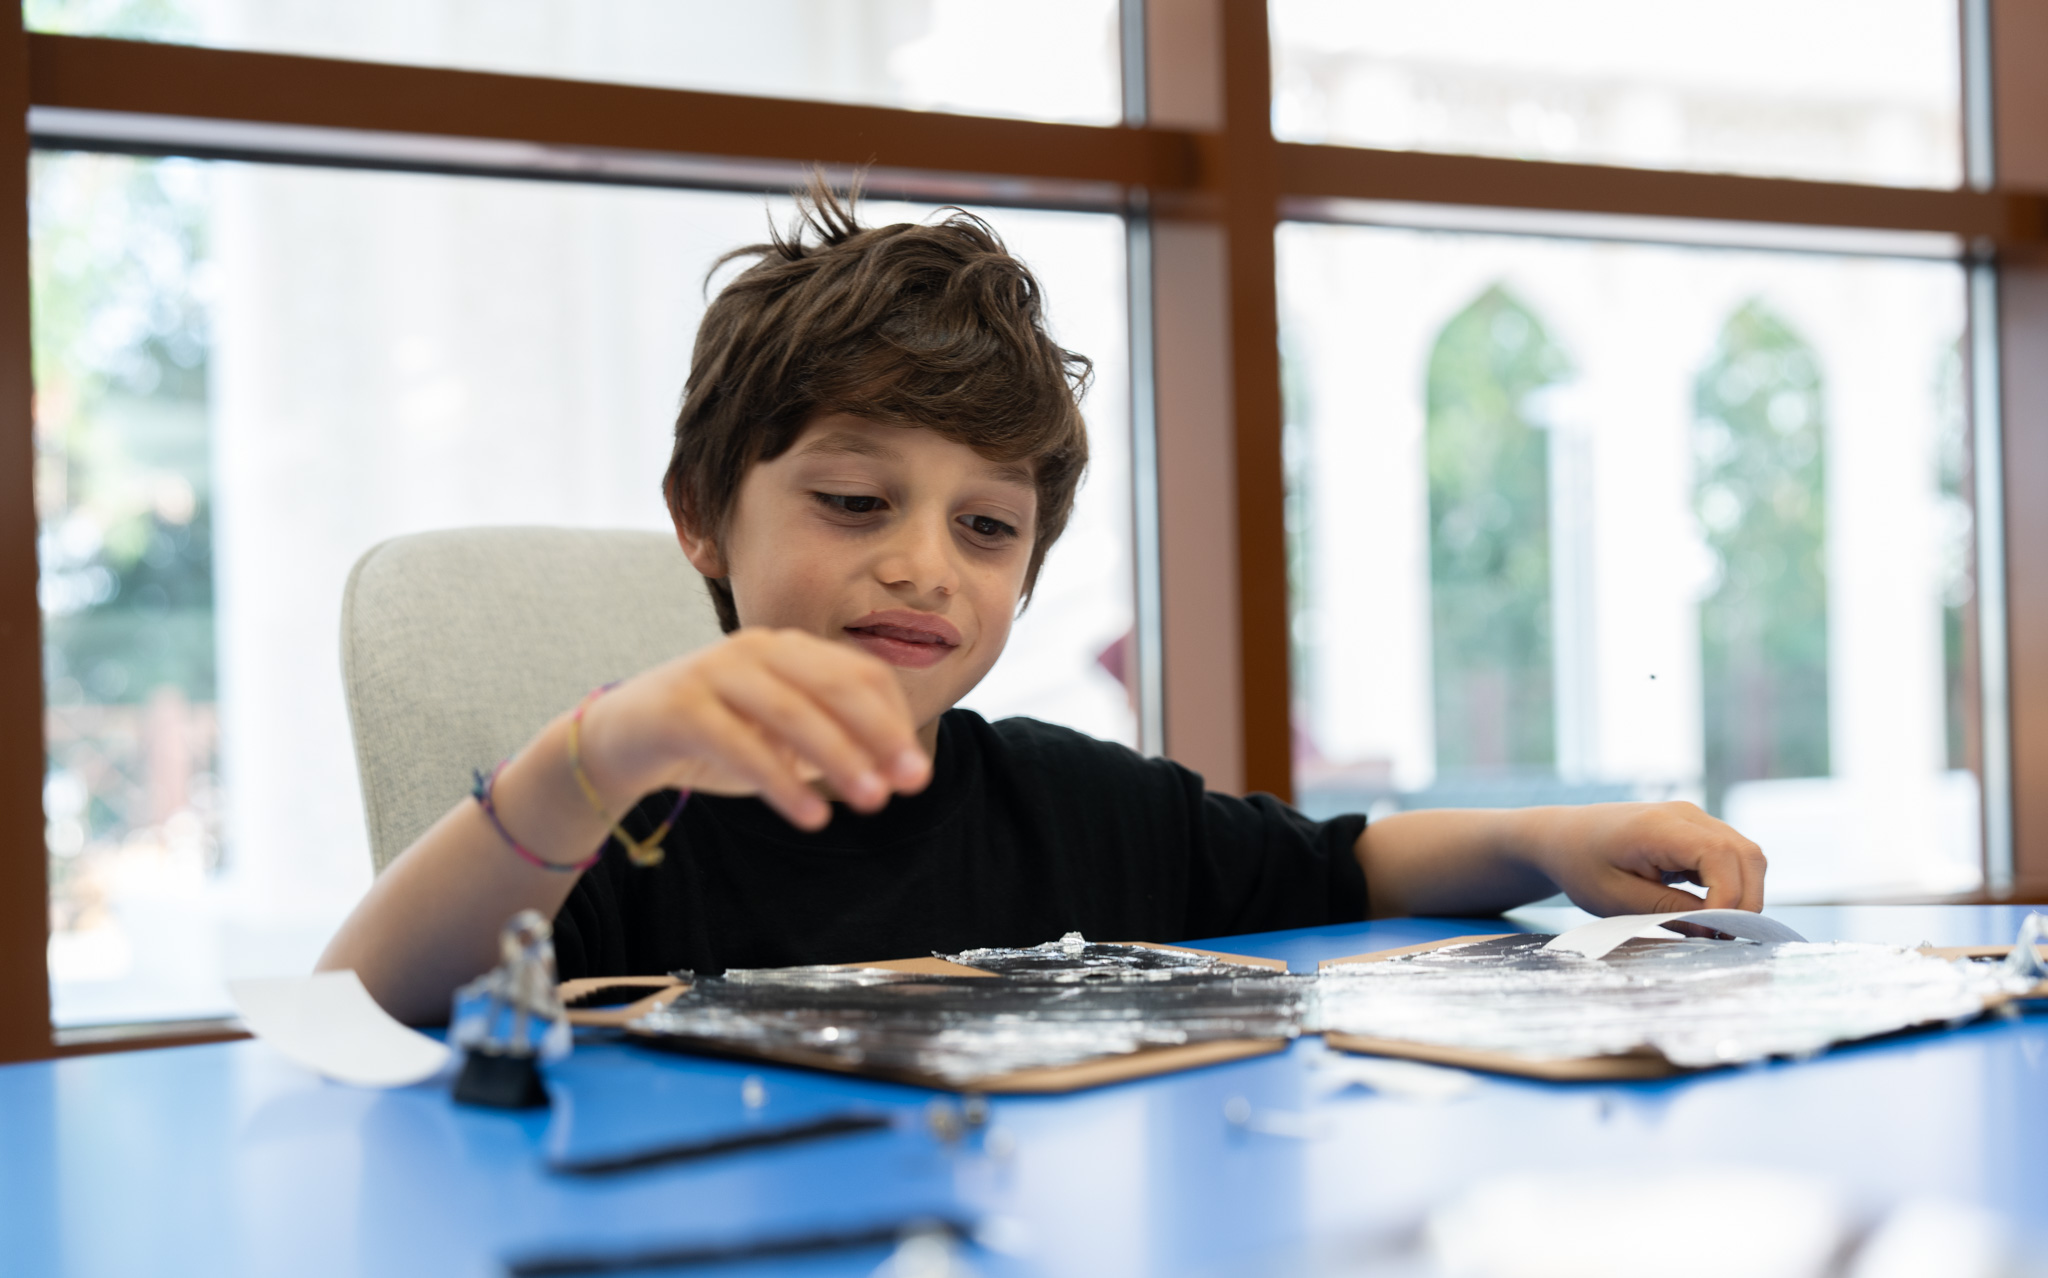
During this workshop, young participants (7-10 years old) will assemble a portable solar oven using cardboard and transparent PVC vinyl. They will put their creation to the test by cooking a delicious breakfast meal using the power of the sun!


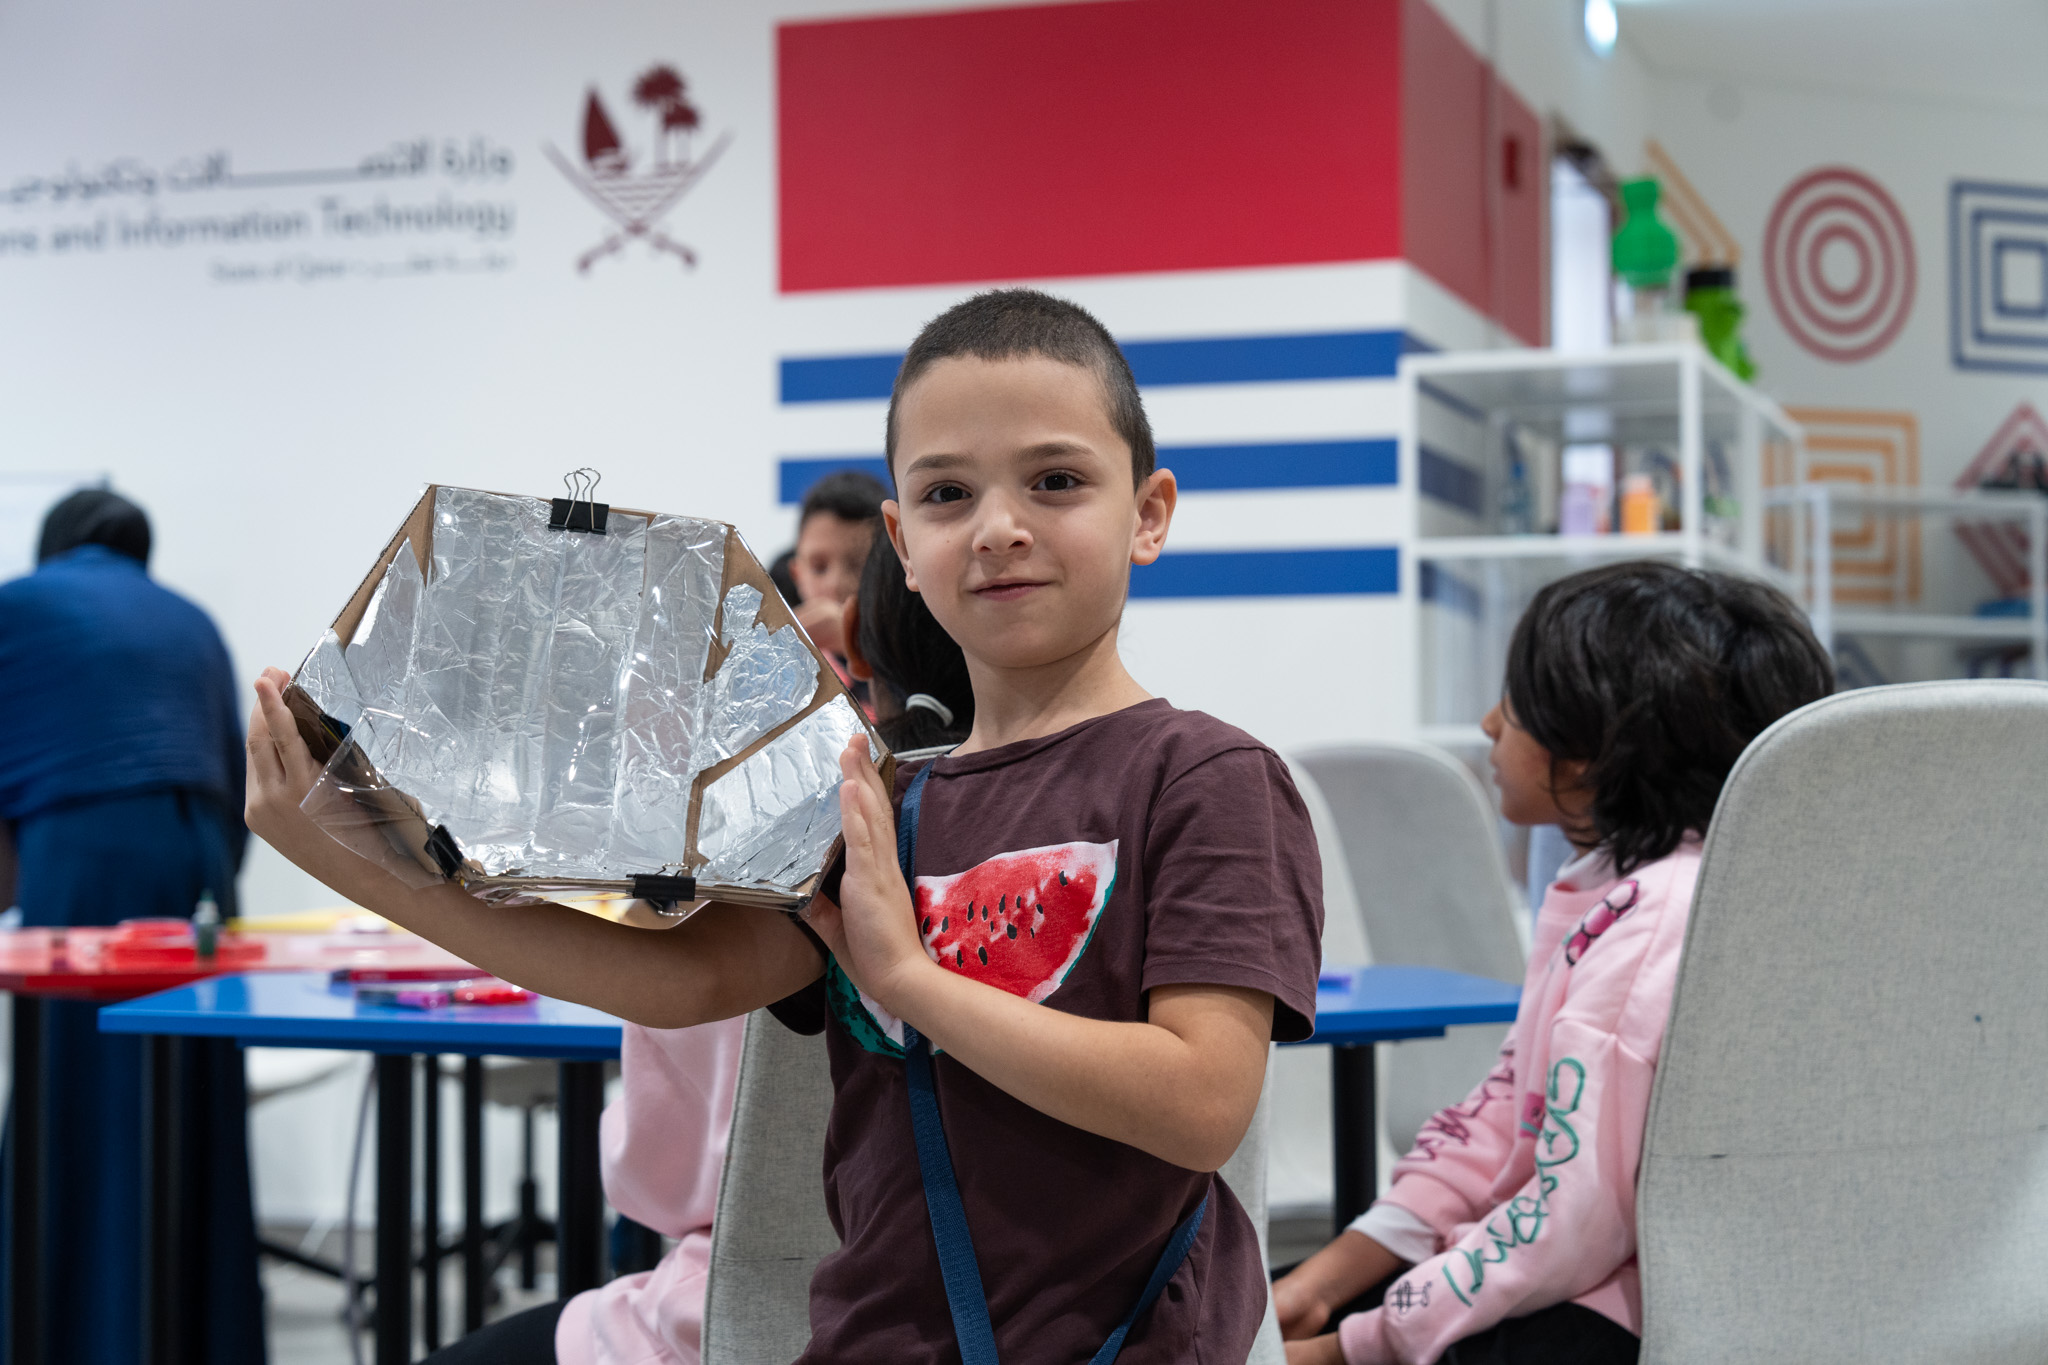

Follow through the presentation to understand more about Solar Ovens and how they work.

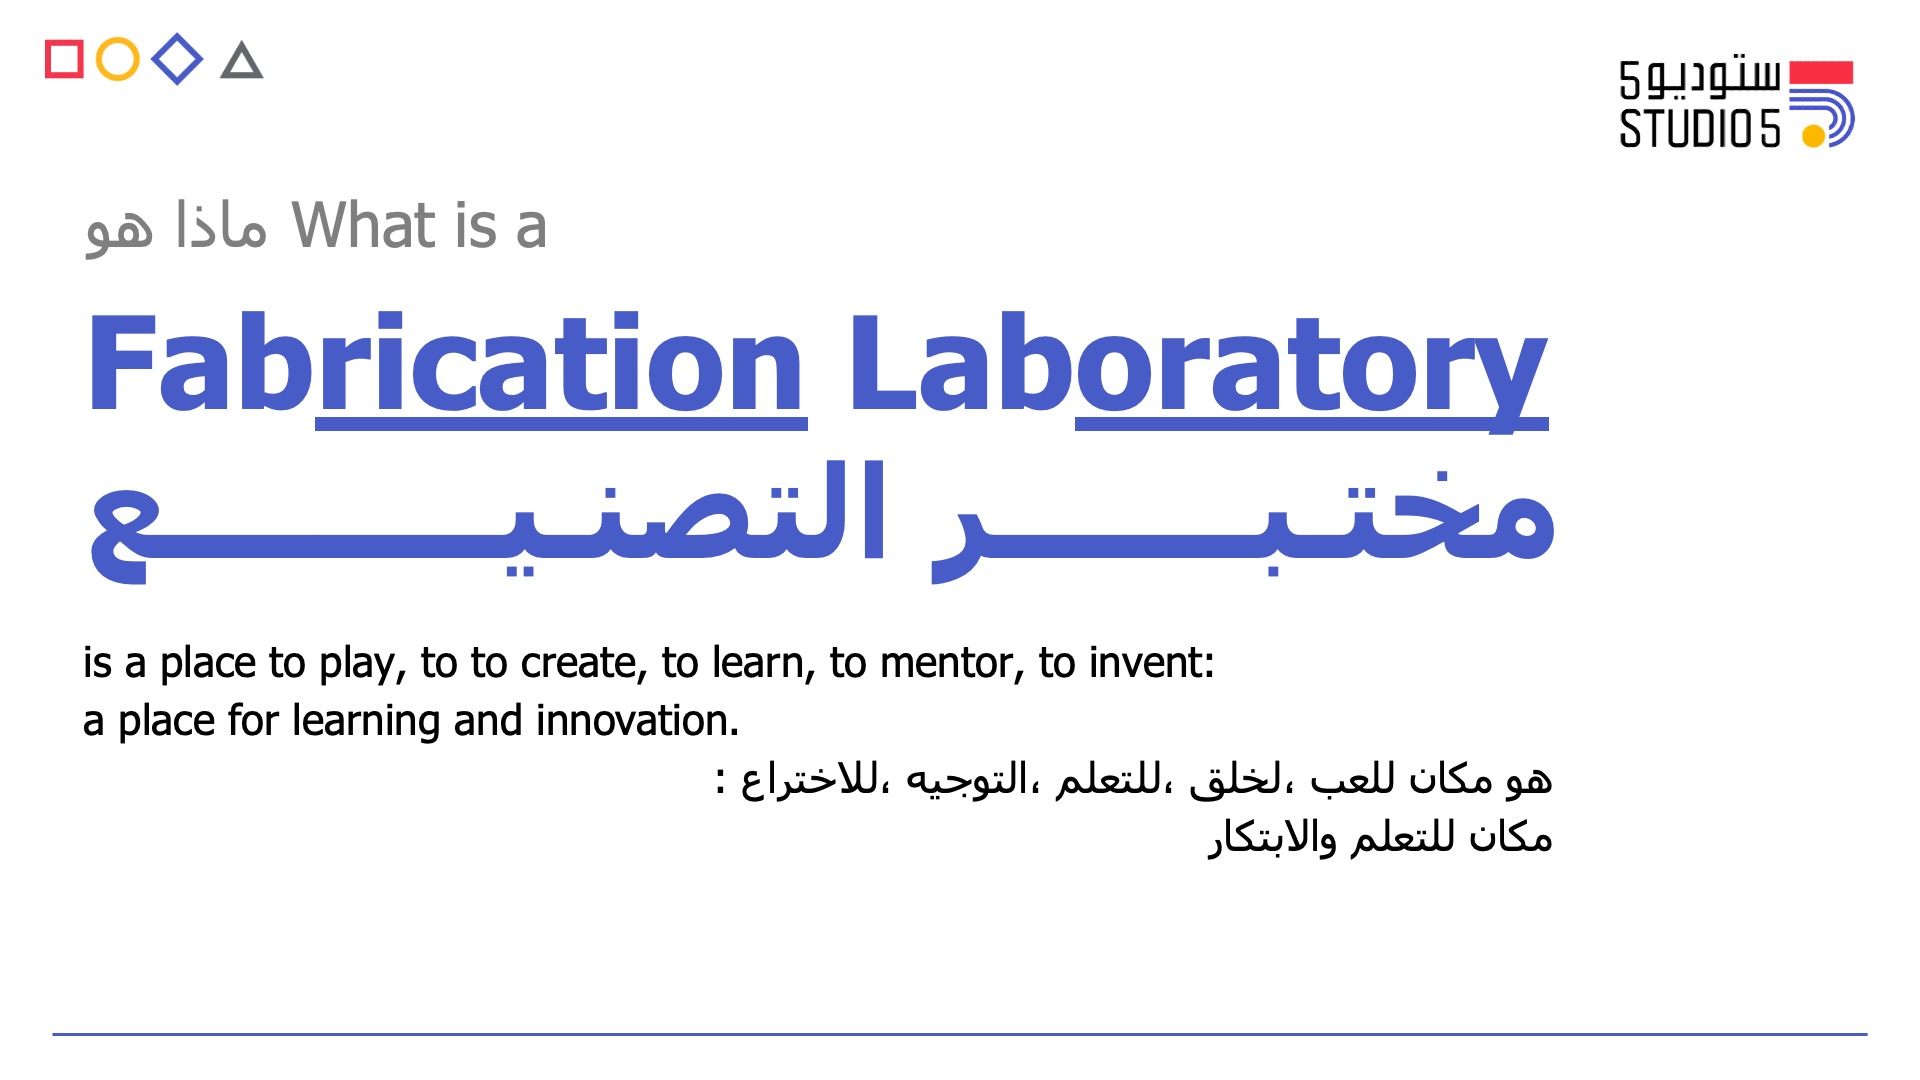
What is a Fabrication Laboratory (FabLab)?
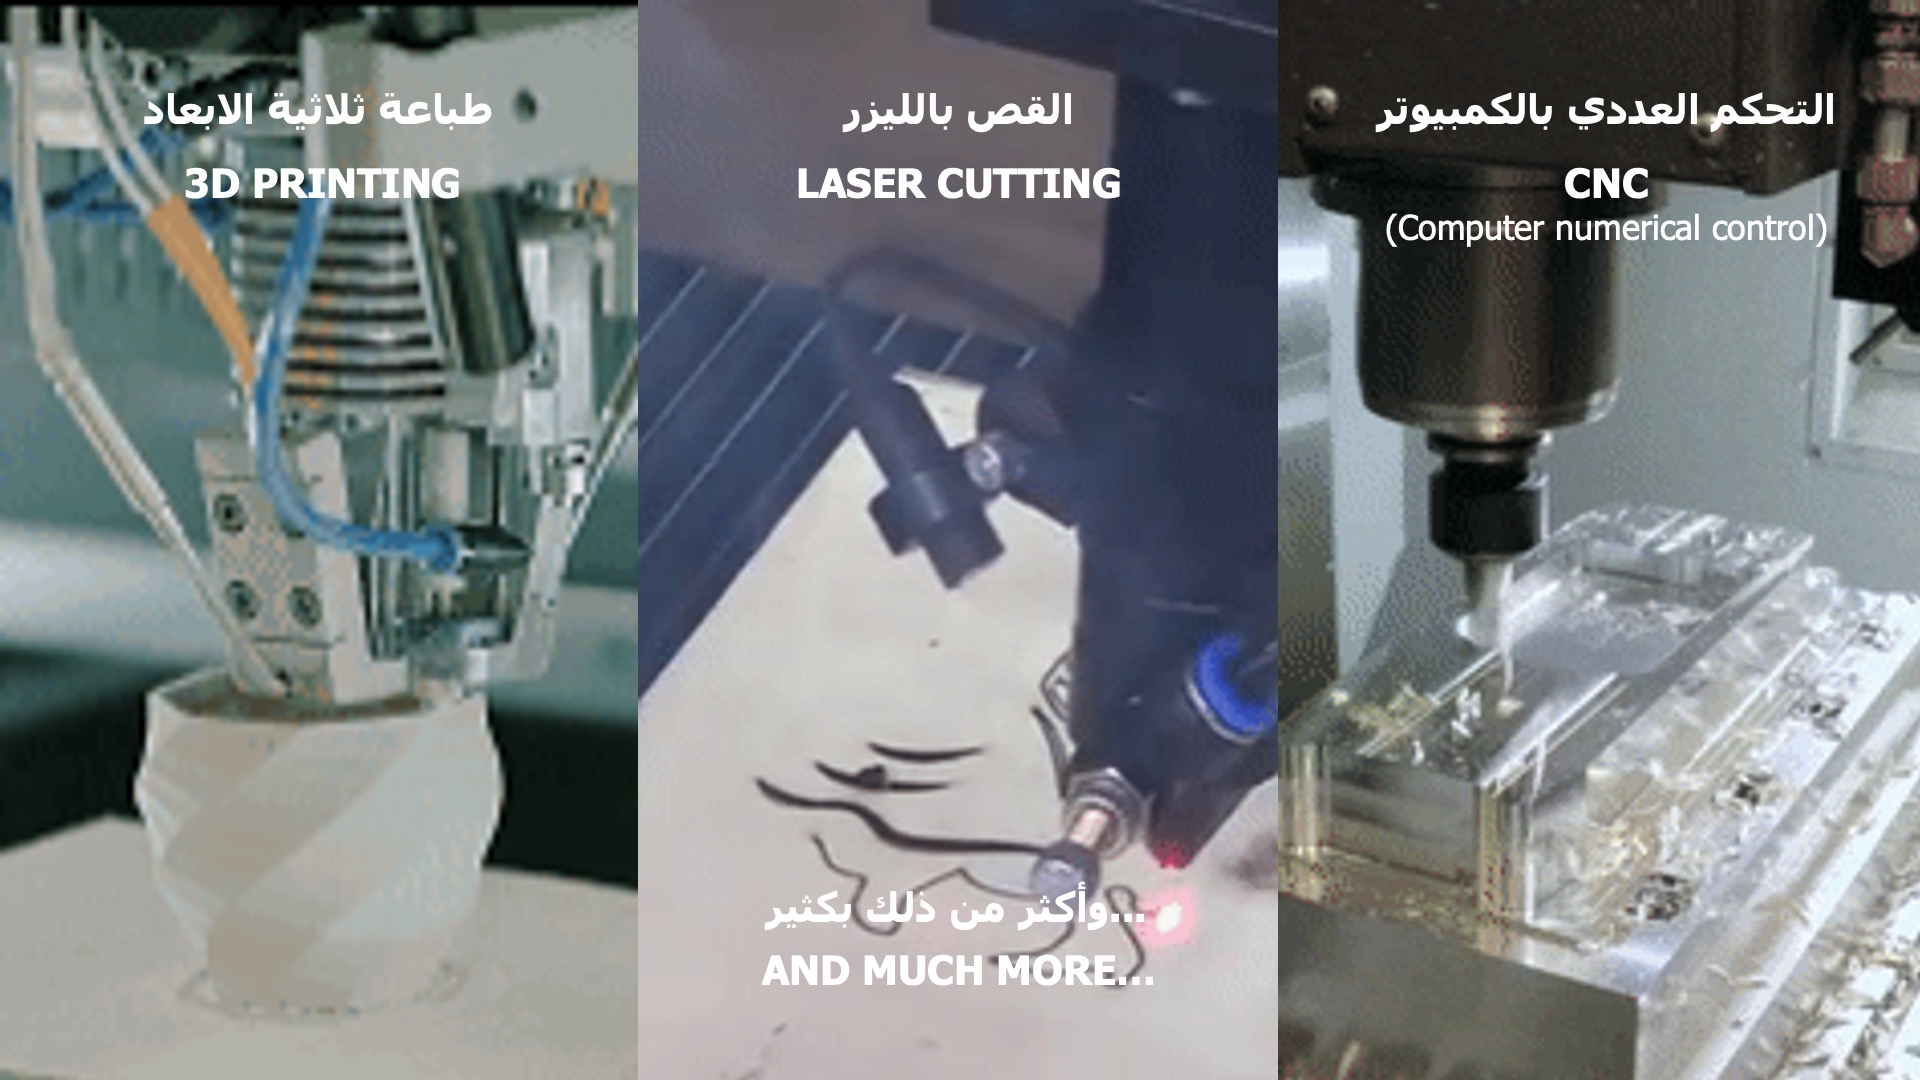
What types of machines exist within a FabLab?
Here are the 4 zones in the Studio5 FabLab

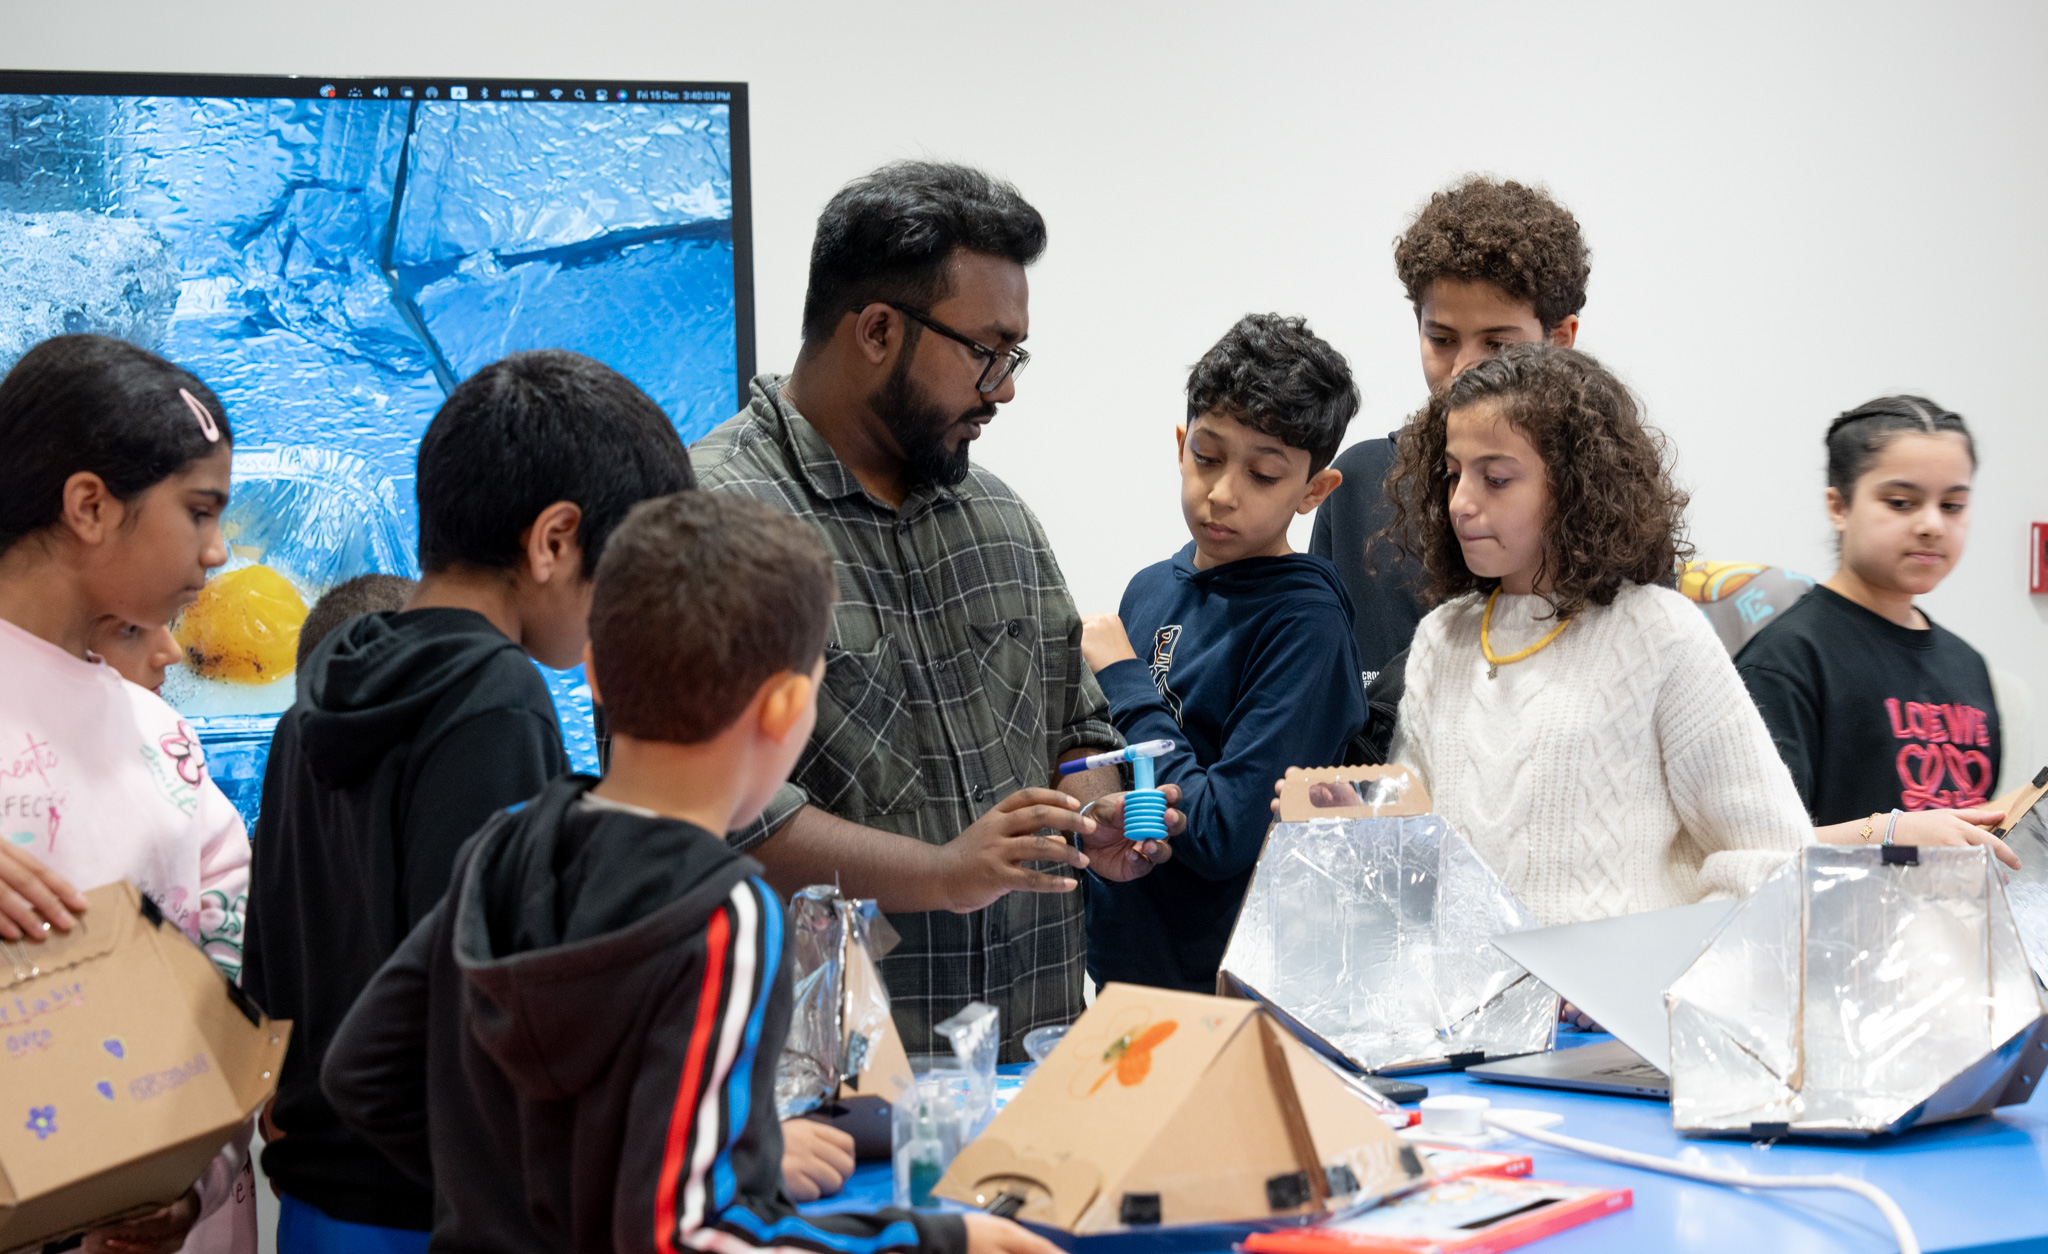
Examples of DIY

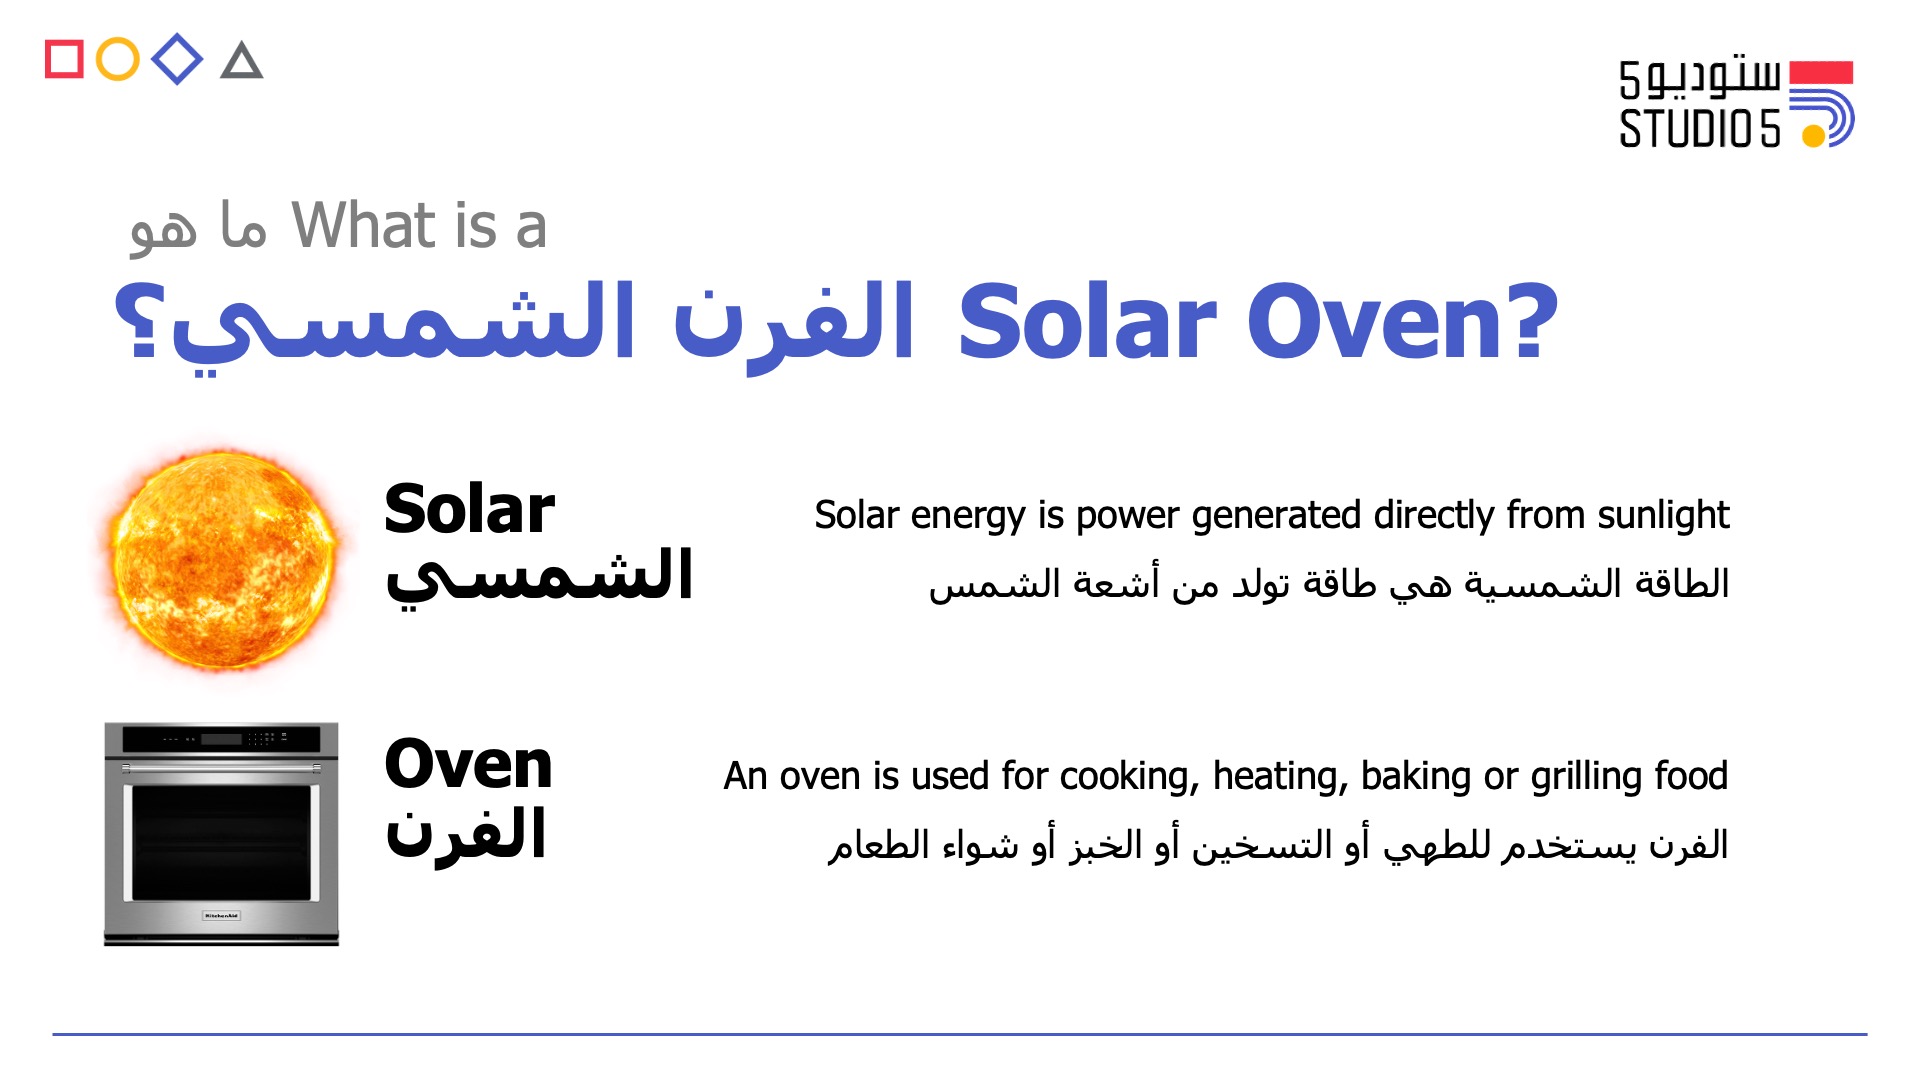
What is a Solar Oven?
Here are some of the different types of Ovens

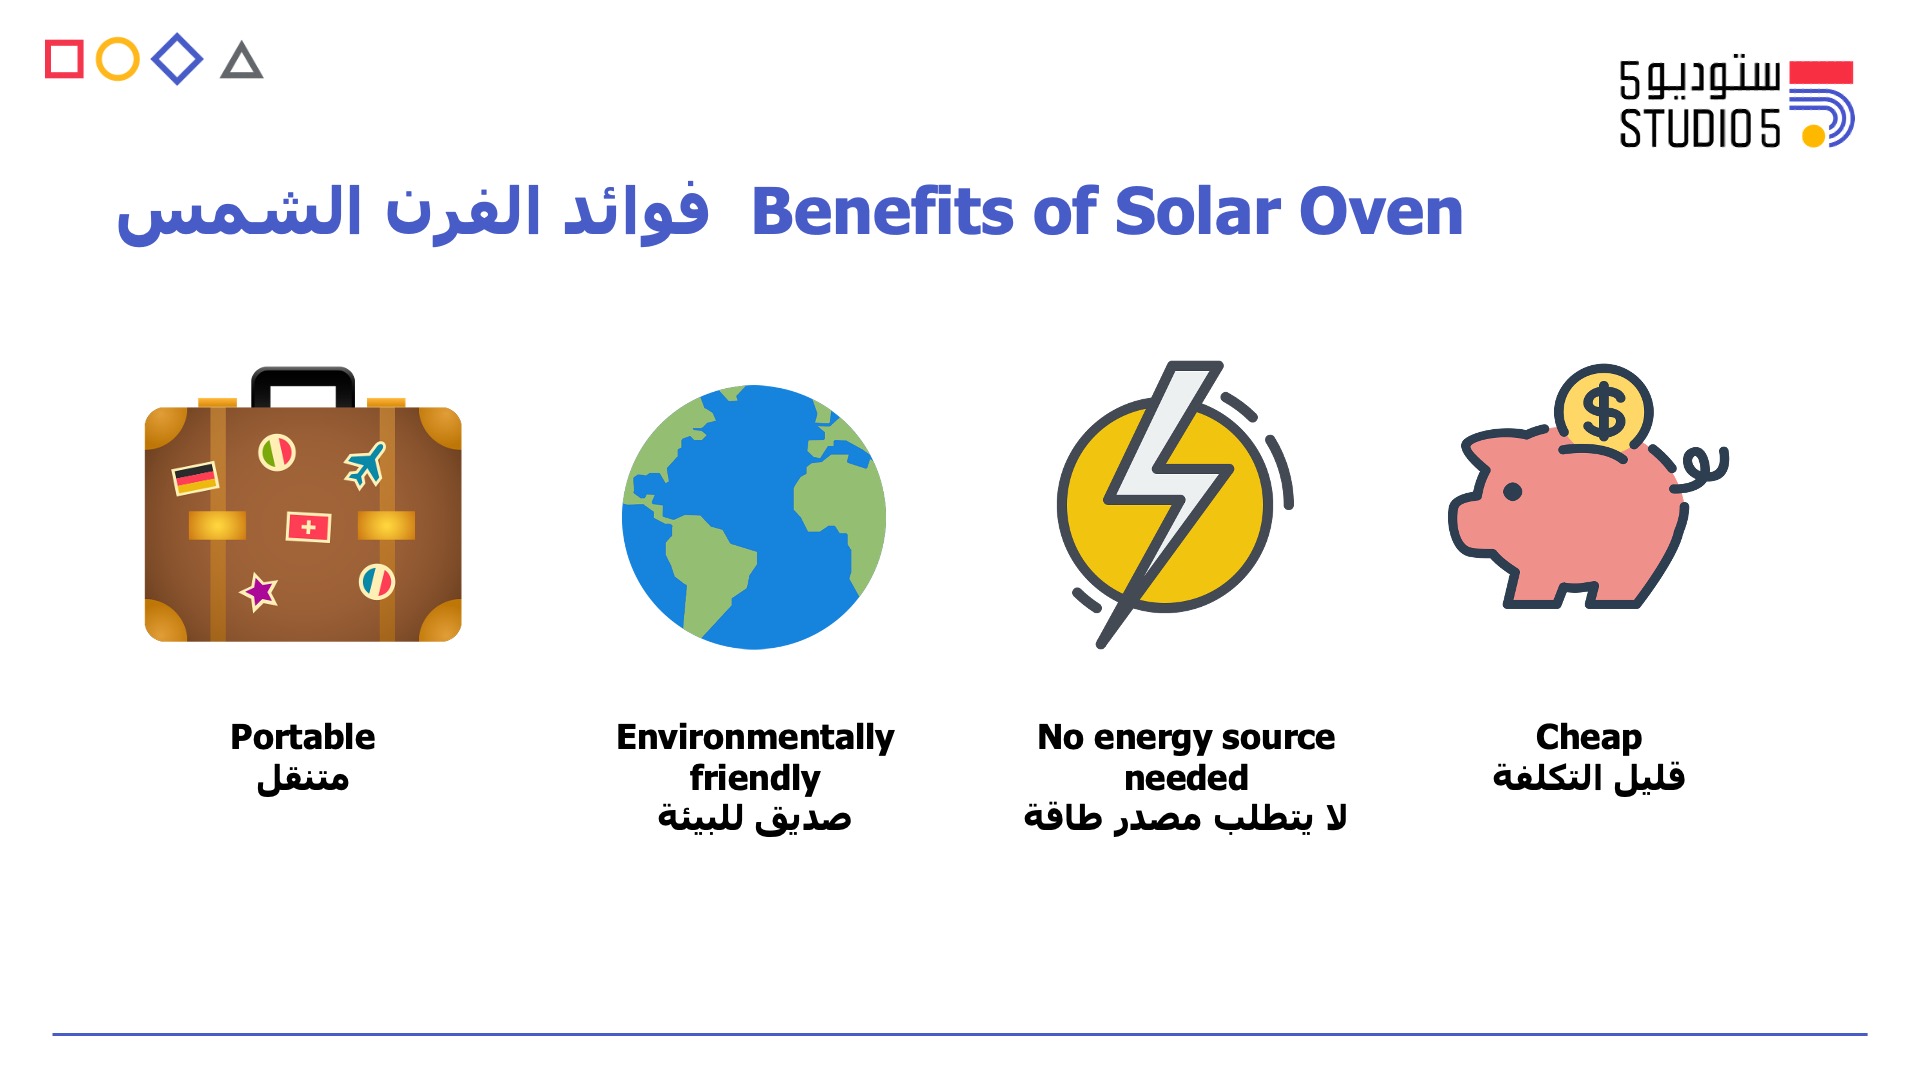
Benefits of Solar Oven
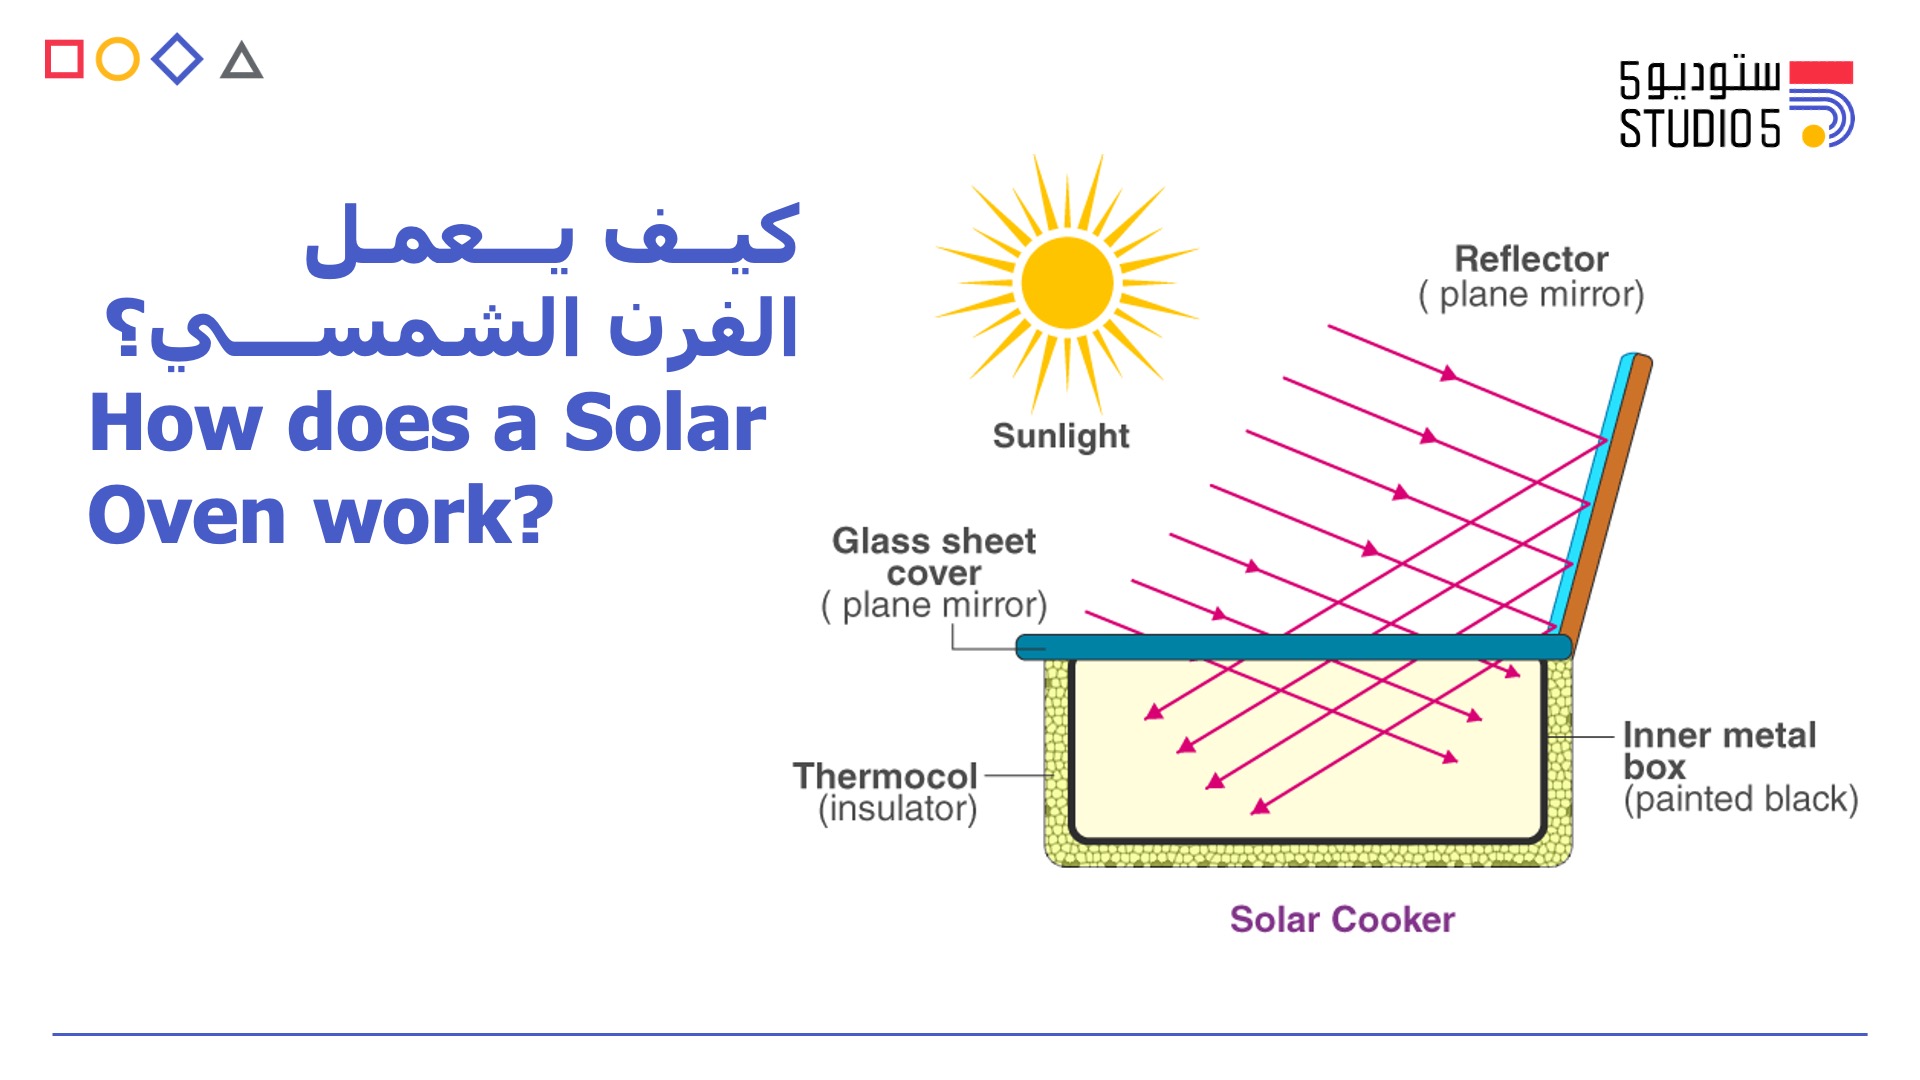
How does a Solar oven work?
Watch an informative video on How Solar Ovens work!

Learn about the Greenhouse effect!

Let us get into how to build your very own Solar Oven.
Materials required

Step 1: Place the front side of the cardboard facing up

Step 2: Stick aluminum tape on the front side of the cardboard

Step 3: Flip the cardboard to its backside

Step 4: Stick the Velcro on the cardboard as shown in the diagram

Step 5: Take your transparent PVC vinyl that you created using the illustrator template

Step 6: Stick the Velcro pieces to the PVC Vinyl as shown in the diagram


Step 7: Fold the cardboard using the score as a guide and add the brass fasteners

Step 8: Attach the Clear PVC vinyl to the Solar Oven using the velcro’s and secure the handle side with two binder clips.
NOTE: It is important that you stick both sides of the Velcro in the exact same position or it will not align when attached together.

Step 9: Fold the Solar Oven to be compact and portable! You can fold and store the PVC transparent vinyl inside the cardboard Solar Oven!

Take your portable Solar Oven and start cooking!

Summarize the workshop by asking the participants what all they have learnt

Couple of alternatives and things to consider while building your Solar Oven.
• You can use aluminum foil and stick it with any multi-purpose white glue (PVA glue) instead of Aluminum tape.
• You can stick a larger portion of the Hook side of the Velcro (rough side) on the cardboard on Step 4. This way you eliminate the margin of error when the Transparent PVC vinyl gets attached with the cardboard.
• If you do not have access to Velcro, do not worry! You can use binder clips to attach the Transparent PVC vinyl to the cardboard.
Having trouble? Let us know by completing the form below. We'll do our best to get your issues resolved quickly.
"*" indicates required fields
