Bag Tags with Inkscape and xTool – SCOPES-DF

Lesson Details

Subjects *
Age Ranges *
Fab Tools *
Additional Contributors

Author

Julie Mitchell
Julie Mitchell

Summary

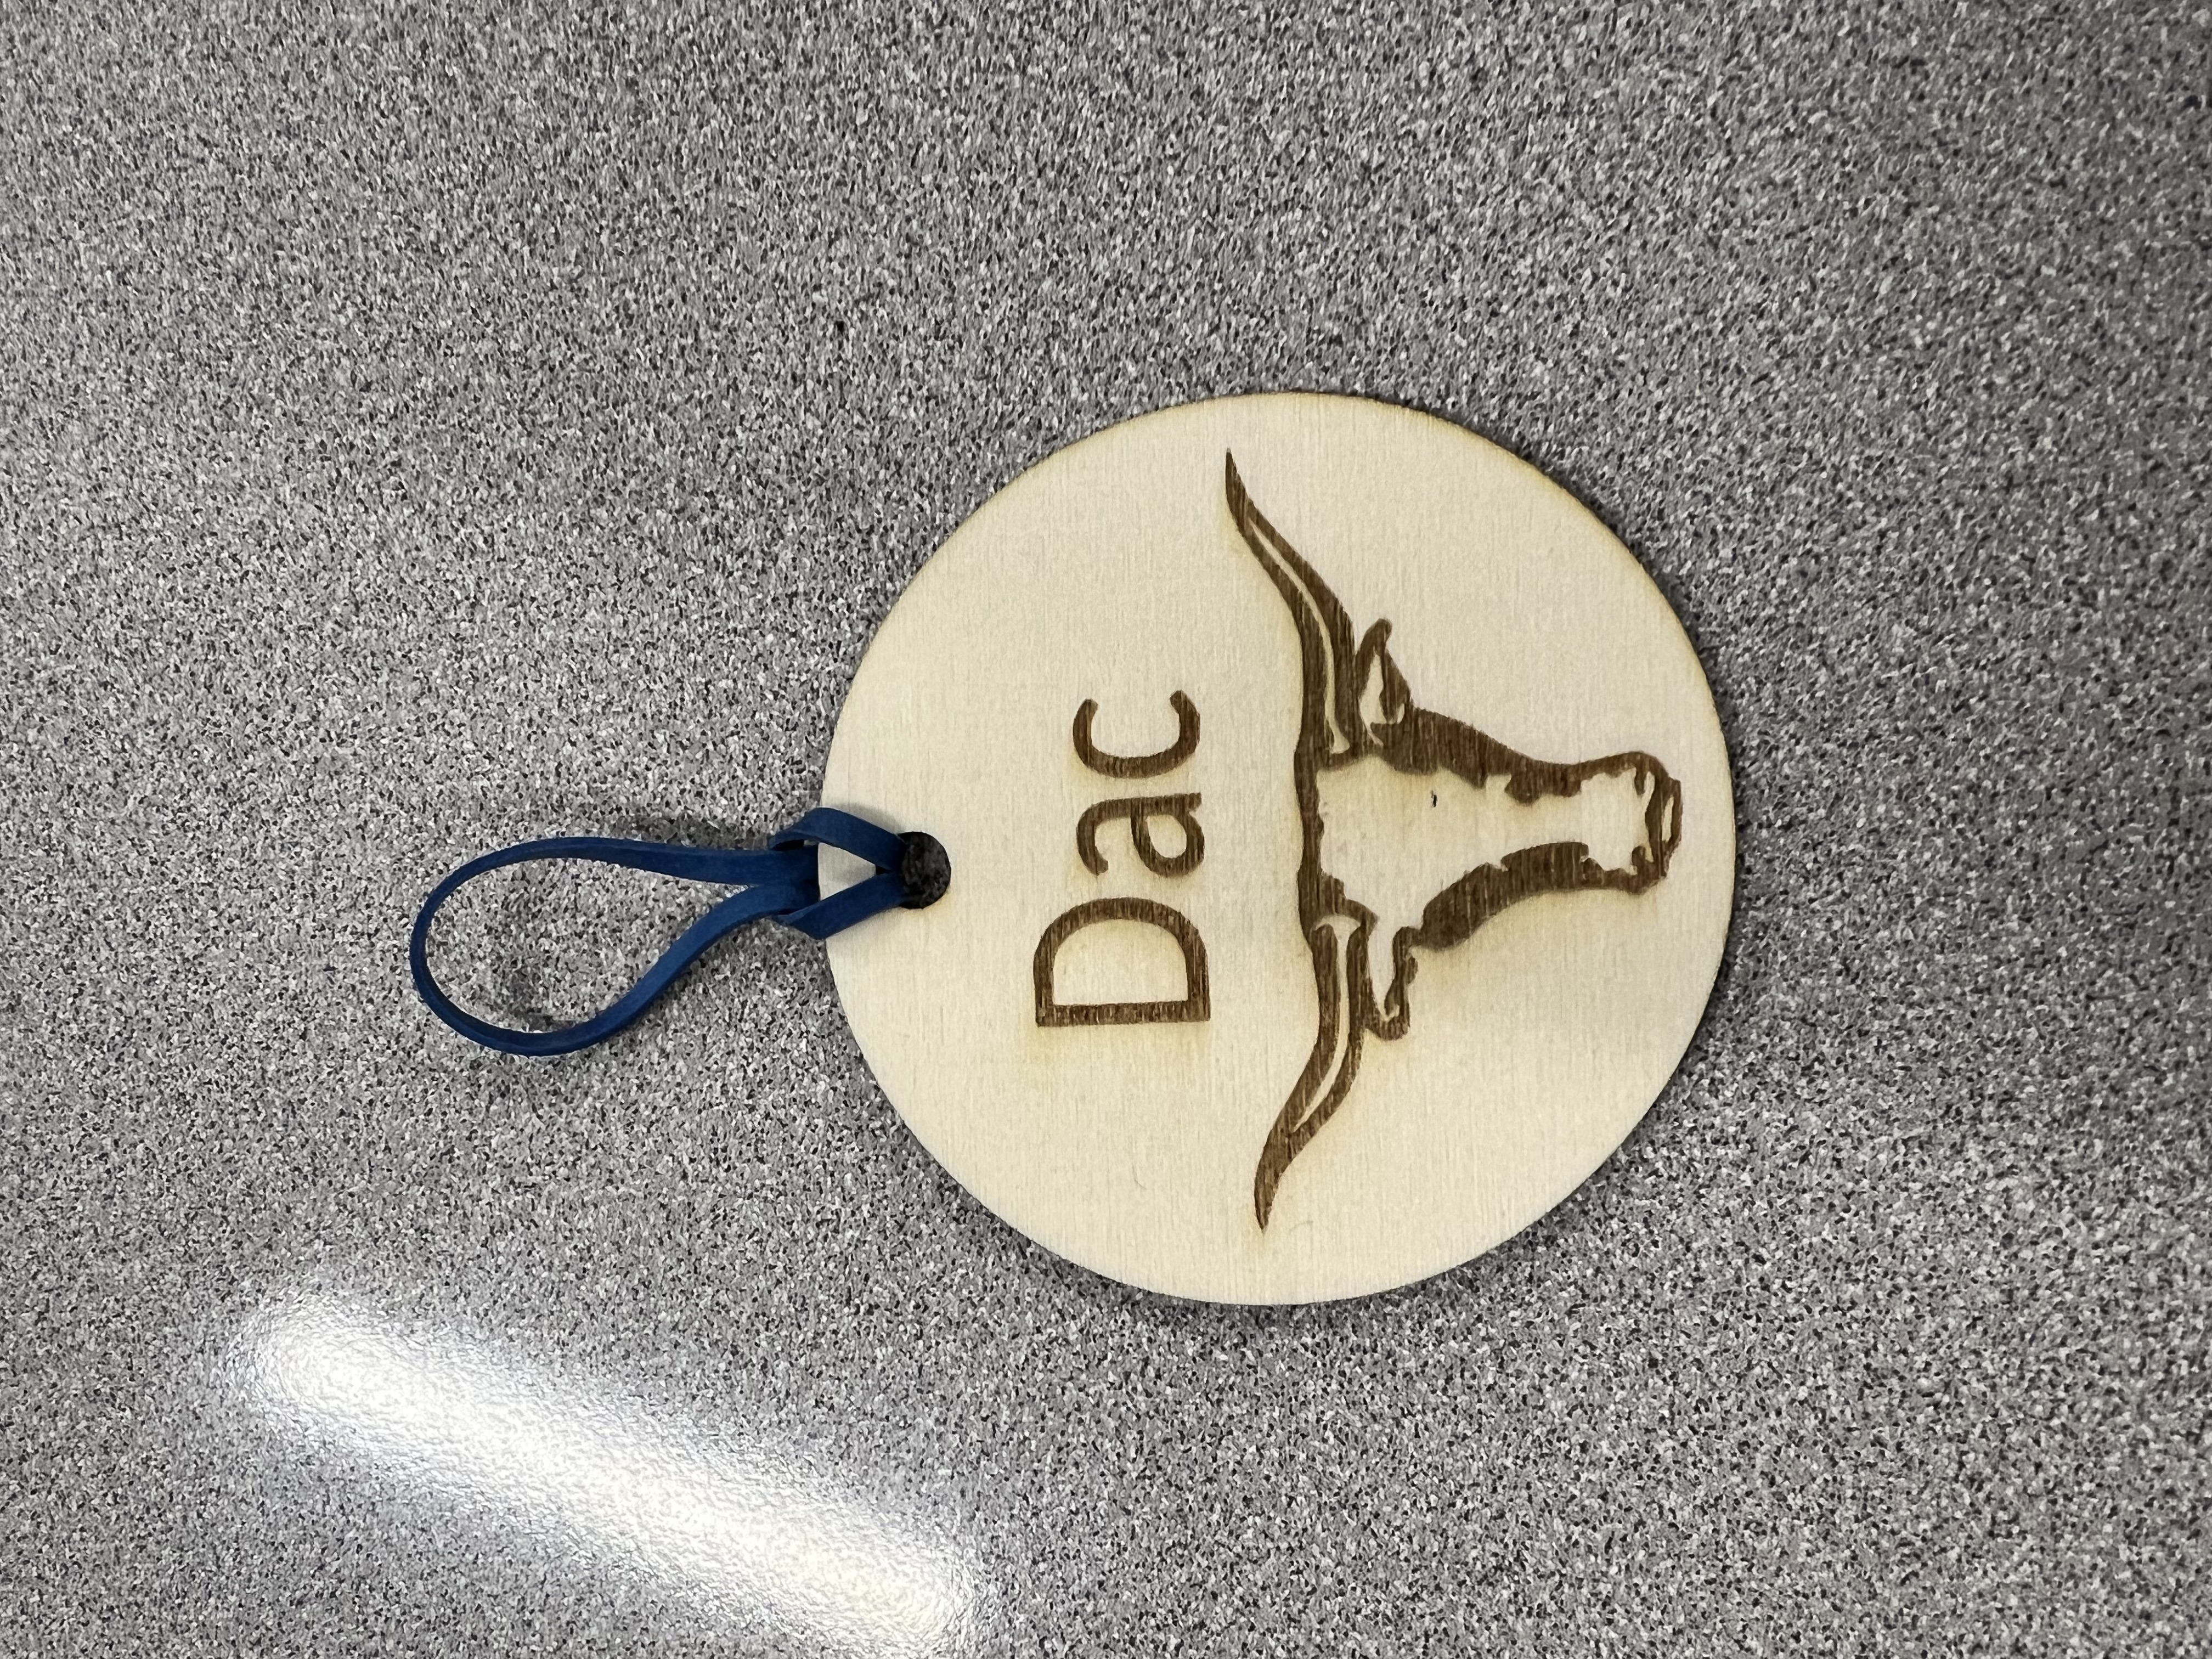
Students will create a bag tag. Students will use Inkscape to create a design to engrave on a 3×3 shape of their choice. Students will make provision for a hole in their design to attach their bag tag.

What You'll Need

  1. Computers with Inkscape installed
  2. Laser cutter with basswood sheets
  3. Rulers (for checking size)
  4. Rubber Bands for attaching tags
  5. Safety goggles for laser cutter use

Learning Objectives

By the end of the lesson, students will be able to:

  1. Use Inkscape to create vector designs for laser cutting and engraving.
  2. Apply measurement skills to design s 3×3 inch tag with a hole for attachment.
  3. Demonstrate safe and proper use of a laser cutter.
  4. Produce a finished bag tag that reflects individual creativity and design choices.

Standards Alignment:

  1. ISTE Standards for Students: Creative Communicator& Innovative Designer
  2. CTE Standard: Apply CAD/CAM technology in product design; Demonstrate safe use of advanced manufacturing tools.
  3. Math Connection: Measurement, scale, geometry (polygons, circles, star shape)

Reflection

Design File Check: Tag fits within 3×3, includes holes and has both cut and engrave features.

Final Product: Tag is successfully cut/engraved, hole is functional, edges clean

Participation: Student followed design process and adhered to safety procedures.


What design choices worked best? What would you change if you made another tag?


The Instructions

Introduction

Introduction

  1. Show sample Bag Tags
  2. Briefly review the purpose of vector design (cutting vs engraving)
  3. Explain project requirements:
  4. tag must be 3×3 inch
  5. include a small hole for rubber band attachment
  6. student may choose shape (star, circle, square, polygon)
  7. Add a custom engraved design (initials, logo, simple artwork, etc)


Activity 1

Design the bag tag in Inkscape (30 minutes)

Set Document size

  • Open inscape, set grid, ensure tag fits within 3×3 inches


Draw Base shape

  • student choose star, circle, square, or polygon tool
  • scale to 3×3 inches using rulers/grid


Add Hole for Rubber Band

  • Create a small circle (.25 inch diameter)
  • Place hole near top edge of design


Add Engraved Design

  • Insert text (name, initials, quote)
  • Import simple graphic or draw using path tools
  • Set engraving lines vs cutting lines


Check and Save

  • Review design for correct size
  • Save file in correct format (.svg)


Activity 2

Cutting and Engraving

Review laser cutter safety

Demonstrate loading basswood and sending job from computer

Students take turns running their designs

  • ensure cutting vs engraving path are properly set.
  • supervise each student at machine for safety

Lesson Feedback

ΒΆ

Contact us

Having trouble? Let us know by completing the form below. We'll do our best to get your issues resolved quickly.

"*" indicates required fields

This field is for validation purposes and should be left unchanged.
Name*
Email*
?