- Loading…
1.Areas/ subjects to connect
This lesson about the mechanism called “linkages” could be very abstract for lower school students, but bringing it with a linkage manipulative to explore the mechanism could be way easier to support learning.
Subject, areas and concept to address
Art
Basic elements of art like shapes and geometry.
Math
Measurements, angles and basic geometry
Science
Motion and energy
Engineering
Mechanical motion and proposing solutions
Technology
Systems
2. Context, background and inspiration
This lesson got inspiration in the work that Eun Jon Park has developed through a toy that she designed to play with linkages mechanisms. The combination of art and architecture as her background led her to design the toy she called LINKKI. In the website Medium she described how she developed the toy. Now, it got my attention and made a connection of how I can use her design to develop the lesson about machines and mechanisms with my students in 4th grade. Considering that I´ve been using only cardboard to develop my lessons about linkages, this time I found the opportunity to sketch, design, build and test print my own pieces in the laser cutter and start using the mechanism adapting some of the ideas that Park proposes in LINKKI.
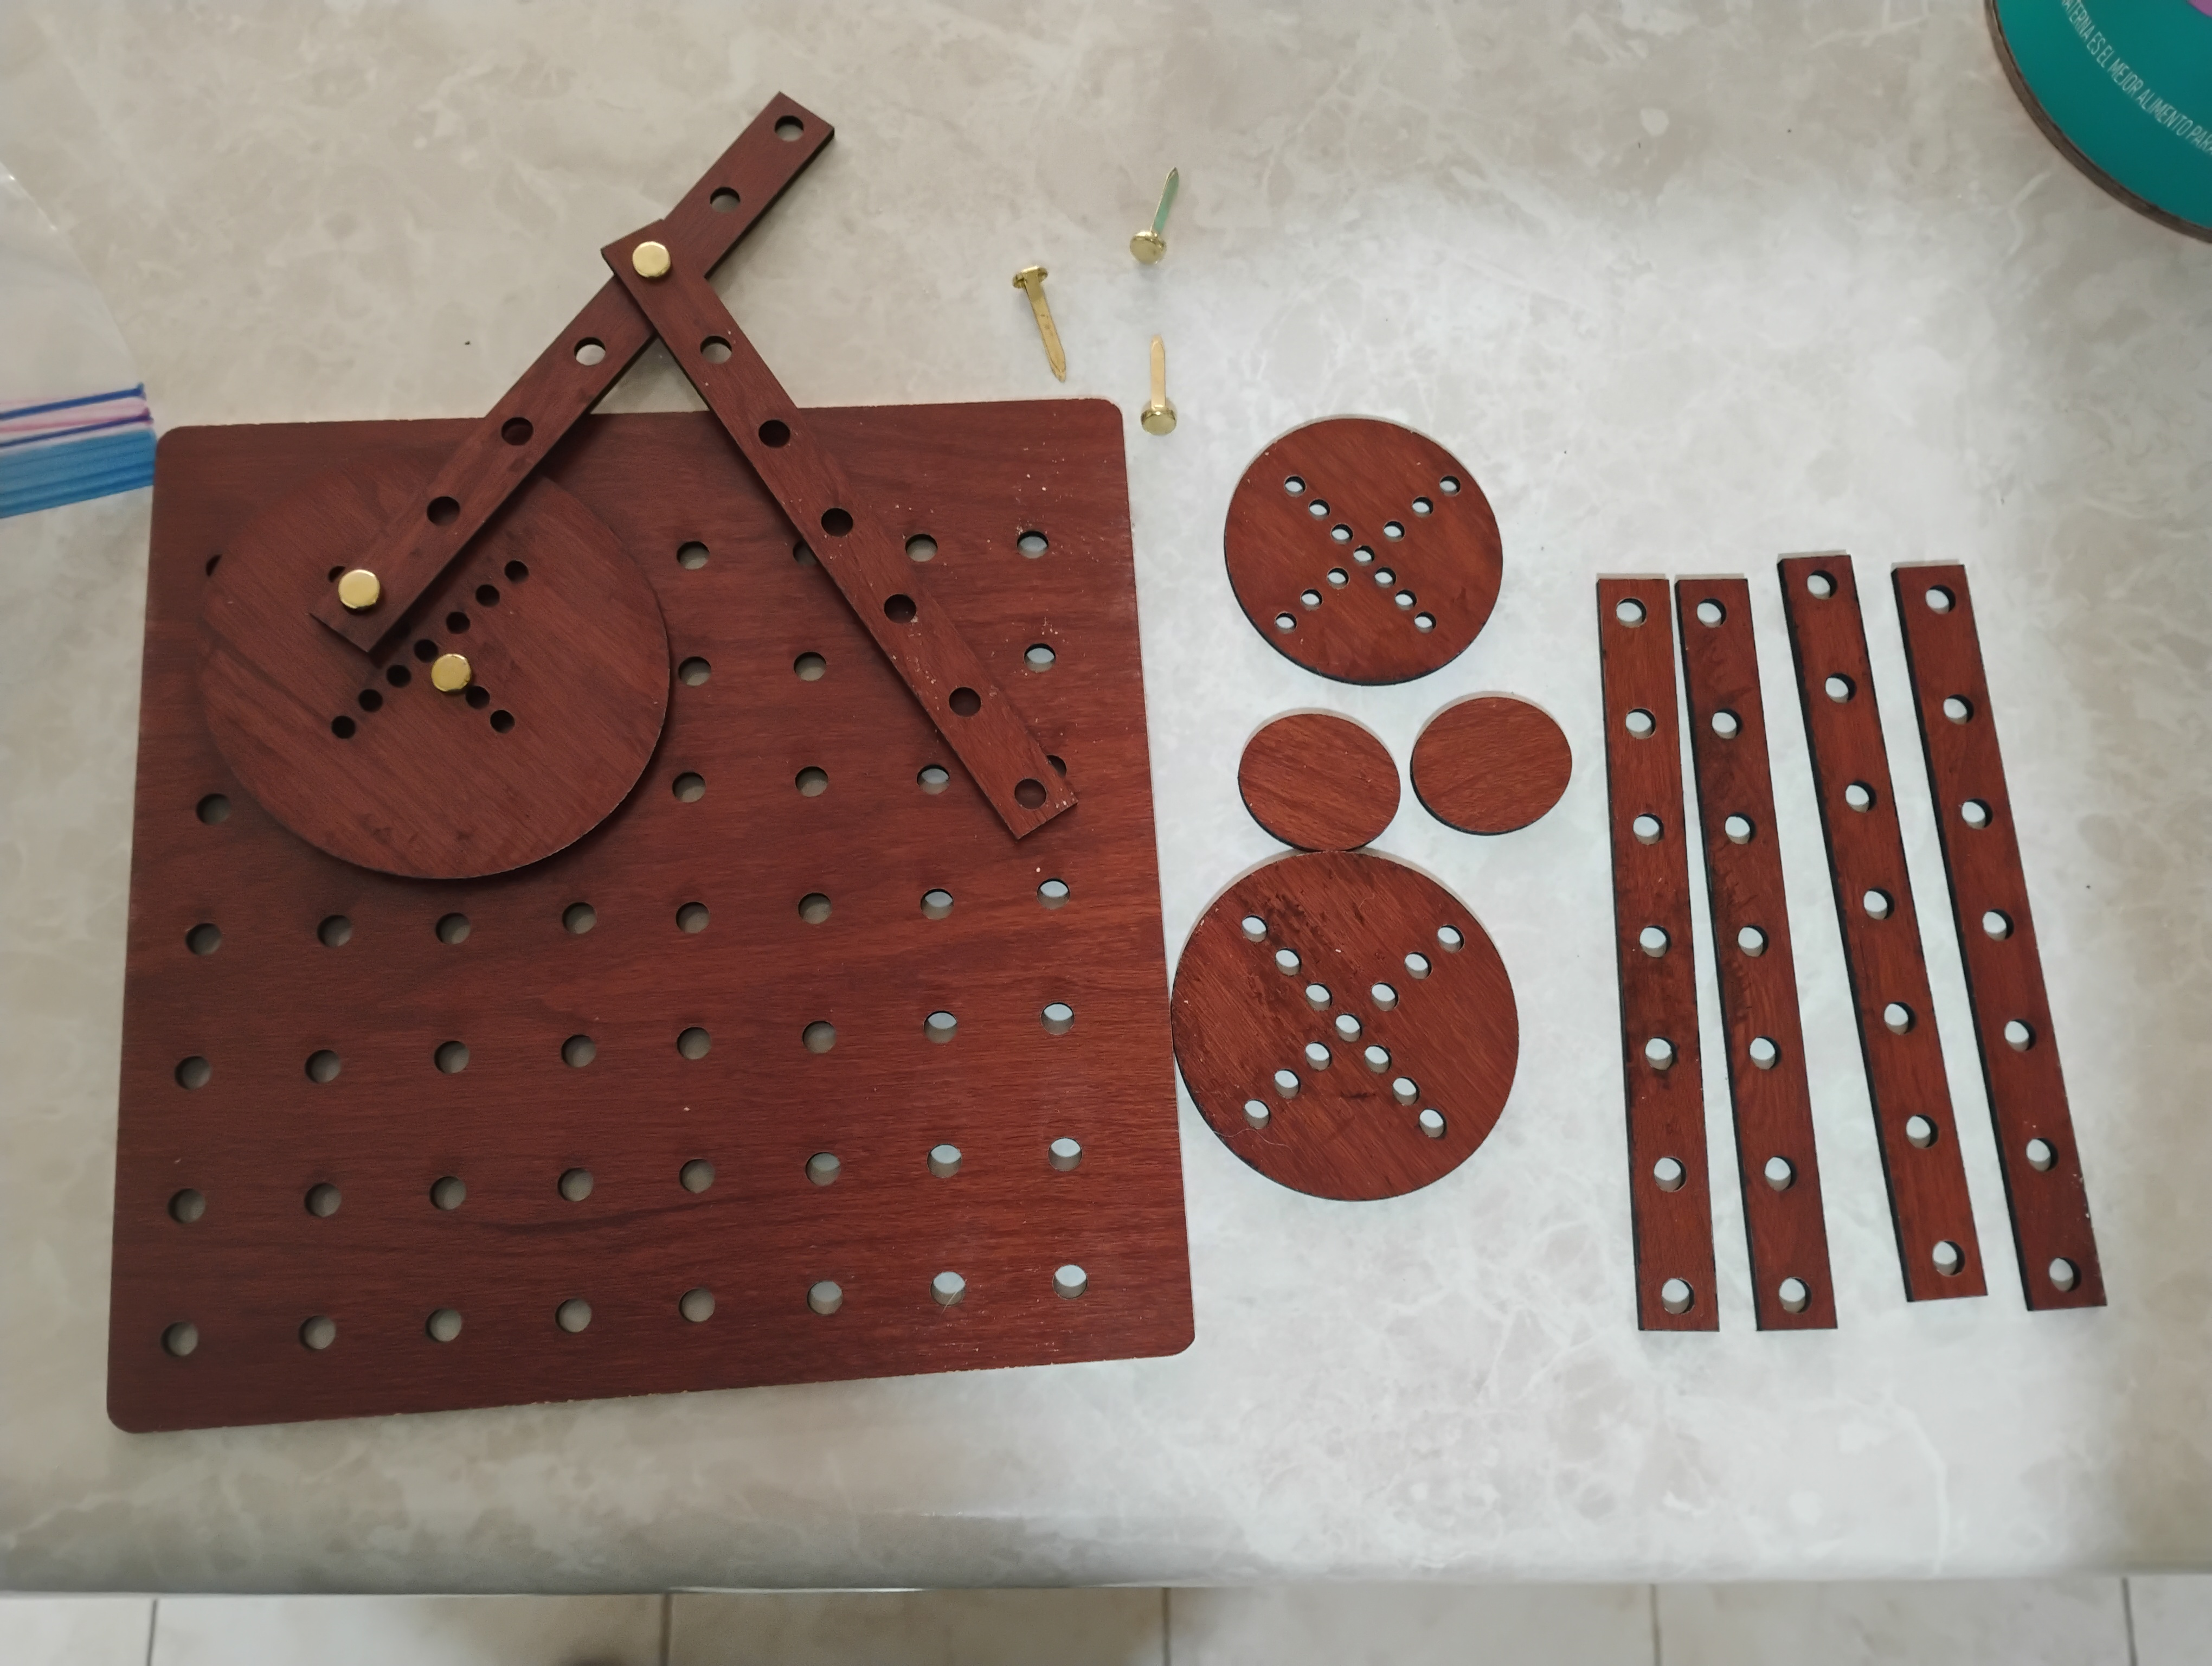
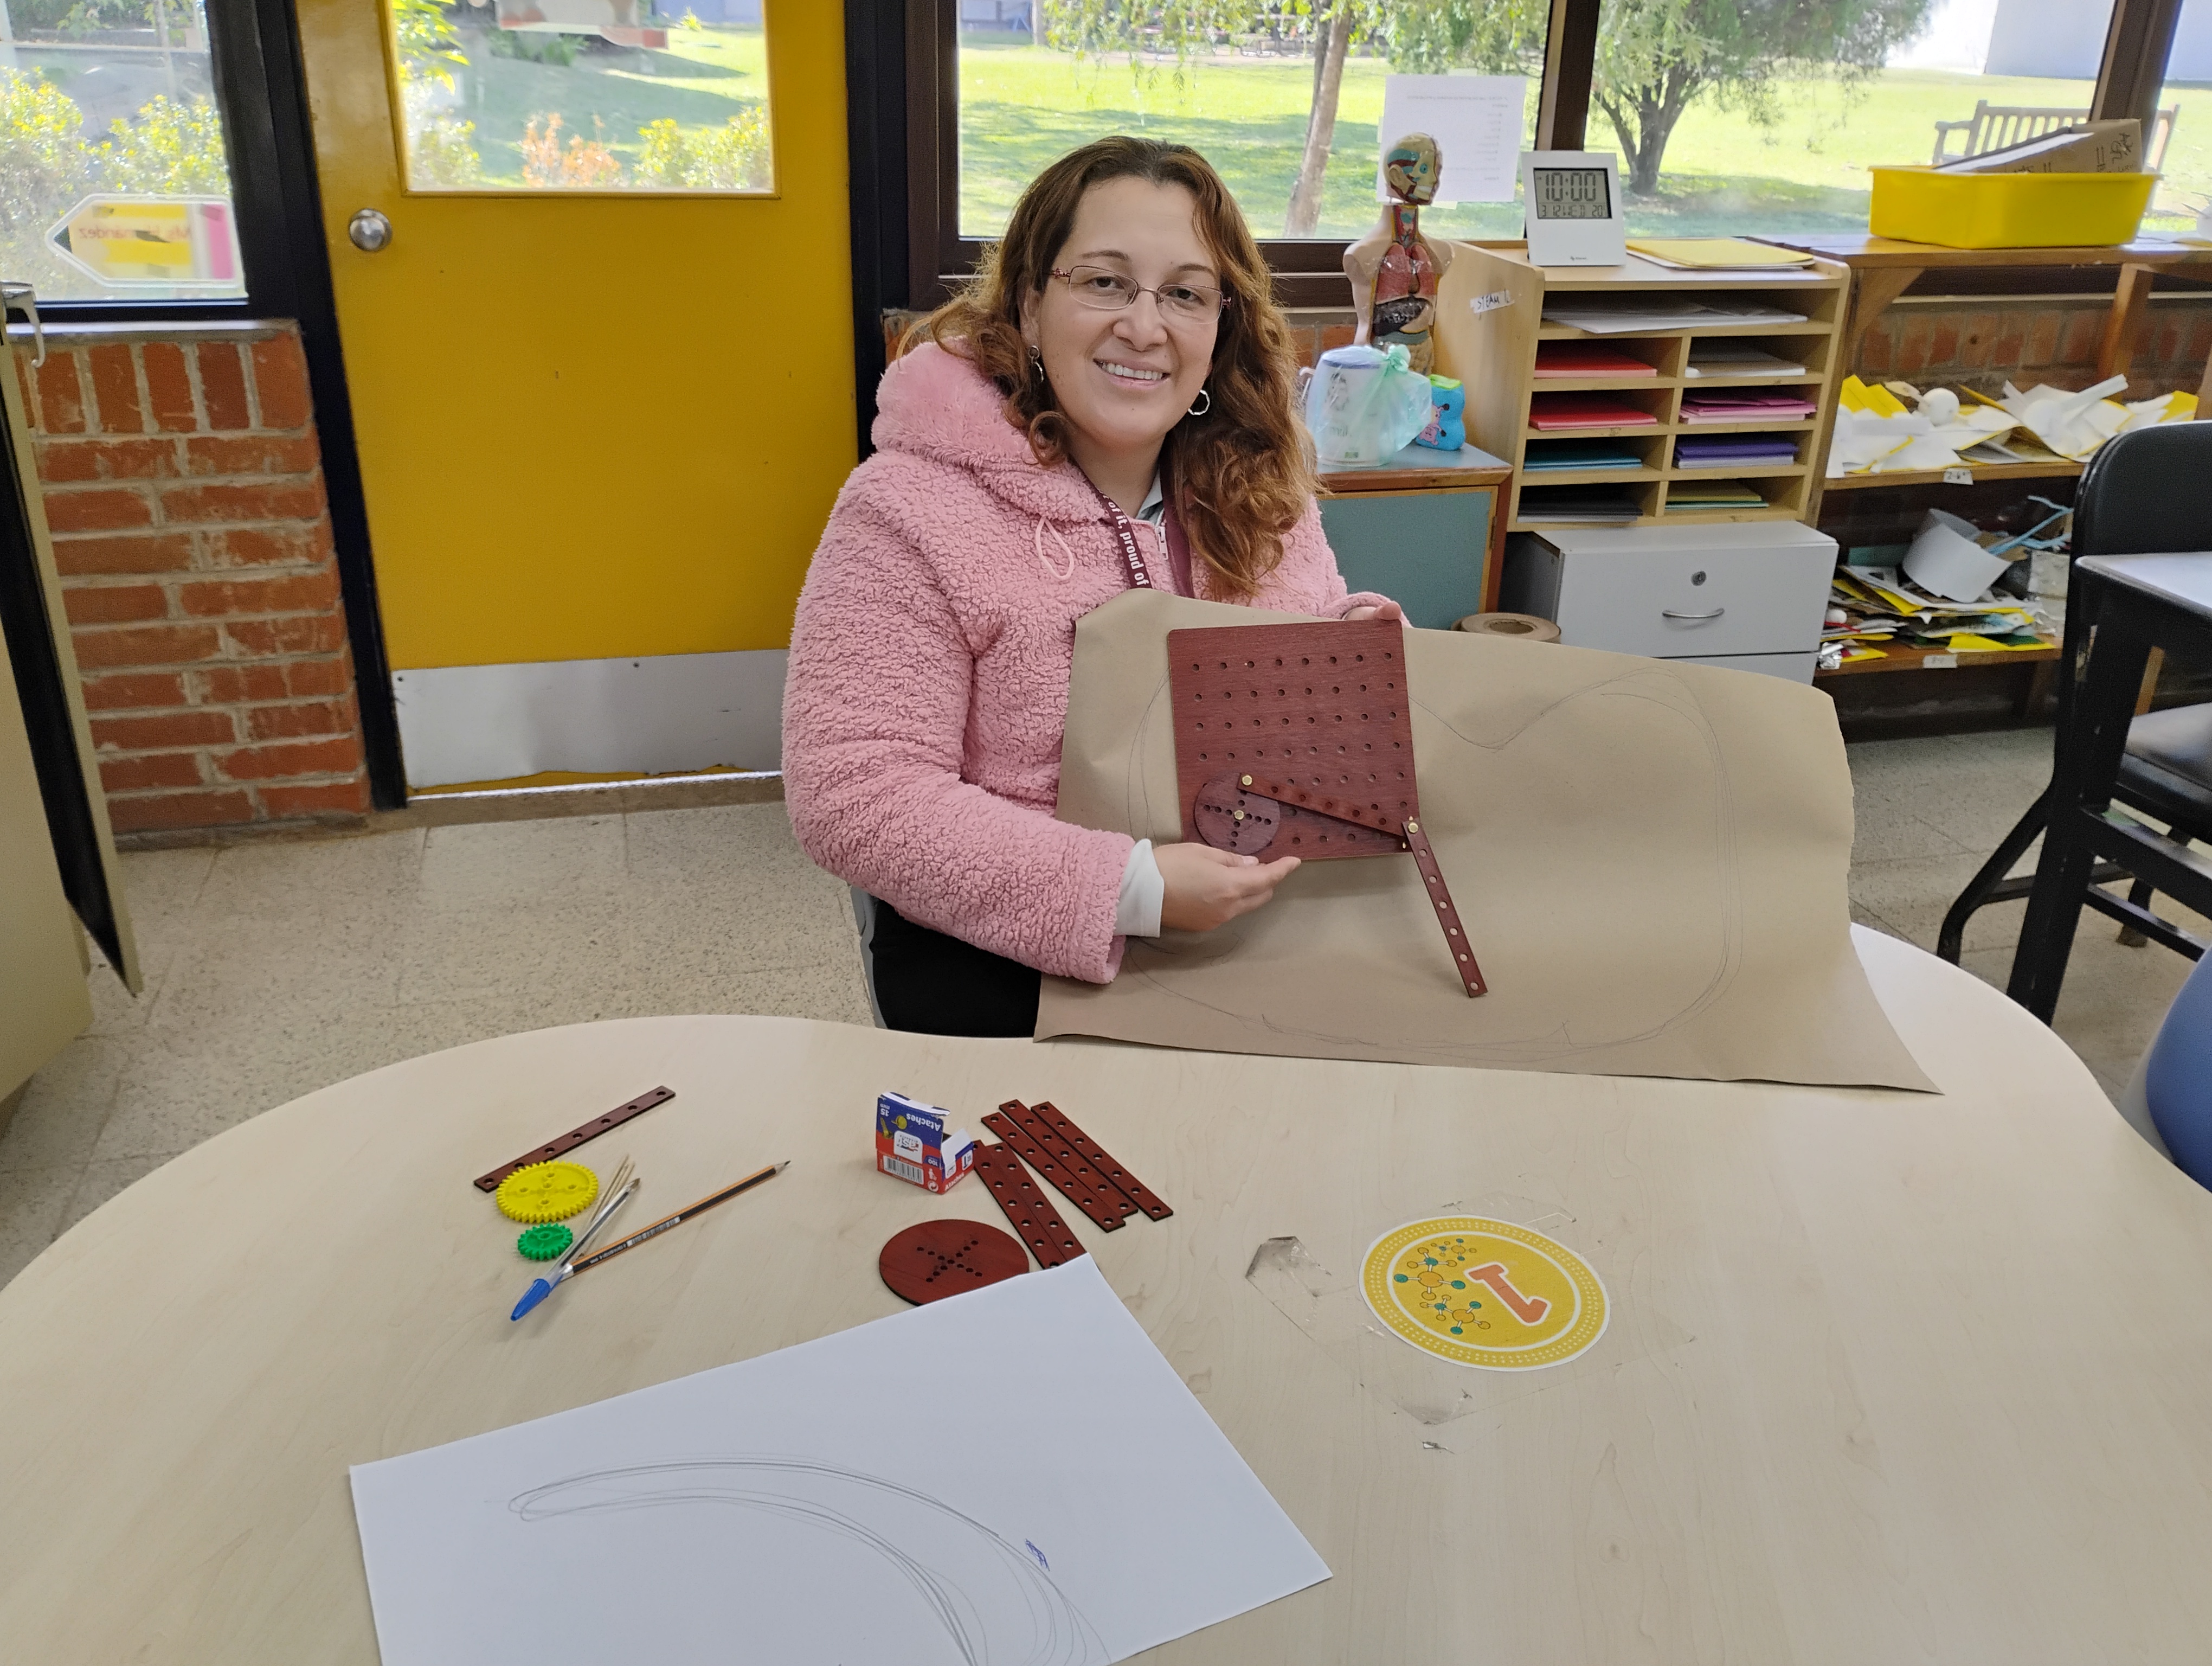
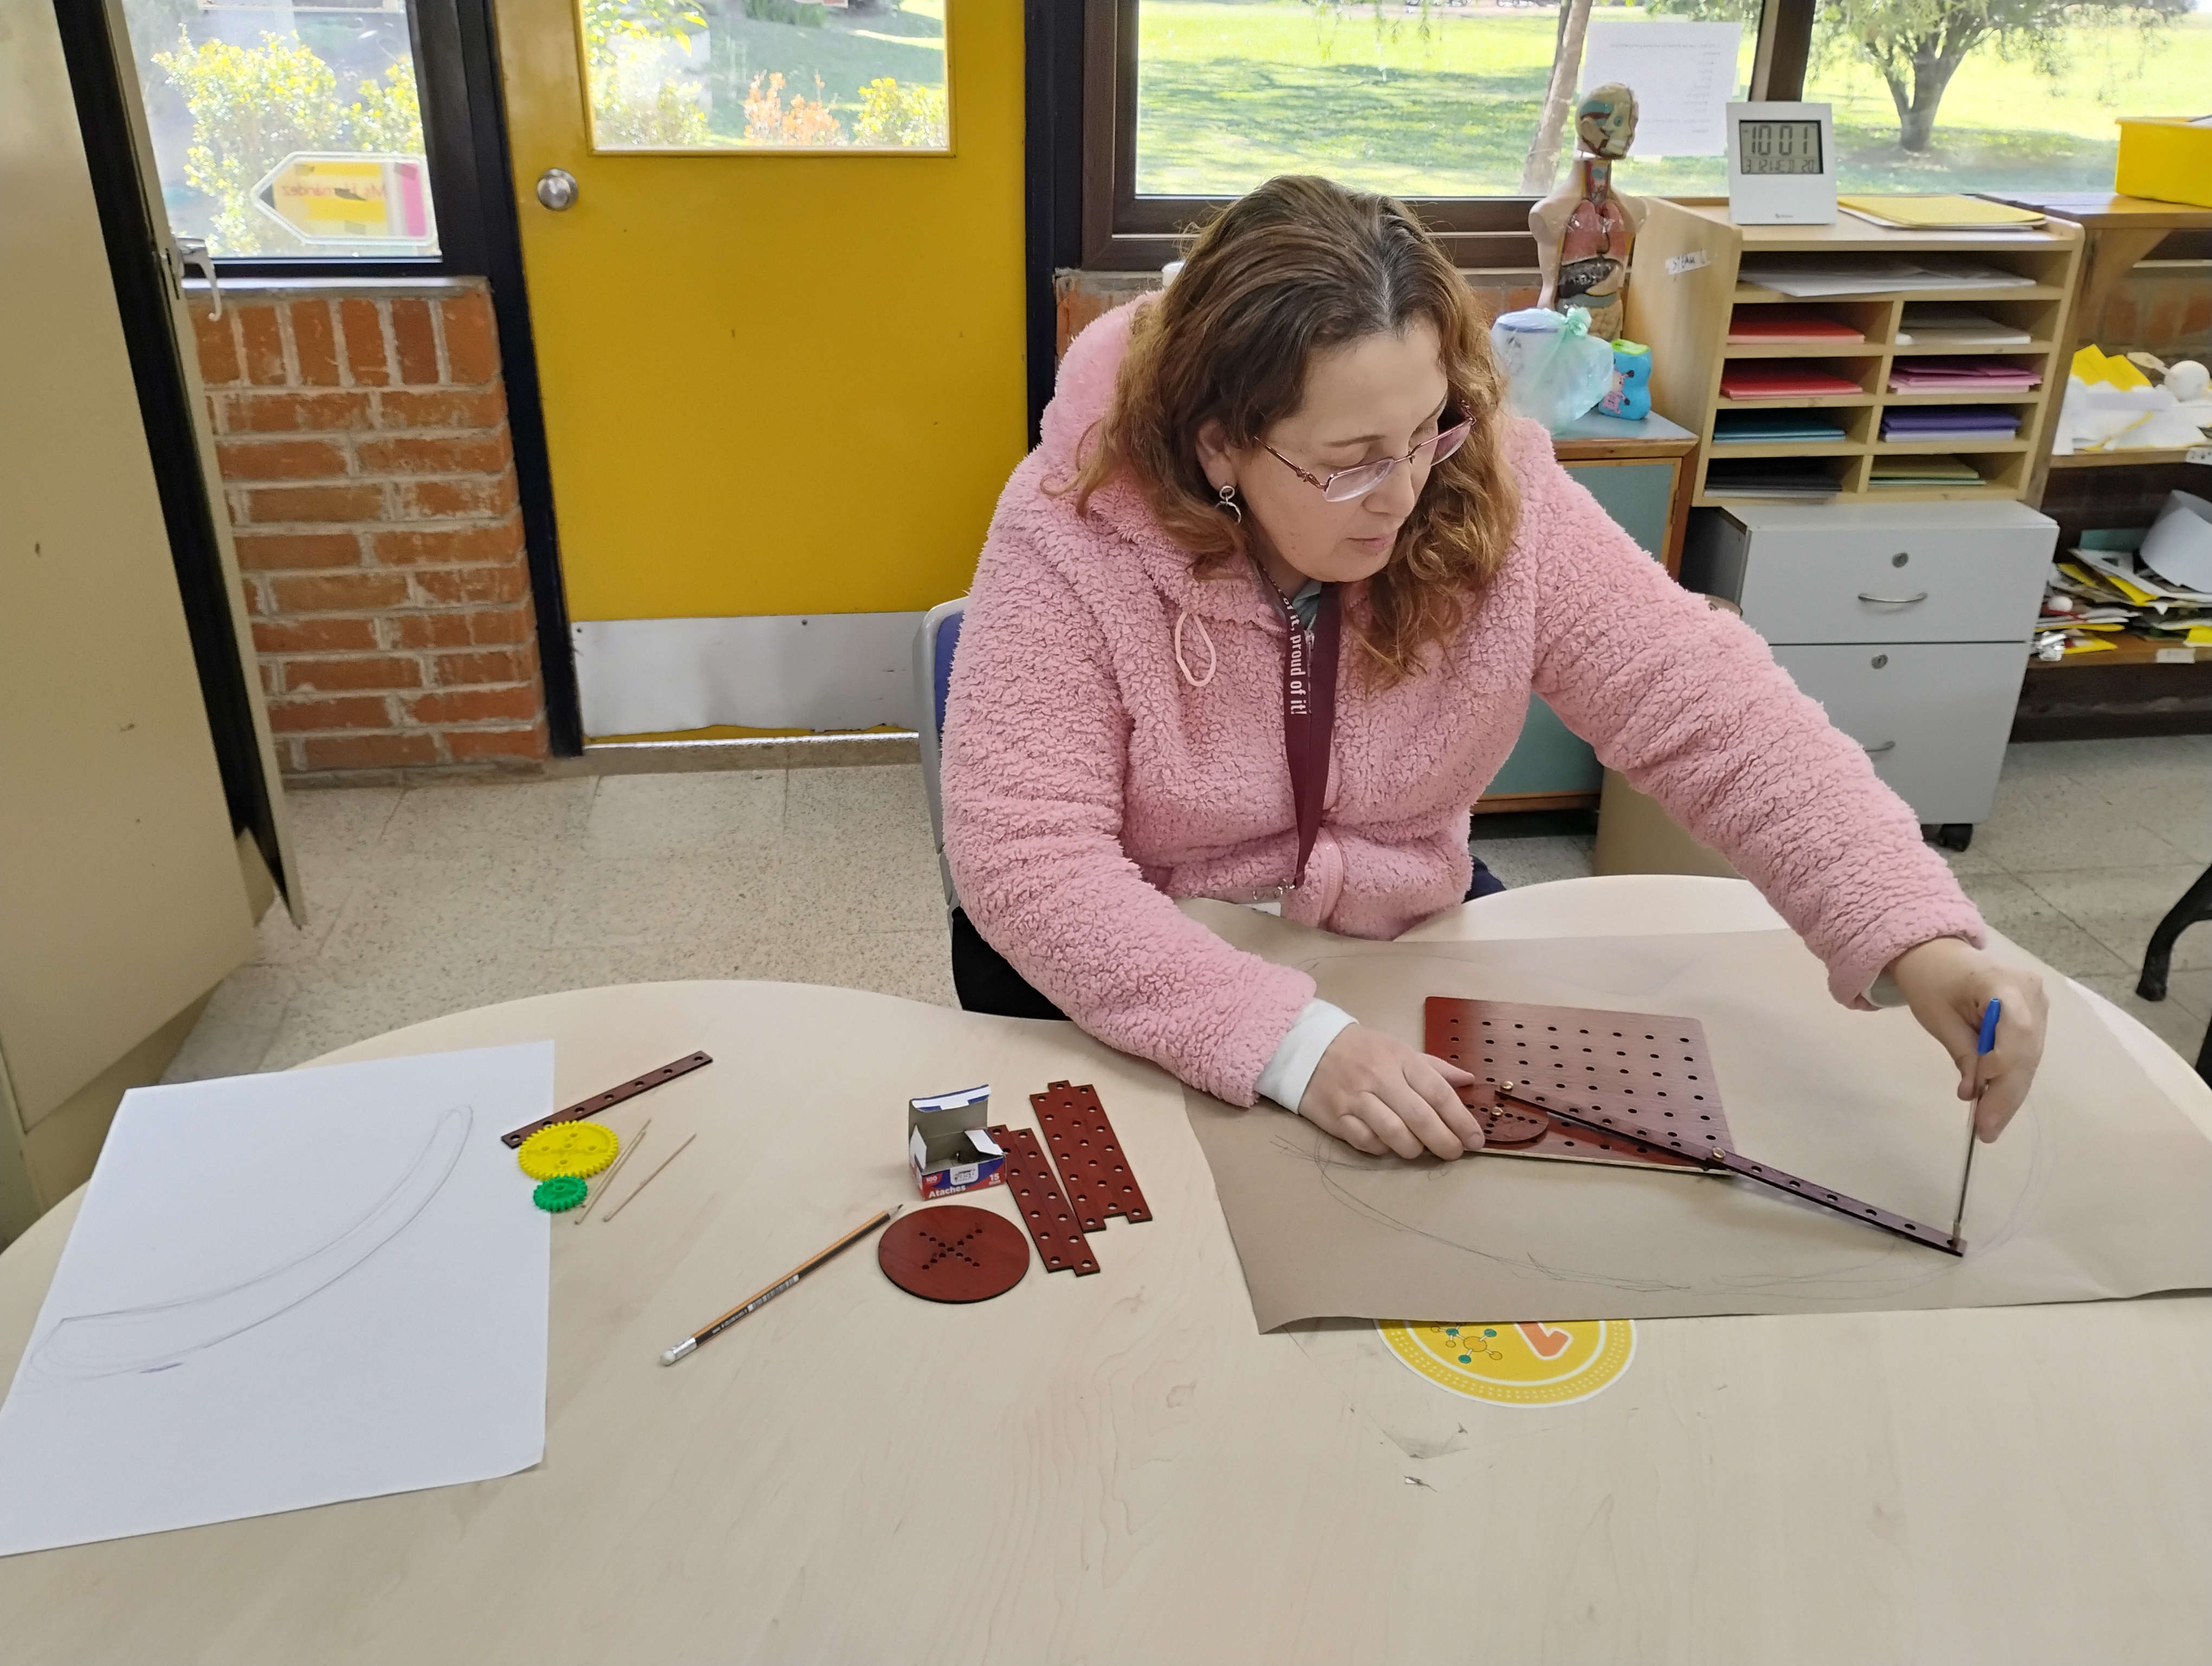
Template 1: bars
Template 2: peg board
Template 3: circles
Students will:
1.Experiment with the manipulative to understand concepts like fixed and moving pivots in linkages system.
2.Investigate how changing pivot points changes movement using bars (levers).
3. Predict what happens when pivot points change or are located in different angles.
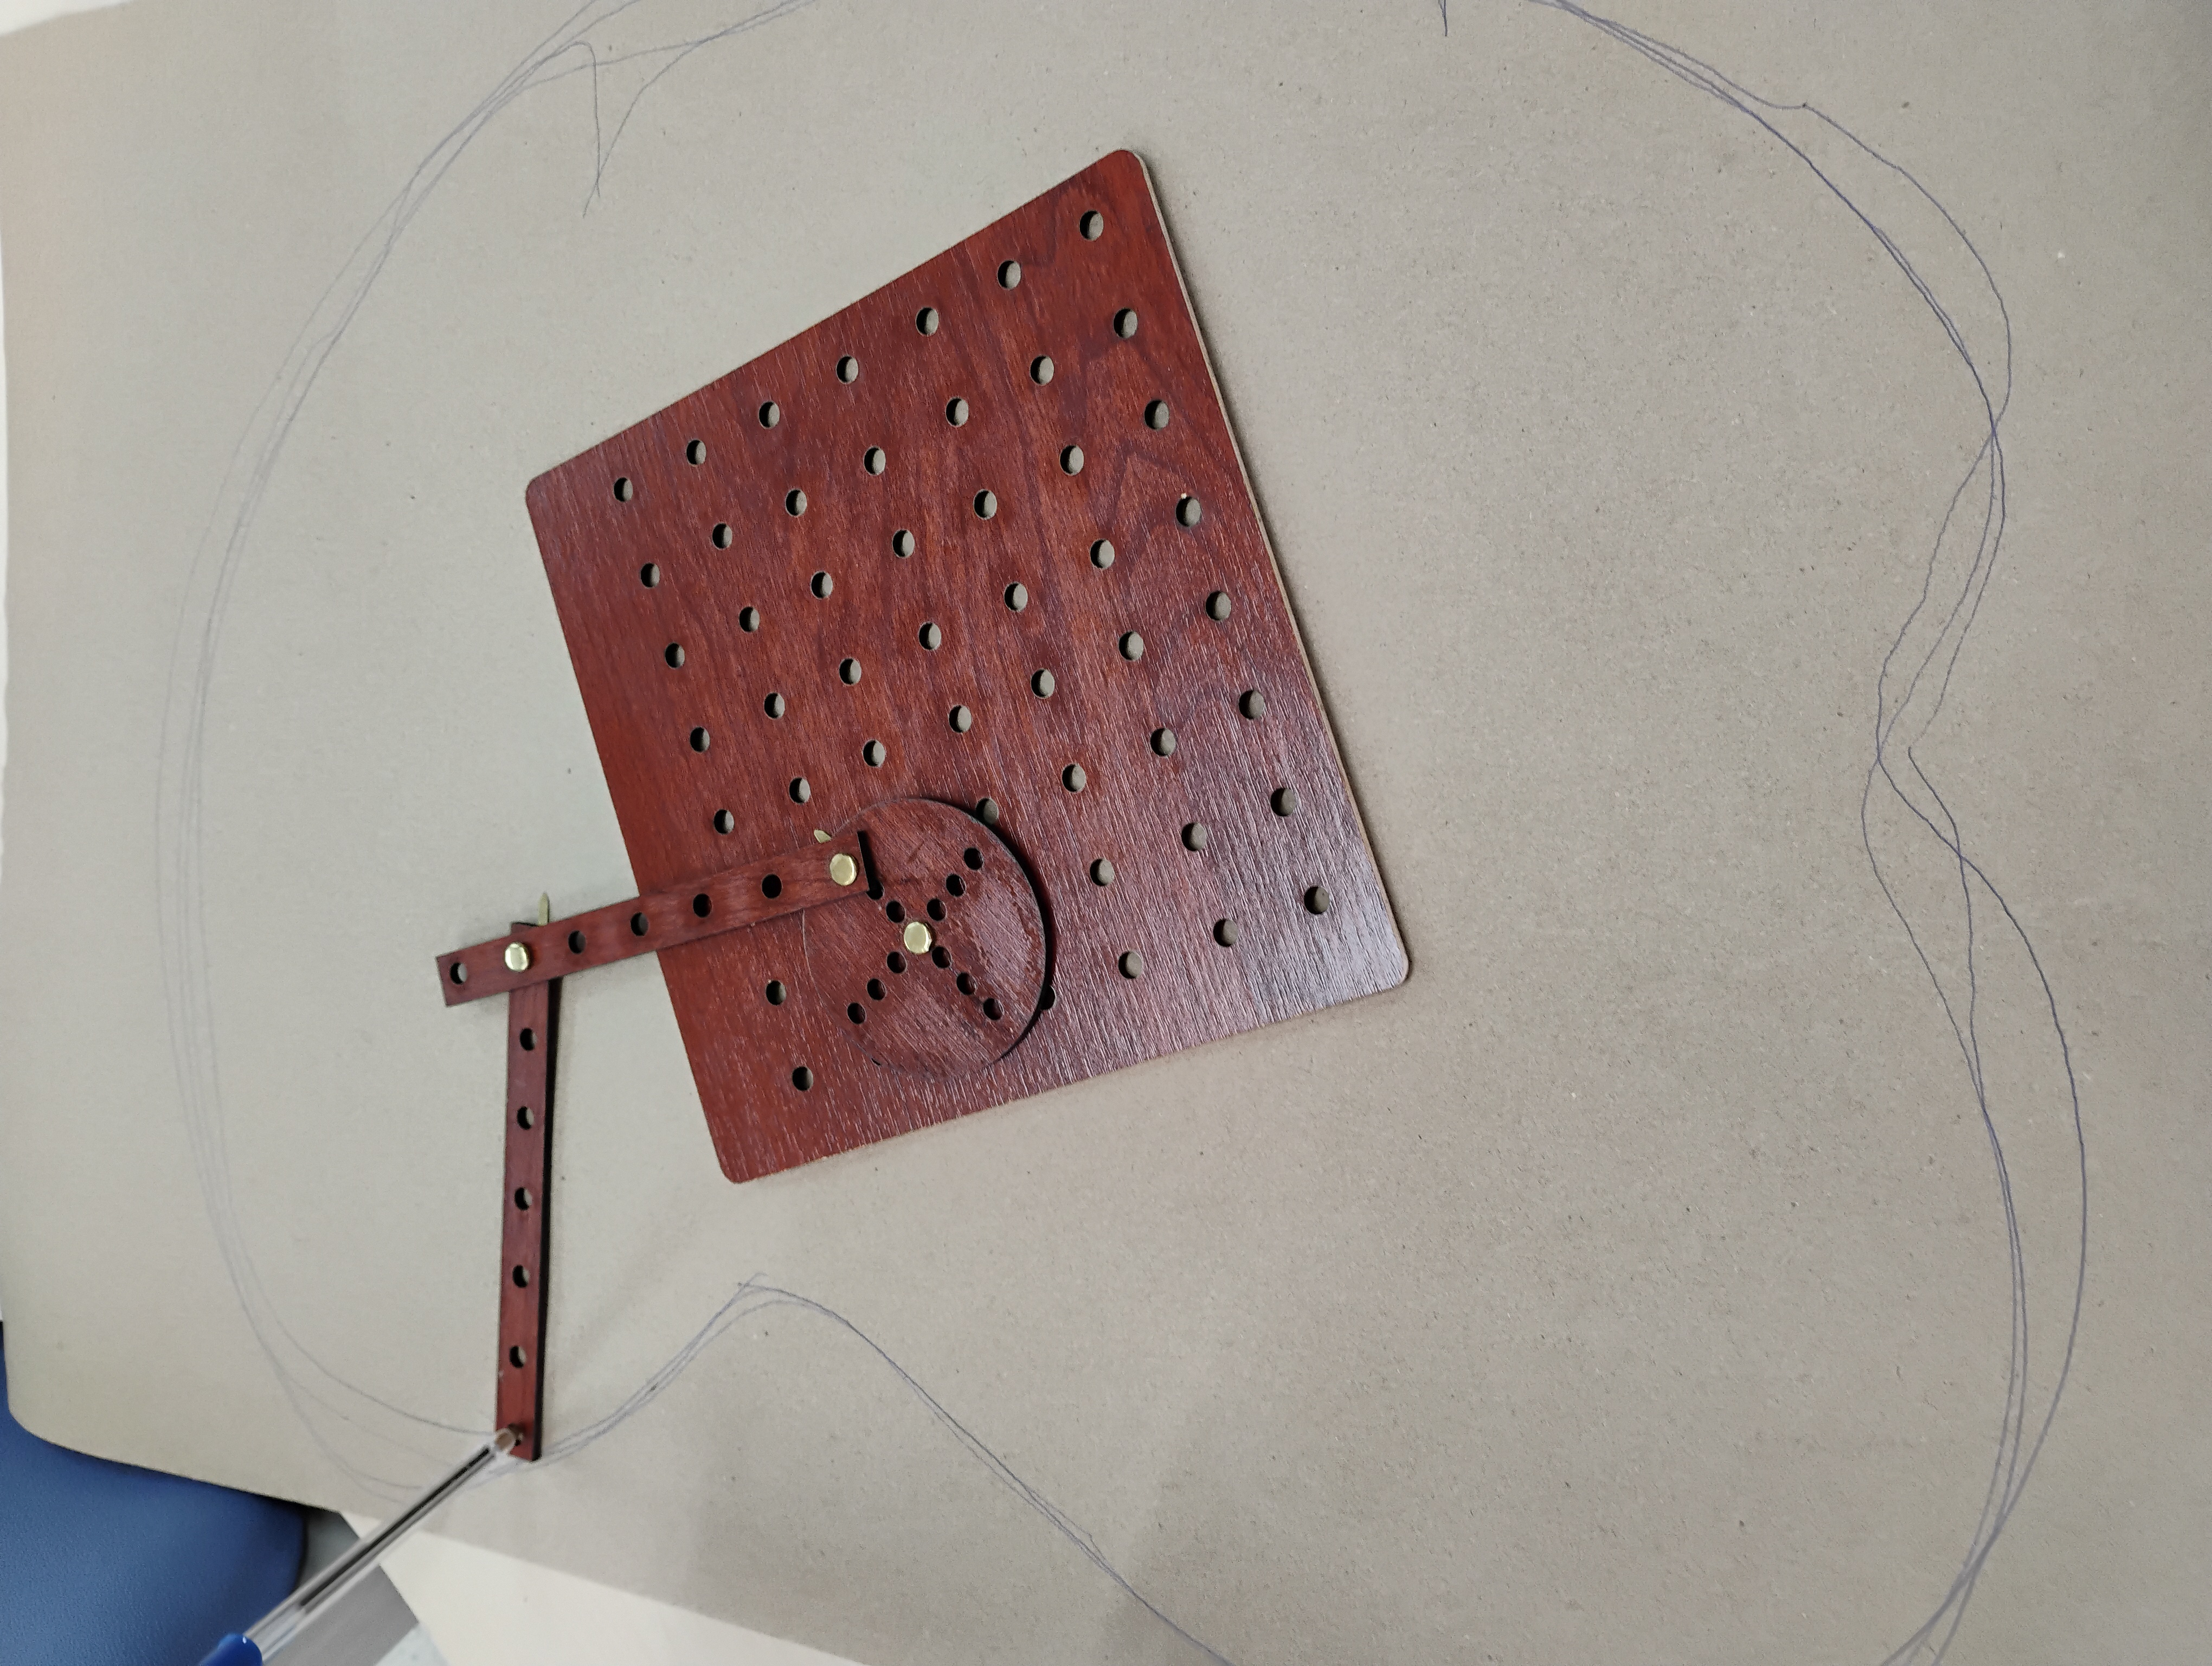
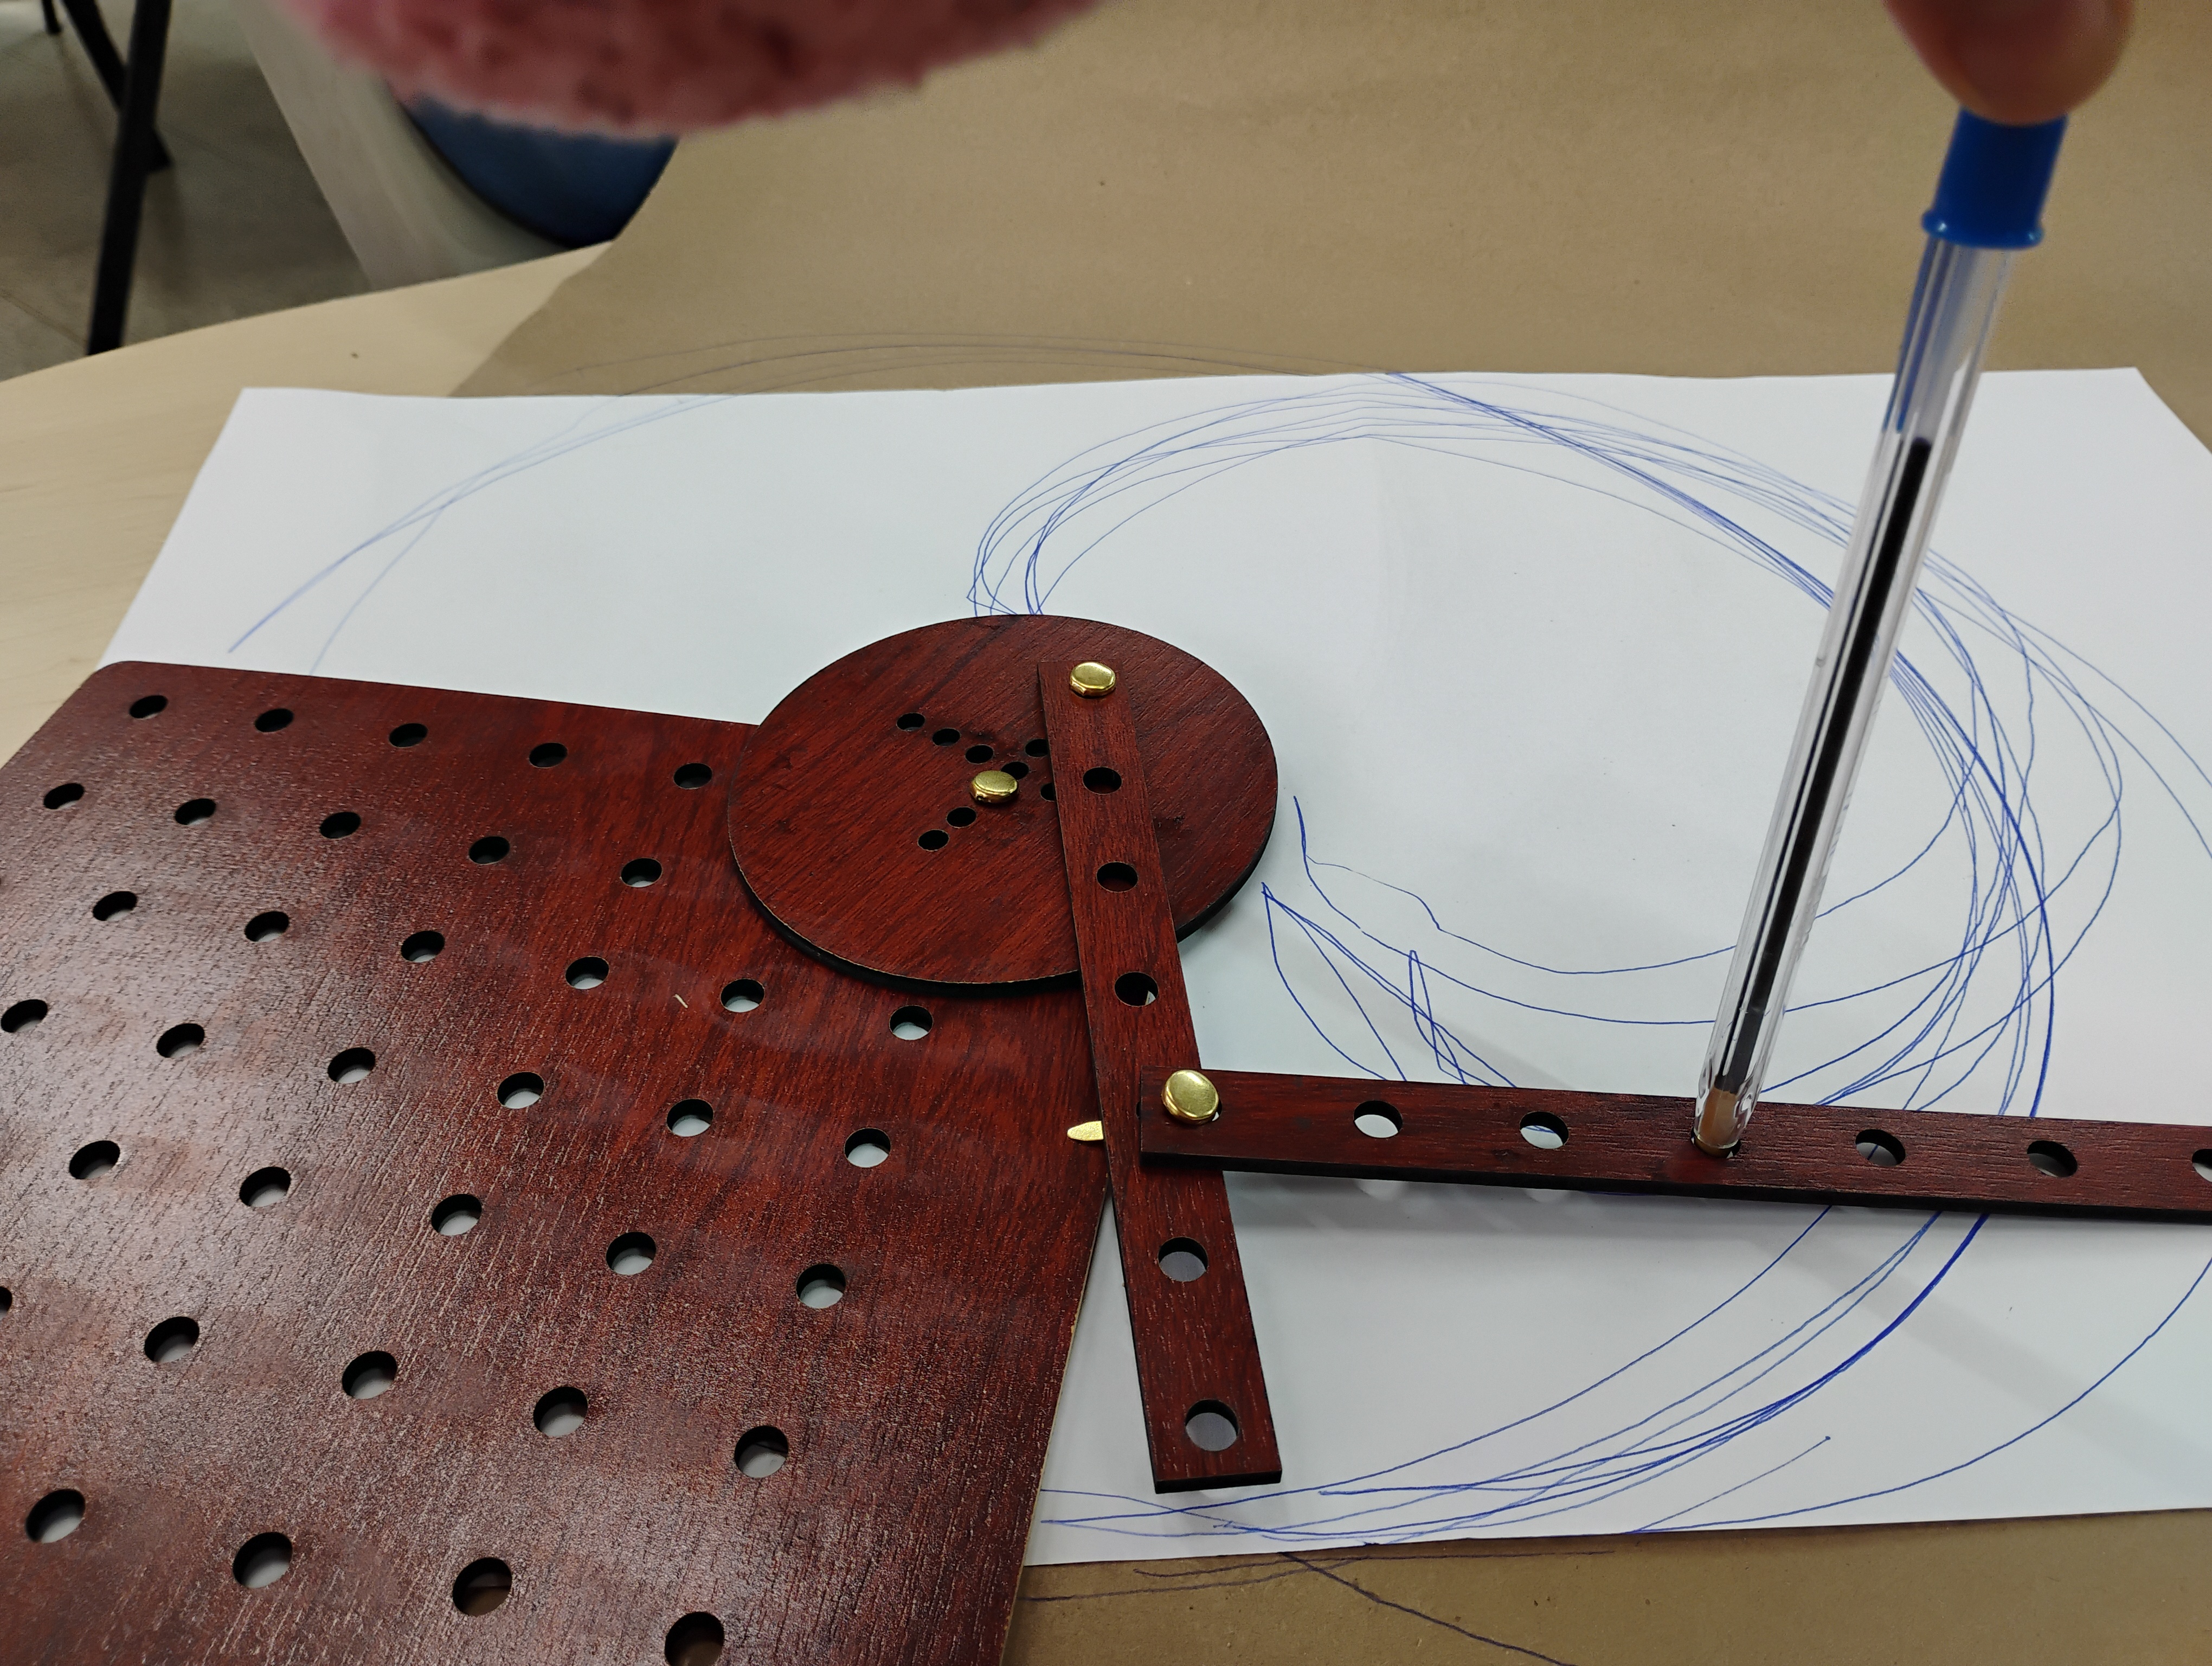
4. Explore motion from the system by drawing shapes and measuring angles and distances.
1.Could you have done this activity without the teaching aid you have fabricated?How do you think digital fabrication improves the activity vs utilizing traditional methods? What is the extra value?
Since I have the experience working mostly with cardboard with Lower School students, I can definitely compare the difference between digital and traditional fabrication. I am probing that using digital tools make the experience replicable and precise since I can just adjust measurements and amounts of material to the different groups I would address. The extra value is that the lesson can be improved or moved forward in deeper levels just by using the technology to fabricate the manipulatives I need. It also lets me be more creative as a teacher designing what exactly I need with my students.
2.What are some challenges you expect when you do the activity with your class?
I would have high expectations since I have worked the concept of mechanisms only with cardboard. That limited the experience to test more like “scissor motion”, but now having more holes in the peg board will amplify the experience to test different angles, pivots and motions. Providing my students with this fabricated manipulative will let them explore and discover through the experience before introducing abstract concepts. The only challenge I would face will be some friction coming from the brass fasteners which I need to improve by making them in a different way.
3. What did you learn during the fabrication process?
As a STEAM teacher and intentionally teaching the Engineering Design Process I can tell that I trust the learning path of not being afraid to make mistakes as this happened in the fabrication of this prototype. If I would use the artifact or manipulative right now I would need to improve aspects like the type of joints I would use. In that case I would design my own joints. Also in the real toy made by Park she has a slot in the shape of a cross which is necessary to work linear motions that I didn’t make. So I would continue improving my first artifact. I learned to open my mind to endless posibilities to create, replicate and dare to build whatever I need to bring my lessons to other level of teaching. It was such a journey after failing the first times with my previous ideas.
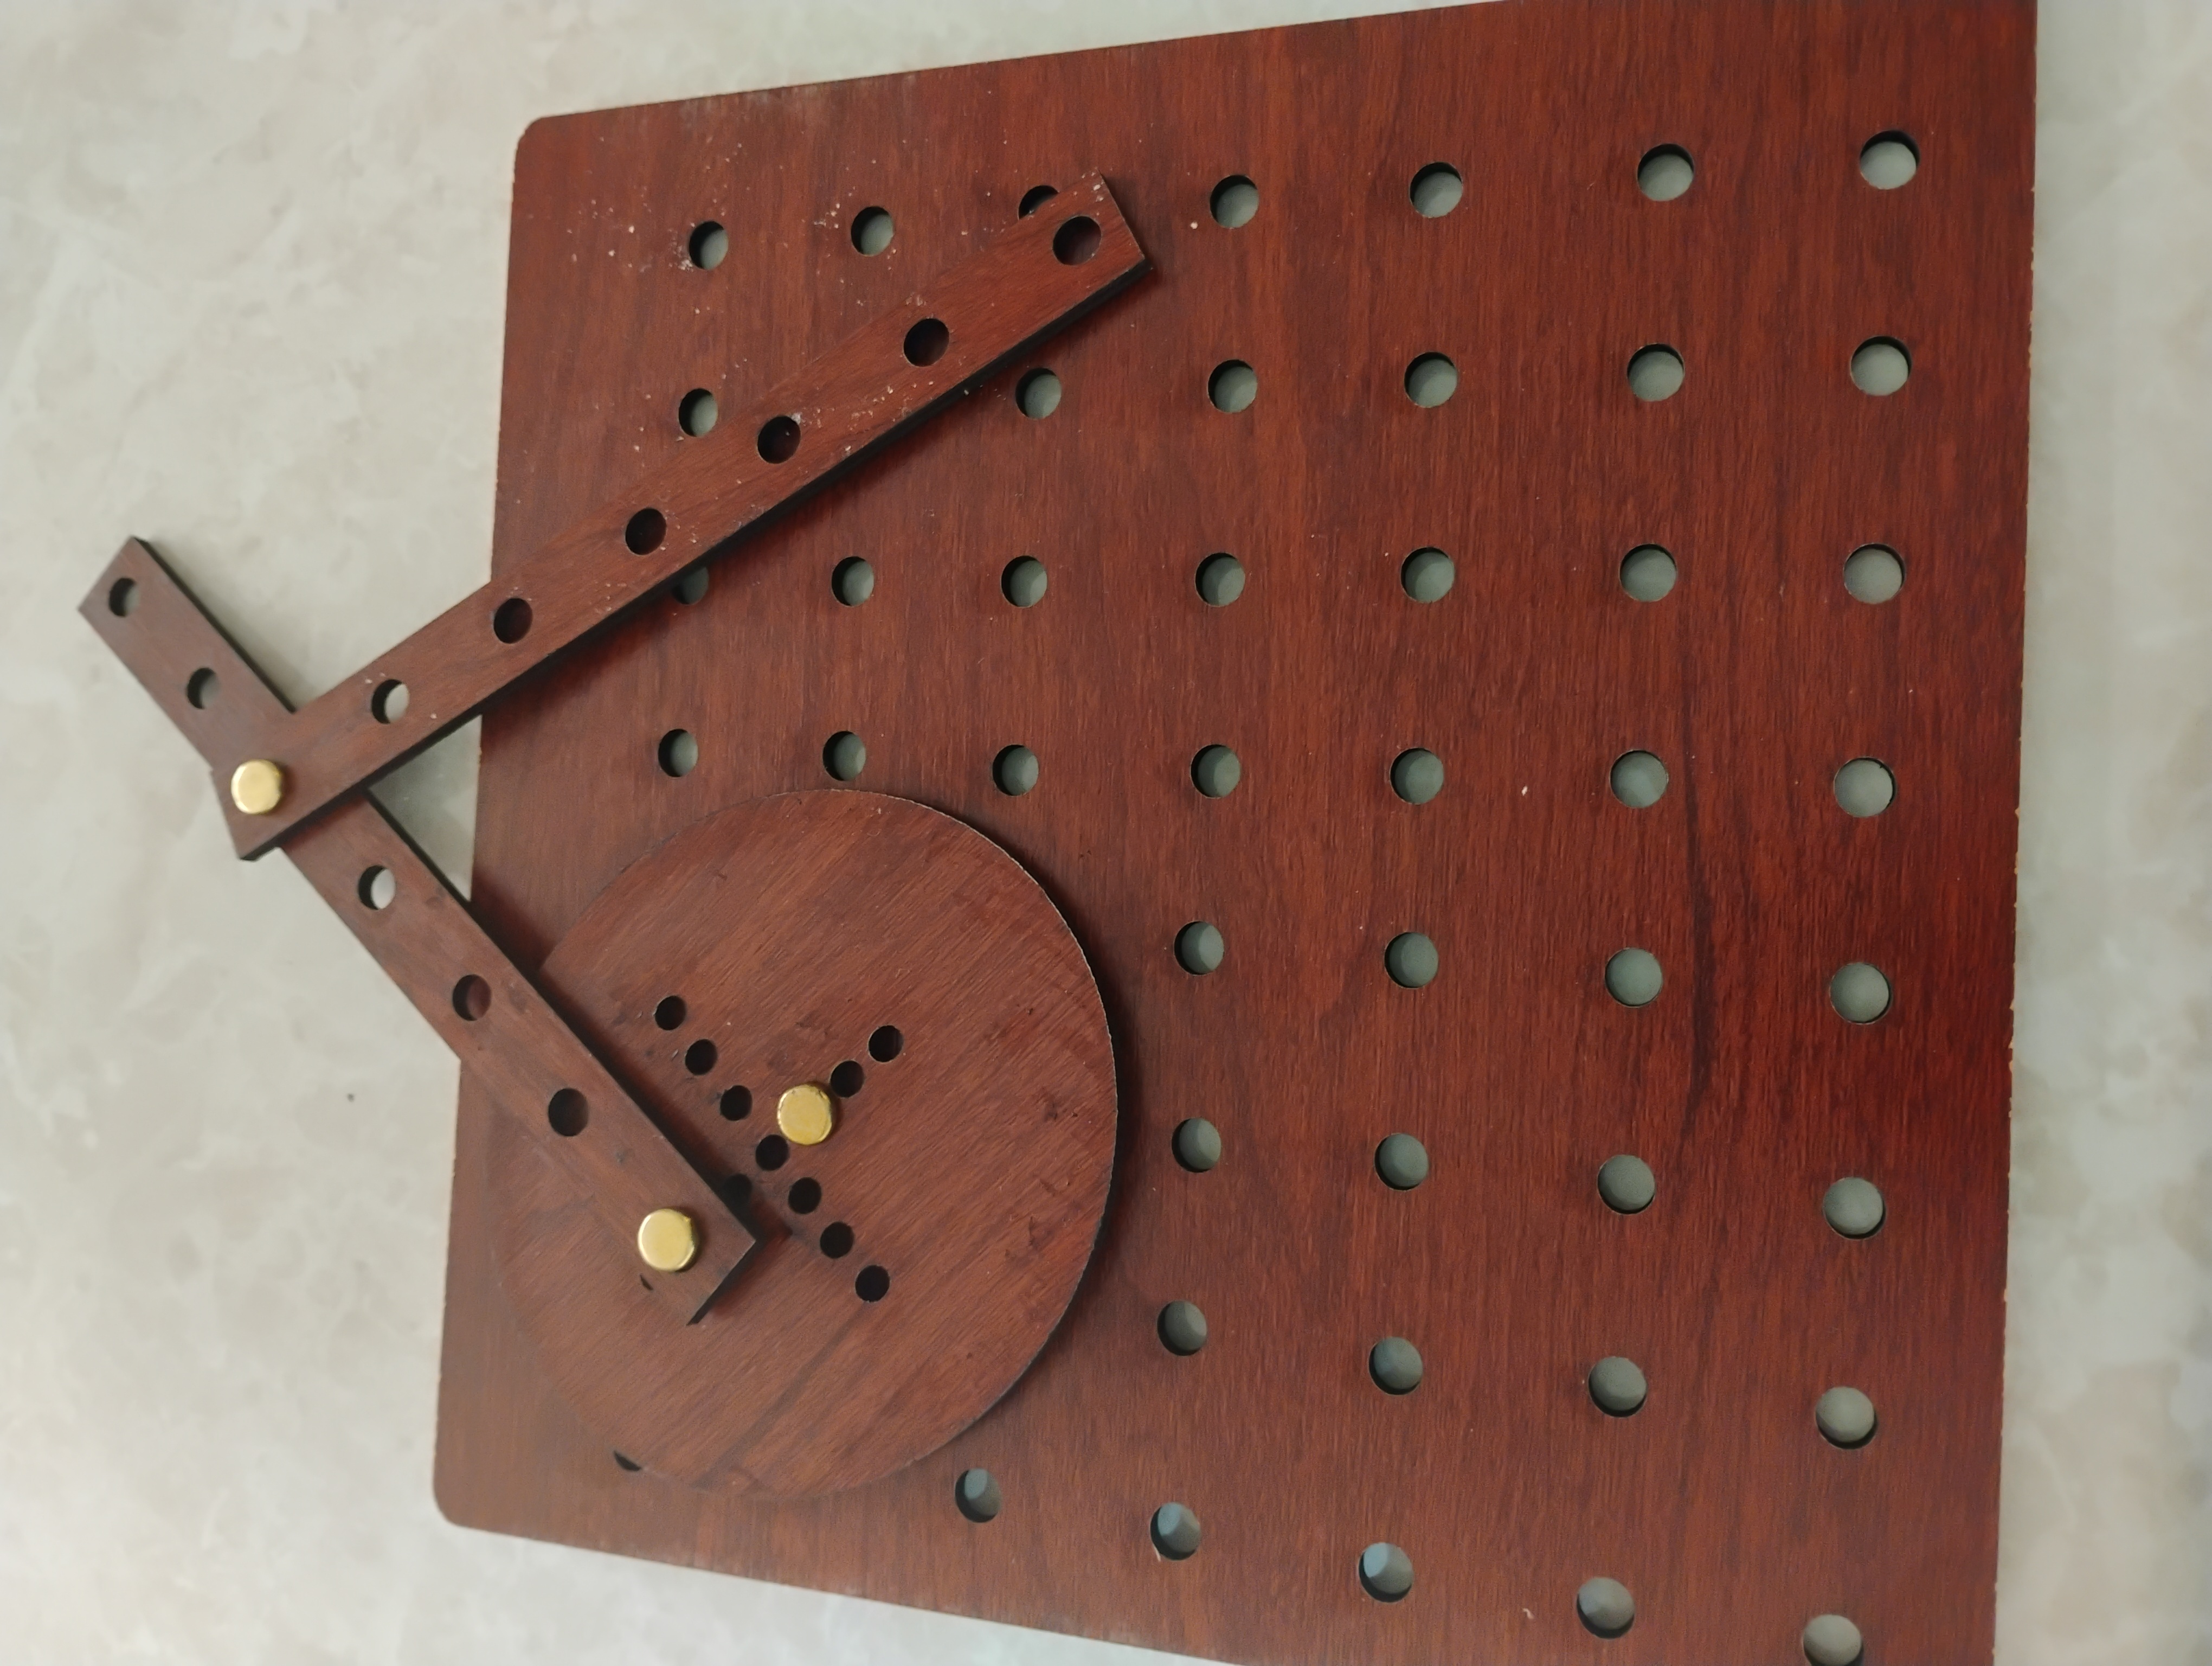
Students will observe and explore different motions of the linkages as a mechanism. Using bars as levers and circles (crank) on a peg board. Recommended time: 20 minutes
1. Start showing your students a real umbrella if you have one or show a picture of it to them. The idea is to reflect on previous knowledge and start constructing new connections with the coming learning. You can ask these questions:
2.Demo time: This is the time to show the materials and make a quick demo of how the linkages work. Show your students the peg board with the pieces and please mention that it is an idea that comes from her author Eun Jon Park that designed the toy LINKKI. I recommend to hand one pegboard per group of three students to promote some collaboration among the exploration. Make sure you model one motion before they explore by themselves. Practice predictions by asking questions like: What happens if we change pivot points in our system?
Time to "play" with likages mechanisms using the peg board and sharing the findings with the class. Students work in groups of three (depending on the amount of boards you have) or what you consider convenient to facilitate this learning experience. Recommended time: 30 minutes
Ask your students to make groups of three and ask them to start connecting the bars and the circle on the board in different ways. Walk around the groups and observe if energy and force transfers correctly in order to move the system. Encourage them to draw/sketch the motions that worked well. Aske them questions like: What happens when you move this bar in a different angle? They explain what they found and share it with the class.
This is the time when you can take some of their examples to show how everything worked. In this part of the lesson you can introduce the concepts and meanings of linkages, joints, pivots, angles and basic types of linkages. Recommended time: 20 minutes
It’s the time to teach concepts like angles, levers, pivot, joints and a crank. Display a visual presentation labeling the parts of a few examples of mechanisms based on linkages only or with the crank. Prepare a presentation about linkages as a mechanism.
After this step feel free to continue working on the content and designing more learning experiences. Remember this manipulative was to explore and understand in a concrete way how linkages work as an introduction. Then you have endless experiences you could provide to practice and evaluate this learning. I can share some examples:
Having trouble? Let us know by completing the form below. We'll do our best to get your issues resolved quickly.
"*" indicates required fields
