
- Loading…

A Living Wall is a small, modular “biotile” — a low‑pH, porous cast block that lets live moss take root on it, so a bare urban surface can slowly become a patch of living green.
I started this project after I began looking down on my walk through the city — at subway entrances, retaining walls, and the gray concrete corridors between
buildings. A lot of these surfaces are hot, loud, and lifeless, and many of them already grow moss on their own when nobody is watching. That made me wonder: instead of scrubbing moss away, what if we designed a tile that invites it?
Moss is interesting because it asks for very little — no soil bed, no irrigation system — yet where it grows it can help hold humidity, soften noise, and add a bit of nature back into dense places where people rarely get any. As cities deal with more heat and harder surfaces, I wanted to explore whether a student, working within an educational budget, could prototype a tile that makes a surface bioreceptive — friendly to life — rather than hostile to it.
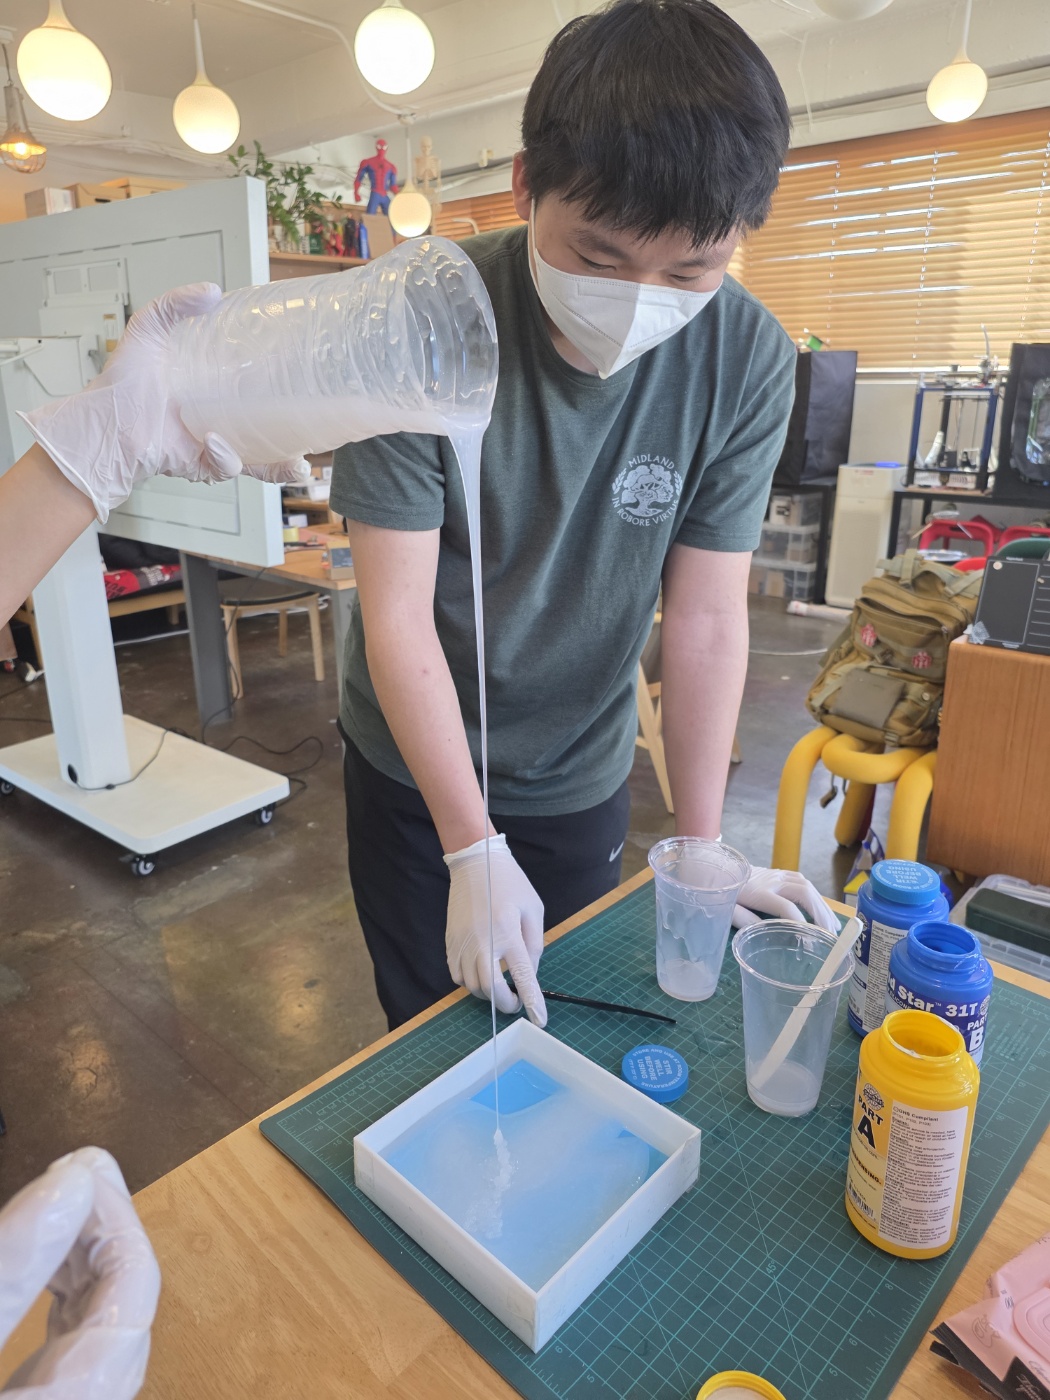
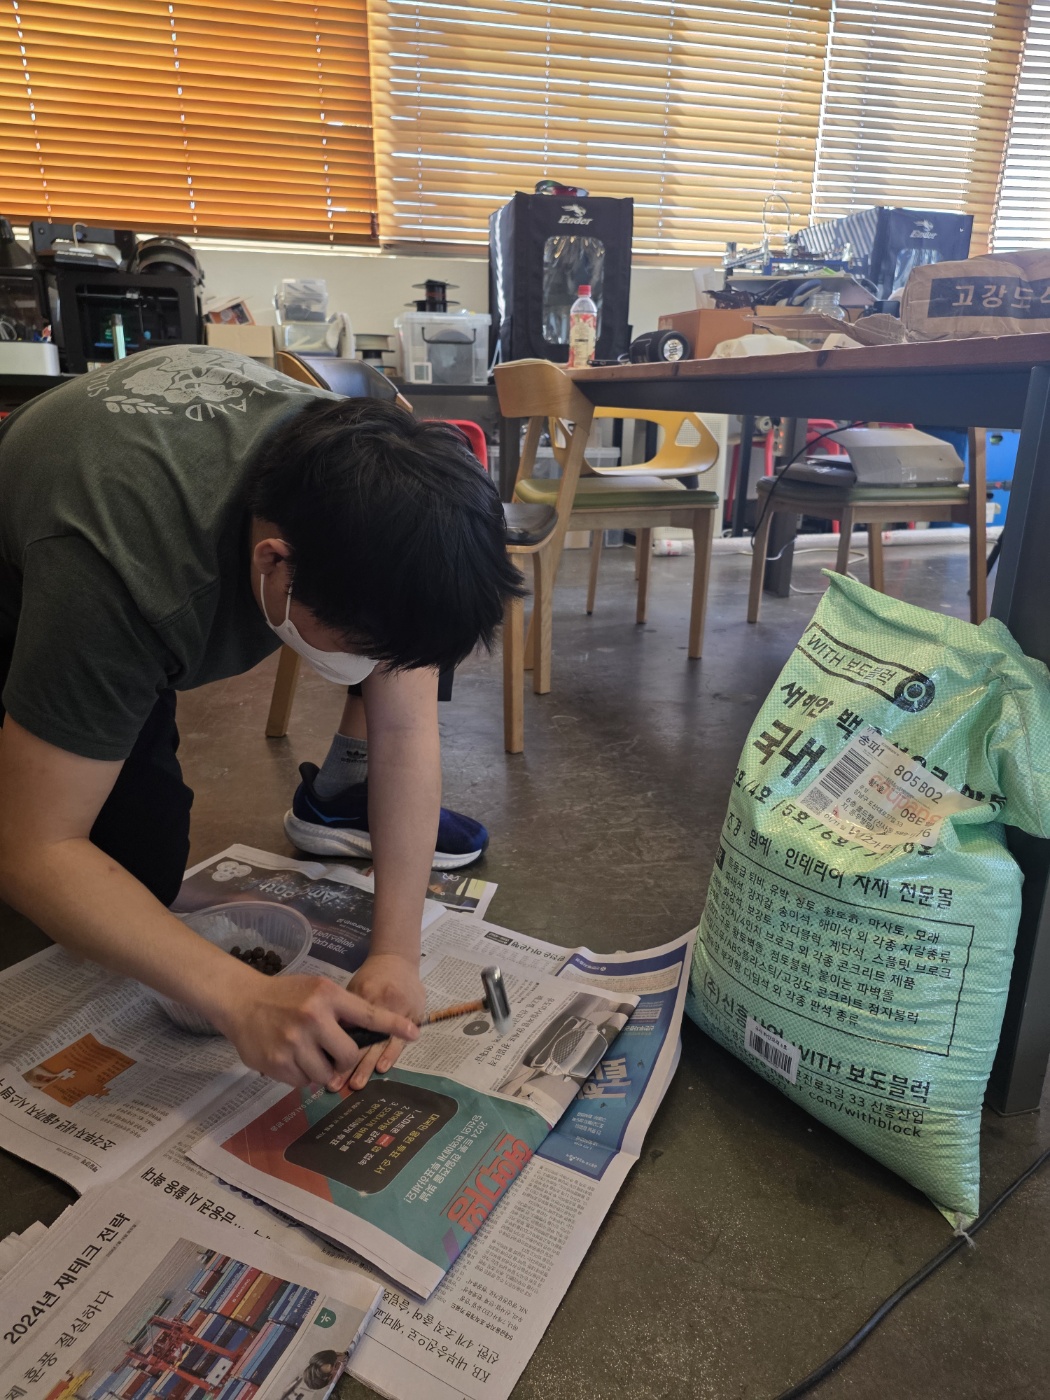
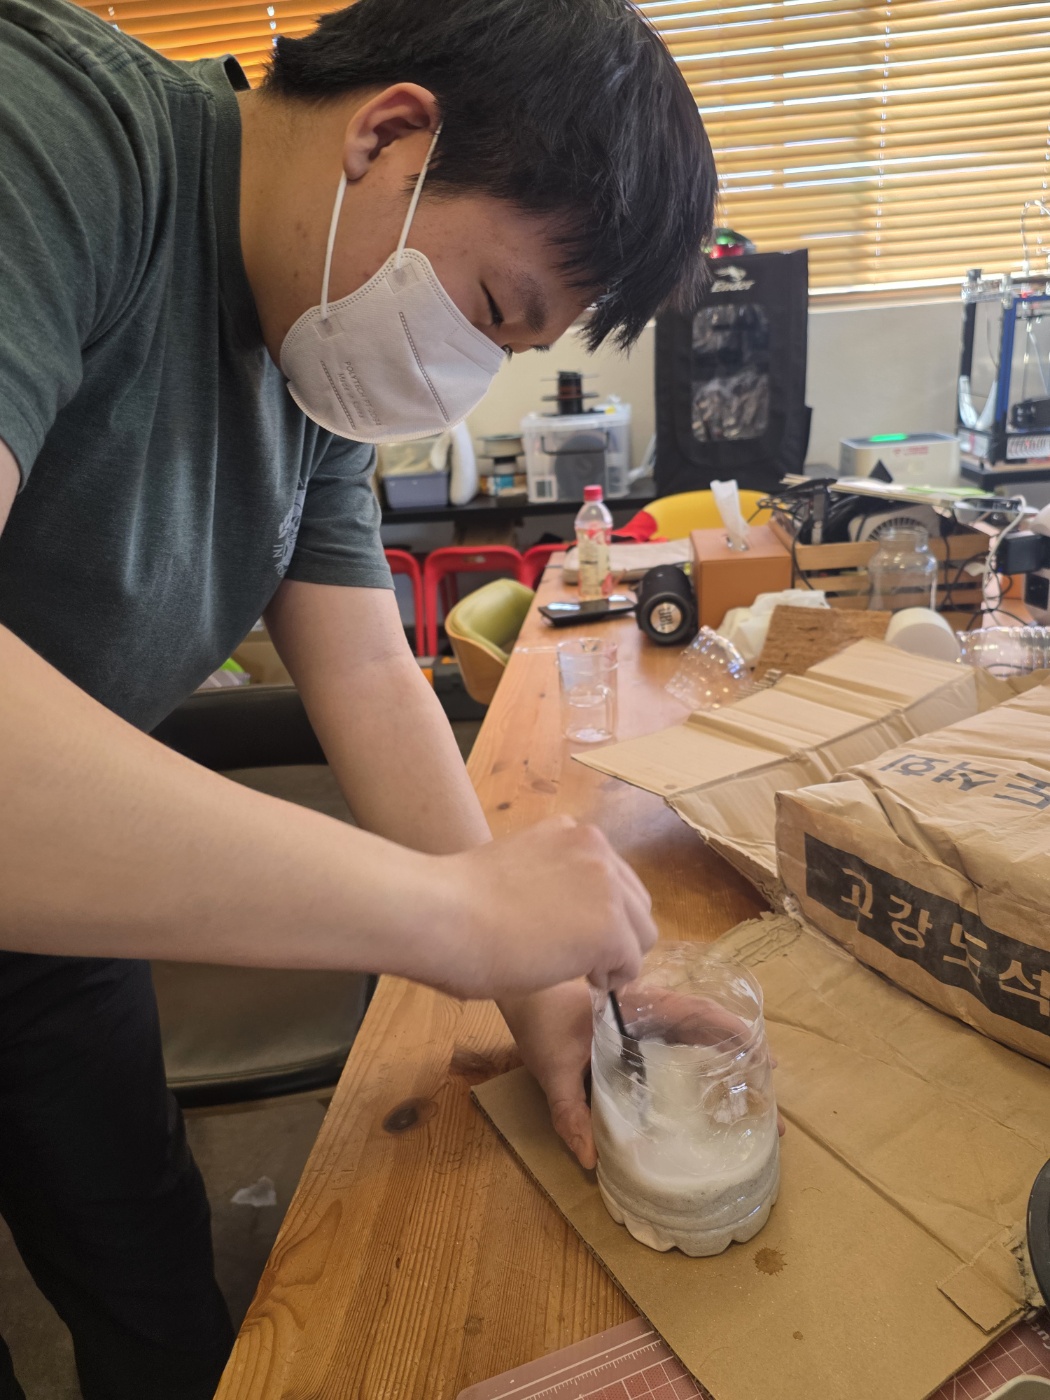
You can put a basic version together with simple tools and widely available materials. I deliberately chose accessible, eco‑friendly inputs over specialized lab‑grade equipment.
Tile mix (the recipe I landed on, by ratio — not exact grams):
Natural Hydraulic Lime (NHL) — 2 parts → the binder; lower pH than ordinary cement, breathable, lets moisture move in and out
Pumice / crushed volcanic rock — 2 parts → the porous aggregate; gives moss tiny anchors to grip and holds water
Coconut coir (short fiber) — 1 part → adds porosity, holds moisture, helps lower overall pH Peat moss — 1 part → keeps the surface acidic and damp, which moss prefers
Clean water → added slowly, until the mix feels like thick, stable mud
For shaping and mounting:
A 3D‑printed mold (PLA) for a modular tile, roughly 150 × 150 mm, 5–20 mm thick
A rigid backing board (cement‑fiber type) for structure
Simple mounting hardware so a finished tile can hang on a wall
A locally collected, live green moss specimen (gathered gently, with a photo taken before harvesting)
Tools: mixing tub, stirring stick, gloves, a spray bottle, and a cool, shaded spot to cure the tile.
Safety note: lime is alkaline and dusty — wear gloves and a mask while mixing, and work in a ventilated space.
This is an early MVP prototype, not a finished commercial product. The goal isn’t a guaranteed performance number; it’s to learn, through making and failing, how material choices decide whether moss lives or dies on a man‑made surface — and to share that process openly so others can build on it.
The biggest thing I learned is that the science is in the material, not the shape. A beautiful tile that’s too alkaline or too smooth is just decoration; a plain tile with the right porosity and pH can actually host life. Working within an educational budget forced me to reason from why moss grows rather than buying my way to a result.
Next steps I’d like to explore: testing different moss species and tile textures in a controlled setting, comparing how each cures and colonizes, and refining the modular pattern so tiles connect into larger facades.
I’m sharing this in an openly available form so other students and makers can copy the recipe, improve it, and try it on the bare surfaces in their own cities.
Before designing a tile, we first need to identify the problem we are trying to solve: damp, humid subway environments in Seoul. As vegetation is replaced by concrete, asphalt, and rooftops, cities experience the measurable urban heat island effect, making urban spaces hotter and less livable. Since Seoul has an extensive subway system, exploring environmental solutions in these spaces could have a significant impact on the city’s everyday environment.
Before mixing anything, I spent a session just defining the “why.” I mapped places in the city that might benefit from a living surface and wrote down the reason for each:
Subway stations & underpasses — damp, gray, low‑light spaces moss actually likes
Retaining walls & highway barriers — surfaces that get ugly and hot in the sun, where moss could cool and quiet the area
Building facades & rooftops — lightweight tiles that could add greenery without heavy structure
This step matters because it turns the project from “let’s make a cool tile” into “let’s solve this surface, here.” Every material decision afterward traces back to it.
Ordinary concrete fails moss twice: it is too alkaline, and too smooth. So I turned “friendly to life” into an engineering checklist — a set of properties any surface must hit before moss can settle.
Ordinary concrete is too alkaline and too smooth for moss to settle on. So the real engineering question was: what makes a surface bioreceptive? From my research I narrowed it to a checklist — the material should be eco‑friendly, porous, good at holding moisture, mildly adhesive, weather‑resistant, accessible, low pH, and able to give moss roots something to grip.
That checklist is exactly why the recipe looks the way it does: NHL for a breathable low‑pH binder, pumice for porosity and grip, coconut coir for moisture and acidity, and peat moss to keep the surface damp and slightly acidic. Each ingredient is doing one specific job on that list — nothing is there by accident.
A 3D-printed mold transforms the material into a repeatable, tileable unit. I designed the surface to be intentionally rough, giving moss a better texture to grip and grow on.
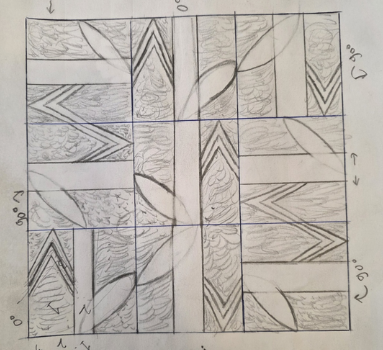
I modeled the tile to be modular — it should look good in different orientations and tile together without becoming boring — within a 150 × 150 mm, 5–20 mm thick envelope. I intentionally designed a rough, textured surface into the mold, because moss takes hold far better on a bumpy surface than a smooth one.
Practicing the 3D modeling (boxes, shells, patterns) before the real tile was its own learning curve — and the hours of fiddling and reprinting were a necessary part of getting a mold that actually released cleanly.
Mixing and casting creates a consistent, repeatable tile while allowing control over its strength, texture, and porosity. The porous, textured surface helps retain moisture and provide a better environment for moss growth.
1. Stir the lime, pumice, coconut coir, and peat moss together dry.
2. Add water slowly until the mix becomes like wet clay or thick mud — moist, but stable enough to
hold a shape.
3. Press the mix firmly into the mold so it picks up the rough texture.
4. Let the tile cure in a cool spot for about 3–4 days until it sets.
The “thick mud, not soup” consistency is the part that took trial and error — too wet and it slumps, too dry and it crumbles at the edges.
Seeding the moss and building a growth environment creates the ideal conditions for moss to establish and thrive. By controlling moisture, light, and surface conditions, the Biotile can develop into a living, functional system.
Once the tile is cured but still damp, press or rub the live moss gently onto the surface so it makes contact with the porous texture. Then set up the conditions moss wants:
Keep the tile out of direct sunlight (moss prefers shade)
Mist it regularly so it stays damp and the moss can establish
Be patient — this is a biological step, so it runs on the moss’s schedule, not mine
This is where the project stops being a craft object and becomes something alive — and where success is never guaranteed, which is exactly what makes it worth documenting honestly.
Adding a backing and mounting the Biotile allows it to be tested in a real environment. Observation helps evaluate how well the tile supports moss growth and how effectively it responds to urban conditions.
Finally, bond the tile to a rigid backing board and add simple mounting hardware so it can hang as a wall module. Then the real work begins: observe and document. I track how the moss responds over days and weeks — where it spreads, where it browns — and treat every result, including the failures, as data for the next version.
A single tile won’t transform a city. But as a modular unit, it’s a small, honest test of a bigger idea: that the surfaces we already live among could be designed to support life instead of resisting it.
Having trouble? Let us know by completing the form below. We'll do our best to get your issues resolved quickly.
"*" indicates required fields