- Loading…

Students are challenged to develop a wearable shoelace device. The device should both keep the wearer’s shoelaces tied and be easily removable. The lesson uses 2D vector design software and a laser cutter to produce student prototypes. This real world challenge also introduces students to a career in wearable technology.
This lesson will additionally introduce students to careers of the present and the future, as well as provide opportunities for developing Essential Skills that are critical in supporting student success.
Laser Cutter
Computers (one per pupil) w/ Internet access
Software:
Cardboard or Wood Sheets – for laser cutting
Acrylic Sheets – for laser cutting
Prefabricated shoelace devices for display
Rulers
Pencils
3D Printer – optional
The instructor will introduce the concept of designing a wearable device by identifying a need or problem. Students will begin ideating devices with their needs in mind and explore Inkscape through guided challenges to build the foundation of vector software skills.
Engage (EDP: Identify)
Essential Skill Focus: Goal Setting, Agility, Teamwork
Time: ~10 minutes
Materials: Projector, Computer, Laser Cutter, Acrylic or Cardboard, Paper, Pencil
Process:
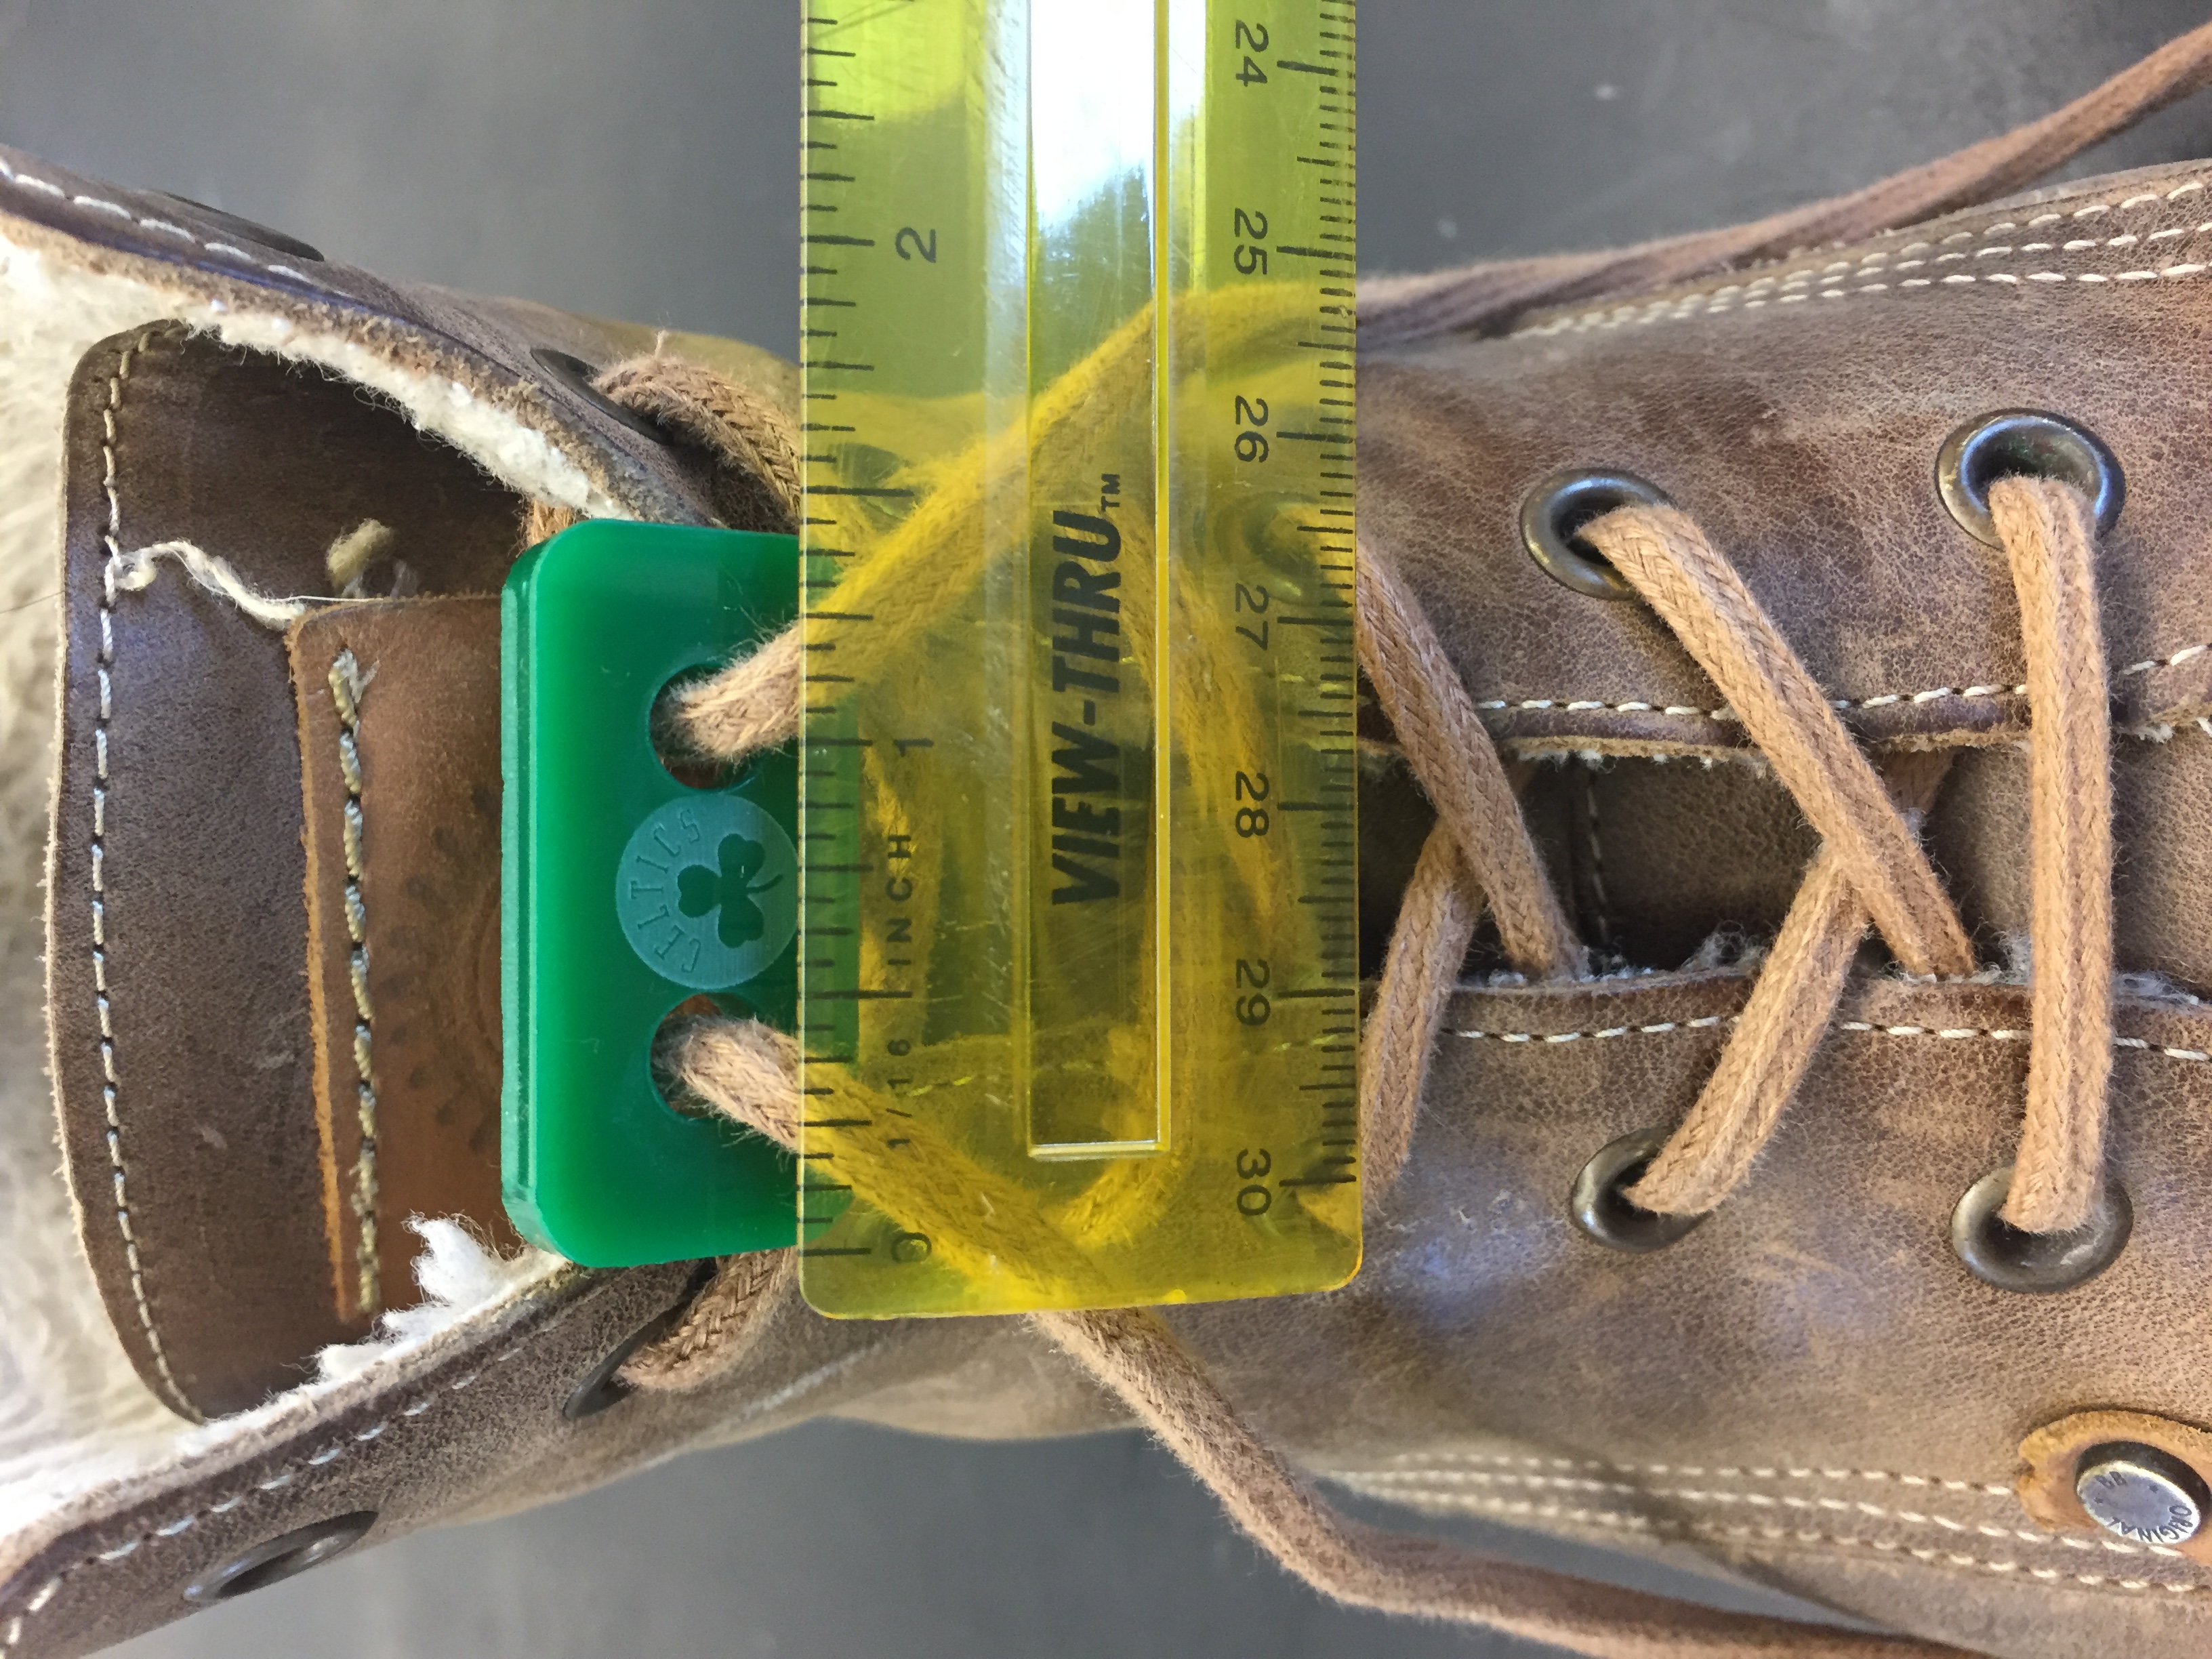
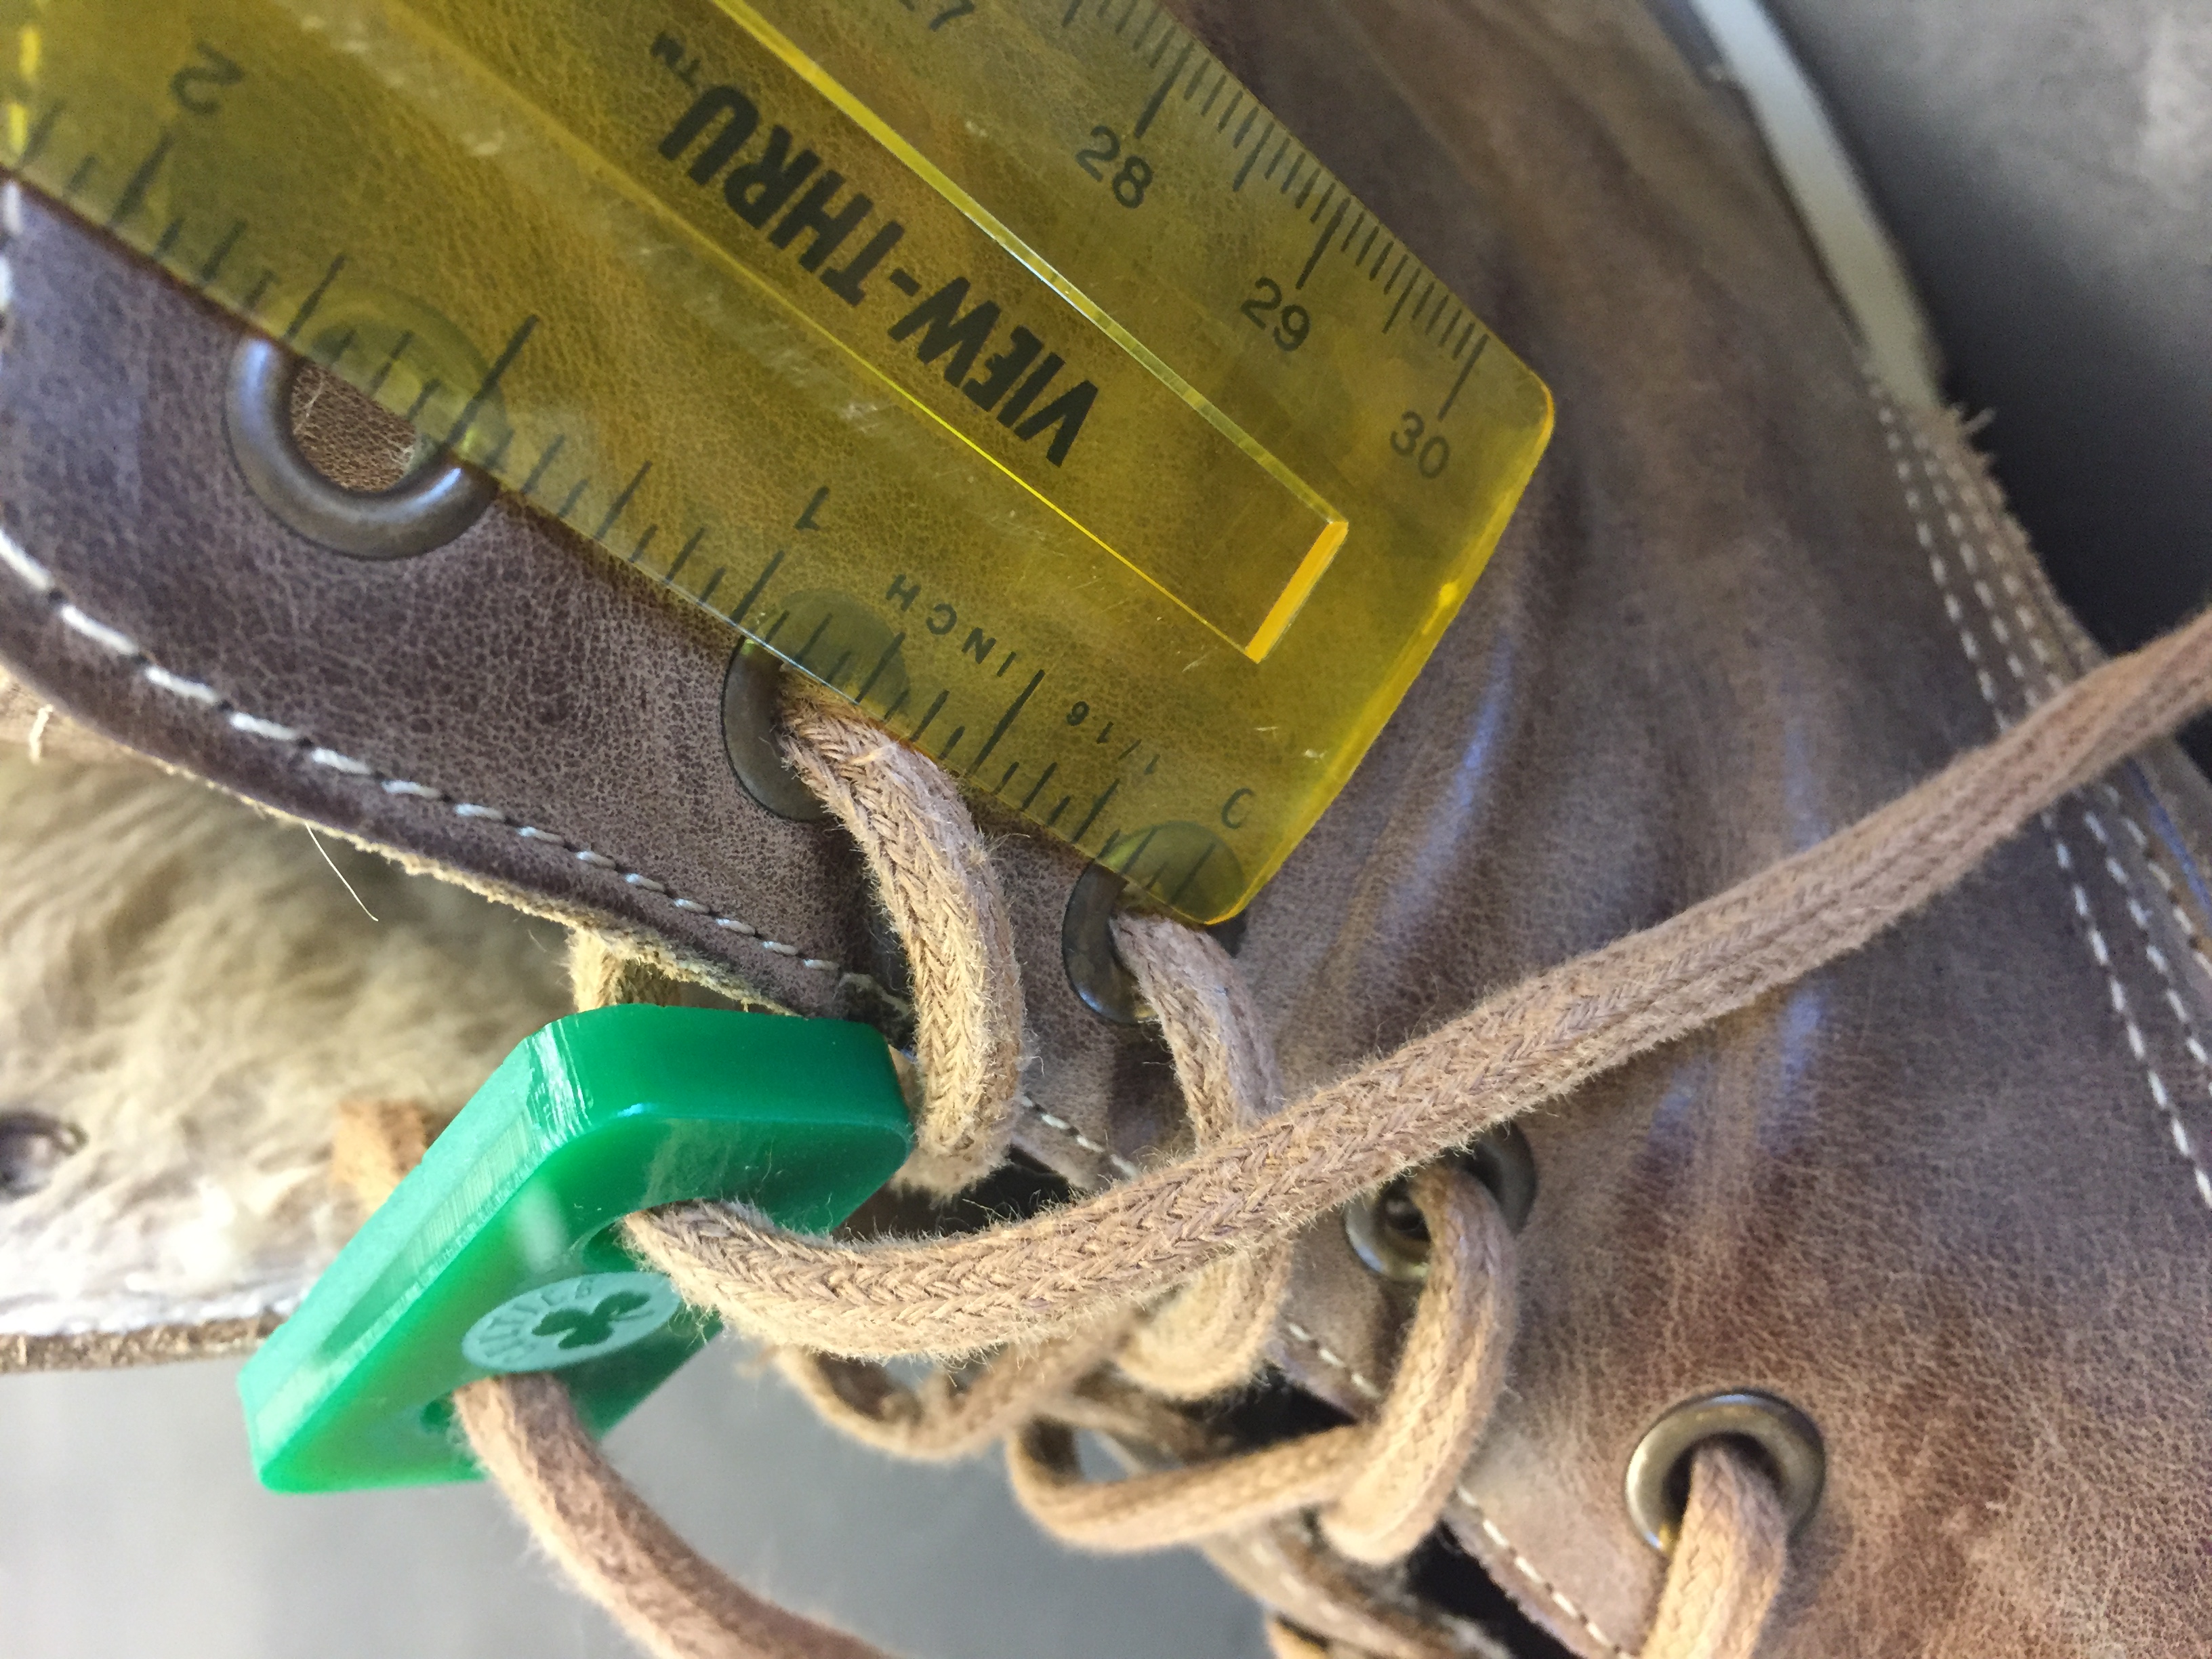
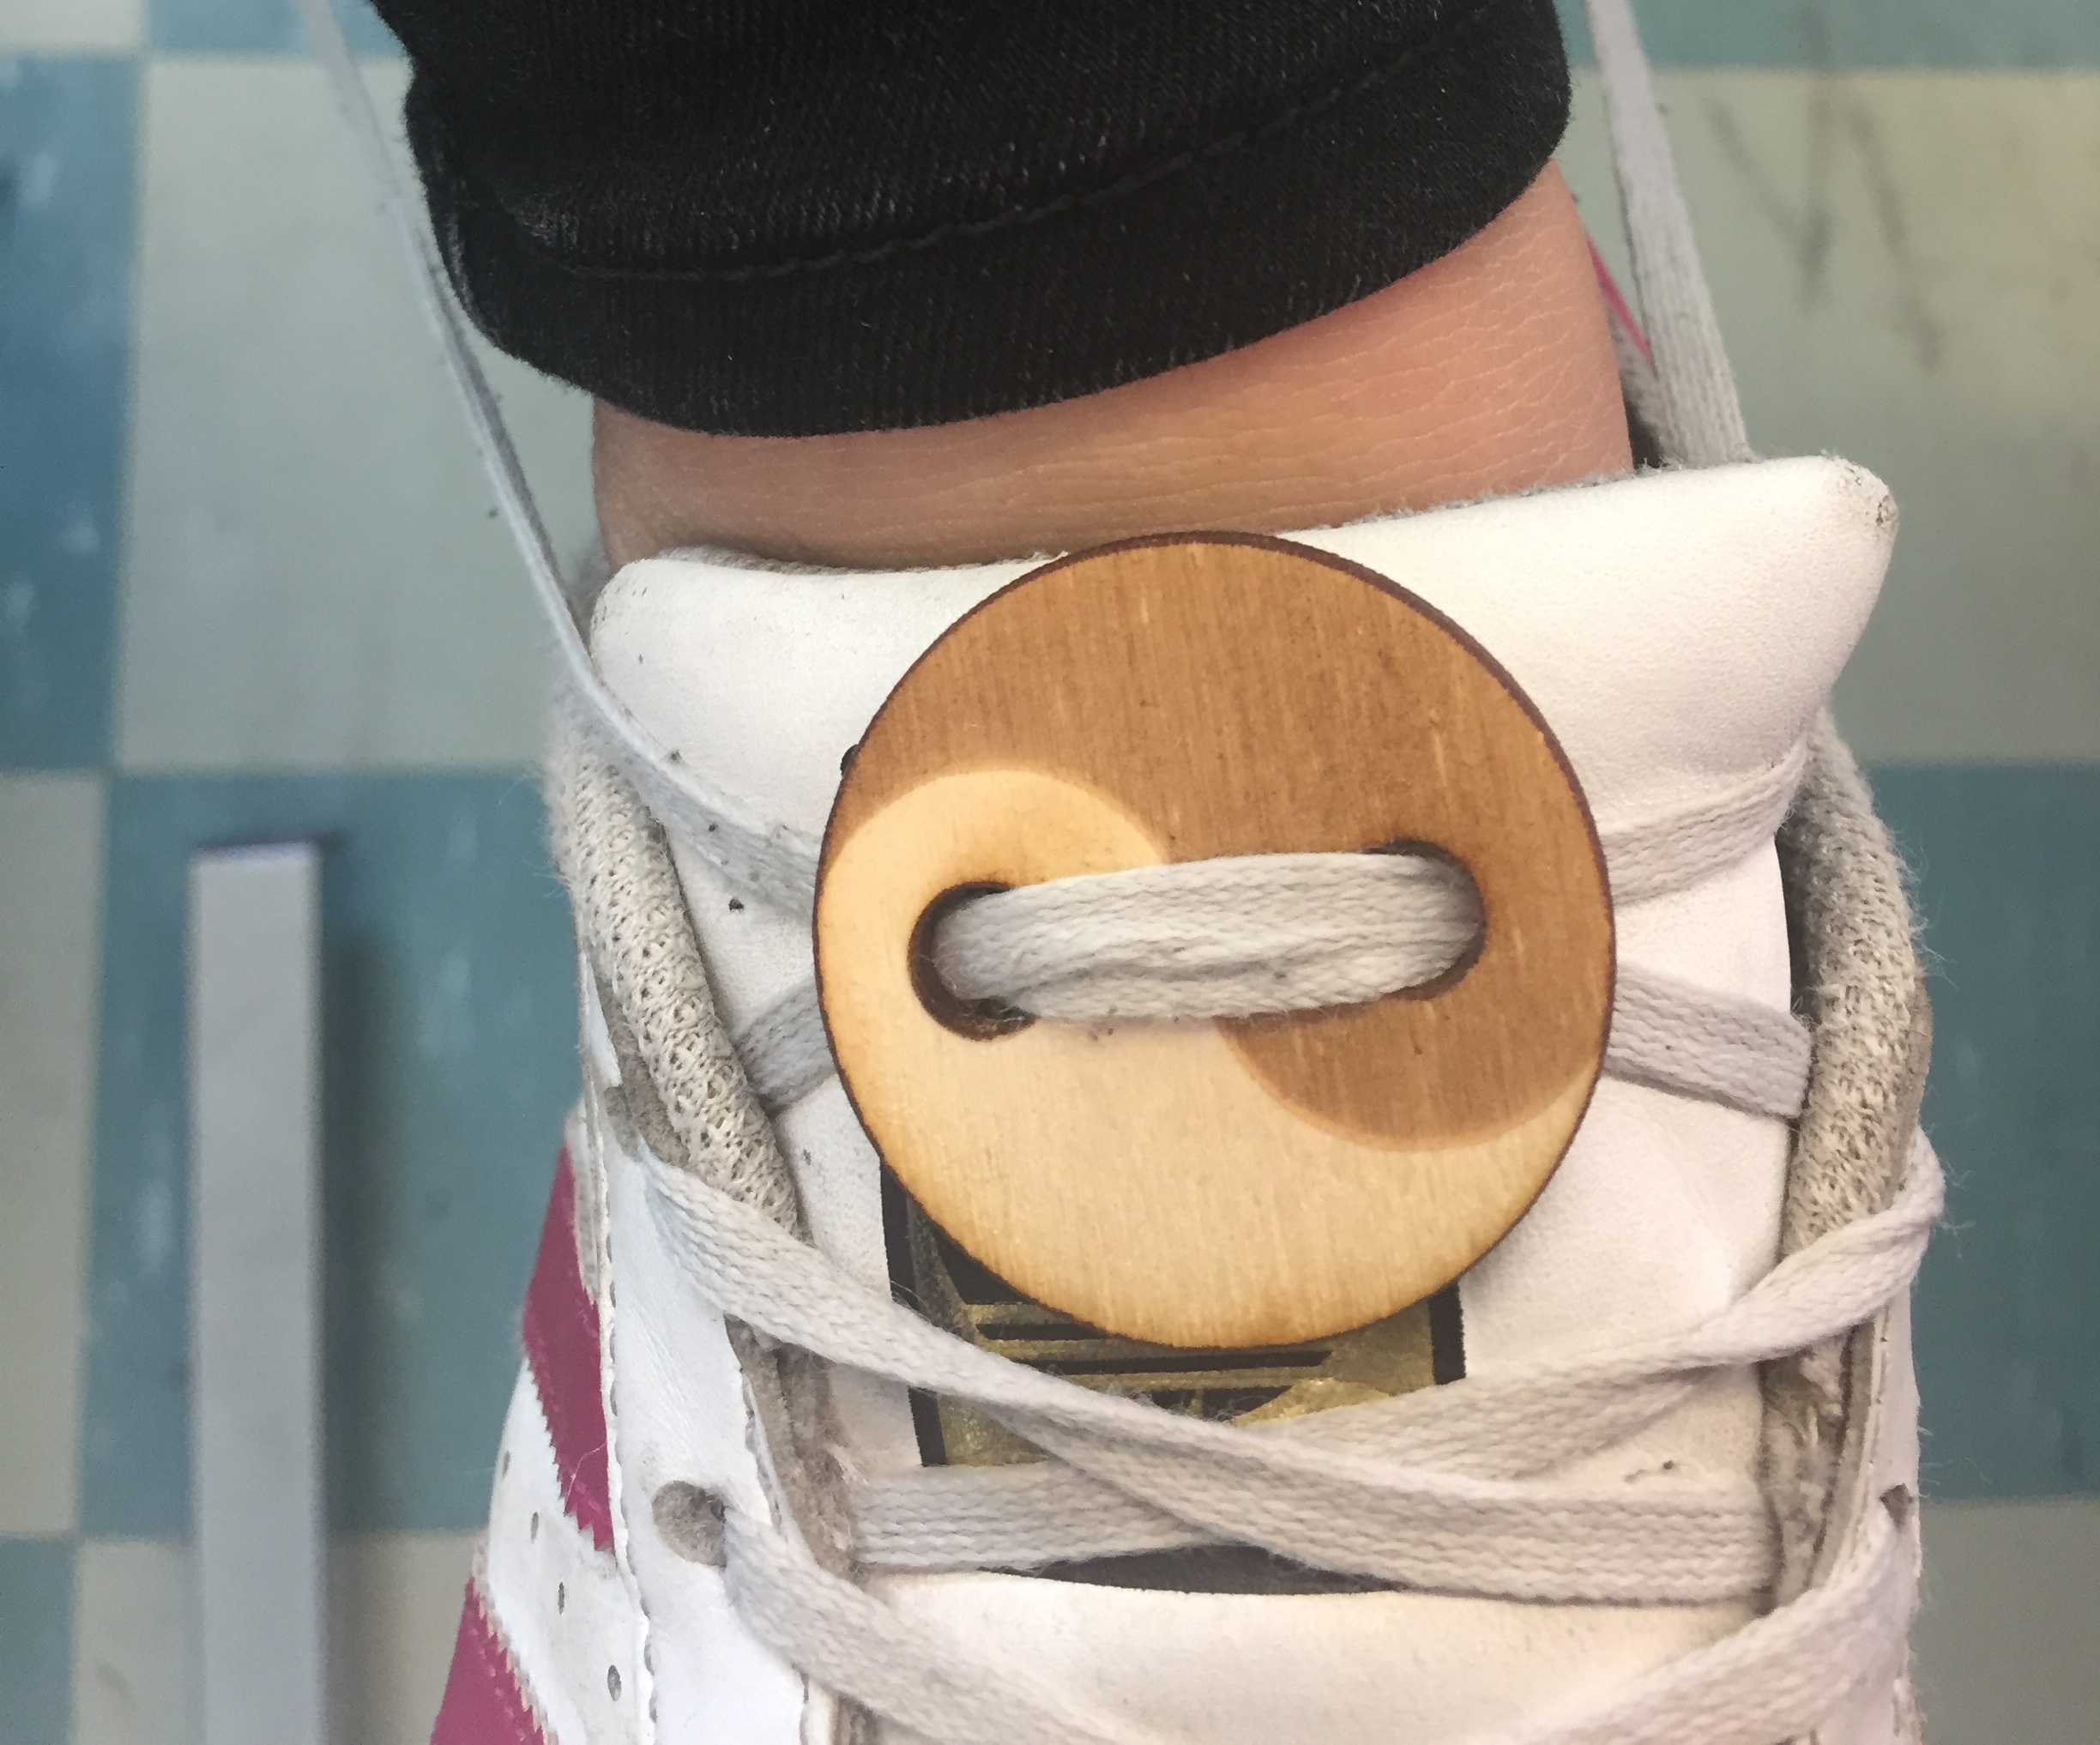
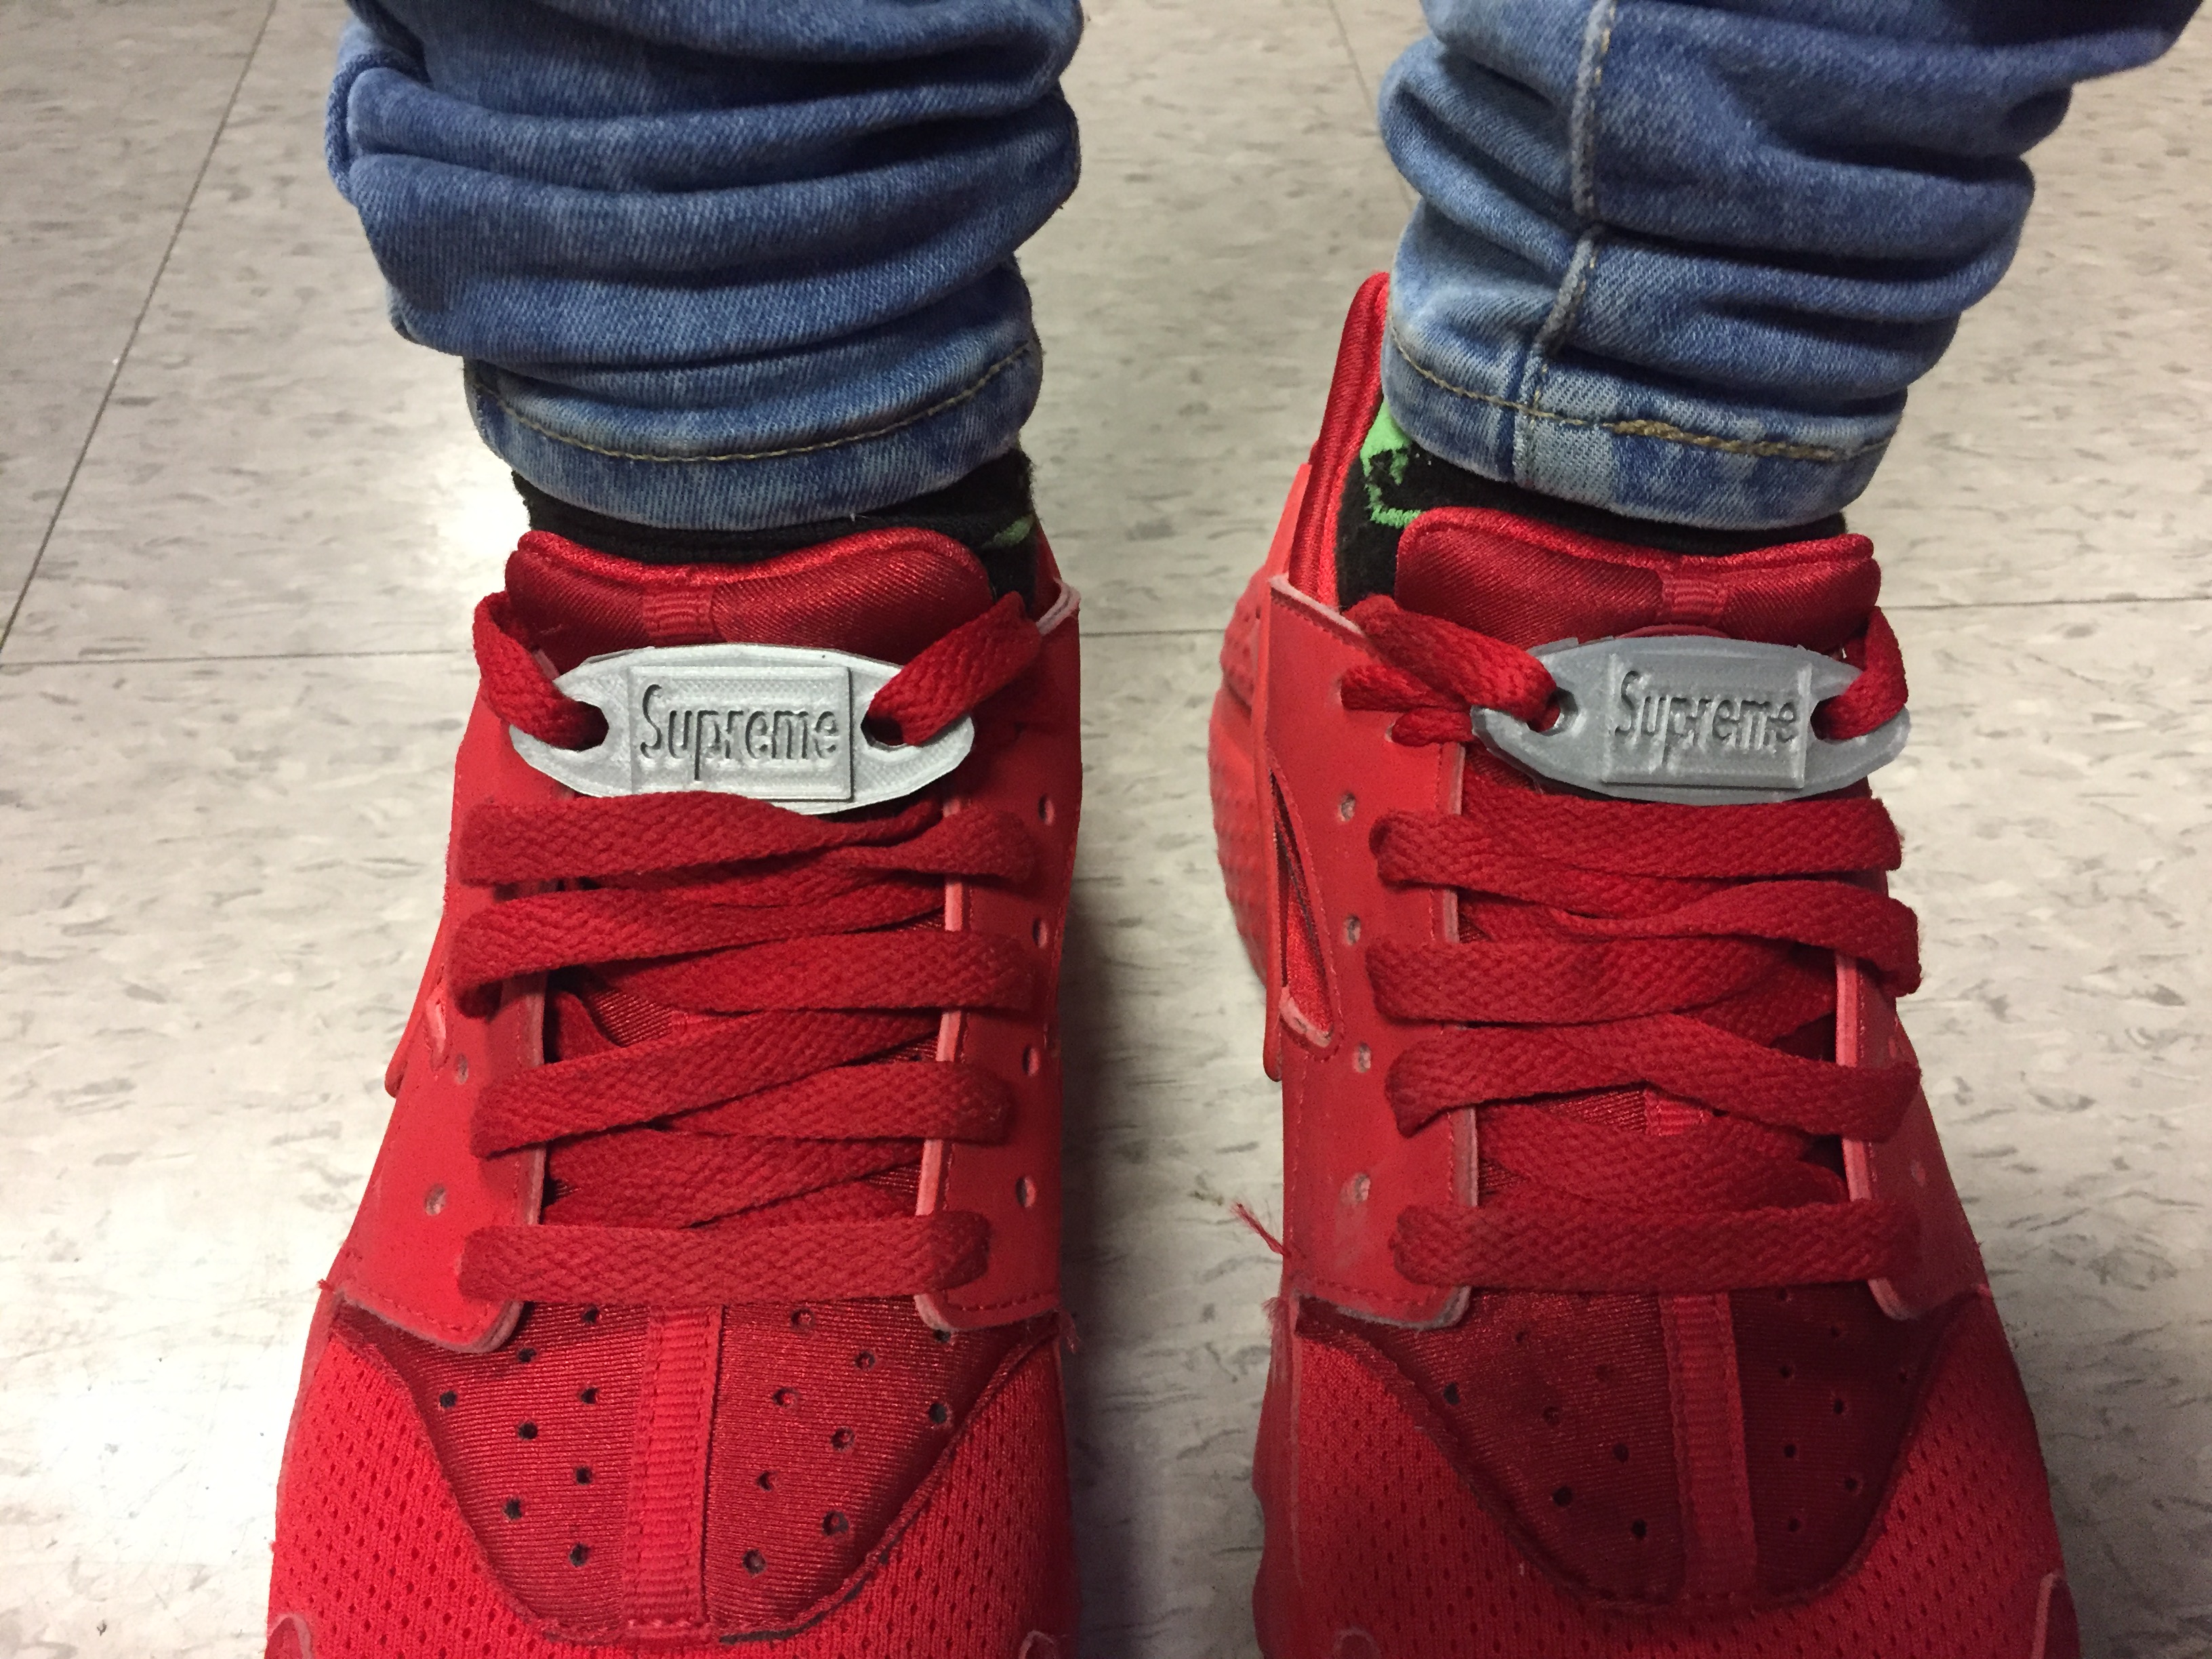
Before class begins, ensure there are example, prefabricated shoelace devices to show students as they enter. You may also want several designs cutting out on the laser cutter for students to view.
Organize students into groups of two – four.
Share with students the following video of a Celtics player losing his shoe: https://www.nba.com/celtics/video/2017/04/23/0041600104-bos-chi-play16
Ask students, “As the player, how are you feeling? Where did the problem occur? How did it happen? What is the problem?”
Direct students to look at their shoes. “What problems do you have with your own shoes? How could they be improved?” Share results from student groups.
“Think about devices you’ve seen in the past that address these issues. How do those devices function?” Examples: Lace Locks lock a lace with a spring and plastic casing, Lace Bands wrap around the laces of the shoe.
Inform students that digital fabrication can rapidly produce customized devices.
Explore (EDP: Research)
Essential Skill Focus: Goal Setting, Perseverance, Agility, Teamwork
Time: 30-50 minutes
Materials: Paper, Pencil, Computer (one per student), Inkscape software (Computer mouse)
Process:
Display or pass out prefabricated shoelace devices and ask “Would a device like this prevent your shoe from falling off? If not, how would it fail to prevent this? Finally, what improvements could be made to the device to fit your shoe or any number of shoes?
Ask students to record and share their response to these three questions.
Inform students they will be exploring a 2D vector software and laser cutter by creating customized devices to prevent shoes from falling off. In order to do this, everyone will need to become familiar with Inkscape.
Ask students to share any of their questions about the challenge: time, materials, quantity of devices, etc.
Pass out computers. After opening Inkscape, allow students 5-10 minutes to create and explore with limited or no guidance from the instructor.
Ask students to answer a set of questions around basic display and object properties, not limited to the following (5-10 minutes, these answers will be revisited later):
At this point instructors may help students. Once students understand the basic display and object property features, challenge them with the following tasks (10 minutes):
Students will continue to explore Inkscape and learn the settings within the software that interface directly with the laser cutter. The instructor will revisit questions and information from the previous day & describe the specific goal of the challenge over the next three days.
Explore (cont.)
Essential Skill Focus: Goal Setting, Agility, Perseverance, Teamwork
Time: 30-50 minutes
Materials: Computer (one per student), Inkscape software (optional – computer mouse)
Process:
“The steps up until this point have allowed us to design the shape of our device. Now, we will learn how to ‘talk’ to the laser cutter by inputting the appropriate settings.”
Open saved student files from the previous day.
Help students follow the steps for directing the laser cutter to “cut” through the material and adding a vector logo to their devices:
Laser “Cut” Settings:
Discuss the differences between a Bitmap and Vector image.
Add a vector logo:
Explain (EDP: Develop Solutions & Select Solution)
Essential Skill Focus: Teamwork, Leadership, Agility, Goal Setting
Time: 10-20 minutes
Materials: Computer (one per student), Inkscape software (optional – computer mouse)
Process:
In groups of 2-4, allow students to recap their learning by sharing their answers to questions from the previous day (Day One, Explore).
Show students incomplete or incorrect versions of a design and ask students how they would correct the error.
Introduce the specific details of the challenge: “Develop a device that prevents your shoes from untying and is easily removed.”
Before Day 3, it’s a good idea to collect Inkscape or .svg files from students once they have saved their work either via USB flash drive or email. Once you have their files, prepare them for cutting on the laser cutter. During the next class, allow students to see the laser cutting process.
Instructors will inform students about STEM Careers and the Wearable Device Designer career & Discuss with students how the laser cutter operates.
Extend/Elaborate (EDP: Prototype/Test)
Essential Skill Focus: Teamwork, Leadership
Time: 50-60 minutes
Materials: Projector, Computer (one per student), Inkscape software (optional – computer mouse), Laser cutter, Laser cutter materials (cardboard, wood, acrylic) Sketch paper, Pencils, Rulers
Process:
In groups of two – four, provide students with a list of STEM careers
Ask students to describe the roles of two or three of these careers.
“These careers or types of careers all exist within both the GE and Celtics organizations. Today, there are ways to join the NBA that don’t include playing basketball. If your dream is to join be a member of the Boston Celtics, these STEM Careers are one way to accomplish that goal. The challenges over the next few days are preparing us for a future career: Wearable Device Designer. A professional in this role will use vector softwares, like Inkscape, to design wearable devices to solve problems.”
“Inkscape works with the laser cutter because the vector images and shapes on our canvas direct the path of the laser. A laser is produced and focused using lenses and mirrors that can adjust to specific settings. These intricate optics allow us to burn through, etch, or engrave the material. Respectively, these options are Vector Cut, Vector Engrave, and Raster Engrave. For this project, we will vector cut out shapes and raster engrave the logos.”
As students finish their initial, or v1.0 devices, cut them out on the laser cutter.
Allow students to test out and wear their devices:
These devices will serve as a model students can expand upon when designing future devices. Allow students to create a method of testing their shoelaces consistently (ie. jumping with two feet until the laces become untied).
(EDP: Communicate/Redesign)
Students should evaluate the design of their devices with a partner:
Reintroduce the challenge: “Develop a device that allows your shoes to stay tied and is easily removed.”
(EDP: Develop Solutions/Select Solution)
All devices should be designed with function first in mind. Once students know how the device will function, they can add aesthetic and design features.
Inform students that the remainder of this project is going to consist of partner/group work. Groups will work together to create an entirely new shoelace device design.
Students should work together to define criteria and constraints their device must follow:
Instruct students to measure and sketch their initial designs and share them with a partner.
Partners will combine or choose the best ideas and design on Inkscape once both partners have a sketch of device v2.0.
Within Inkscape, students should all create their group’s device.
Instructors should be available while encouraging students to use each other as resources for possible questions.
Again, before Day 4, collect Inkscape or .svg files from students and prepare them for cutting on the laser cutter. During the next class, allow students to see the laser cutting process.
Students will finalize, cut out, and test their v2.0 shoelace designs. They will assess their v2.0 shoelace designs with another group and reflect on the design process.
Extend/Elaborate (EDP: Prototype/Test)
Essential Skill Focus: Teamwork, Leadership, Agility
Time: 40-50 minutes
Materials: Projector, Computer (one per student), Inkscape software (optional – computer mouse), Laser cutter, Laser cutter materials (cardboard, wood, acrylic) Sketch paper, Pencils
Process:
Allow groups to work on their v2.0 designs. Students will finish at various times thus it is important to have an aide or instructor working on the laser cutter while another instructor is available to address student questions. It may be helpful to revisit certain steps of the design process, including the questions for “Test”, using the projector and computer at the front of the class.
Evaluate (EDP: Communicate)
Essential Skill Focus: Teamwork, Leadership, Networking, Agility
Time: 10-20 minutes
Materials: Finished devices v2.0, note paper, pencils
Process:
Once designs are cut, students should evaluate their designs
Pair groups with one another and allow them to assess each other’s designs:
After groups have answered questions about the other’s devices, allow them to assess their own designs:
Instructors may decide to allow students to present their devices in the form of a gallery or fashion show.
At this point, students have completed two full iterations of the Engineering Design Process.
Students will design a 3D model of their 2D shoelace device using TinkerCAD.
Extend/Elaborate (EDP: Redesign)
Essential Skill Focus: Goal Setting, Agility, Leadership, Perseverance
Time: 60 minutes (if time permits)
Materials: TinkerCAD, 3D Printer(s) w/ filament, USBs (optional), Projector, Computer (one per student), Inkscape software (computer mouse – optional)
Process:
For students who have completed both the individual and group devices, you may encourage them to import their .svg design to a 3D CAD software called TinkerCAD. By visiting www.tinkerCAD.com, students may see how an engineer would redesign this device given the added dimension of depth. NOTE: Students will need to create a TinkerCAD login and be over 13 y.o. to use without parental permission.
Additionally, you may want to show students the following video produced by GE Additive that quickly and effectively highlights “Additive Manufacturing”, the process used in 3D printing:
https://www.youtube.com/watch?v=kKQ5KwFwW_s
In this video, students will see example of GE Additive manufacturing, specifically clips of their nickel and cobalt metal 3D printing machines. To see more of this kind of content, visit www.ge.com/additive.
The conclusion of this process will result in 3D printed prototype of the design students created using Inkscape.
Having trouble? Let us know by completing the form below. We'll do our best to get your issues resolved quickly.
"*" indicates required fields


Thank you for your fab contribution!