Build VR Environment - SCOPES Digital Fabrication

Lesson Details

Age Ranges
Standards
Fab-Fabrication.2, Fab-Design.2, Fab-Modeling.2
Author
Additional Contributors

You need to login or register to bookmark/favorite this content.

Author

Studio 5
Studio 5
K-12 teacher
In line with the Ministry of Communications and Information Technology’s Digital Youth Strategy, STUDIO 5 is mainly aimed at nurturing youth as digital learners by sharpening their 21st century learning skills, as they develop in an all-pervasive digital environment. In… Read More

Summary

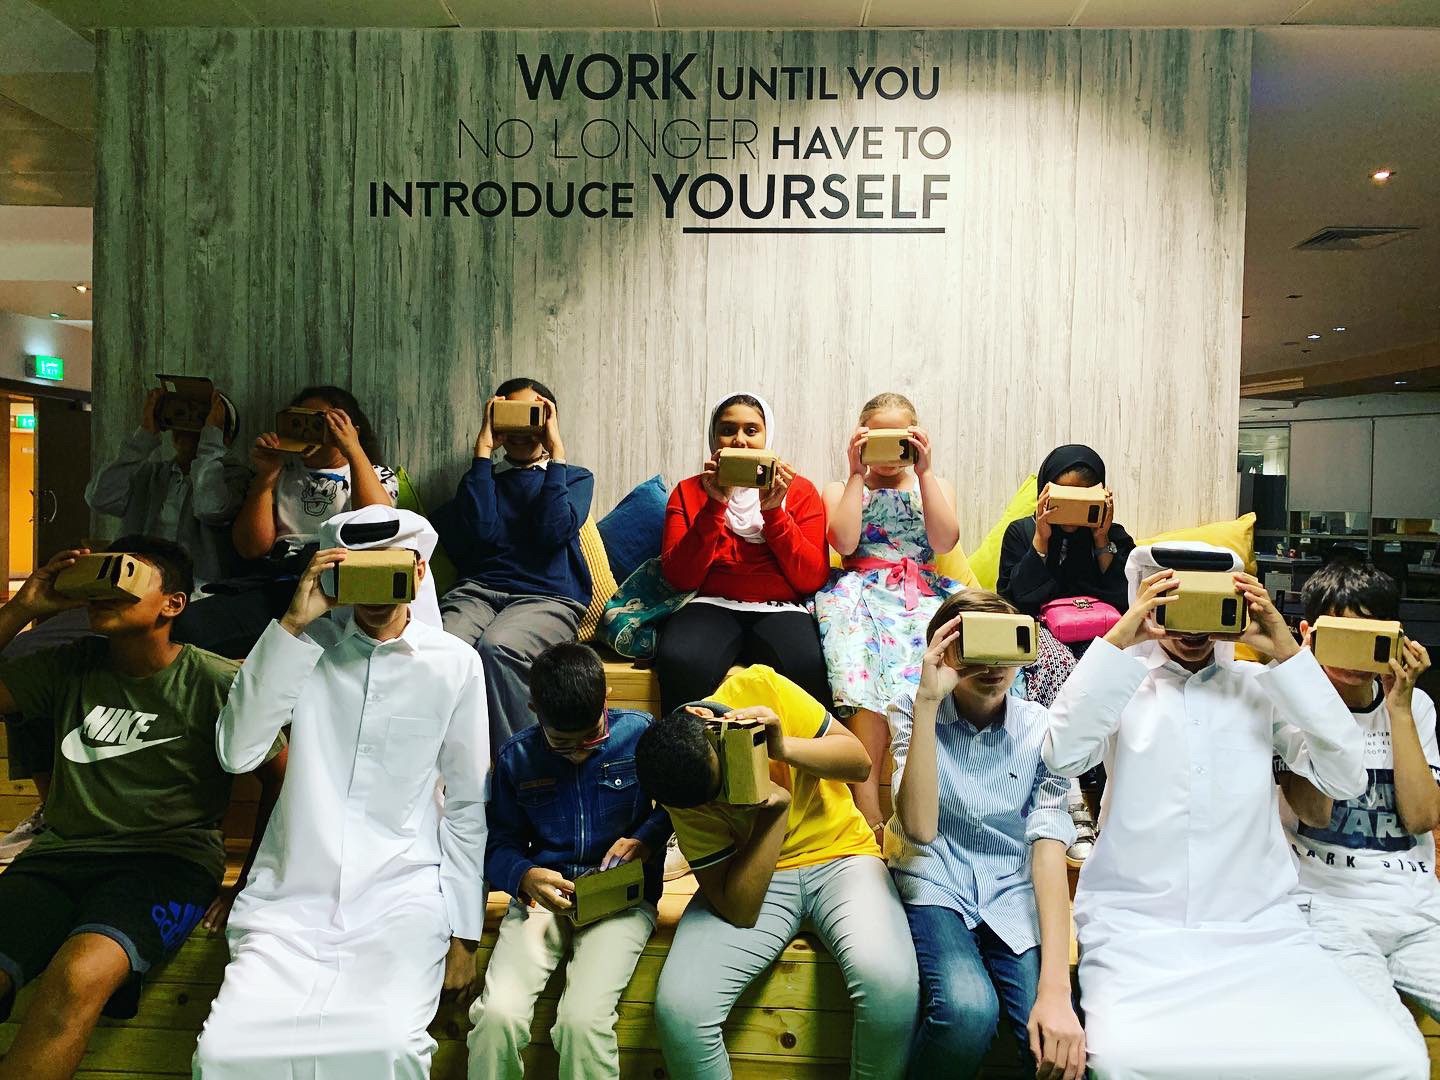
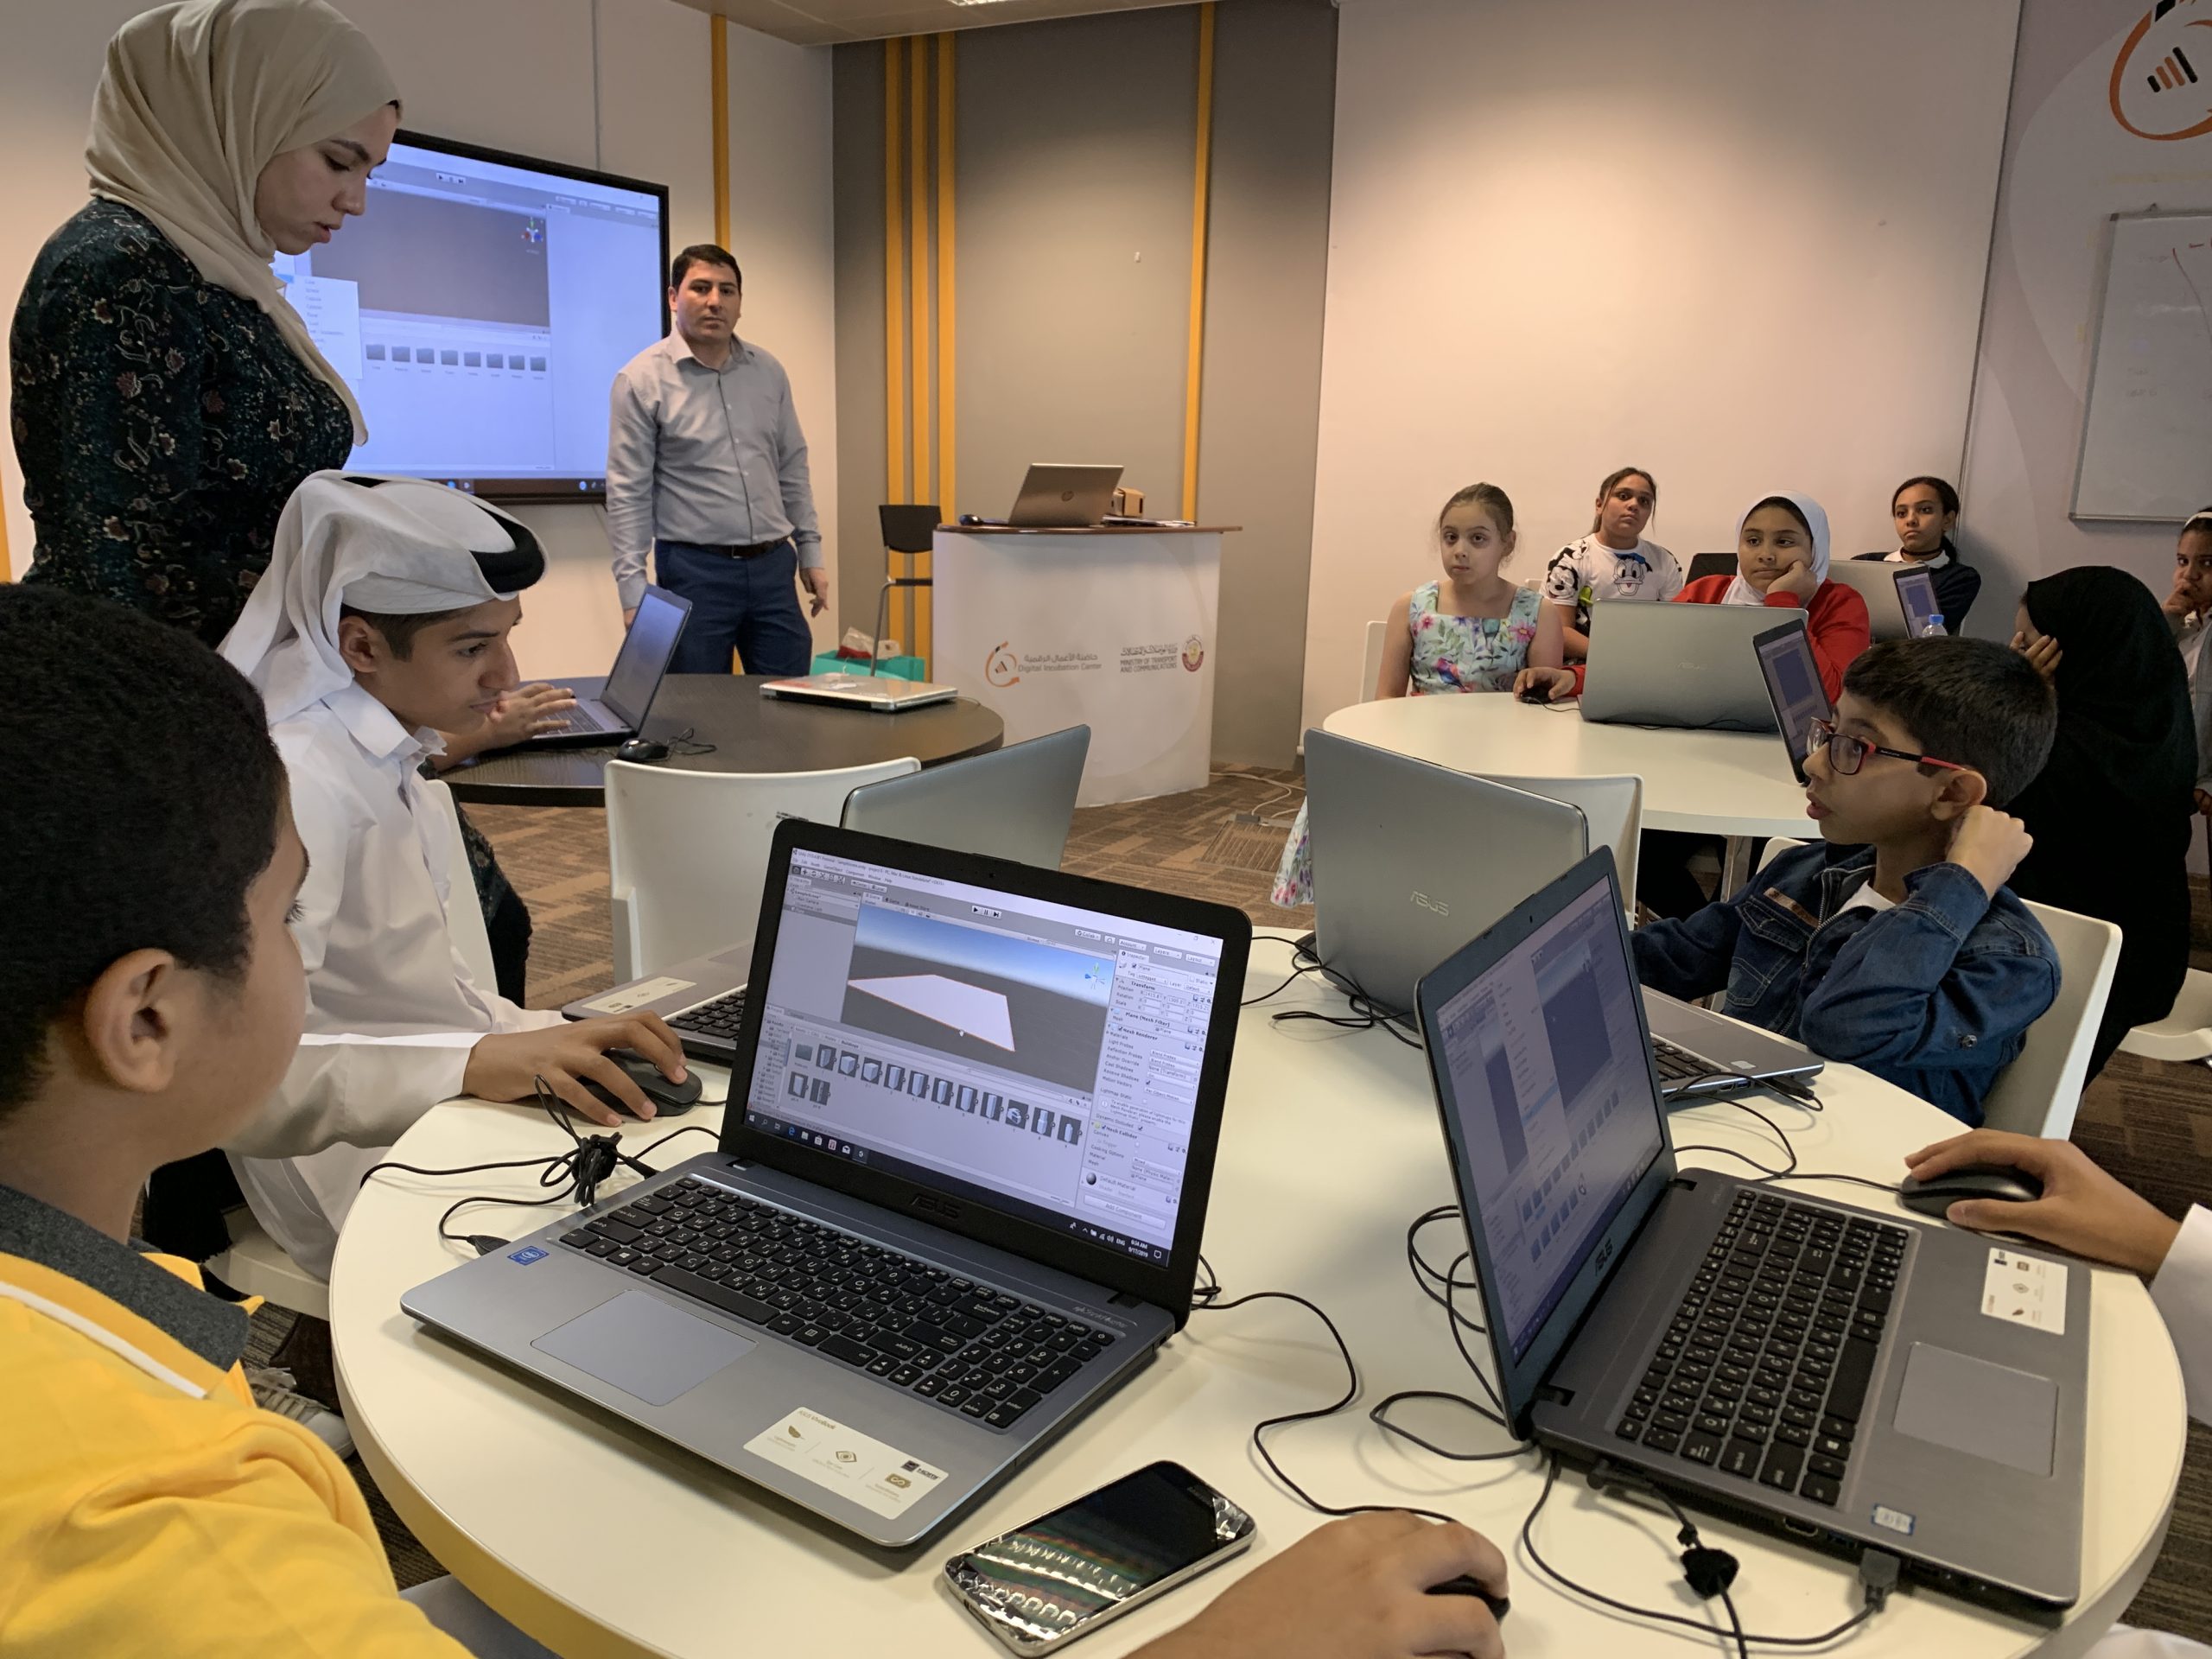
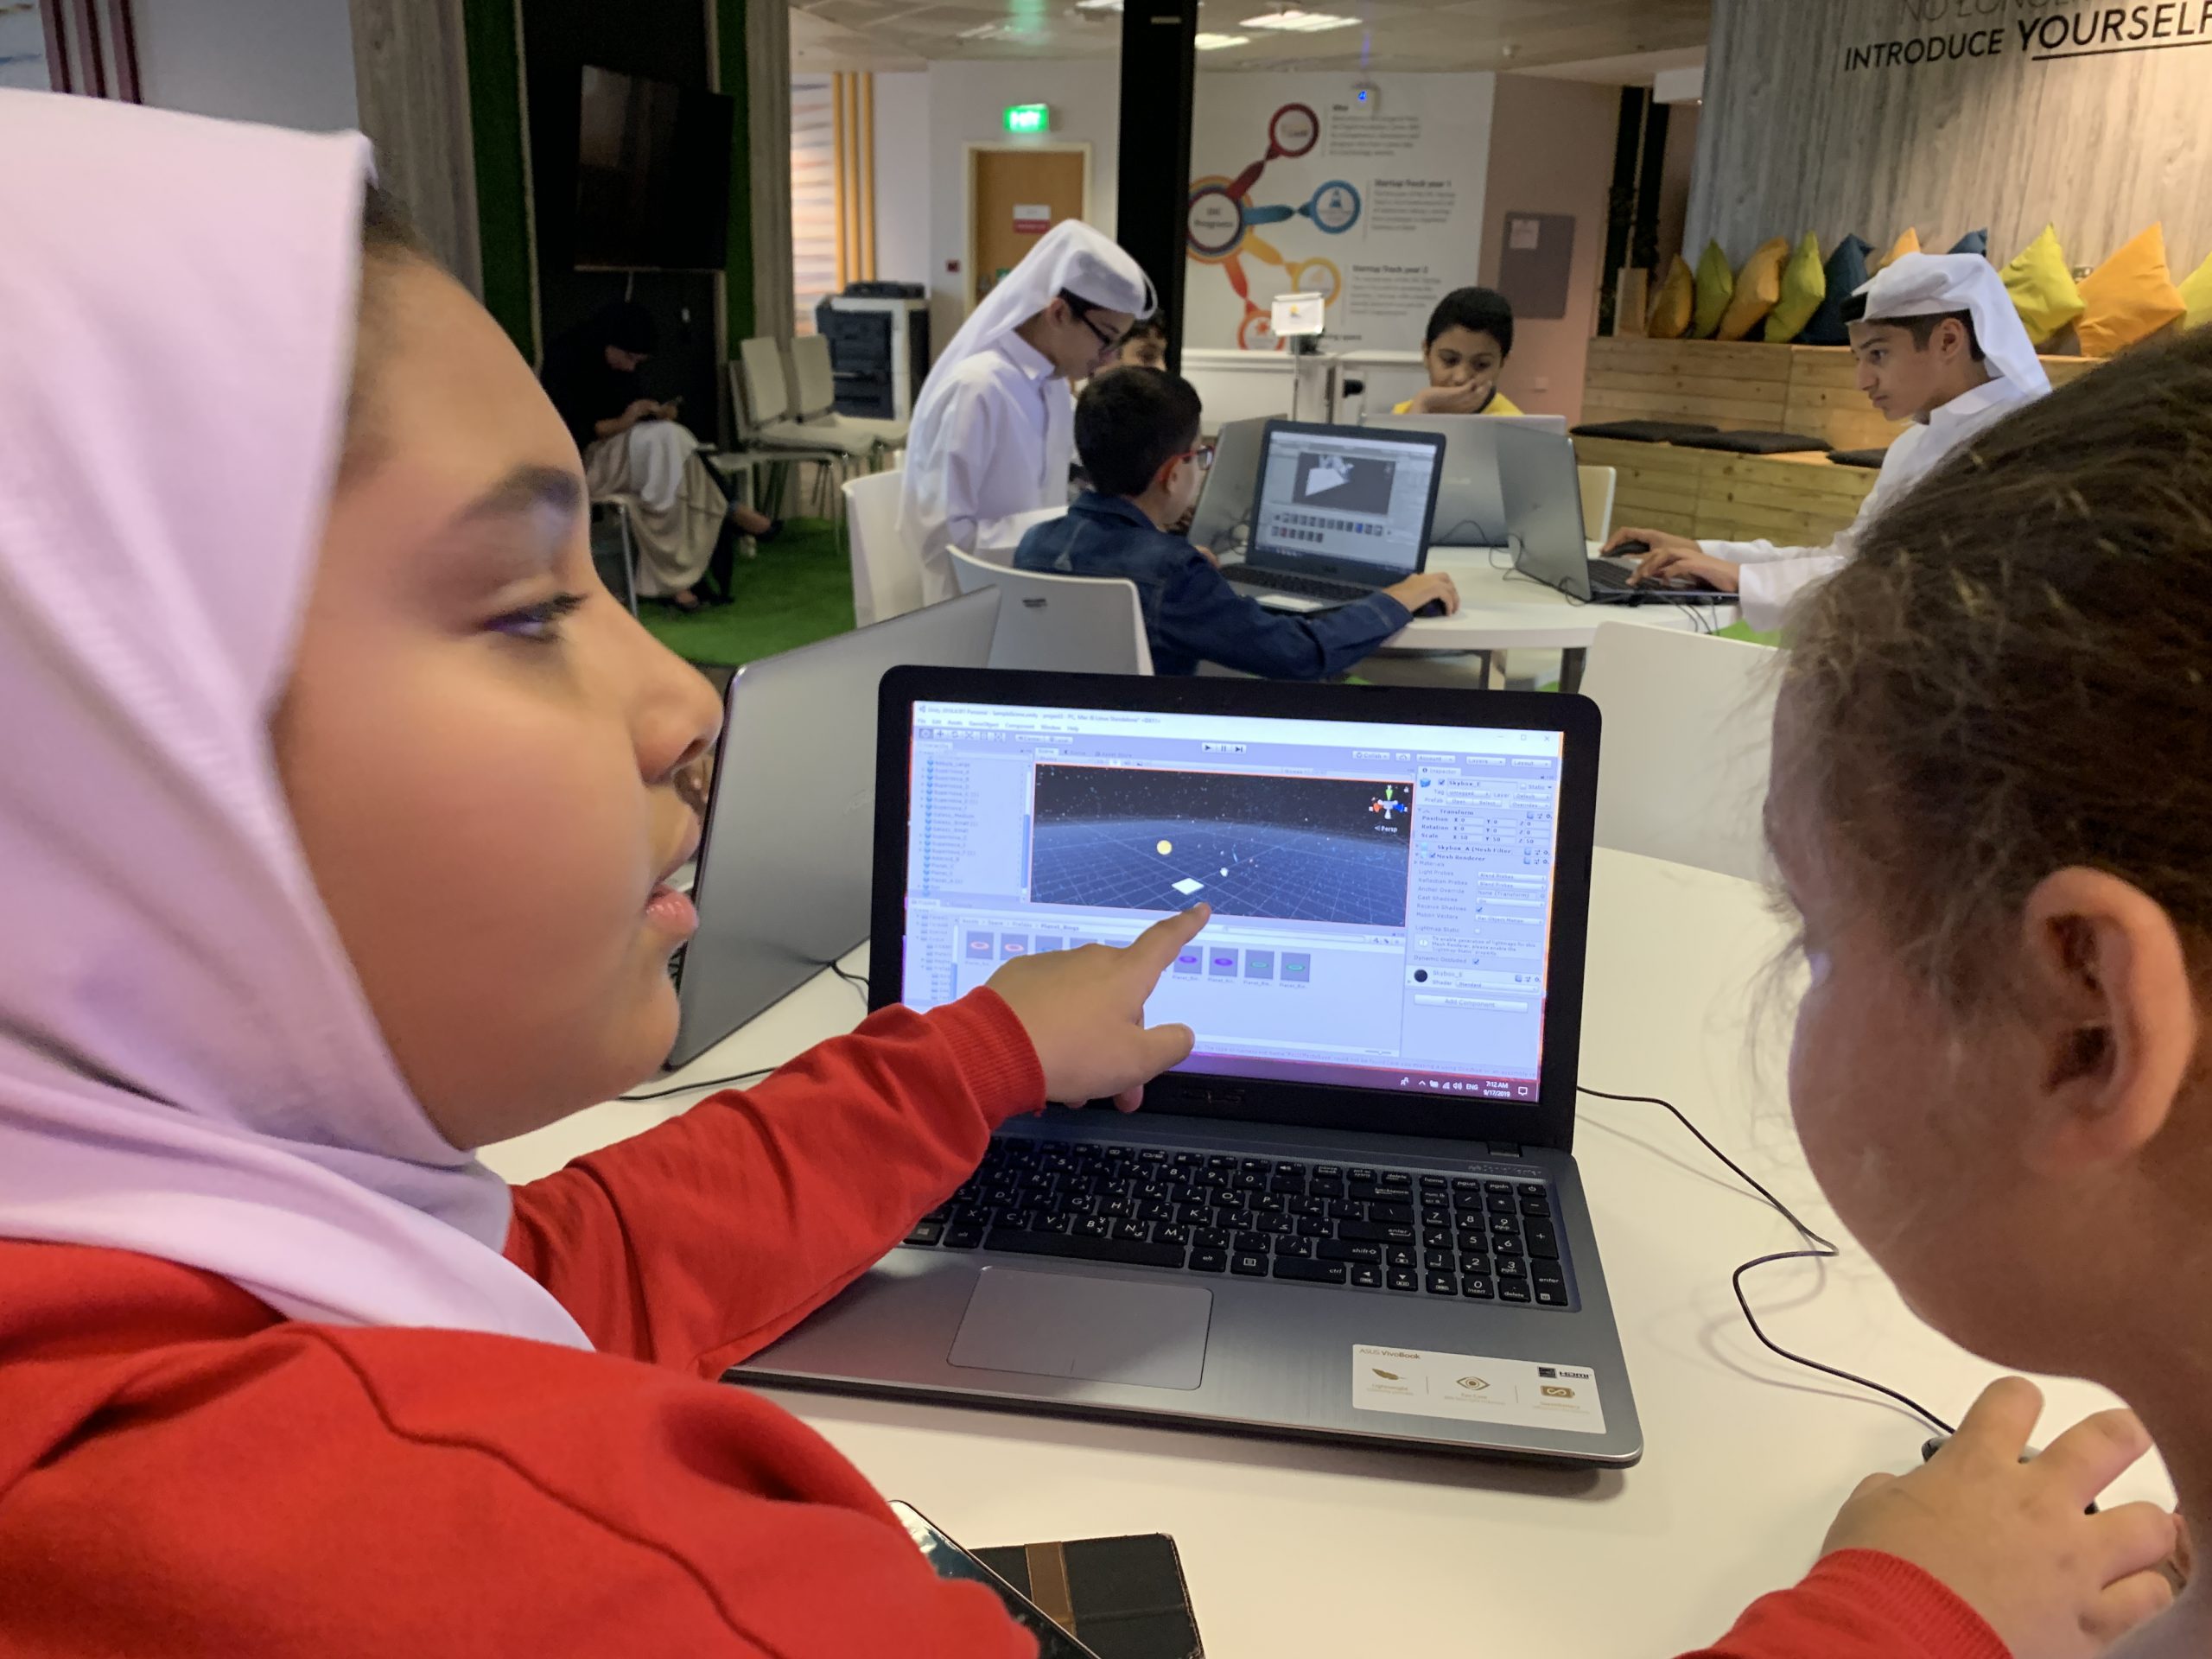
In this workshop, Students will use Unity software to build their own VR Environment .

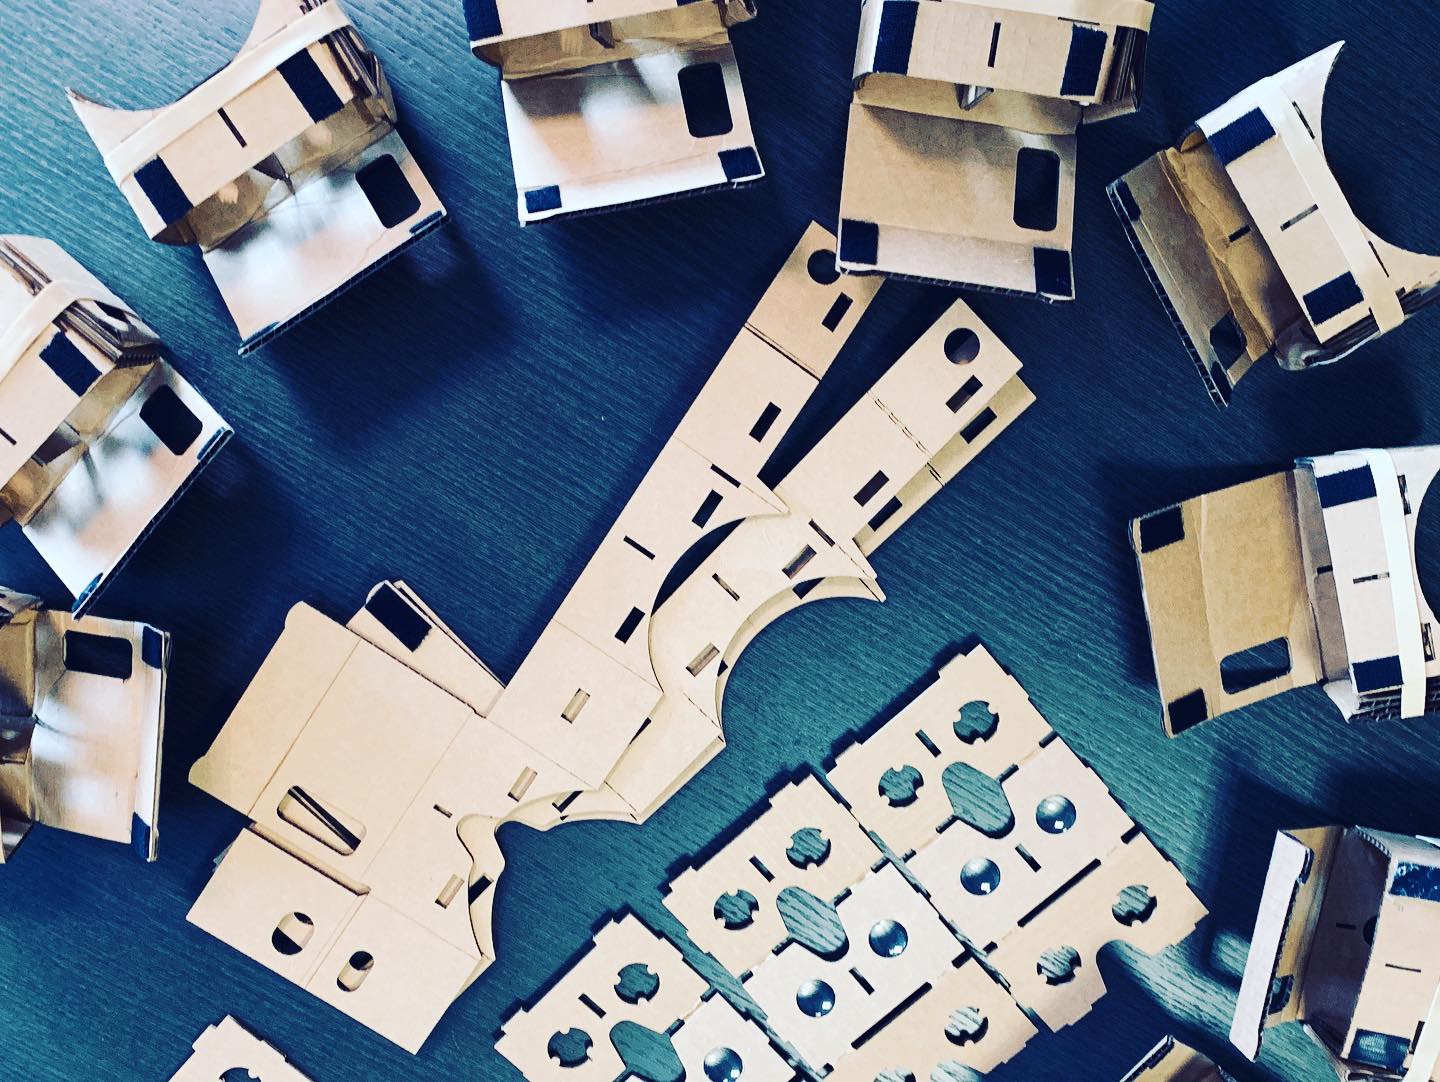
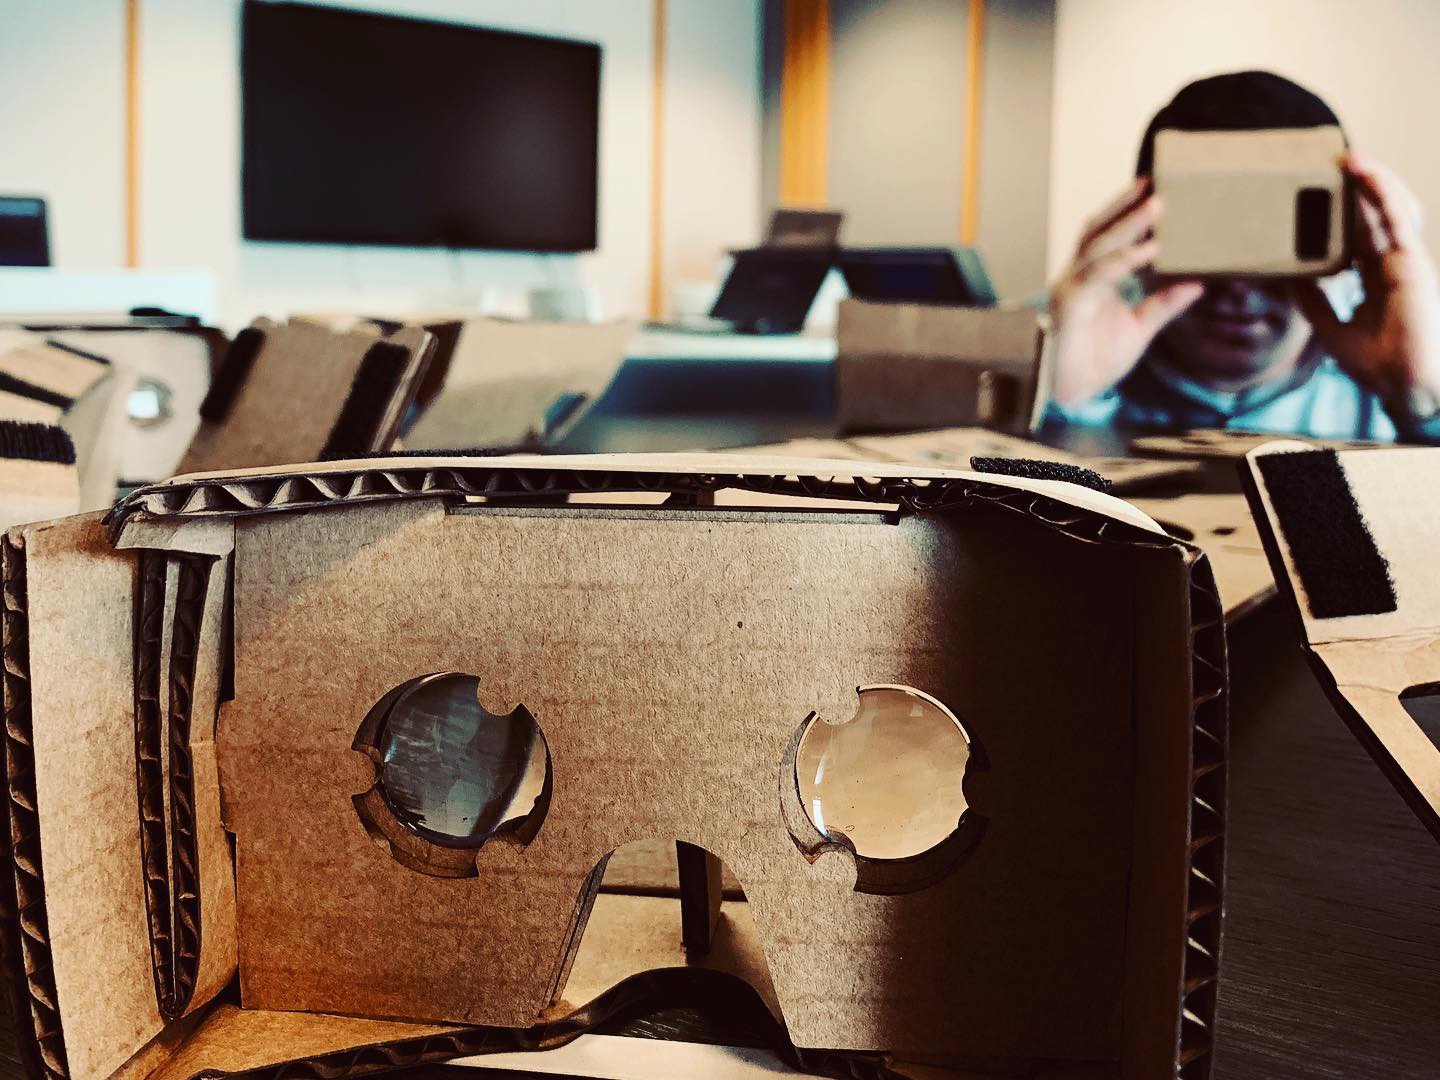
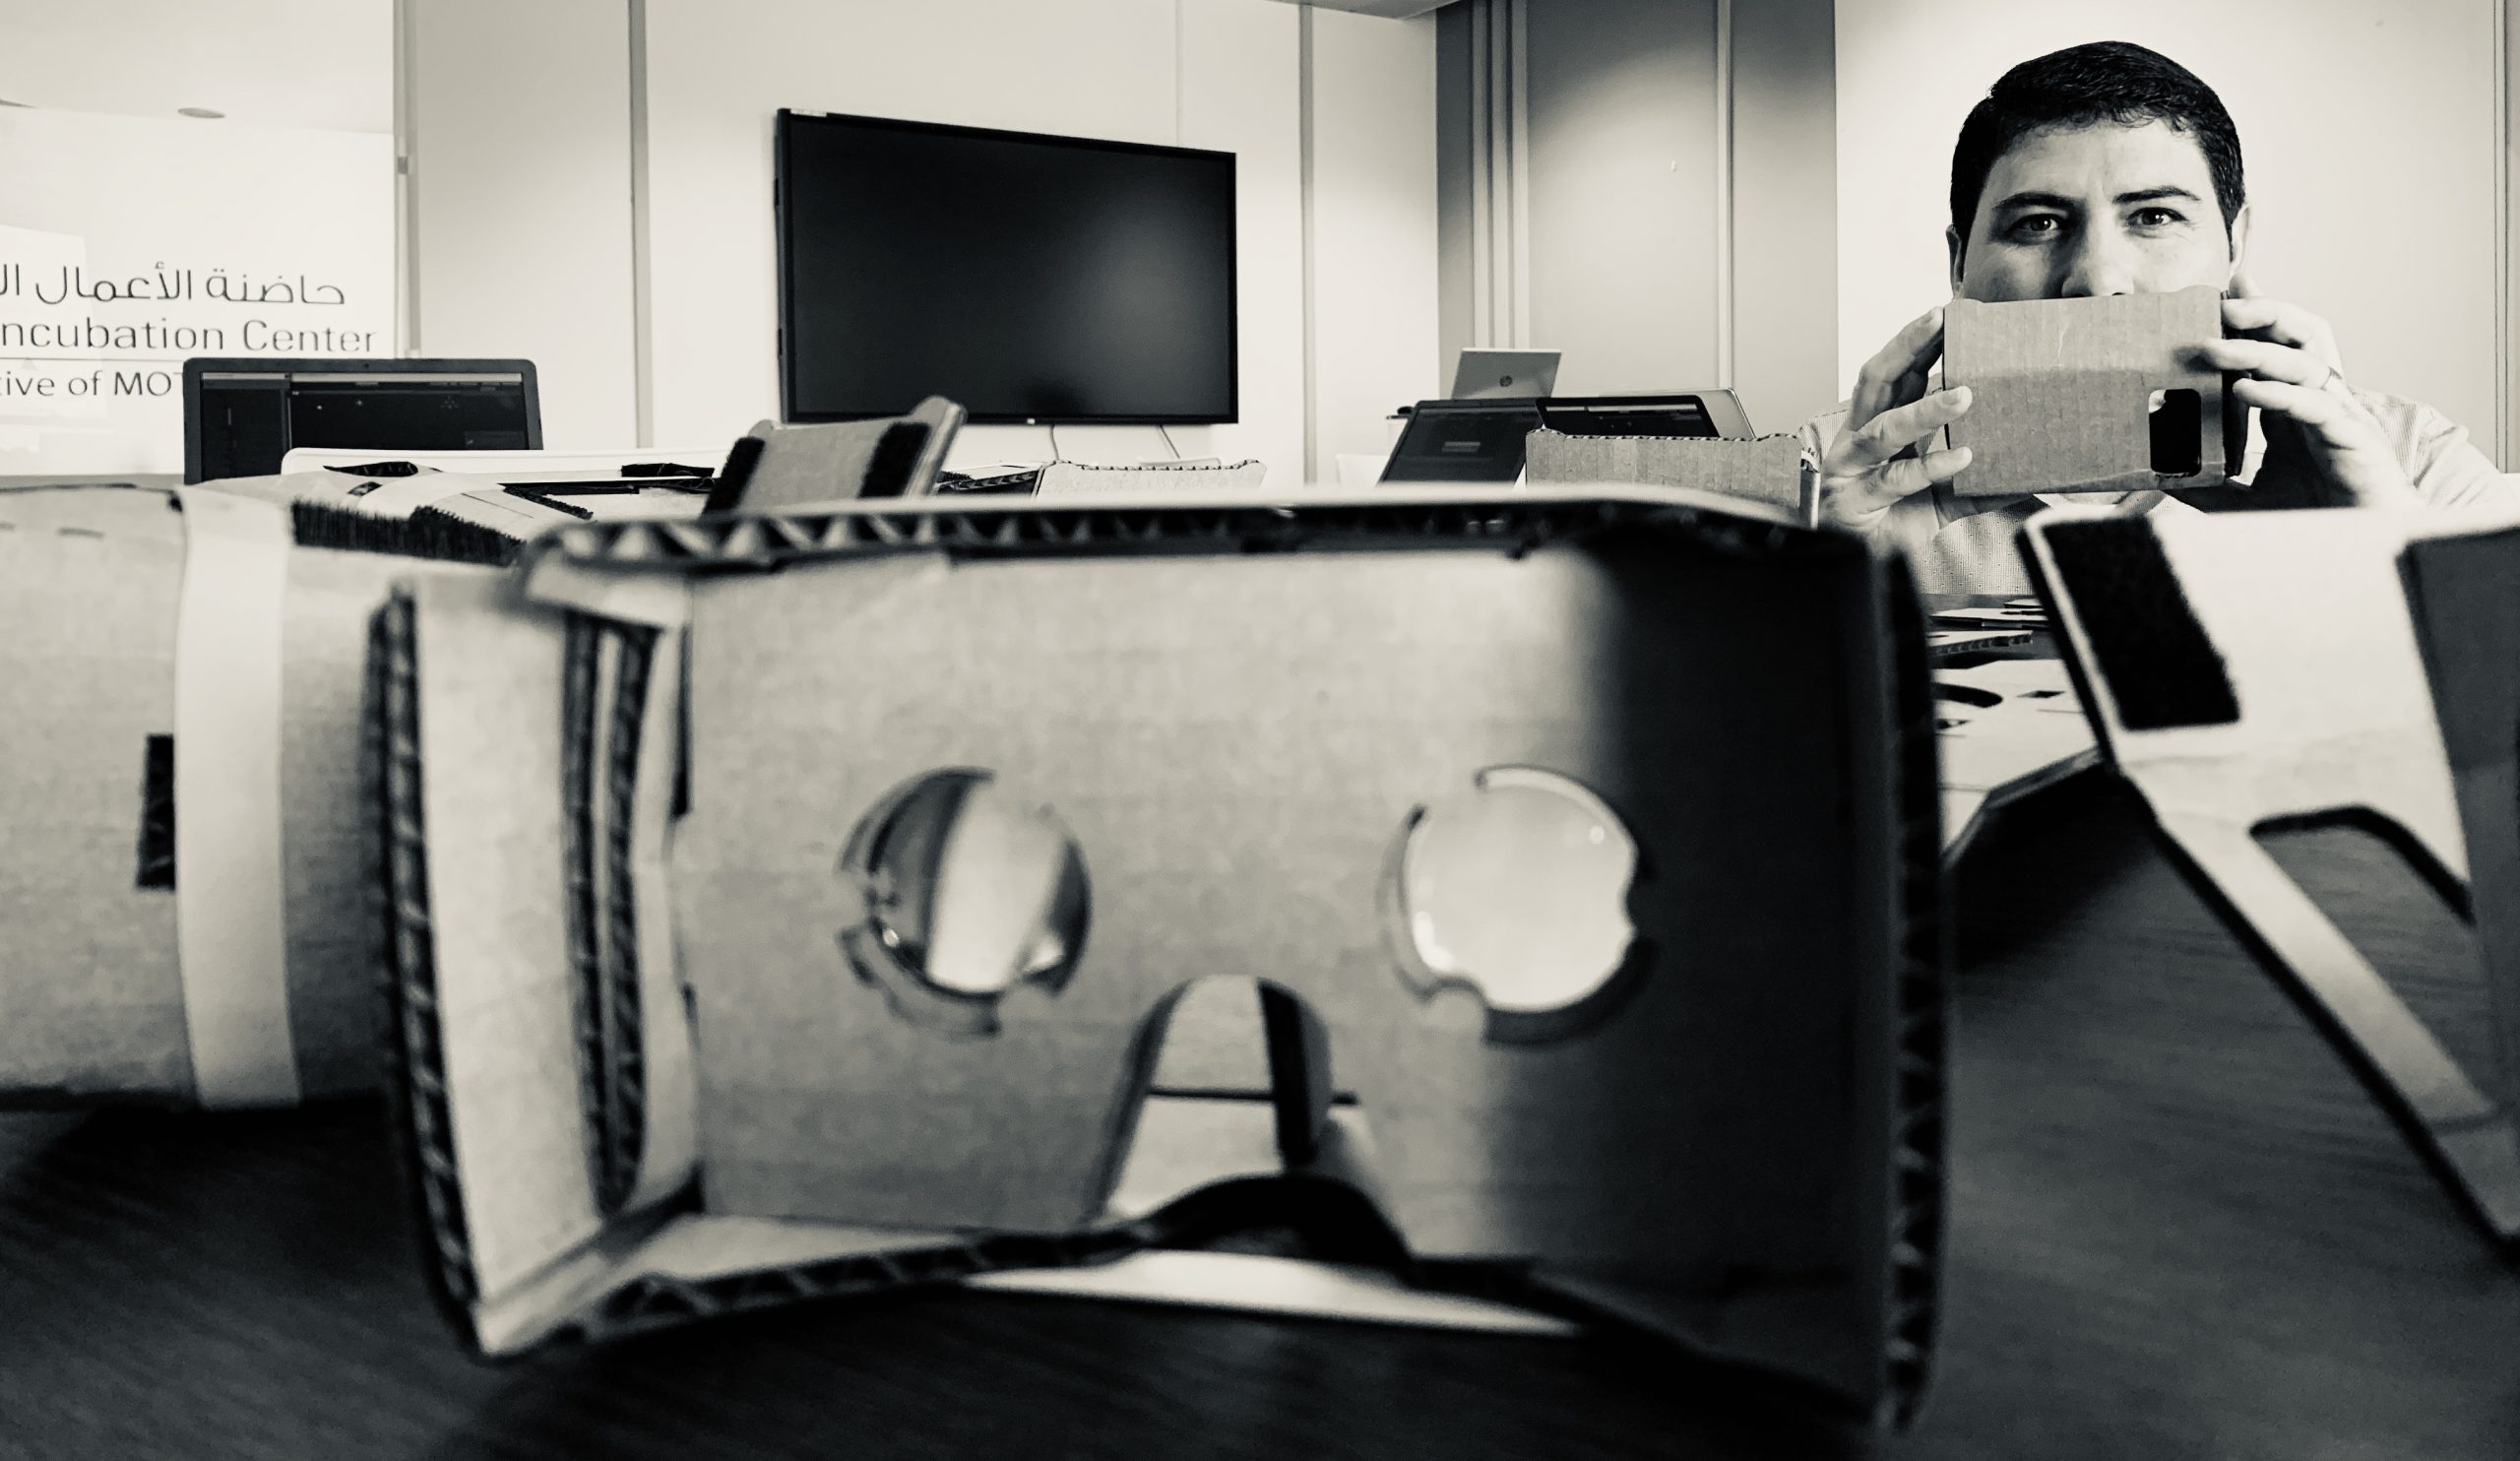
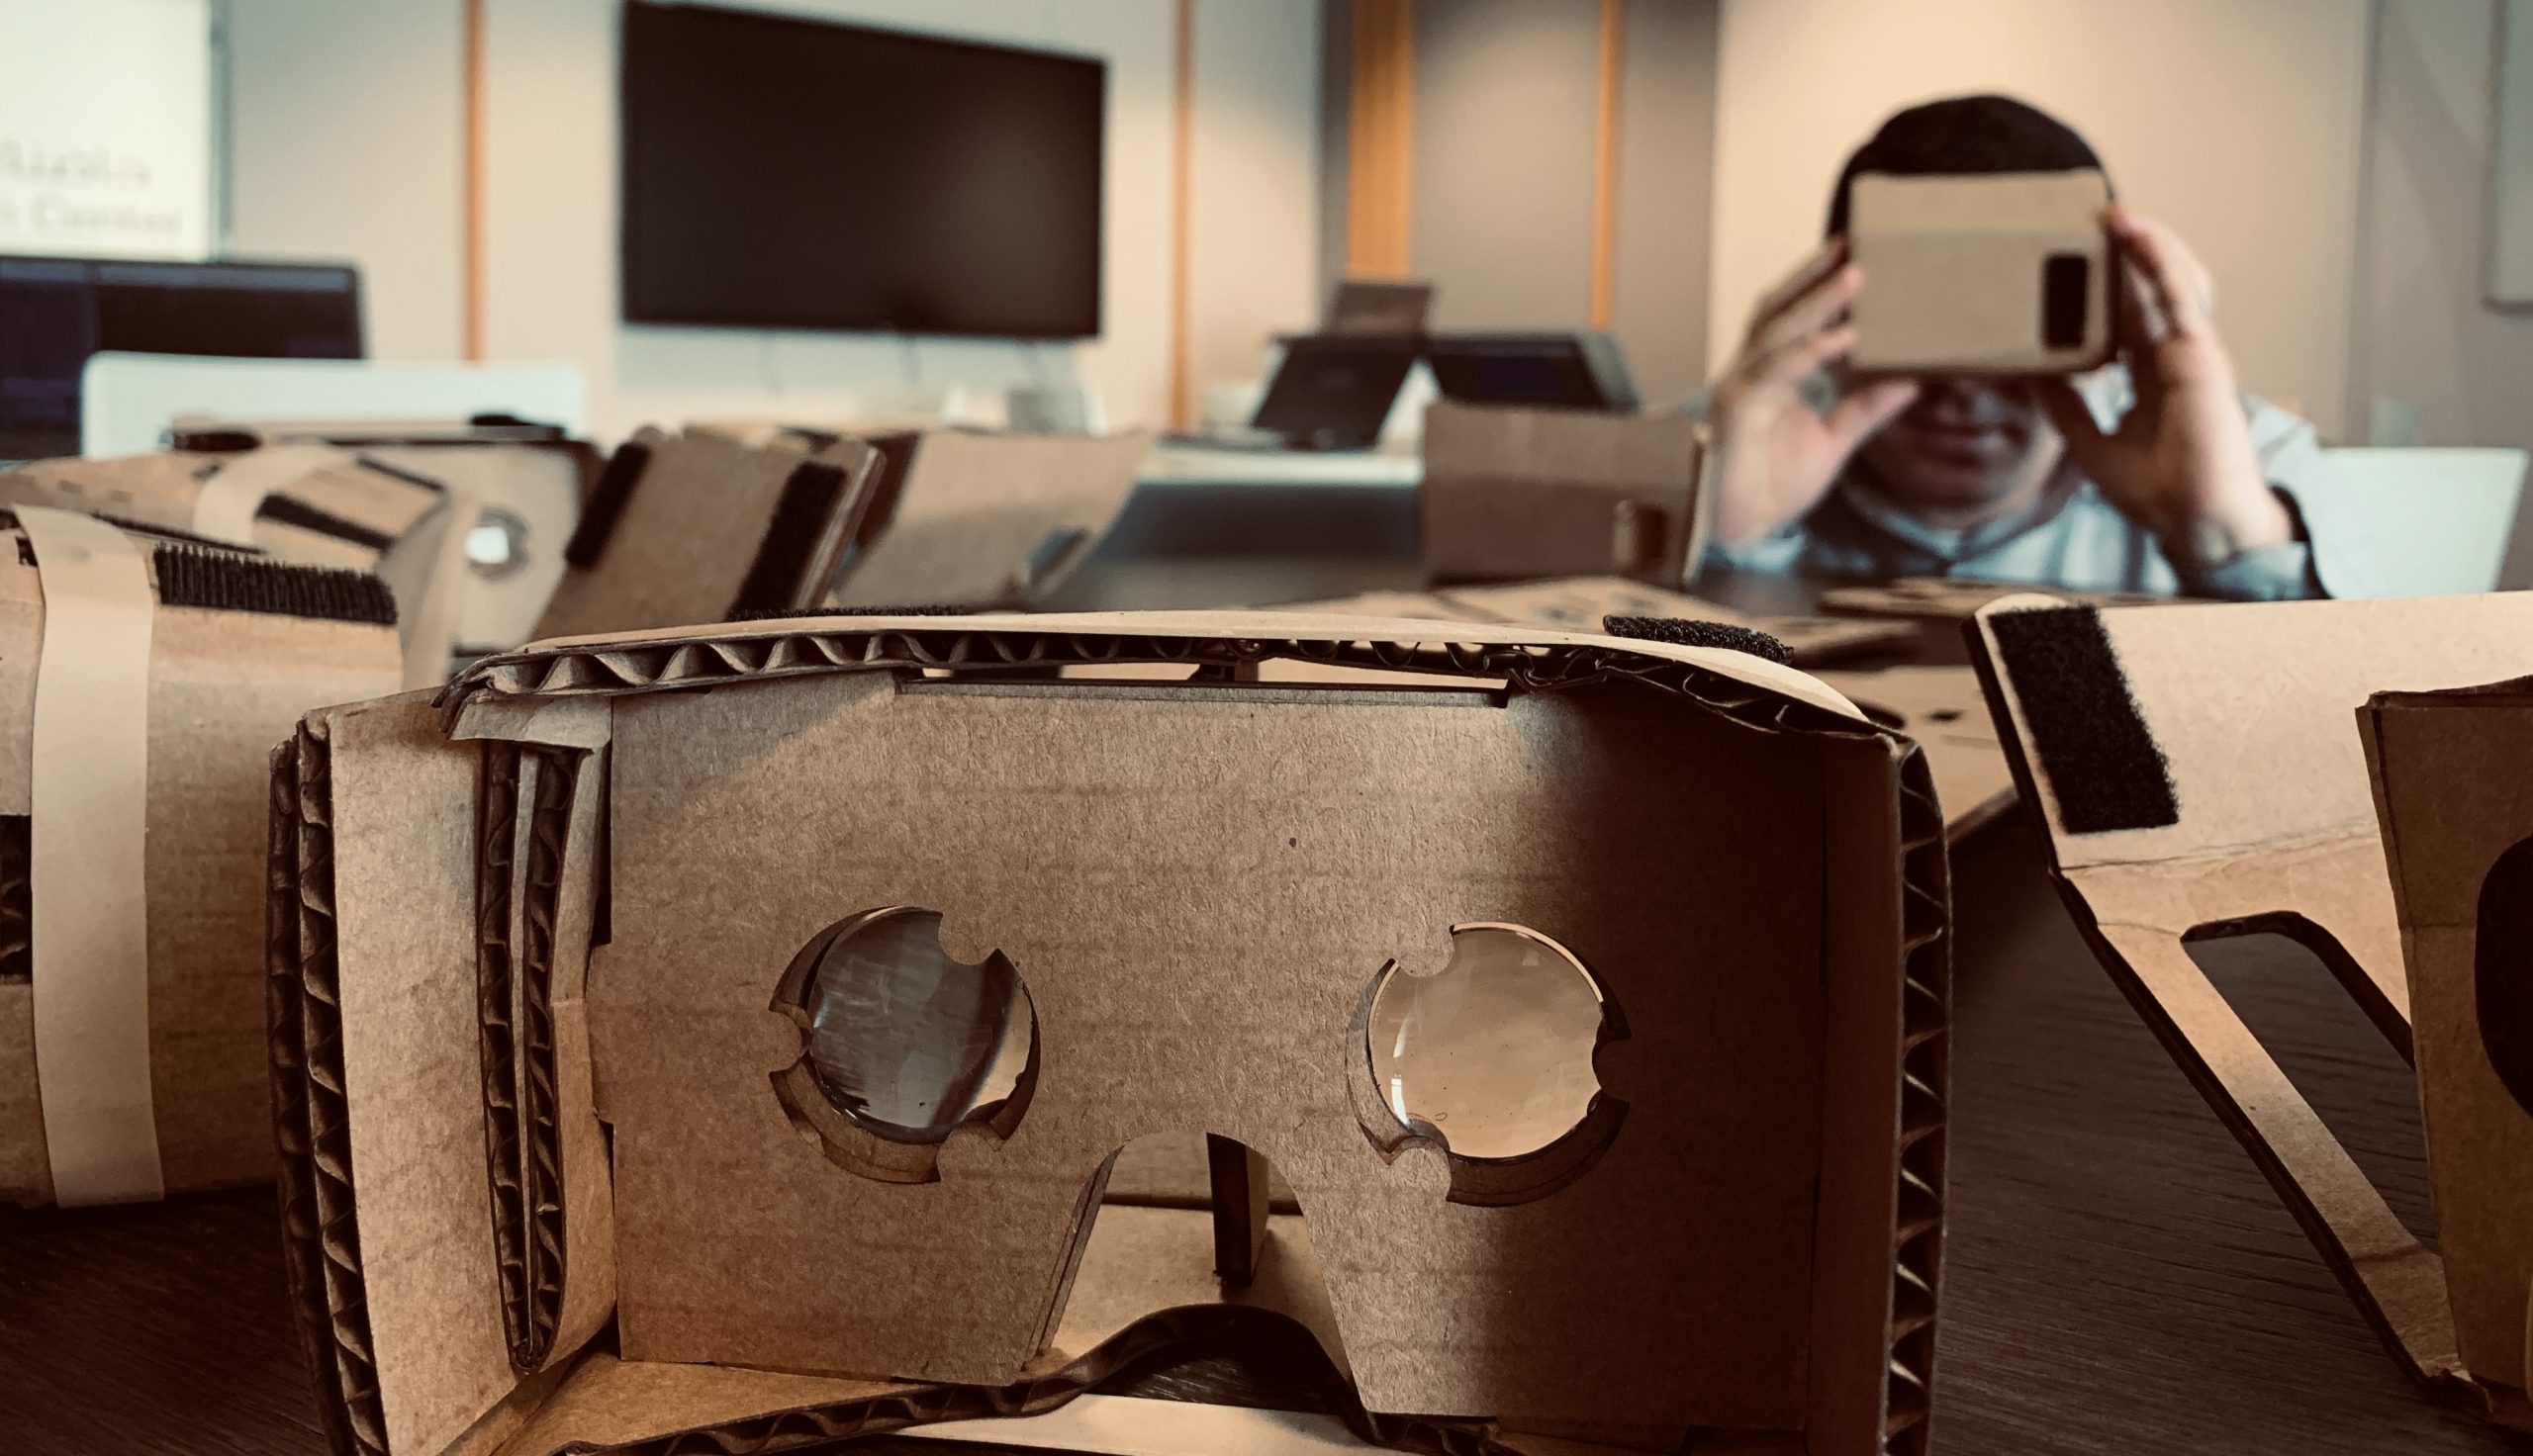
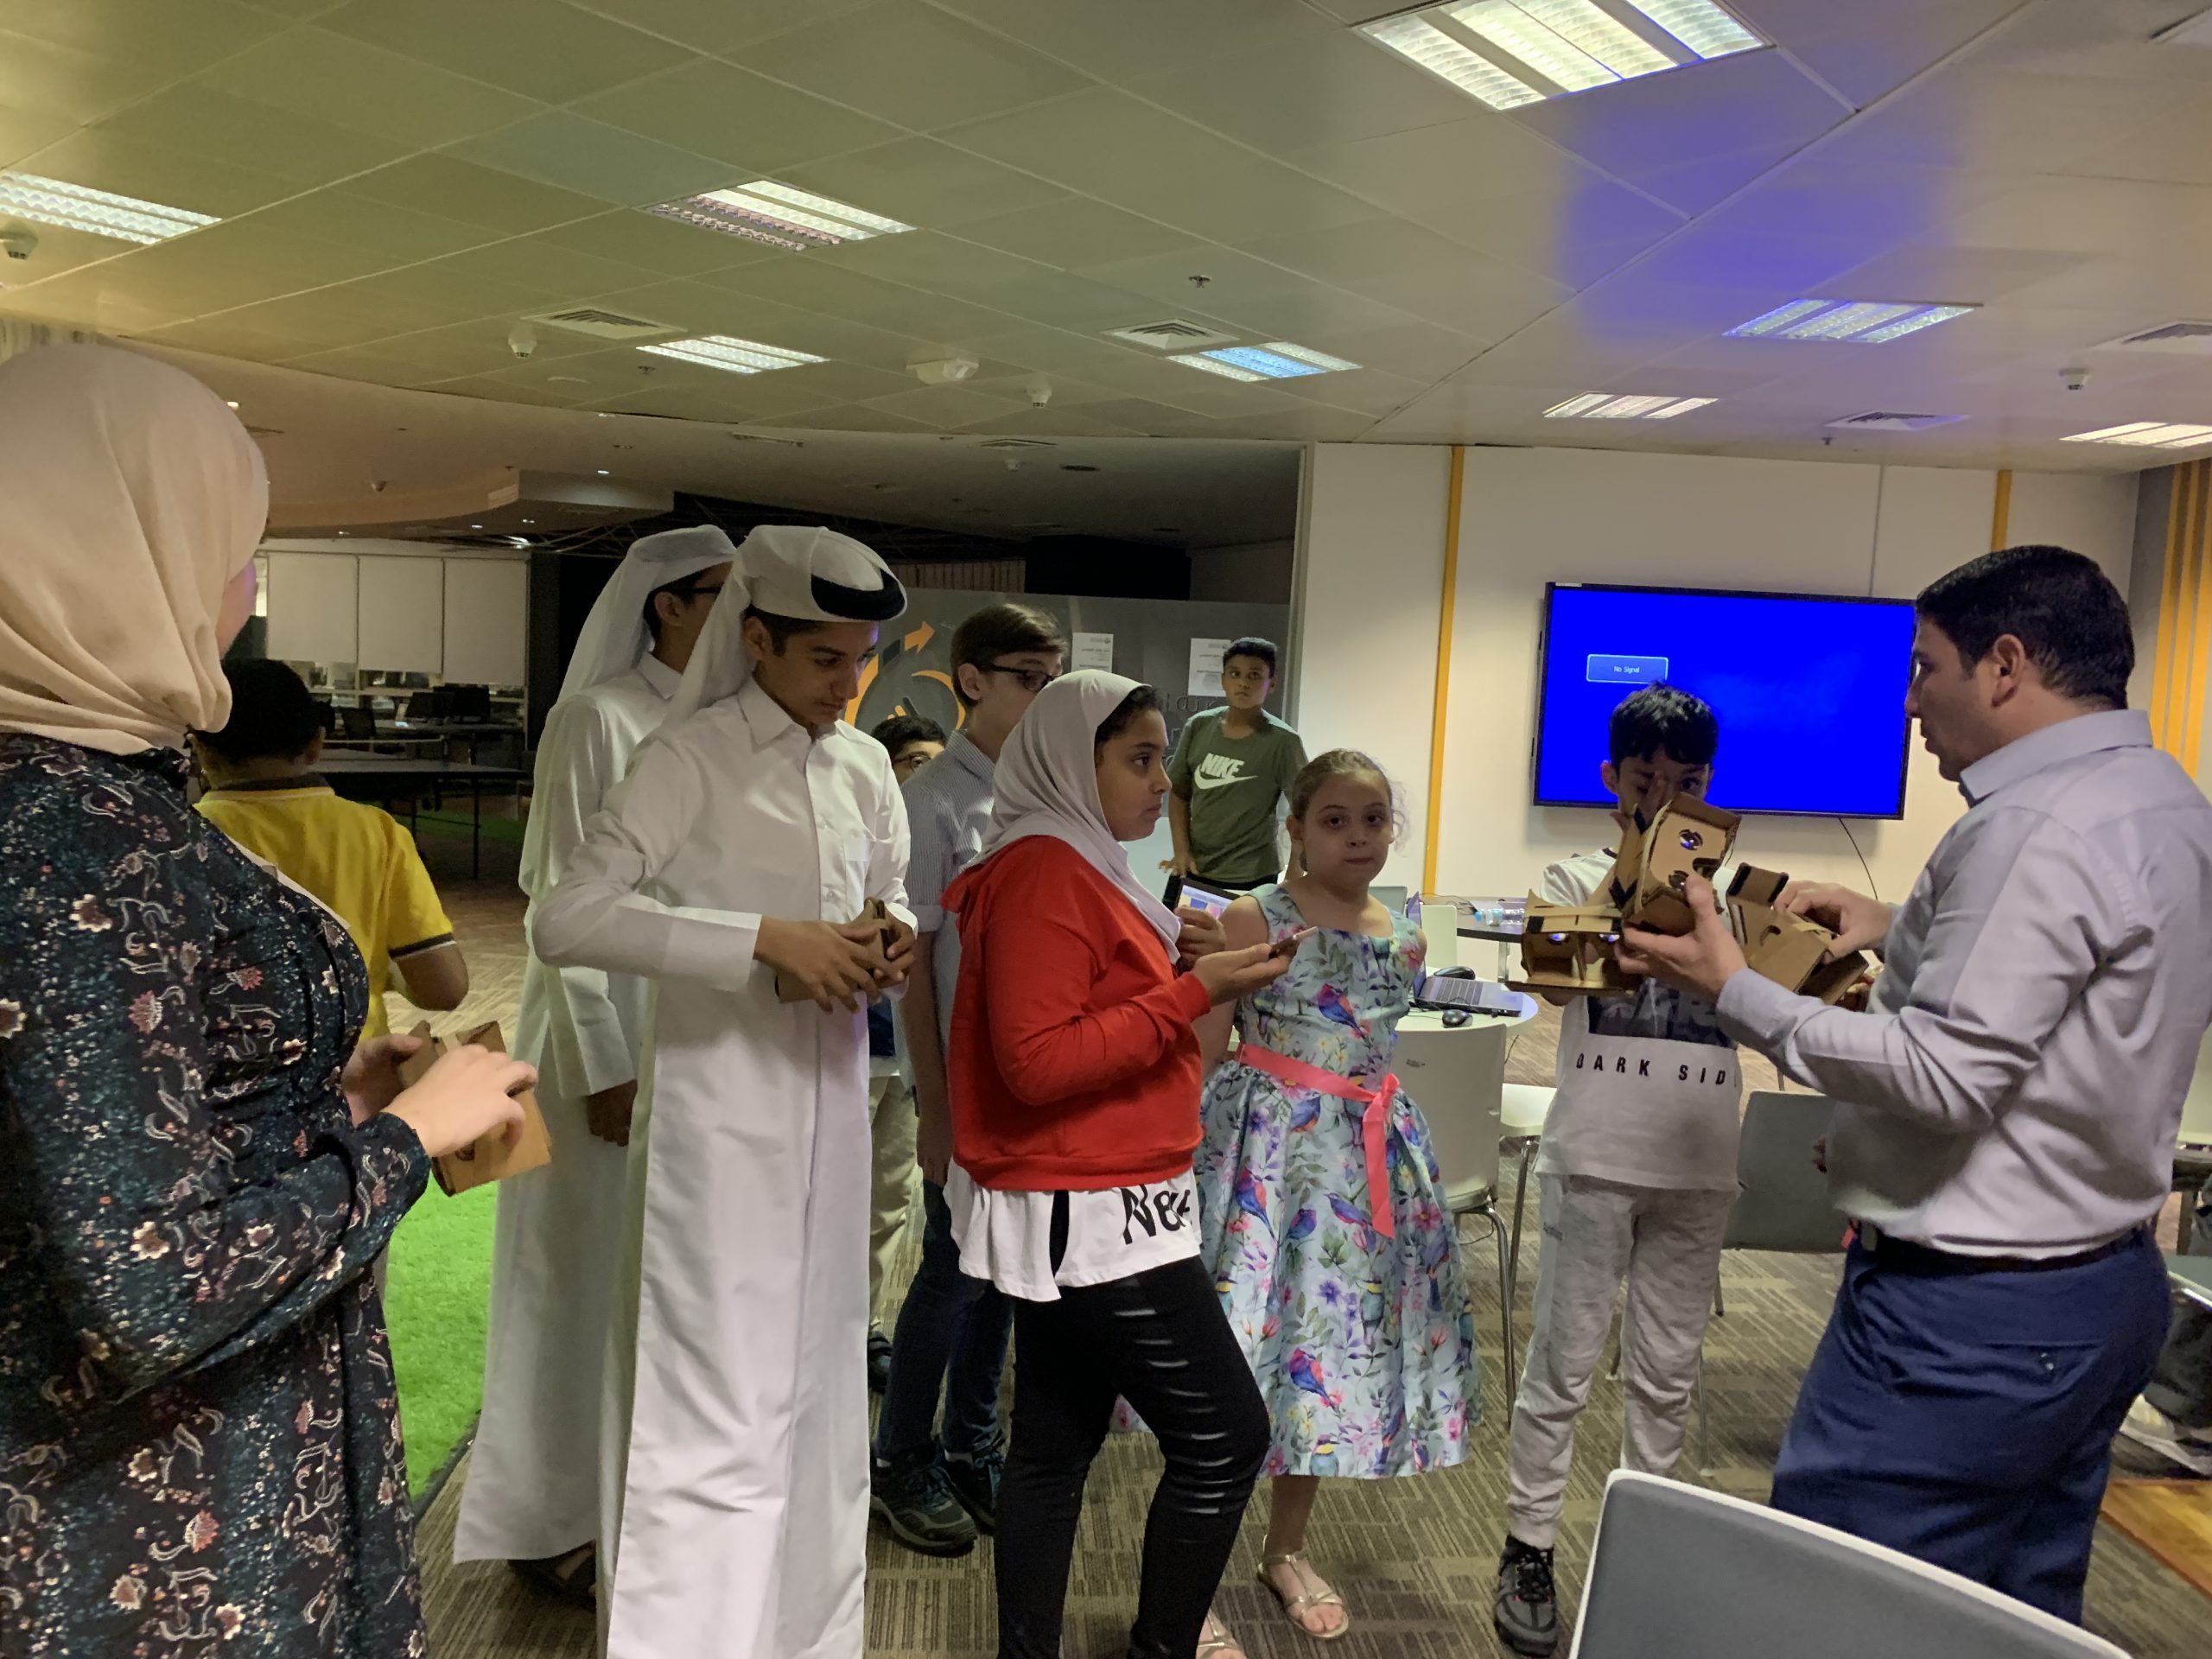
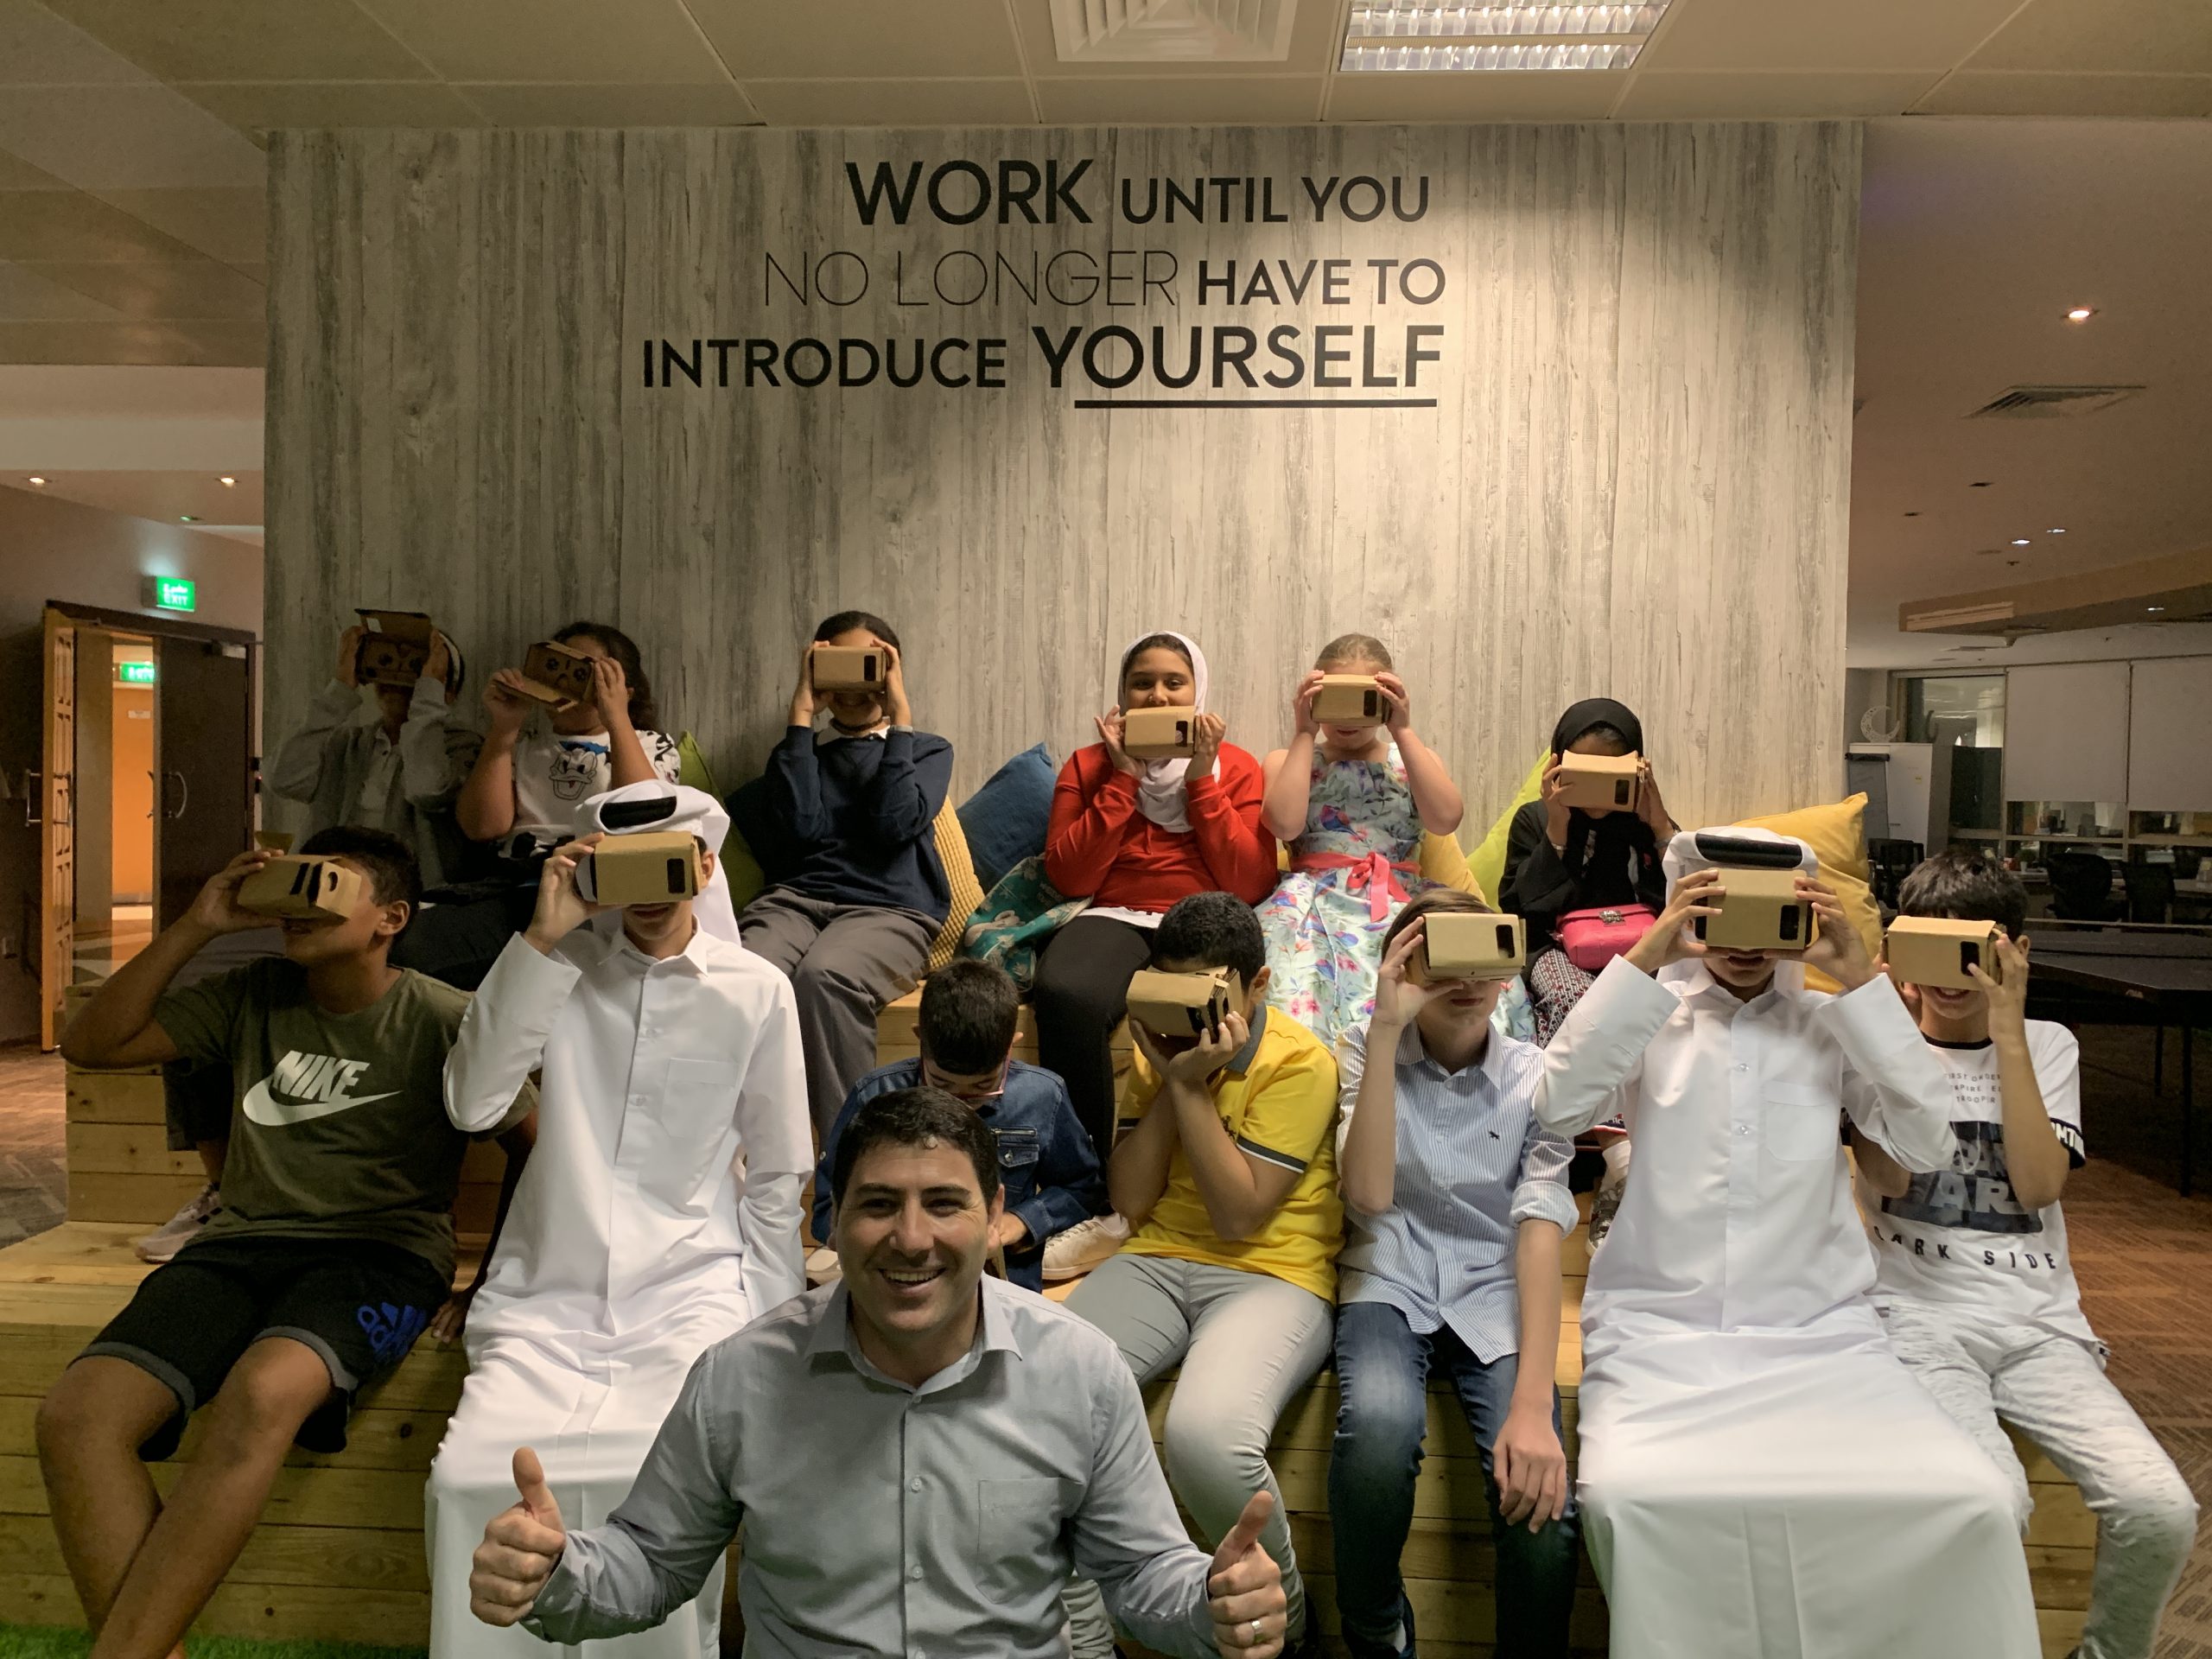
Also, They will use a modified Google VR Cardboard Headset to preview VR experiences.They can fabricate the headset by their own.

What You'll Need

  1. Laptop
  2. Internet connection
  3. Unity Software
  4. Google VR Cardboard Kit(Laser Cut or Hand made).


Lesson Materials

The Instructions

Workshop Presentation

In this Step an Overall presentation about VR technology and Softwares will be introduced

  1. Introduce the Difference between Real and Virtual world.
  2. Describe what is the Virtual Reality technology.
  3. Discuss how virtual reality works.
  4. Describe the fields that we can use VR in .


Unity Software Interface

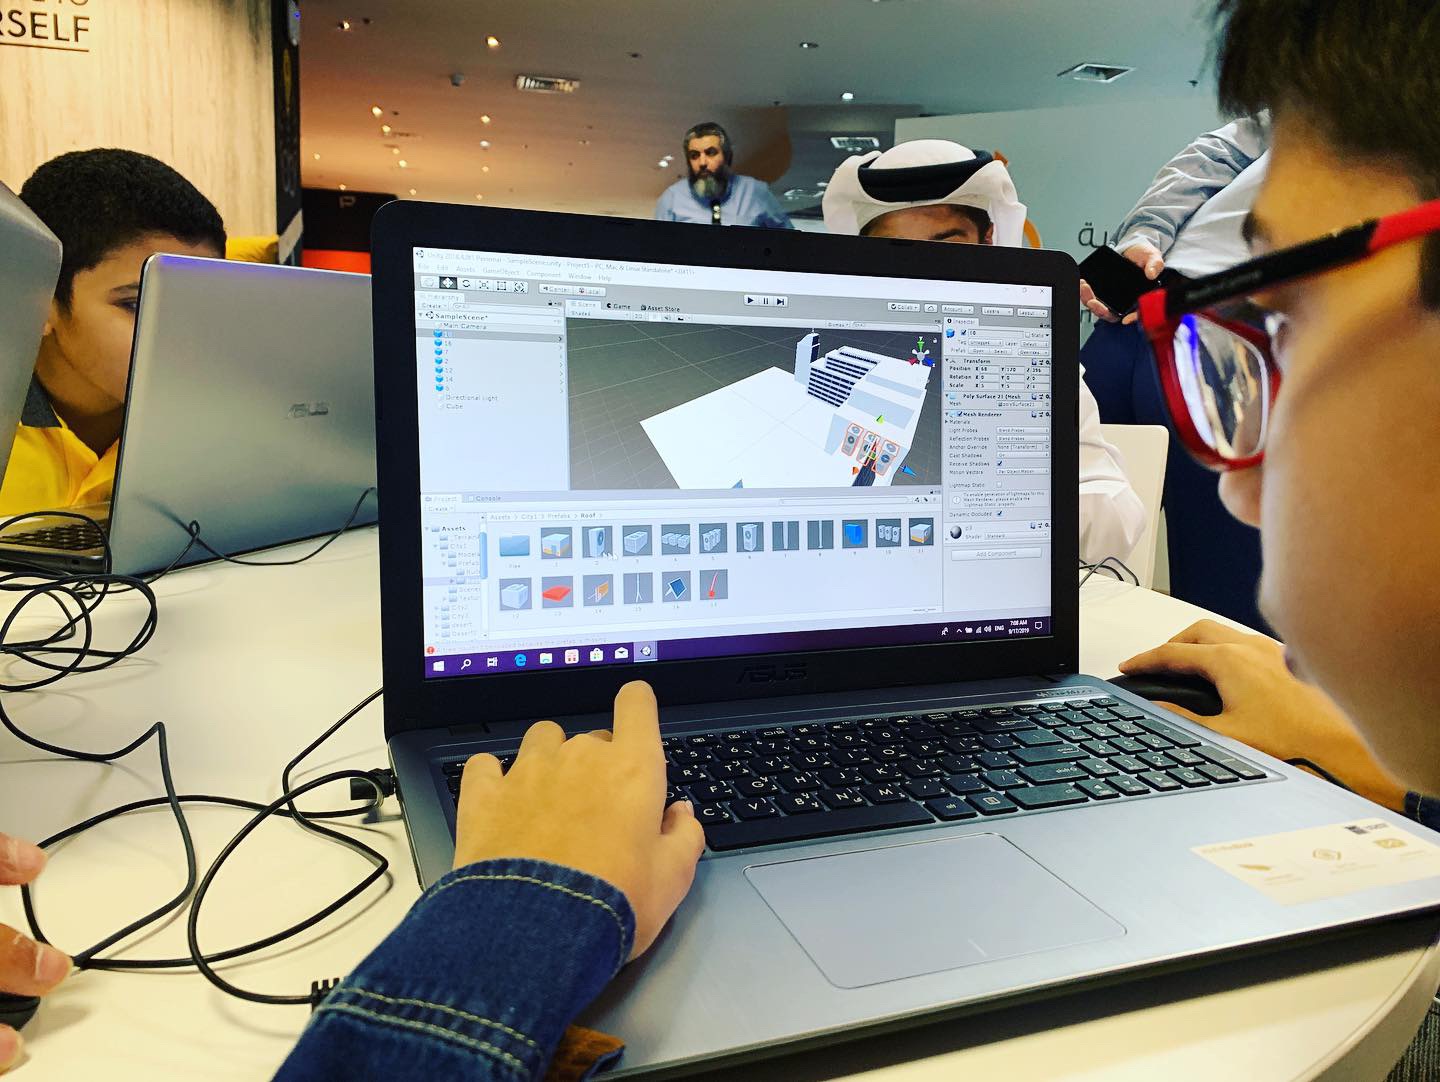
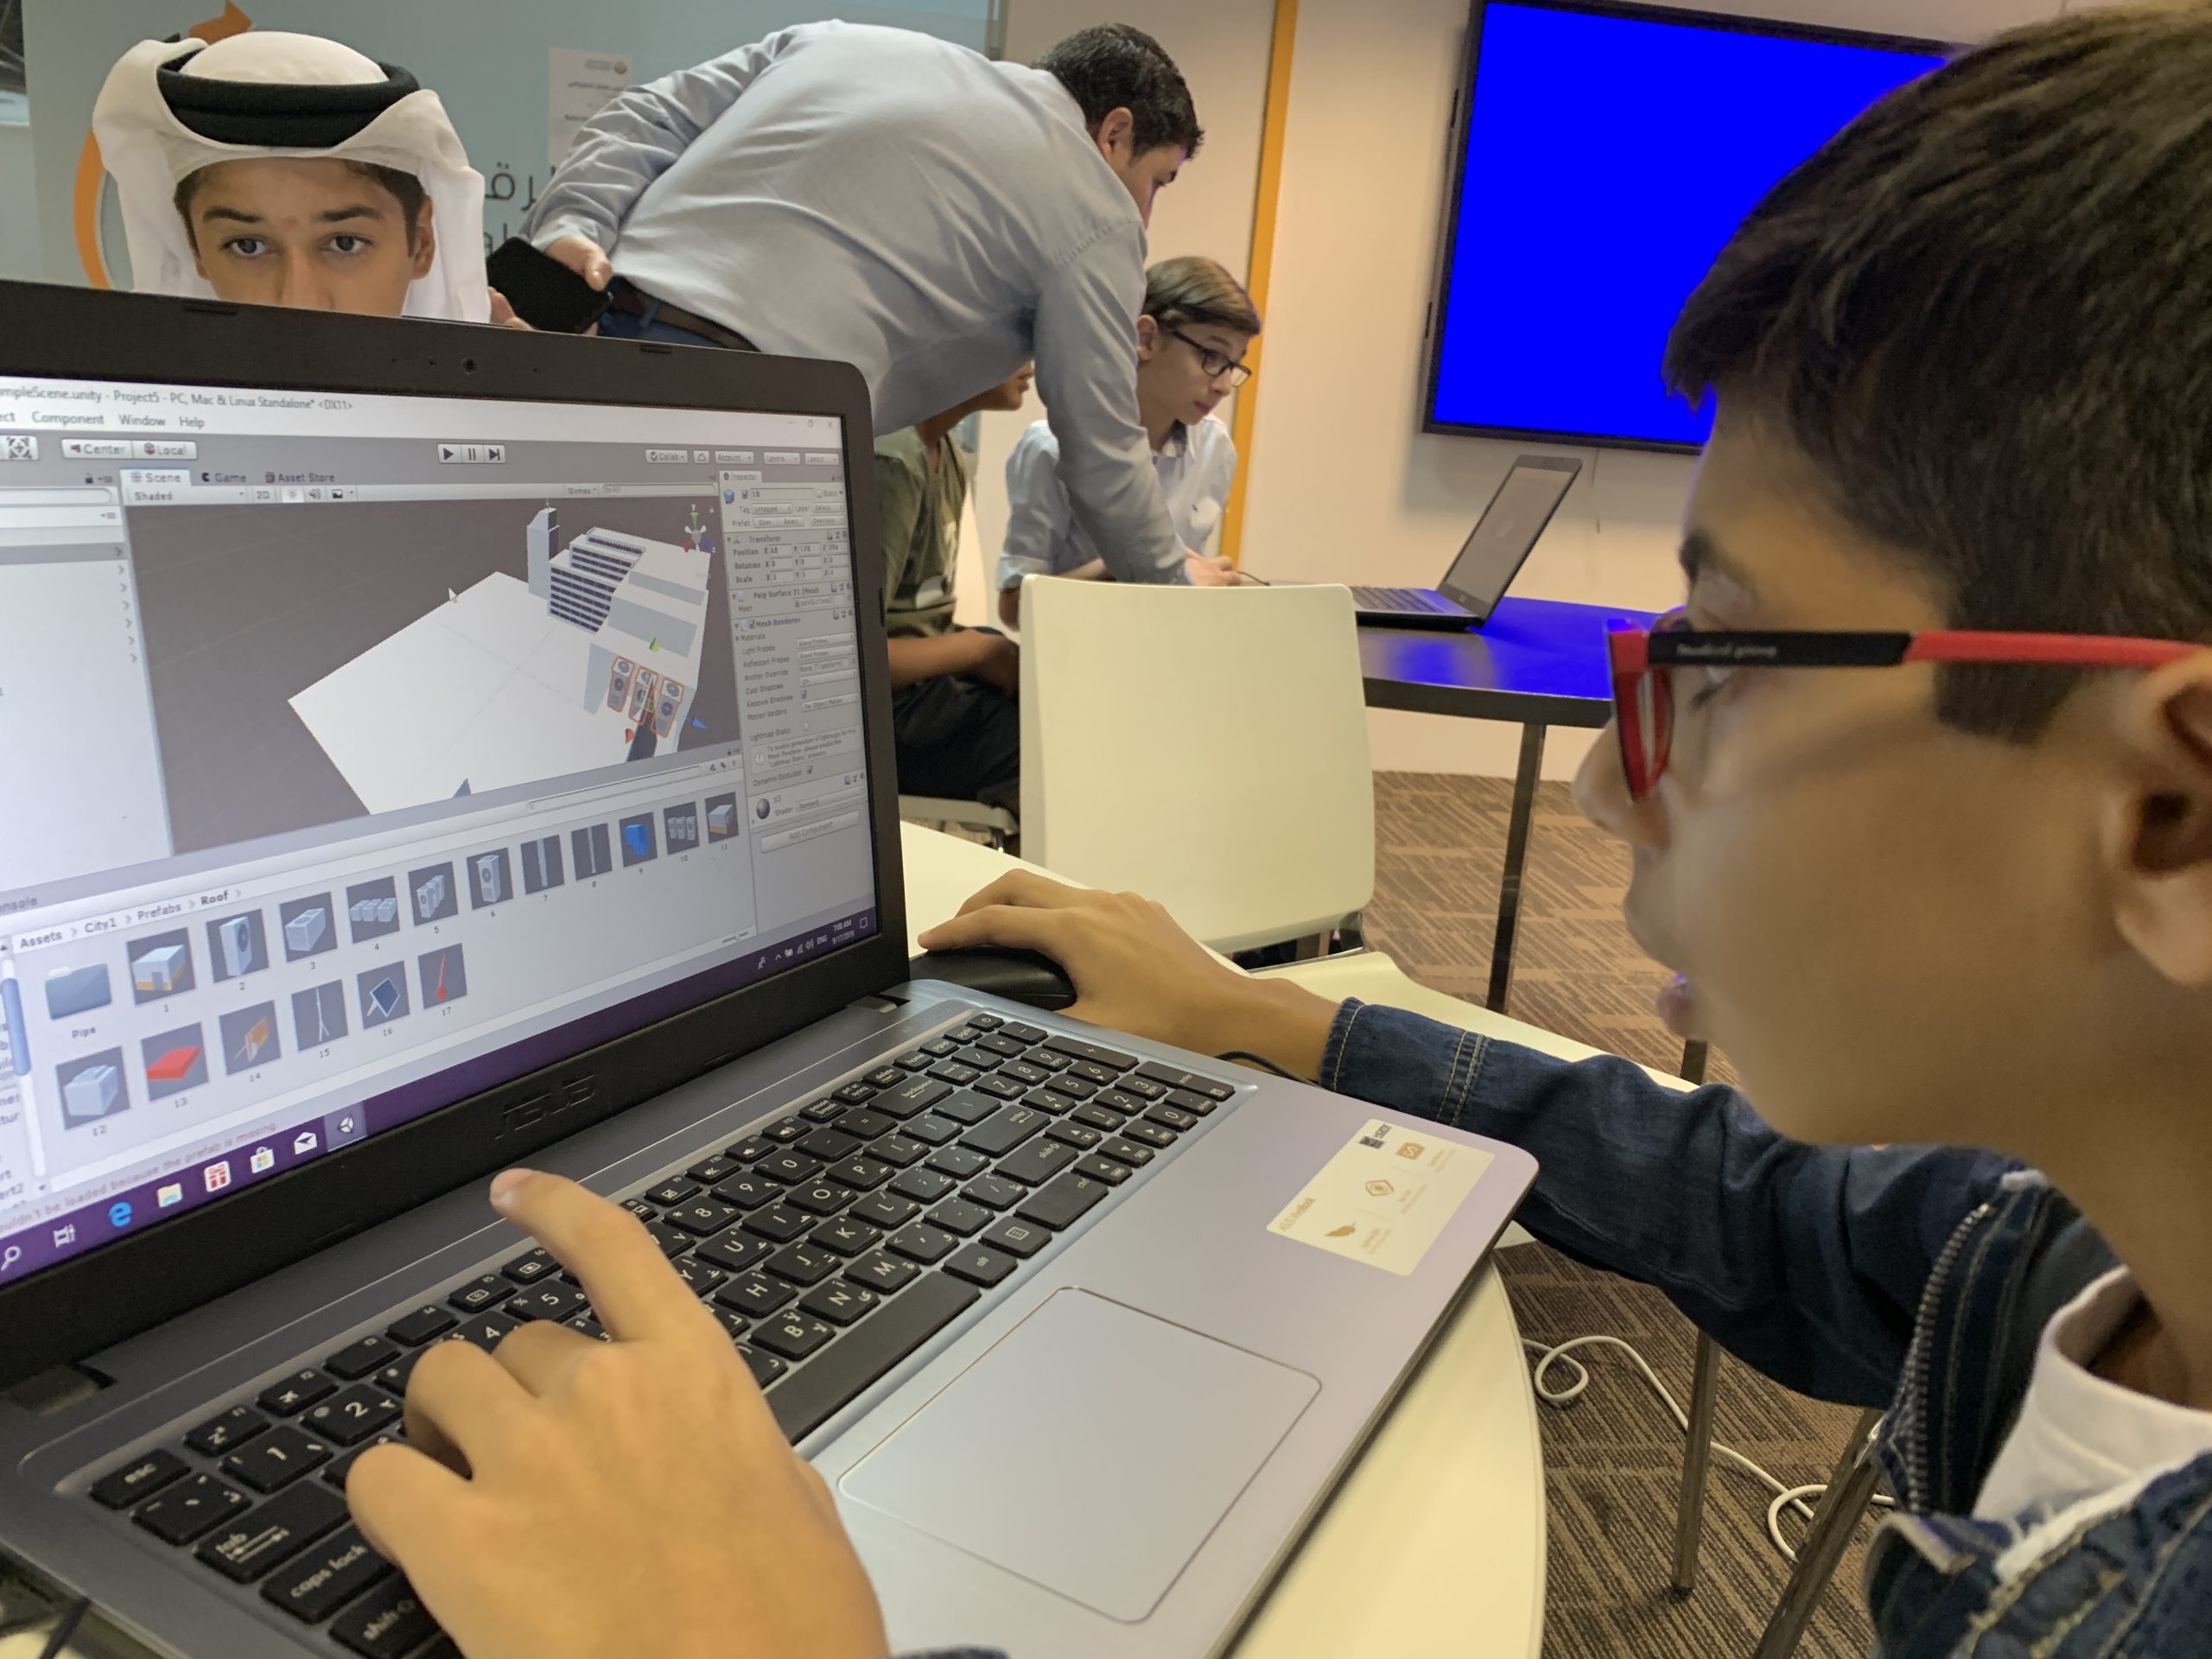
Discuss the unity software interface window.


  1. Scene View
  2. Inspector window.
  3. Hierarchy window.
  4. Project window.
  5. Tool bar.


Build the Scene

Describe to kids how they can start building their own scenes by selecting the environment that they will work on it

  1. A preinstalled folders that contains assets for different environment is added to the project.
  2. Discuss with the kids what is the environment that they will build and what they will need to build.
  3. What is the expected assets that they will find in each environment.
  4. Also, you can go to assets store and download from a wide group of assets that is online ans many are free.


Building Environment

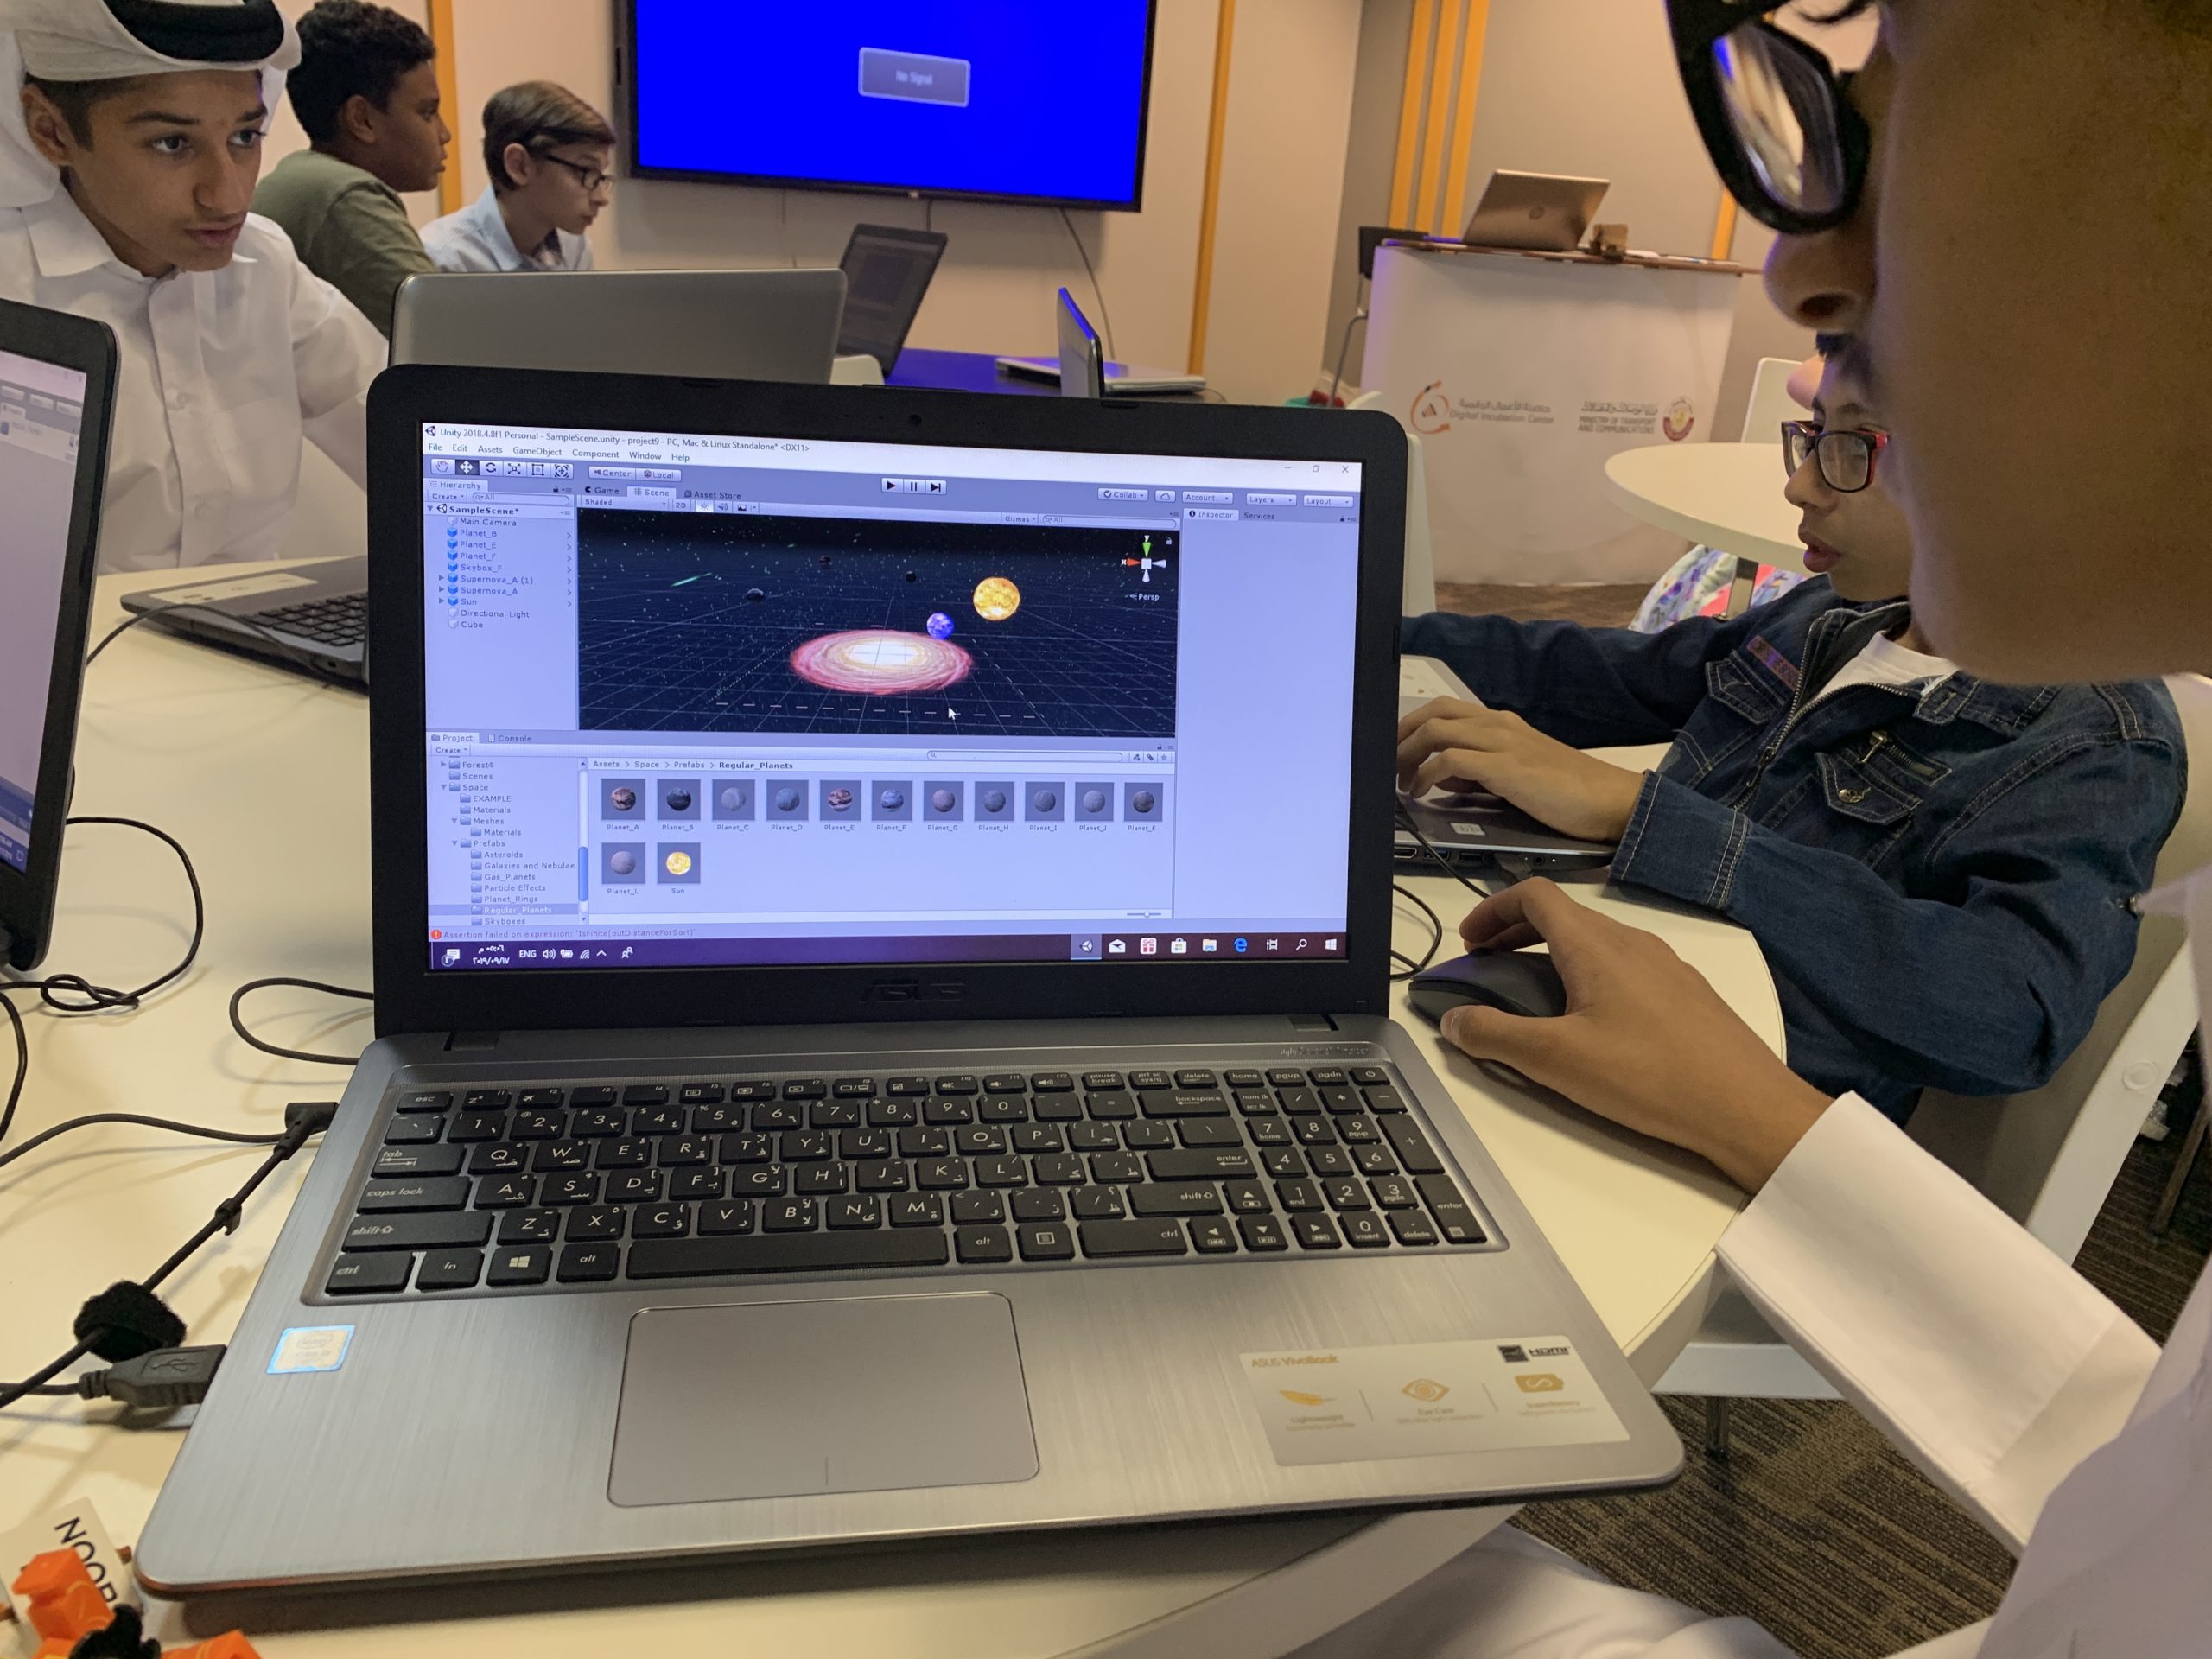
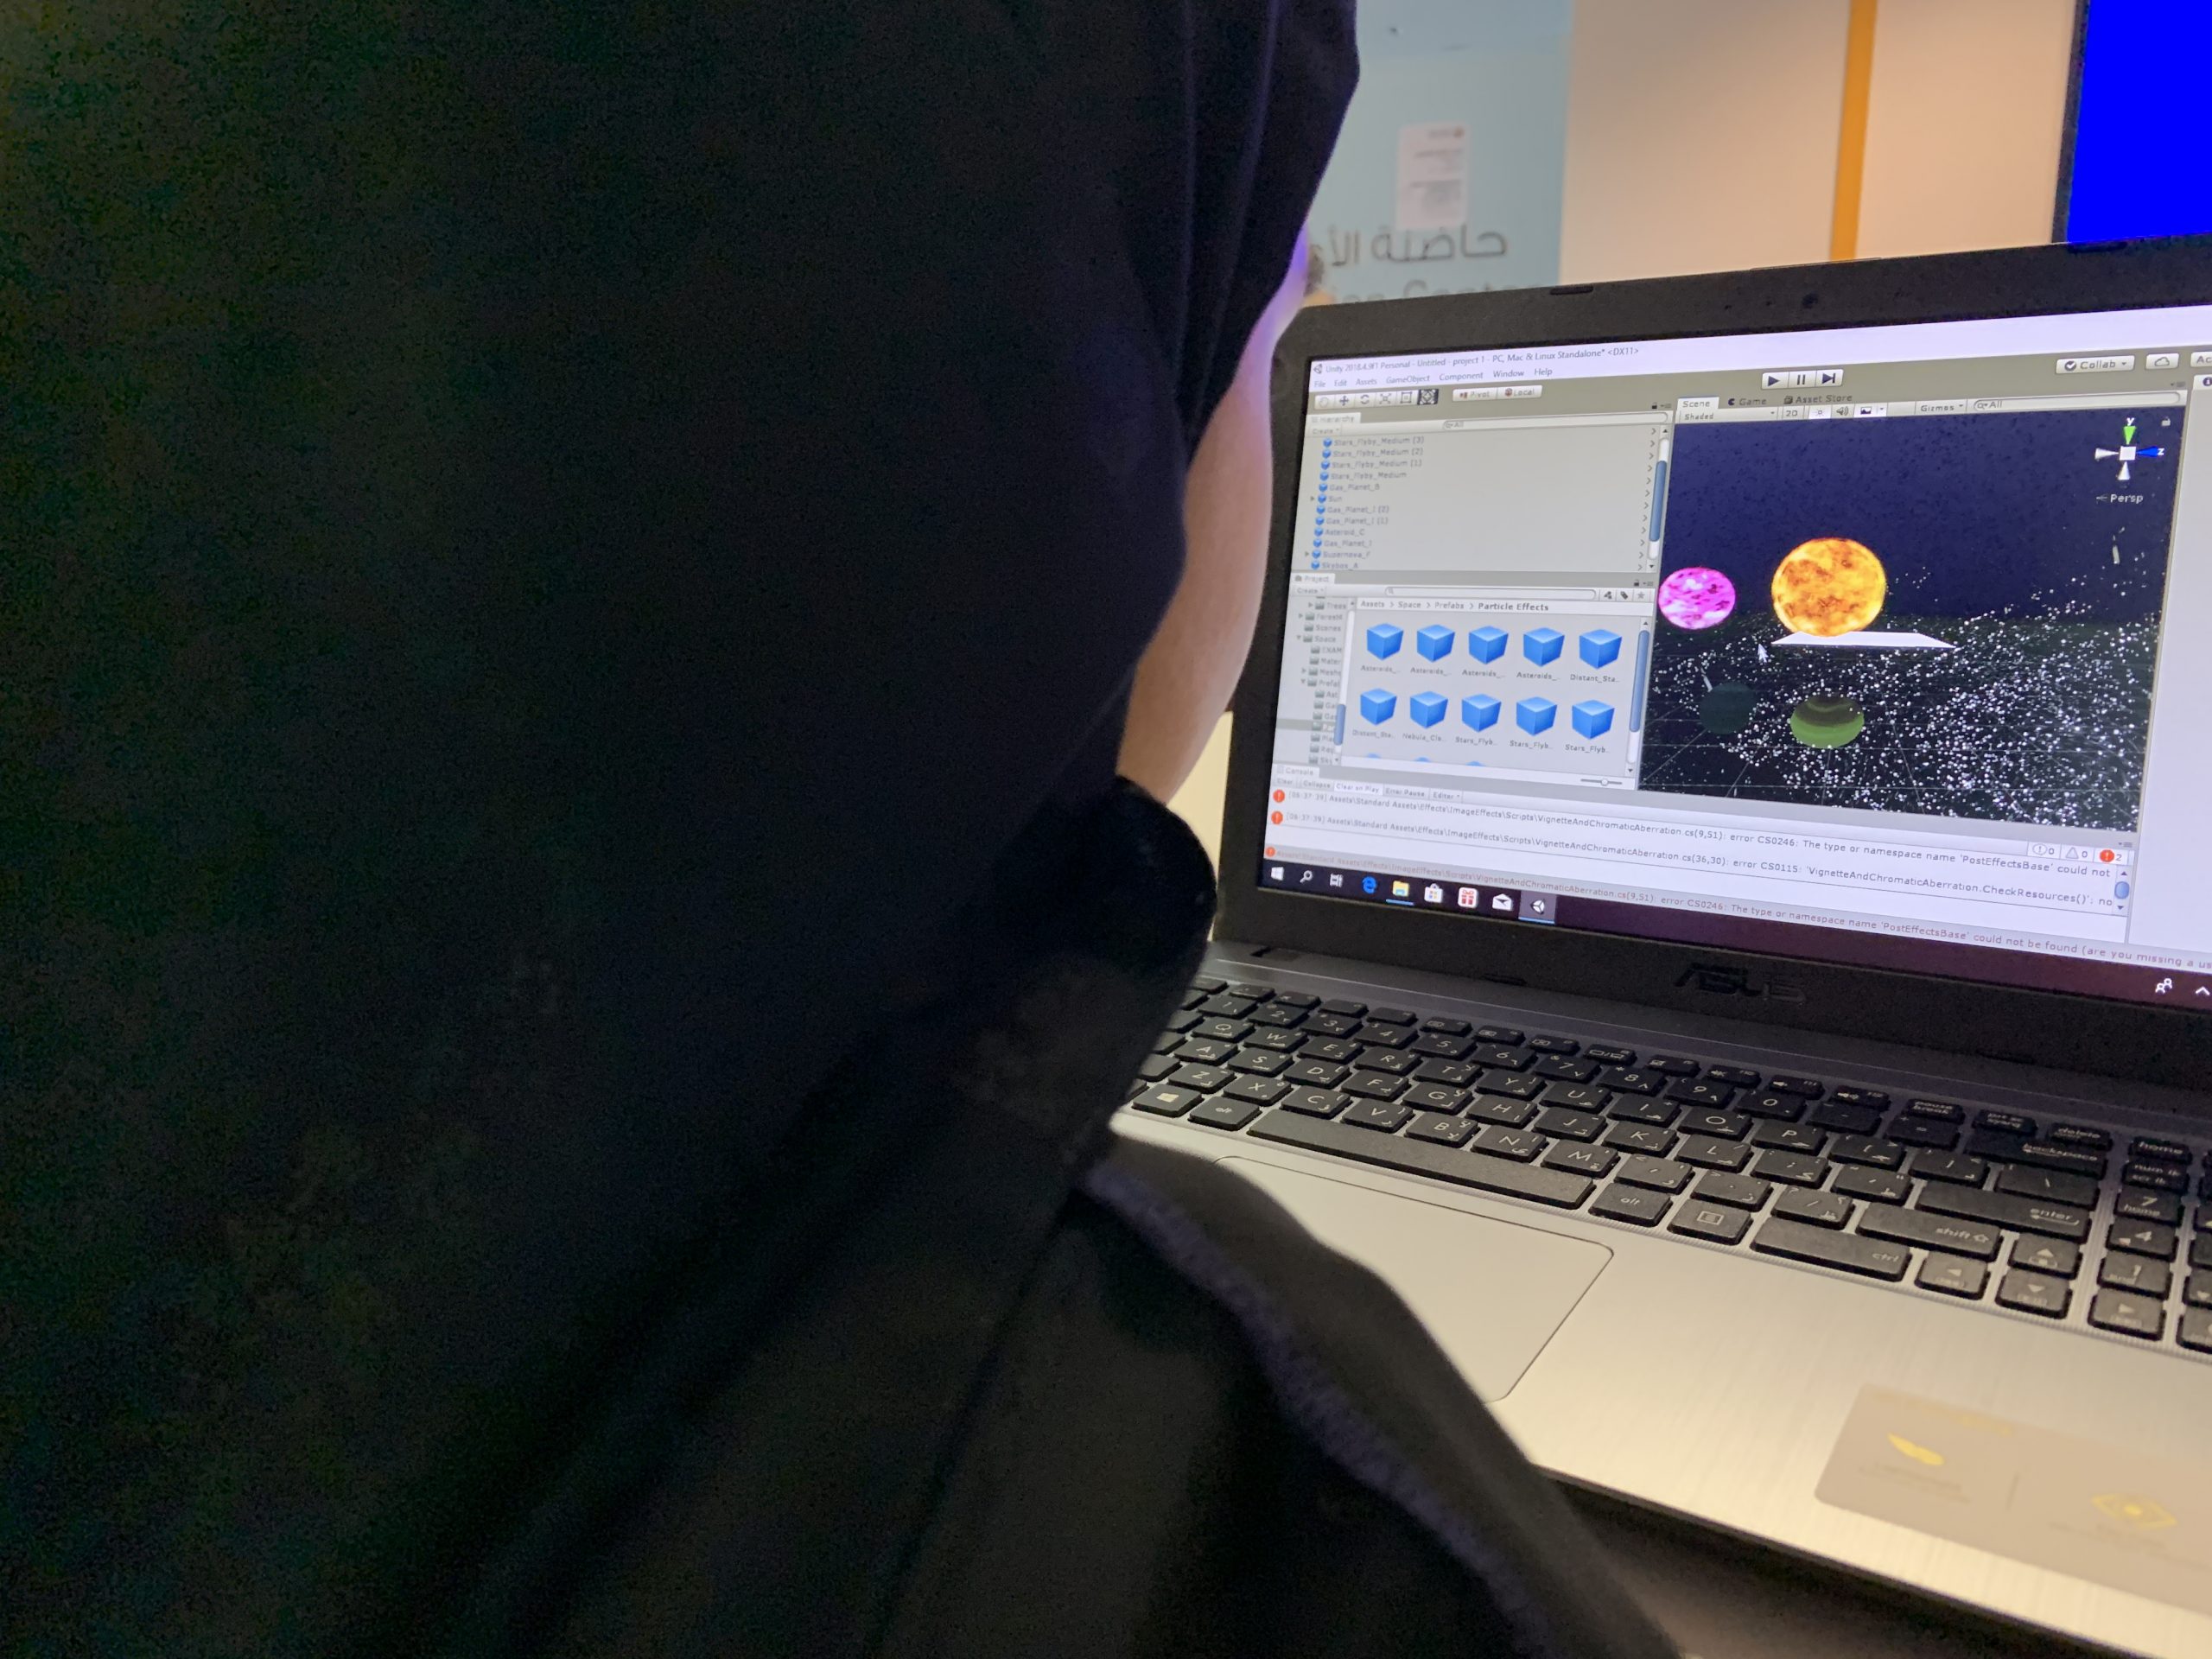
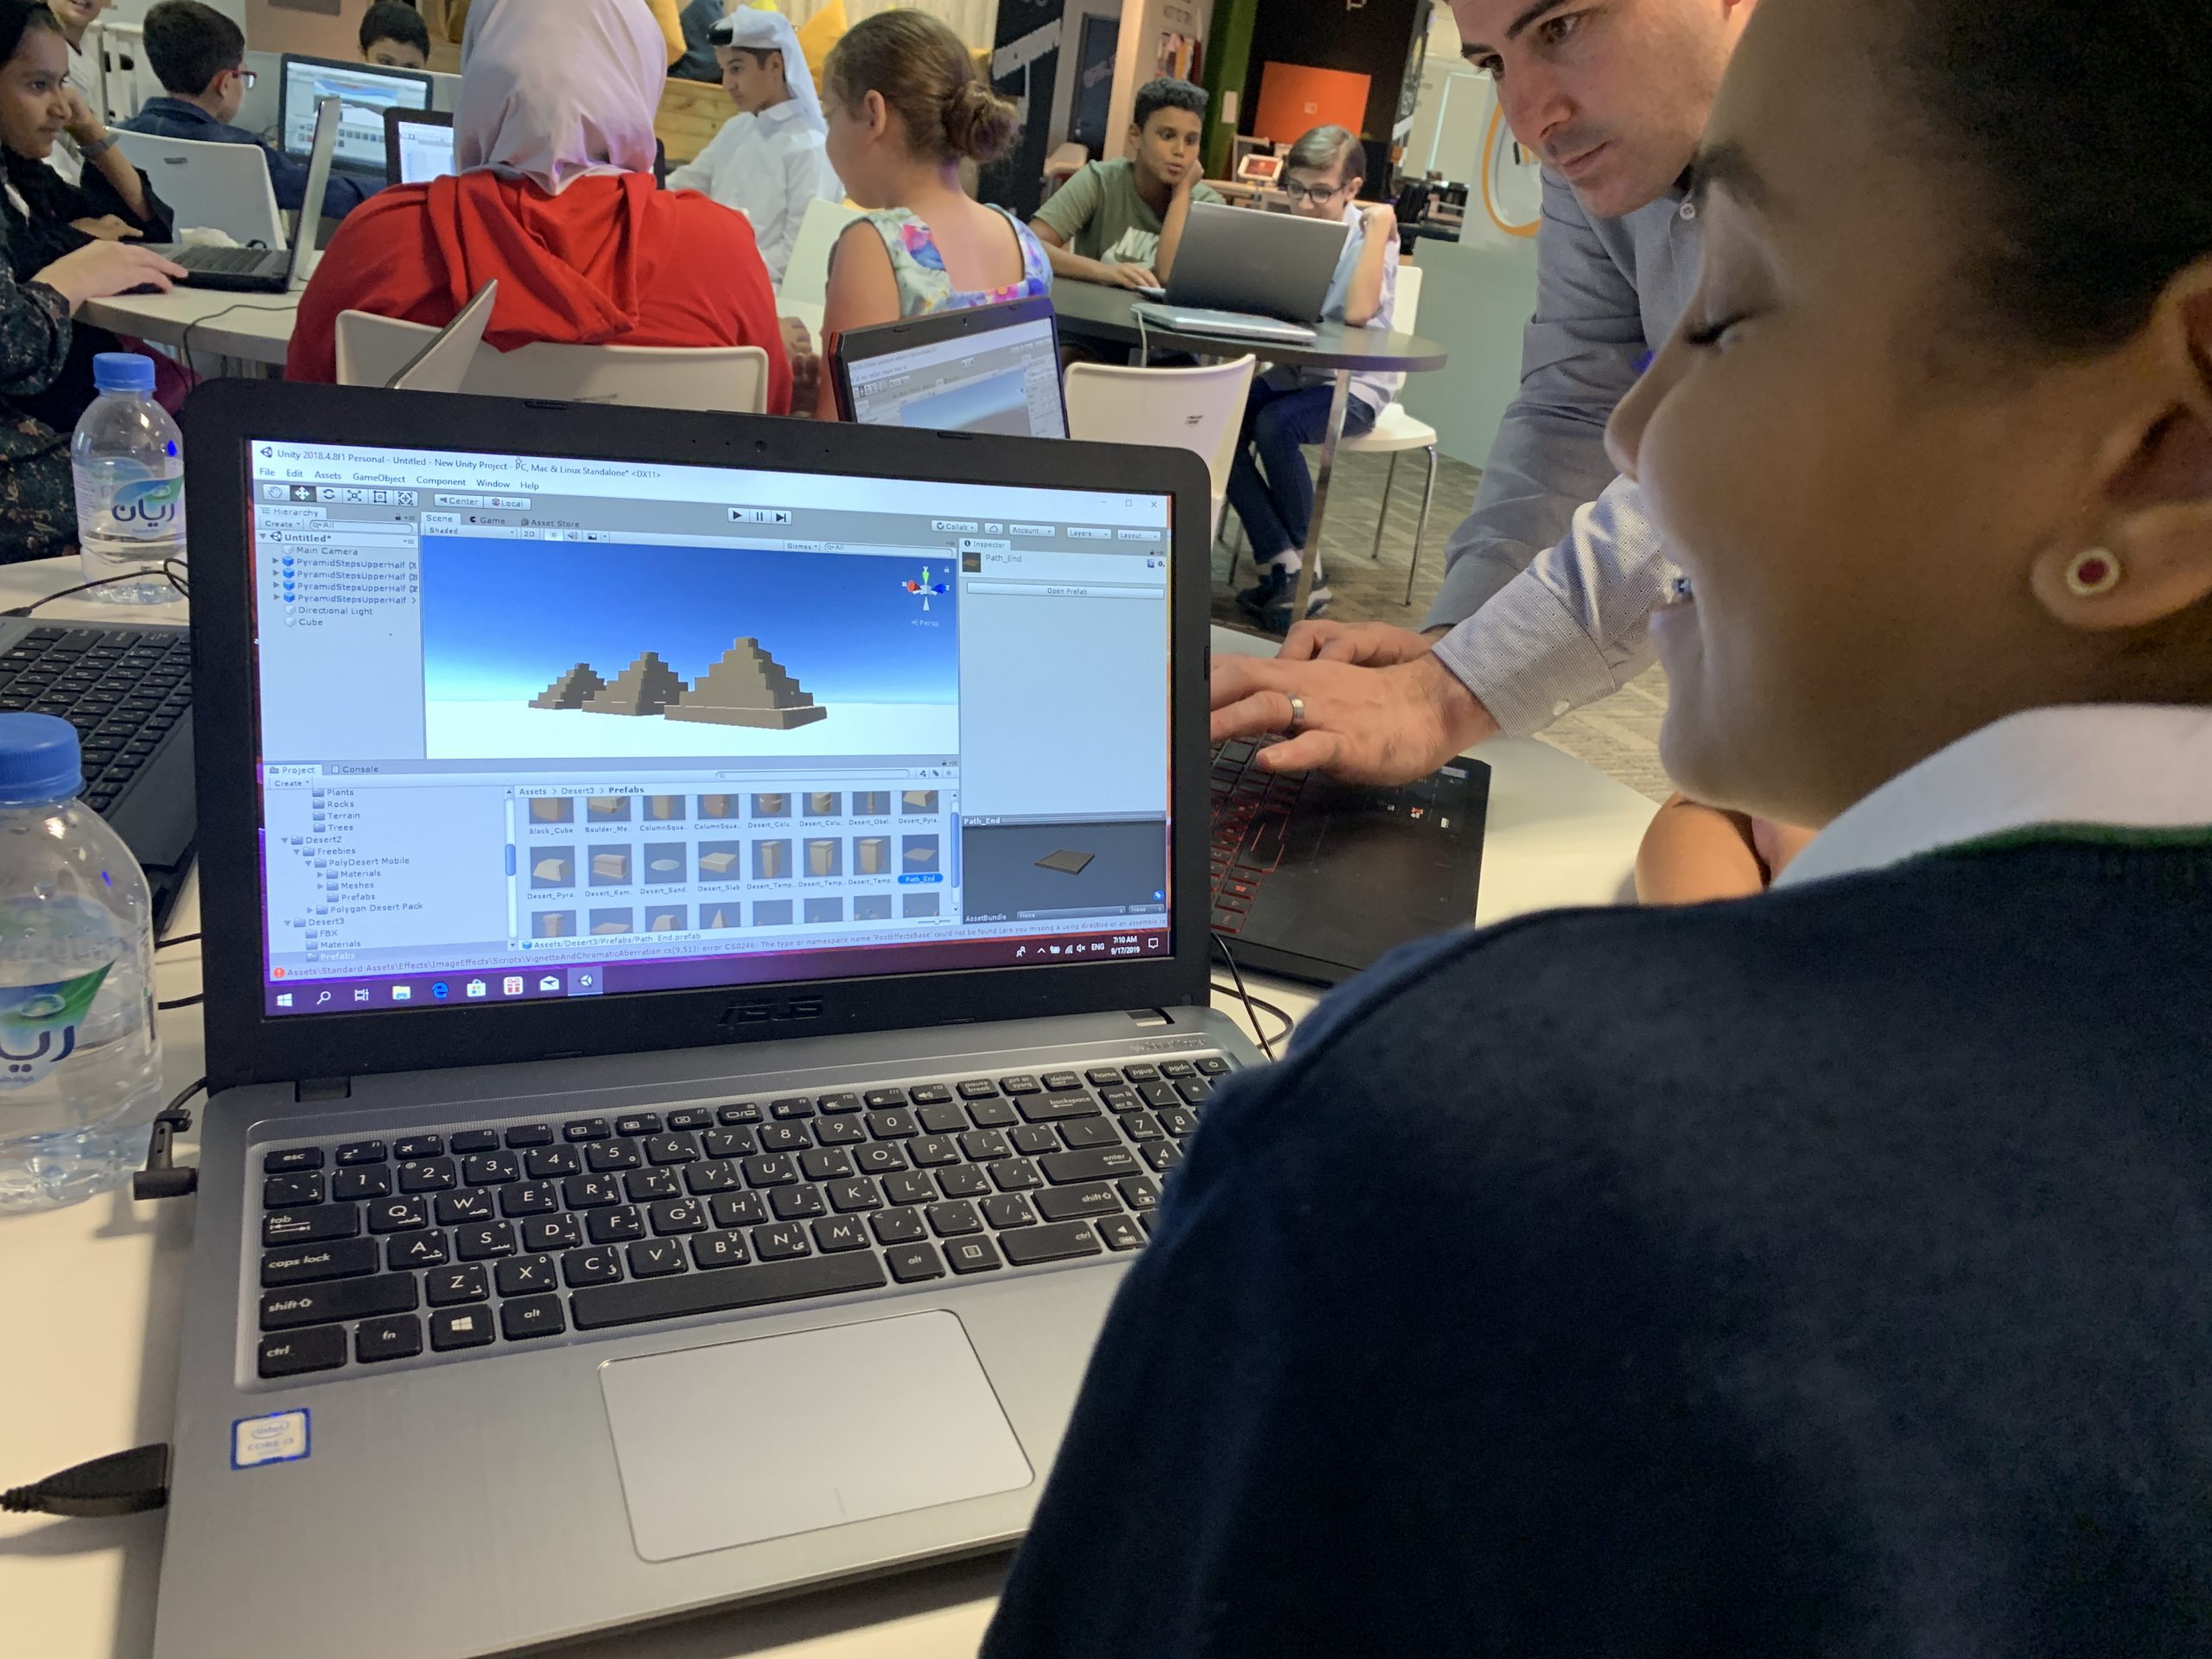
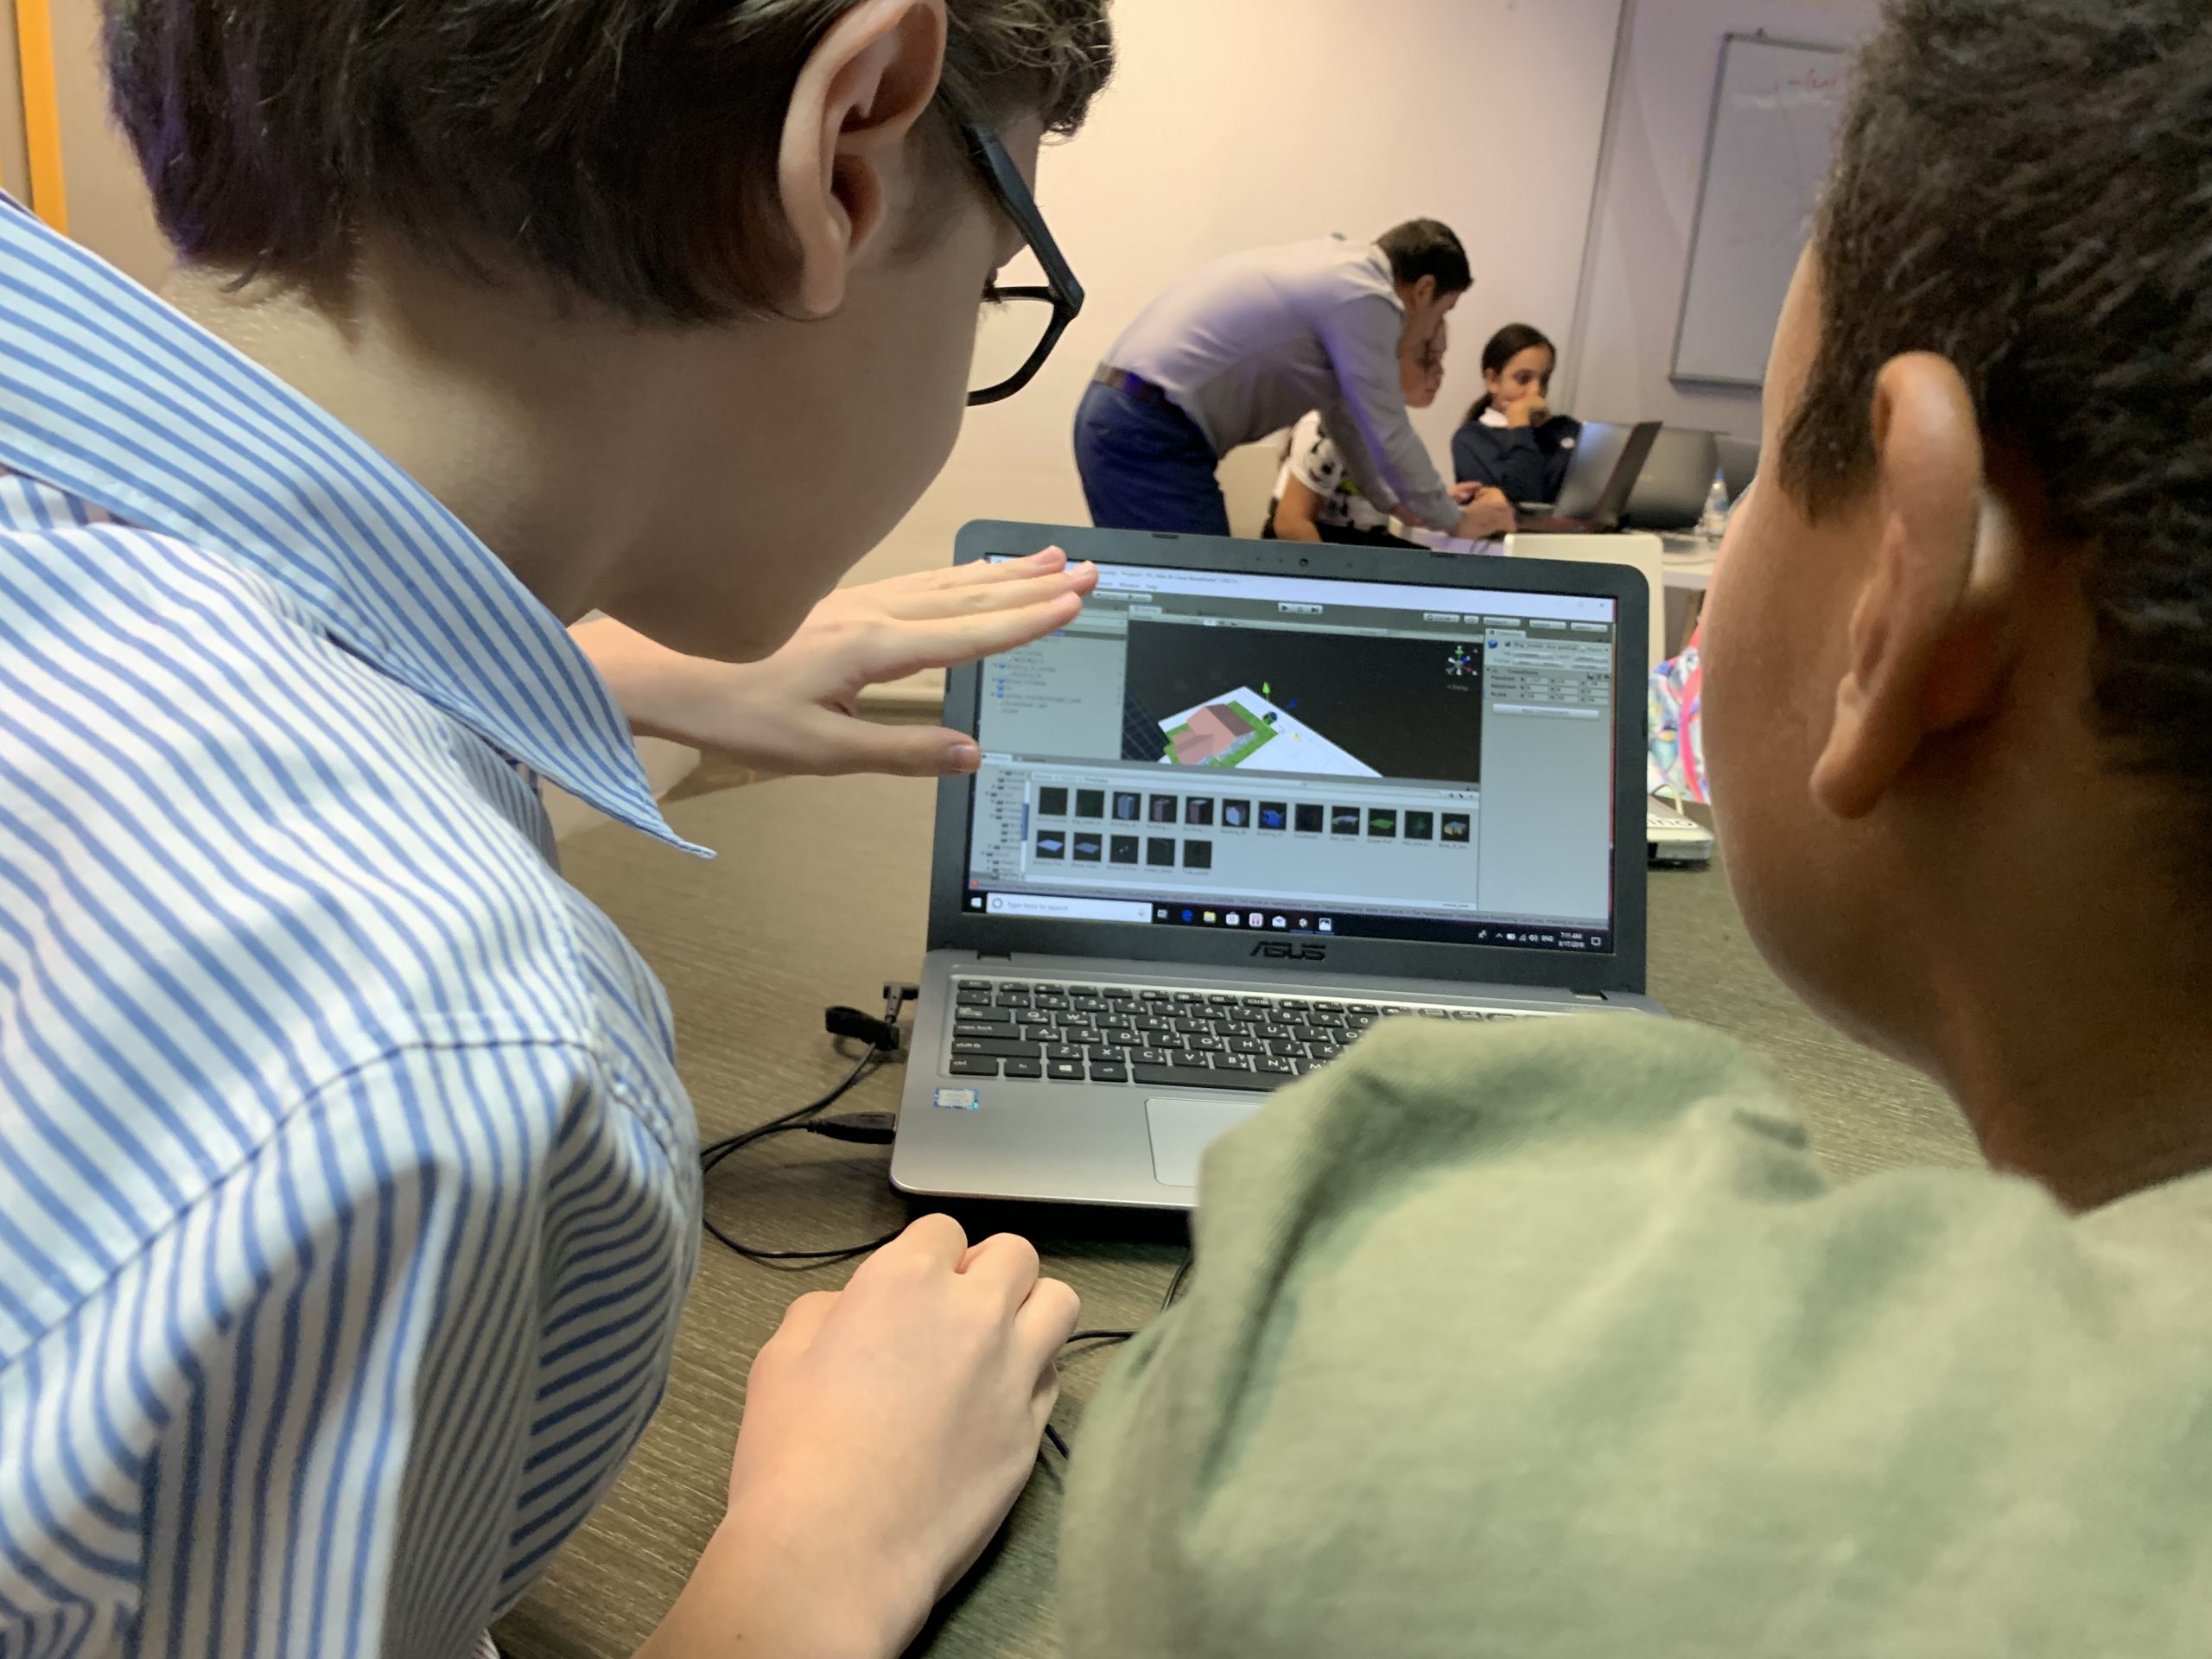
Start to build the environments using assets

  1. Drag and drop an asset for the base of your environment.
  2. Drag and drop assets from the environment folder that you have choose in the scene view.
  3. Make sure to make your environment close to real one.


customize assets

In this step you can change assets properties

  1. Change the position, orientation and other properties of the assets from the Inspector window.
  2. You can click on the model itself and change its properties using the tools bar.


Saving

Save the scene

  1. Go to File then Save to save the scene.
  2. The scene will be saved automatically to Unity folder directory.
  3. Go to File–Player setting– Switch platform to android or IOS and save the APK file.
  4. Save the APK file to your Android or IOS mobile and Install the App.
  5. Use Google VR Cardboard Headset to experience your environment.
  6. https://www.google.com/search?client=avast&q=build+google+vr+cardboard#kpvalbx=_QNlxXs-tNIm_3LUPyfqniAY31


Standards

  • (Fab-Fabrication.2): I can develop workflows across four or more of the following: modeling softwares, programming environments, fabrication machines, electronic components, material choices, or assembly operations.
  • (Fab-Design.2): I can participate in design reviews with prepared presentation materials as well as give and receive feedback from peers.
  • (Fab-Modeling.2): I can construct compound shapes and multi-part components ready for physical production using multiple representations.

Lesson Feedback