Chess Set Design - SCOPES Digital Fabrication

Lesson Details

Subjects
Age Ranges

You need to login or register to bookmark/favorite this content.

Author

Fab Foundation
Fab Foundation
Maker
Our mission is to provide access to the tools, the knowledge and the financial means to educate, innovate and invent using technology and digital fabrication to allow anyone to make (almost) anything, and thereby creating opportunities to improve lives and… Read More

Summary

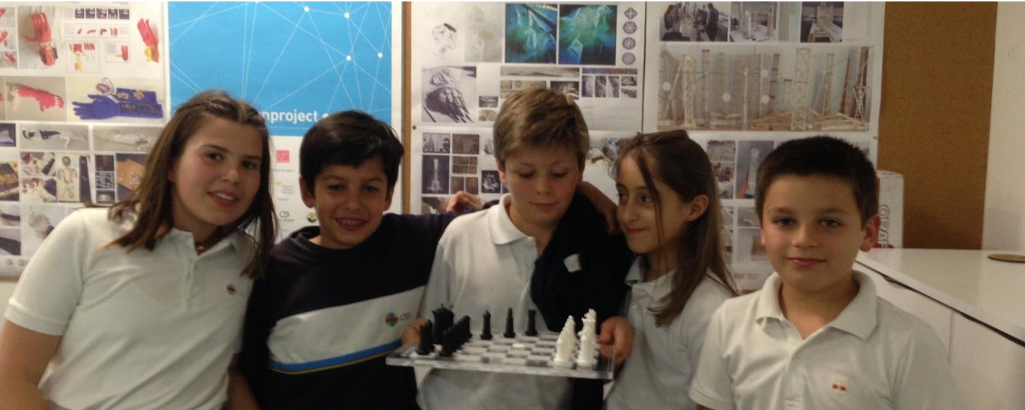
This lesson includes the design and fabrication of chess sets as well as a redesign of a chess set for the visually impaired. Students learn how to design and fabricate daily objects as well as how to improve them to enhance social inclusion. The learning experience includes a theoretical introduction to teach concepts related to the design of chess sets, student working groups, and a final chess set competition. The teaching of chess is not only about promoting cognitive skills and academic achievement, but also increasingly oriented towards social goals.

What You'll Need

Materials List 

3D printing filament
Sheet material for laser cutting (acrylic, sheet wood, cardboard, etc.)
Vinyl sheet material for vinyl cutter
Clay

Digital Fabrication Equipment Details

Hardware
3D printing Equipment
Laser cutter
Vinyl cutter
Molding and Casting (optional)

Software
2D Vector CAD Software (e.g. Inkscape or CorelDraw)
3D CAD Software (e.g. Sketchup, TinkerCAD, Rhino etc.)

Design Files attachment:

https://drive.google.com/drive/folders/0B3tPBZnliO7bbUpGd2xGaWw4VkE?usp=sharing

The Instructions

Step One: Chess Game Design Basics

Essential Question: Why is the Queen the most powerful piece on the board?

  1. Hold-up a chessboard.
  2. Explain that the eight up-and-down (vertical) columns on a chessboard are called files.
  3. Explain that the eight side-to-side rows are called ranks
  4. Explain that the 8 files have designated letter names or coordinates: a,b,c,d,e,f,g,and h.
  5. Explain that the 8 ranks have designated number names or coordinates: 1,2,3,4,5,6,7,and 8
  6. Ask students to count the number of squares in the board. Point out that there are eight rows and eight columns or 8 x 8 = 64.
  7. Present the basic rules of Chess to the class. Step 1: How to Setup the Chessboard and Step 2: How the Chess Pieces Move,
    https://www.chess.com/learn-how-to-play-chess
  8. Reinforce the concept that pawns are not Pawns are pawns. Pieces are rook, knight, bishop, queen, and king. The pawns and the pieces together are the chessmen.

Explain the movement of each chessmen and their standard valuations:

The king is the most important piece in the game of chess. This is because the objective of the game is to capture your opponent’s king.

The queen is the second most important piece on the board, but the most powerful. The queen can move any number of spaces in any direction. (9 Points)

The rook has the ability to move any number of spaces horizontally or vertically. Some people call this piece the “castle”. (5 Points)

The Knight unlike any other piece on the chessboard can ‘jump over’ another piece. Often described as “1,2, over.” The knight moves in an “L” shape motion either two spaces horizontally and one space vertically, or two spaces vertically and one space horizontally. (3 Points)

The Bishop can move diagonally any number of squares in any direction (3 Points)

A pawn can move forward one space. However, from its starting position a pawn can advance two spaces (1 Points).

Formative Assessment:

Define a rank.(Horizontal rows of the chess board)
Define a file (Vertical columns of the chess board)

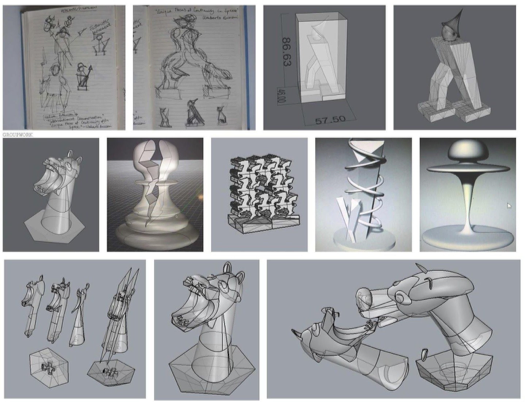
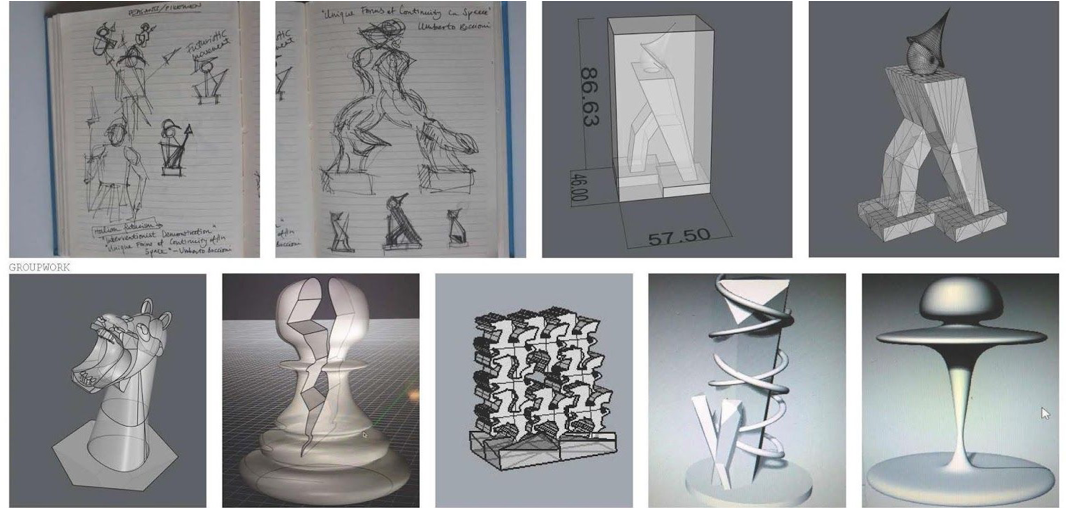
Step Two: Plan Your Own Chess Set Design

Design Process

TEACHER NOTE: Before the class begins, read “How the Chess Set Got Its Look And Feel”, http://www.smithsonianmag.com/arts-culture/how-the-chess-set-got-its-look-and-feel-14299092/

Prepare to discuss the following facts in whole class discussion:

  1. Prior to 1849, there was no such thing as a “normal chess ”
  2. Originally conceived of as a field of battle, the symbolic meaning of the game changed as it gained popularity in Europe, and the pieces became stand-ins for a royal court instead of an army. Thus, the original chessmen, known as counselor, infantry, cavalry, elephants, and chariots, became the queen, pawn, knight, bishop, and rook, respectively.
  3. By the 19th century, chess clubs and competitions began to appear all around the world, it became necessary to use a standardized set that would enable players from different cultures to compete without getting confused.
  4. In 1849, that challenge would be met by the “Staunton” Chess Set.
  5. Howard Staunton was a chess authority who organized many tournaments and clubs in London, and was widely considered to be one of the best players in the Despite its name, the iconic set was not designed by Howard Staunton.
  6. According to the most widely told origin story, the Staunton set was designed by architect Nathan Cook, who looked at a variety of popular chess sets and distilled their common traits.
  7. Staunton appreciated the simplicity and legibility of Cook’s design, and allowed Cook to use his name in marketing the new pieces. They were first offered to the public in 1849 by purveyors John Jaques of London.

Essential Question: What are the major changes in Daniel Weil’s redesign of the classic chess set?

  1. In whole class, discuss review the history of the design of chess pieces.
  1. In small groups, have students discuss and review changes made to the official chess set, https://www.designweek.co.uk/issues/march-2013/daniel-weil-redesigns-the-chess-set/
    Traditional chess pieces in the Staunton design (image: Chess USA)


  2. Looking at redesigned chess pieces, students should identify the basic shapes and attempt to sketch one piece from a Staunton Chess or Weil’s redesigned set using basic geometric shapes.

Essential Question: What characters will you use to replace the traditional pieces?

Students will design their chess pieces using the following instructions:

Choose a theme for your chess set. Your theme should reflect your interests, and the time and place in which you live.

TEACHER NOTE: Decide whether the students will work individually or in groups. Have the students save their process work, i.e first drafts to final ones.

Formative Assessment:

Provide students feedback on their ability to:

  • use writing, verbal and drawing skills to develop their design concepts
  • demonstrate an understanding of working in scale
  • work cooperatively with other students


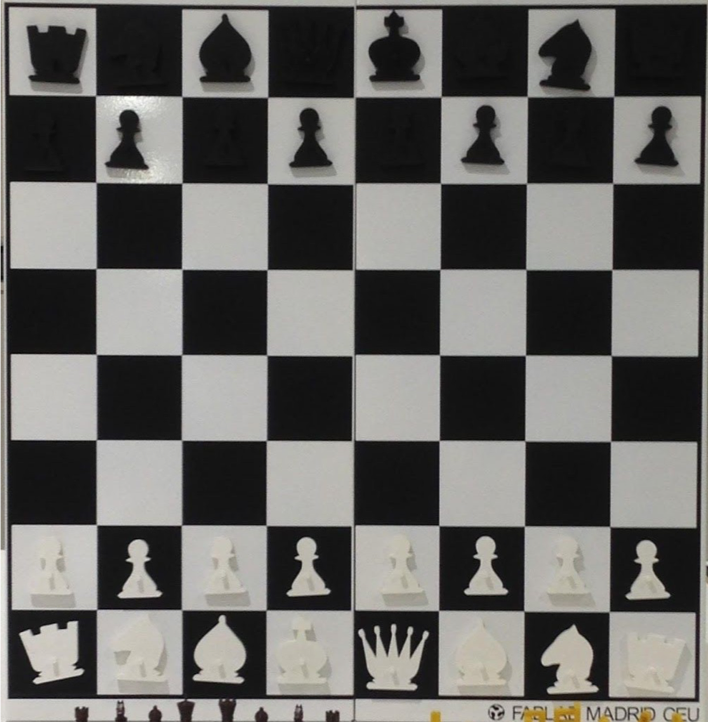
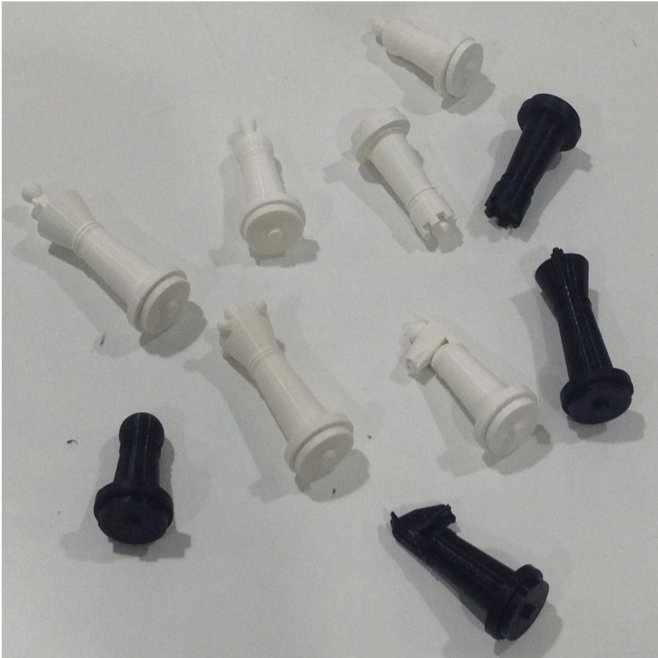
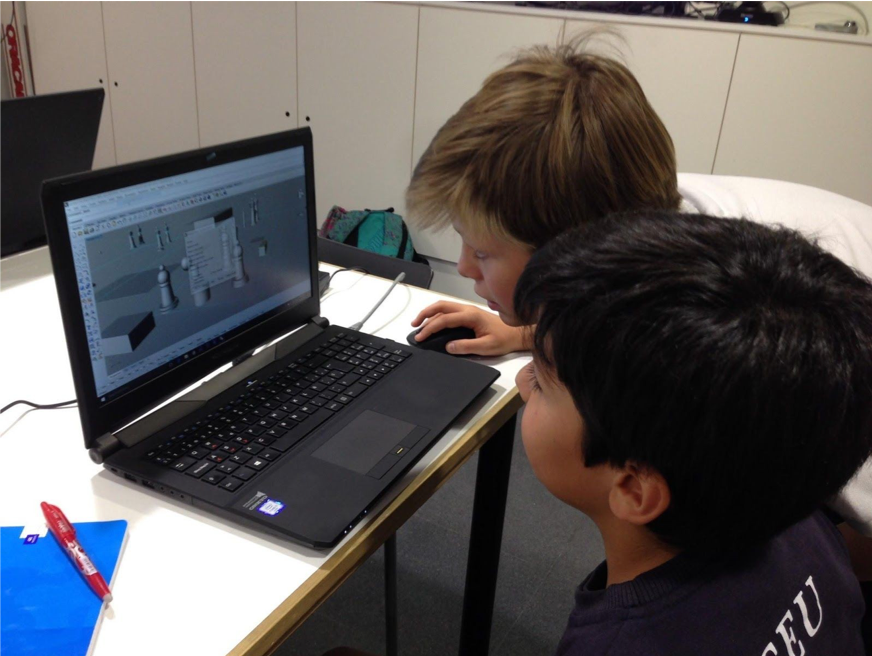
Step Three: The chess set, reimagined digitally


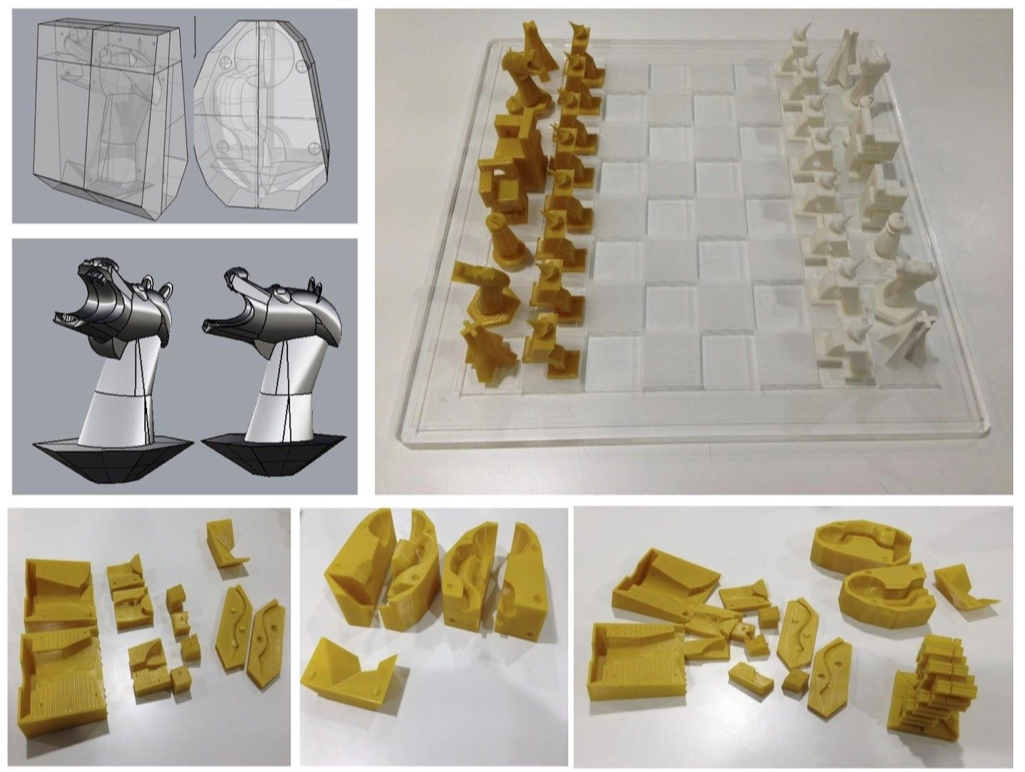
TEACHER NOTE: Some of the chess pieces are 3D printed and some are molded from Model Magic® and painted with a coat of Mod Podge® for protection. For the board, students can simply modify an existing chess board to suit the theme or create an original board with cardboard and drawing or painting supplies.

  1. Students will conceive a chess set based on any book, movie, television show or video game.
  2. Students will design the pieces on graph paper to keep the proportions clear.
  3. Students will use different technologies to design and fabricate the chess sets.
  4. Examples for design include
    • TinkerCad
    • Rhino
    • Autocad
    • SketchUp
    • Hand modeling in clay
  5. Options for fabrication include
    • 3D Printing
    • Molding and Casting
  6. Some chess boards were fabricated using laser cutting technologies to cut the board and engrave the board boxes. Some others were made using vinyl cutting technologies to create the board boxes.
  7. Along the way they are requested to document in notebooks or in a digital format, their approaches to each part of the design and fabrication. Students will then discuss their notes with the instructors and classmates.
  8. Finally, at the end of the second session, a competition will be held using the chess sets and encouraging the participation of students and instructors.

Self- Work Critique

Previous to handing in final chess pieces, students are asked to reflect on the quality of their work. This can be simply accomplished by having students write 1, 2, or 3 on the top of their paper.

  • 1 = Well done,
  • 2 = OK,
  • 3 = Could be

In addition to the number, students write a brief explanation of their self-evaluation.

Extension: In FabLab Madrid CEU the students worked on the manufacture of a chess game aimed at blind children, modeling the pieces with a computer-aided design program and learning to generate the files that allowed them to manufacture the pieces with 3D printing technologies. See blog post at https://fablabmadridceu.com/2017/05/07/el-colegio-ceu-sanchinarro-en-fablab-madrid-ceu-gracias-a-ceu-investiga/

Lesson Feedback