- Loading…

During this project students will gain knowledge and skills using.
They will then apply those skills to design and digitally manufacture a product.
This lesson is based on the awesome teacher programme called “Fab Futures” I attended.
software
https://makecode.adafruit.com/ Coding the CPX
https://www.tinkercad.com/ or fusion360 Designing 3D for printer
https://canvasworkspace.brother.com/ Vinyl cutting software – Brother scan and cut
https://bambulab.com/en-us/download/studio 3D print software – Bambu 3D printer
Machines (can be any brand – the ones I used are listed)
Computer
3D printer – Bambu Lab P1 3D printer
Vinyl cutter – Brother scan and cut
3D print files
Thingiverse https://www.thingiverse.com/thing:6445104
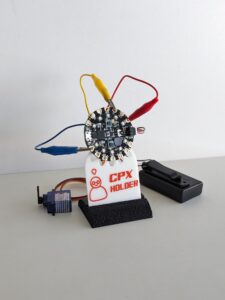
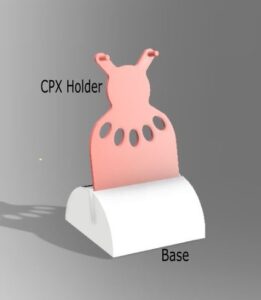
3D printing the CPX holder
3D print – Each student will download and print the supplied STL file from Thingiverse.
Demonstrate going to Thingiverse and downloading the CPX holder file supplied.
Explain how designs can be sourced from Thingiverse
Discuss Open source licenses, copyrights, and creative commons.
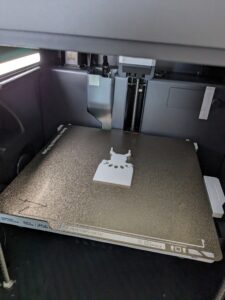
Explain what the 3D print process involves and how the design goes from the software it was created in, to the 3D printer.
Demonstrate the 3D printer working and how the STL file is transferred to the 3D printer.
Each student prints a CPX holder
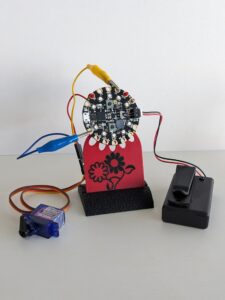
Using a 3D modelling software and designing a base for the CPX holder
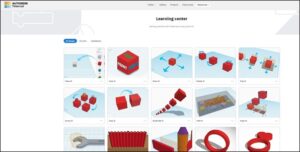
3D Design – Each student will experiment with 3D design and then design a base for their CPX holder. Teachers can get a teacher login to Tinkercad, create a class, then give students a link or code to make signing in easier. Also, this way teachers can view students work and see how they are progressing.
1. Teacher Demonstrates the Tinkercad software.
2. Students’ login to Tinkercad and complete the beginning tutorials.
3. Students design a base to support their holder.
· Note: The base needs a 2mm wide slot, at a slight angle to press-fit in the cpx holder.
4. Students 3D print their personally designed base
An example base is on Tinkercad https://www.tinkercad.com/things/cZLy6CEN99Q-base
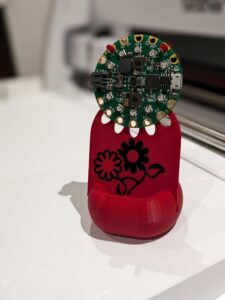
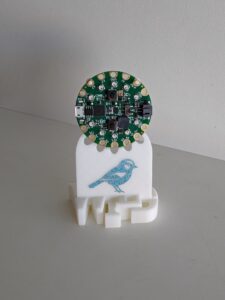
Make a sticker for the CPX holder
Vinyl Cutting – making a sticker to personalize the holder
The vinyl cutting instructions will depend on what kind of machine you have, I have a Brother Scan and Cut which will allow me to design on the machine, this is a simple way for me to have students make a sticker. This allows them to see the process and swiftly achieve success.
1. Demonstrate how a sticker is designed and set up on the vinyl cutter
2. Create a small sticker to go on the holder.
3. Students then go ahead and cut a sticker for their CPX holder.
Note: Size approx. 30mm x 30mm
Learning how to program a CPX microcontroller
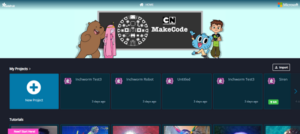
CPX microcontroller – Learning how to program a CPX microcontroller
1. Secure the CPX in the holder ready to connect the battery and USB
2. Go to https://makecode.adafruit.com/
3. Work through the beginner tutorials
Siren
Magic wand
Clap lights
Loudness necklace
Night Light
Students will take their new skills and knowledge and create a product
Create a product – Students will take their new skills and knowledge and create a product
1. Present the class with a design challenge to be completed using the new skills and knowledge.
2. Suggestions are listed below;
· The classroom needs a welcome sign that cheers people up and makes them feel welcome.
· Use cardboard to create a creature that can move across a set distance using 1 motor.
· Design and create a device that warns when a gate is opened, or a window opened.
3. Some examples of documented projects are listed below.
https://www.instructables.com/Smiley-Face-CPX-Wearable-Wristband-With-Servo-Spin/
https://learn.adafruit.com/Cardboard-Robot-Inchworm/overview
Having trouble? Let us know by completing the form below. We'll do our best to get your issues resolved quickly.
"*" indicates required fields