- Loading…

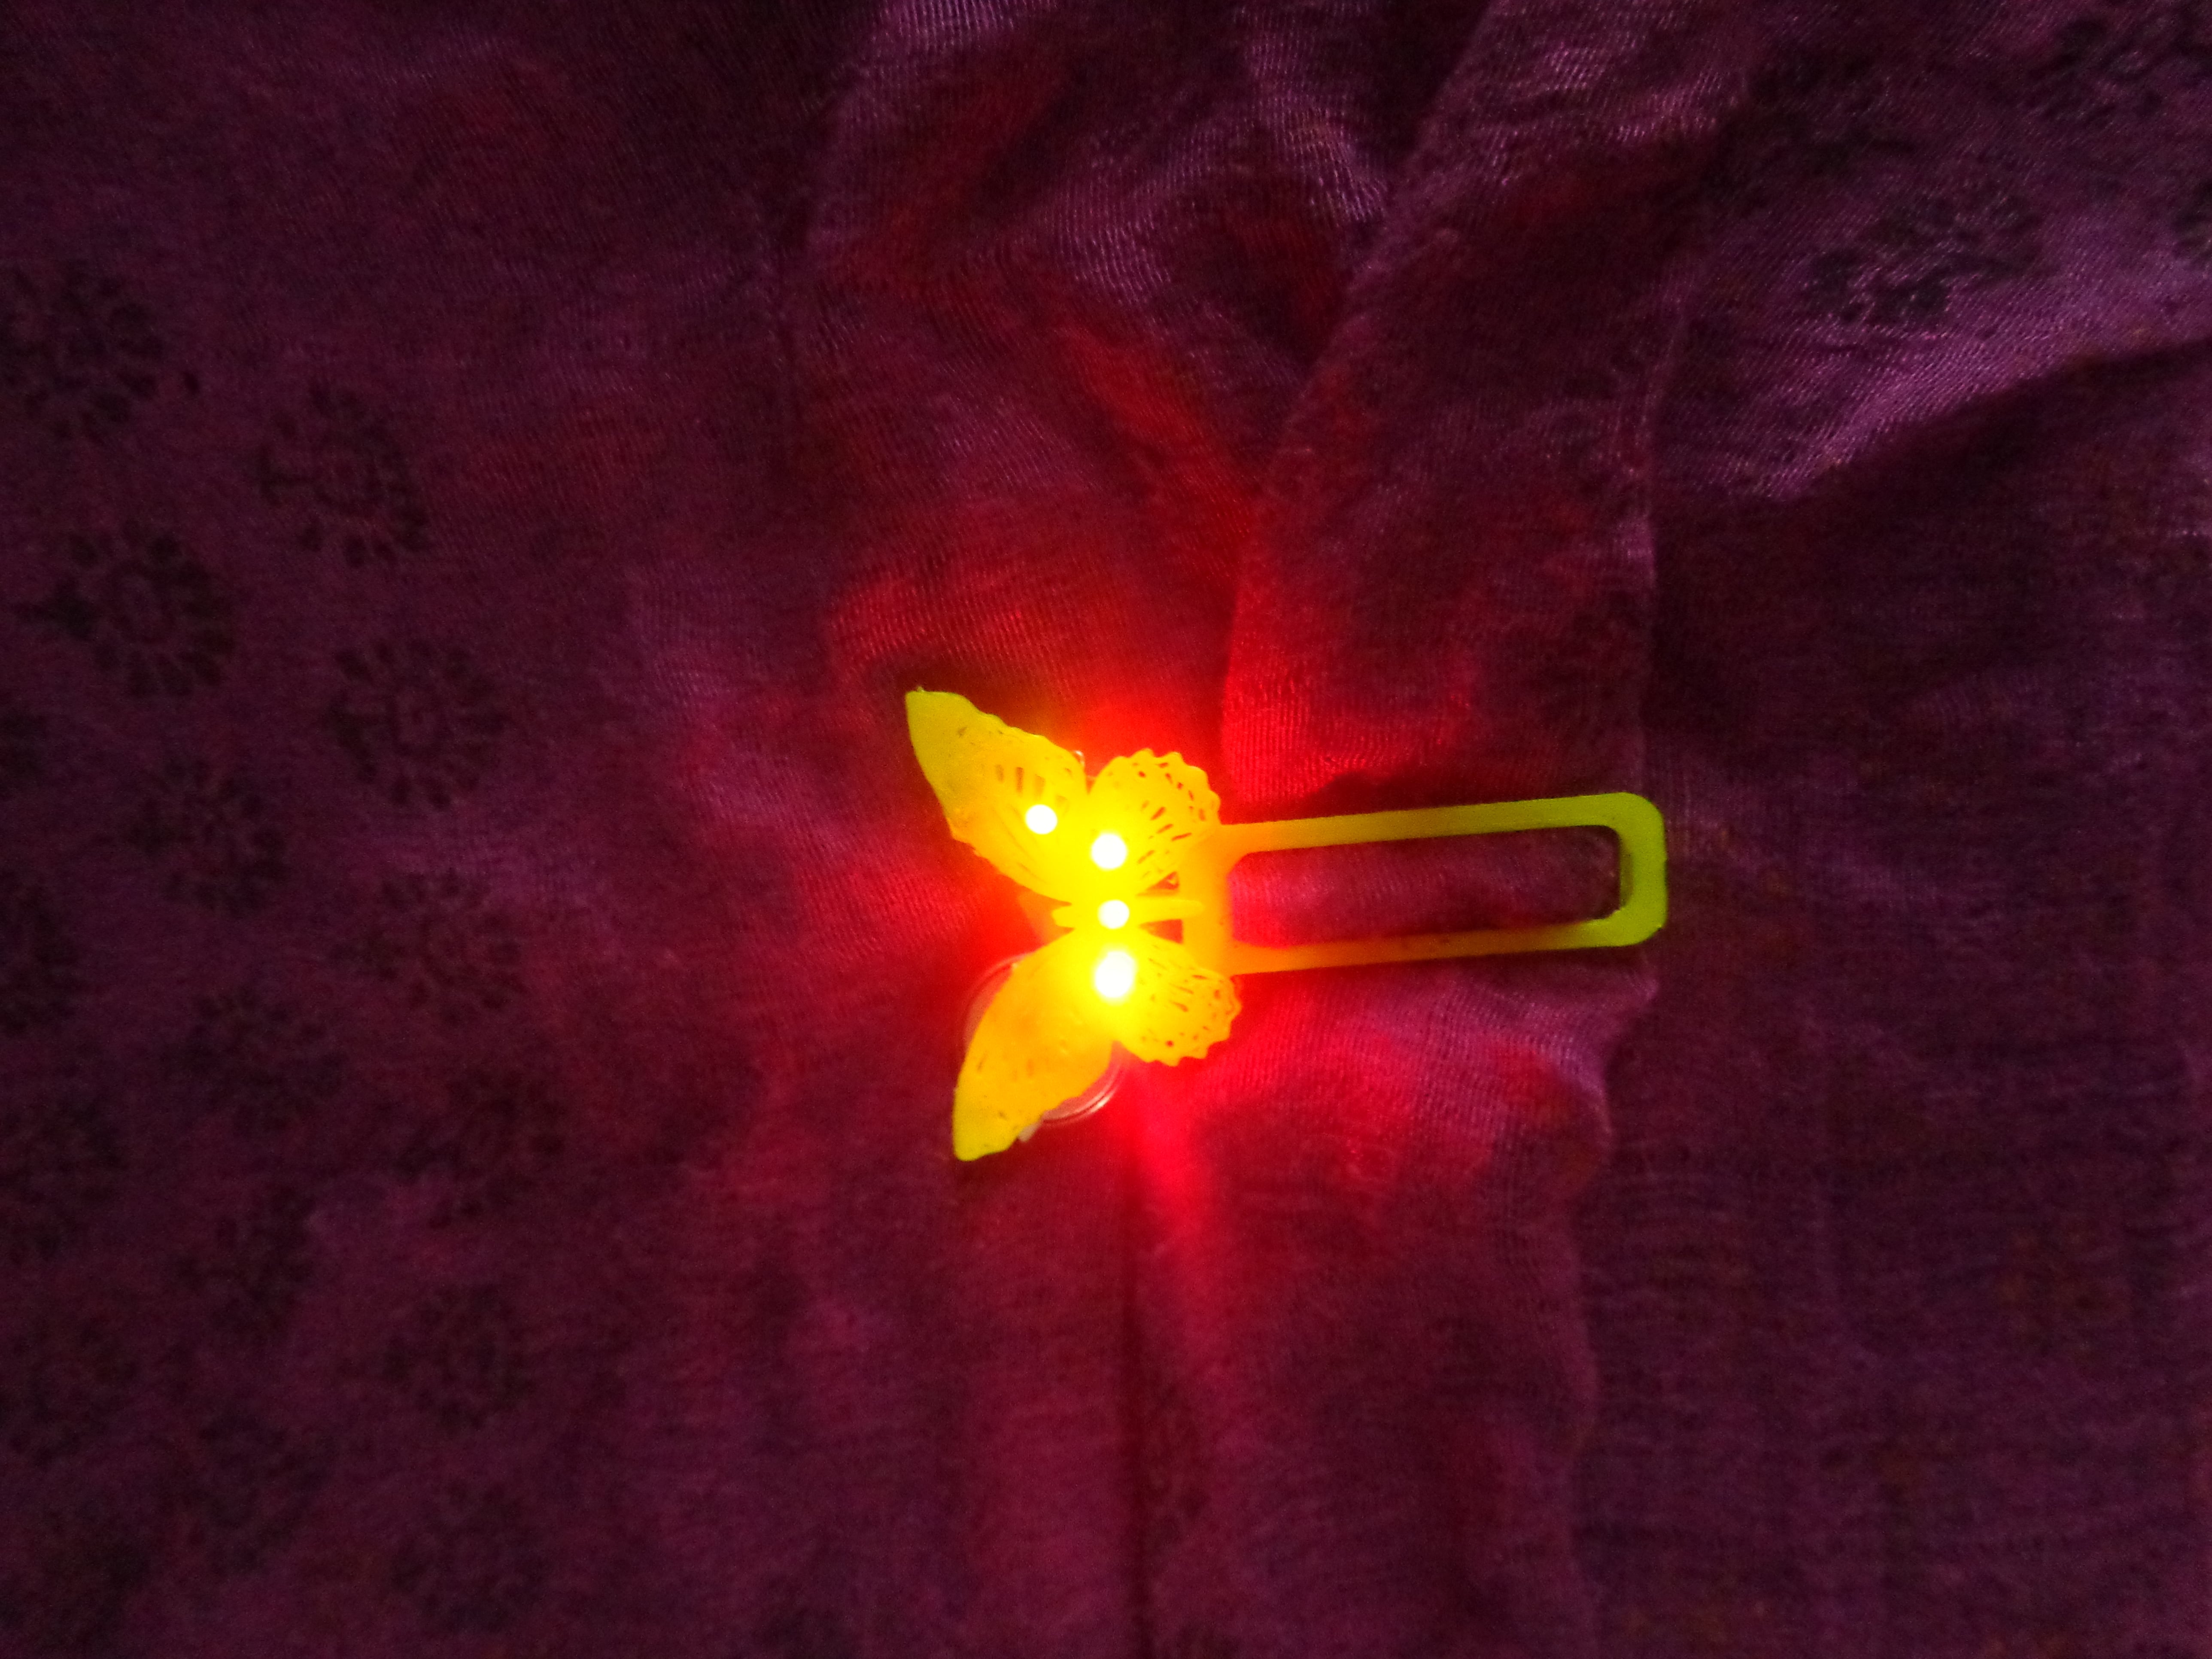
In this activity students will learn to make a Decorative Clip with Electronics technology.
Students learn about electronics by creating their own Decorative clip. Students will study the elements and principles of design and understand how they are used to create a 3D printed computer programmable Decorative Clip. In this lesson, students will conceptualize and then turn their ideas into real-life models.
Learning Objectives are
· To introduced about conductive thread.
· Introduction to 3D Designing and 3D Printing.
· Introduction to LED & Battery connections.
· To make Decorative clip using Electronic Components.
– 3D printer
– Wire cutter/stripper
-scissor
-3D software
Discuss with students on the idea of Decorative Clip. In this when we attach clip any cloth & touch it then LED turns ON. Initially introduce them about 3D design software and ask students to do 3D design of clip and let them use their creativity.
Show students photos of different wearable electronics and 3D wearable models
Ask students to design wearable clips as per their creativity. Ask them to draw it on paper with dimension and replicate it in 3D design softaware.
Teacher Note – After putting a design for printing let printer do its work and start student introducing about electronics. Show them images.
a) Connect All LED parallel according following table using conductive thread: 1st LED All LED Positive Positive Negative Negative b) Connect LED to Button cell using conductive thread according to following table: All LED Button Cell Positive Positive Negative Negative
Teacher note- You can ask few students to use conductive threads and some to use other conductive material like copper foil, aluminium foil Introduce them with conductive material .
Having trouble? Let us know by completing the form below. We'll do our best to get your issues resolved quickly.
"*" indicates required fields