- Loading…

This hands-on workshop offers an engaging and interactive experience where participants will learn how to fabricate their own fluffy toys using fabric and cotton. The session also introduces basic electronics by guiding students through the integration of a simple circuit to power an LED on and off.
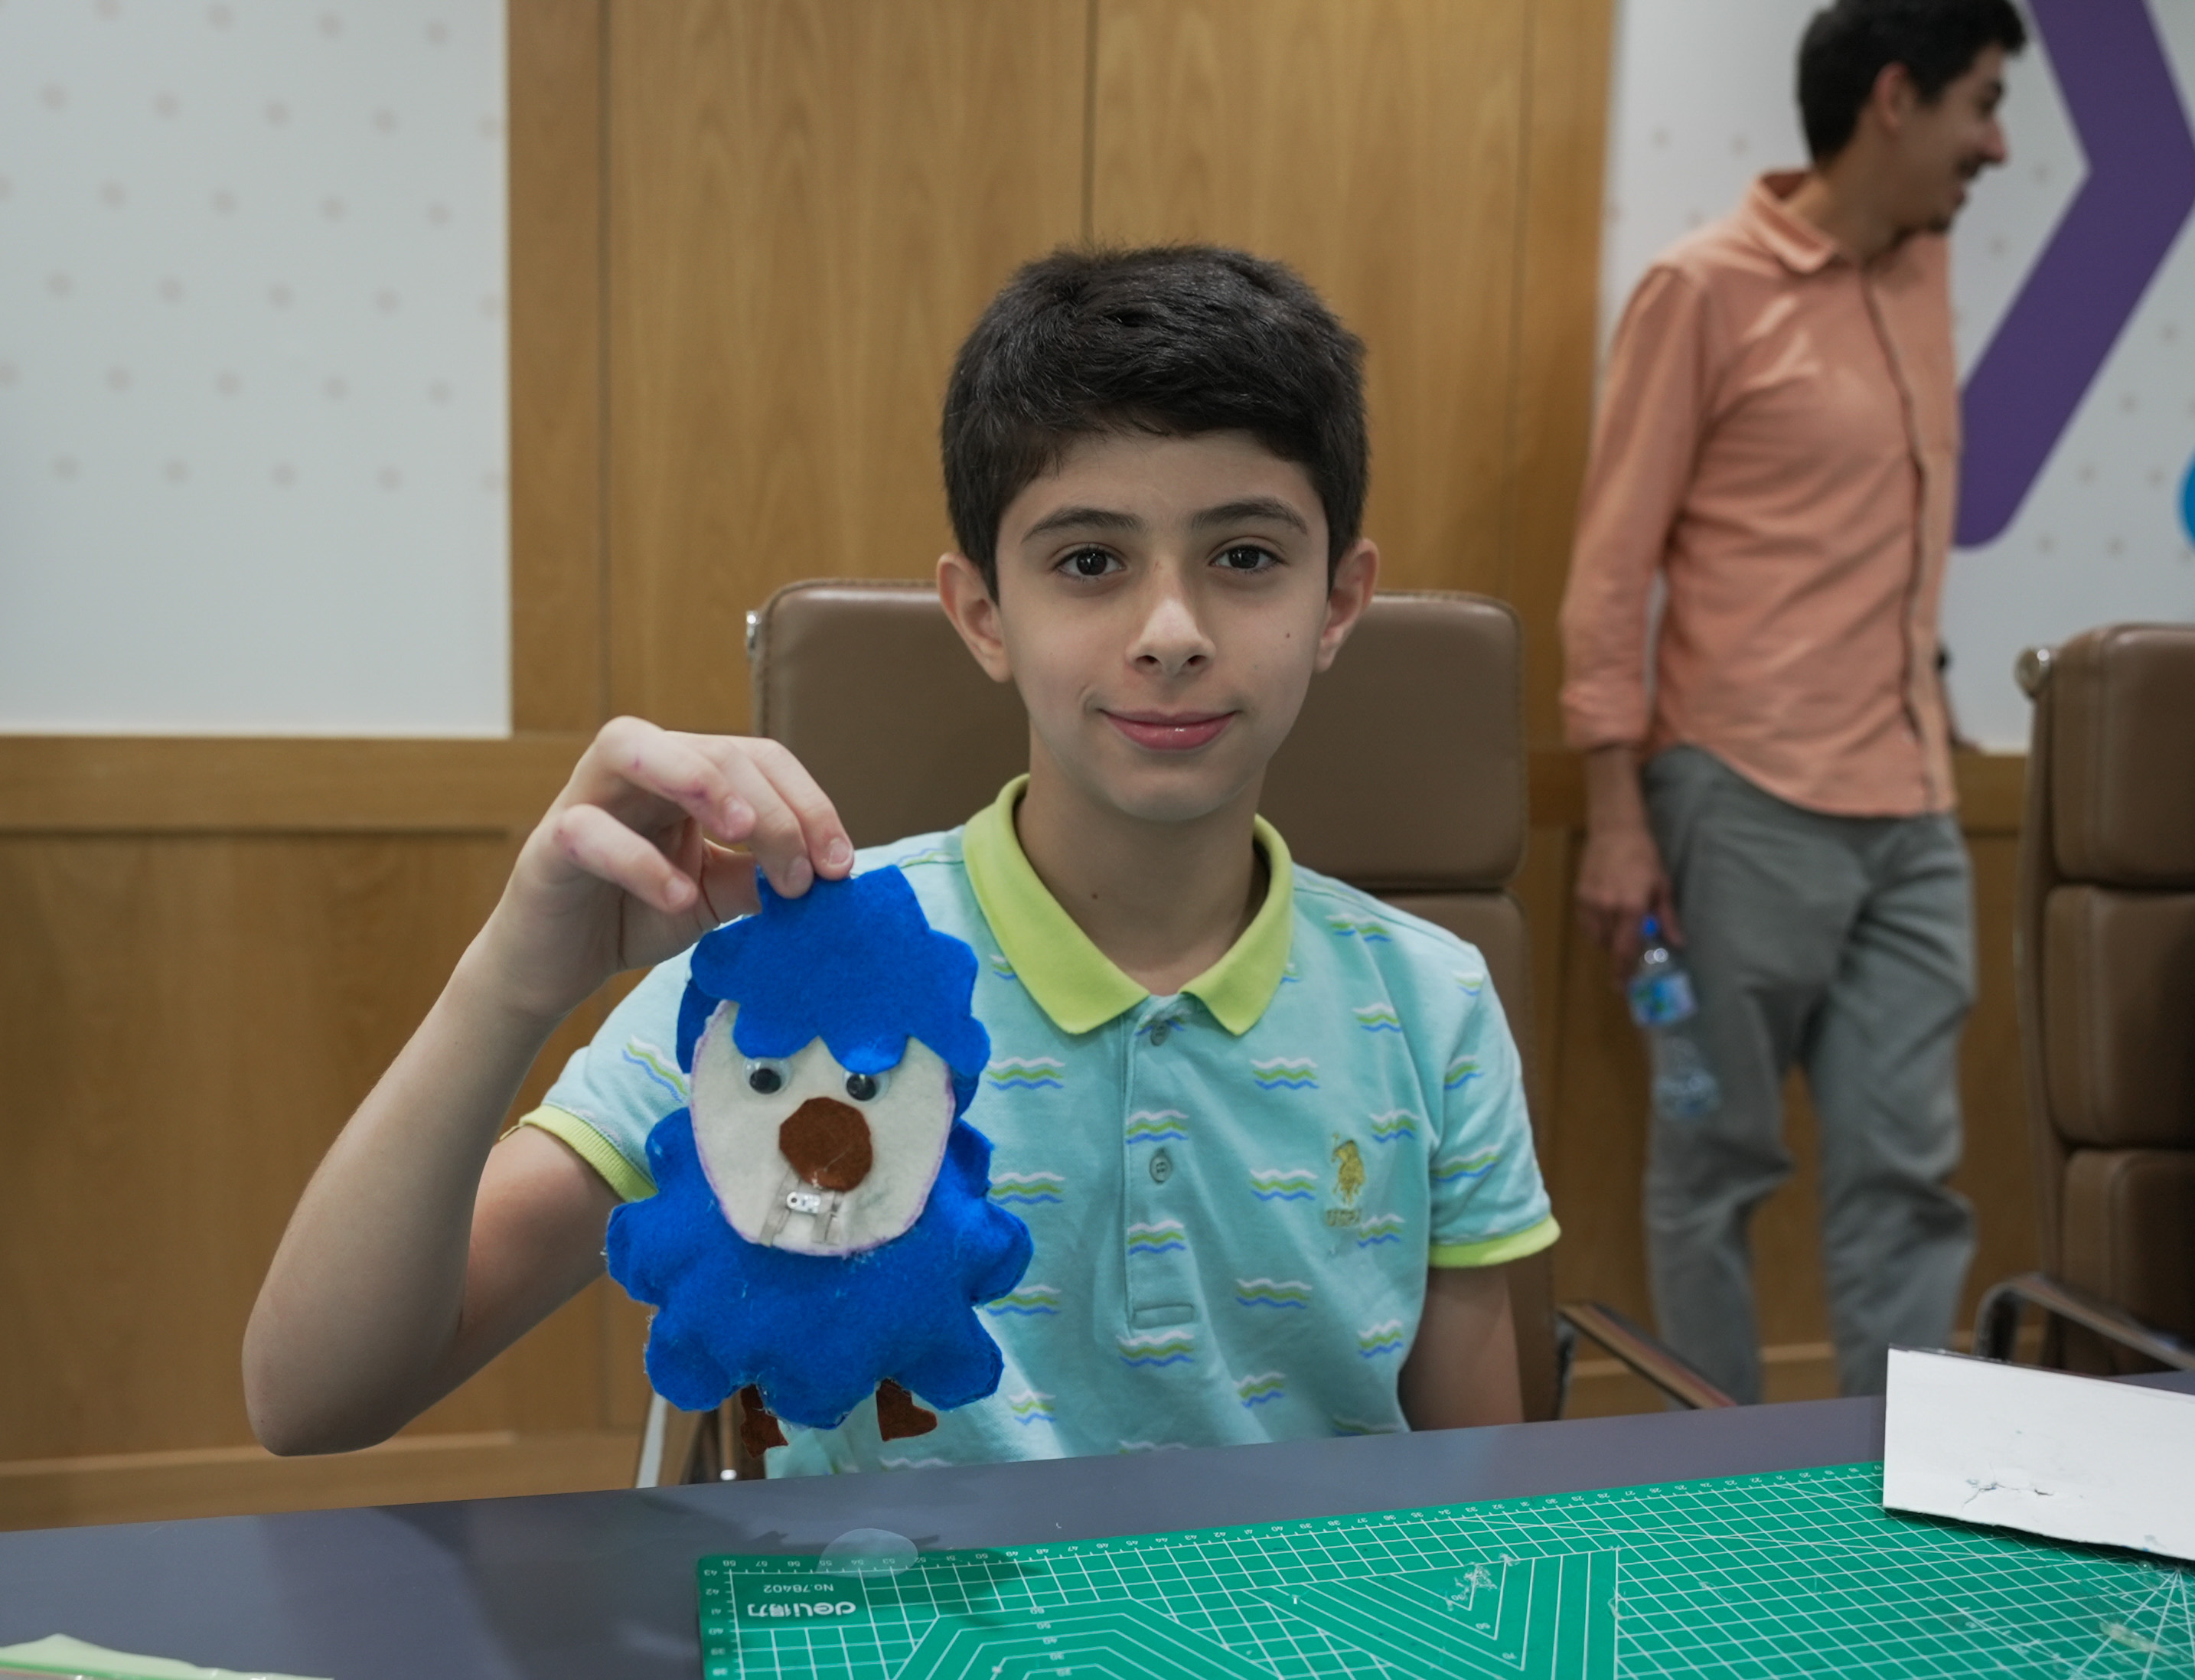
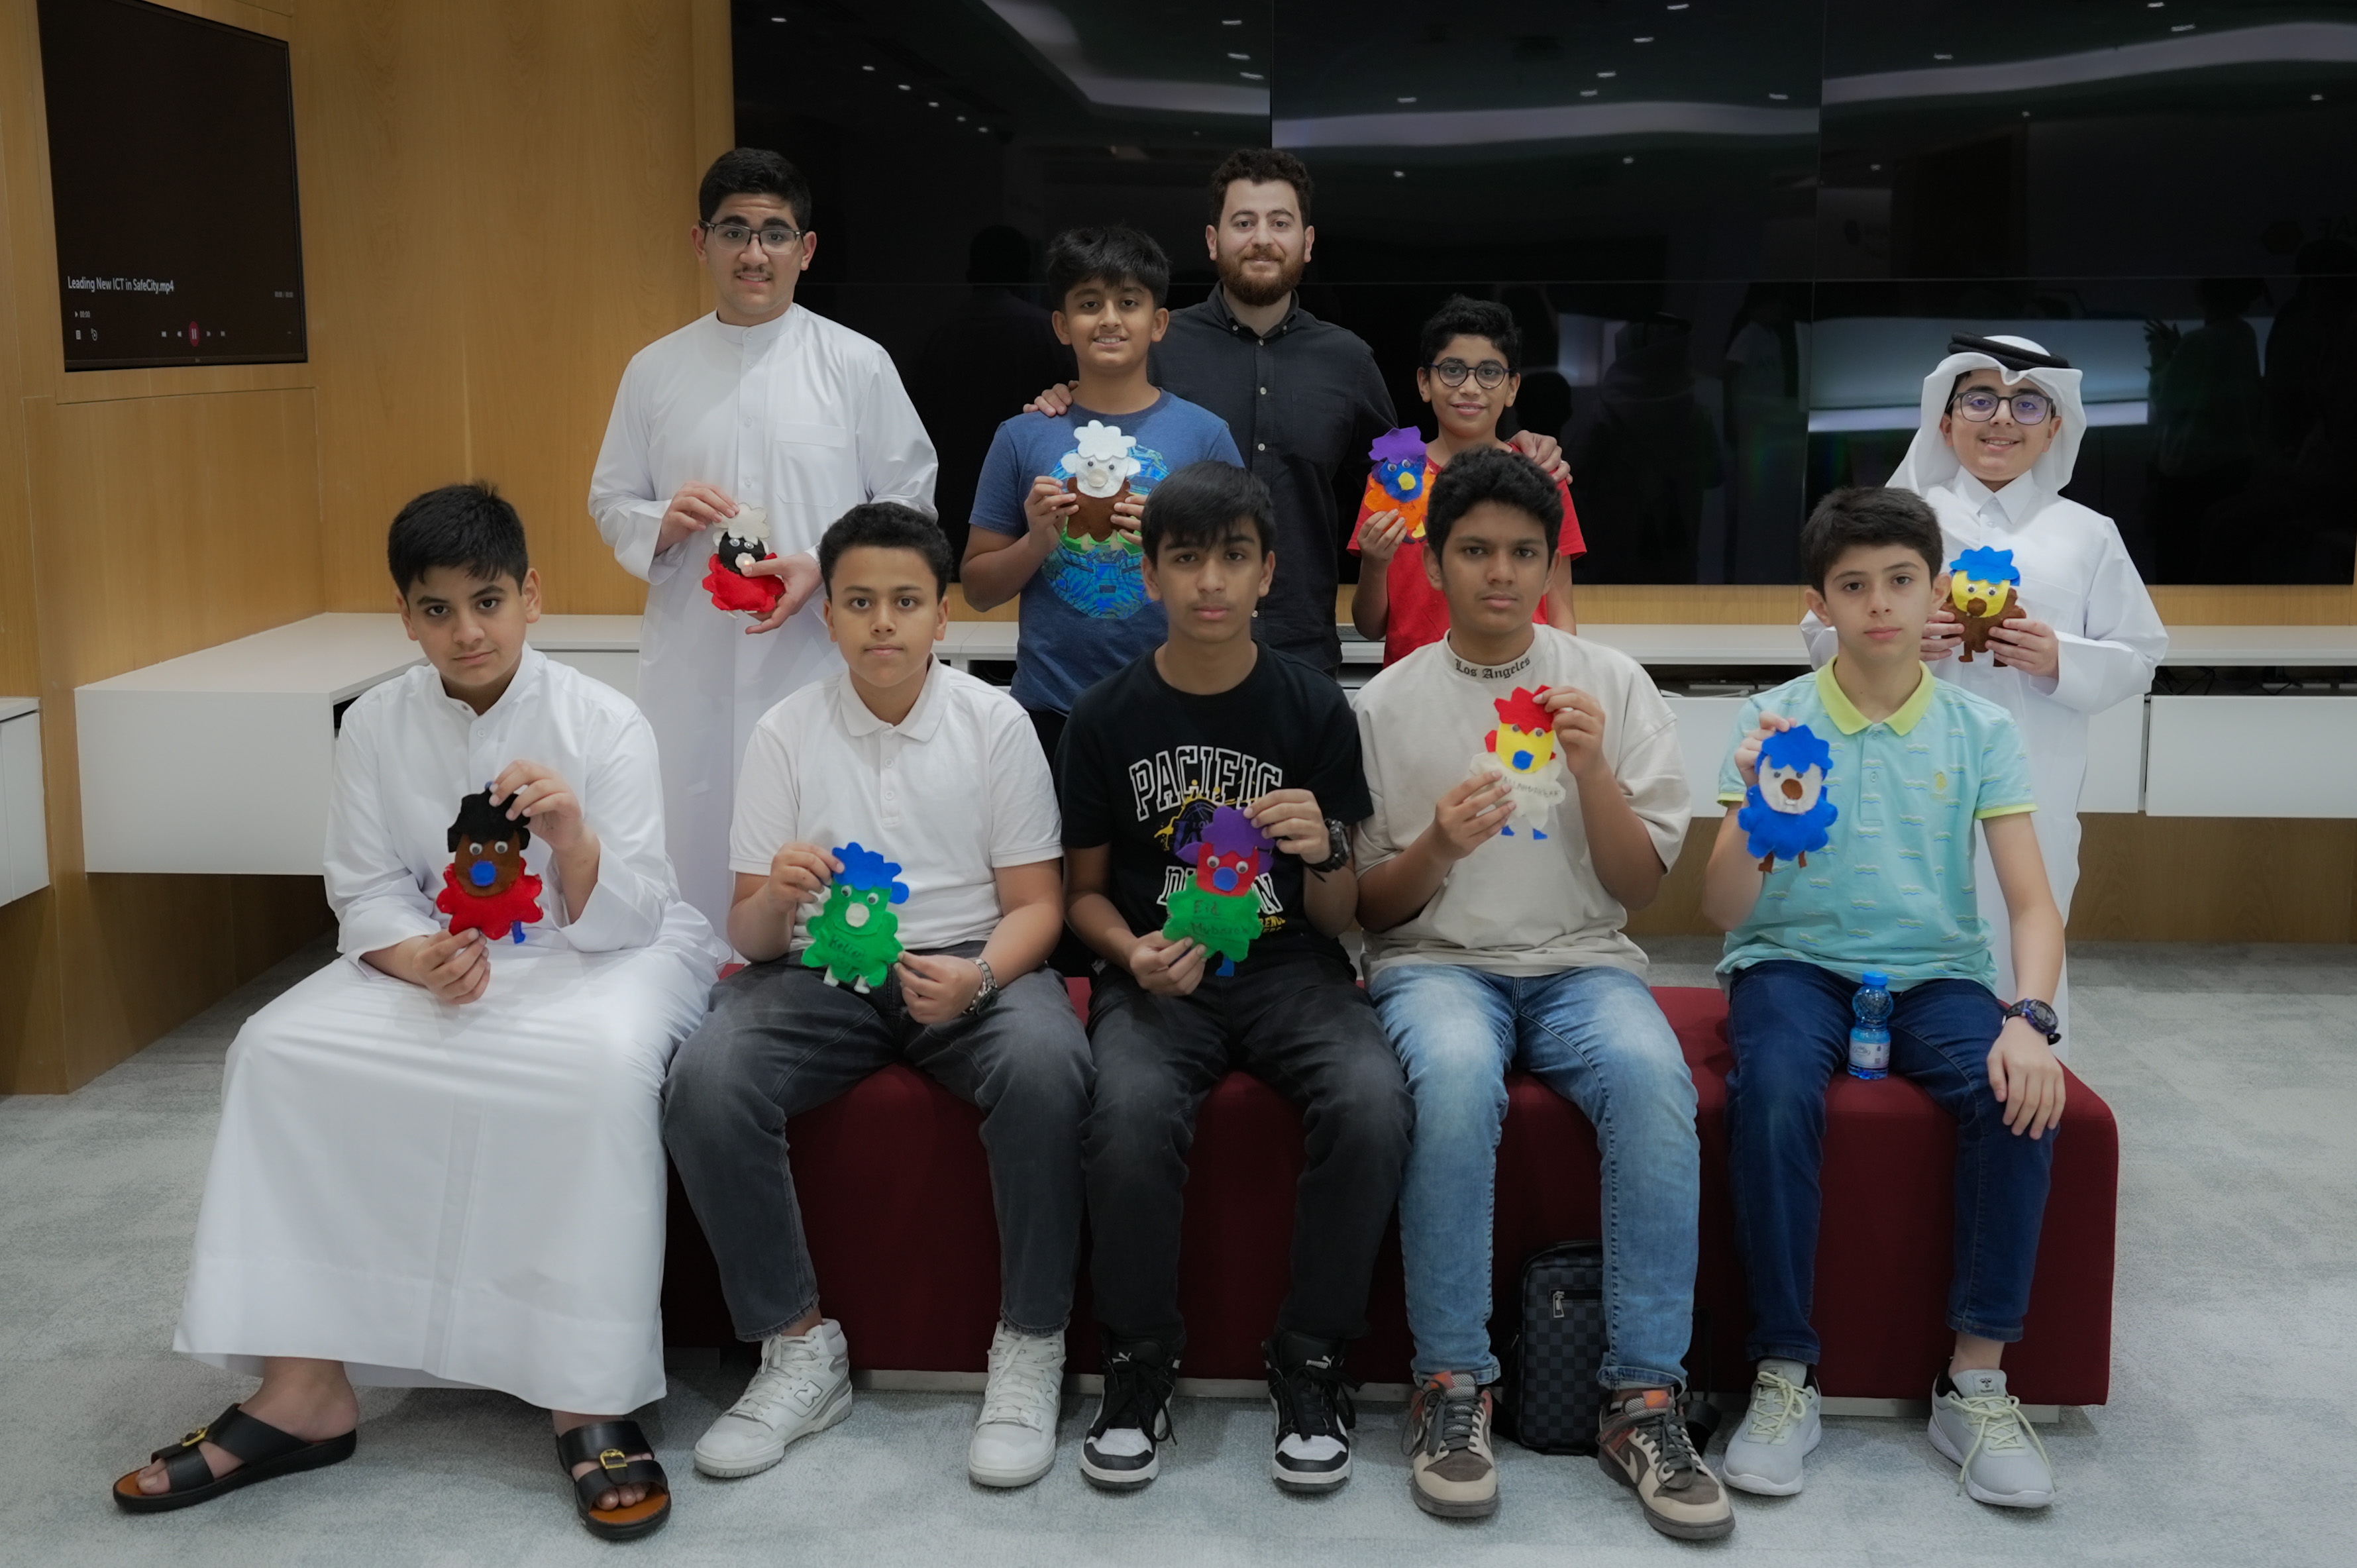
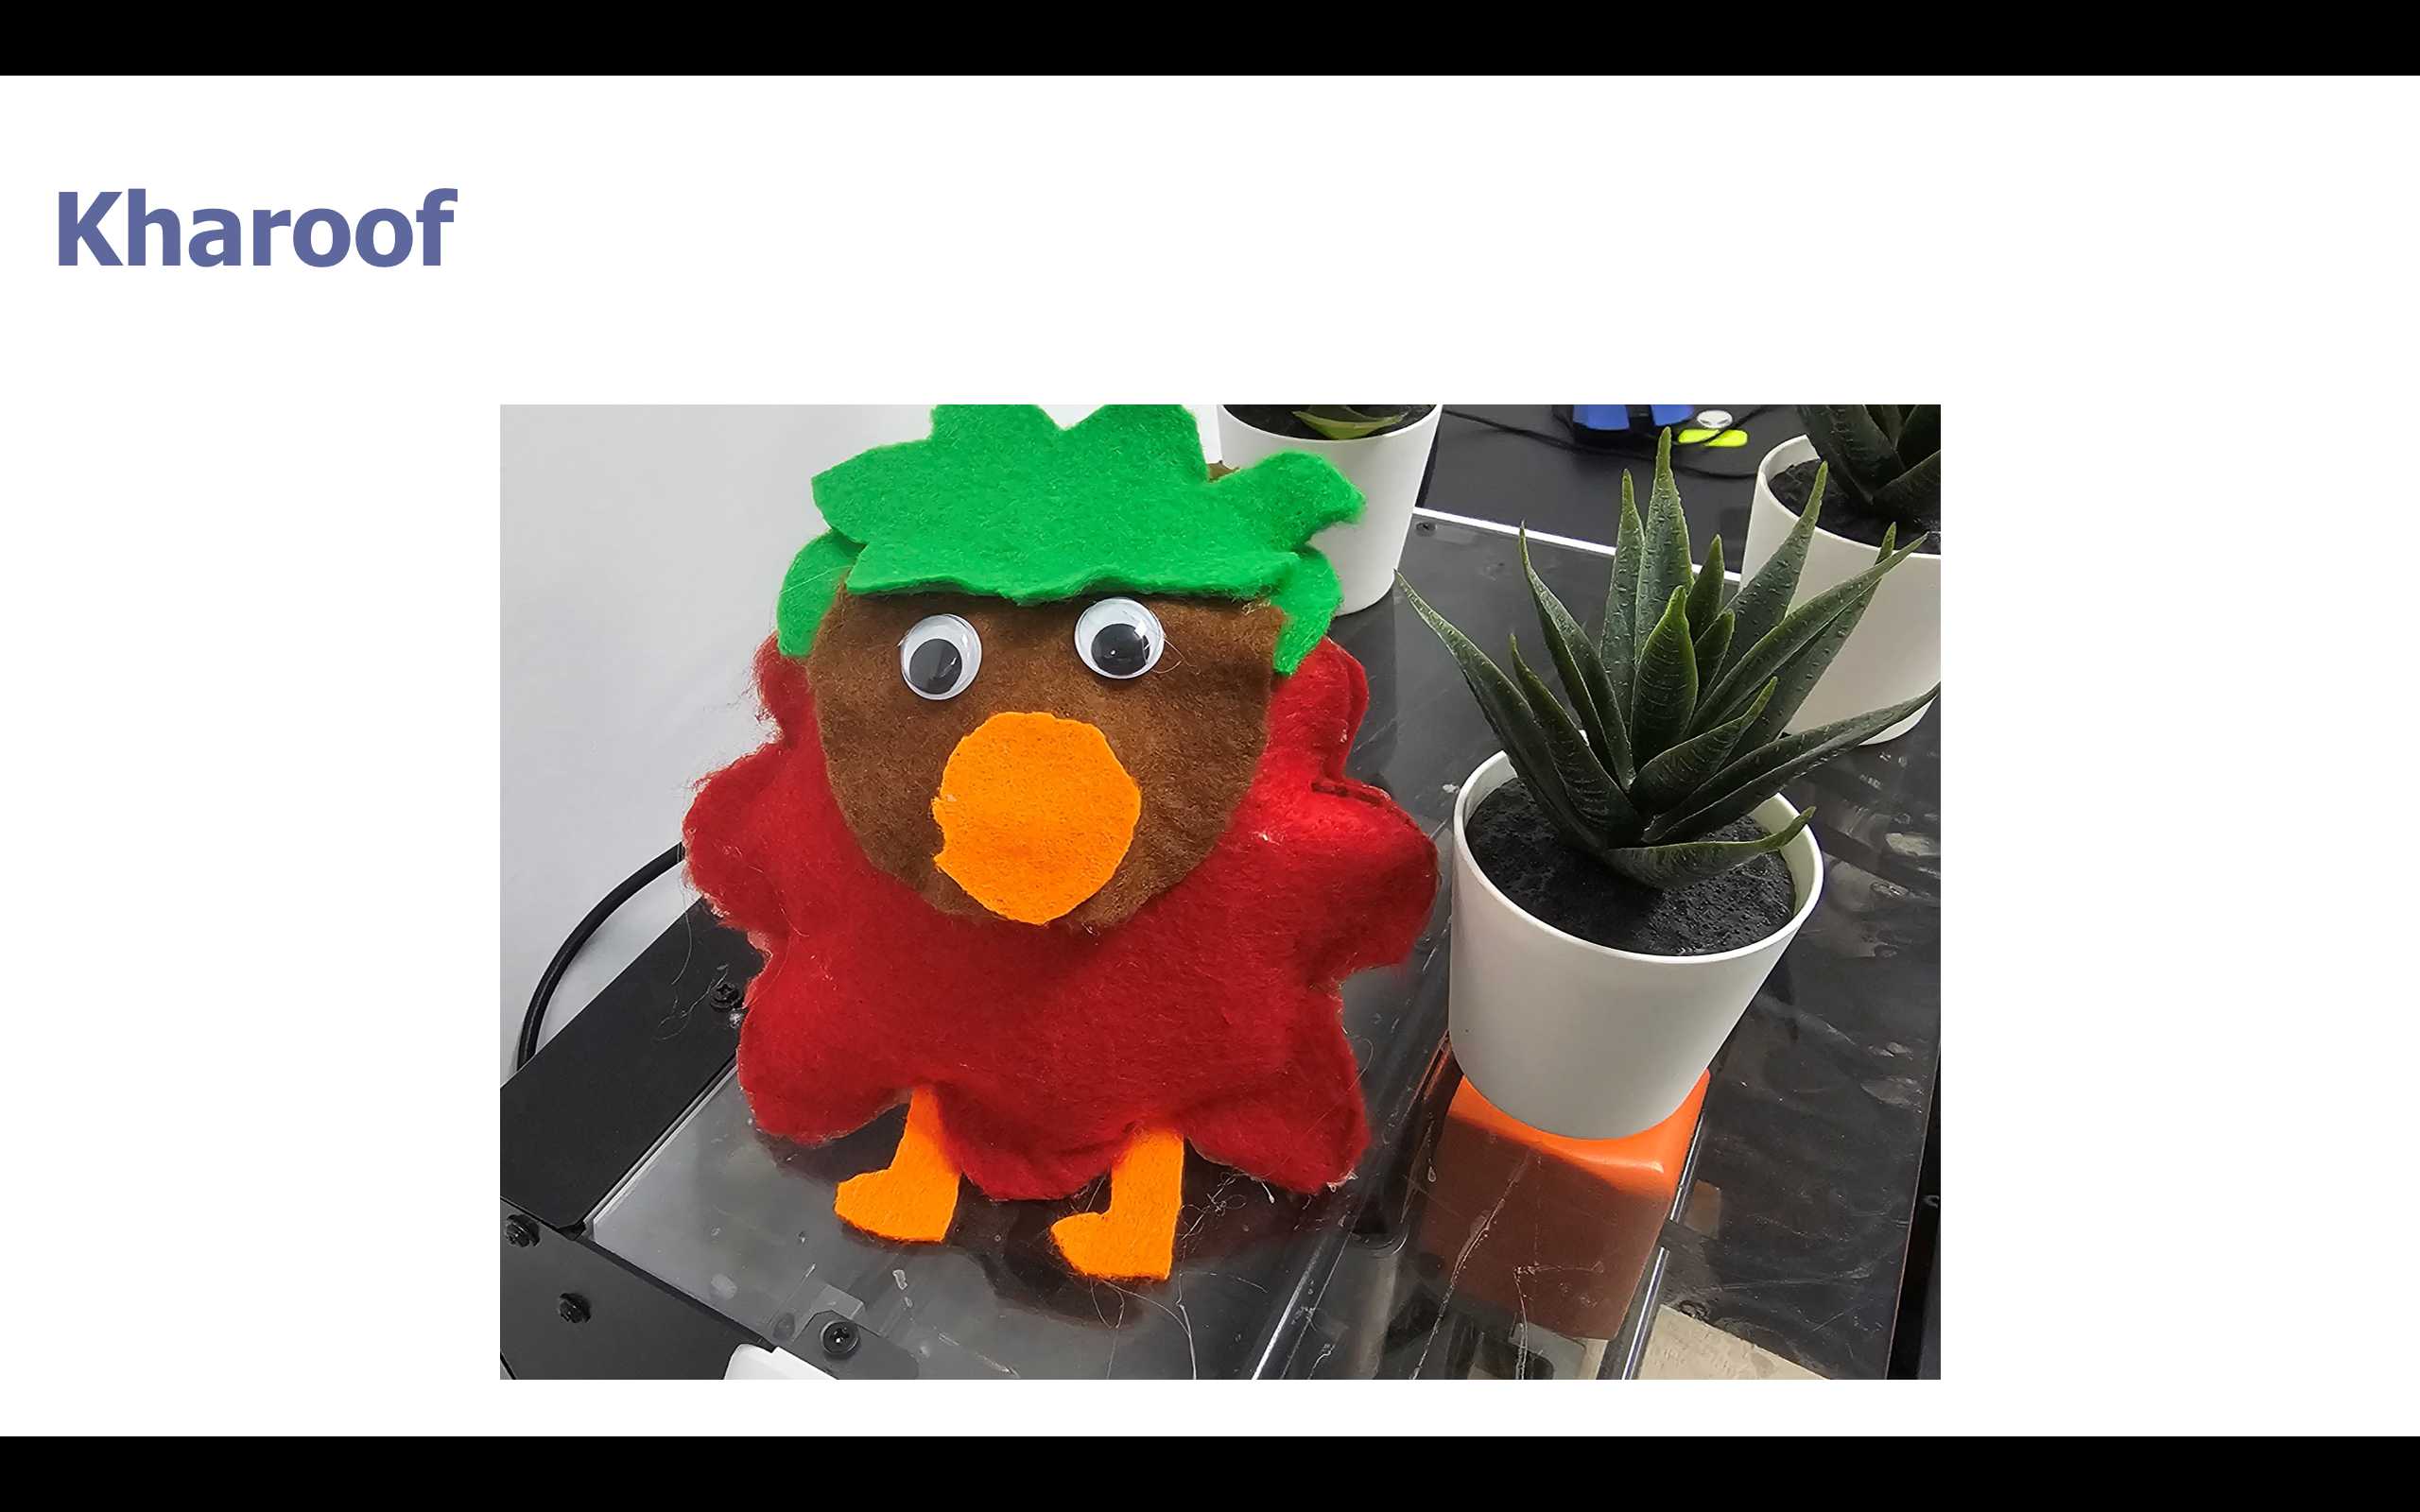
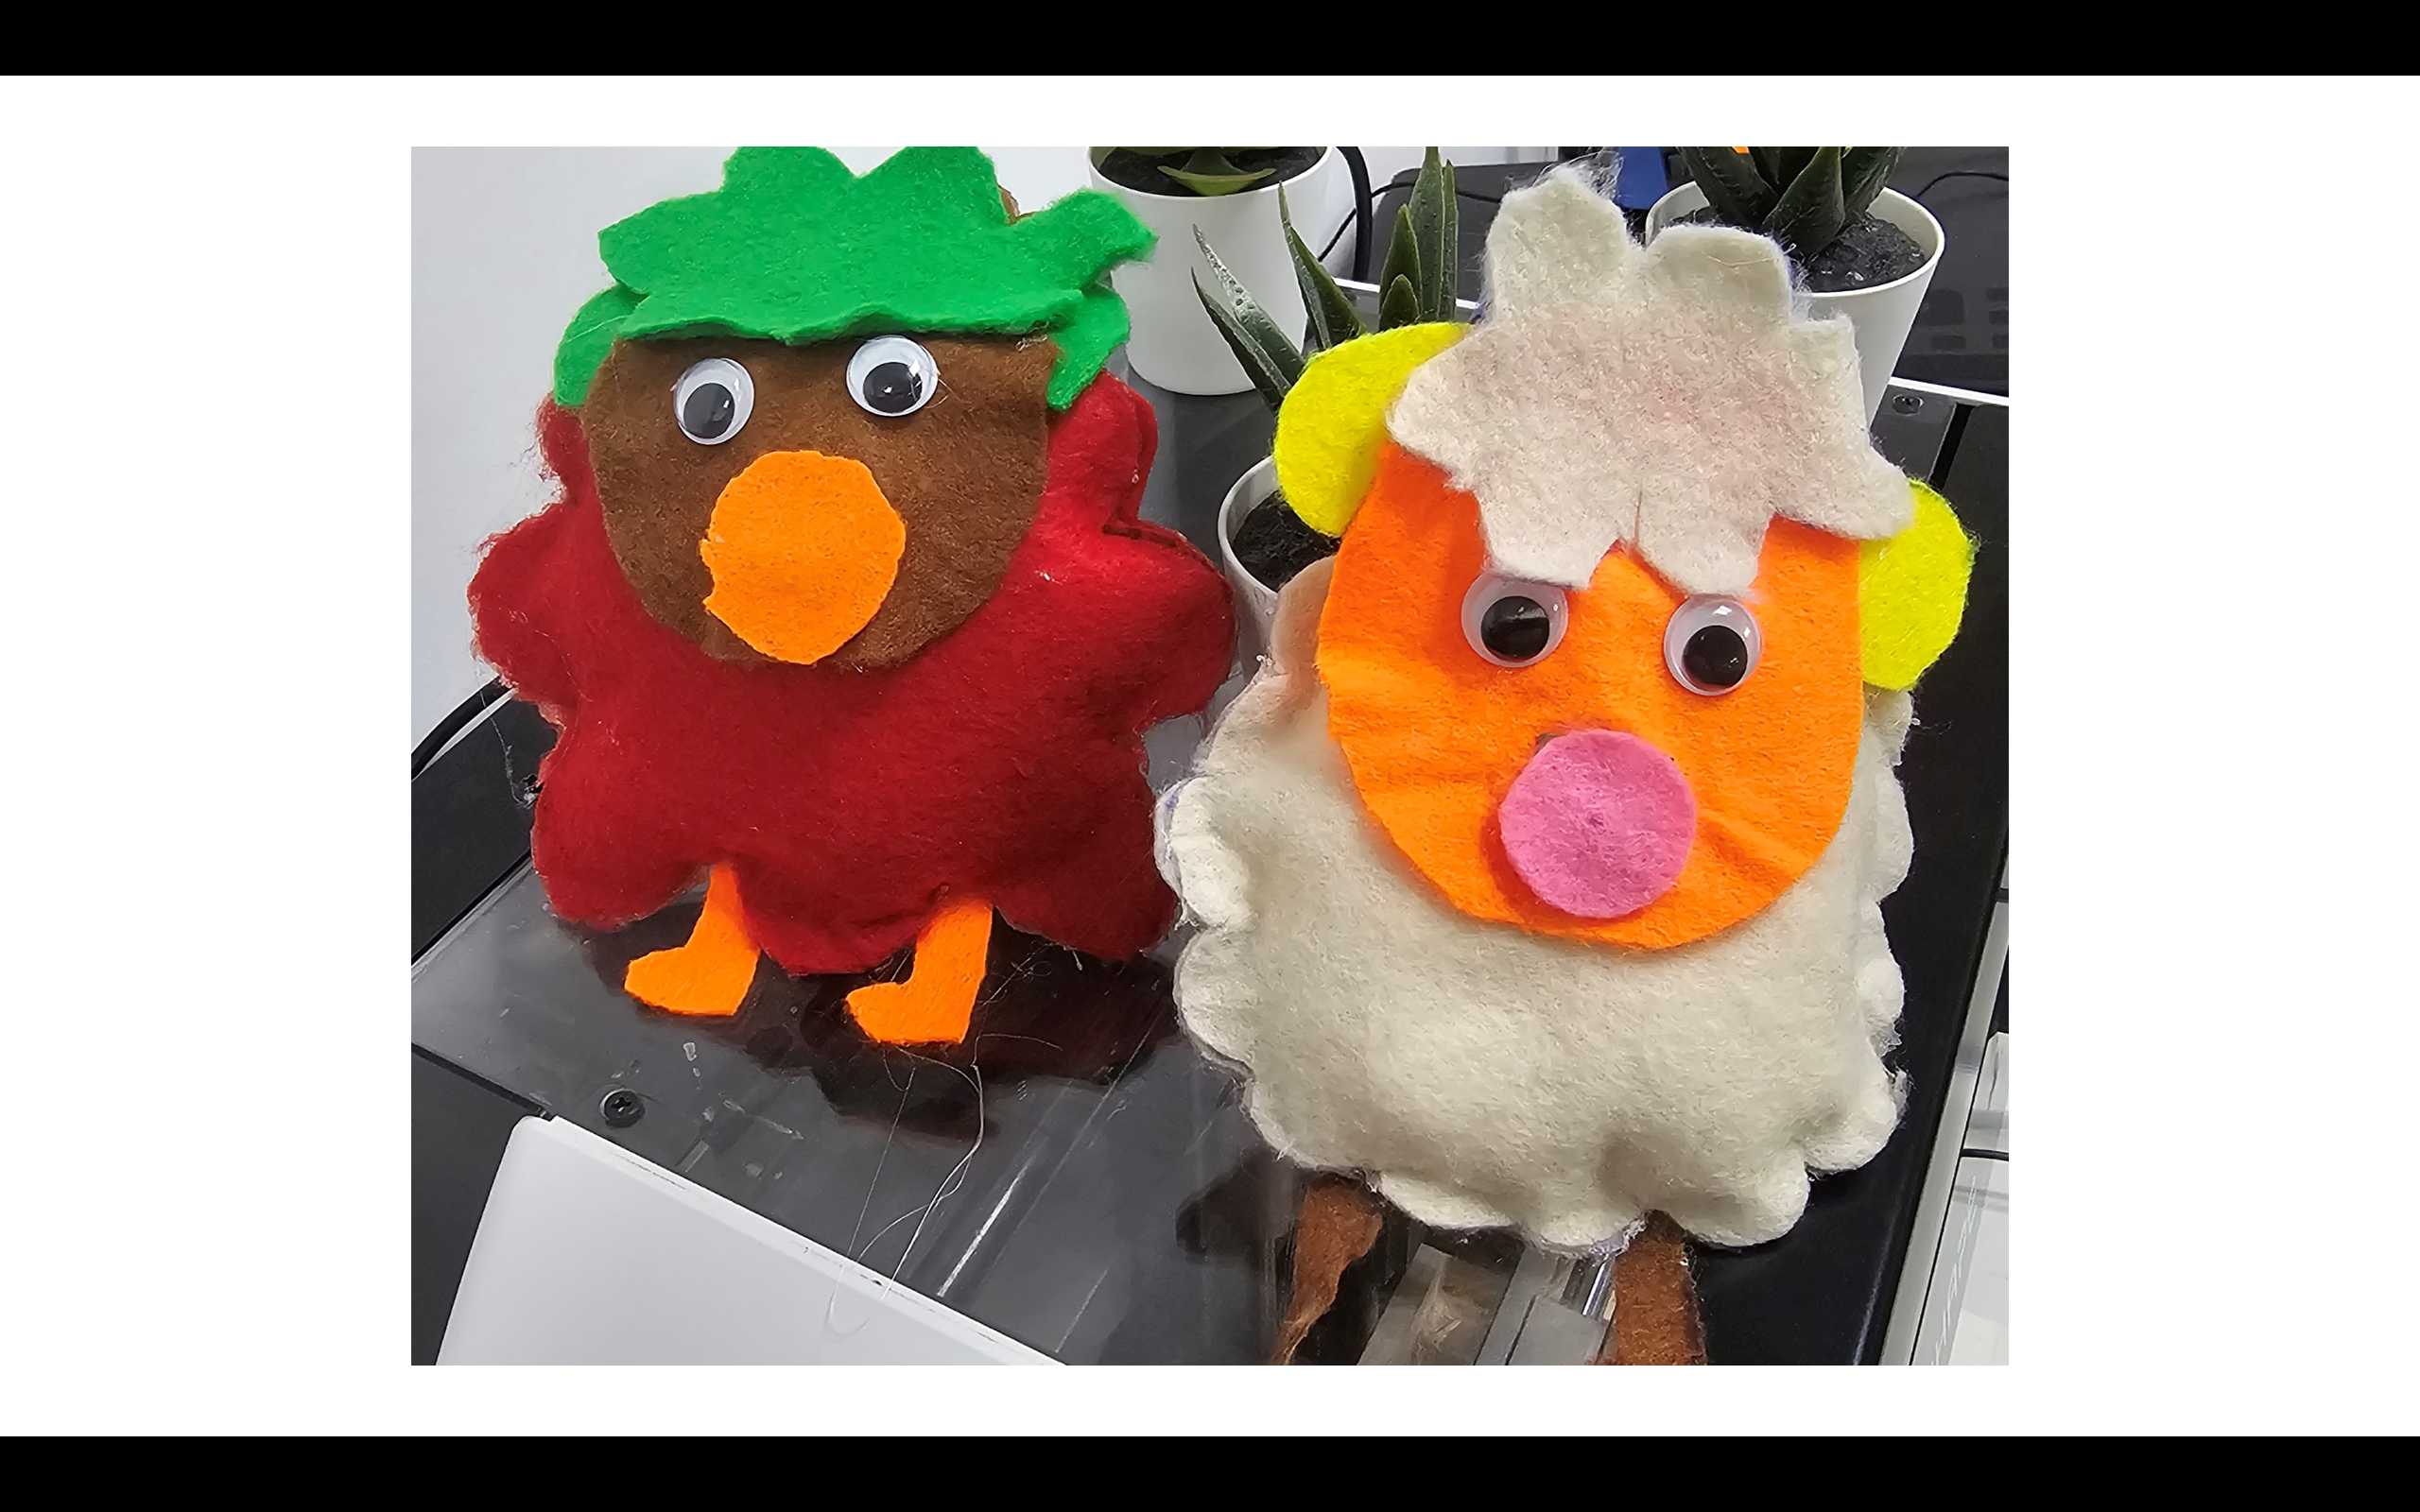
Throughout the session, students will actively design and create their own Kharoof (sheep) using digital fabrication techniques such as tracing, cutting, and assembling. The DIY approach ensures that every participant gains practical skills in both crafting and basic circuitry in a fun and creative environment.


1- You will need protective mats
2- Felt
3- Markers
4- Stencil
5- Scissors
6- Glue gun
7- Glue sticks
8- Cotton
9- LED
10- Conductive tape
11- Presentation
After attending this session, participants will be able to:
● Understand what is wearable technology.
● Distinguish the difference between the E-textile and the wearable technology.
● Know the flex conductive materials they can use ( conductive tape, thread).
● How to trace a stencil and build a 3D object from 2D structure.
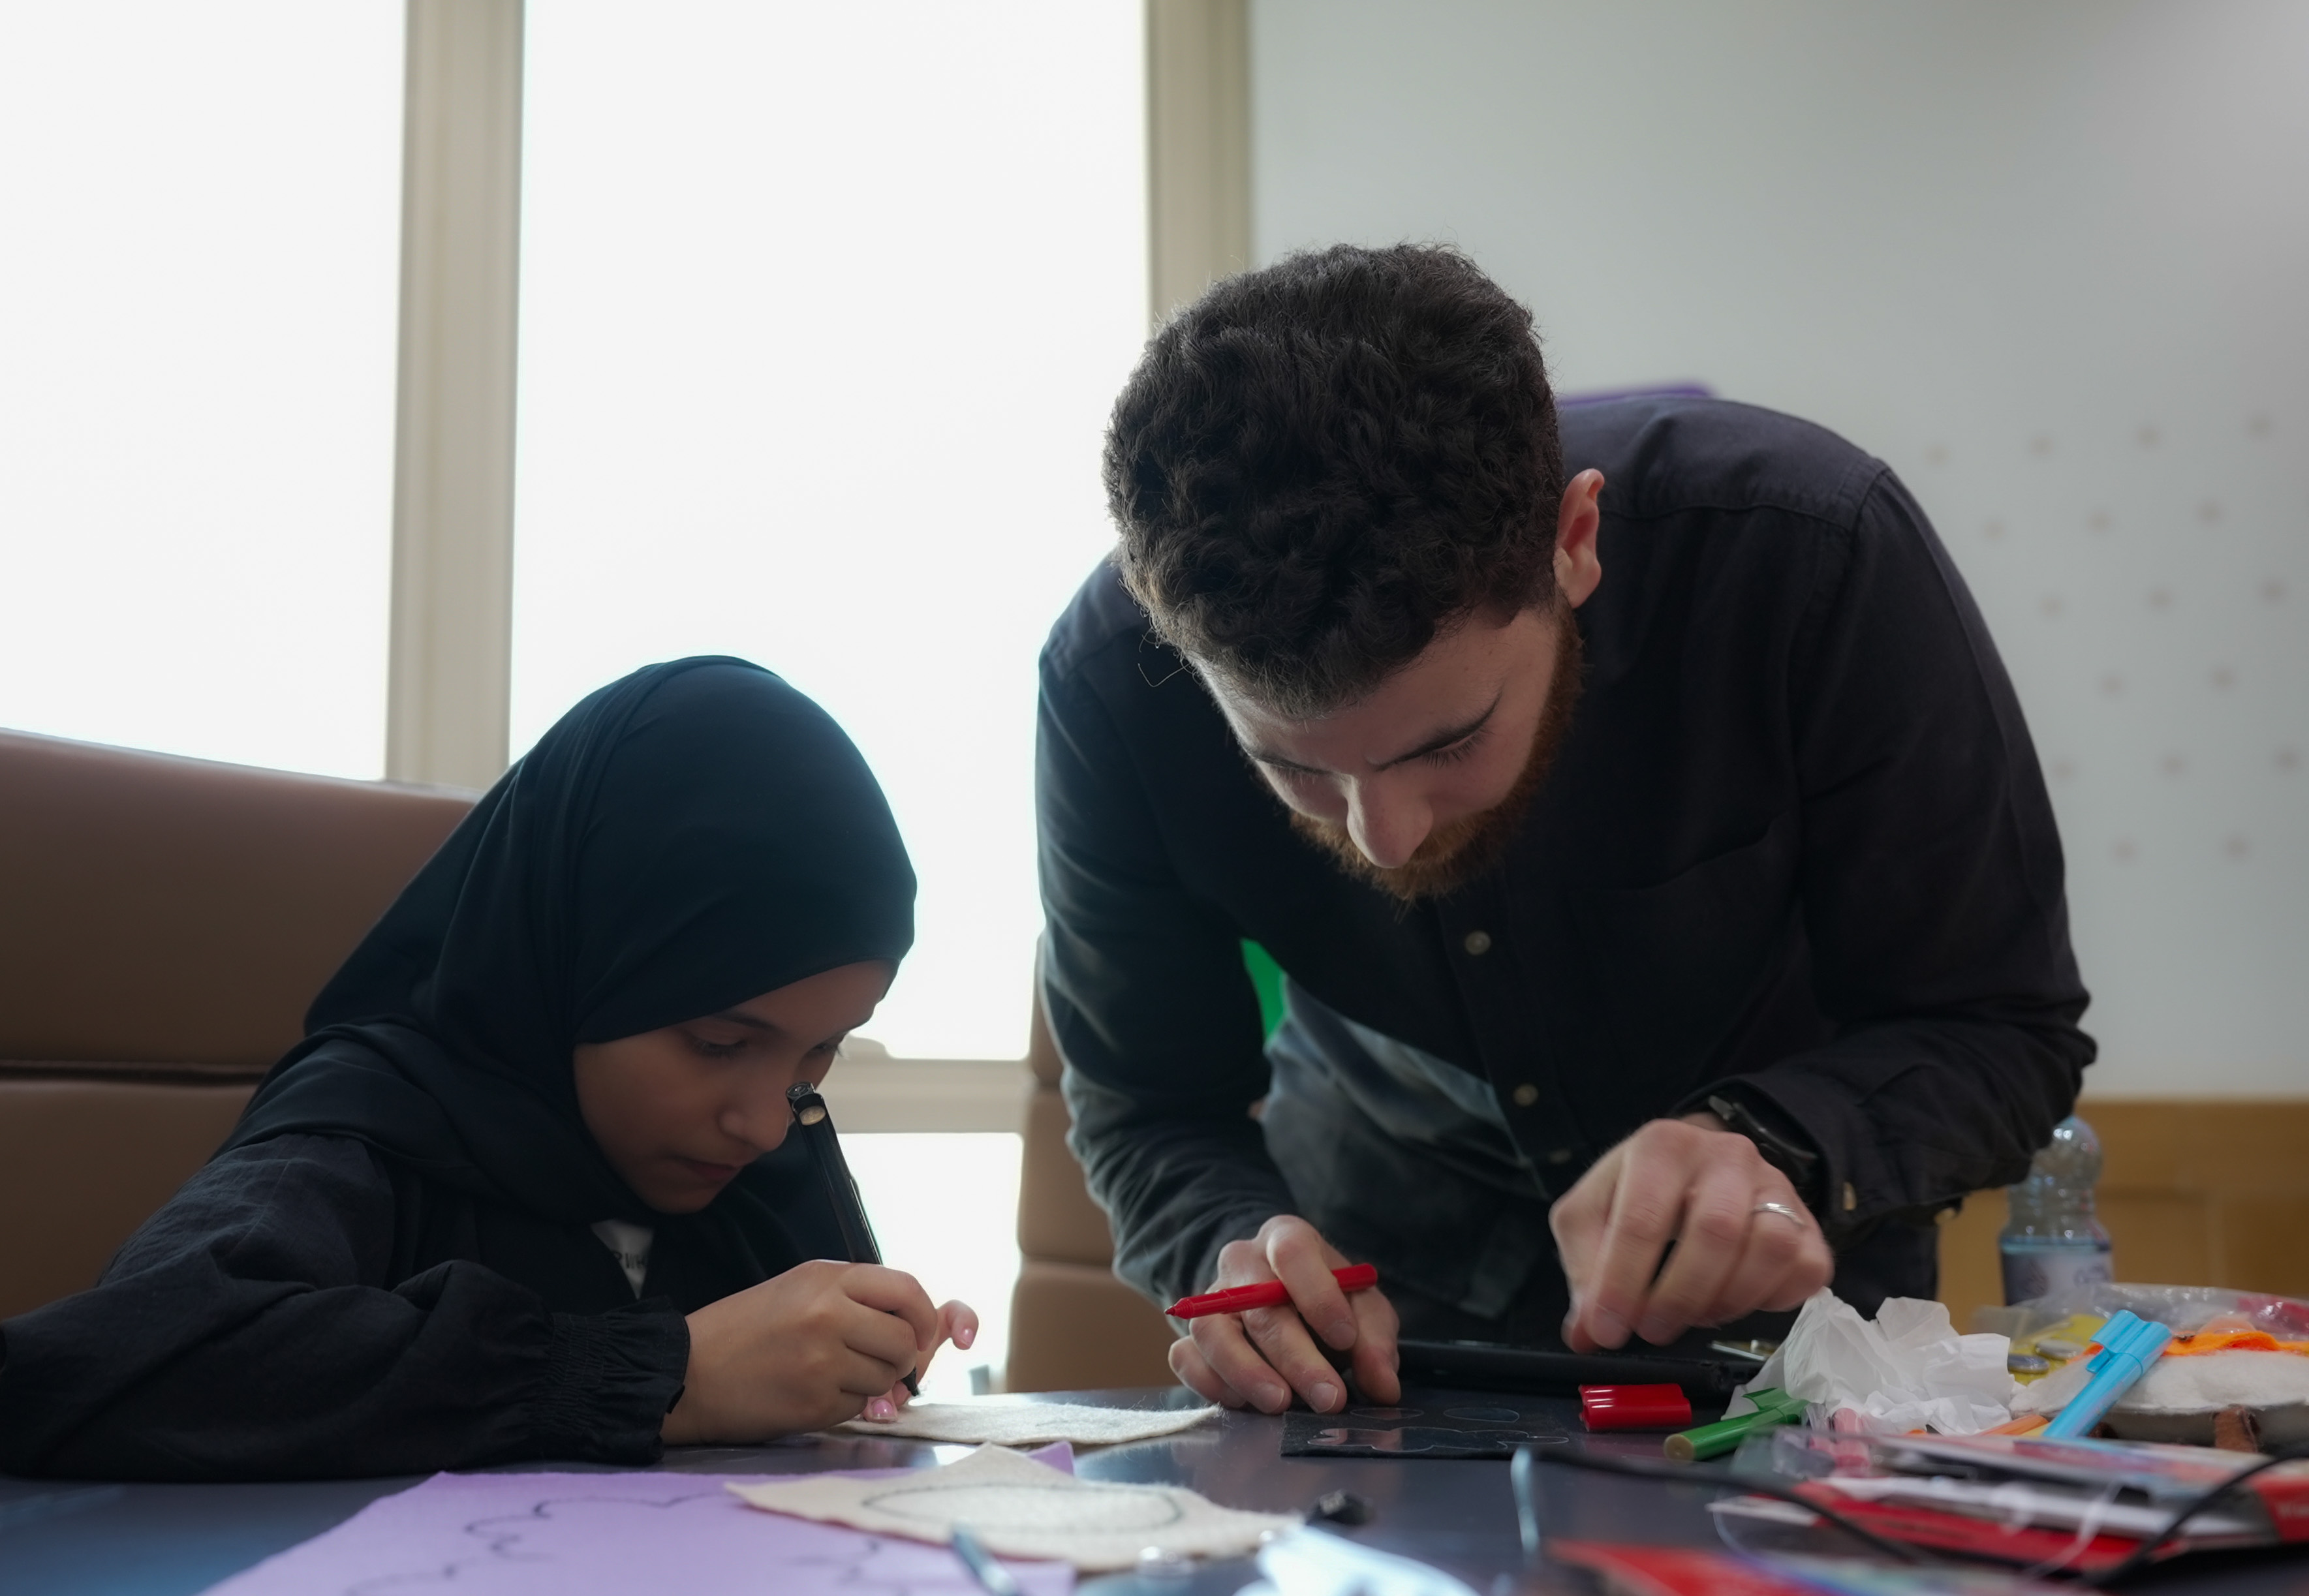
Hands-on sessions can be unpredictable in terms of timing, as they largely depend on the individual skill levels of the participants. Therefore, it is essential to have all instructional steps clearly pre-prepared, accompanied by detailed explanations and visual references to ensure smooth progression and independent understanding throughout the activity.
Its very important at the beginning to introduce ourself and what we do as studio5. This would also be a great opportunity to break the Ice with the participant.
I consider this introduction part of the Icebreaking part for me as Instructor and also for the student to engage and to grab their attention.
Now lets start with some questions to grant participant engagement and interactive.
In this slide we want the participant to say what they are seeing in the picture.
In this step we will be discussing the parts needed in theory to understand the hands on part. In addition to this we need to explain some terms so we answer most of the questions might come to the participant mind.
We need now to start introducing the wearable technology, We can use the previous question as an introduction for this part showing what might a wearable look like.
We can also ask the participant about some example they know about wearables.

Now we can give them the definition of a wearable or We can ask them to define it from their perspective.

Now we can ask them a question about the way these parts are working ( As we see they need electricity to work so where is the wires how they are connected.)
Simply we can tell them that these might use a technology called flexible conductors like ( conductive tapes, or threads )

After this we need to bring the term E-textile.
We will ask them what does (E) refer to in the term and what does it mean as full term.
The correct Answer is (Electronic textile or Smart textile)

Now we have two options to define it for them and ask about the different between Wearable and E-textile. Or we just bring it up to them.

The difference between (E-textile and Wearables)

Now we will show the difference between using the conductive thread and the conductive tape.


At this point the participant should be able to distinguish the difference between using Conductive tape and conductive thread.
Now we need to explain the basic circuitry and the basic build of a circuit, In addition to what is meant to have switch in the circuit and the concept of (open circuit and closed circuit).


After this we need to explain the circuit without having the switch and what is the switch is used for.

We can now explain that having the switch is a way to break the circuit in order to turn Off the component if needed or to connect it to switch on the bulb.

At the end we can explain that if the circuit is always closed that’s mean the bulb will only be off if the battery runs out of charge.

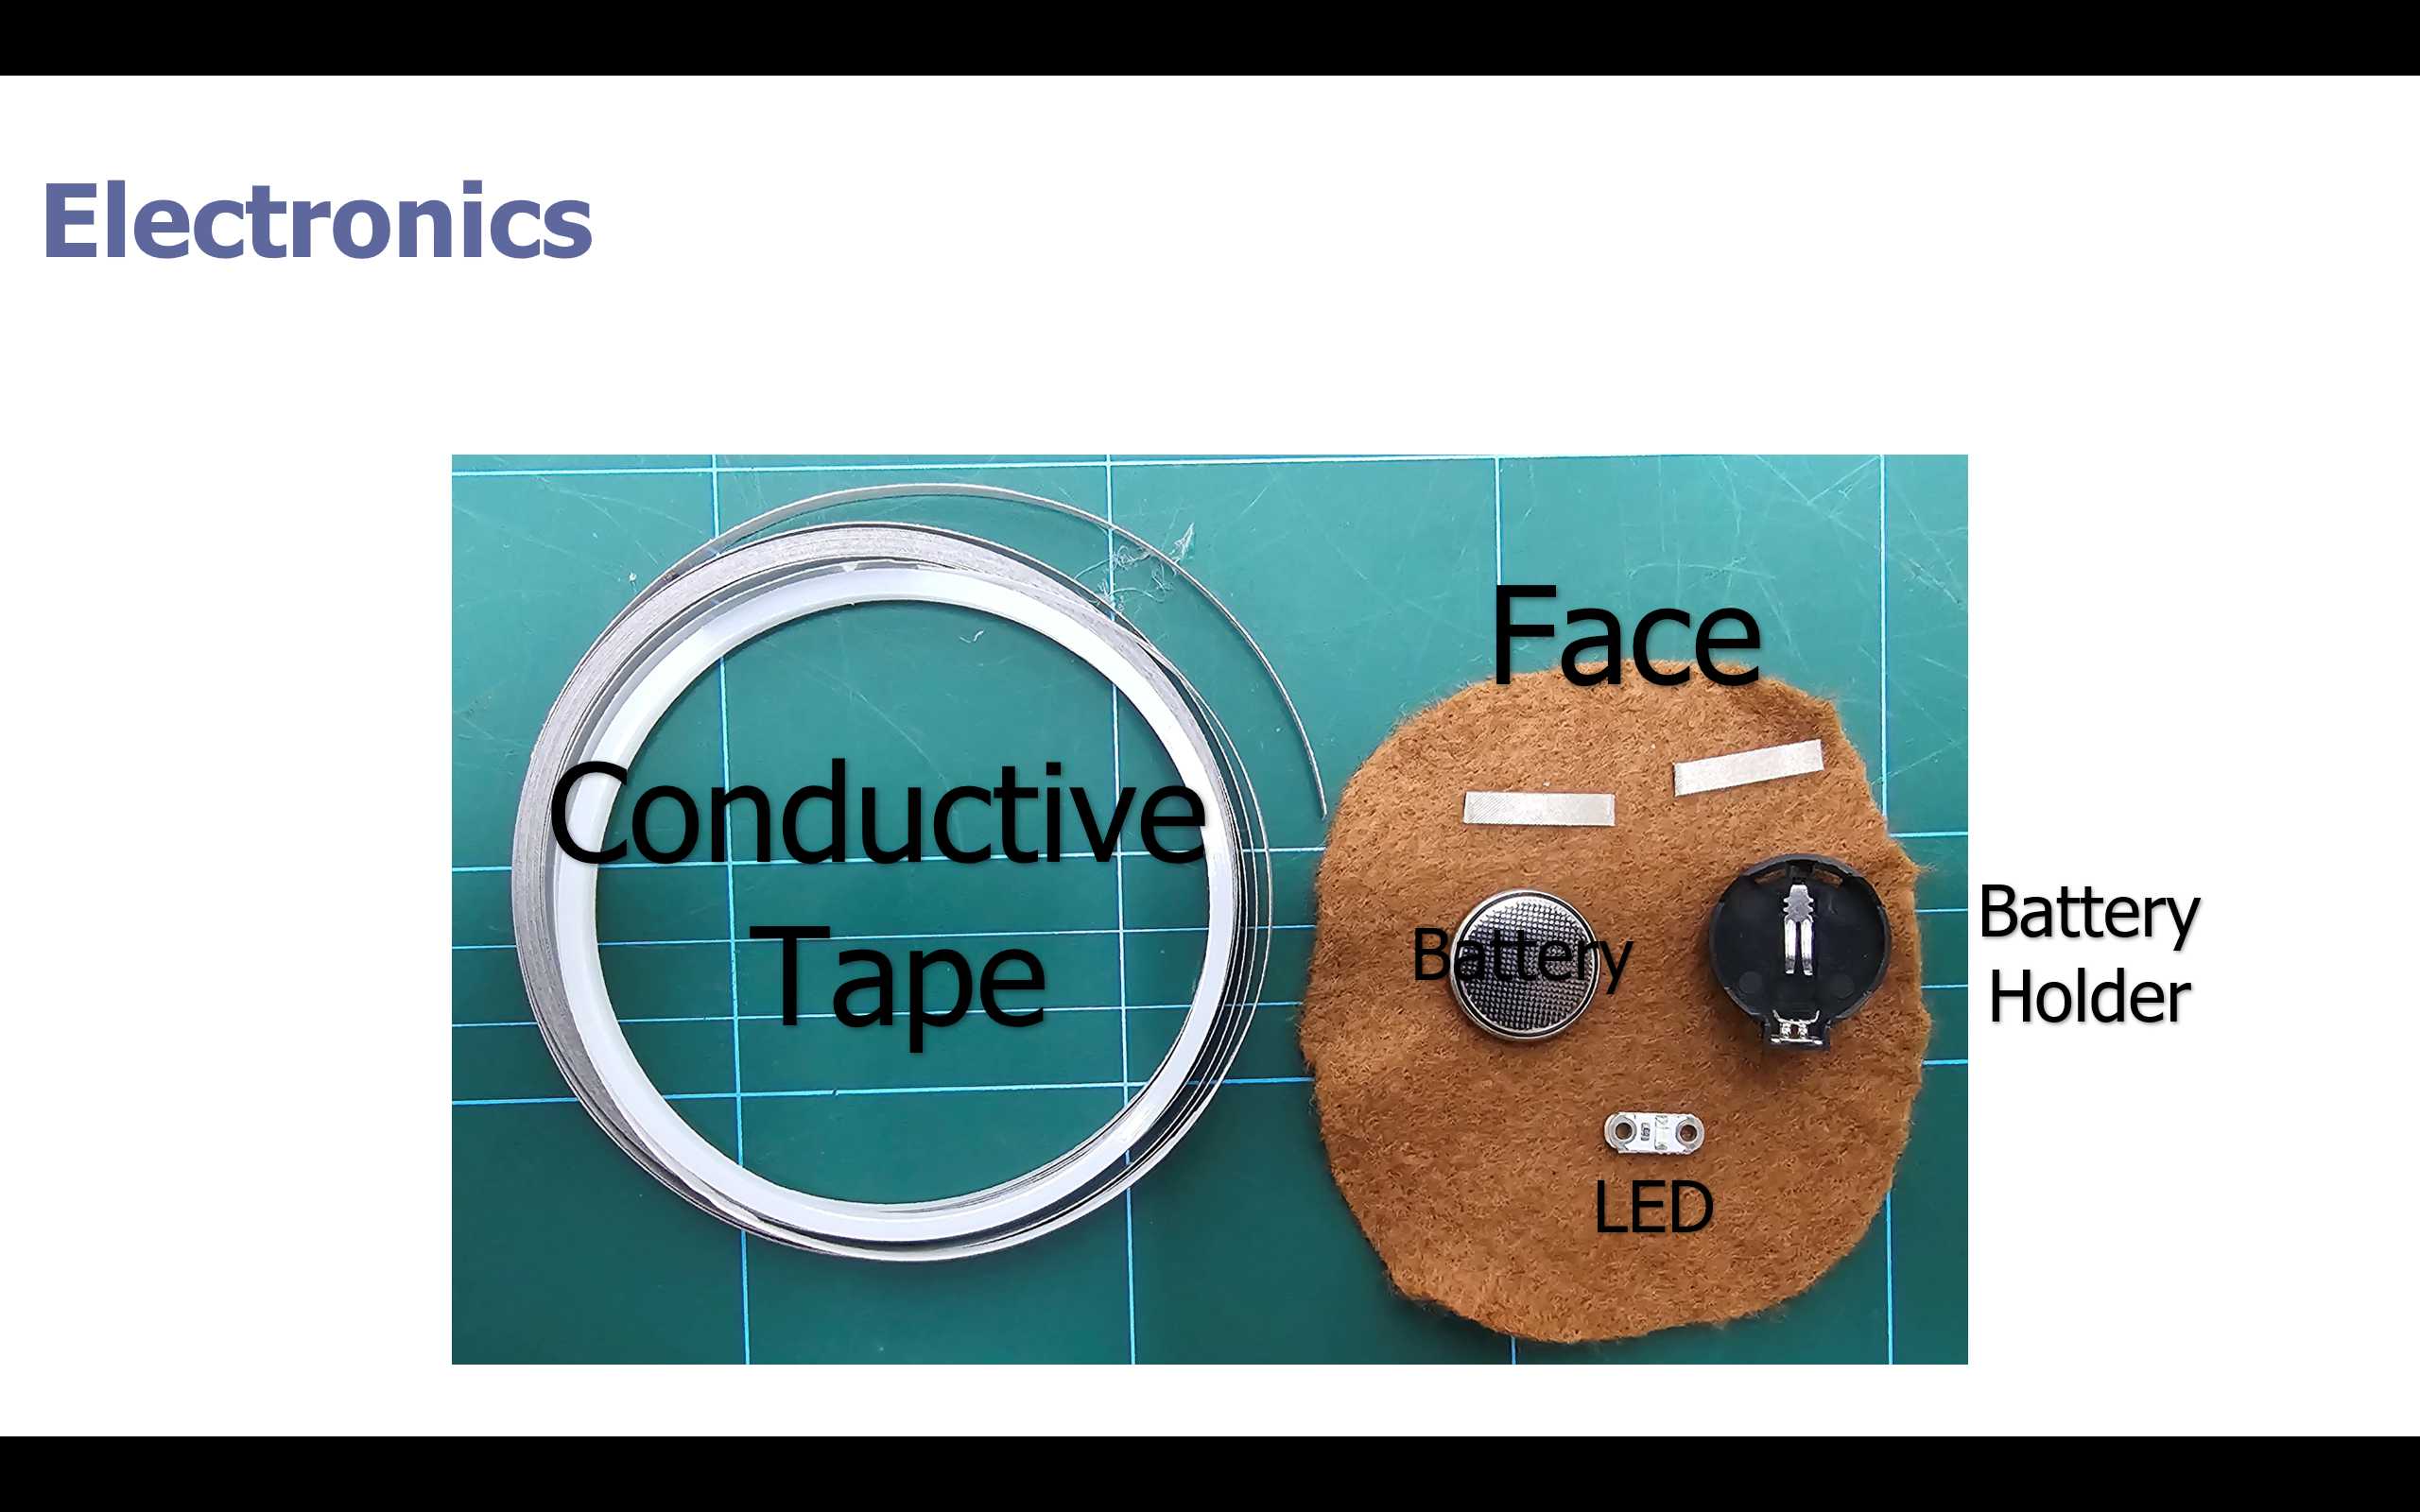
In this step we will list the needed parts and steps to take to have the final product built.

Before we start listing the needed component and the steps to take, I want to mention one of the fabrication process used in order to prepare one of the component participant are going to use.

At this point I will list the component needed to start doing the step by step.

Its optional here to discuss each component needed and for what its gonna be used or you can keep this until you reach the point of using it.
Now lets start the steps one by one.
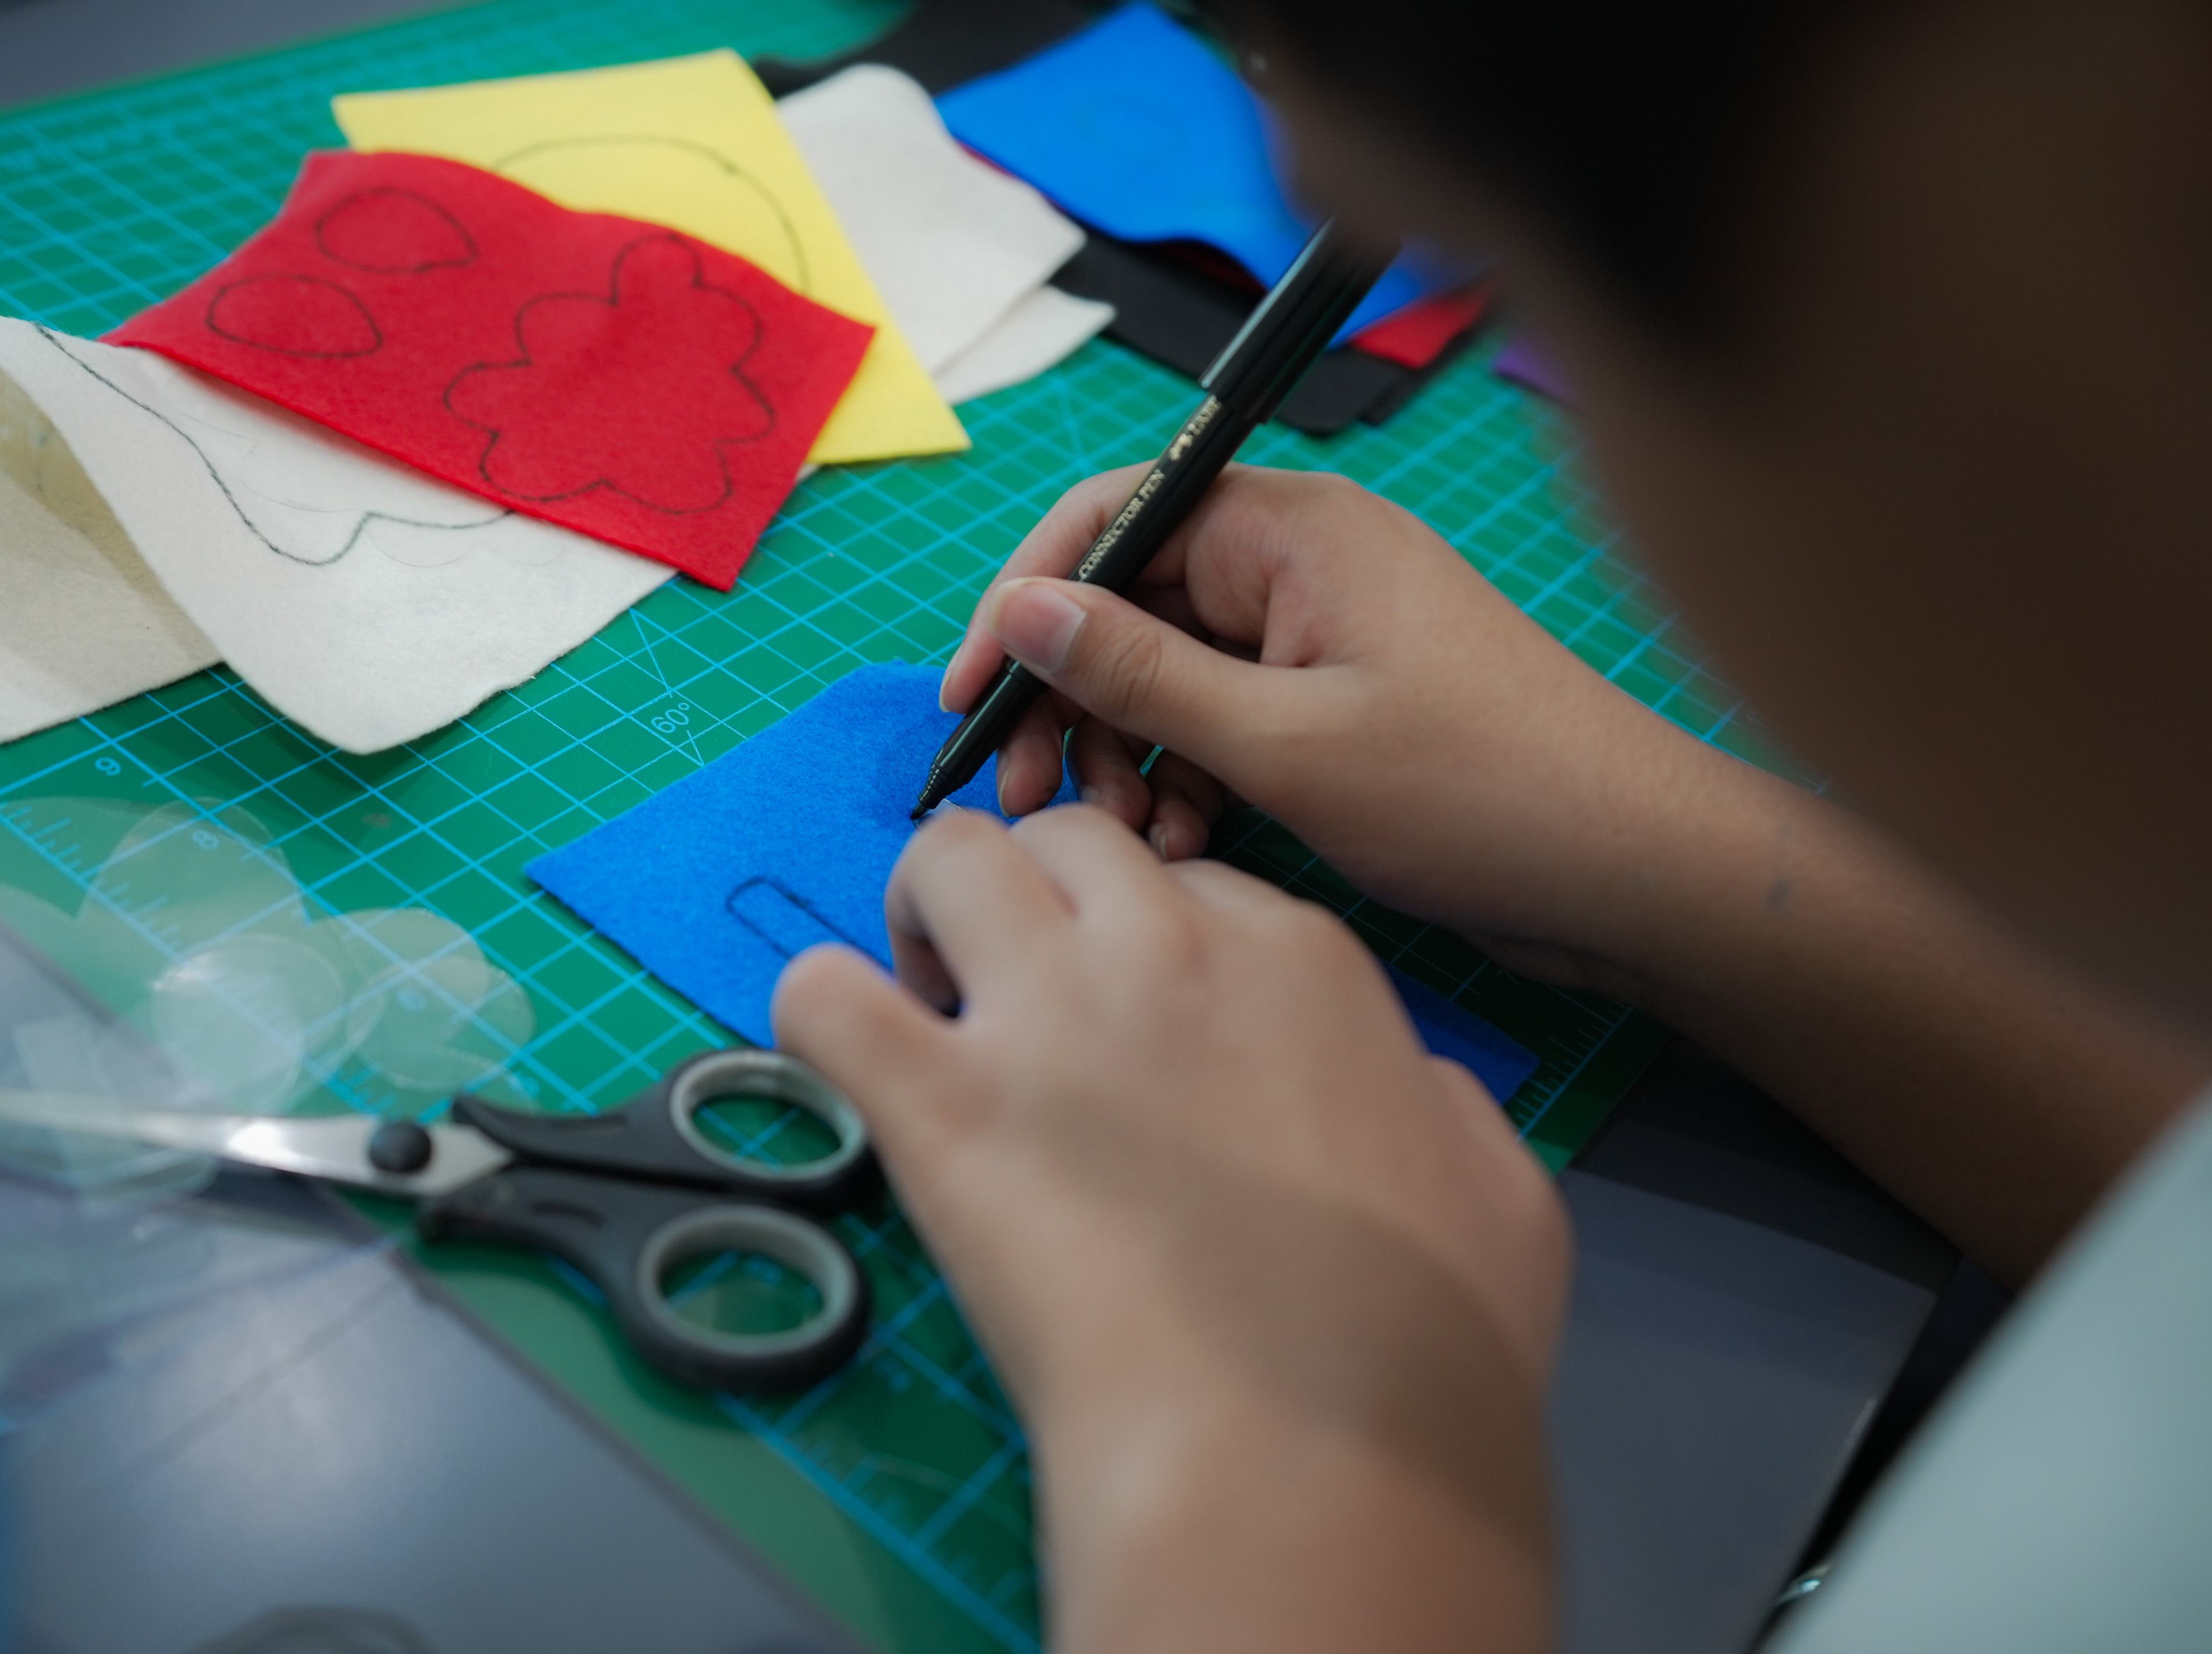
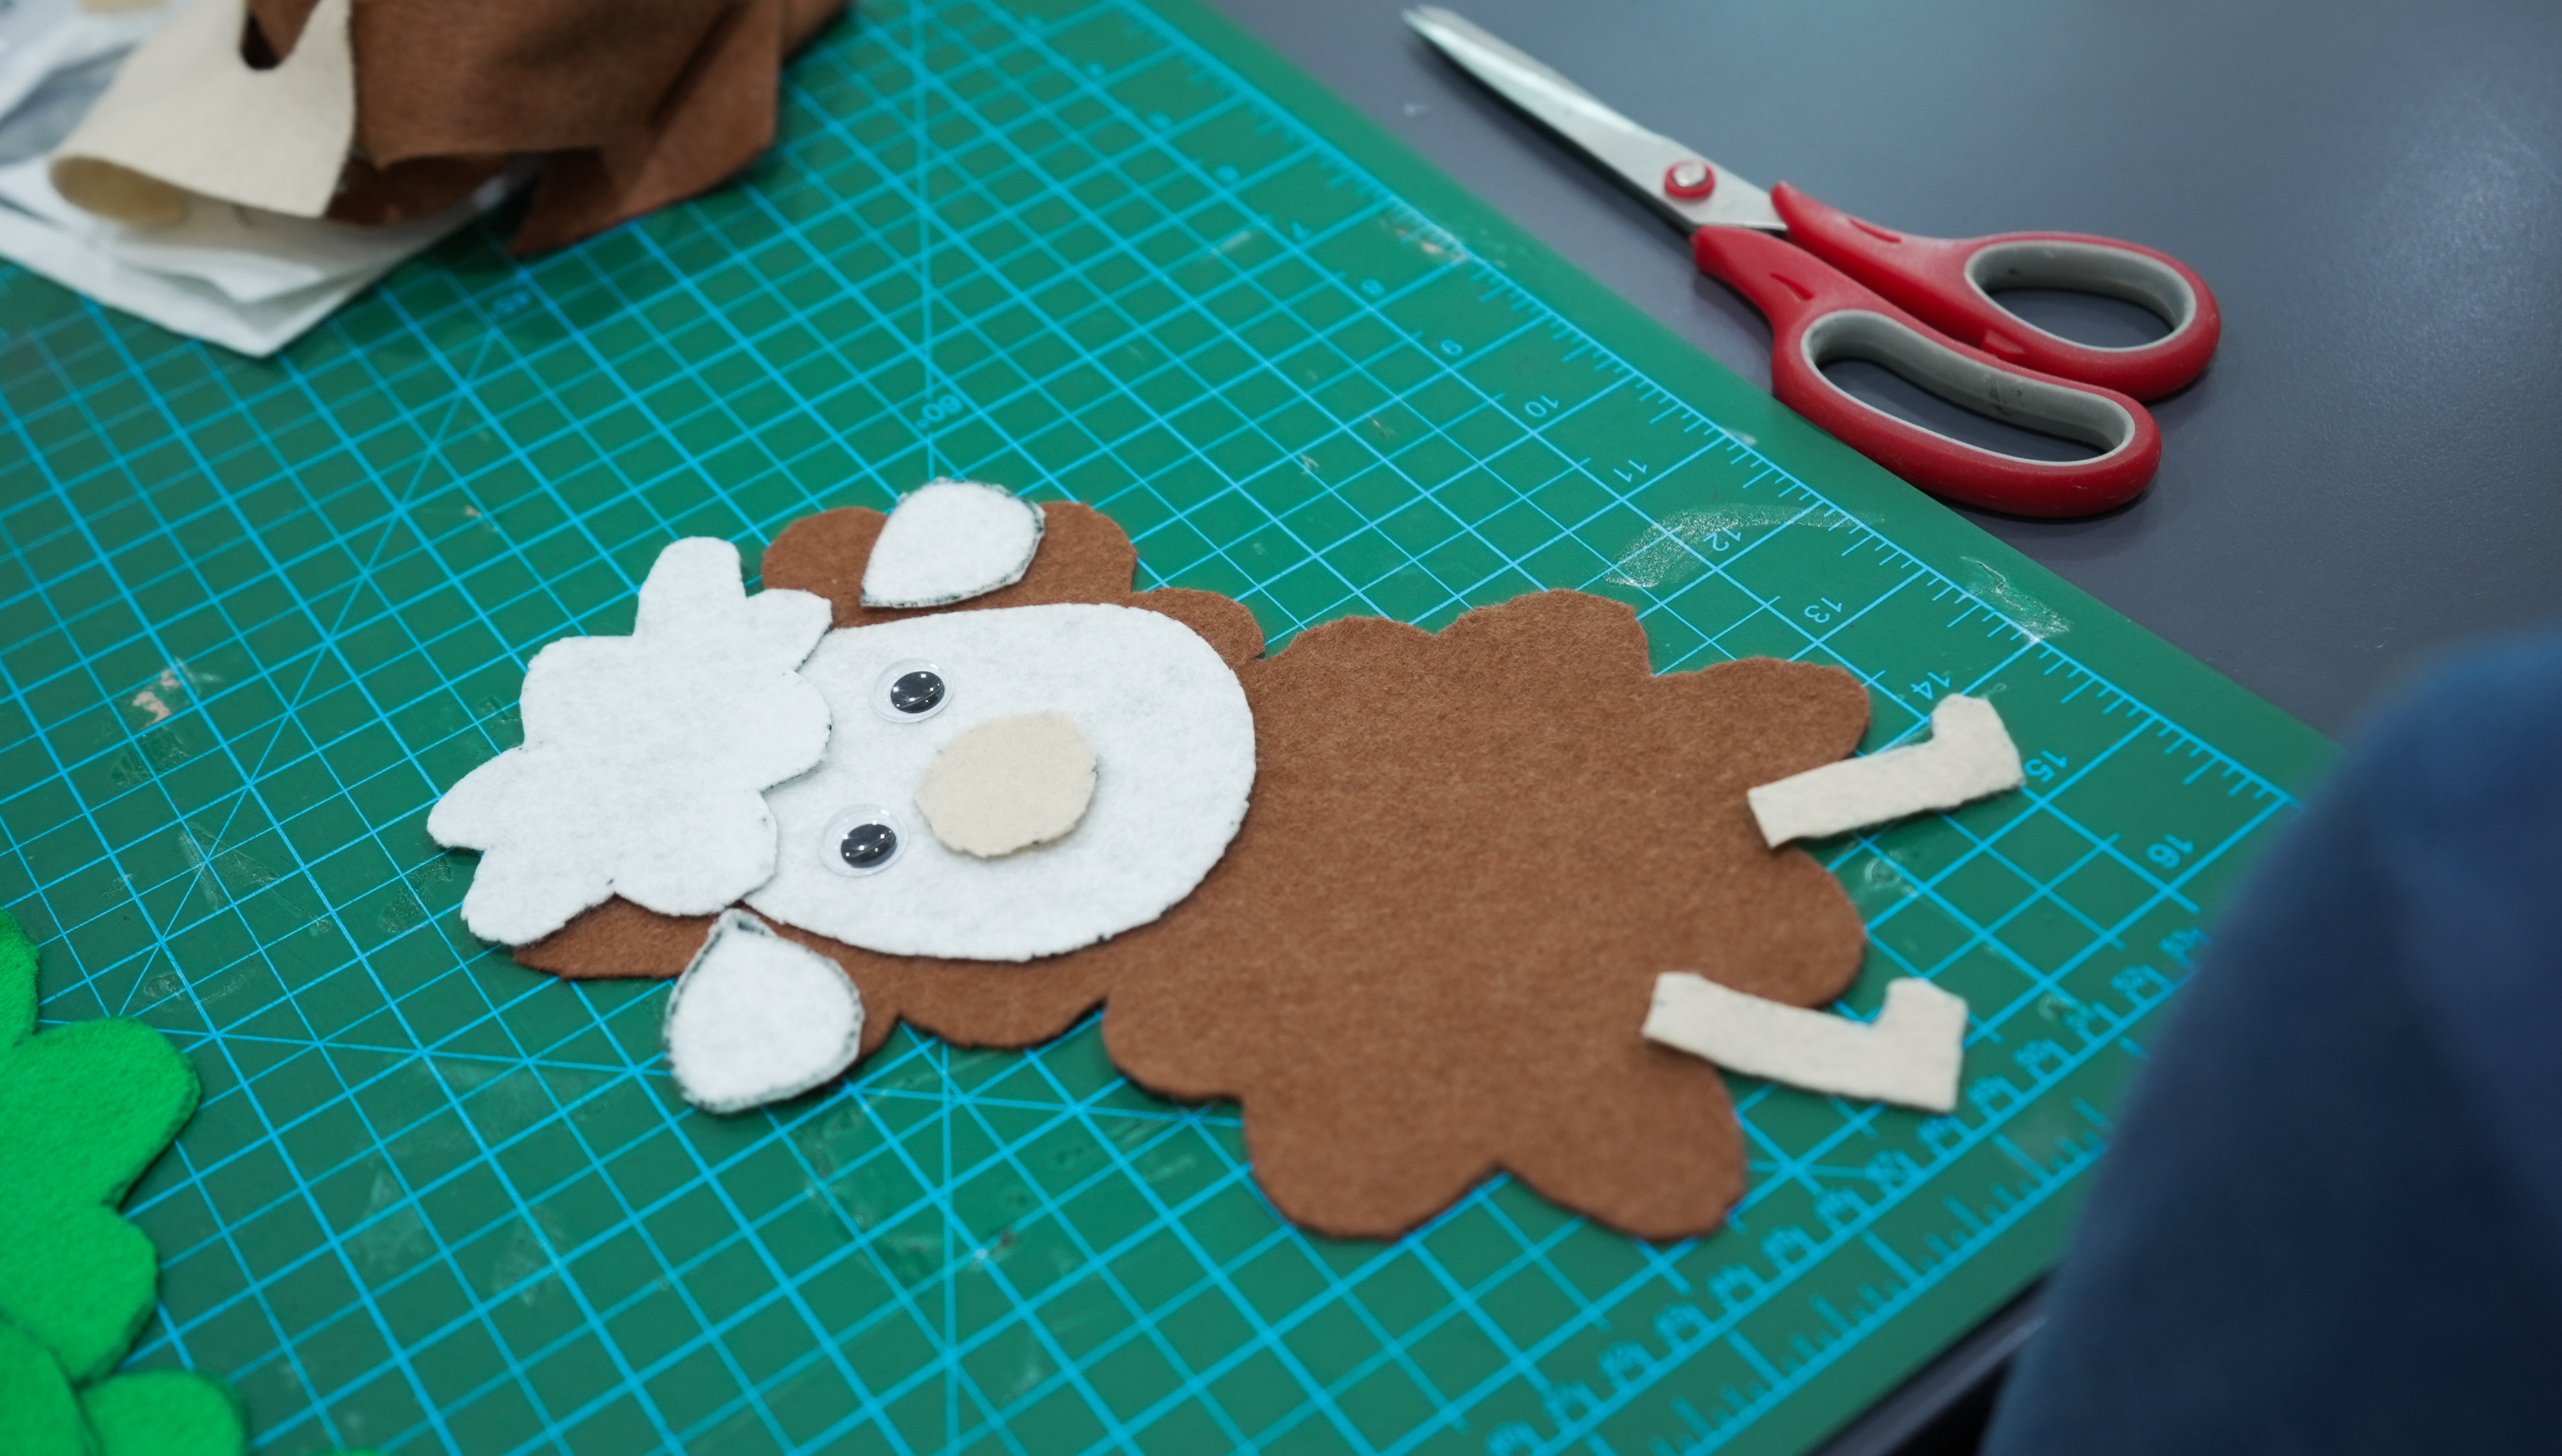
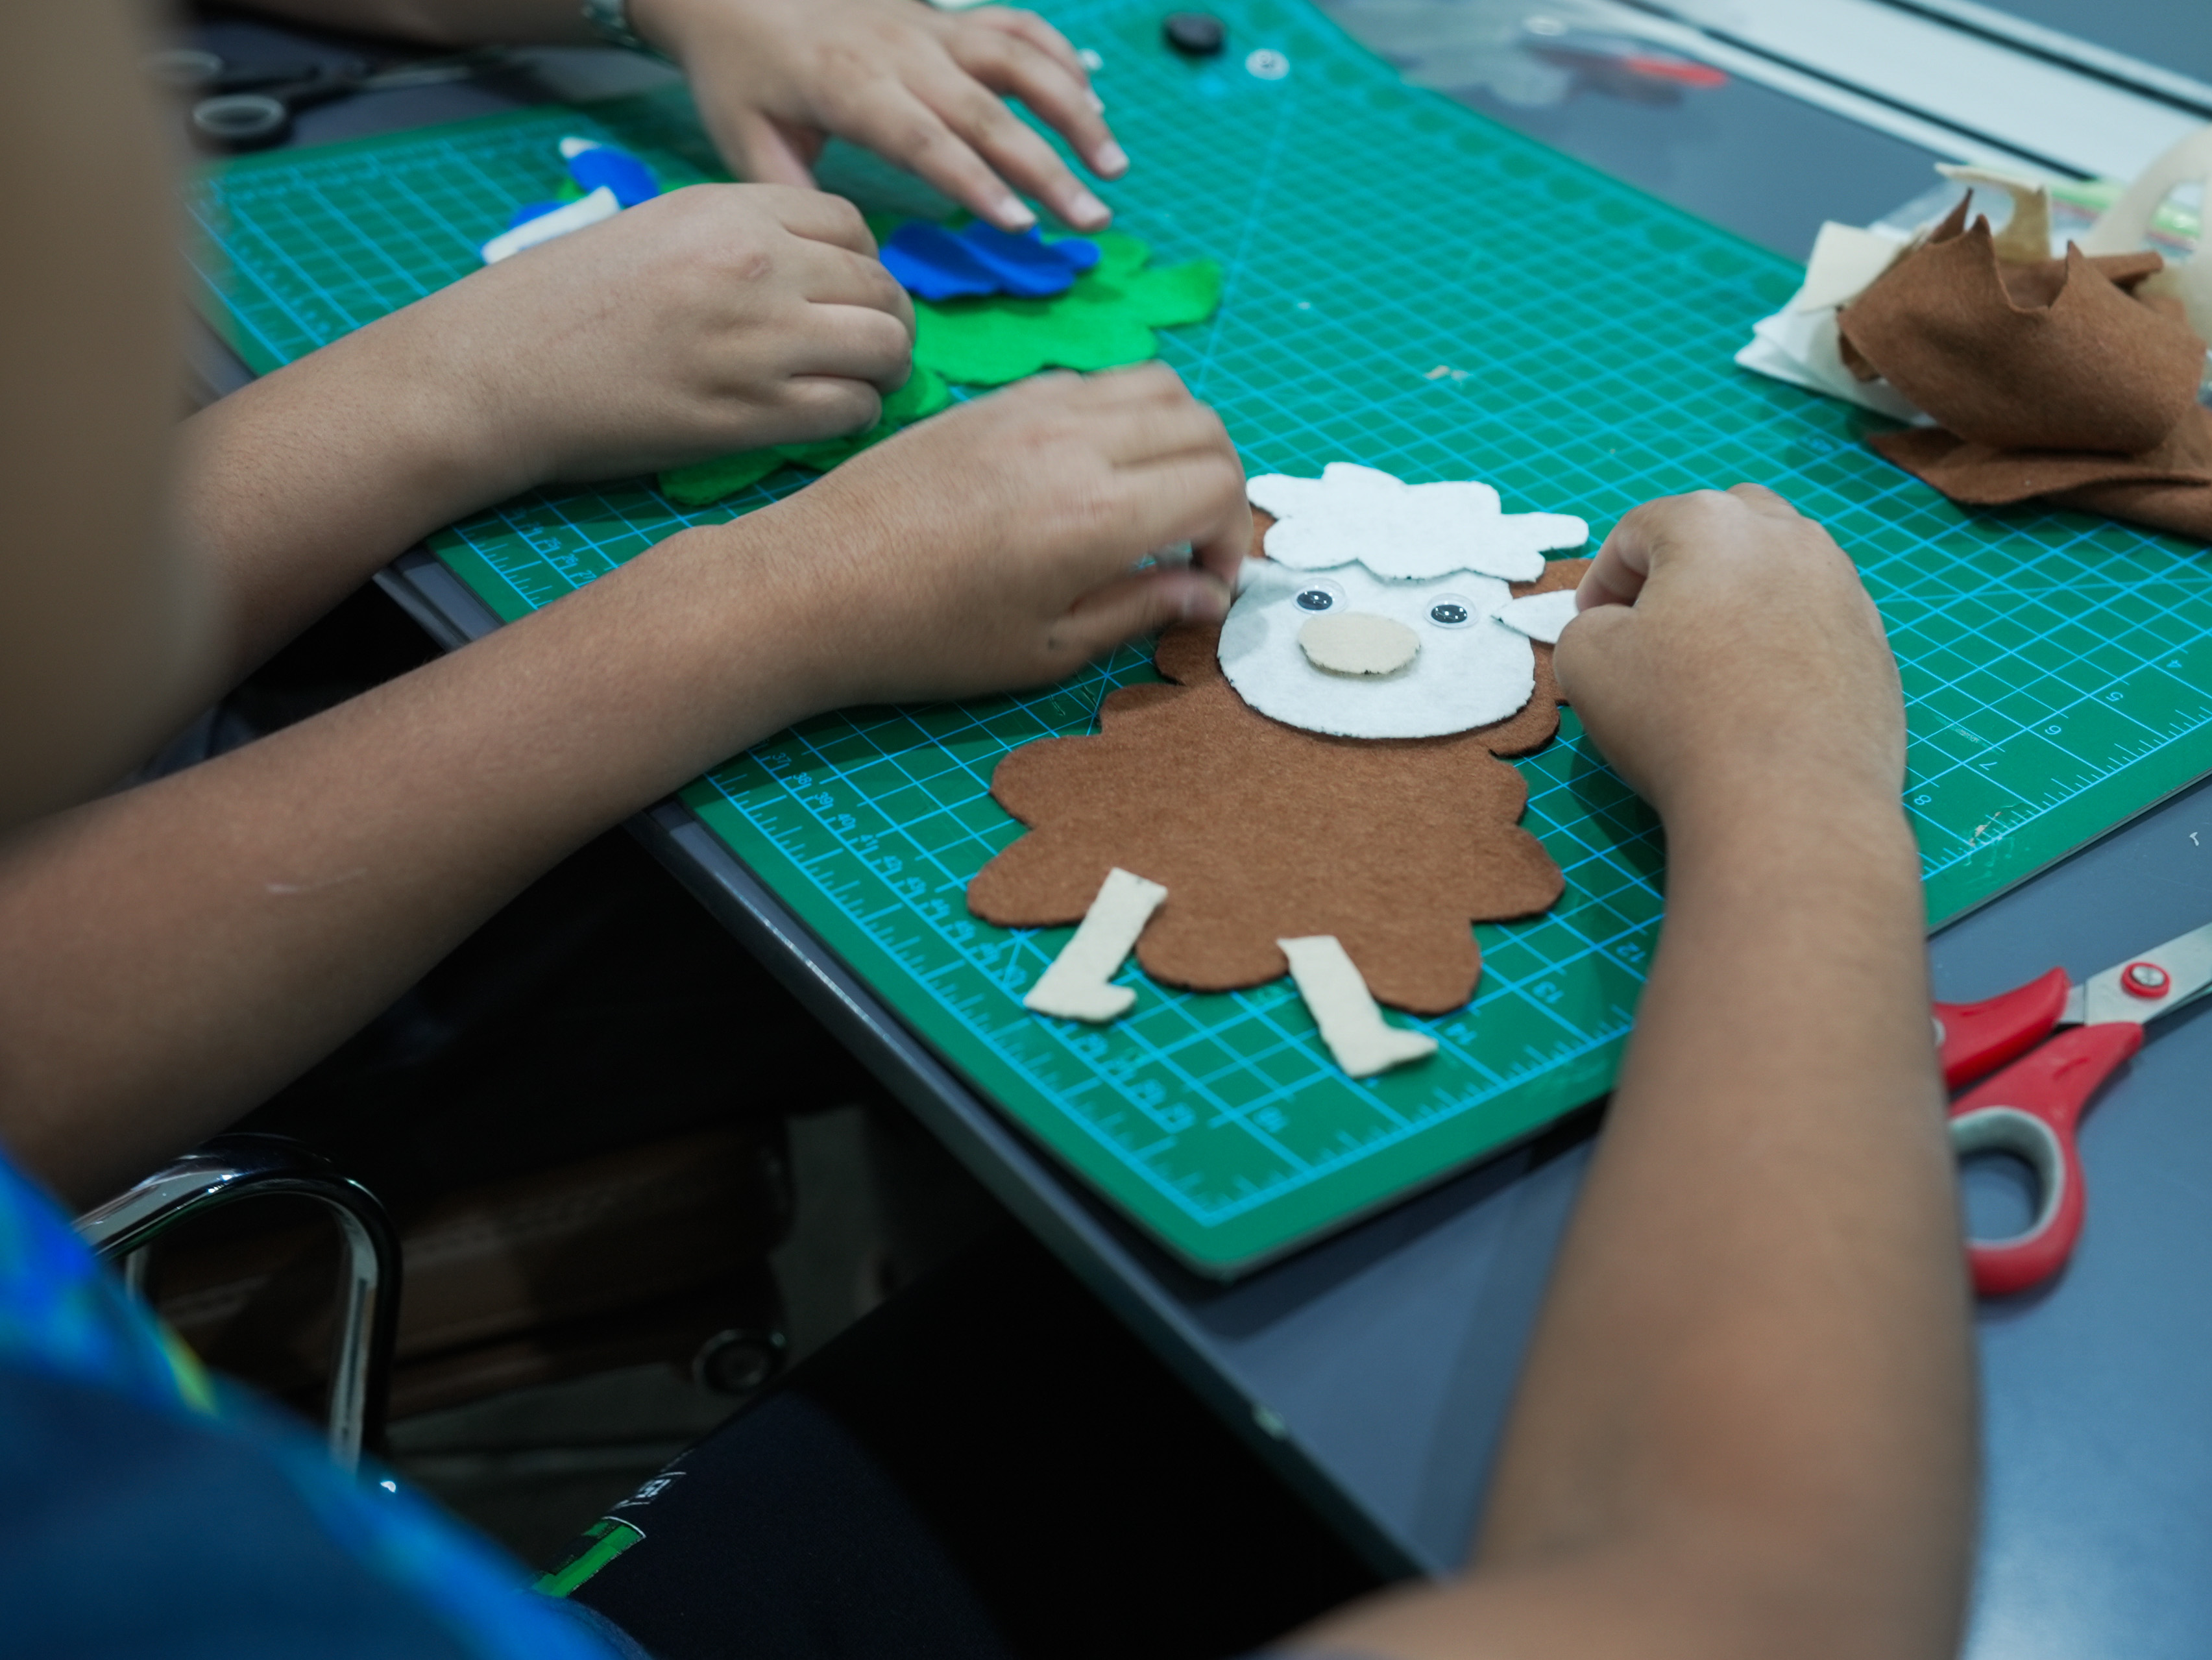
1- Choosing the felt color.

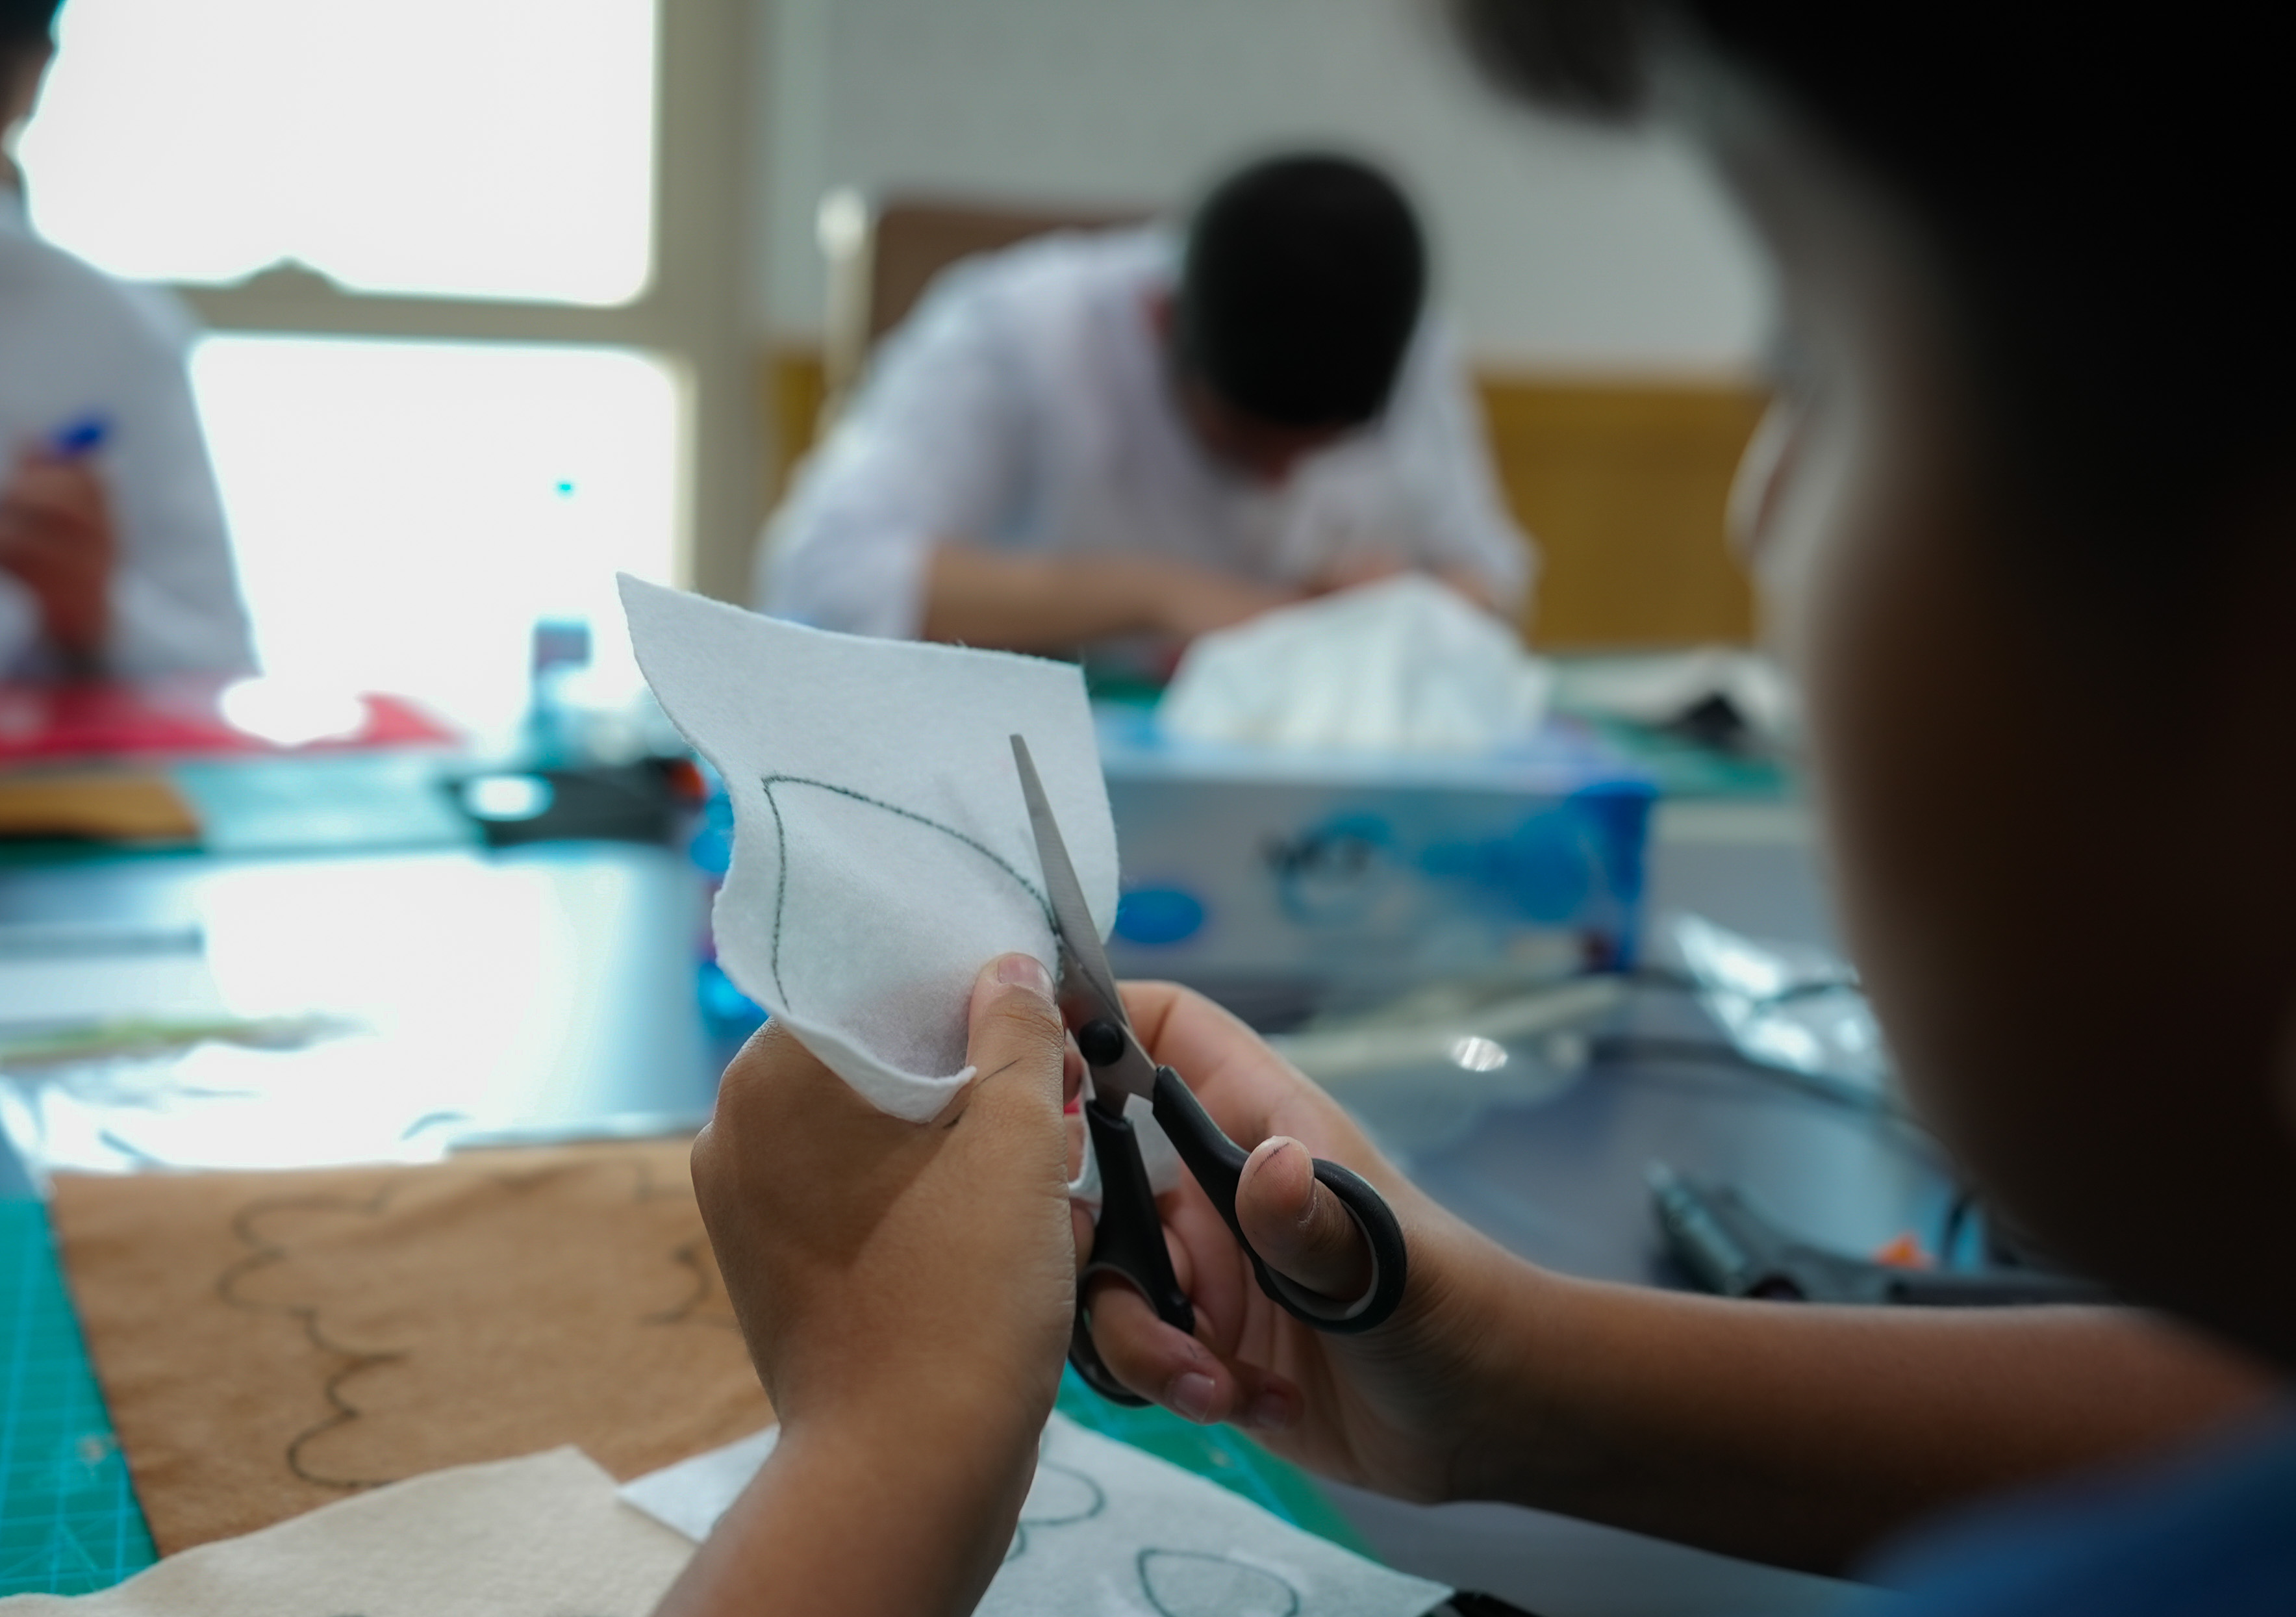
2- Tracing the Stencil.

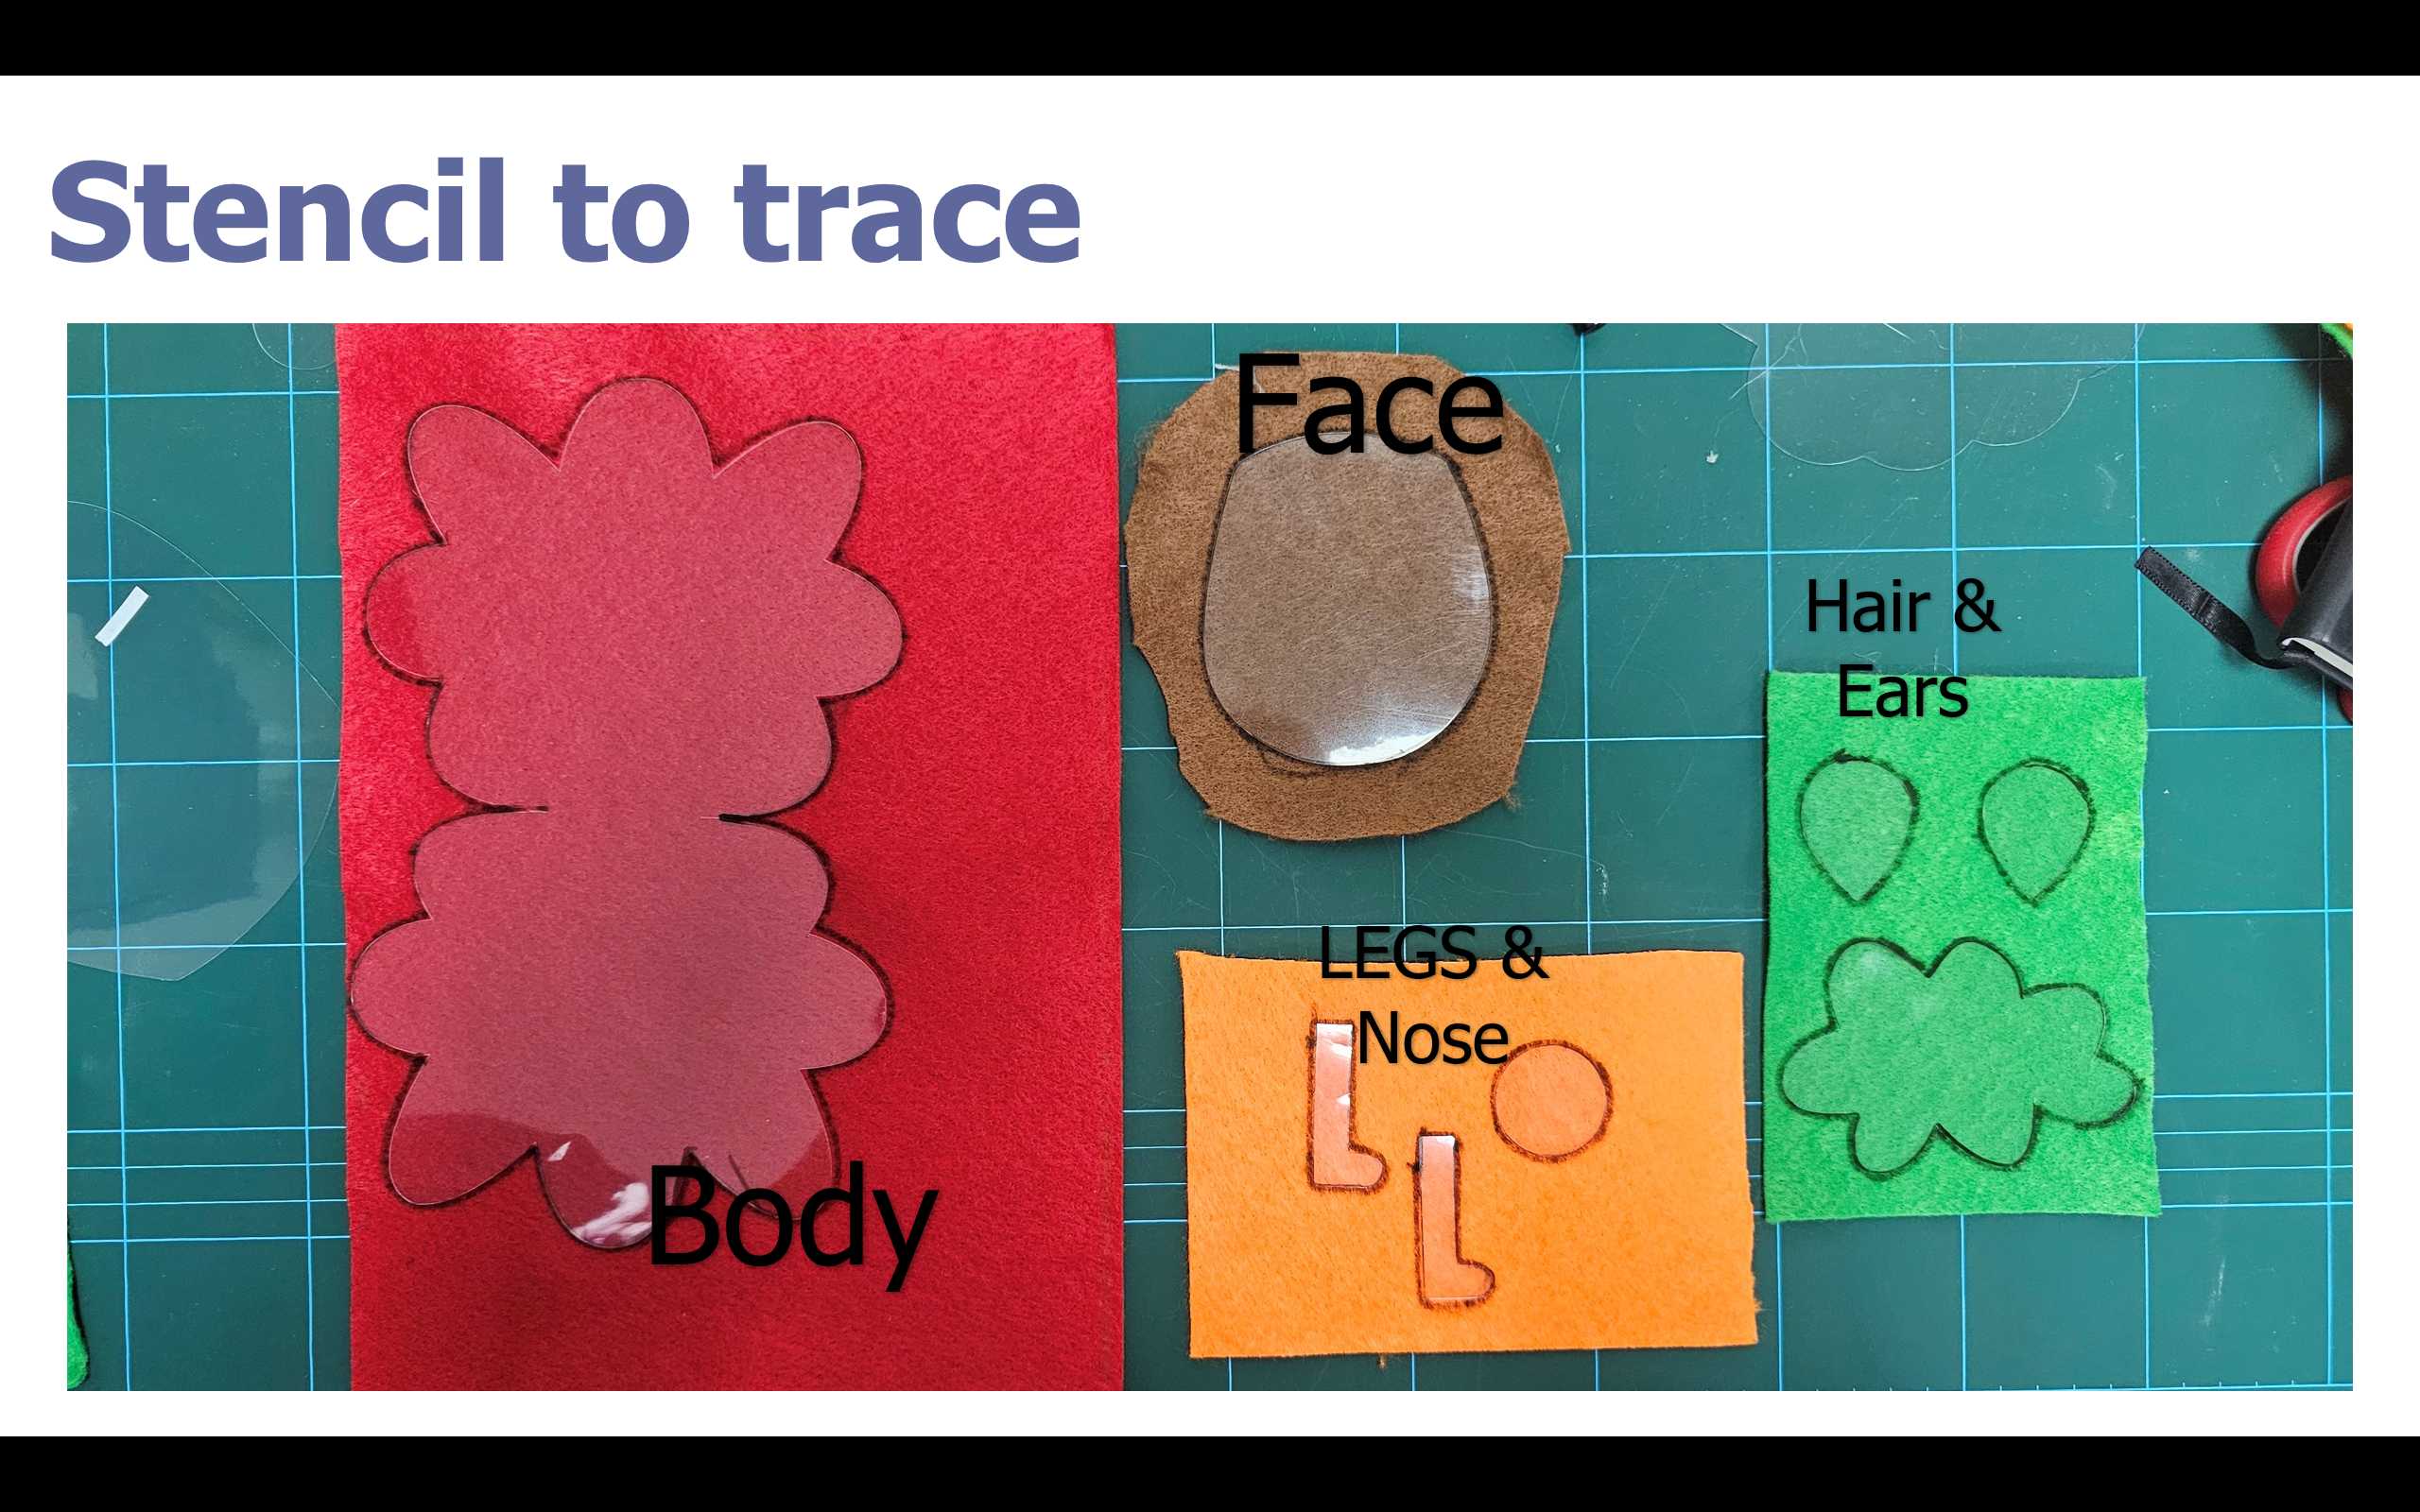
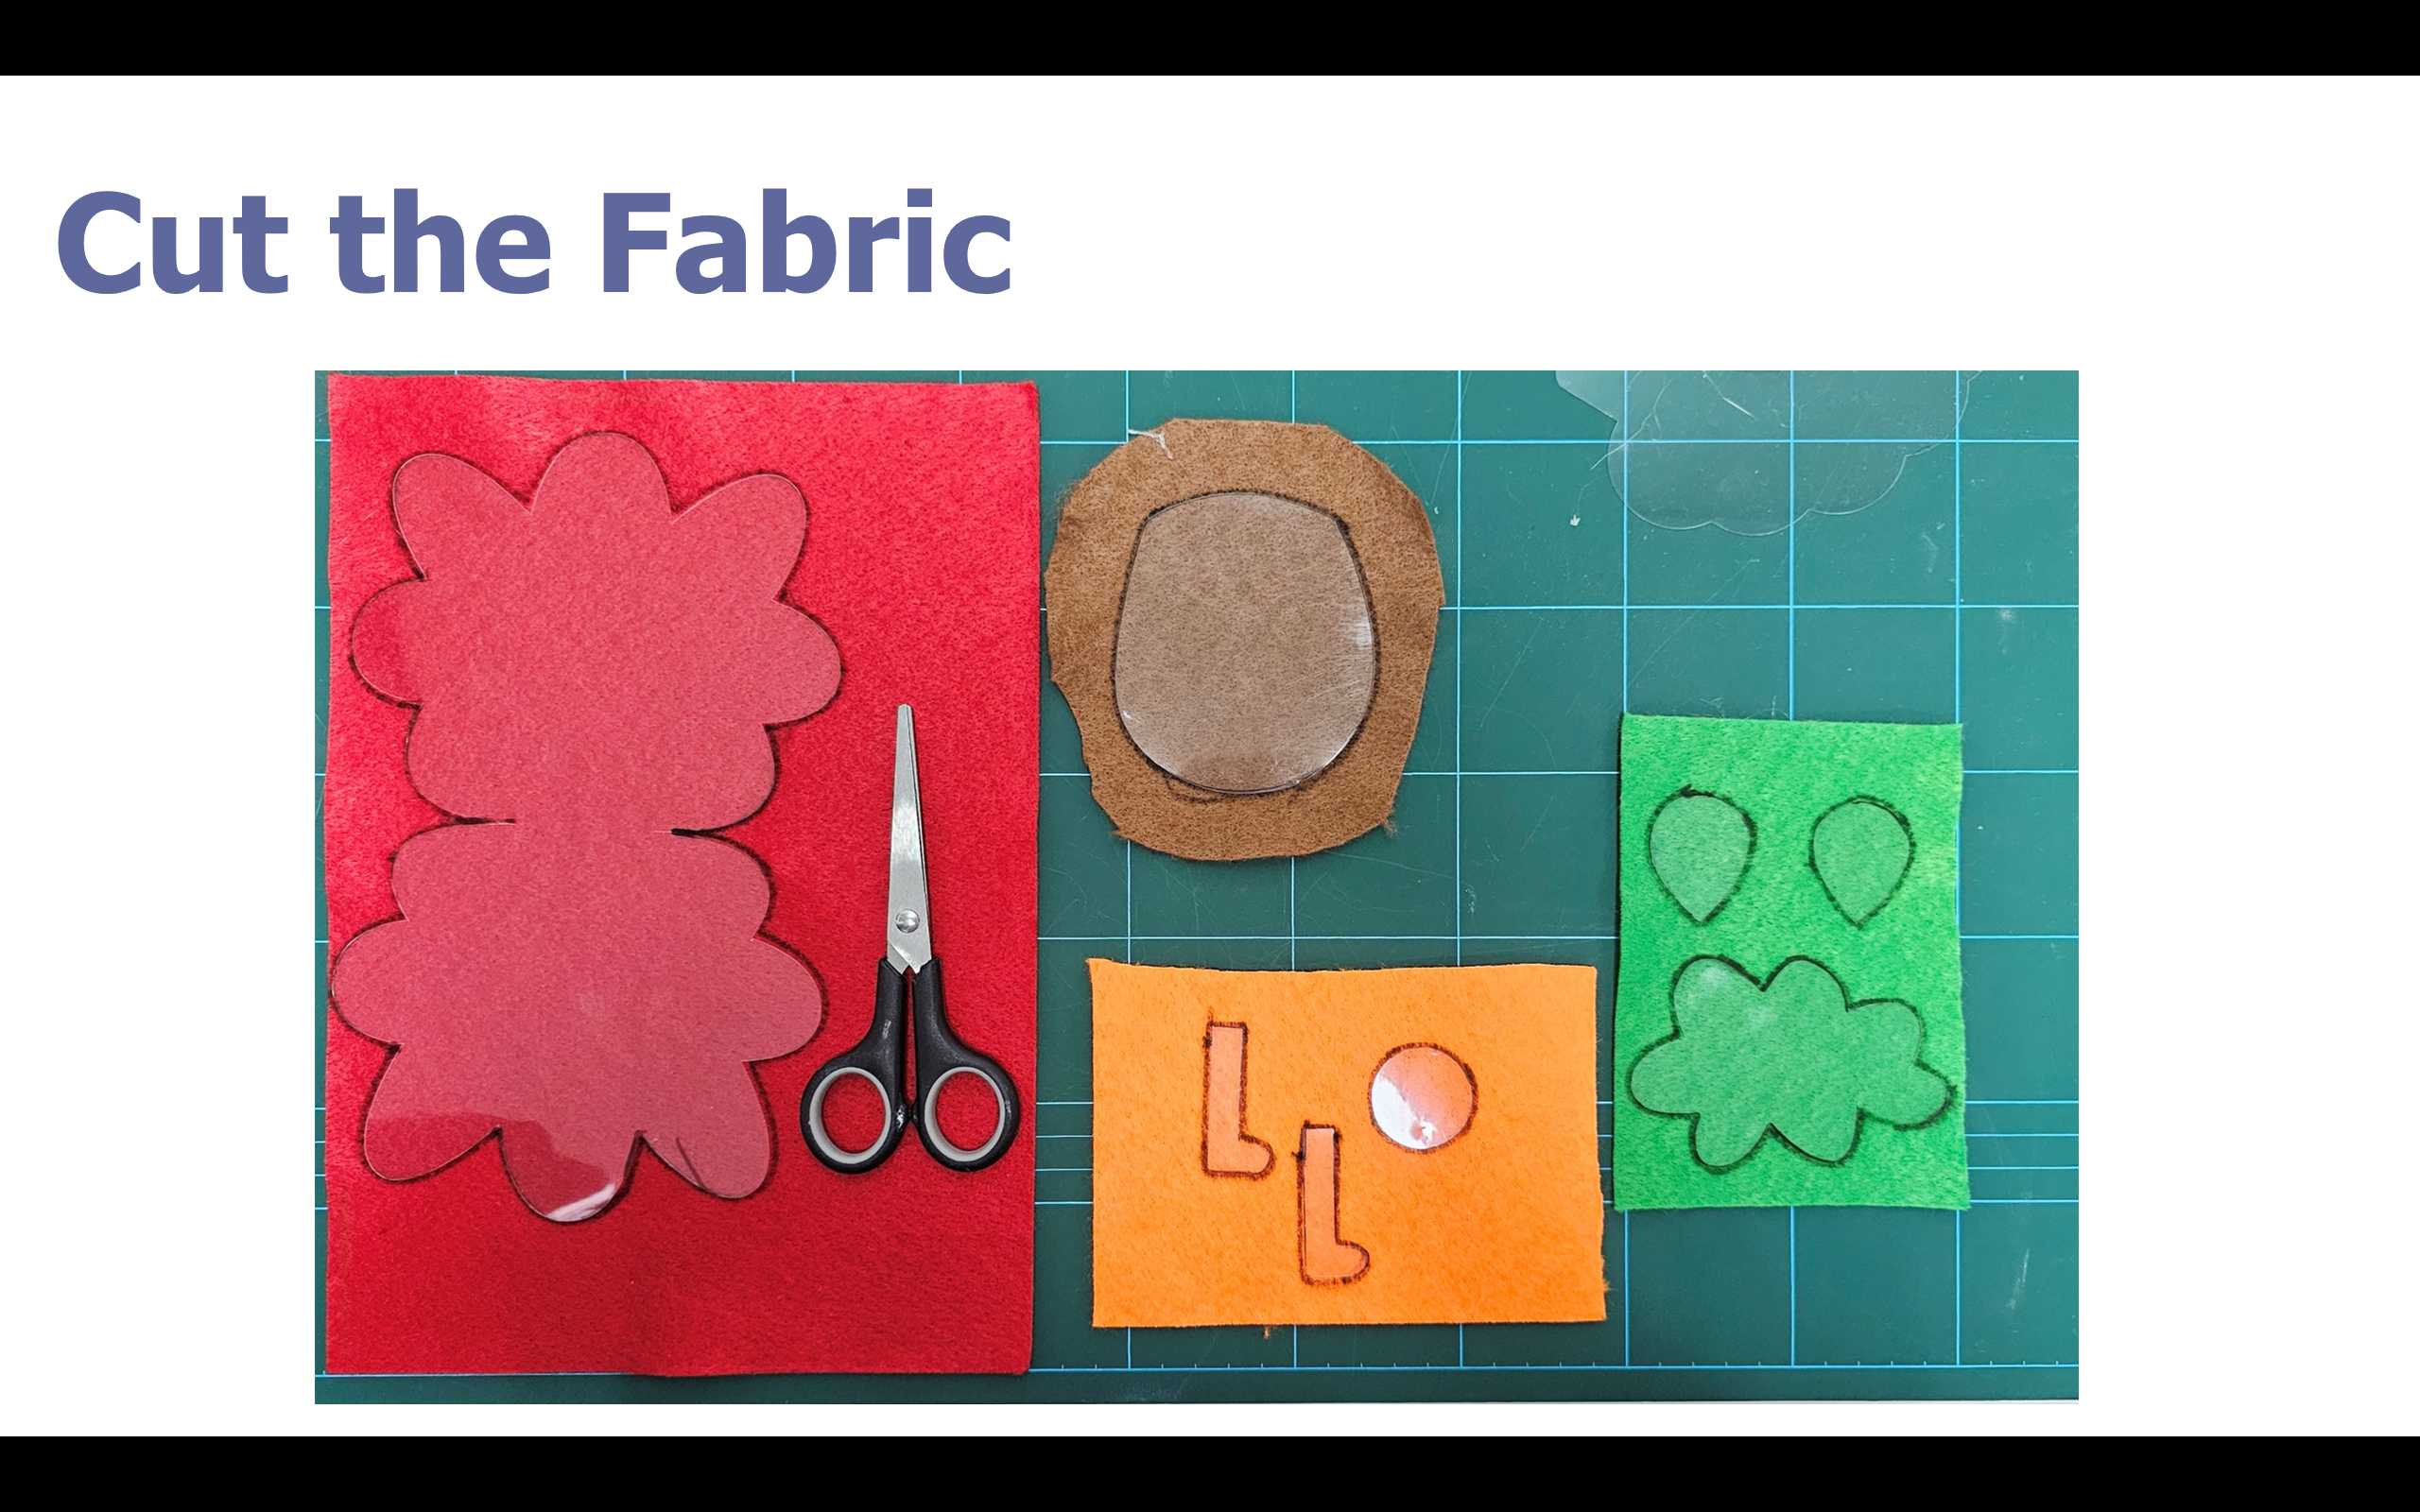
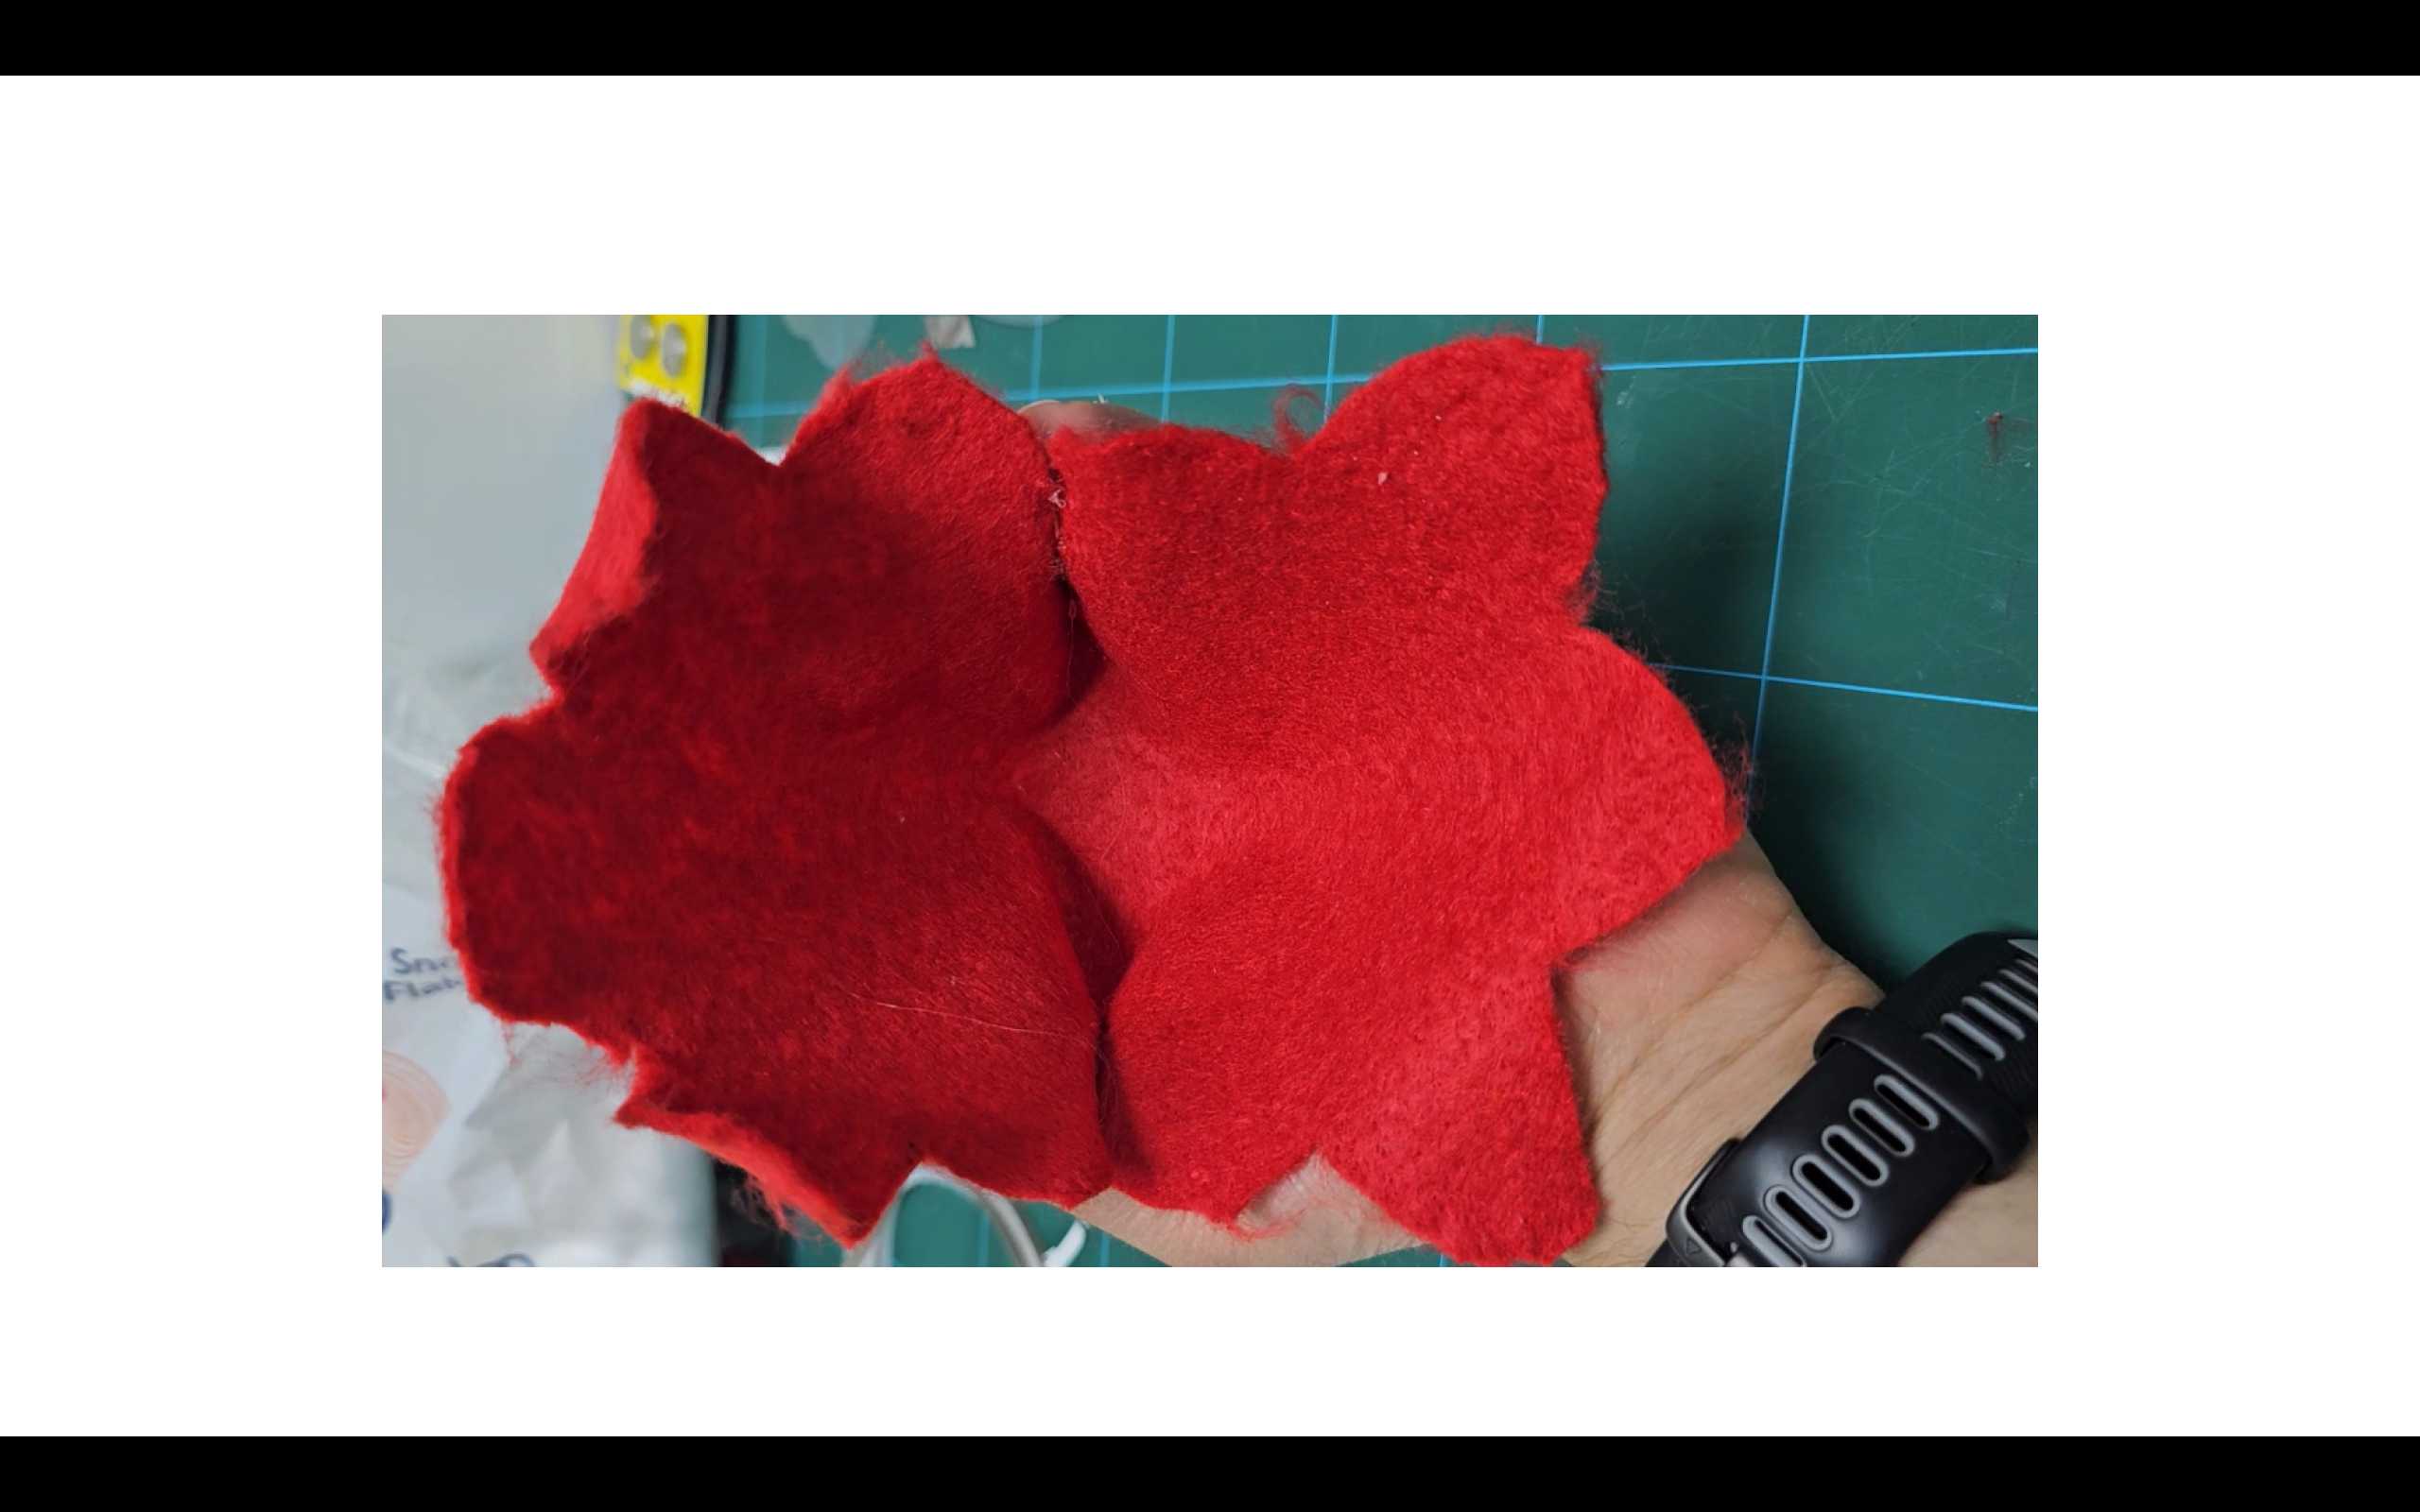
3- Cutting the fabric.

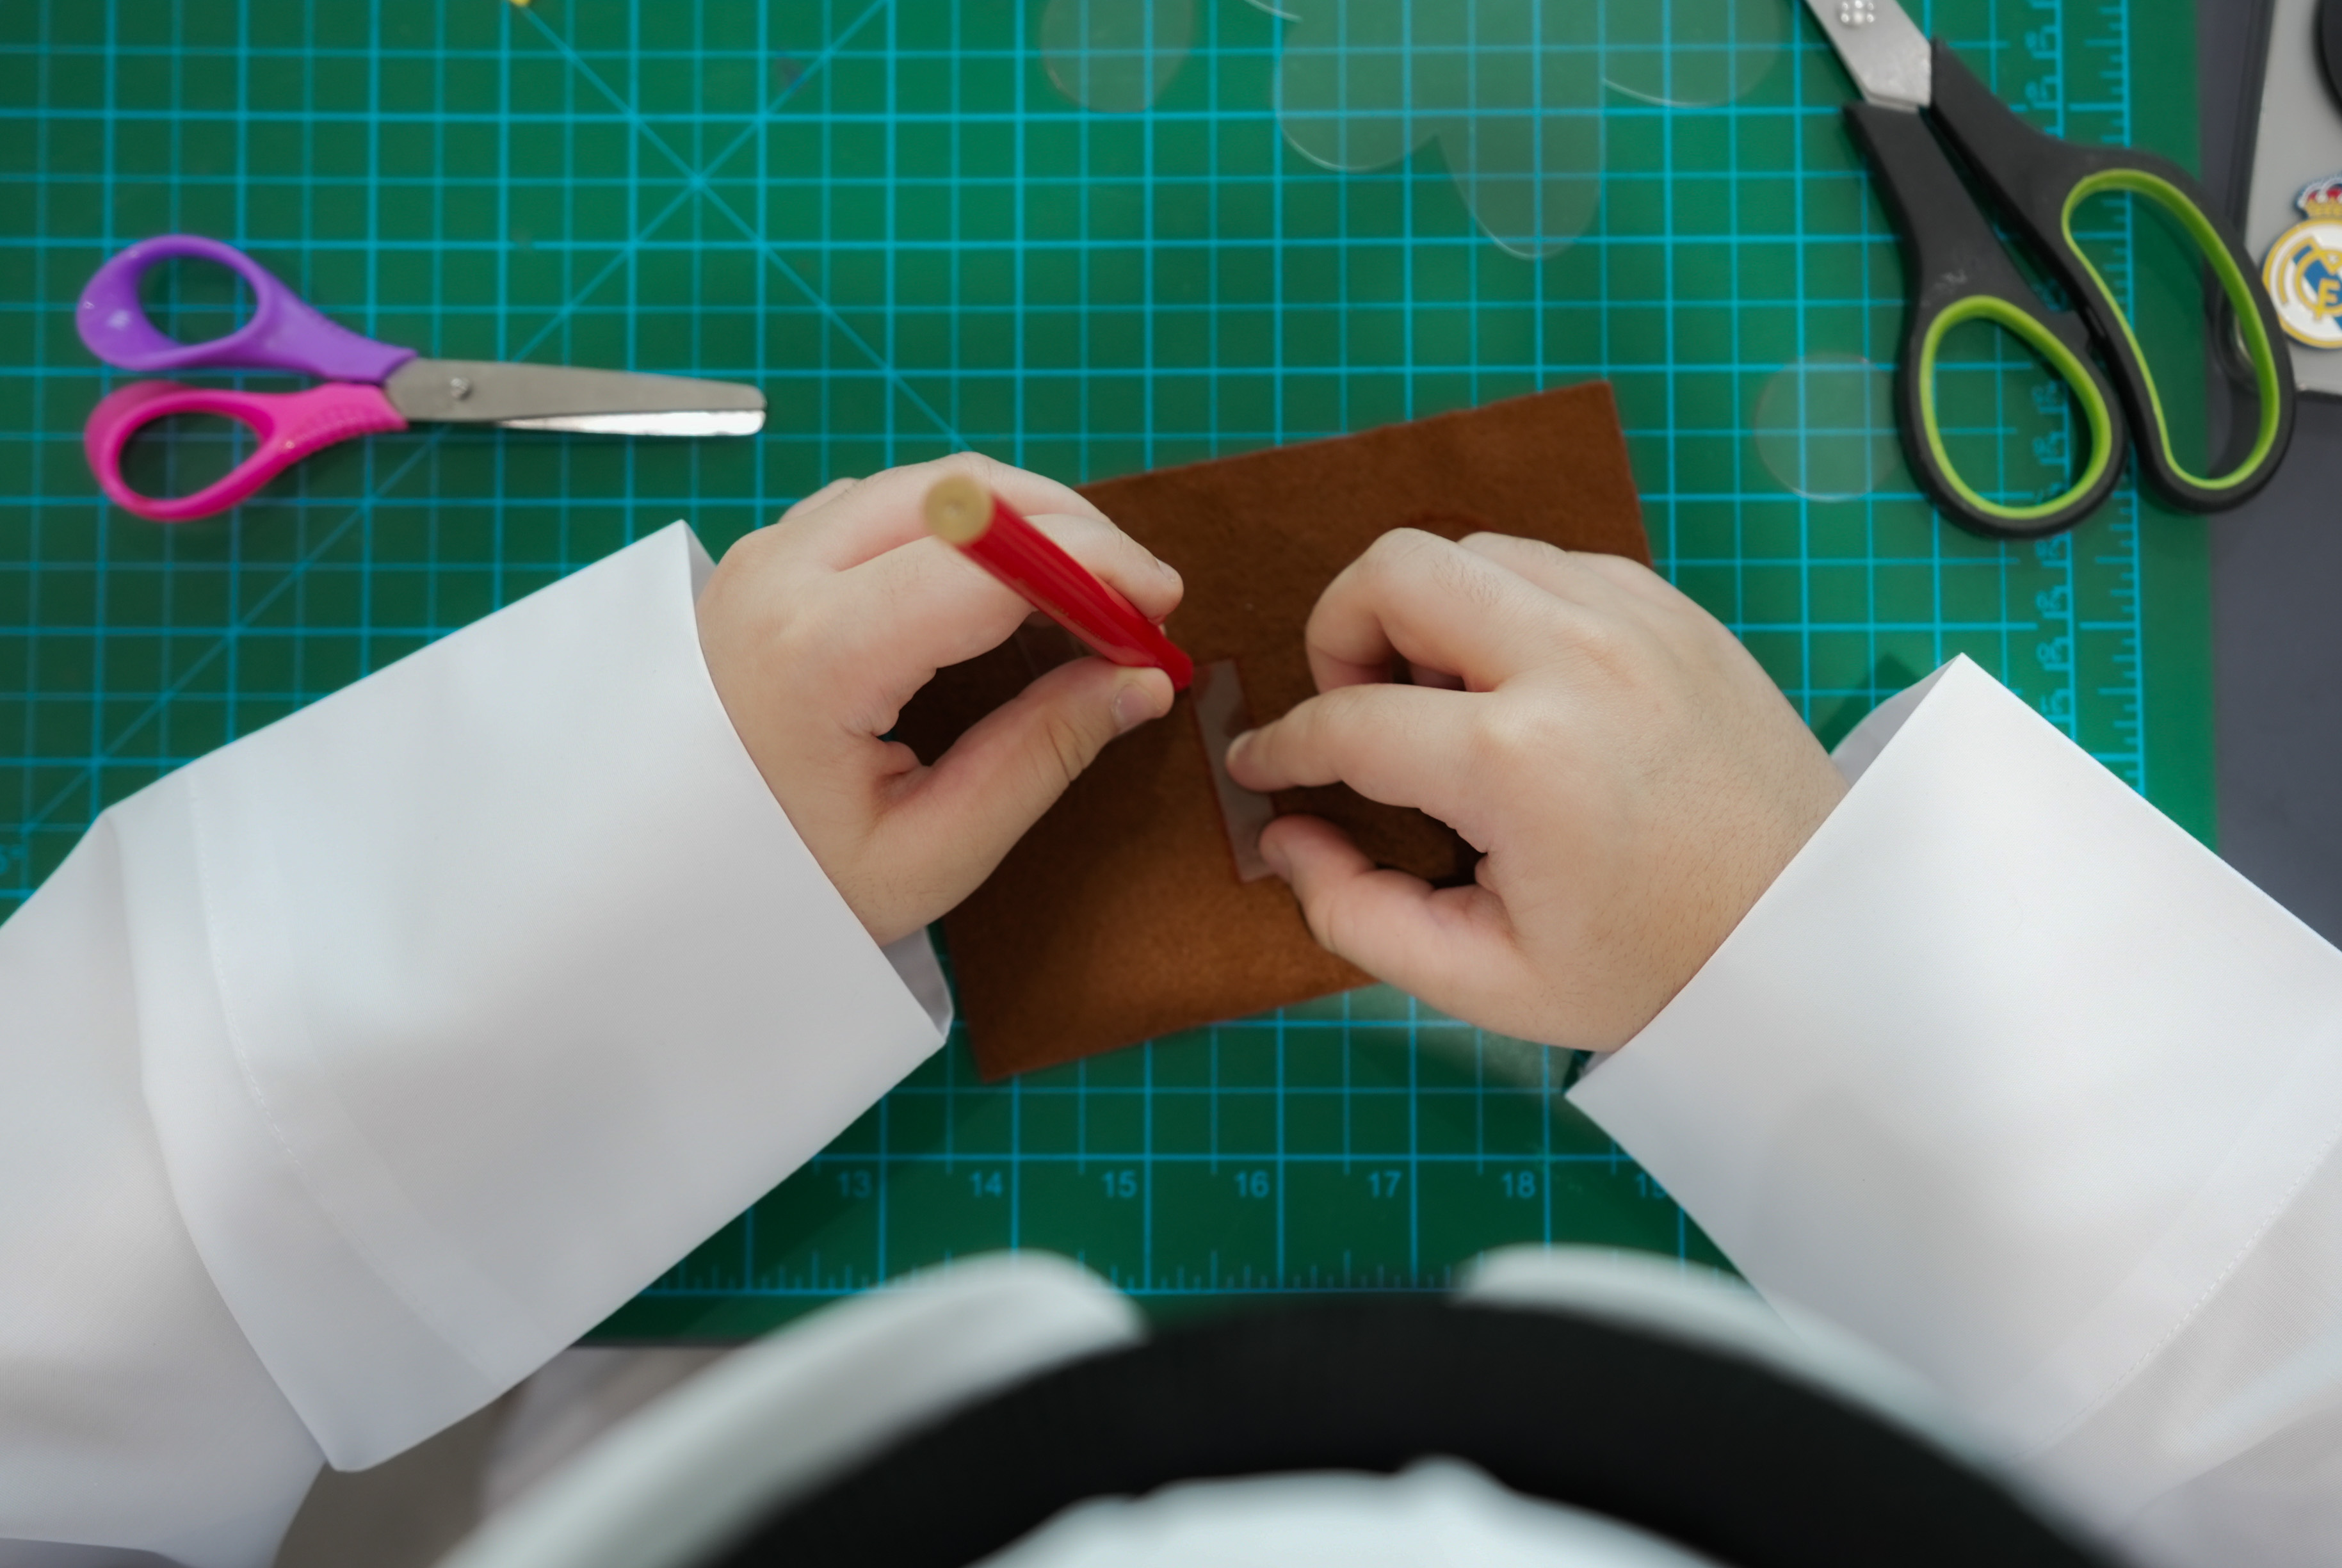
4- Electronics
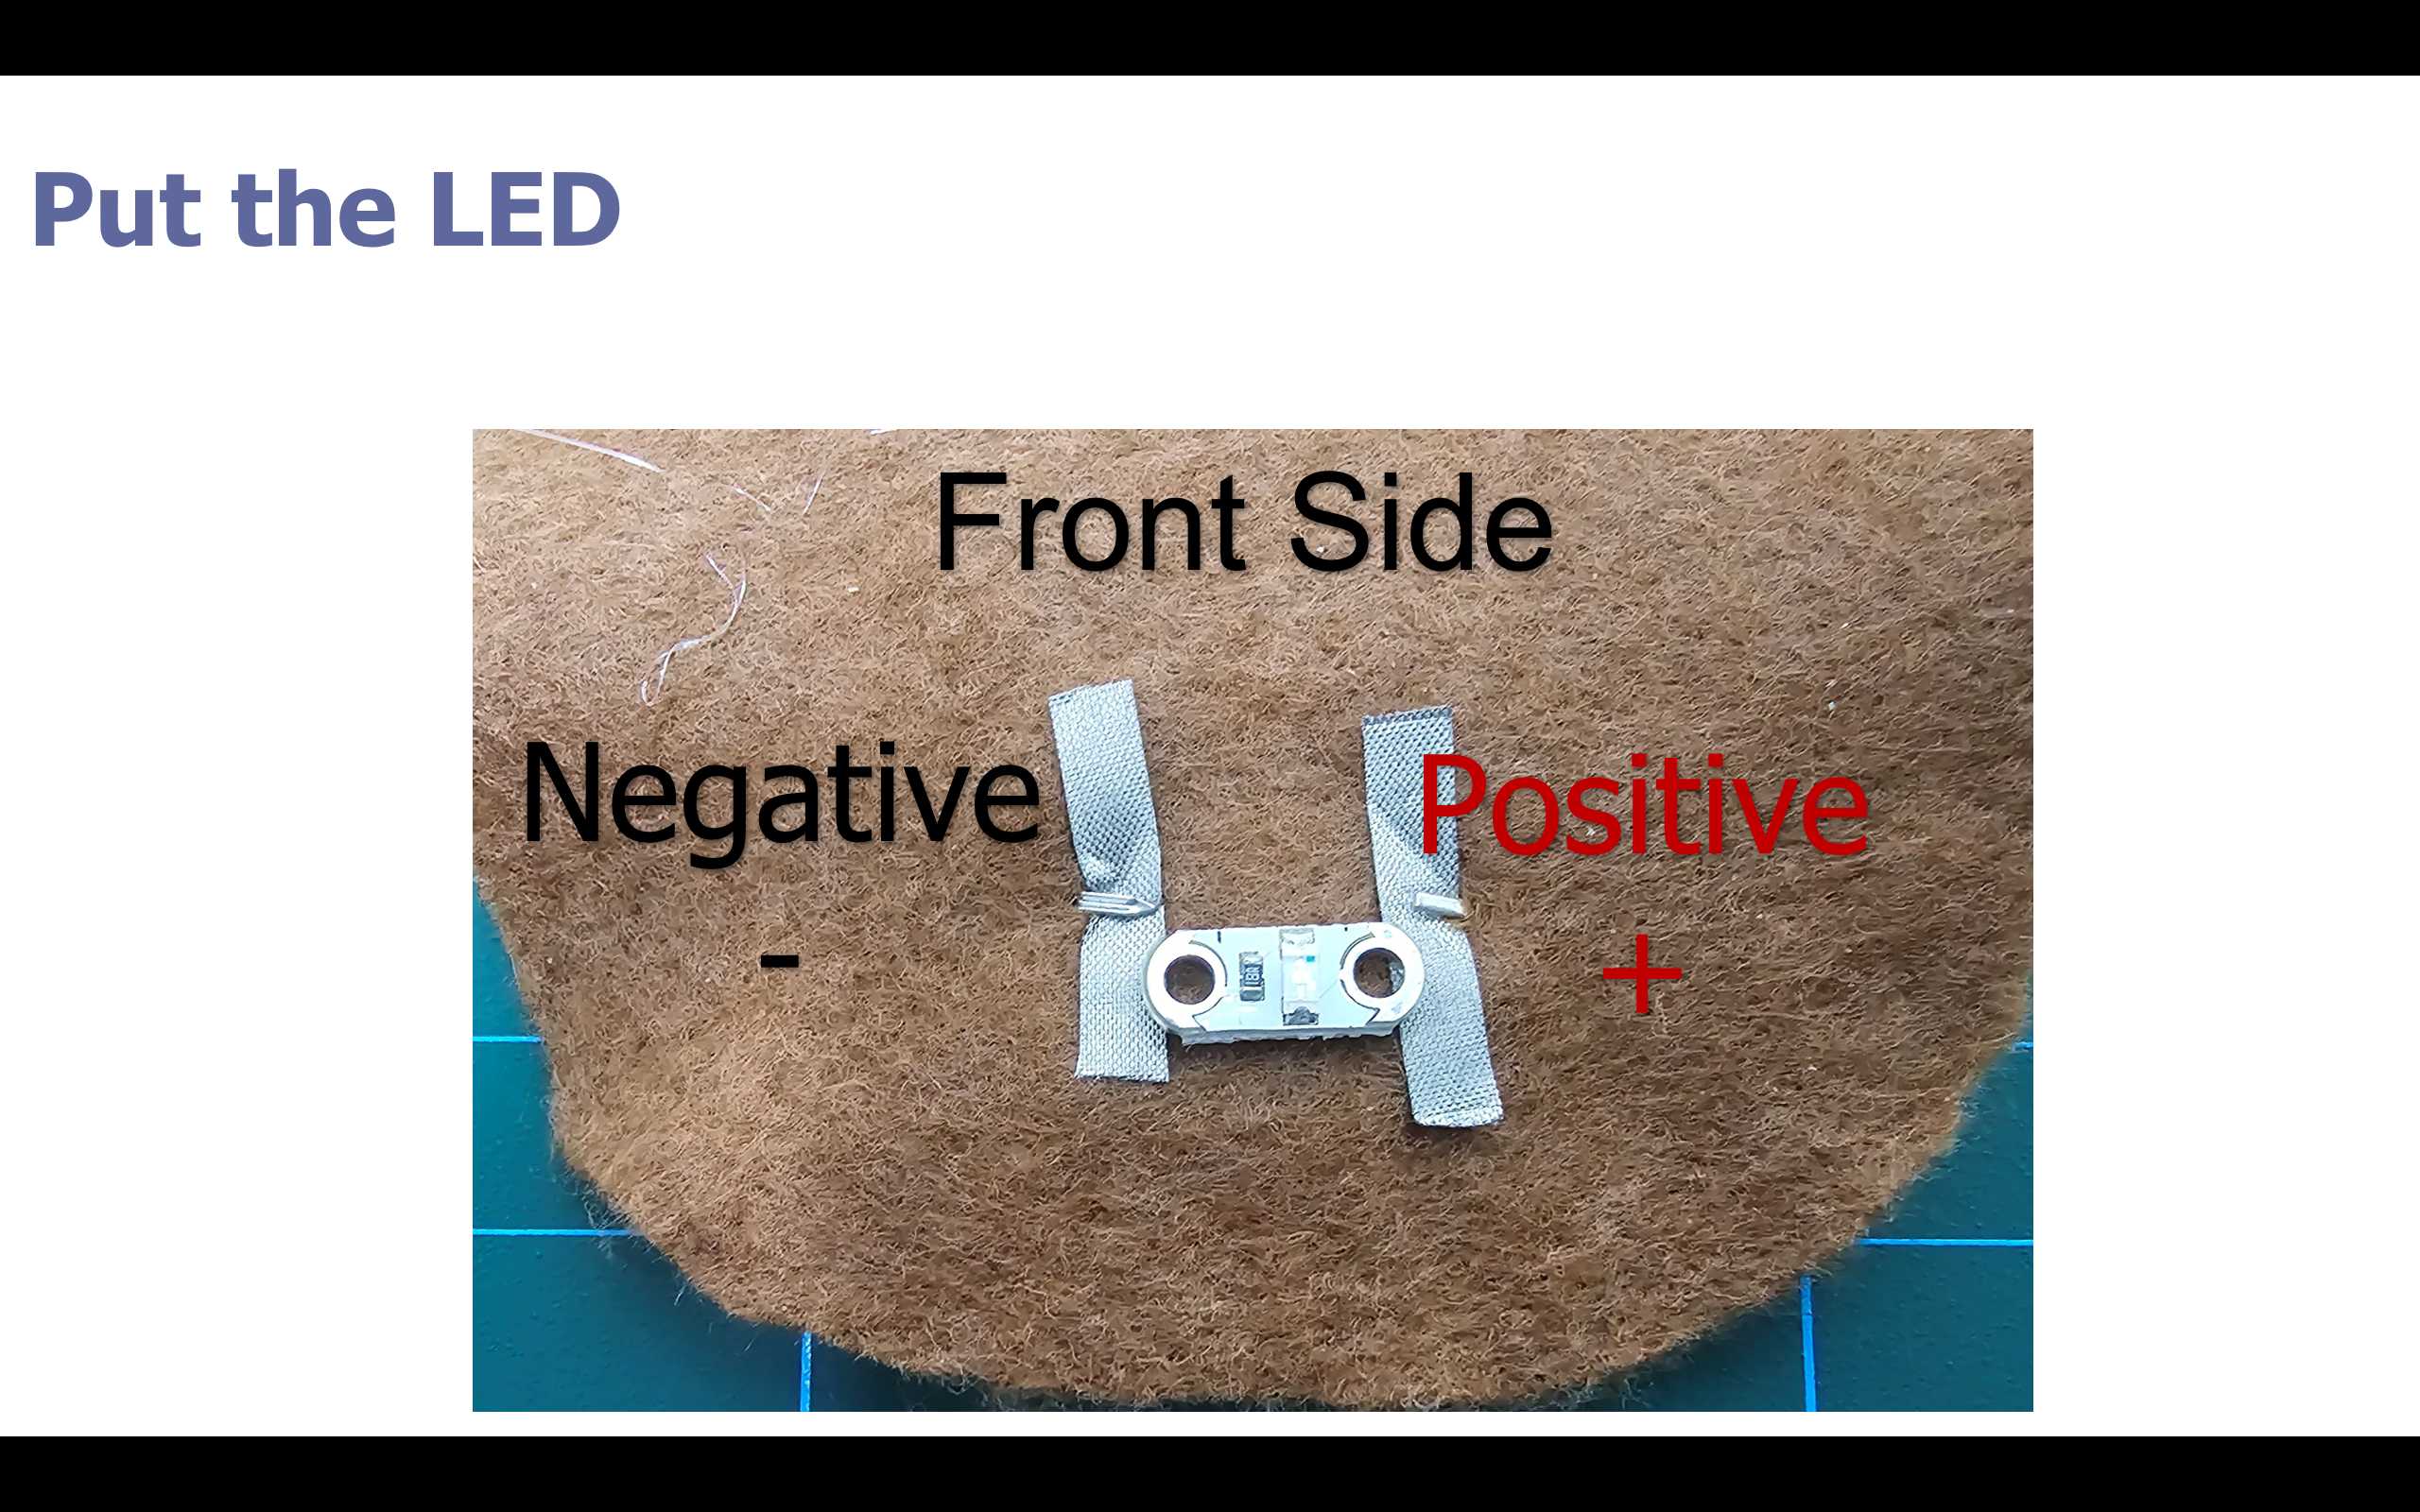
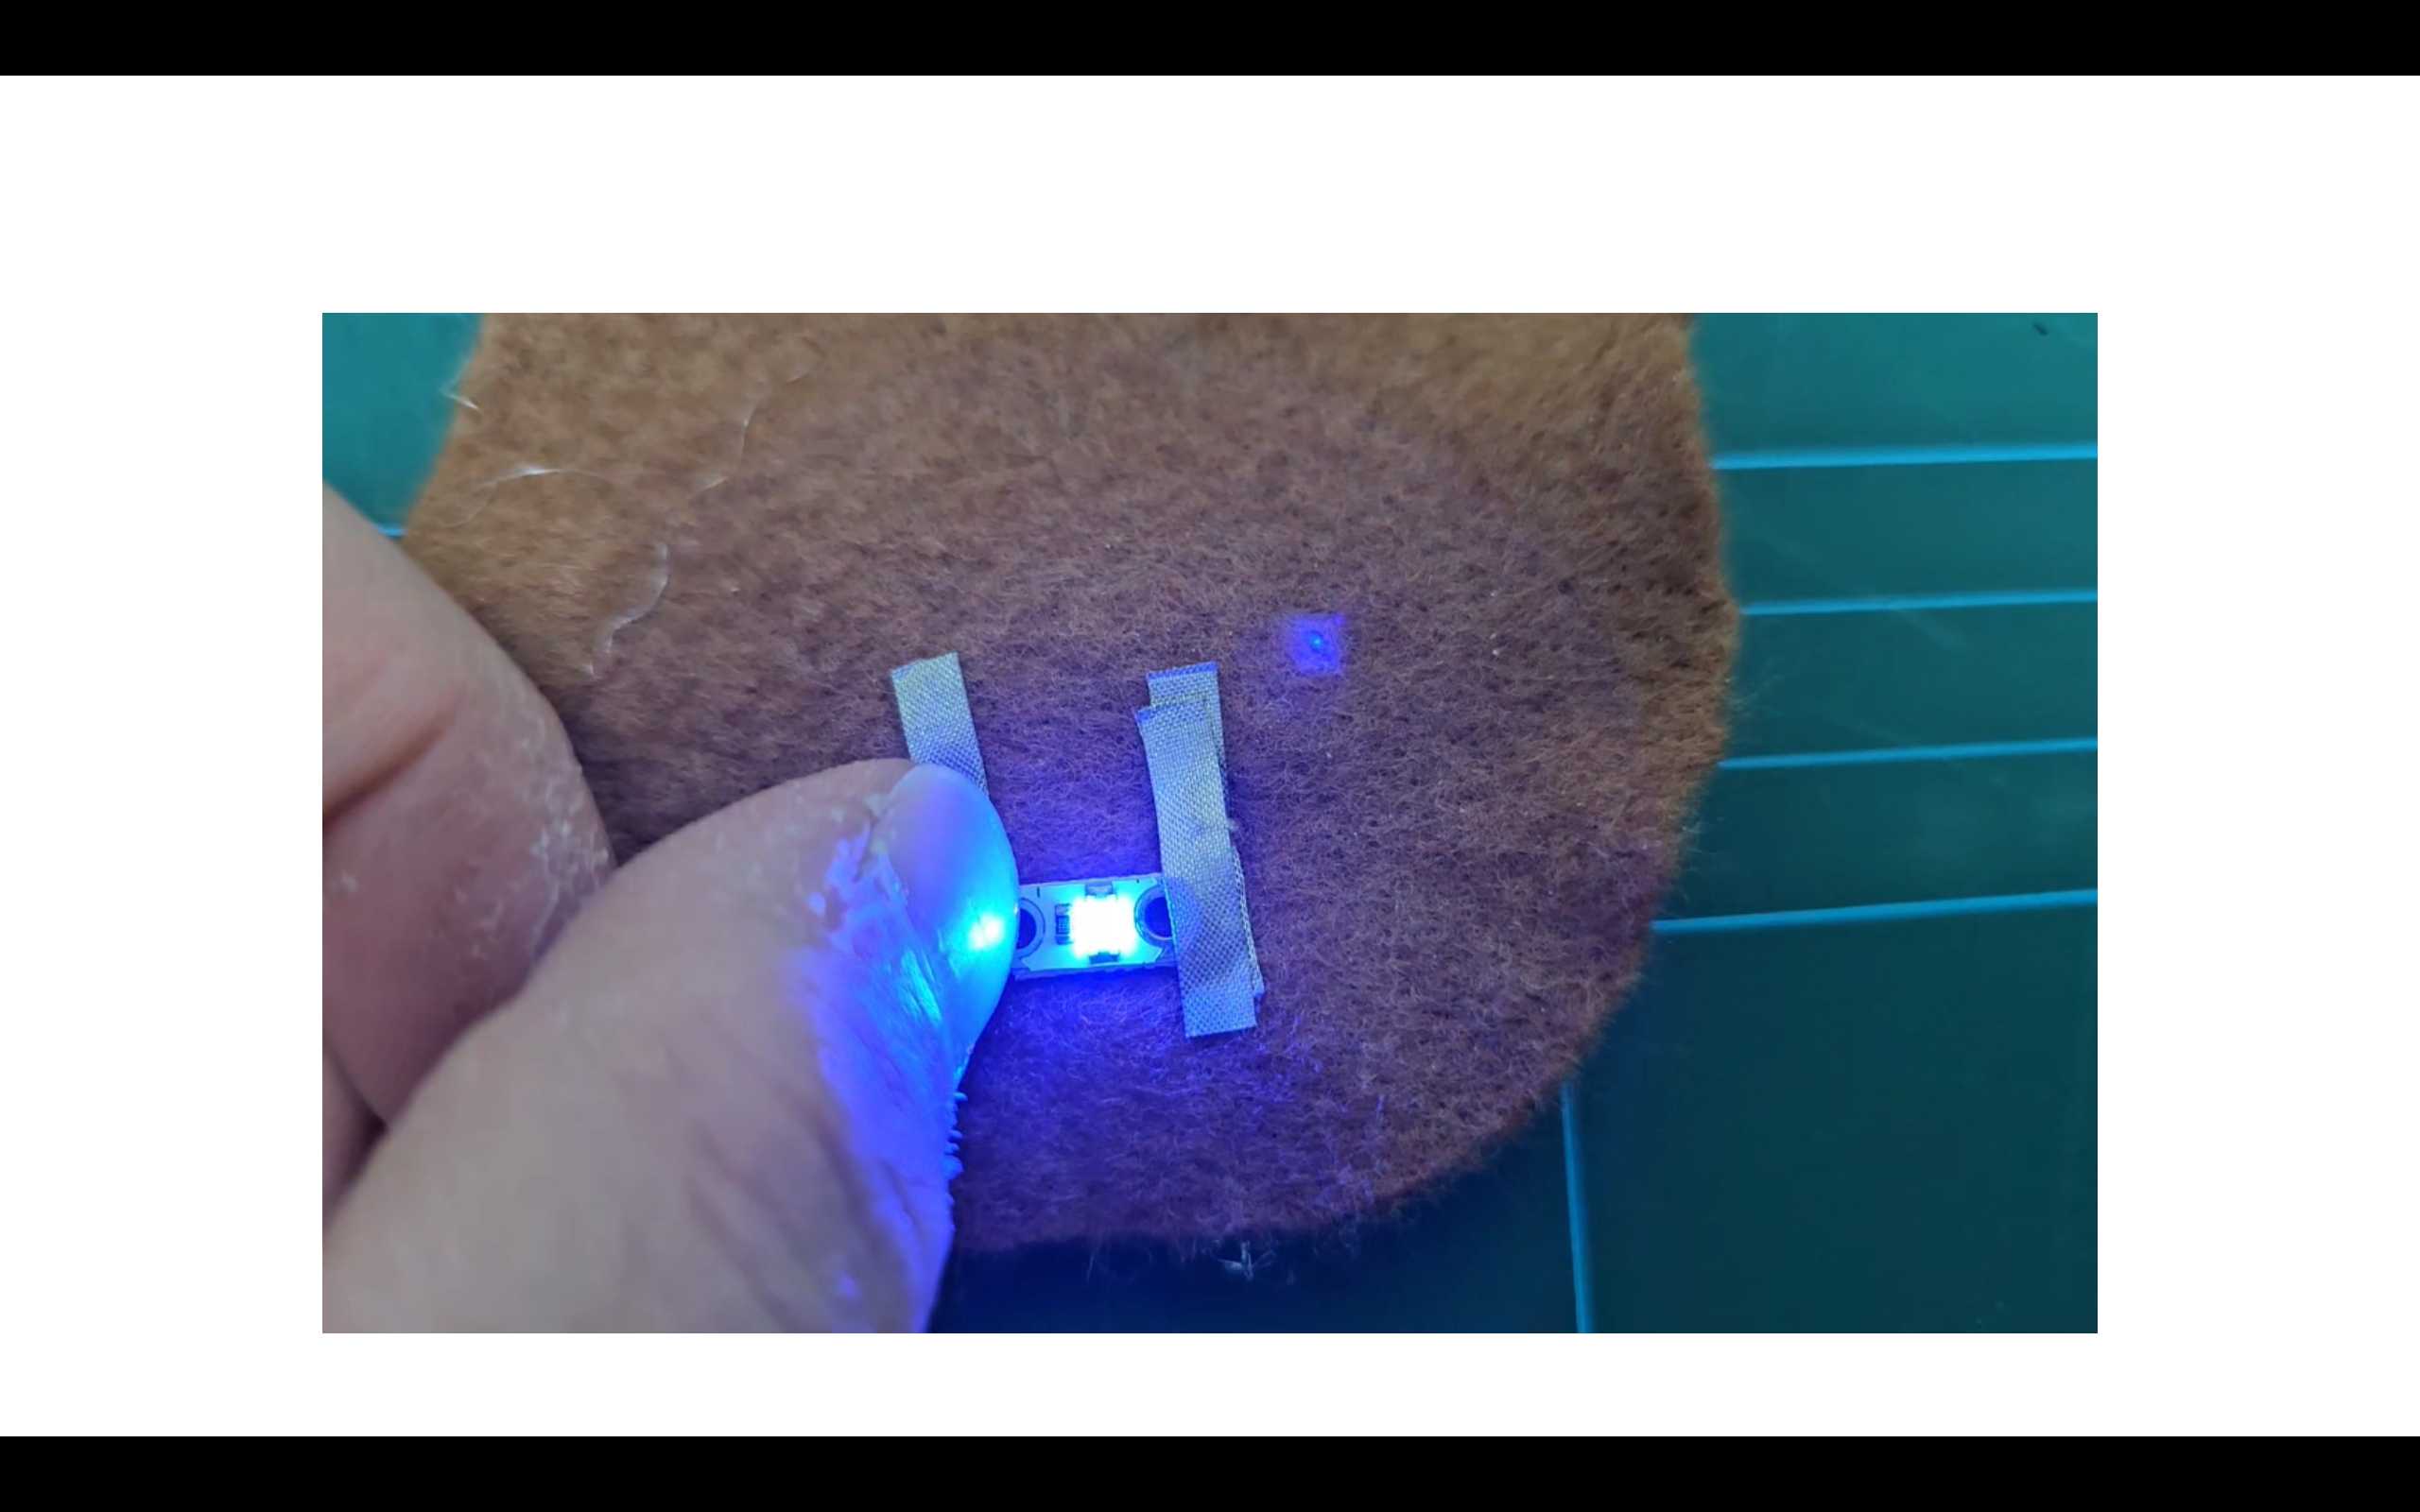
Now we want to build the circuit on the face.
We need to start with the LED to show the polarity and how to connect it in the circuit.

After that we need to show them the polarity of the Battery holder.
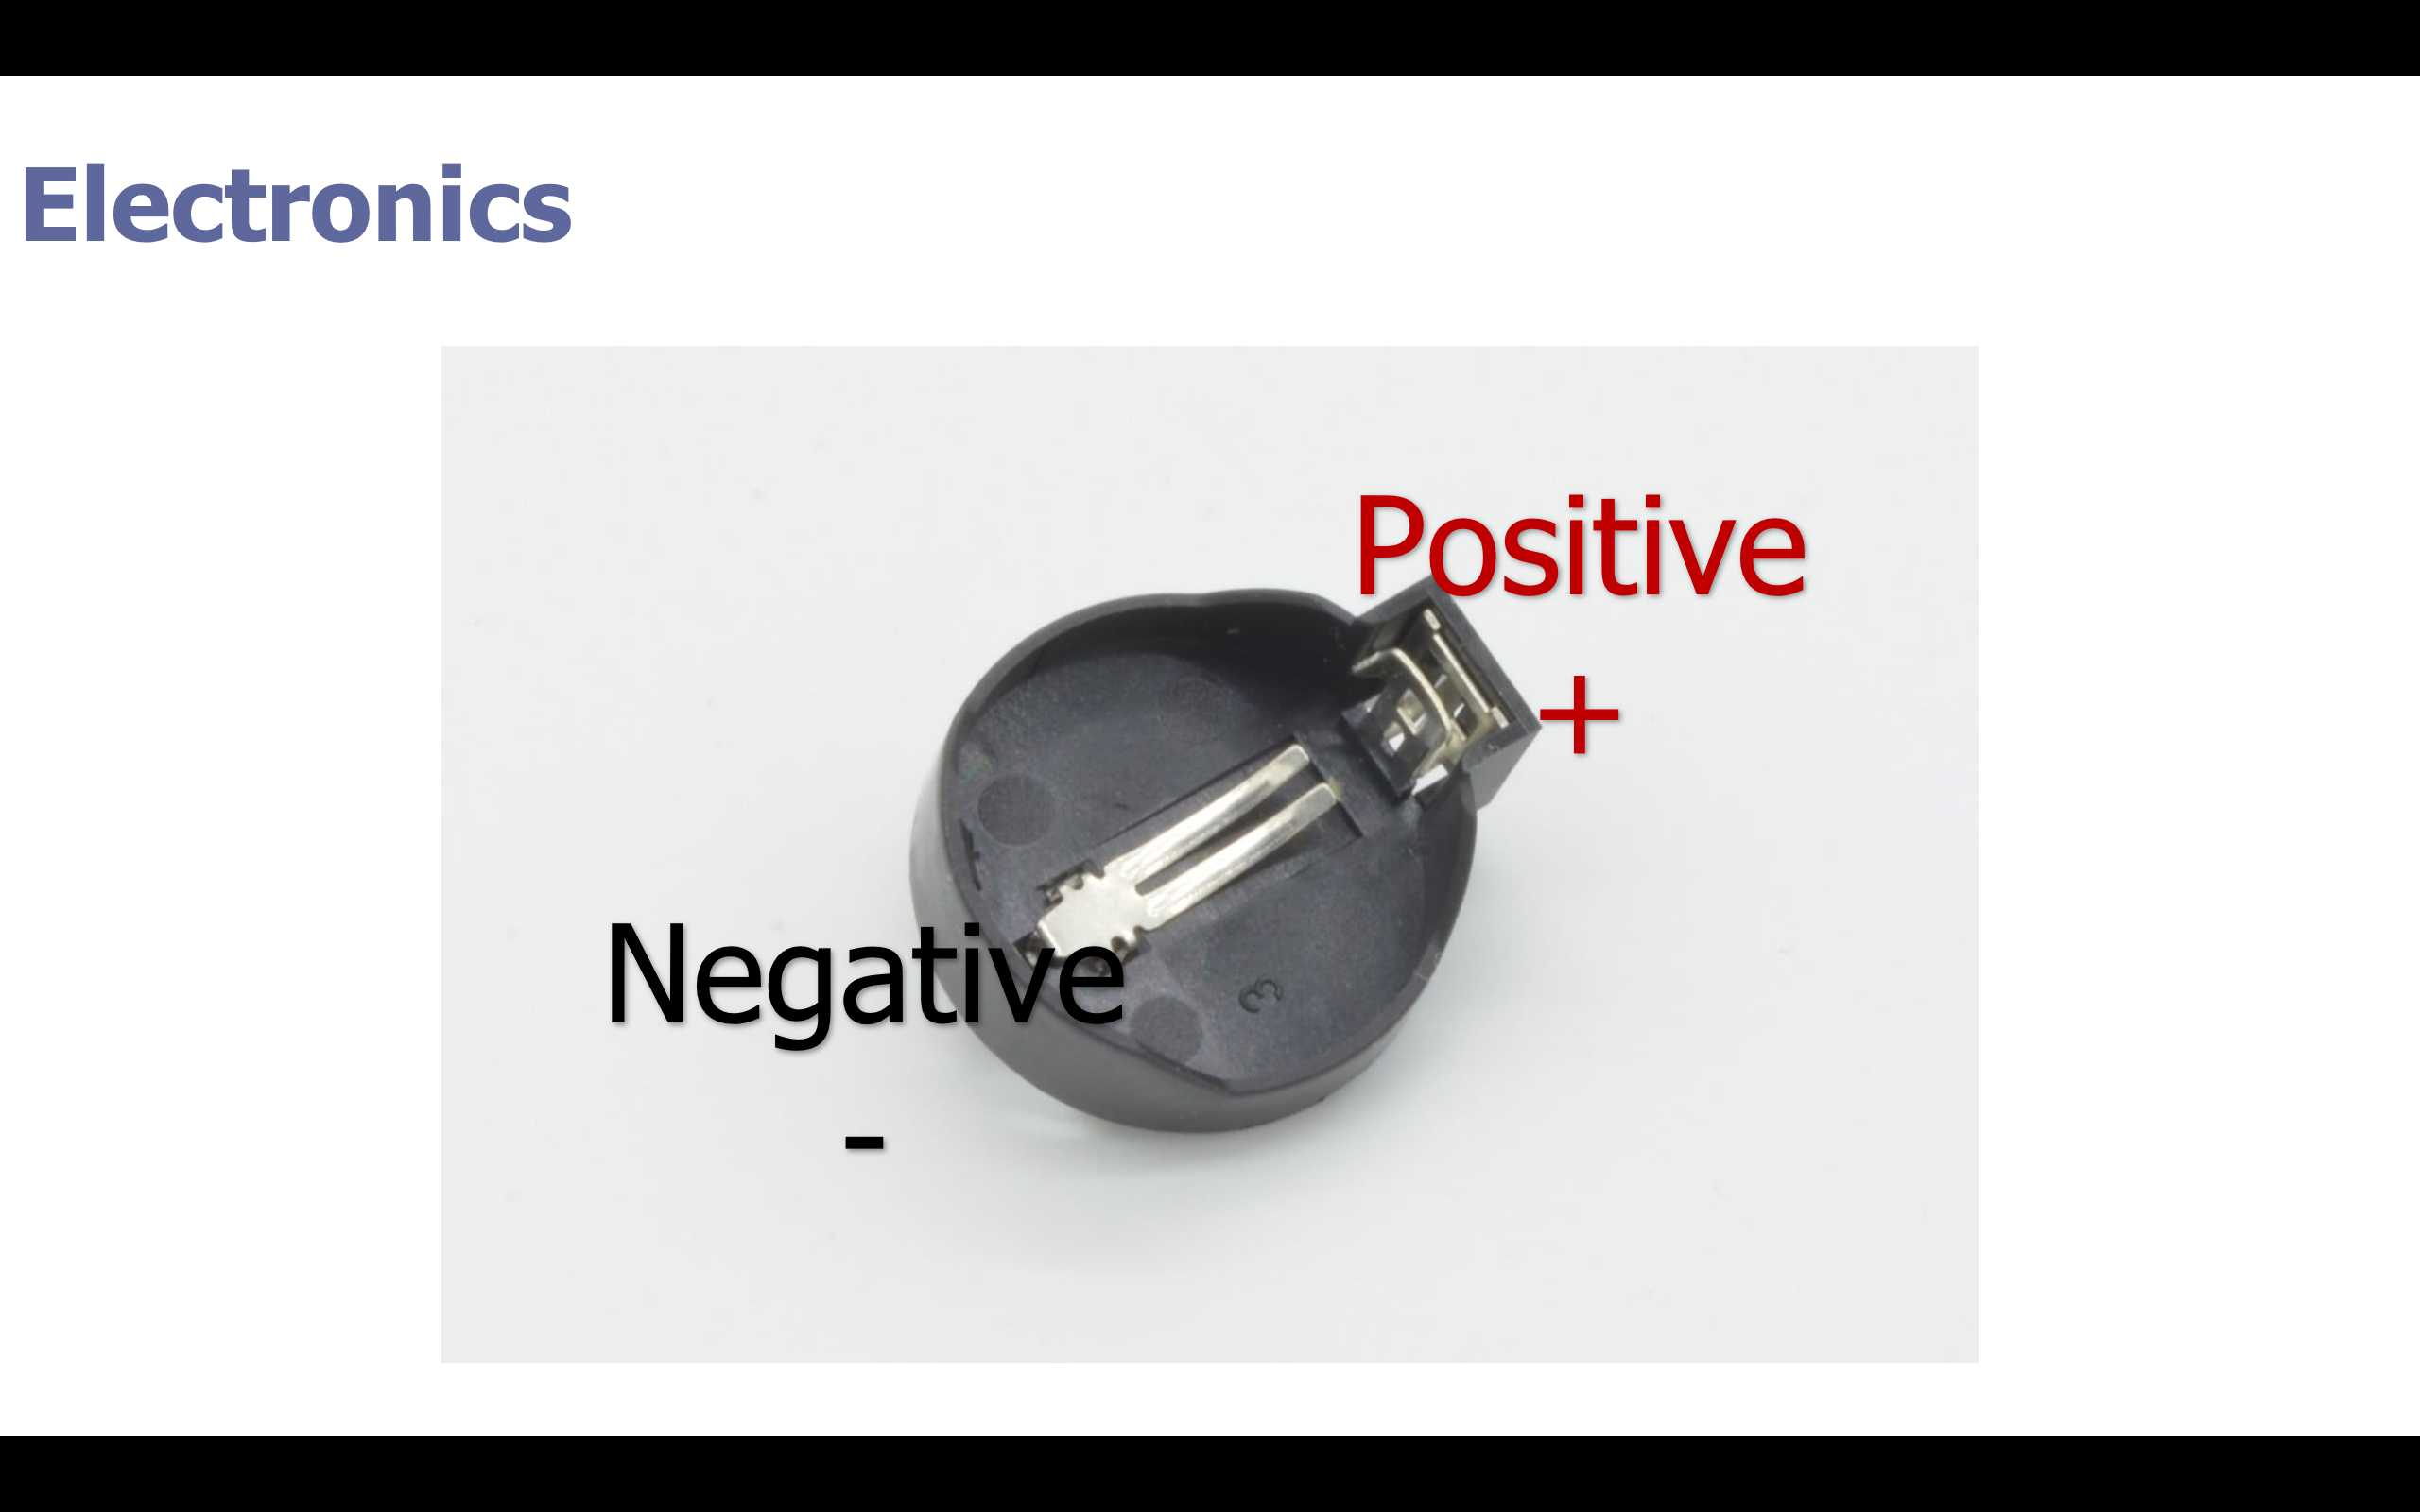
Then How to place the holder ( Please ask them to follow the point as it is otherwise they need to change all the connections.
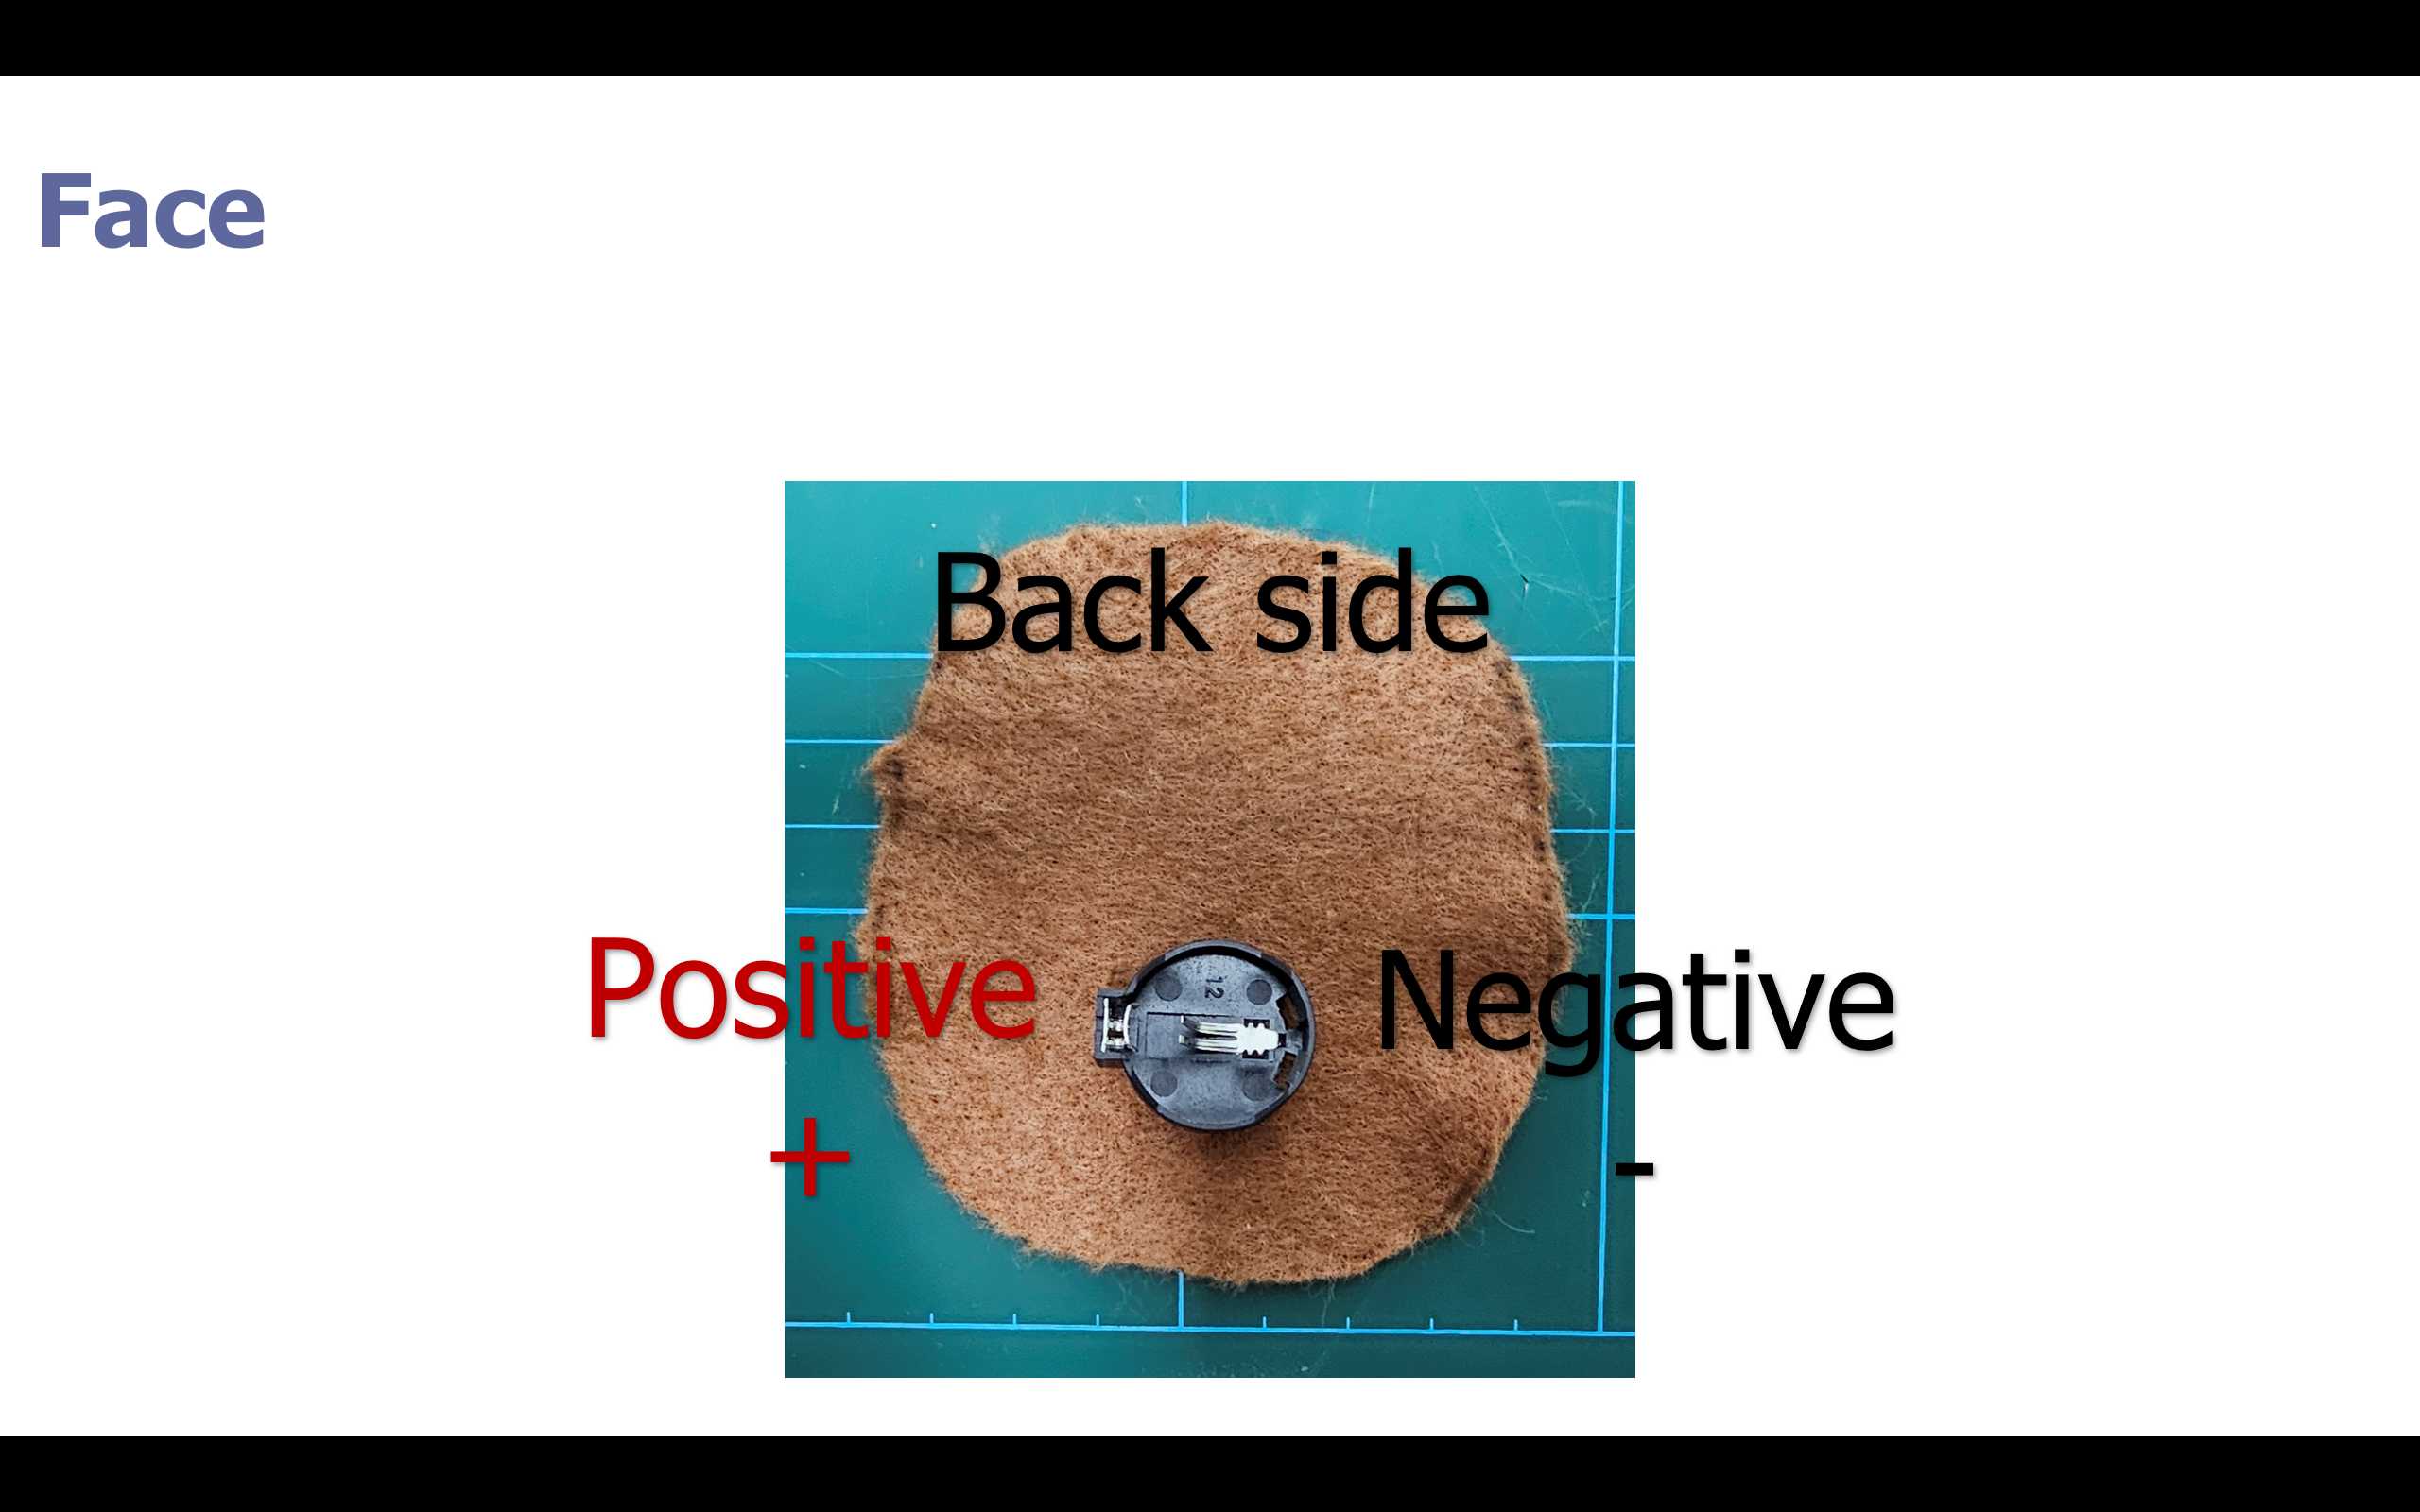


Now we need to bend the poles to be flat at the conductive tape.

Then we will Install the battery

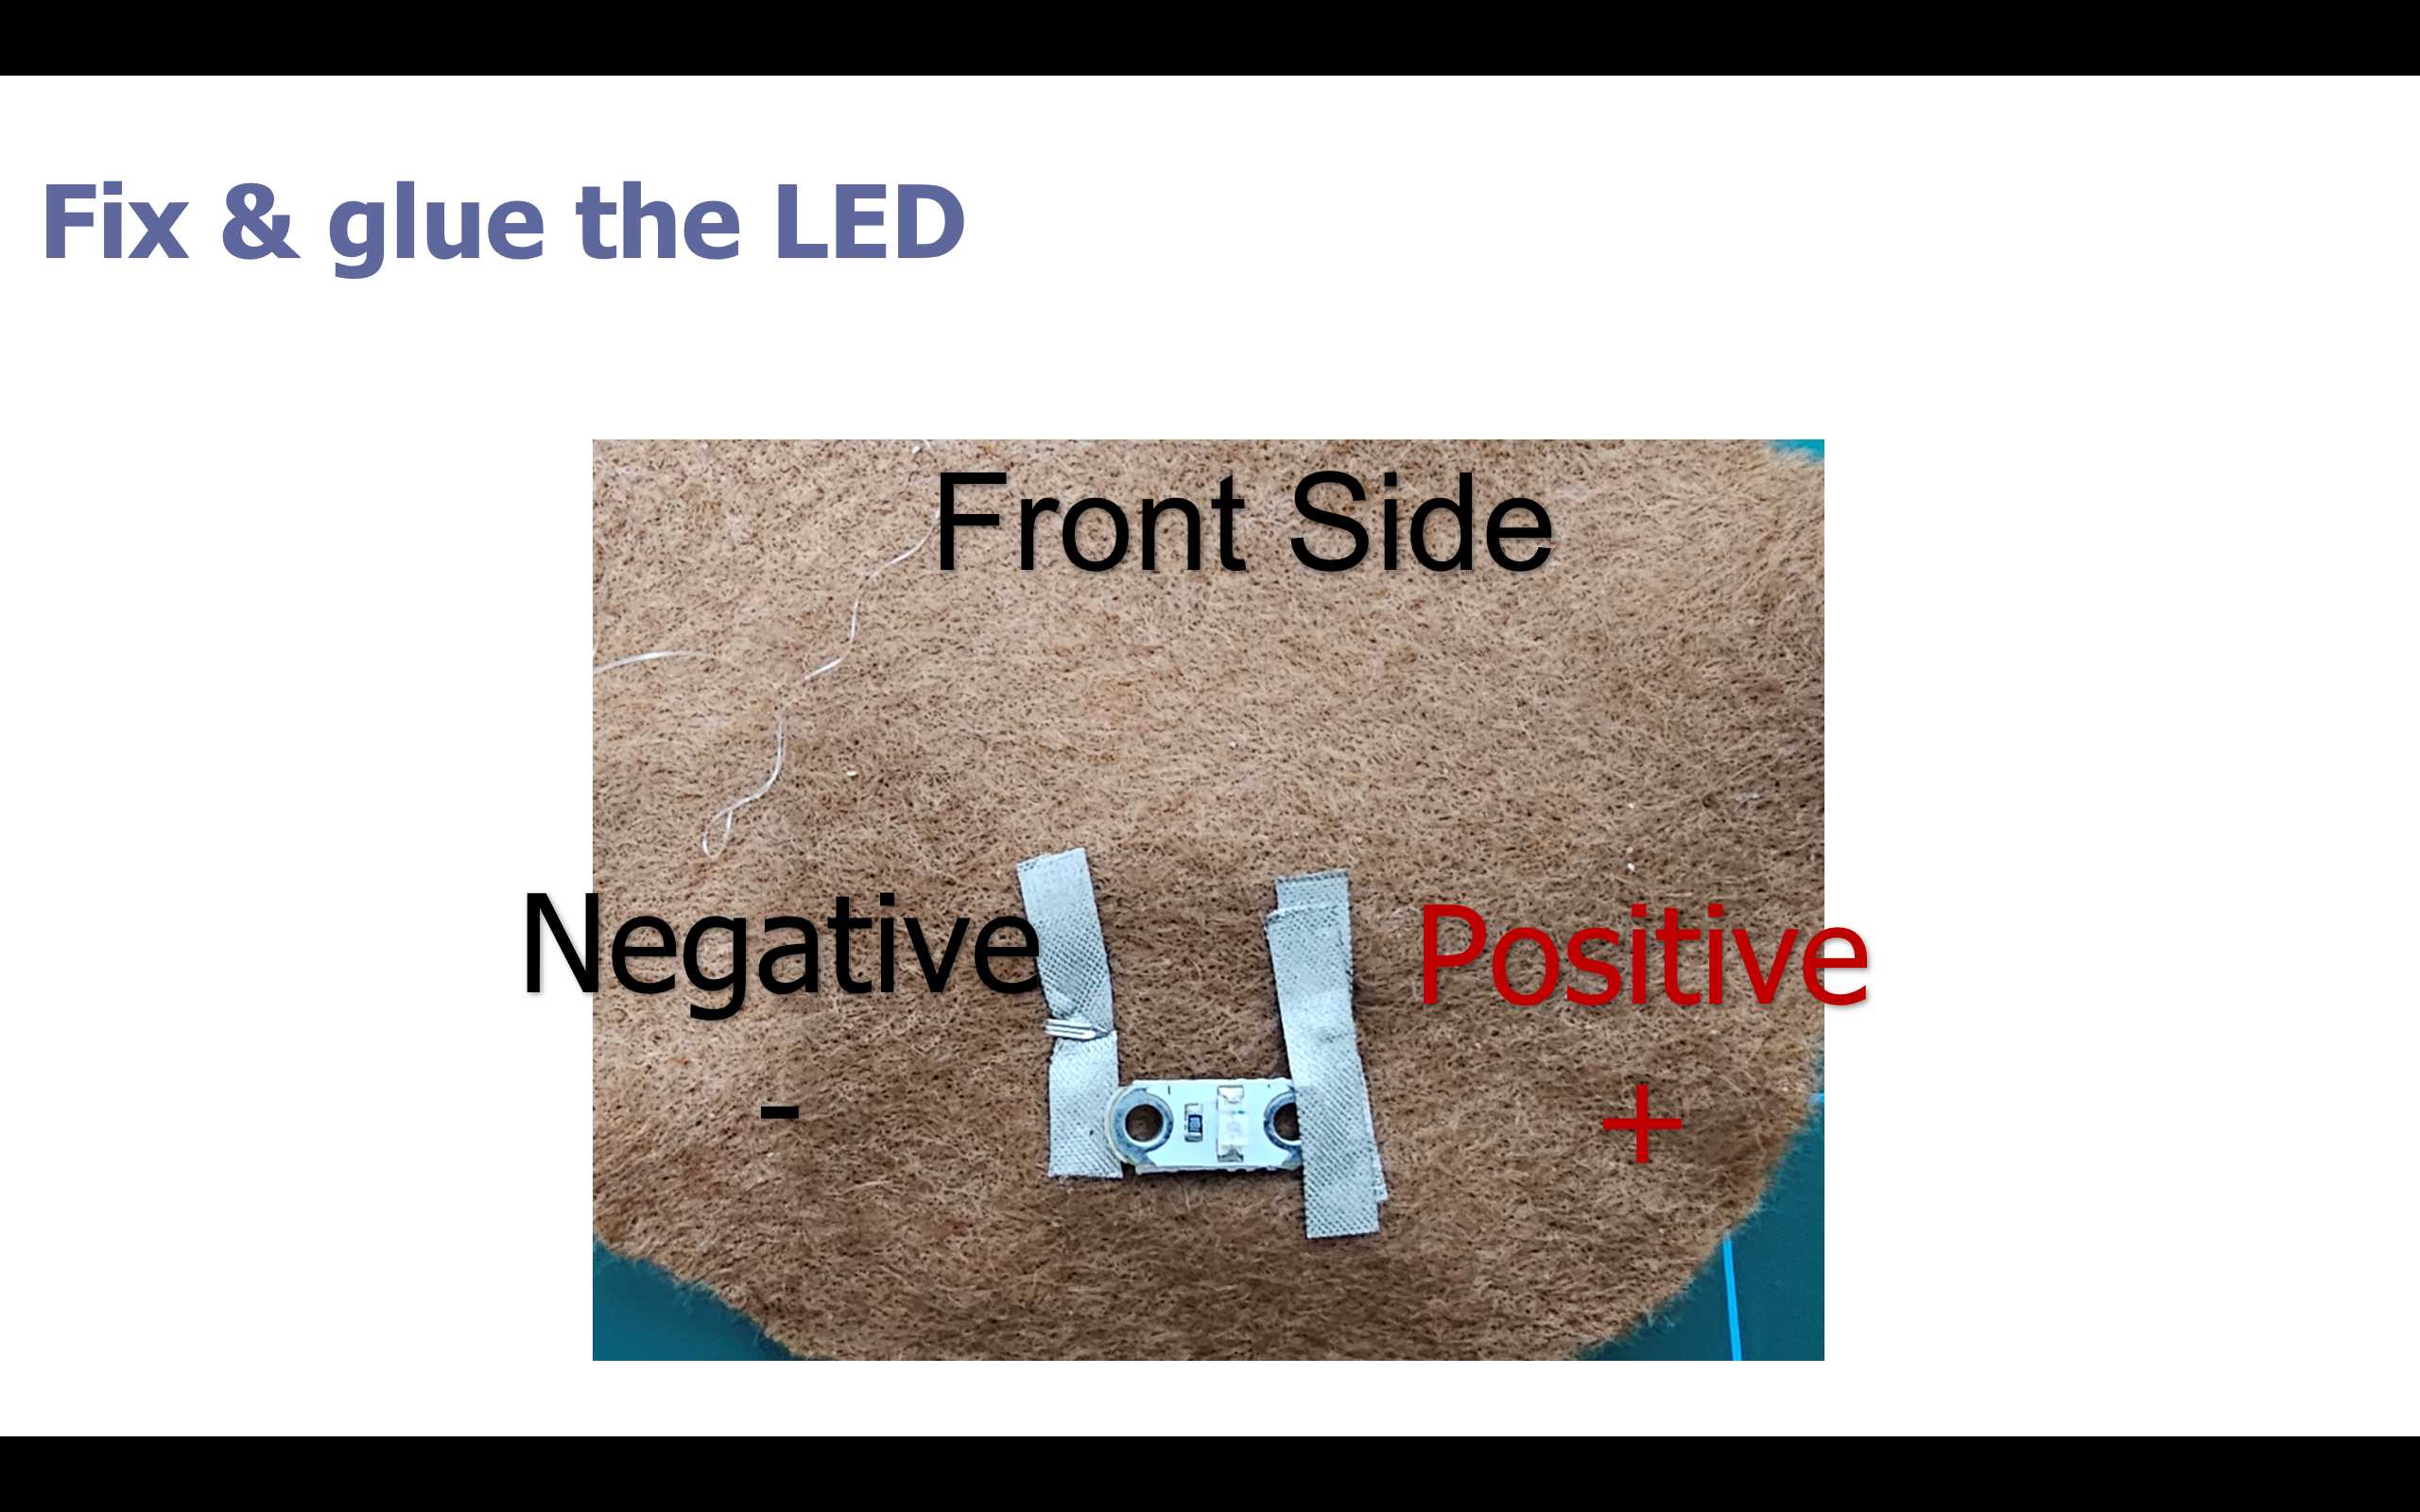
We will add part of a conductive tape on one side of the LED.
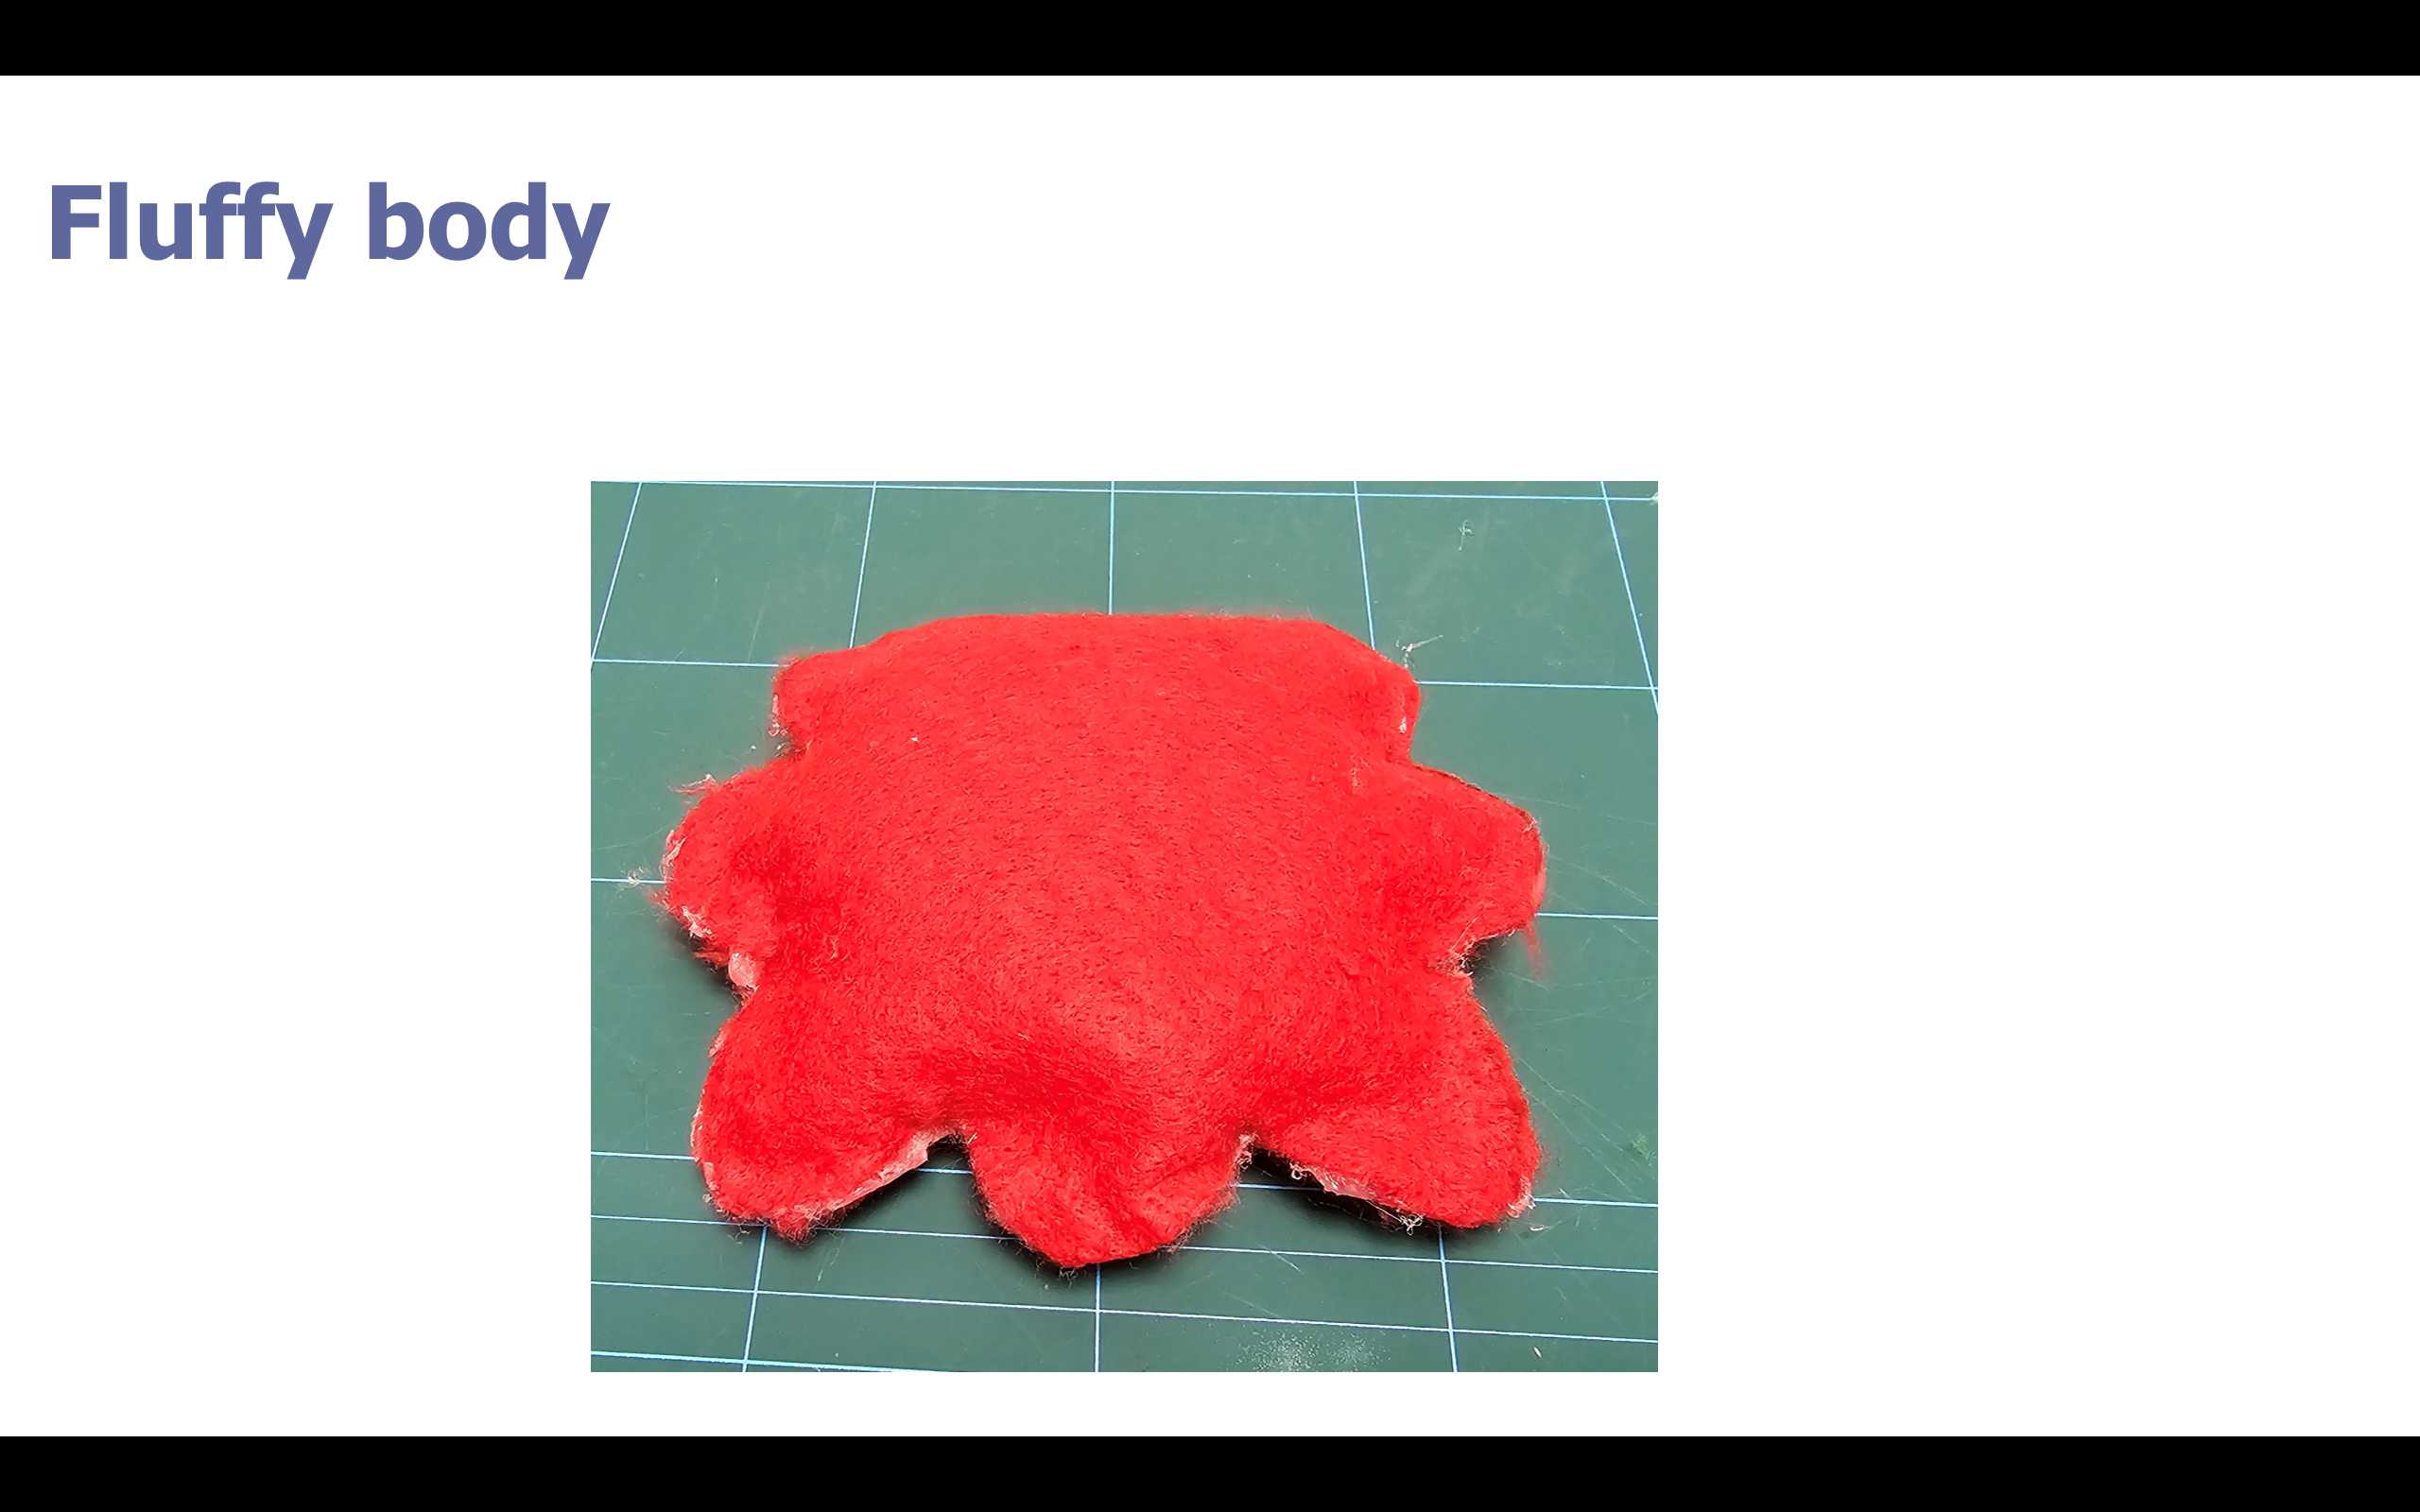
5- Making the body.
In this part we will fill the body shape with cotton.
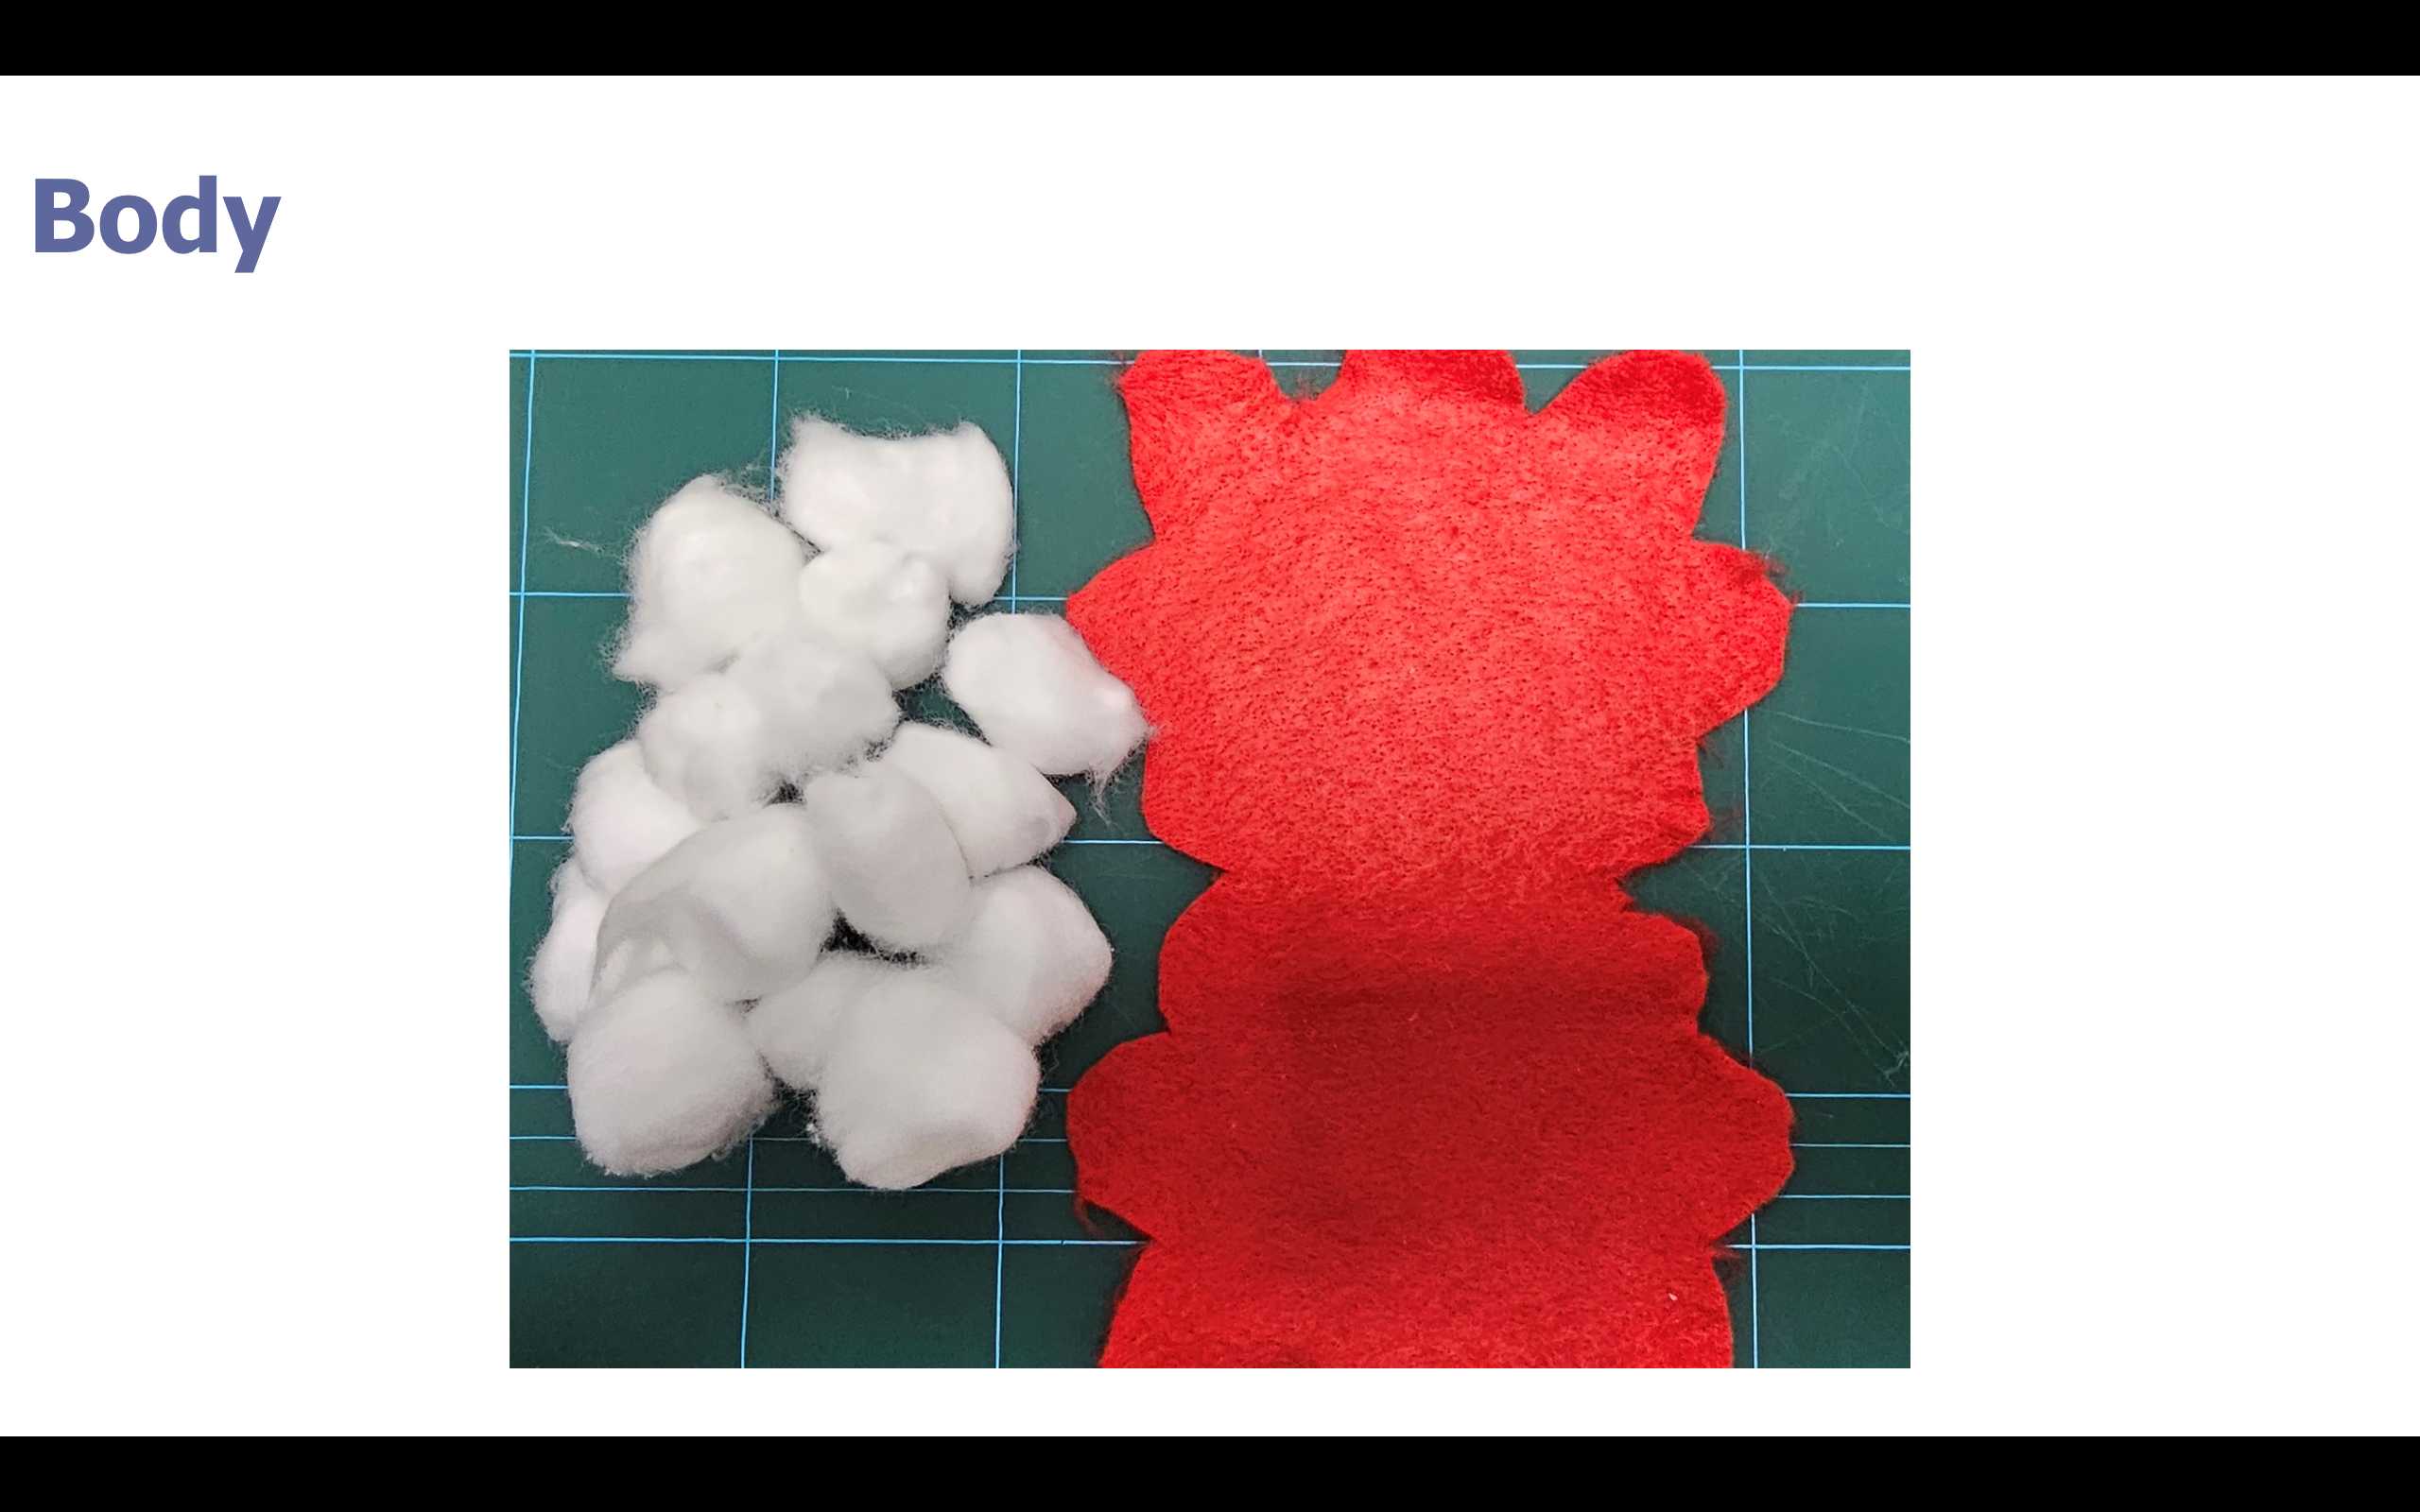

Here we need to make the body shape as a container to fill it with cotton easily.
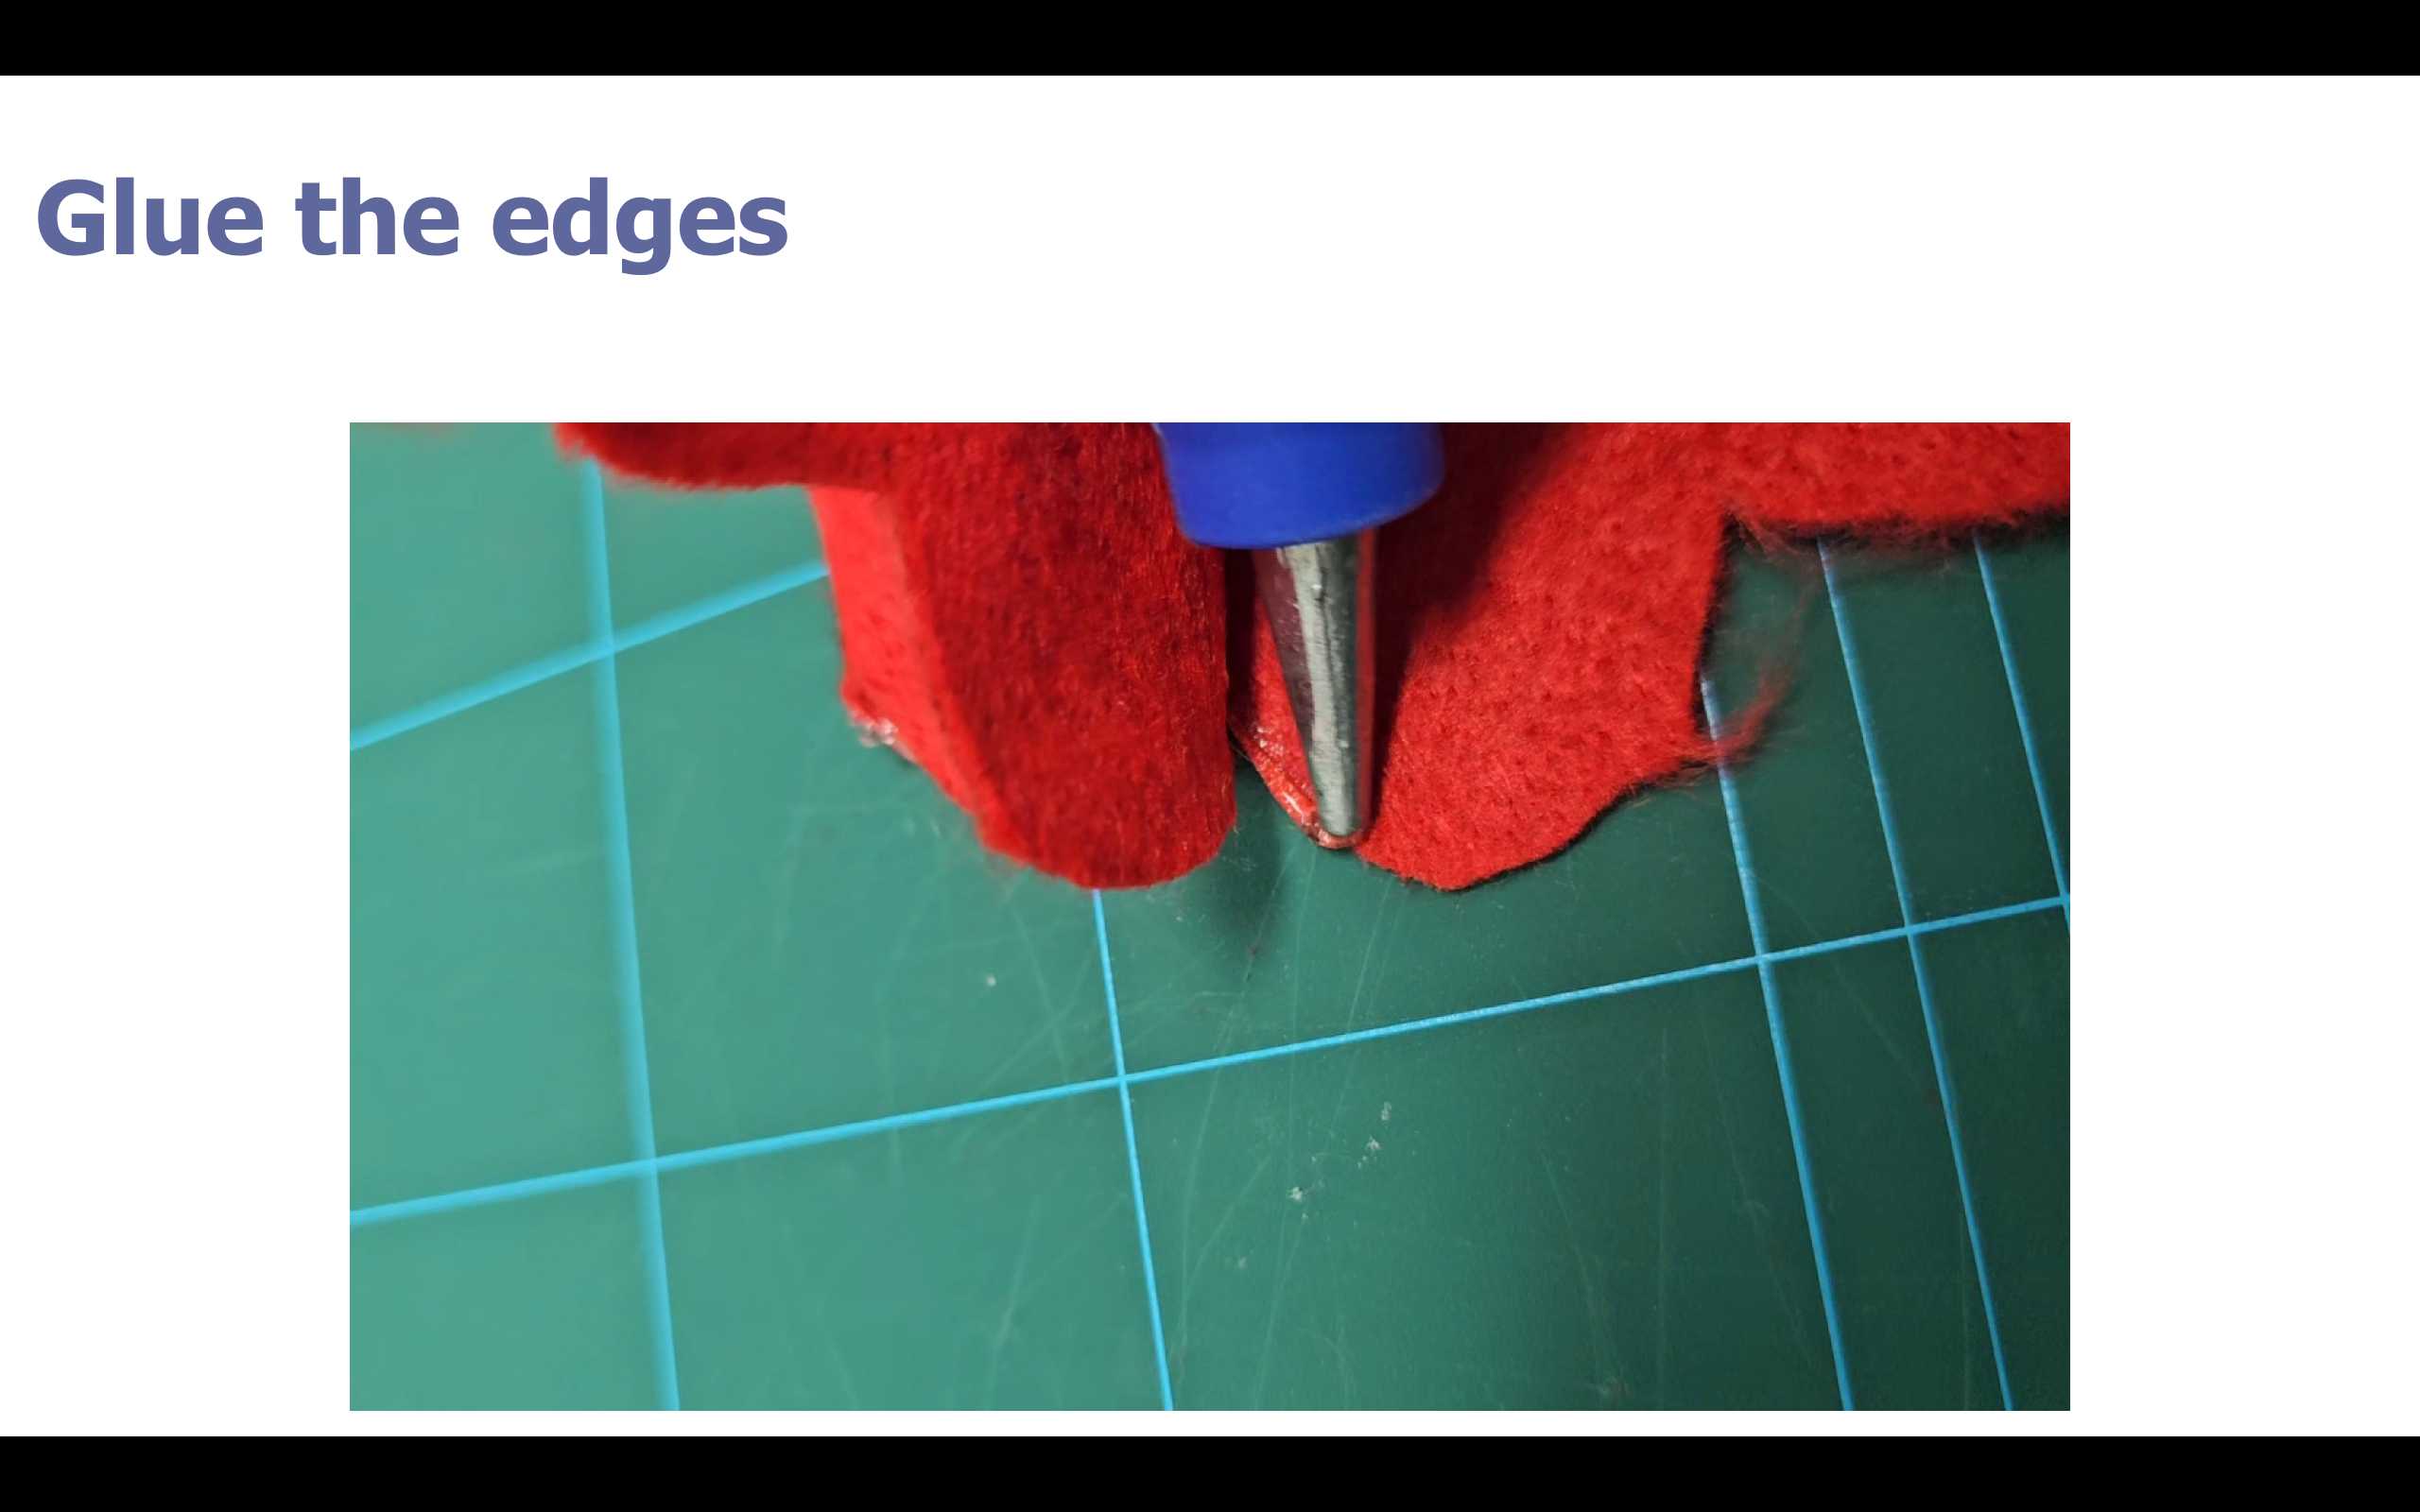

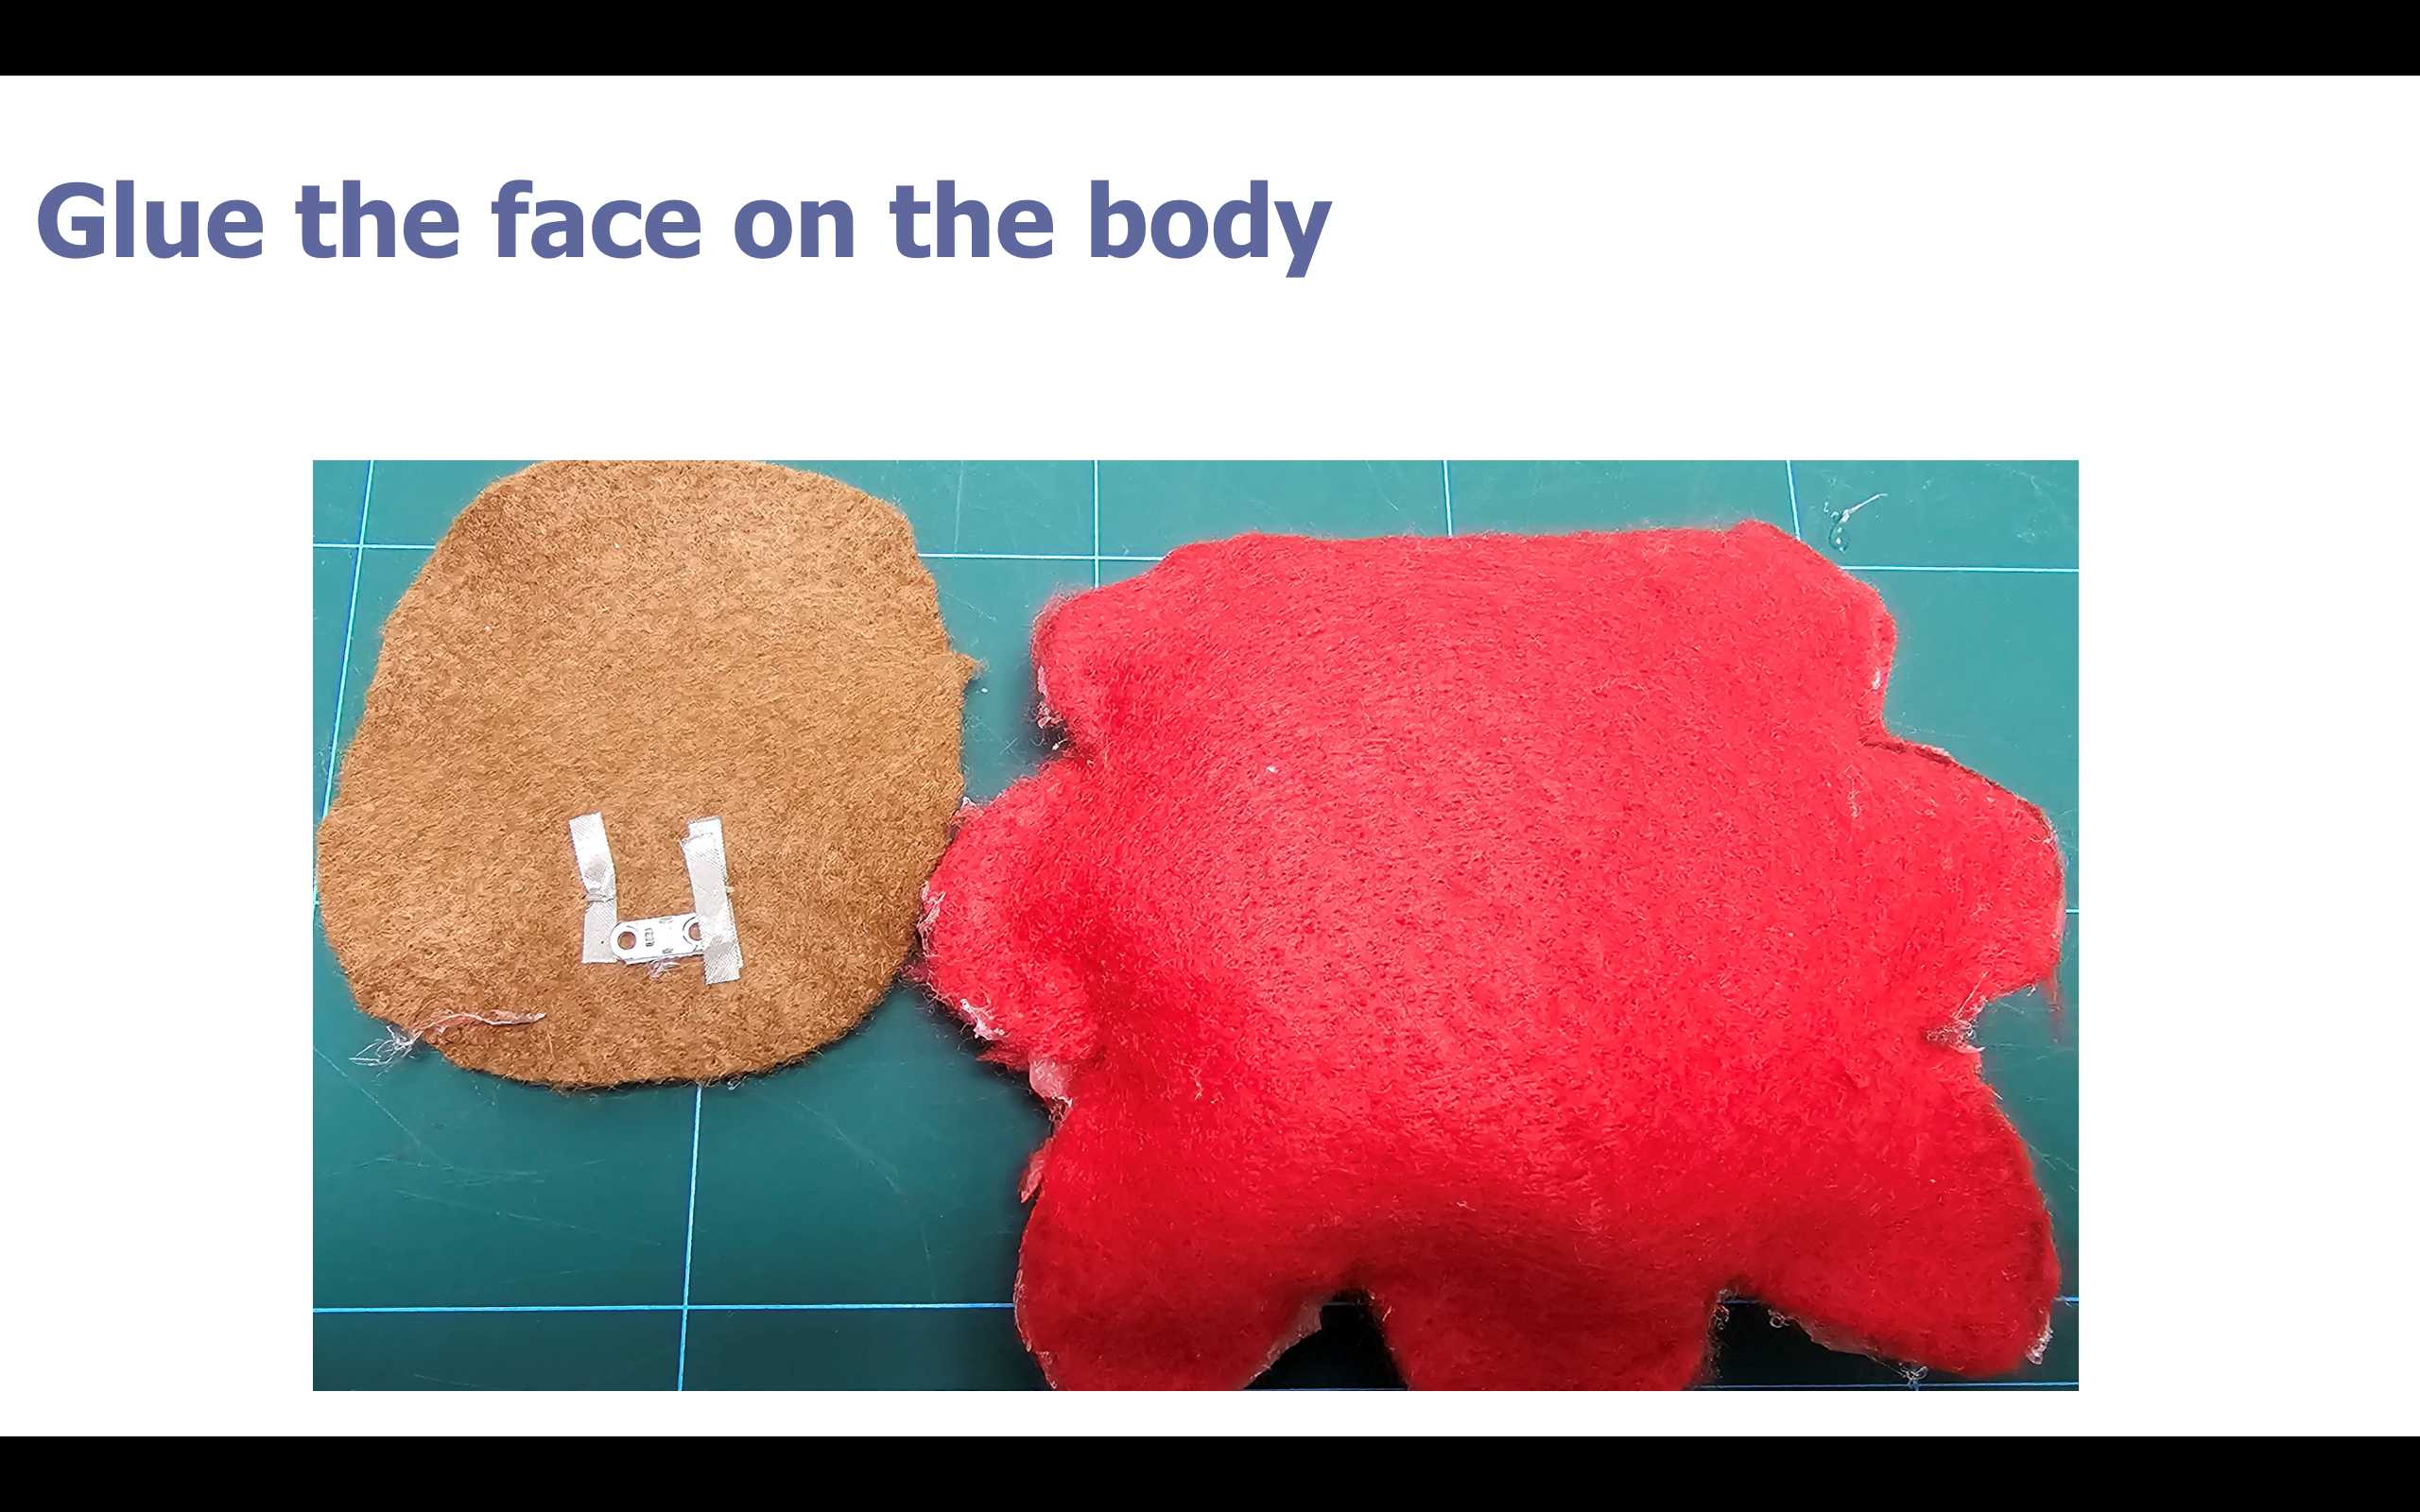
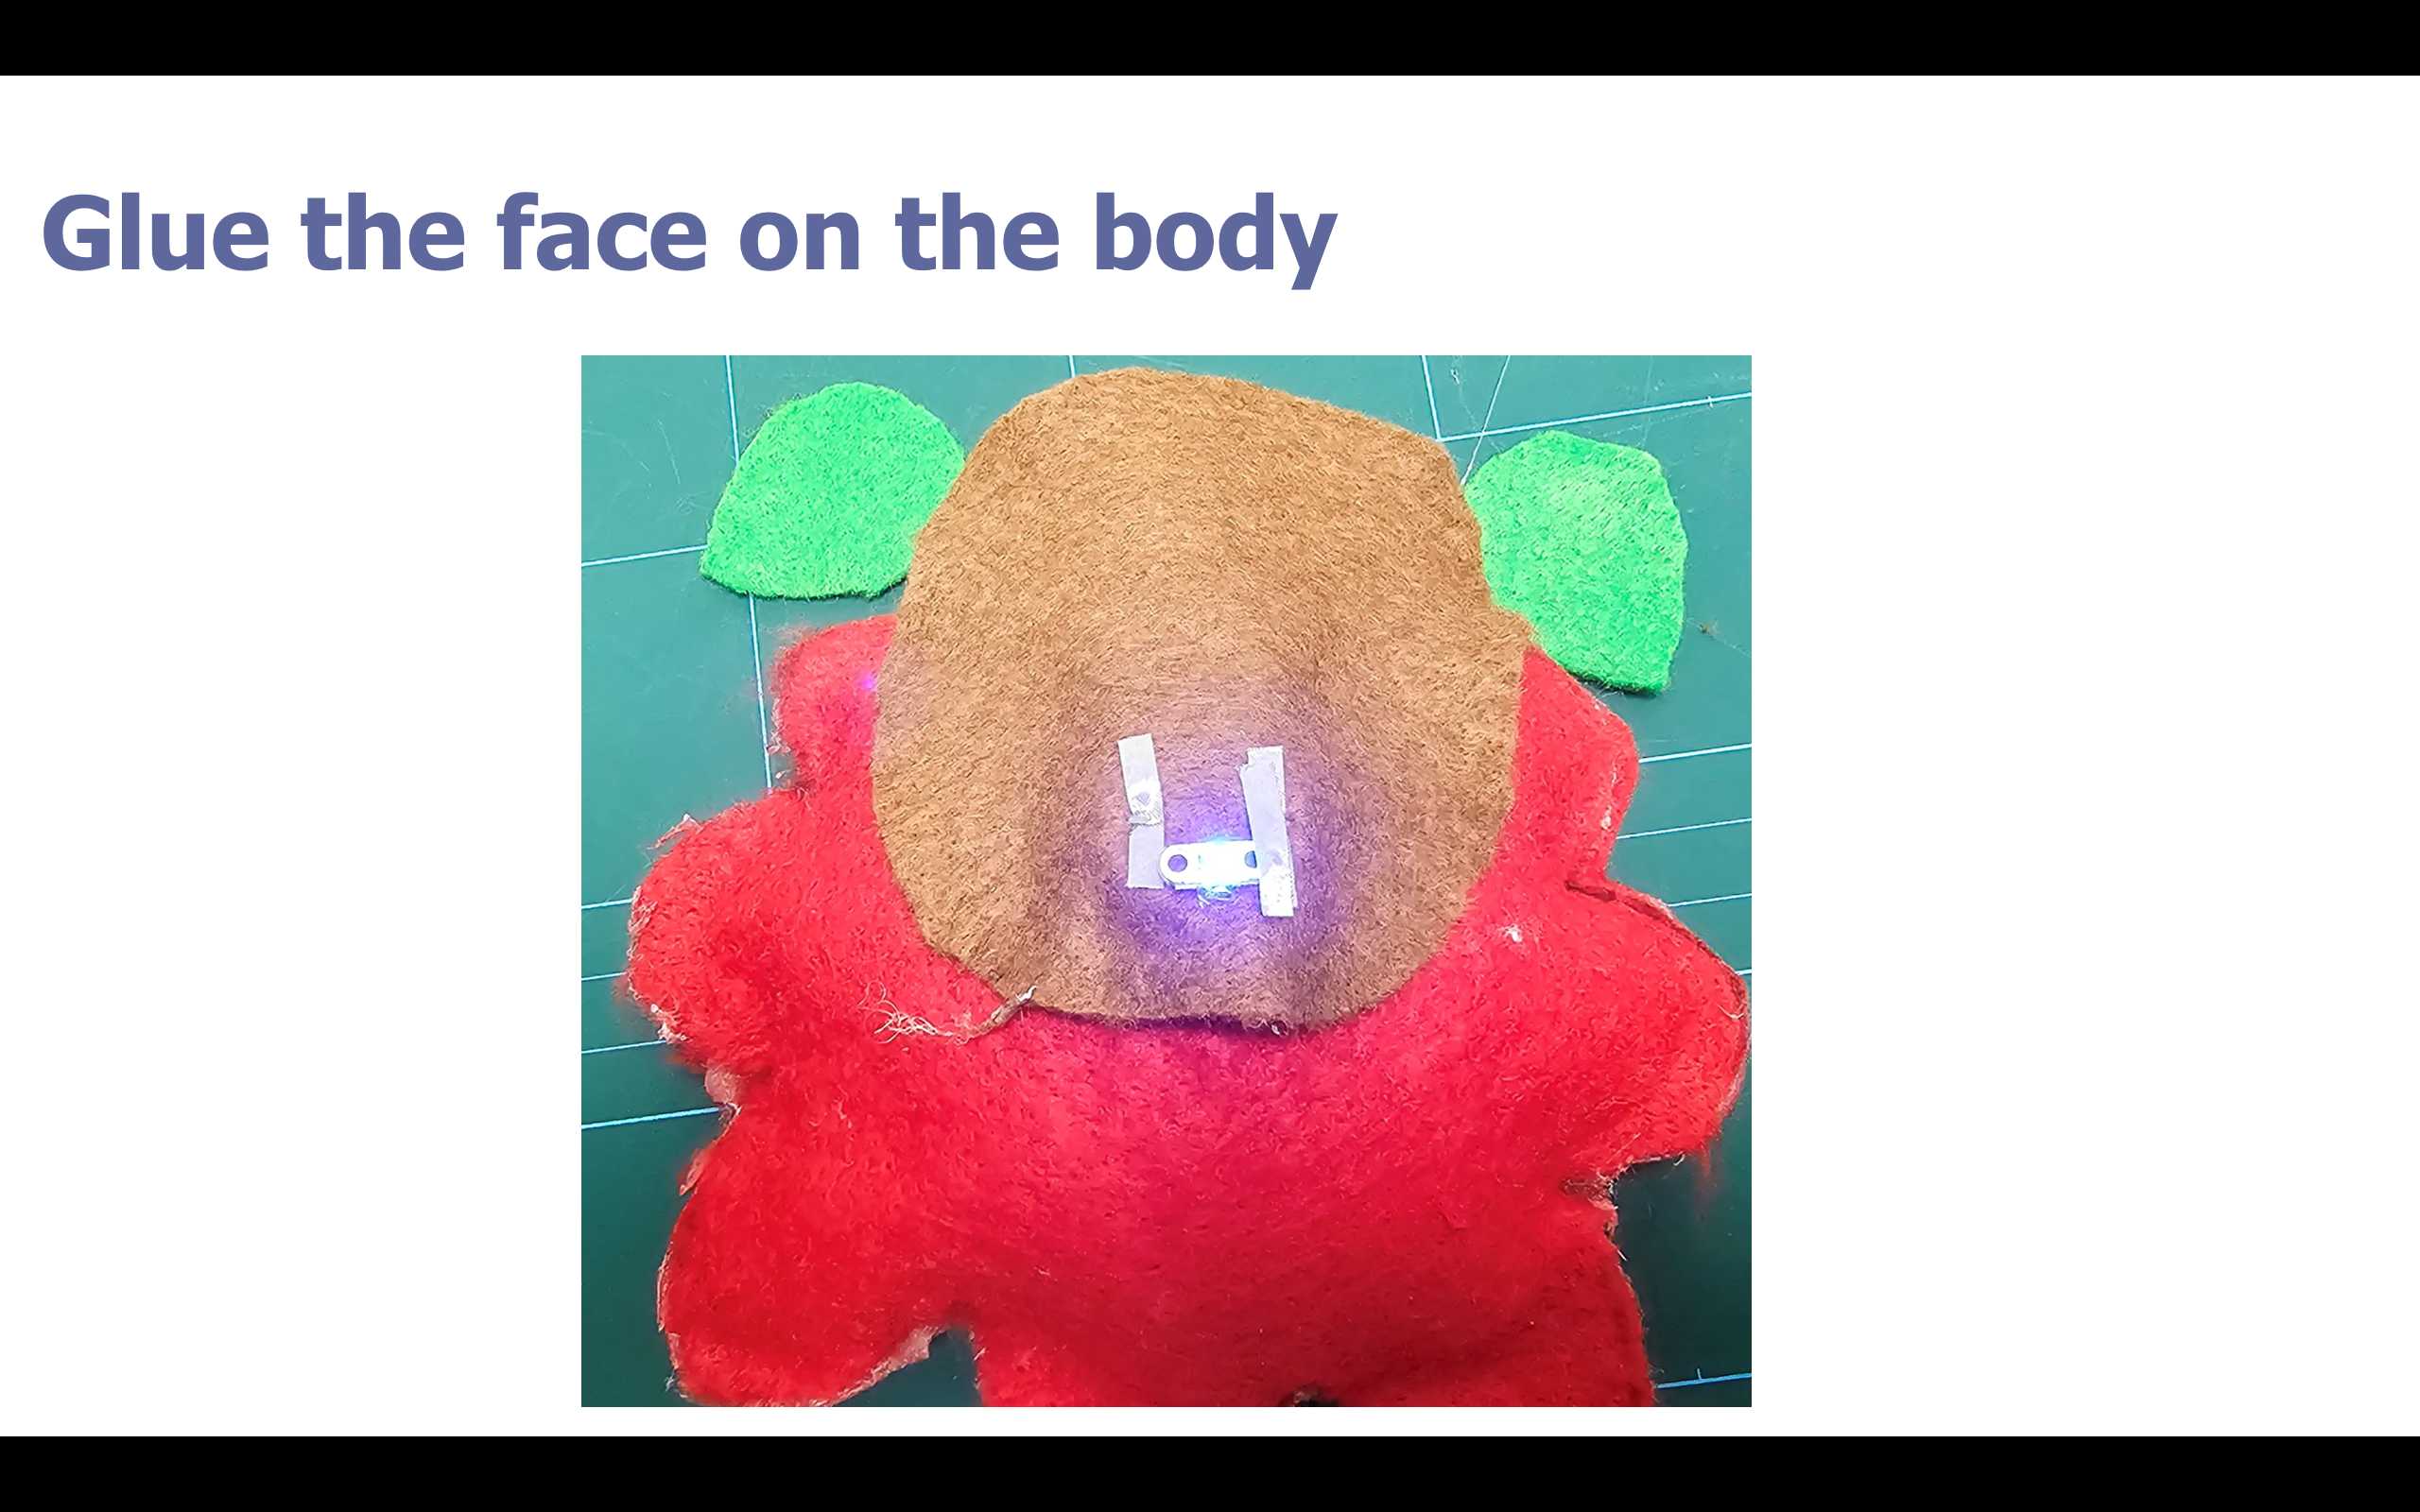
6- Gluing the face on the body.
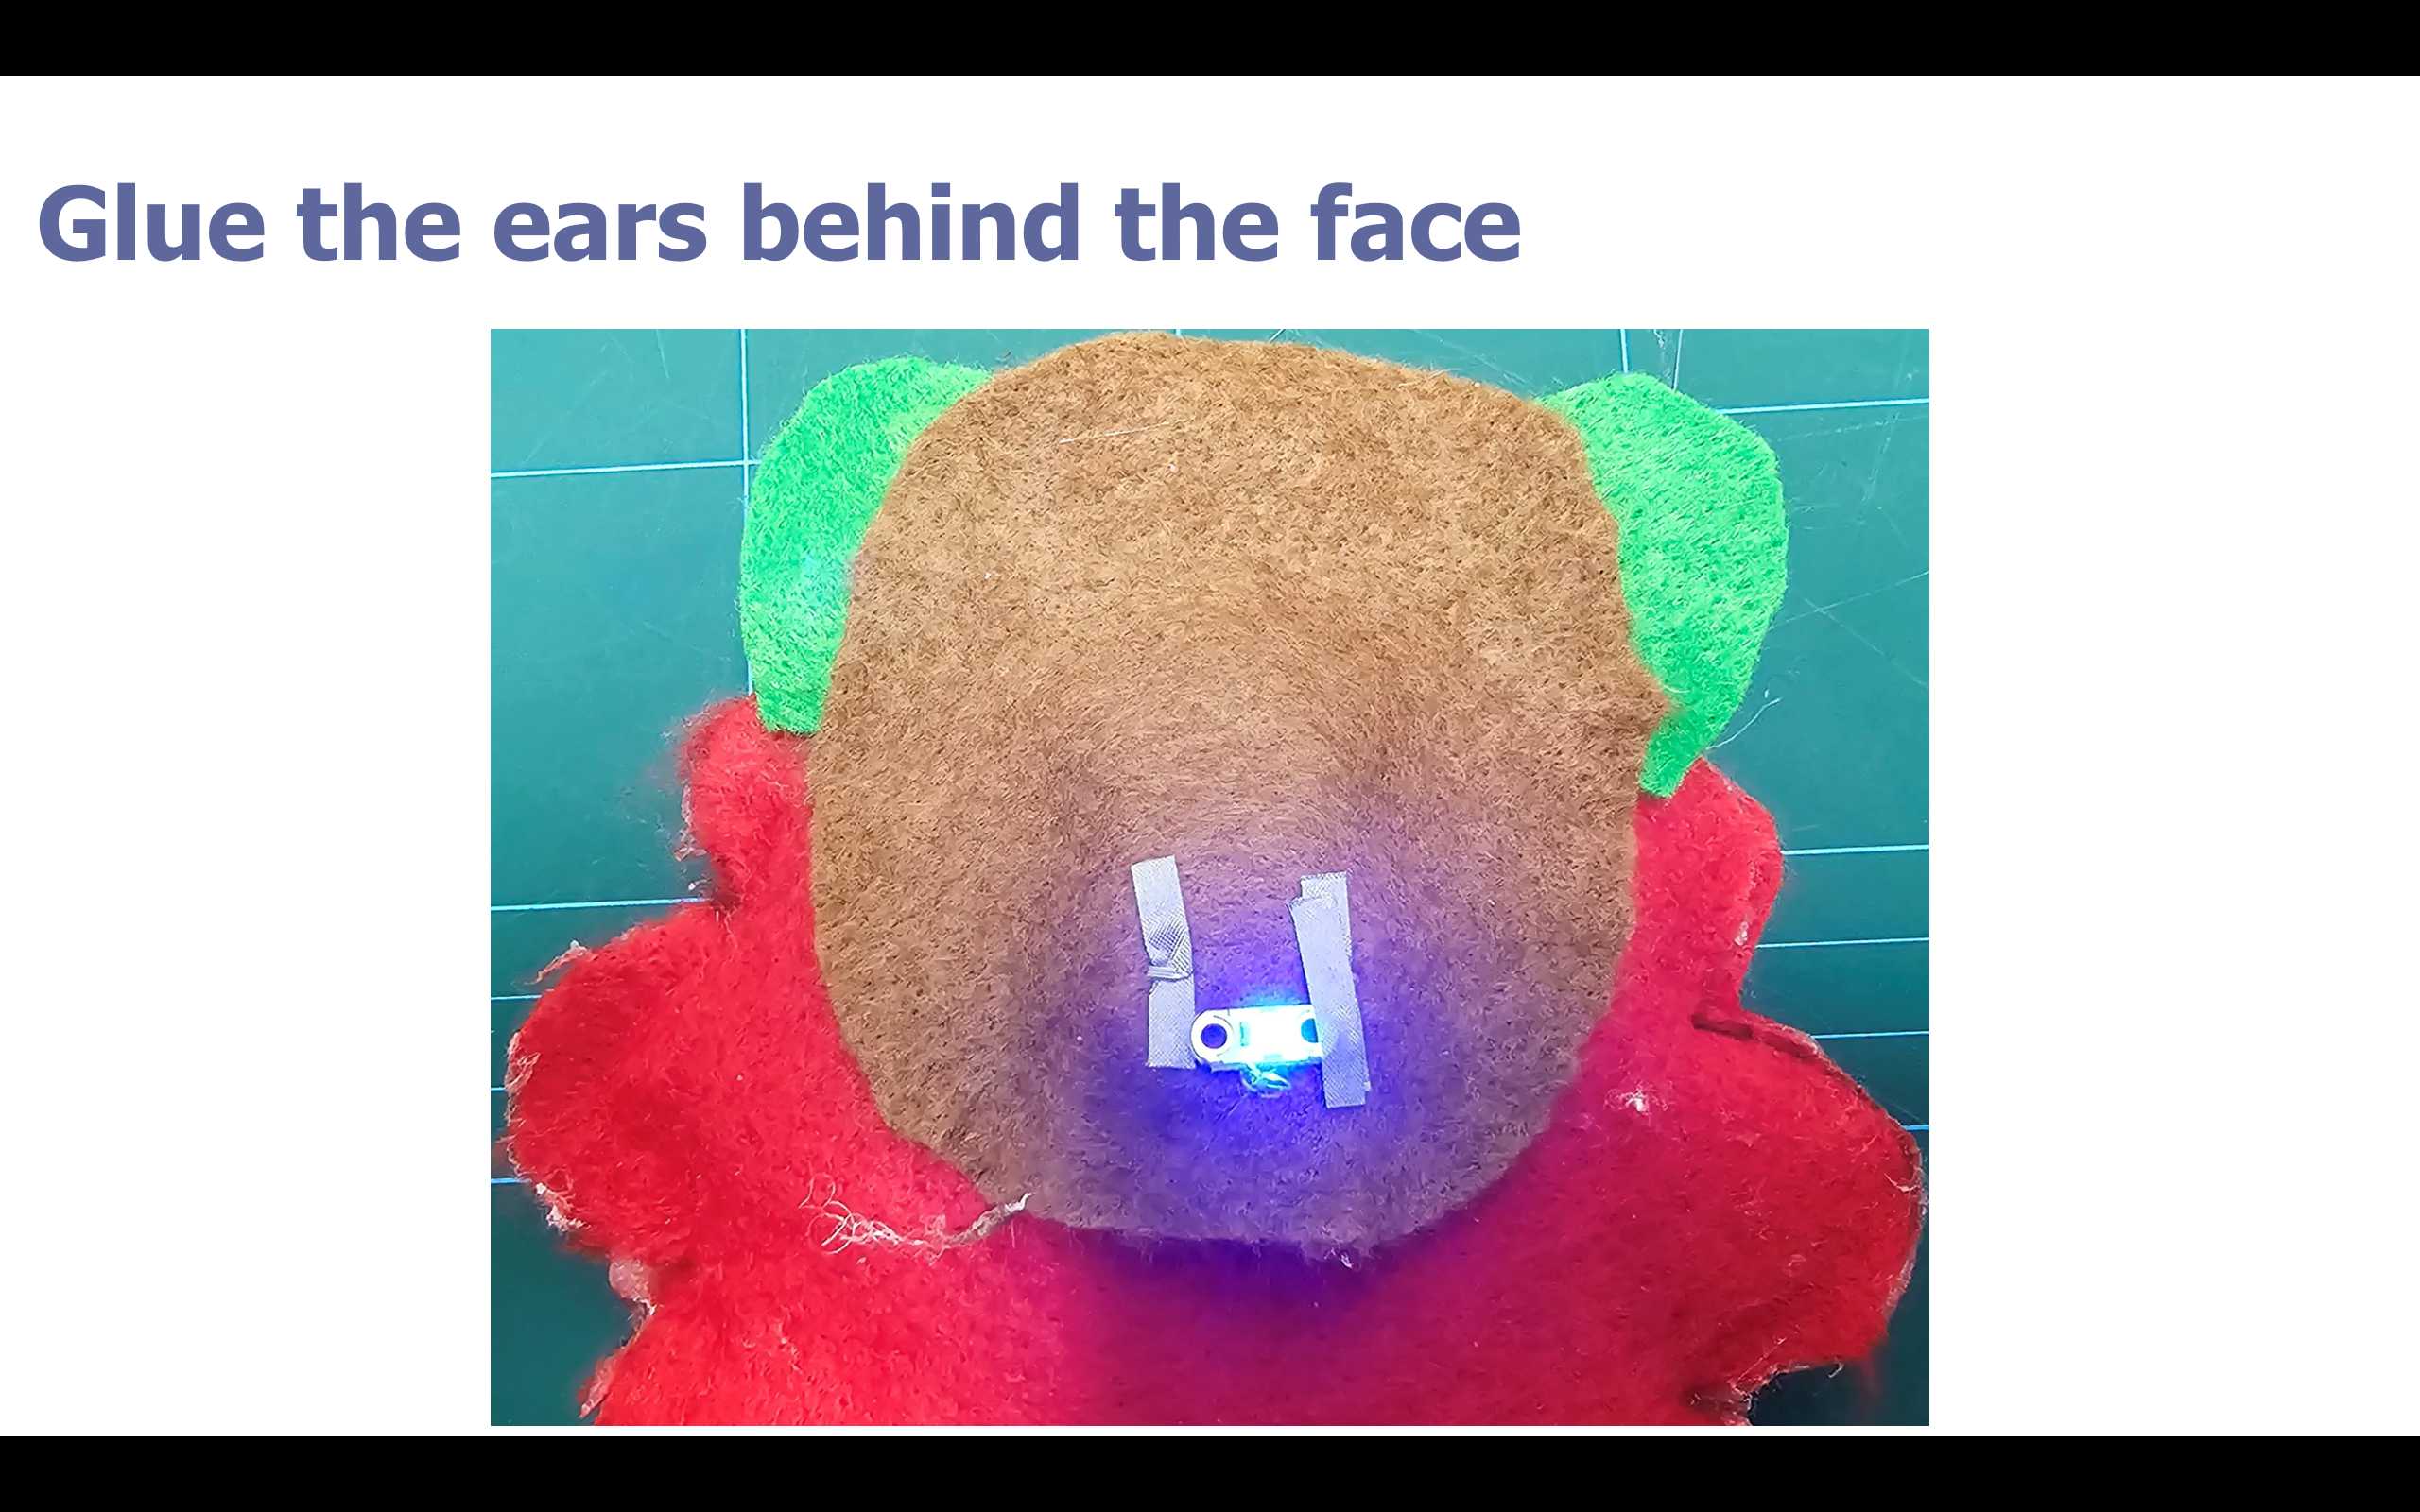
7- Gluing the ears.
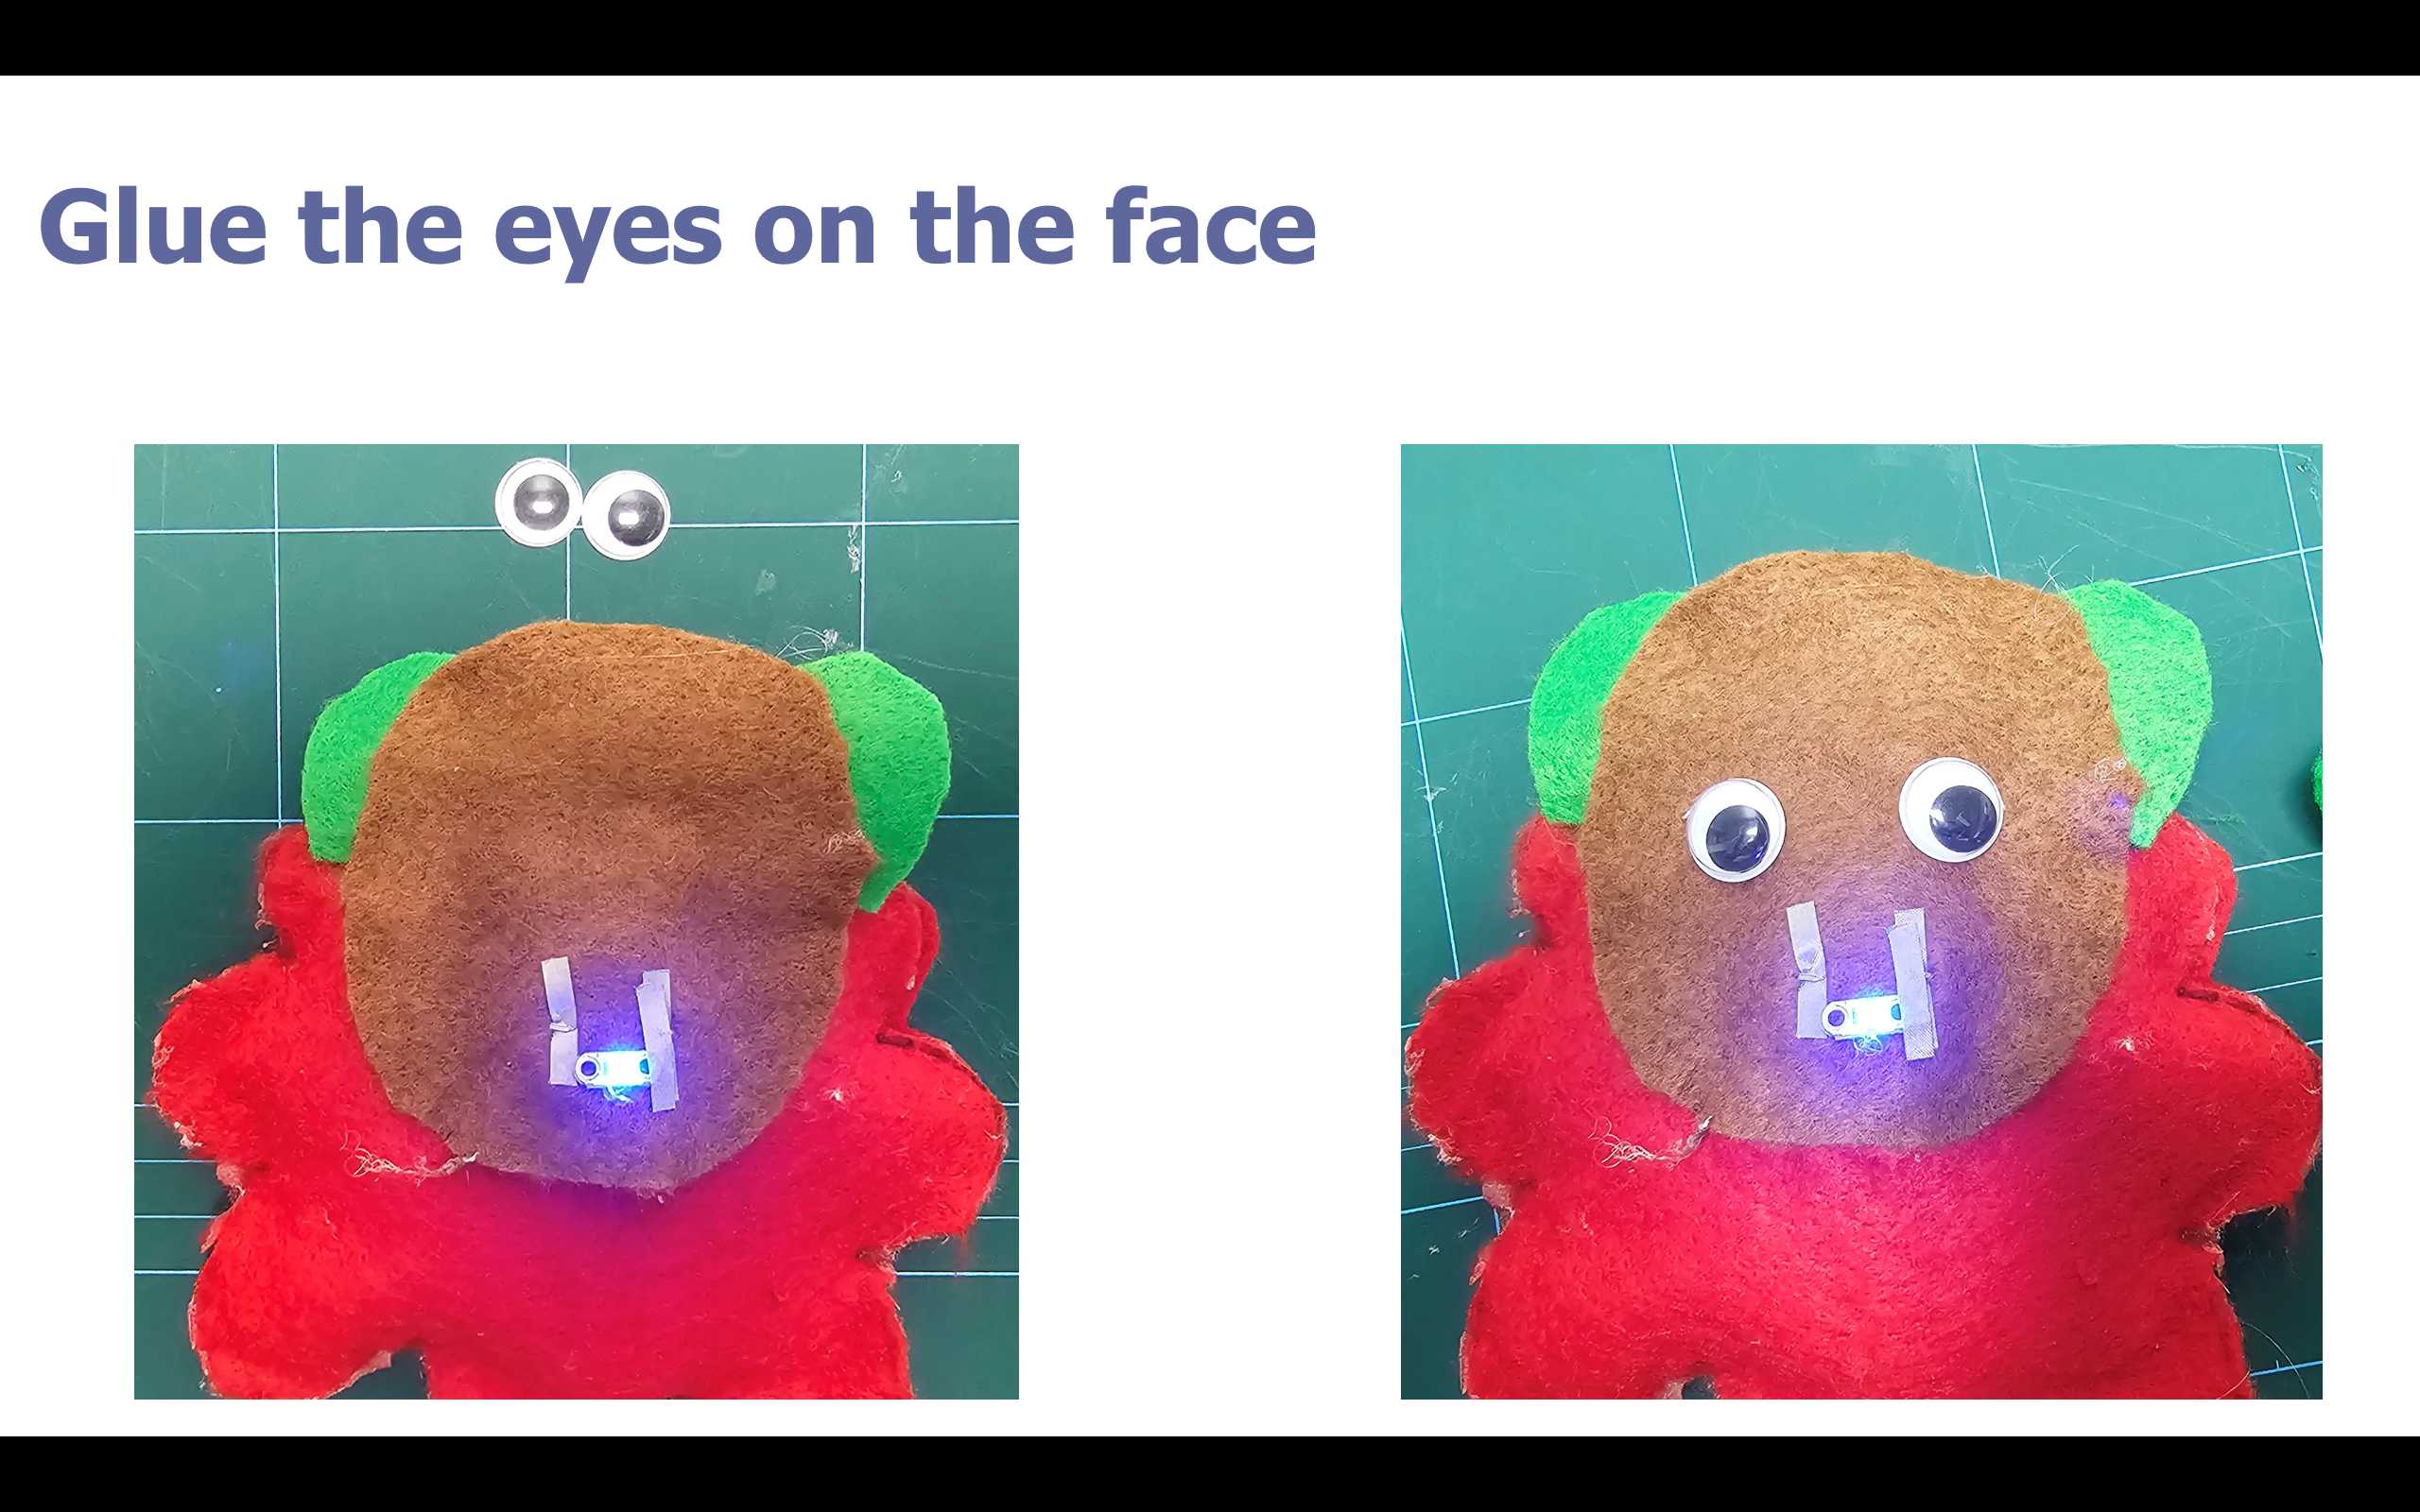
8- Gluing the Eyes.
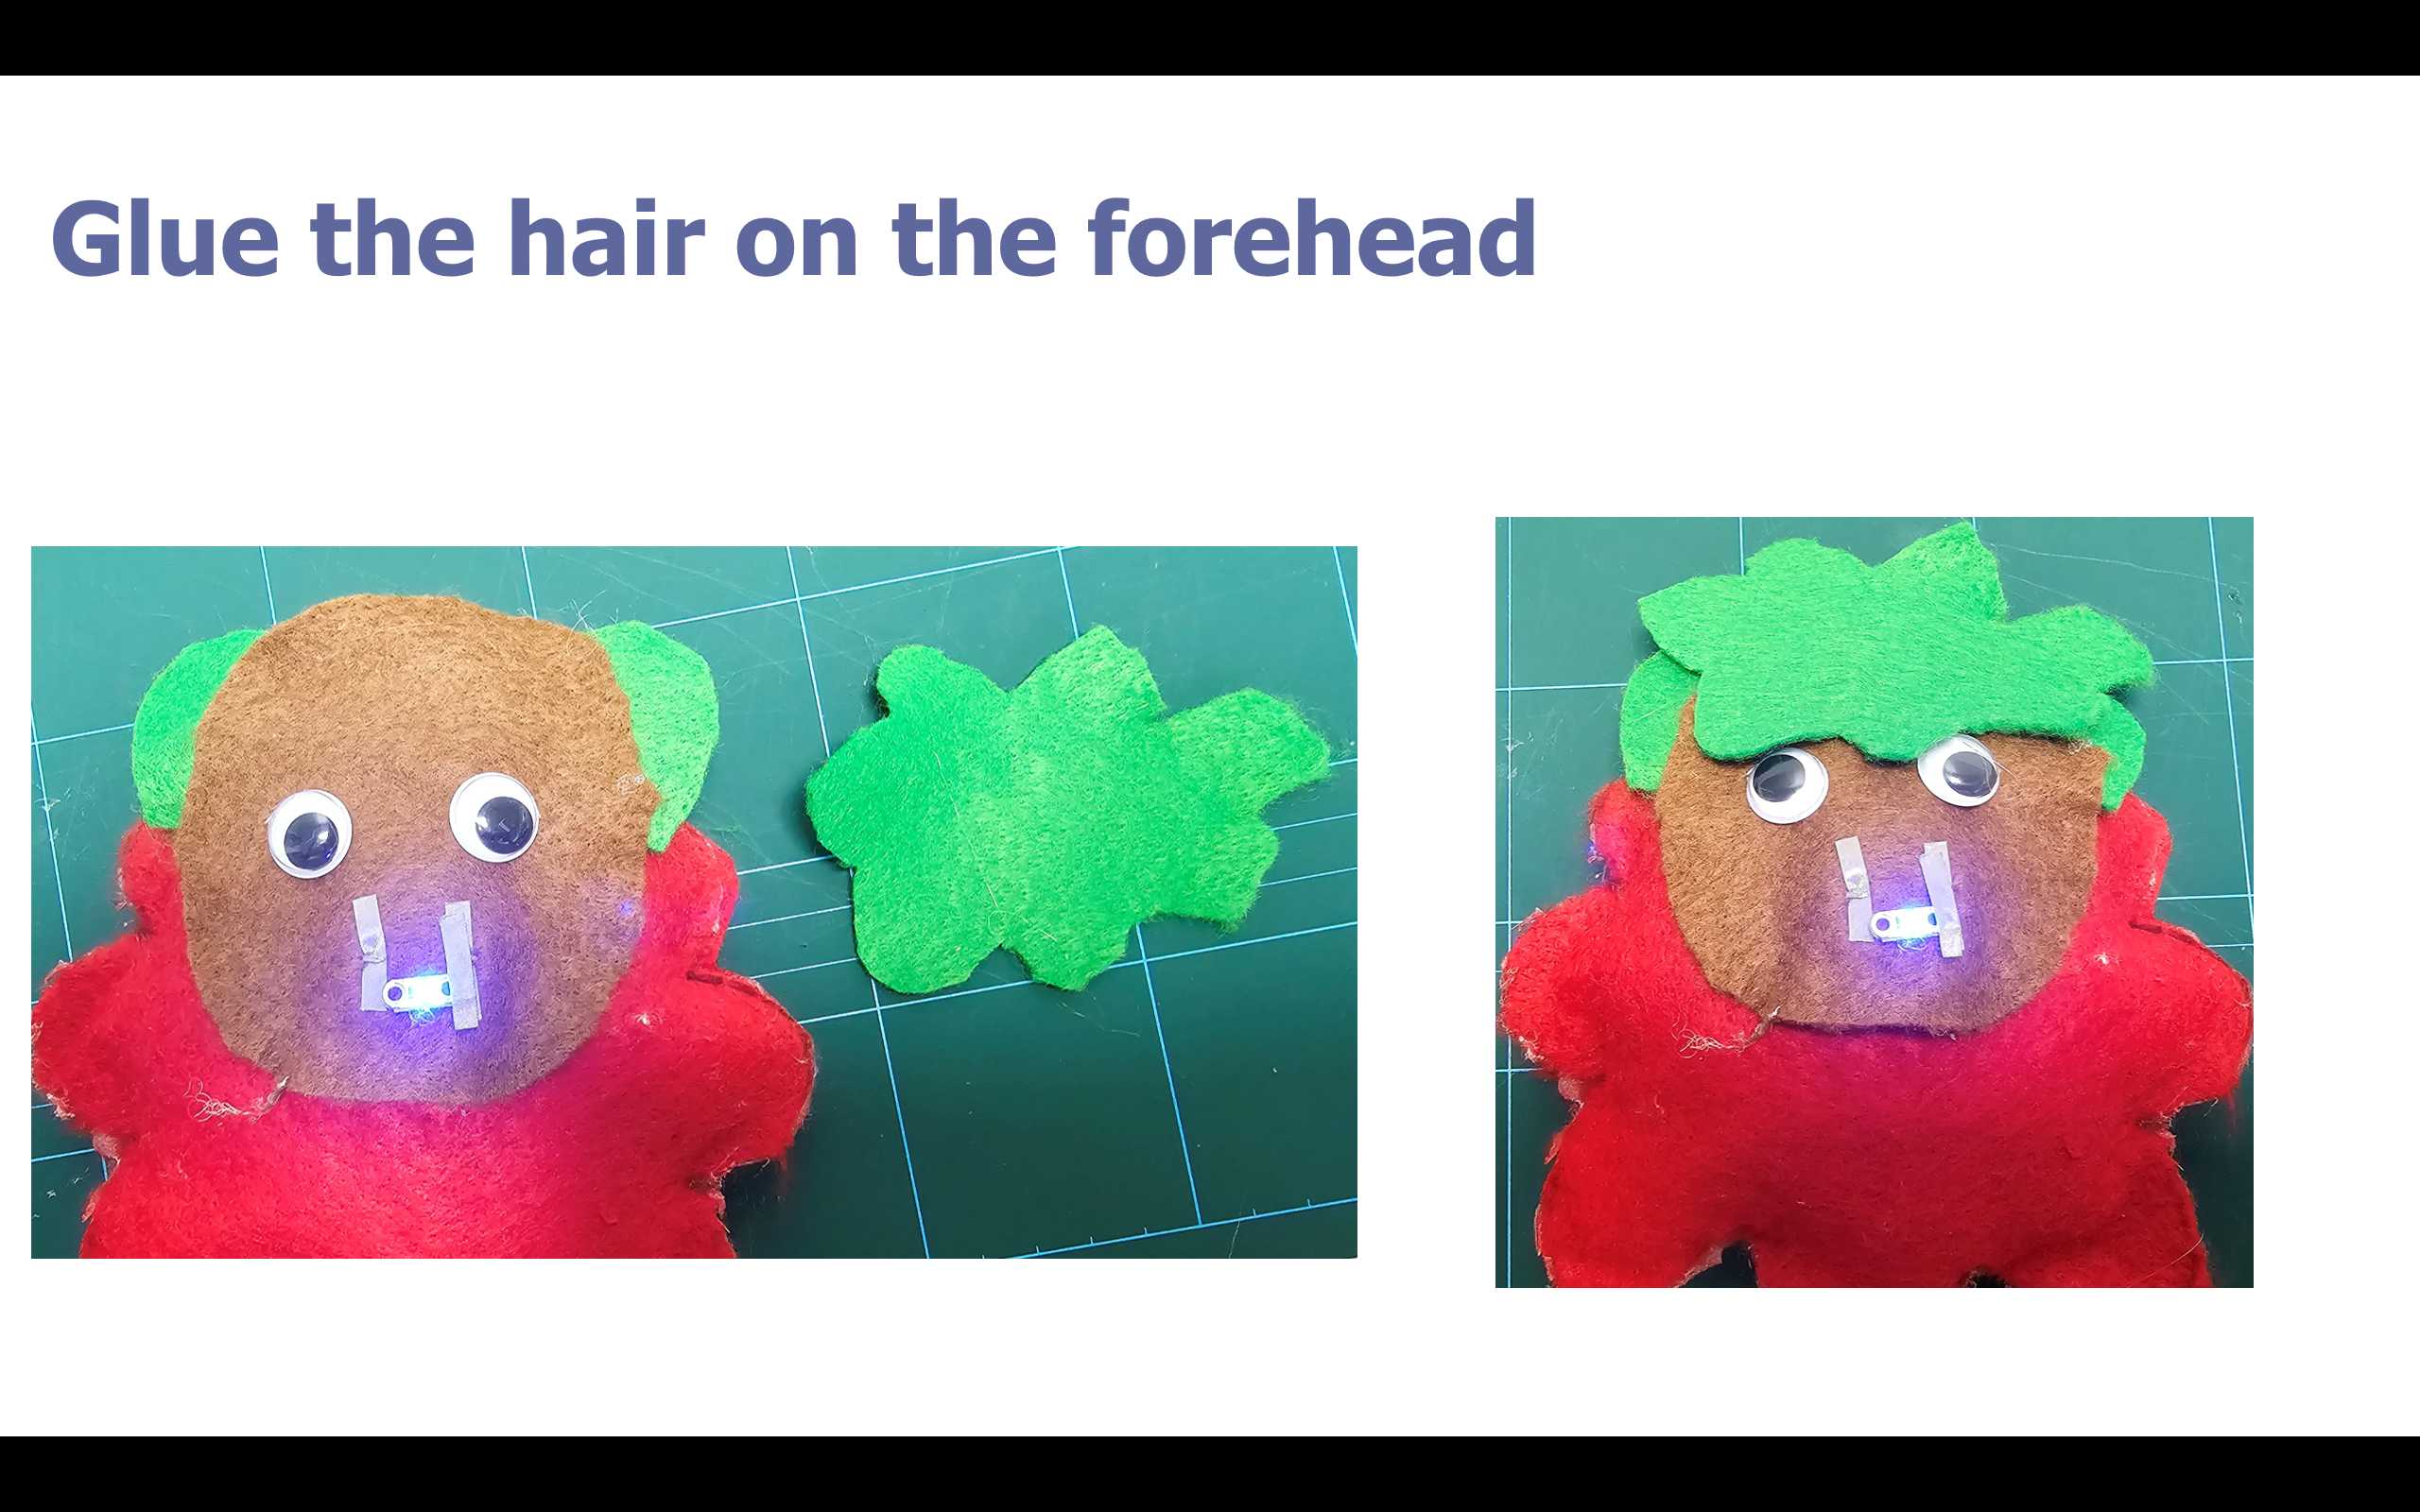
9- Gluing the hair on the forehead.
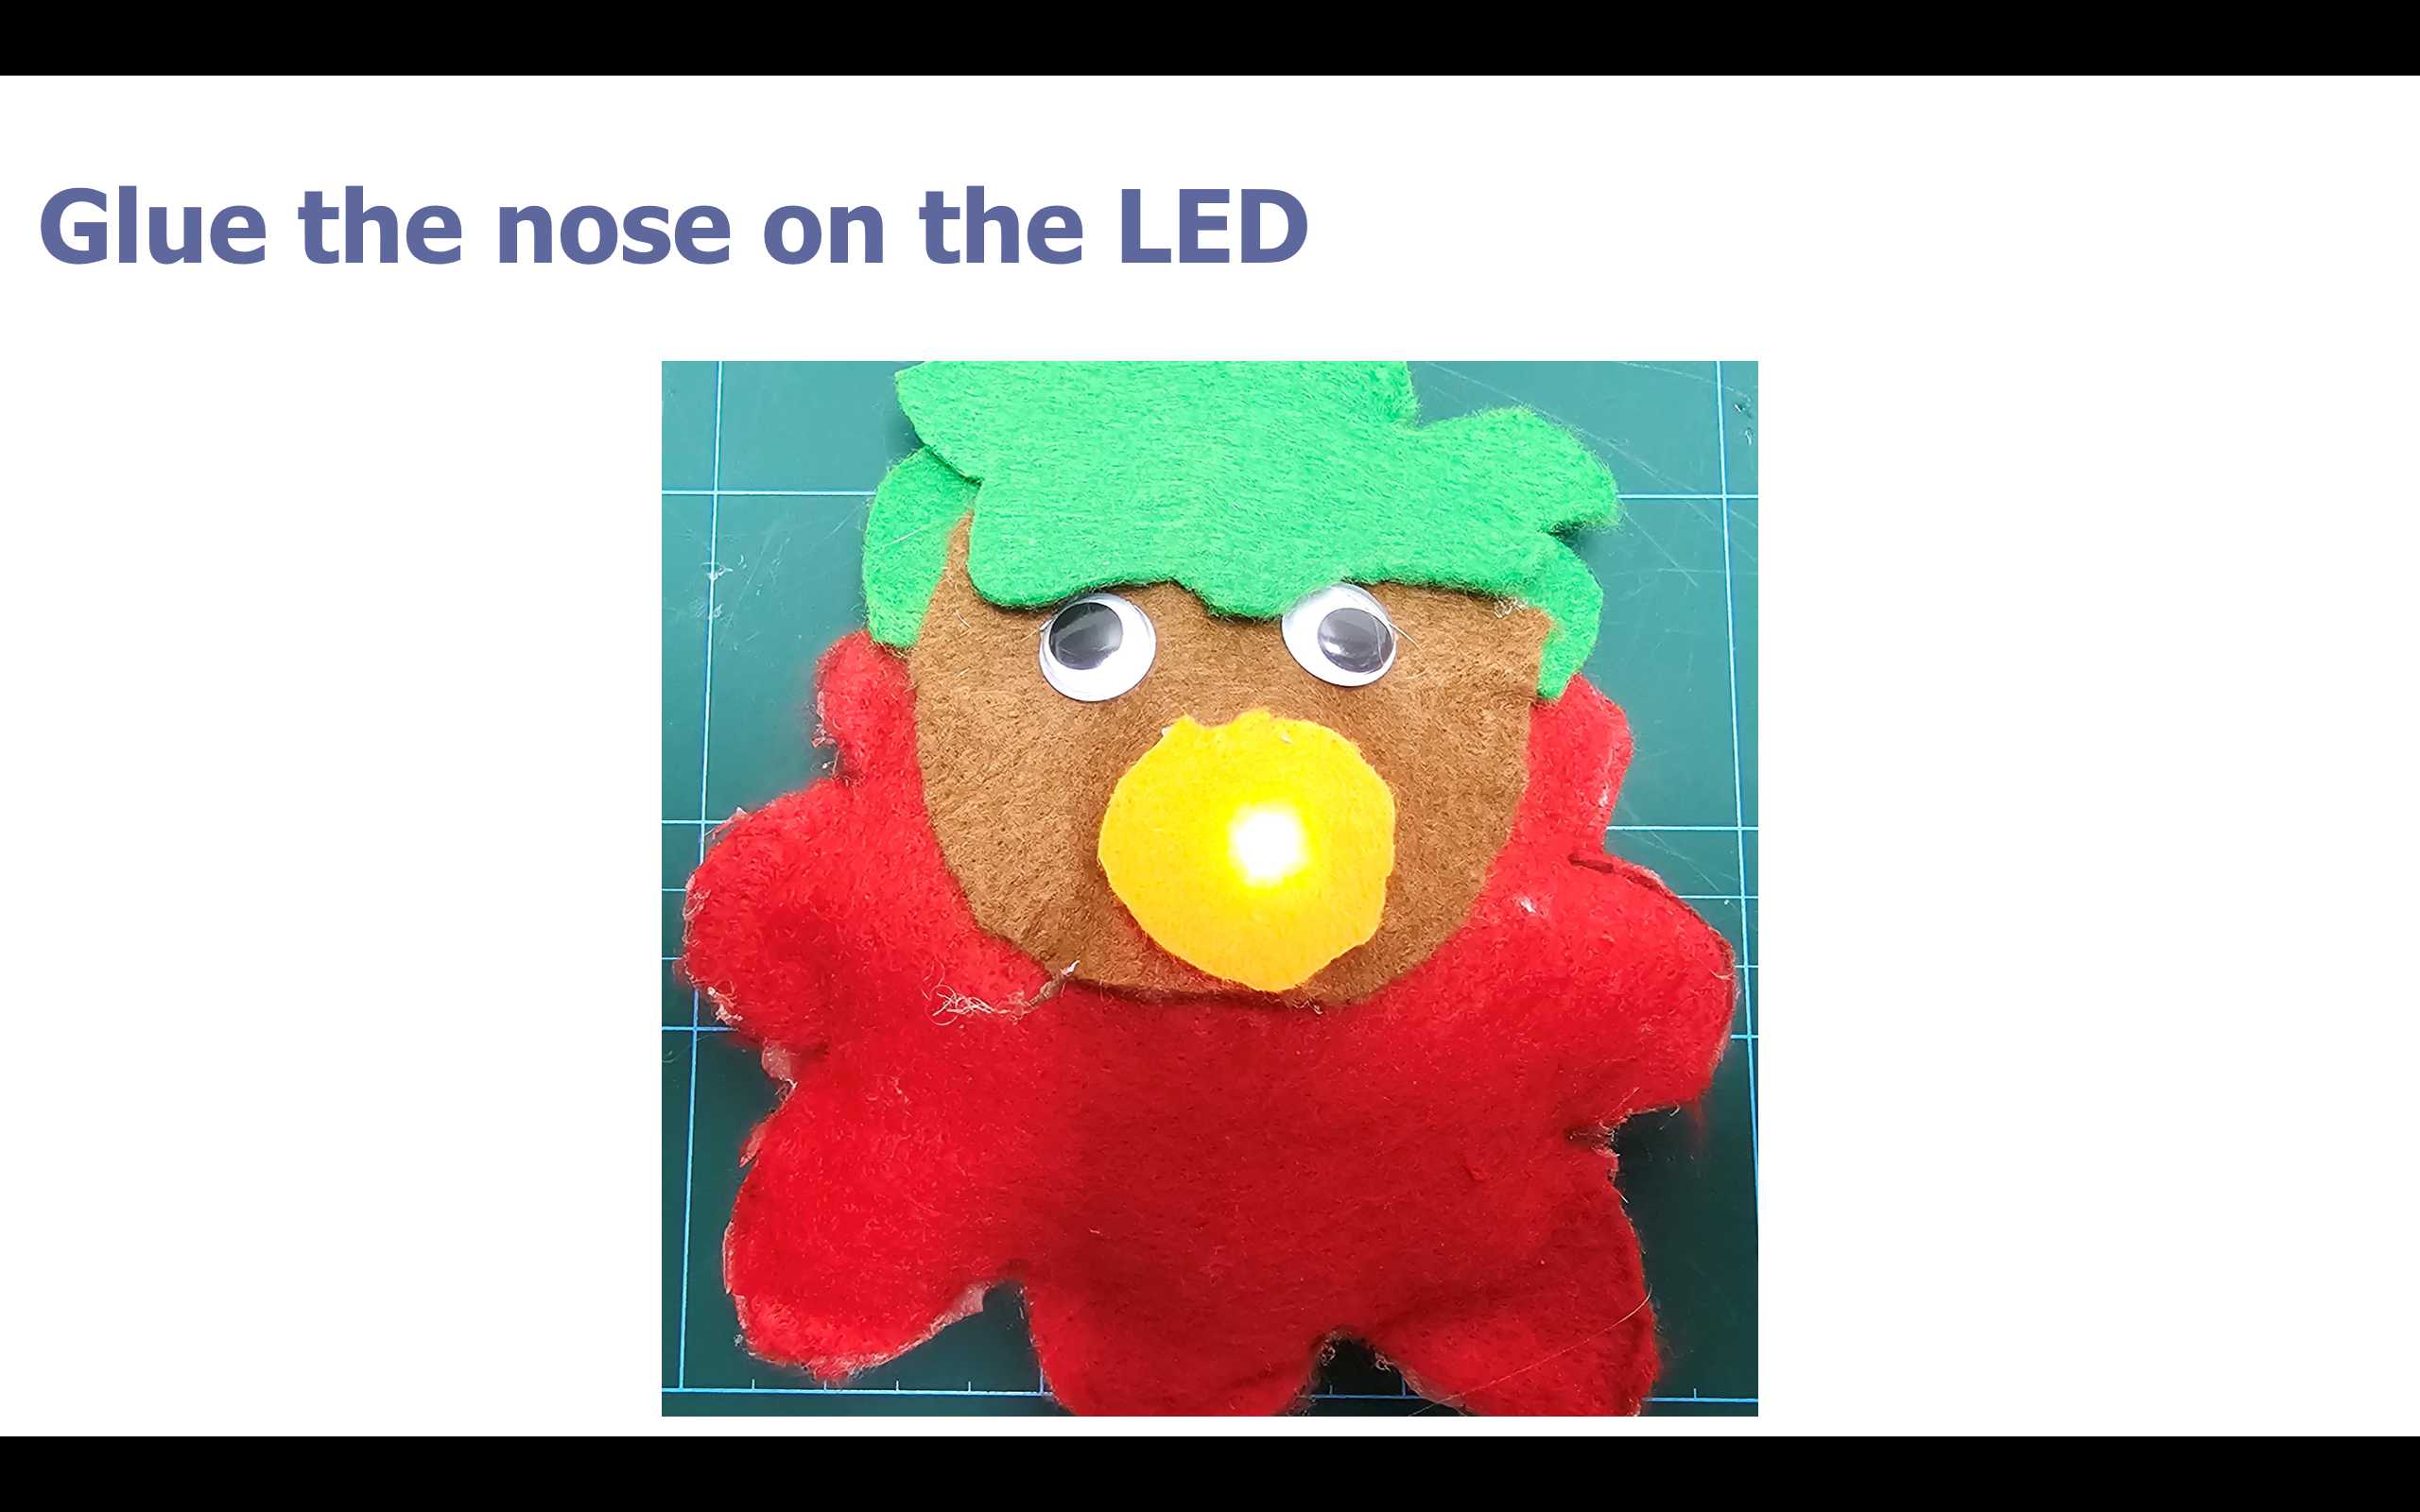
10- Gluing the nose on the LED.
11- Gluing the Legs.

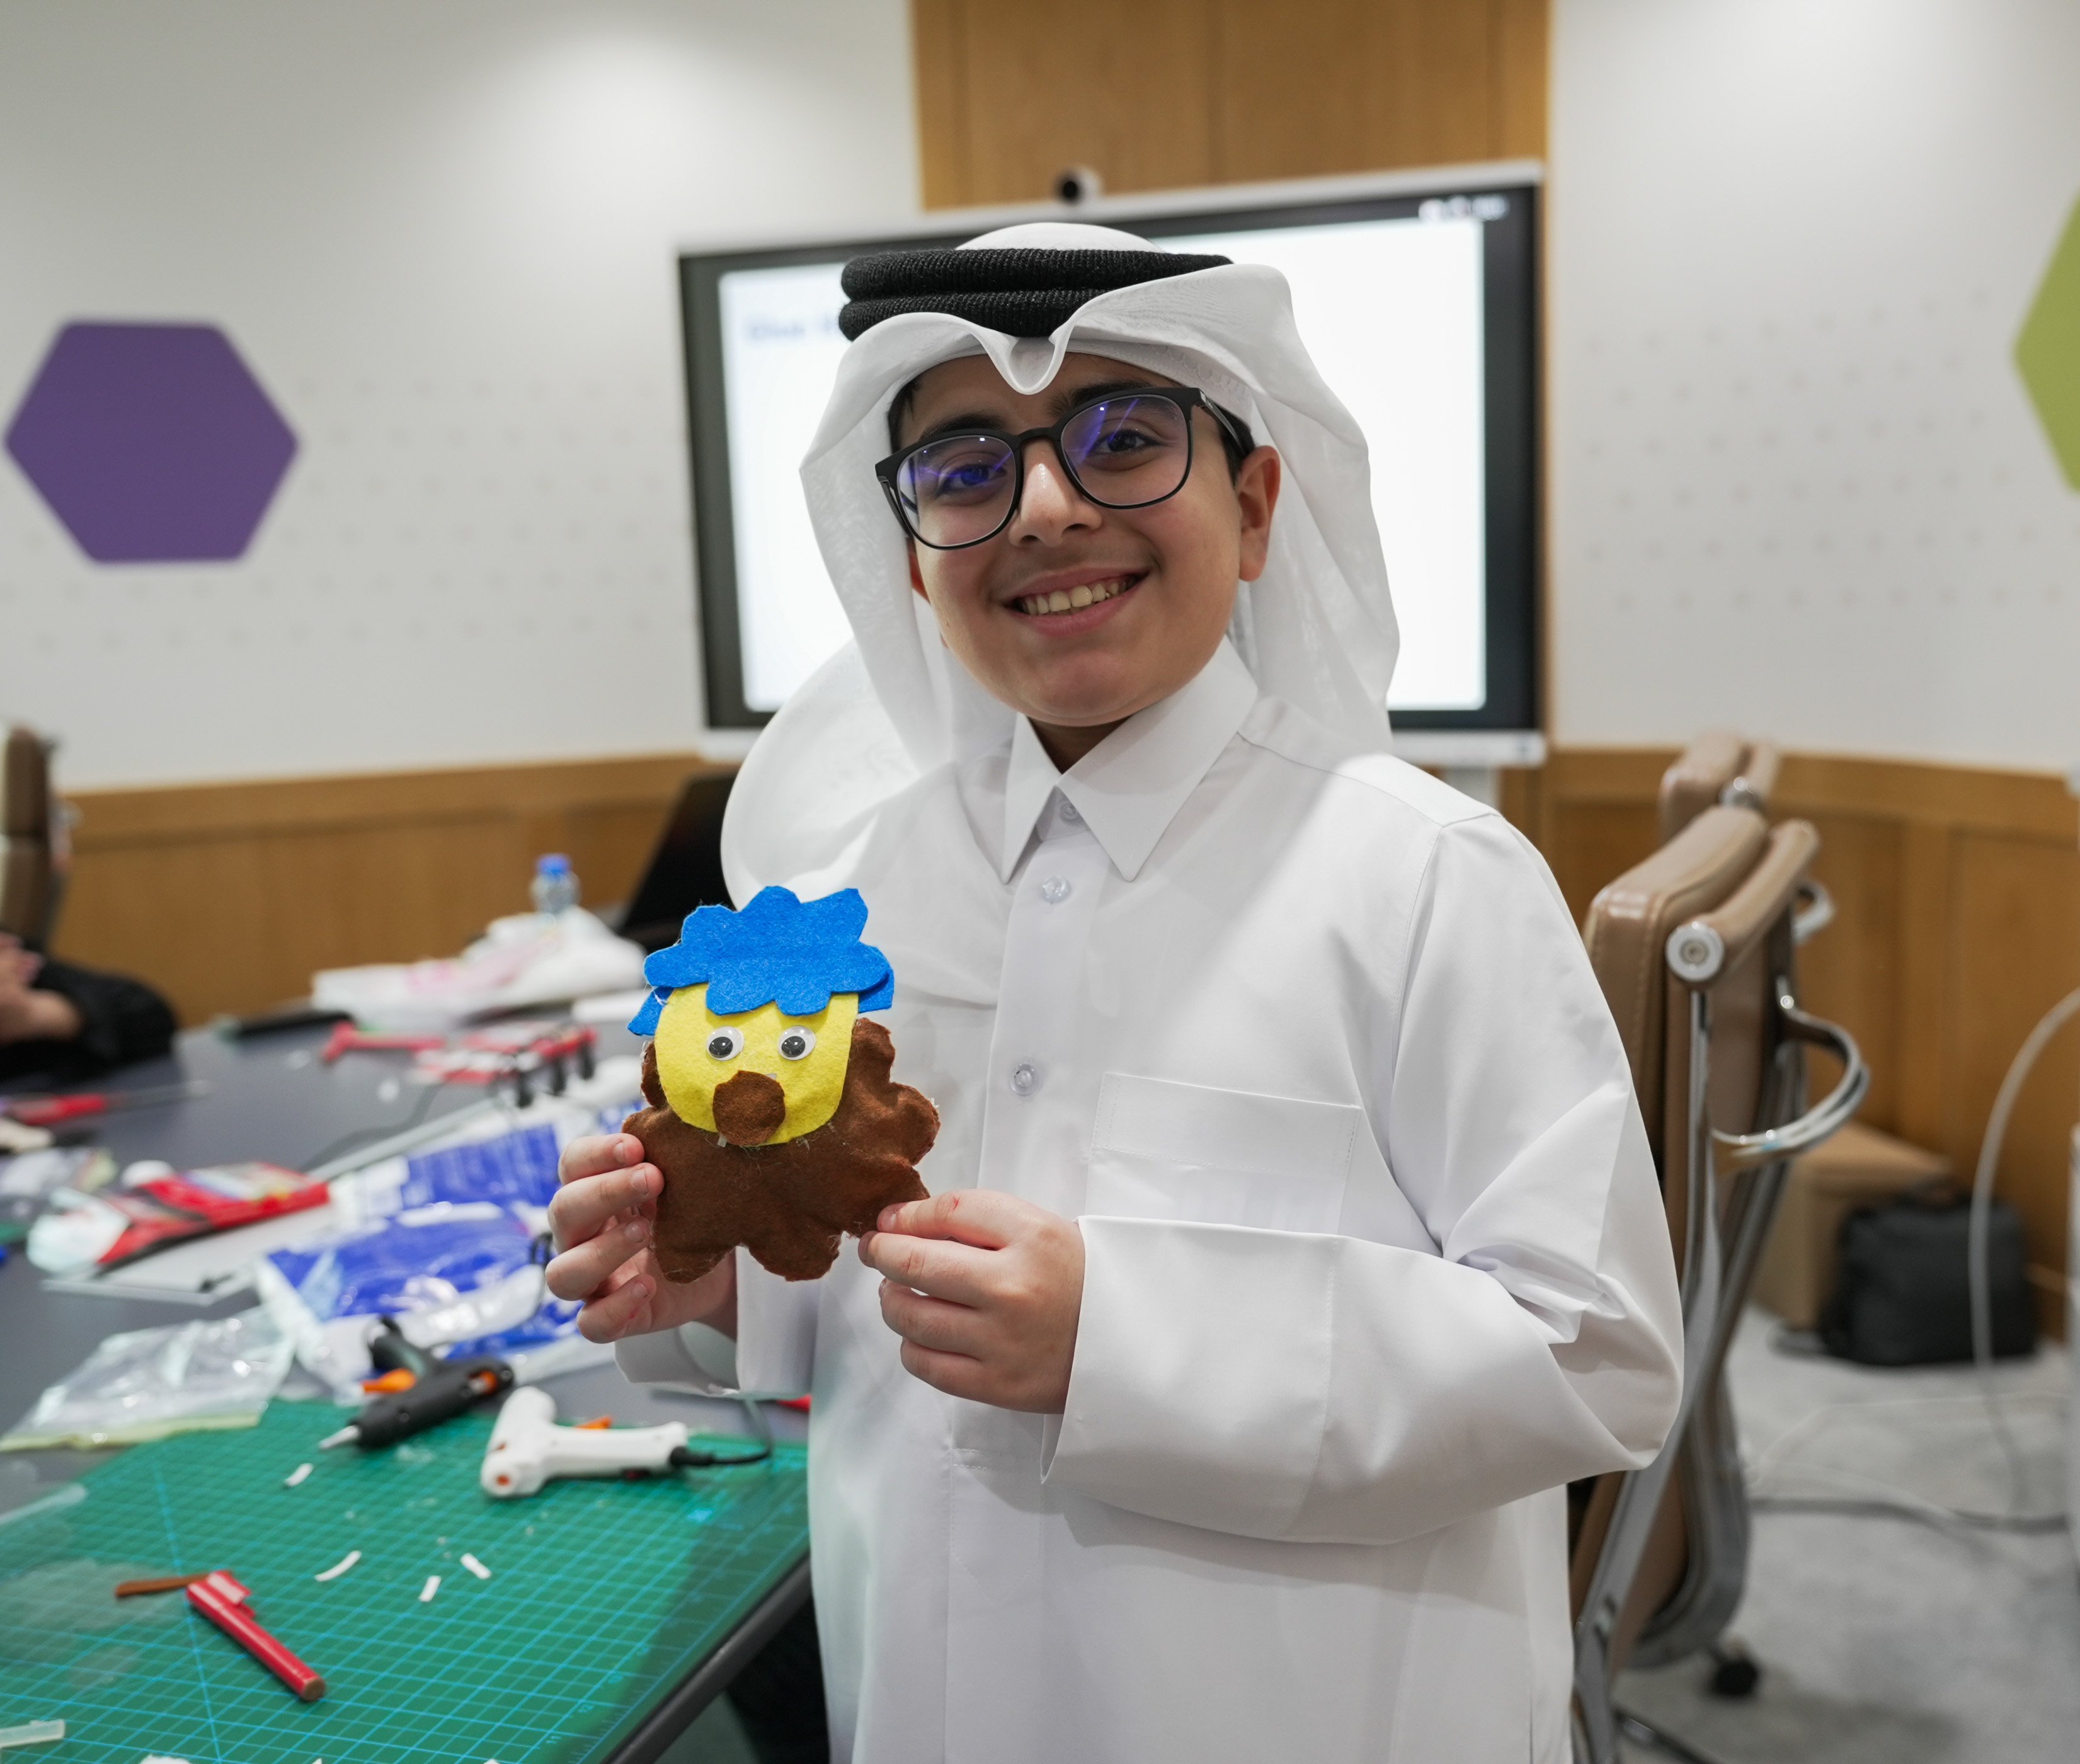
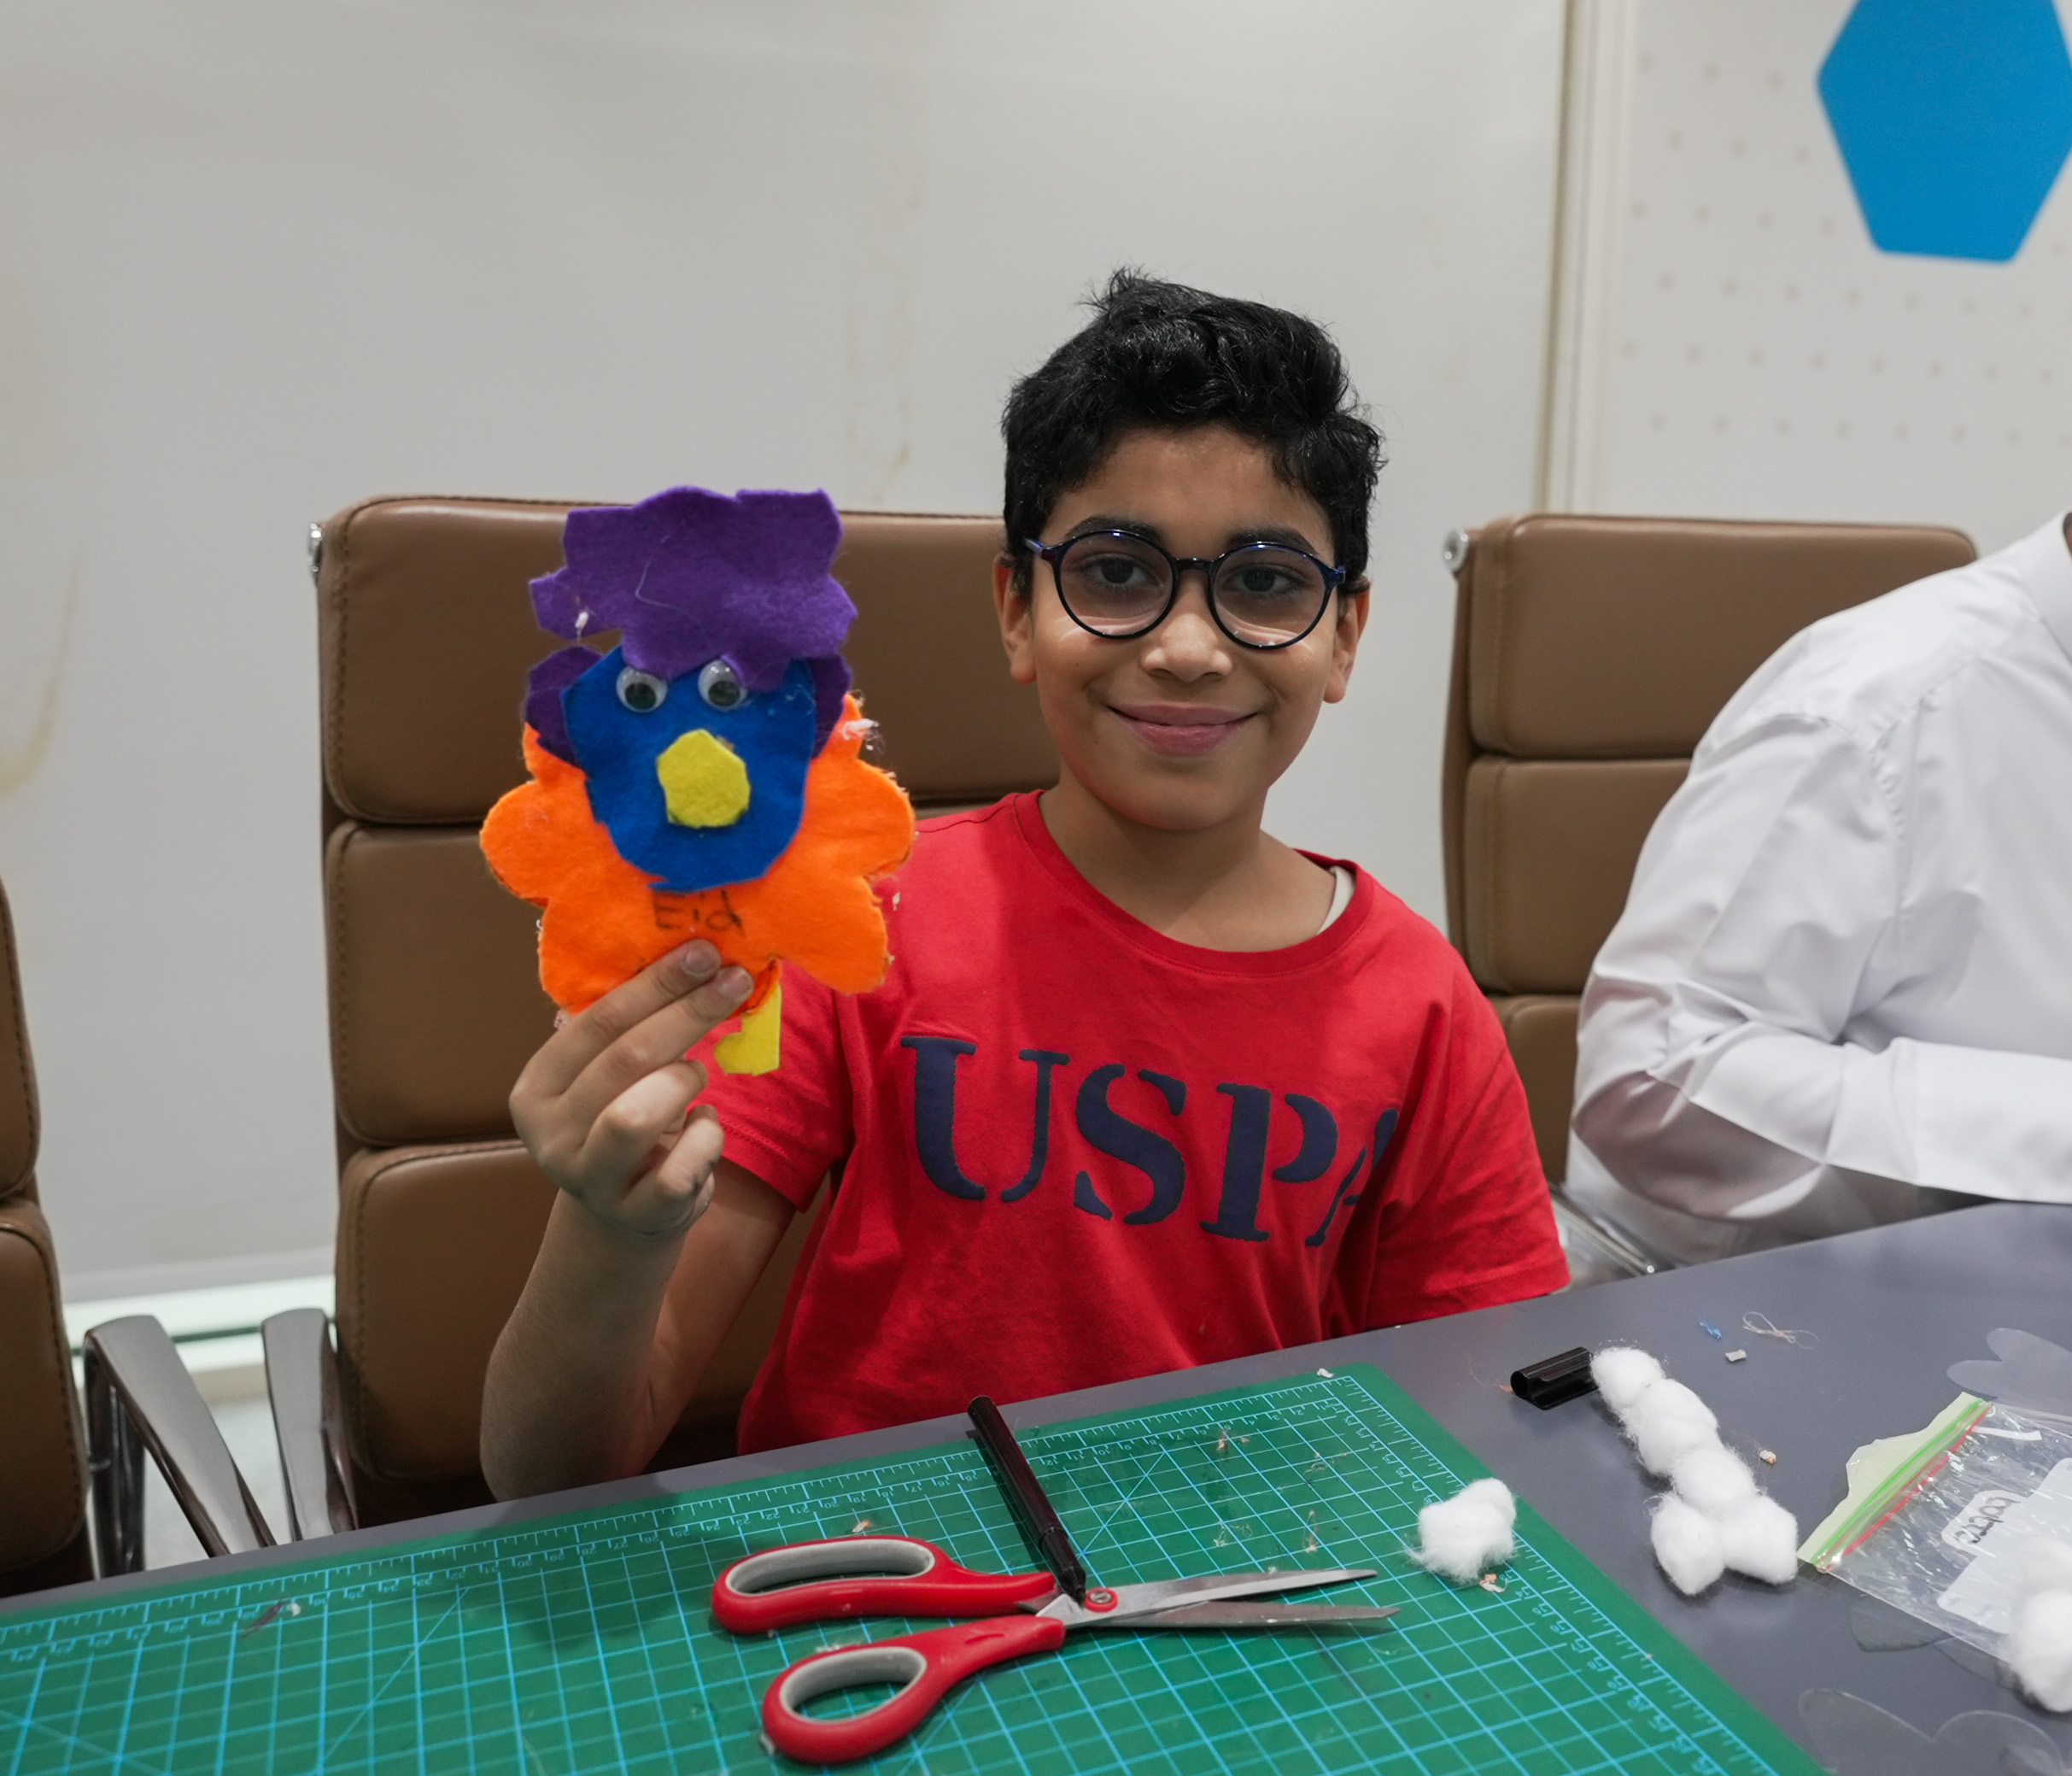
Here we have the Kharoof ready.
Having trouble? Let us know by completing the form below. We'll do our best to get your issues resolved quickly.
"*" indicates required fields