- Loading…
In this workshop student will learn how to make Digital device.
For this they learn Bluetooth module, arduino, Sensors to make their imagination into real life with the help of Digital Fabrication Tools like Laser Cutter.
They use programming for this means they get basic programming knowledge.
All with this they learn Basic Electronic concepts.

– Arduino UNO
– Bluetooth Module(HC 05)
– Ultrasonic Sensor
– Wires
– Adapter 9V 1A
– Laser Cutter
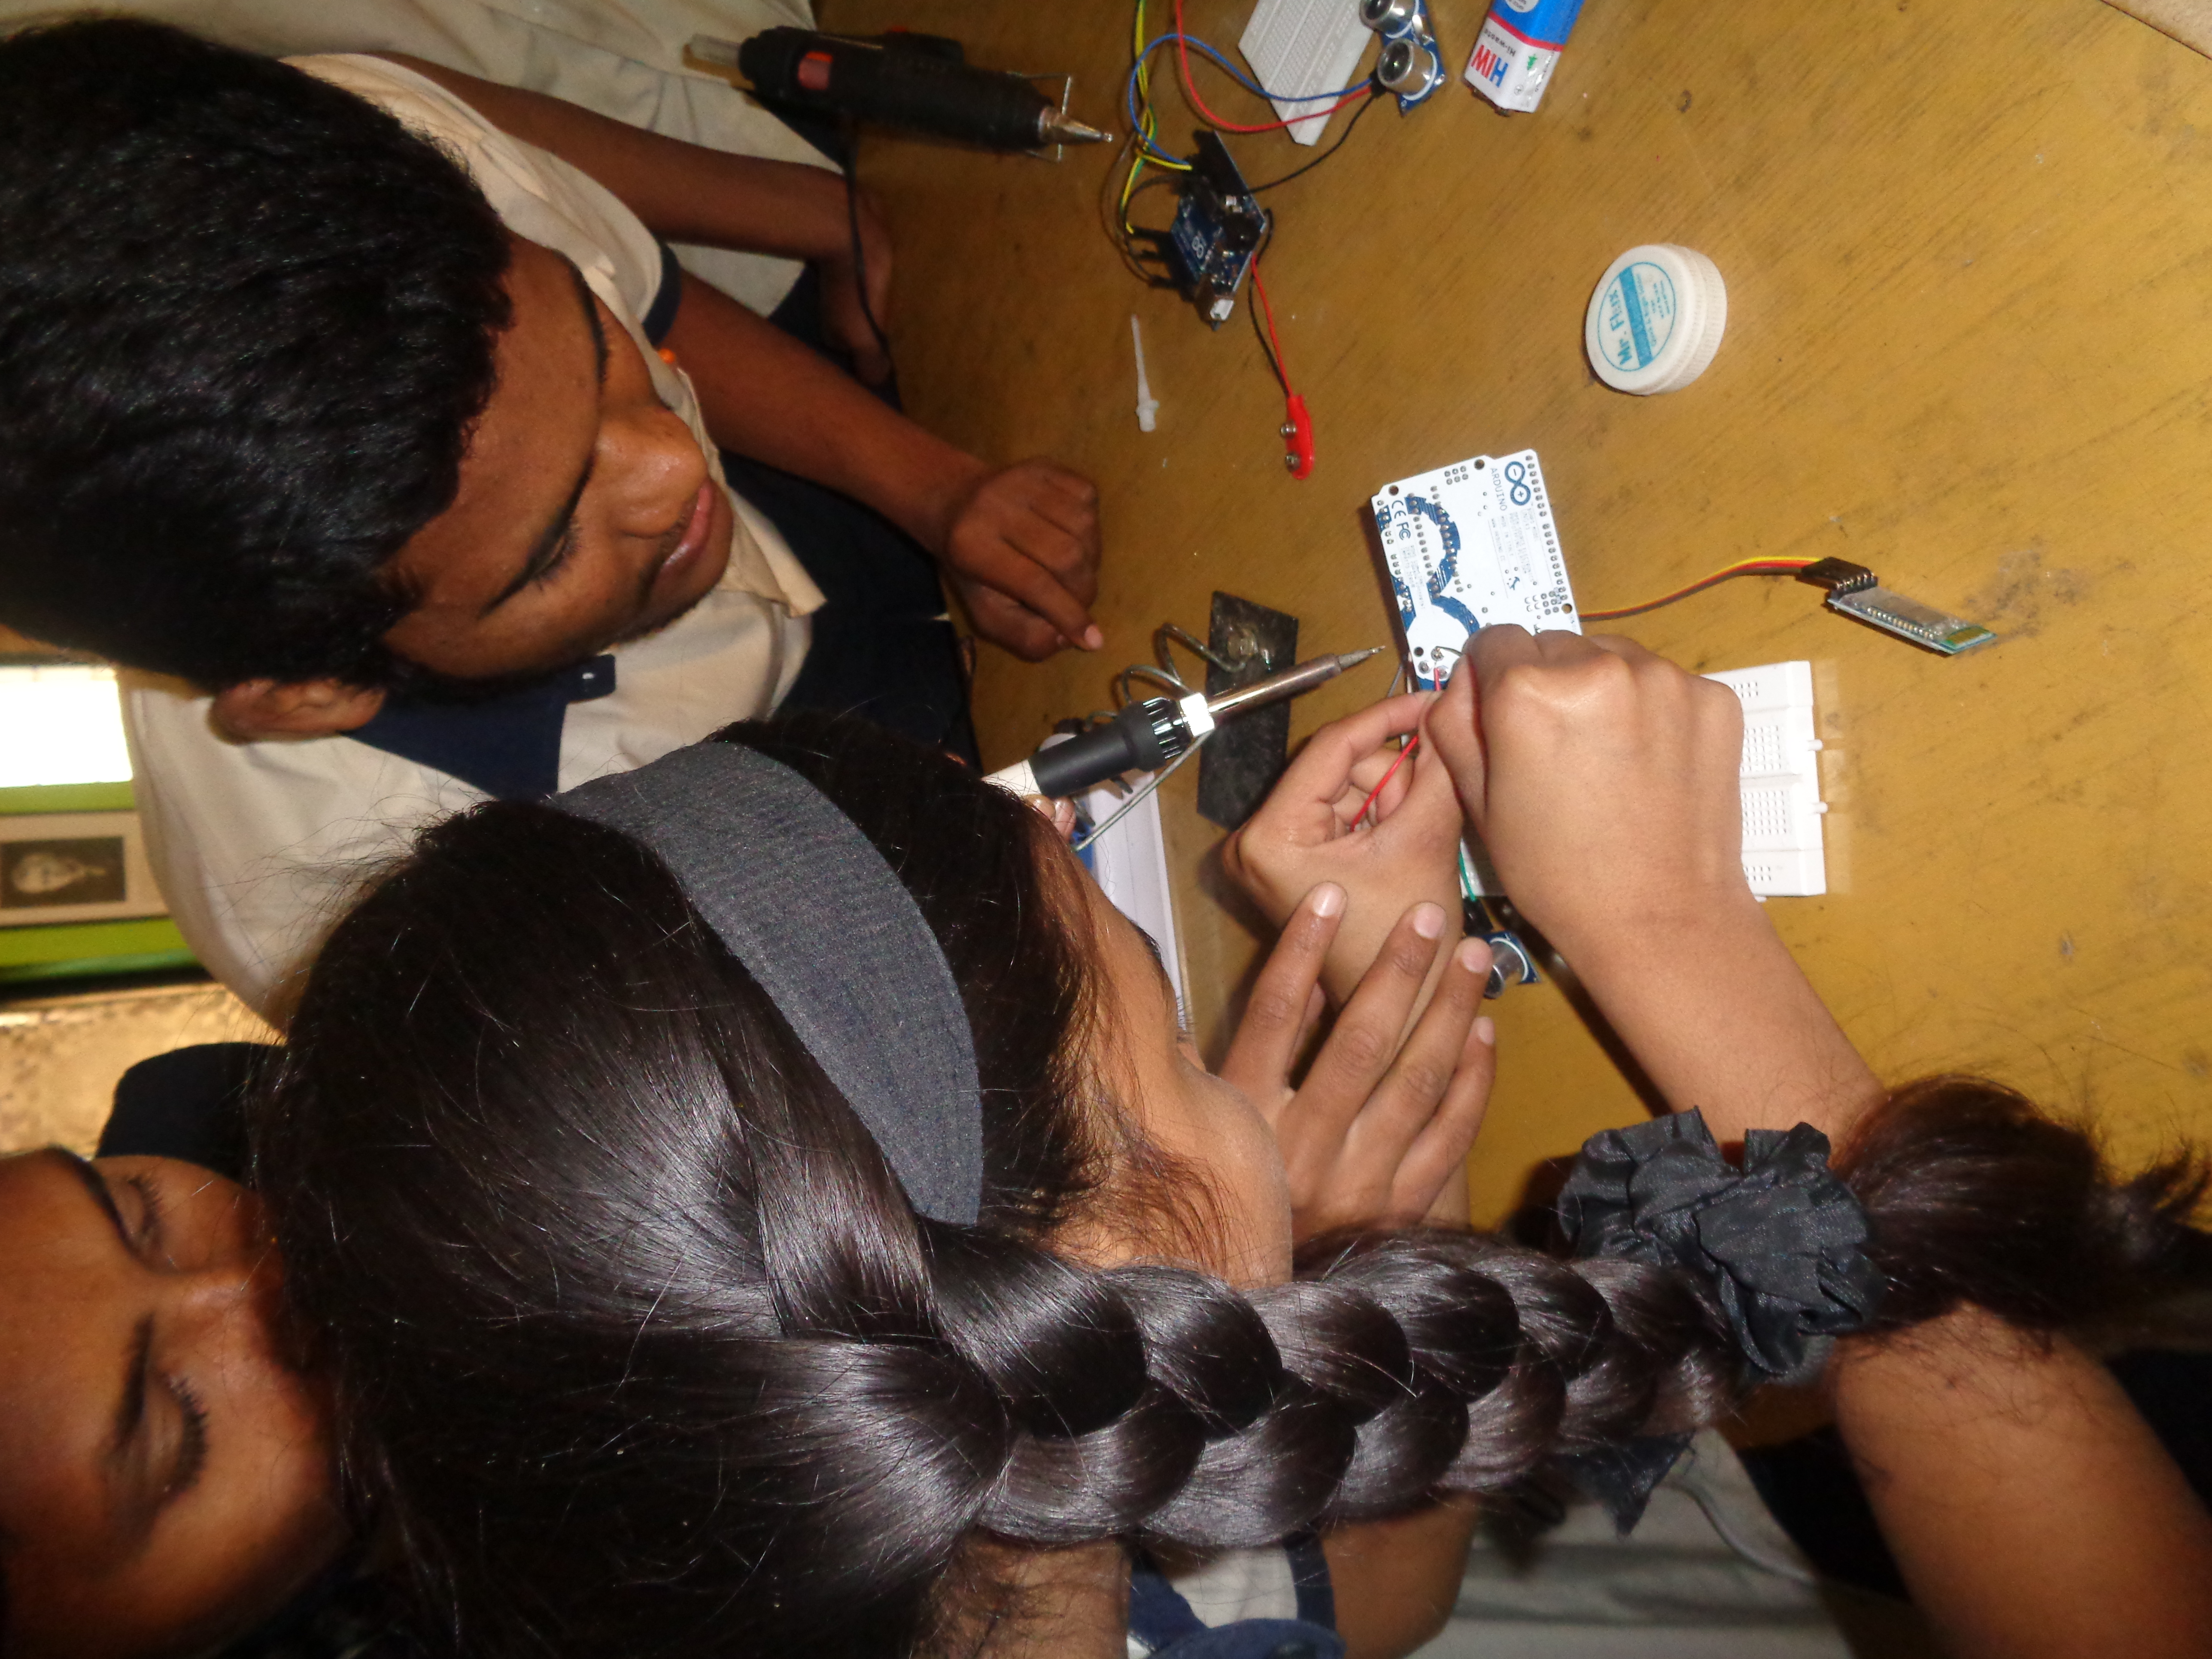
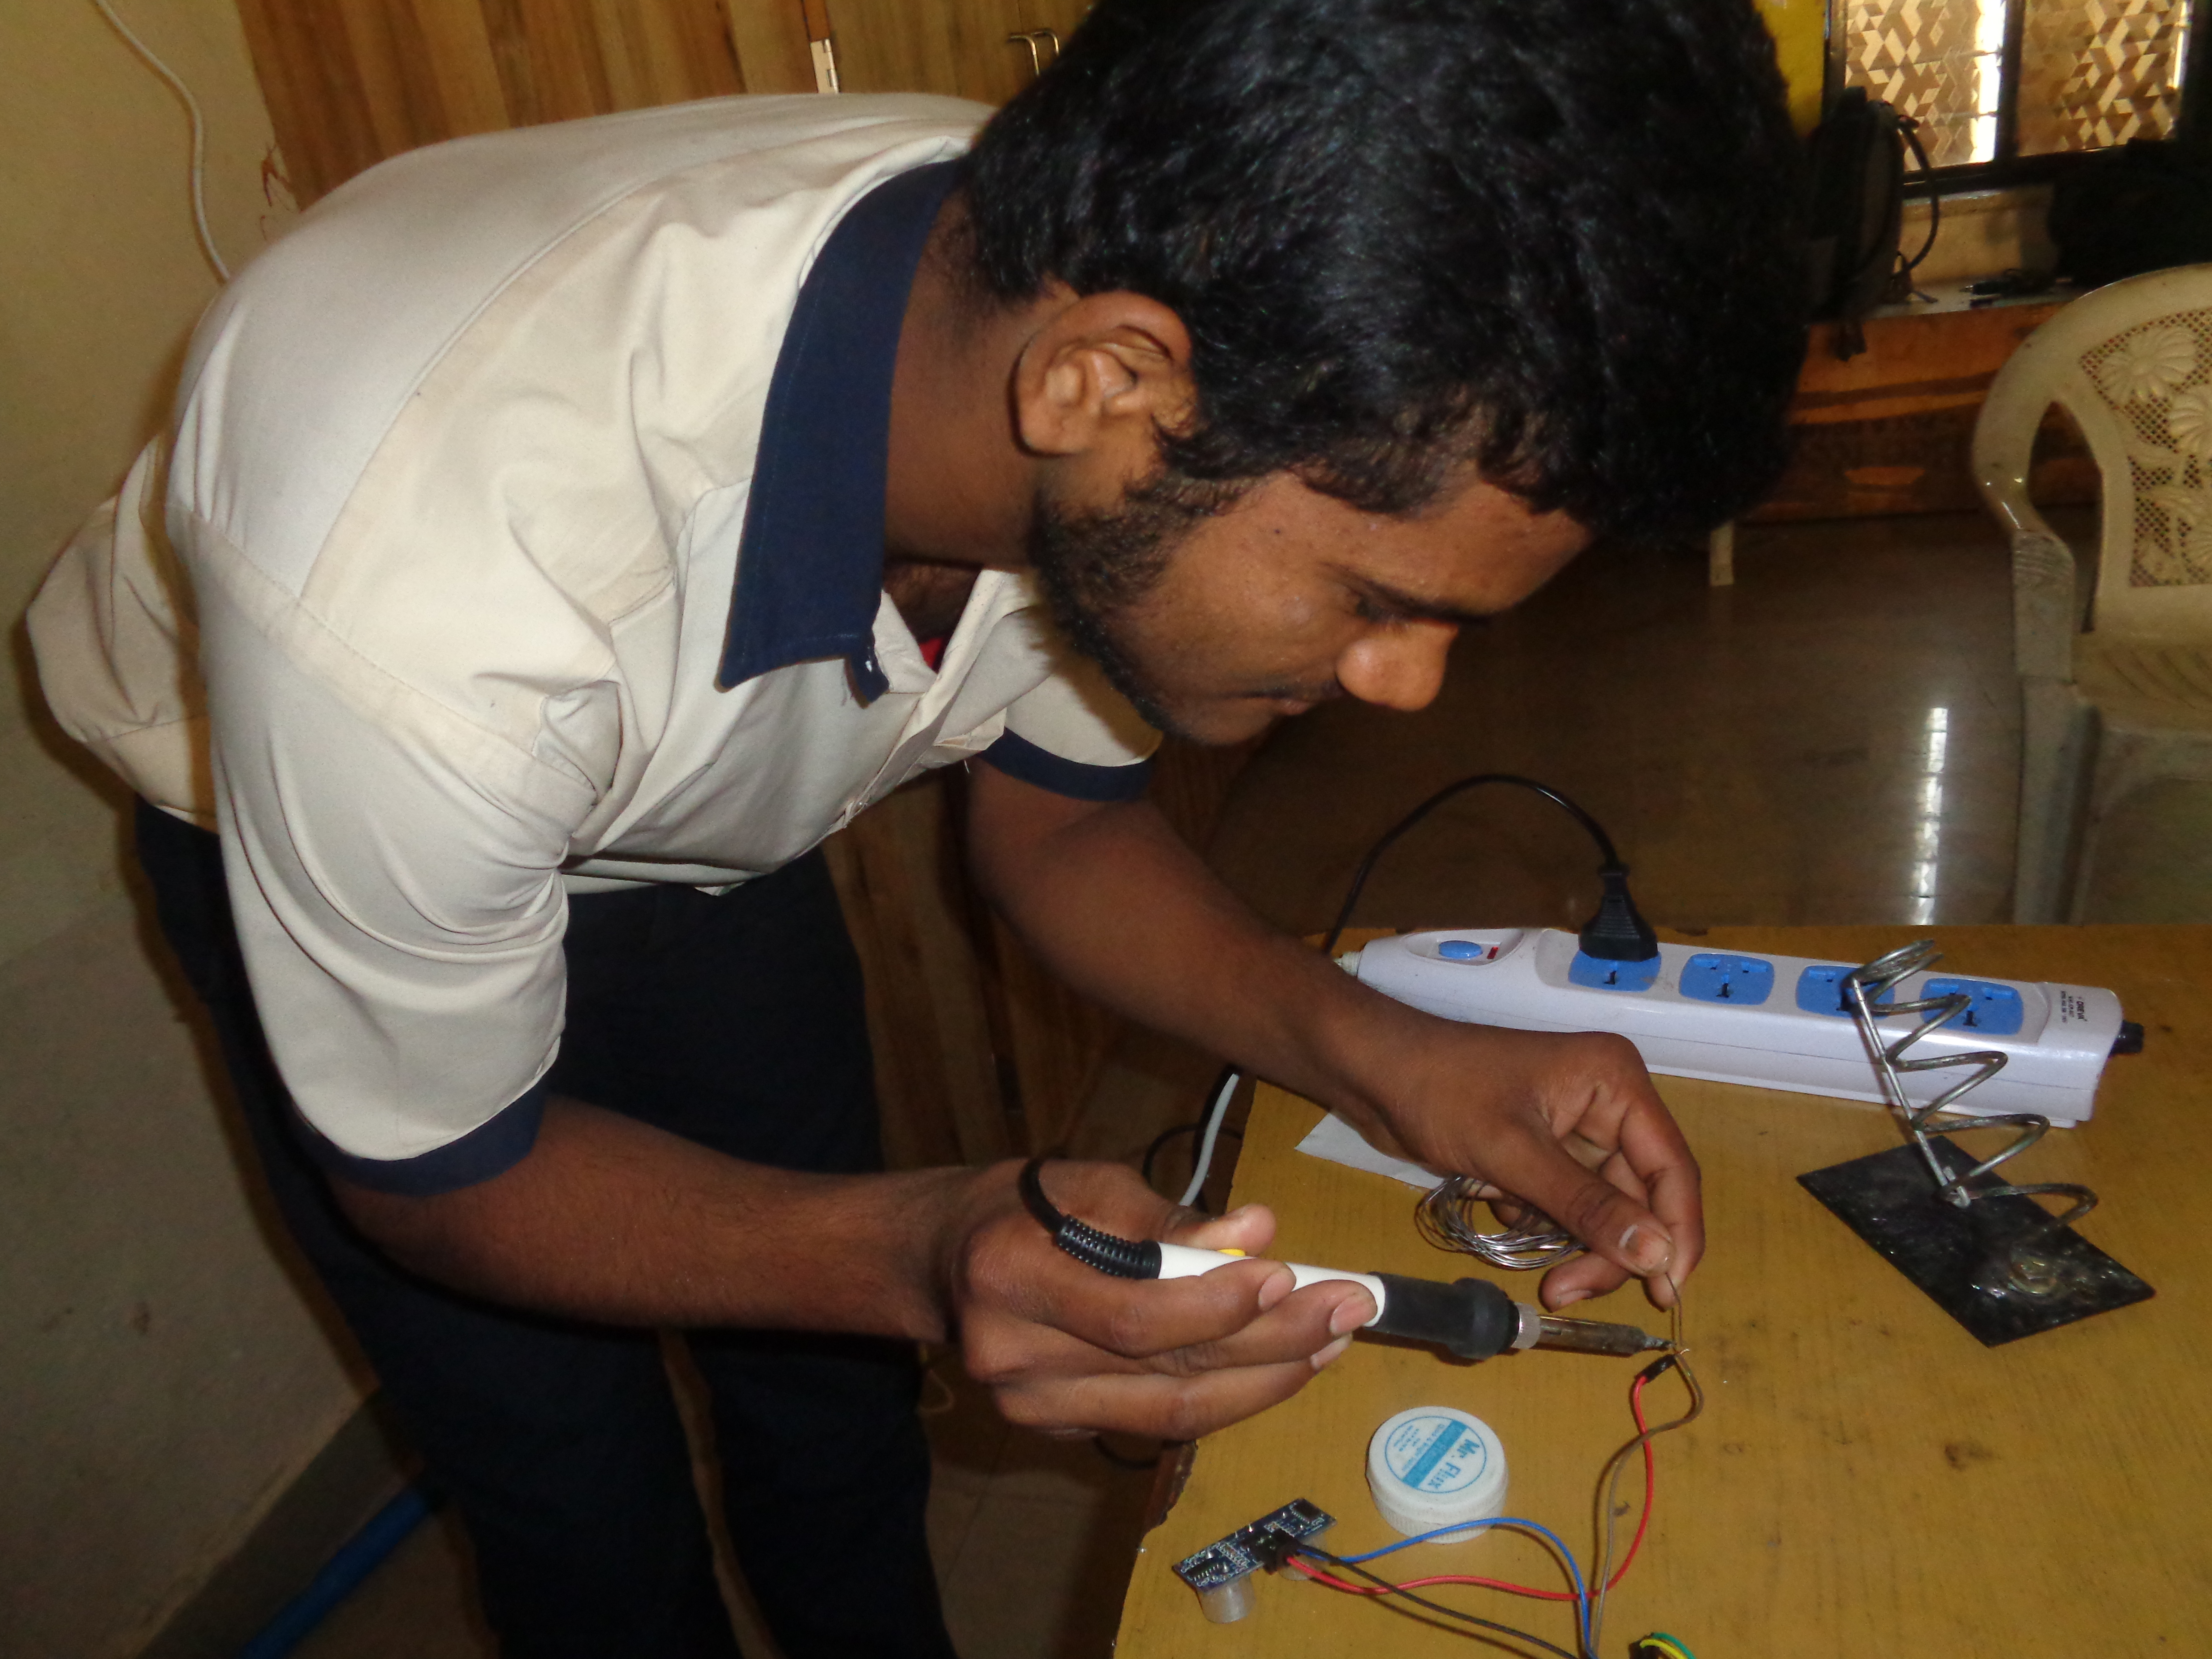
– Soldering Gun
– Wire Cutter / Stripper
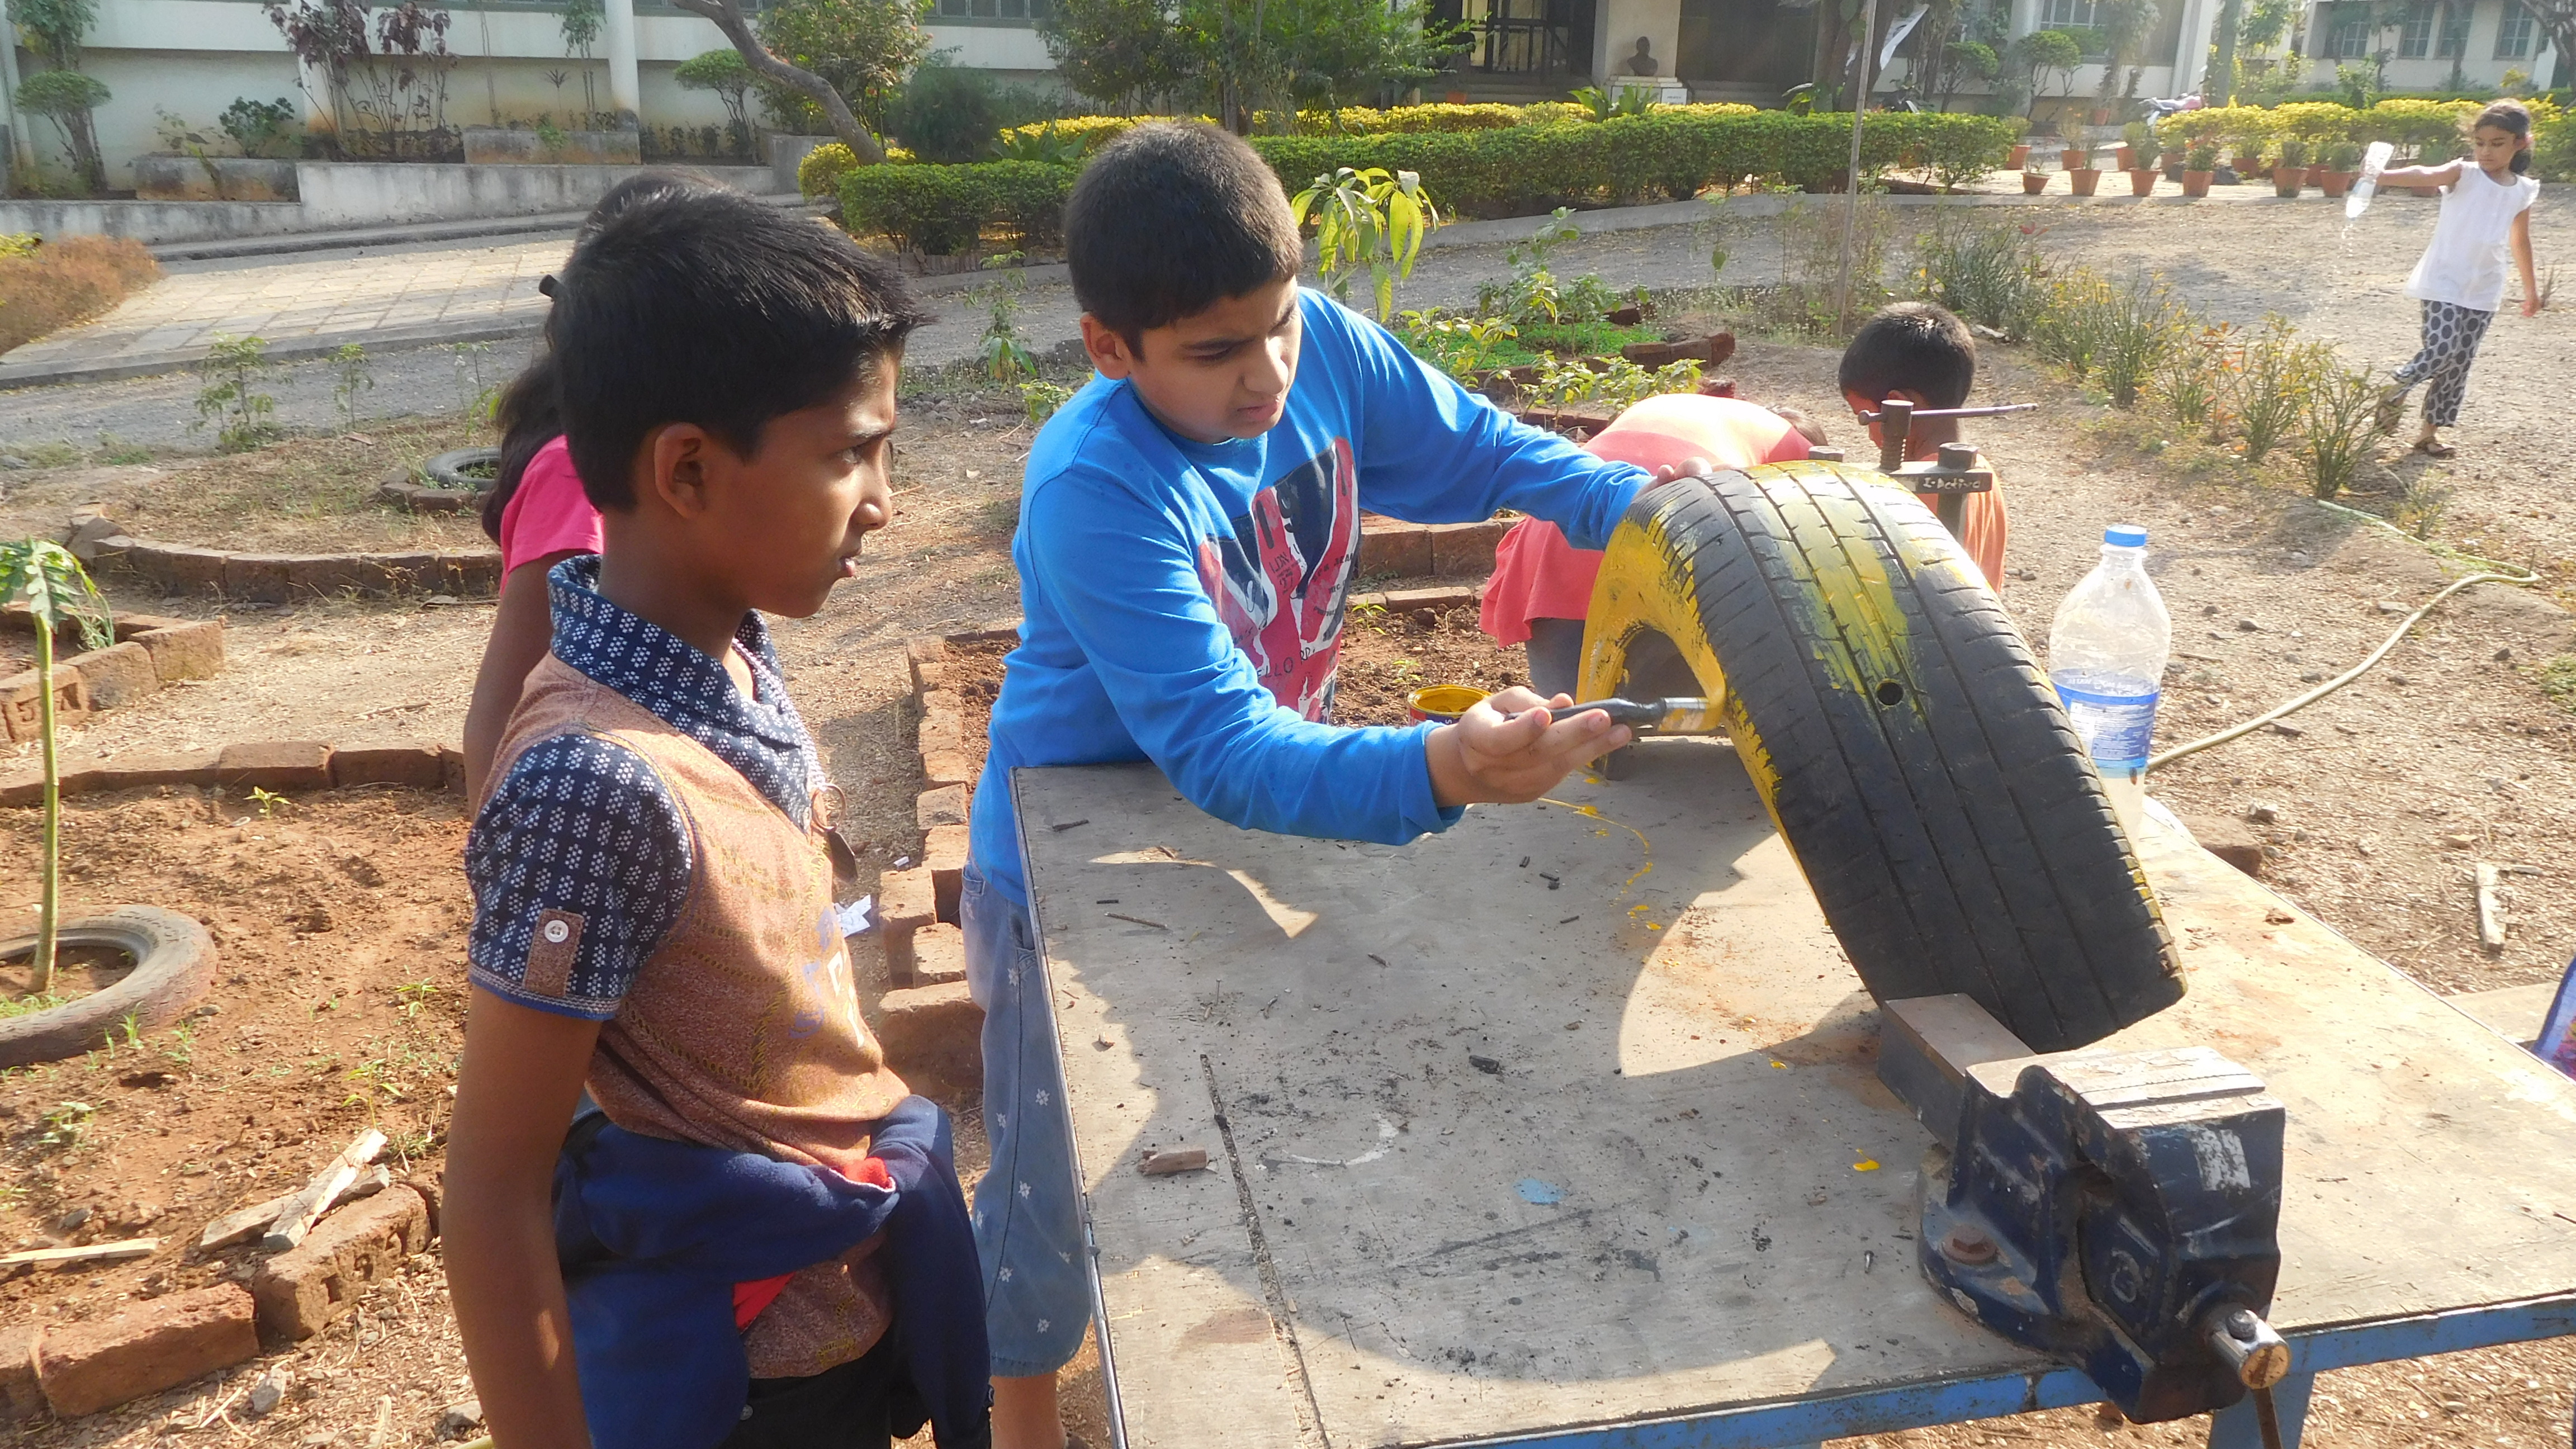
Ask students how take height measurement in your school. How much time taken by this activity. Is it possible to take height in different way. Let them Imagine.
Ask them is it possible to get your height directly into your mobile application?
Motivate them to imagine in the direction of our projects.
Tell students about our body's sensor. Likewise, in electronics there are various sensor which sense different things. Ultrasonic Sensor is one of them which we use while making the Height measurement device. We want to measure distance of our head from ground so we take distance measurement sensor which is Ultrasonic Sensor.
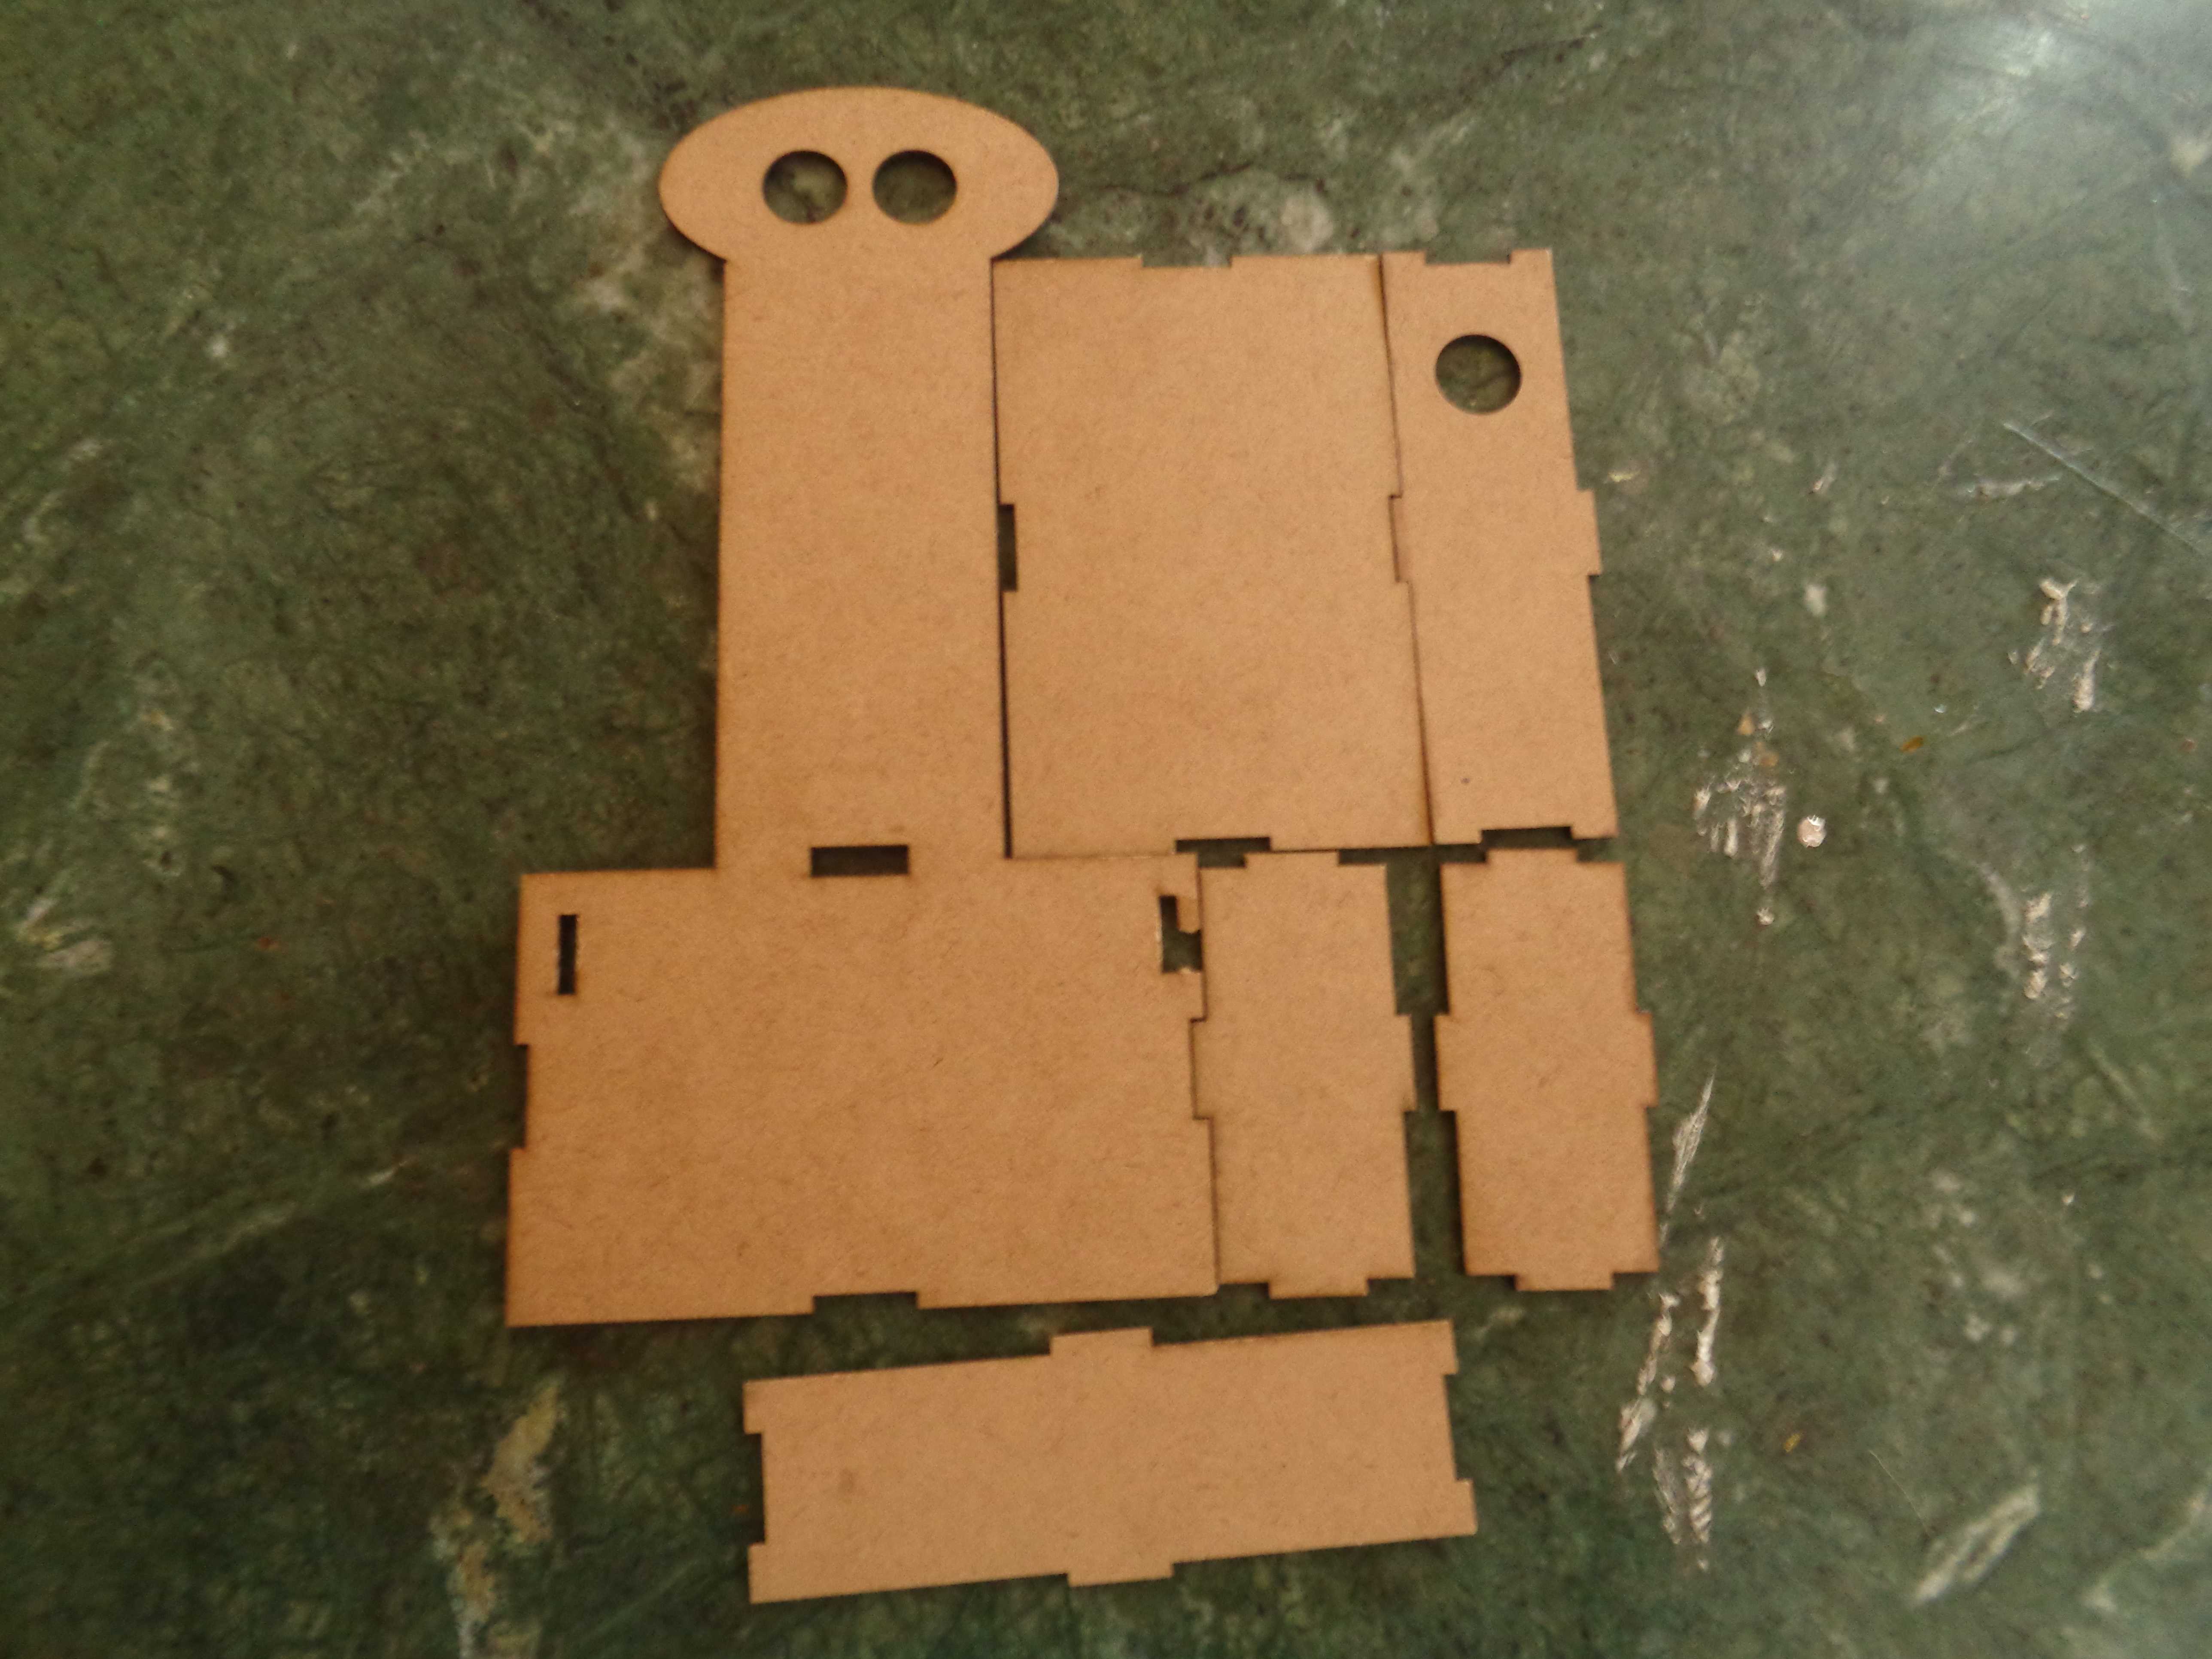
Use Inkscape 2D design software.
Introduce them with Inkscape which is design software & Benbox which is machine software.
Now your Design parts is ready. Attach it & make your device.
See they cut it properly or not.
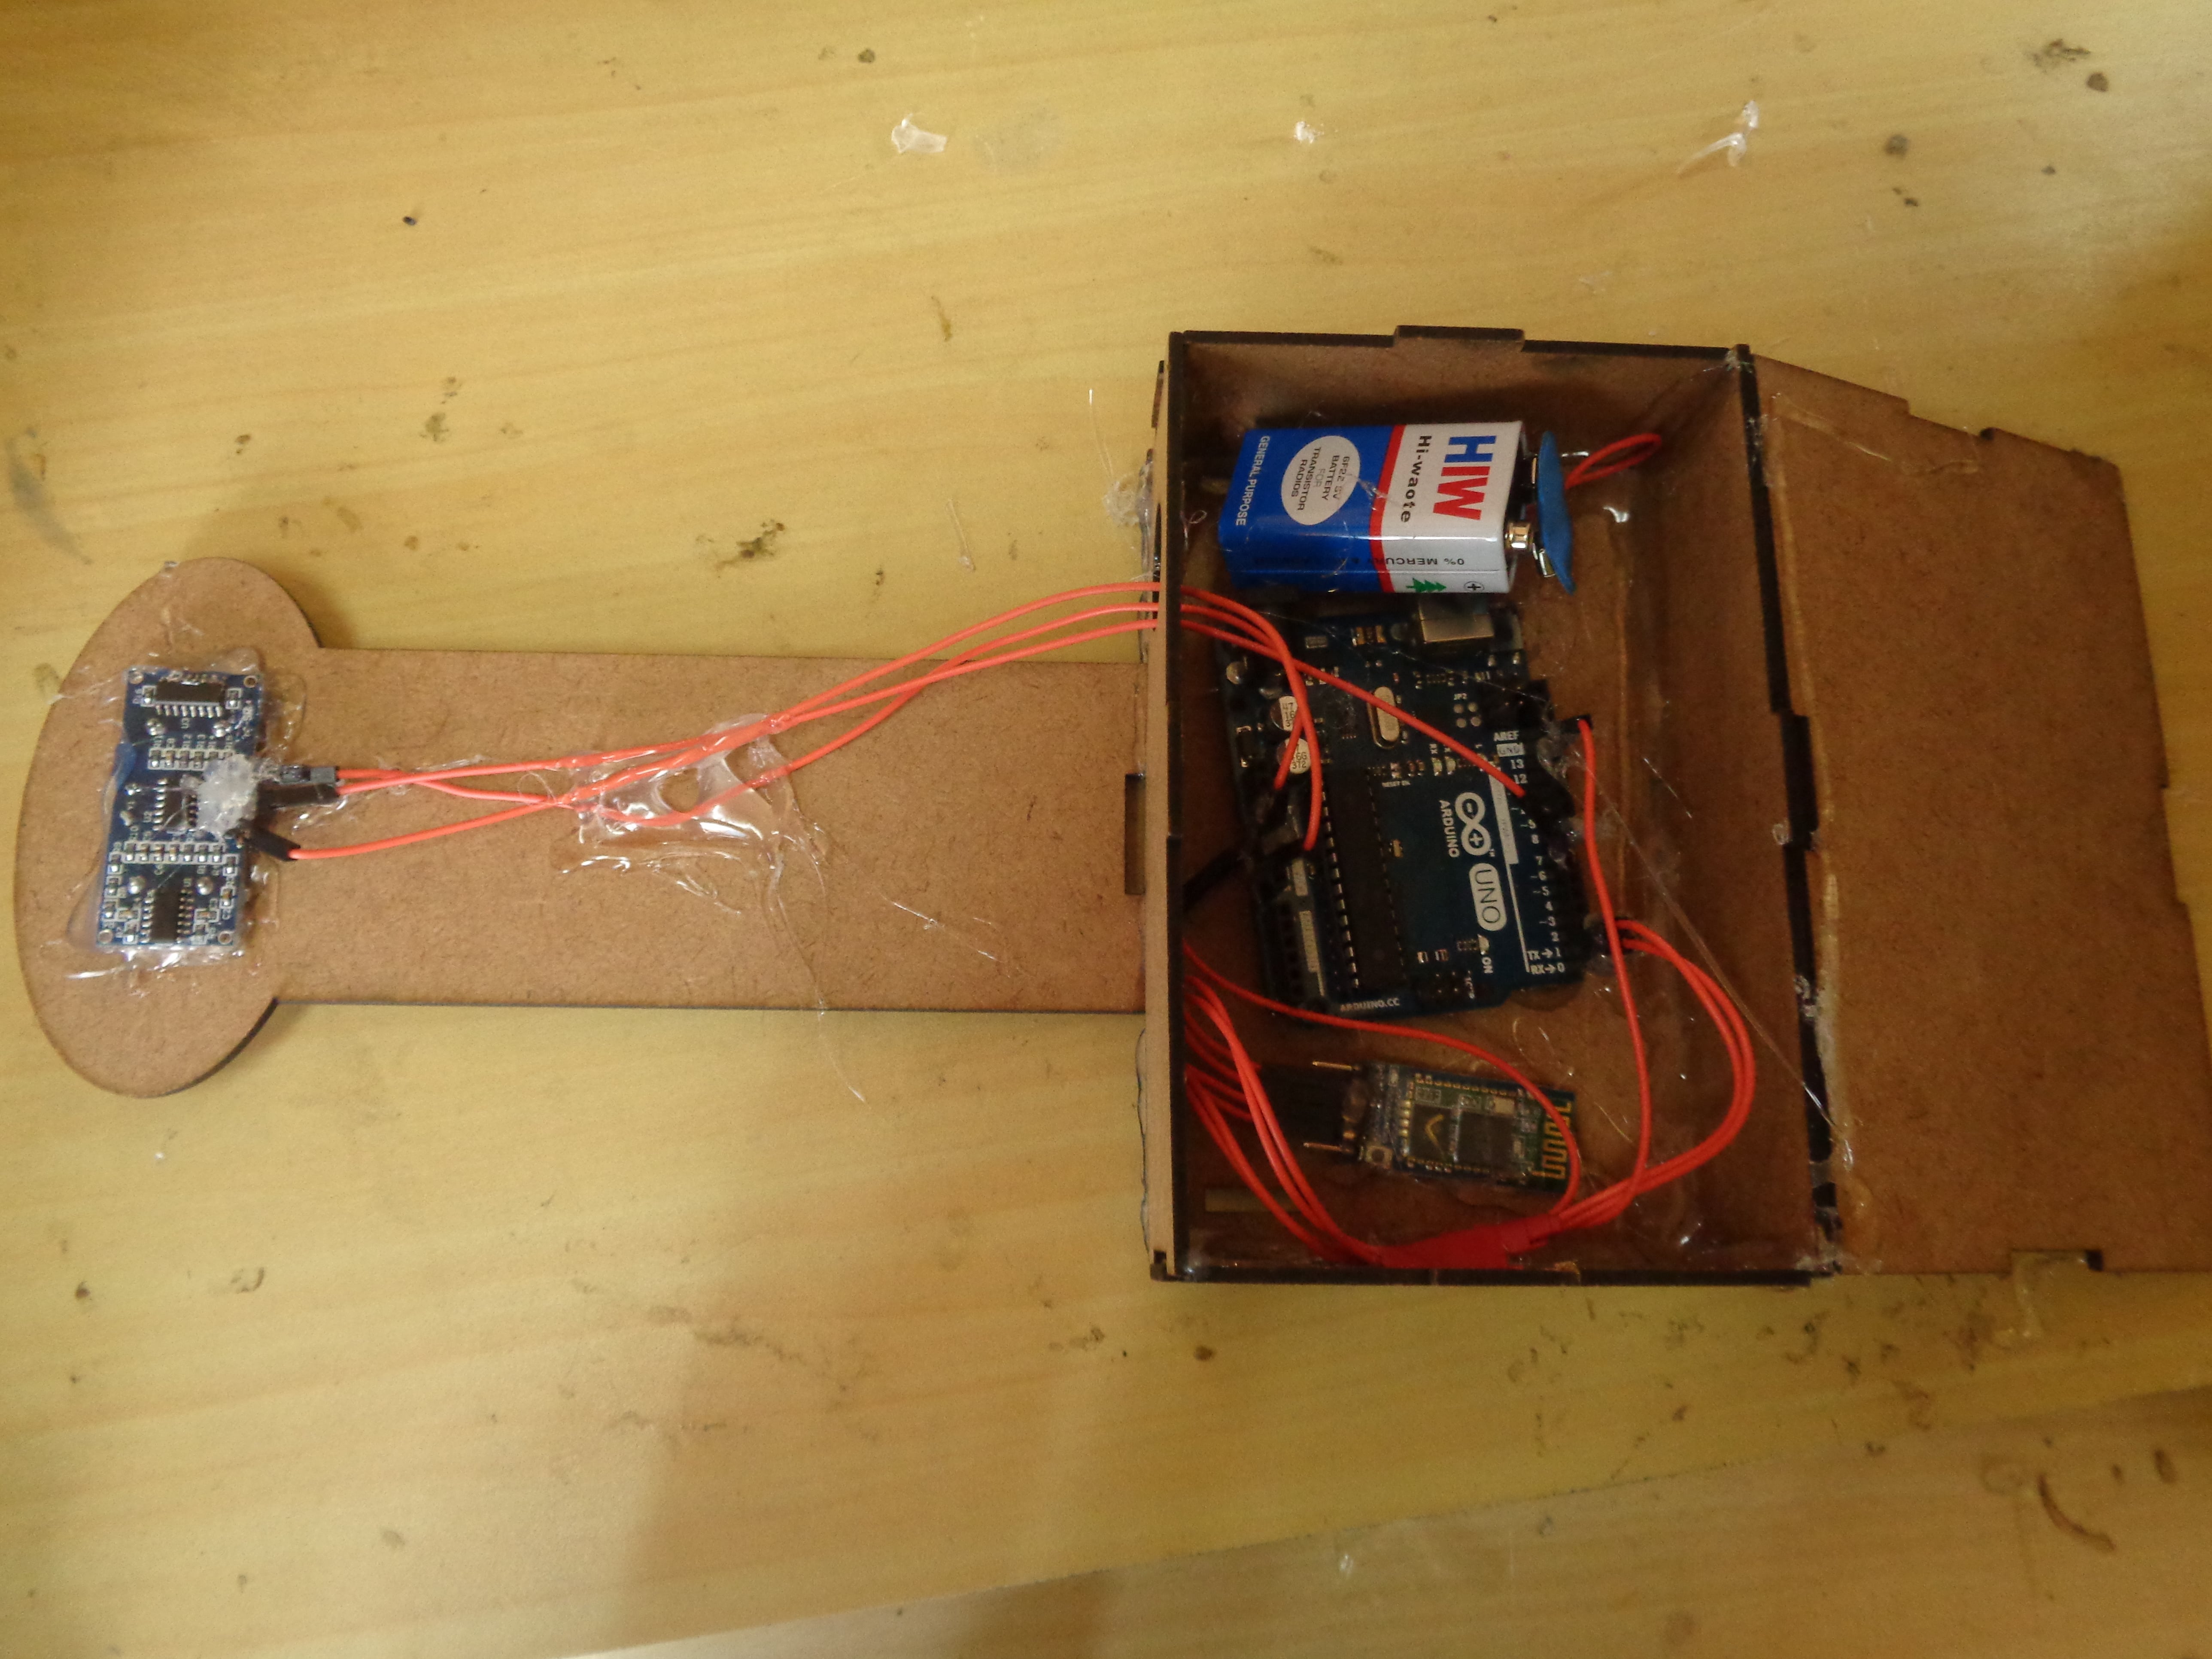
Now your lantern is ready. so take information of Arduino. There are different types of Arduino. Take which Arduino board you wnt to suitable for it. For our project Arduino Uno is perfect thats why we take it.
Now, Make programming for height measurement. After making a program upload it in arduino board.
Introduce them with Arduino IDE software.
- Vcc of Ultrasonic to 5V of Arduino. - Trig & echo pin make short & connect with pin 7 Arduino. - GND of Ultrasonic Sensor & GND of Bluetooth Module connect with Arduino. - Vcc of Bluetooth Module connect with 3.3V of Arduino. - Tx pin & Rx pin connect to Rx & Tx pin of Arduino resp. Connection of Arduino & Ultrasonic Sensor Arduino Ultrasonic sensor 5V Vcc Pin 7 Trig & echo GND GND Connection of Arduino & Bluetooth Module Arduino Bluetooth Module 3.3V Vcc Tx Rx Rx Tx GND GND
See the making connections are properly or not.
After assembling take the baby Height mobile application from play store. Install it in your phone.
Test it by connecting the Bluettoth of device with mobile bluetooth. See the height is show in your application or not. Test it properly. If it is not showing measurement then see where is the problem shall we have change in program or loose connections. check it properly.
Having trouble? Let us know by completing the form below. We'll do our best to get your issues resolved quickly.
"*" indicates required fields