- Loading…

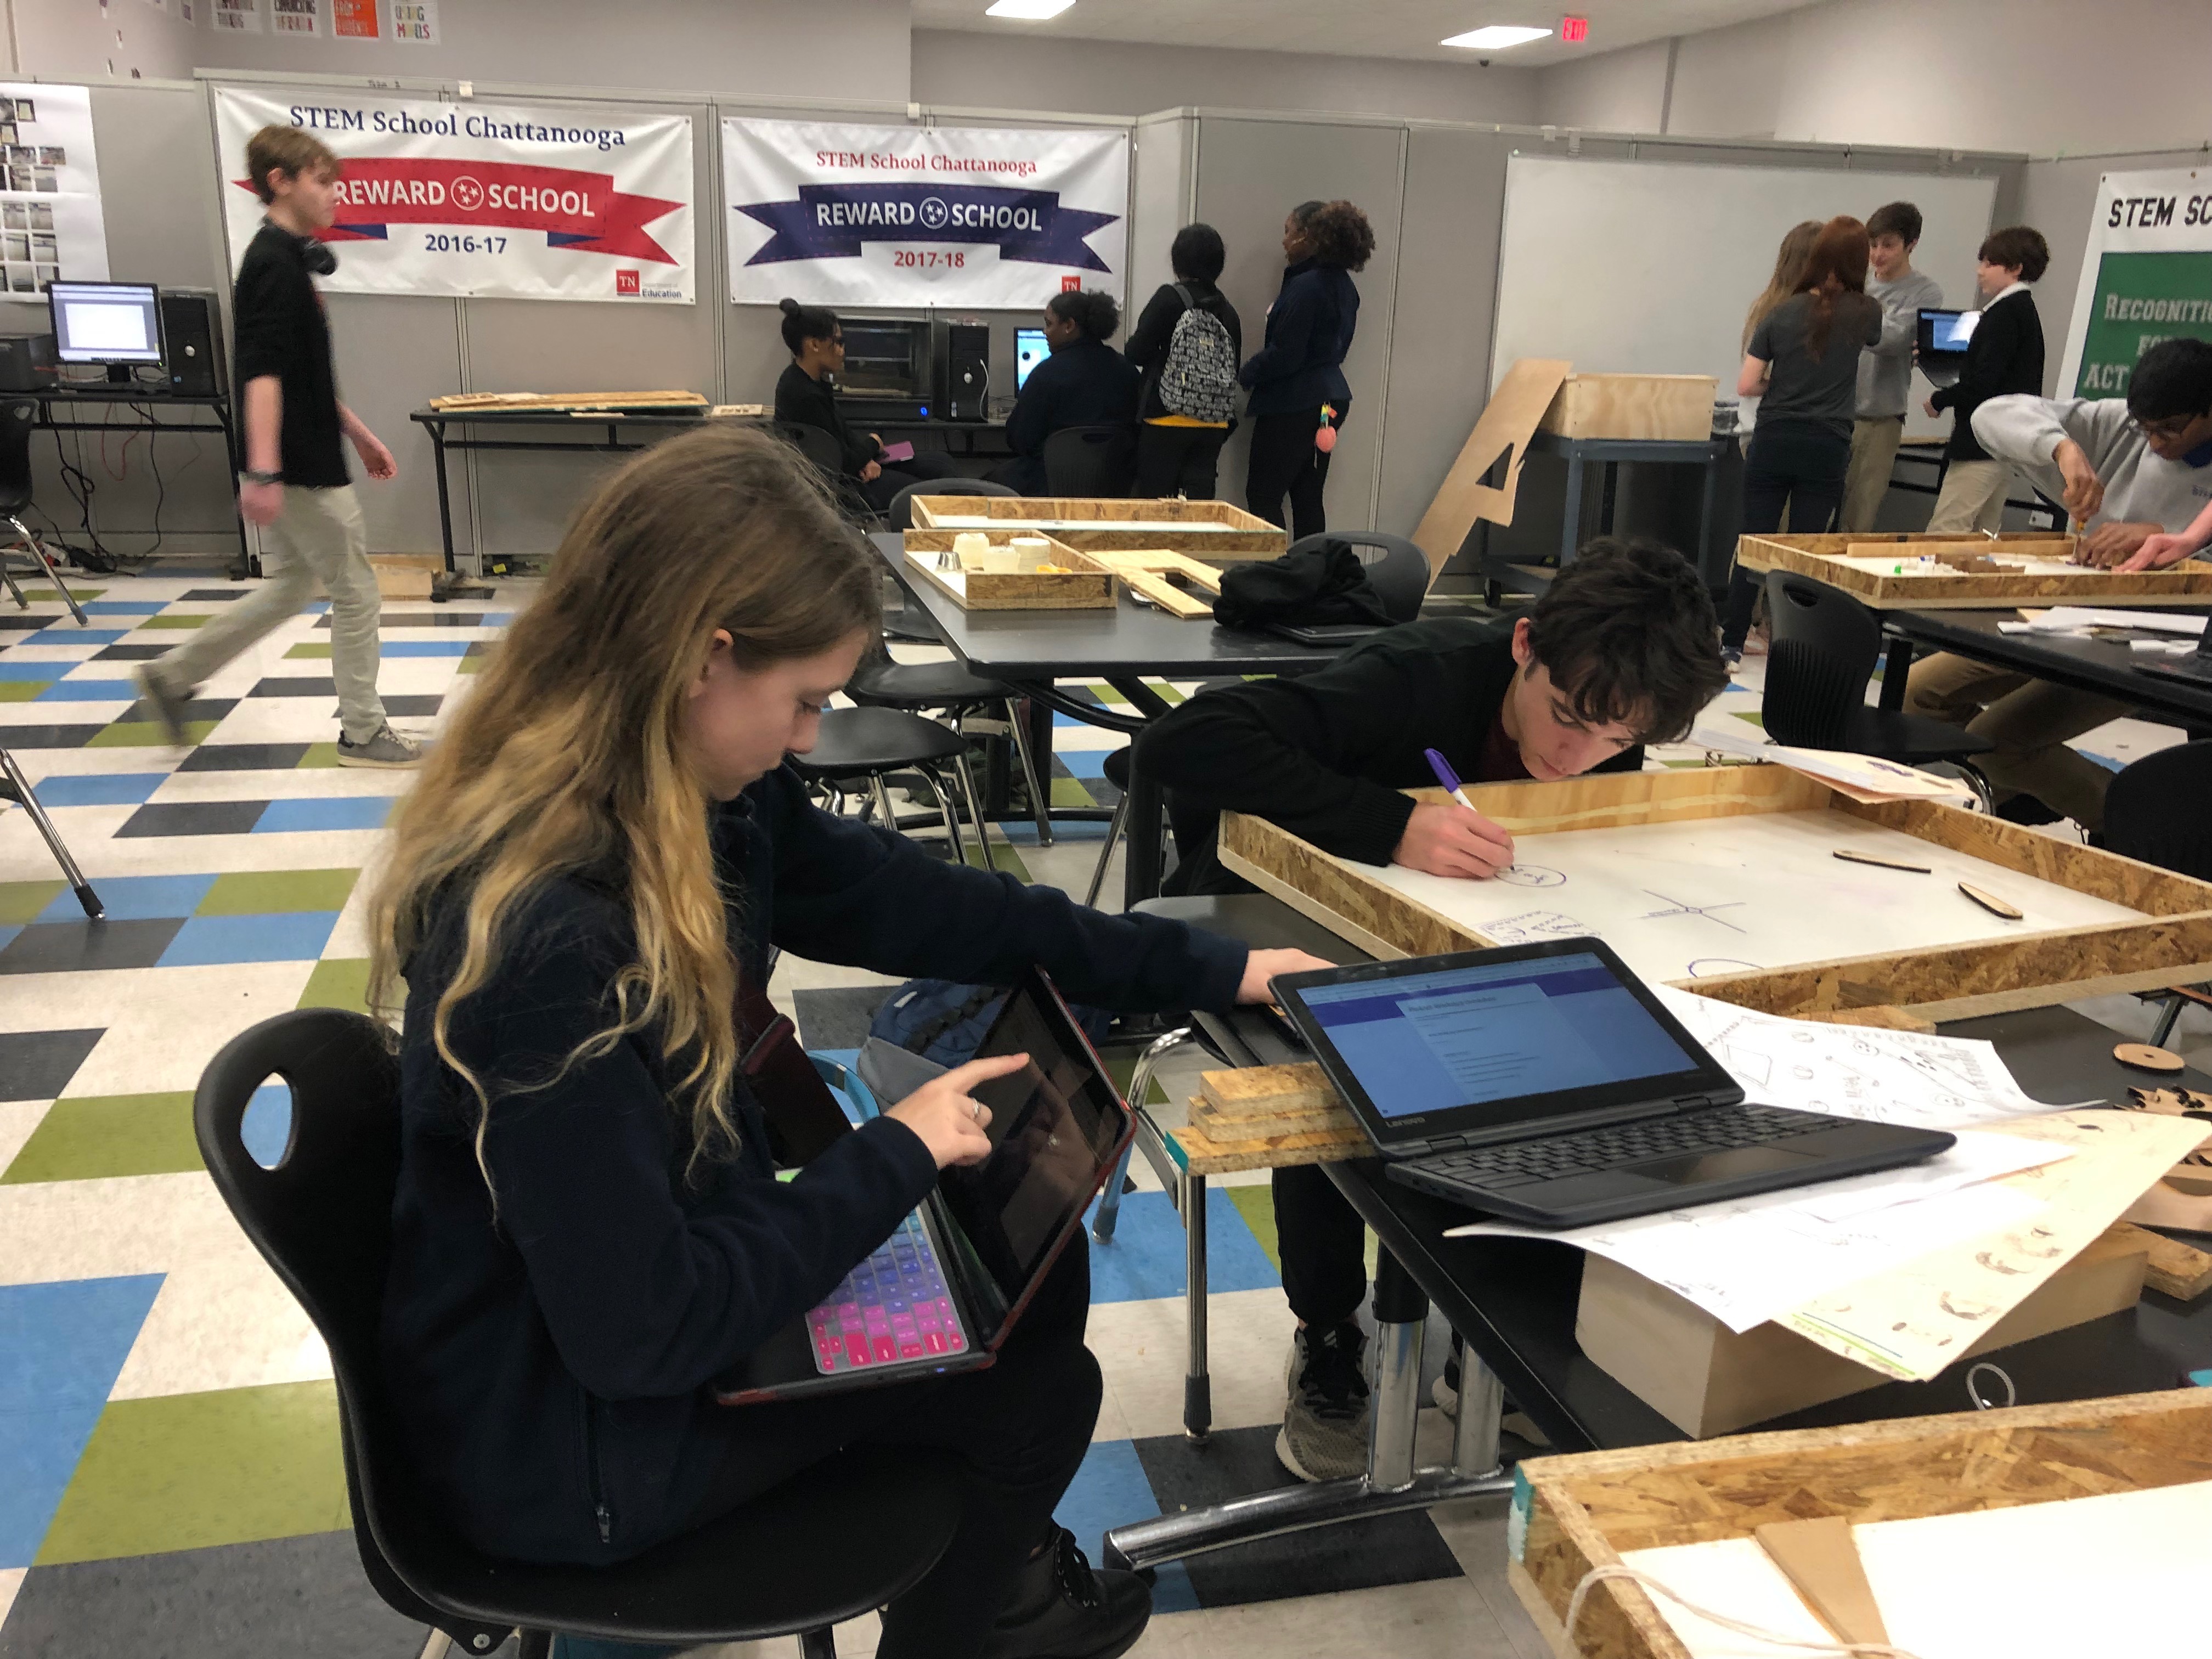
The Pinball PBL will investigate the essential concepts underlying the principles conservation of energy by calculating and discussing potential and kinetic energy in their machine. Students will apply creativity and critical thinking to collaboratively design and construct an original tabletop pinball game using digital fabrication. Within the game, students will analyze the slope and angles of elevation used to create movement. Students will also create a storyline for their game, incorporating elements of the story in the design, gameplay, and backdrop for the pinball machine. Students will explain the efficiency of the game design through small group presentations during the Pinball Arcade Event at the end of the unit.
Each student group will need access to the following equipment:
Pinball play
surface ( I used melamine board from Home Depot cut to about 18″ x
24″)
MDF pieces
(8″ x 12″ fits the Carvey)
Acrylic pieces
(12″ x 18″ fits most laser cutters)
Arduino or any
other micro controller and bread board
LED’s
DC Motors
Servo Motors
Spools of wire
Soldering iron and
solder
Cardboard pieces
and scrap wood
Vinyl sheets (I
used 12″ x 12″ sheets)
Carvey
Laser Cutter
Vinyl Cutter
Drill, Impact
Driver, Dremel Tools
Any other scrap
material or items laying around that would be fun to use in a pinball game
Students will work collaboratively in groups of 2. Student teams will engineer and design an original digitally fabricated 18x24 inch pinball machine. Students will choose a theme and create a storyline for the game, which will be embedded in the design and play features. The students will participate in an Arcade Culminating Event where students will play each of the pinball games and vote on the best designs.
Kickoff – Hacky Sack Energy Game Event:
A group of 6-7 students will be attempting to keep an object (balloon and then hacky sack) from hitting the ground by only using their feet. Each group will be sharing their maximum number of hits for each object. We will then debrief and discuss the similarities of the game to pinball and how energy is lost, added, or stored in the system as well as how the motion is affected by the object and anything that it comes in contact with (air, feet).
Pinball Game Requirements:
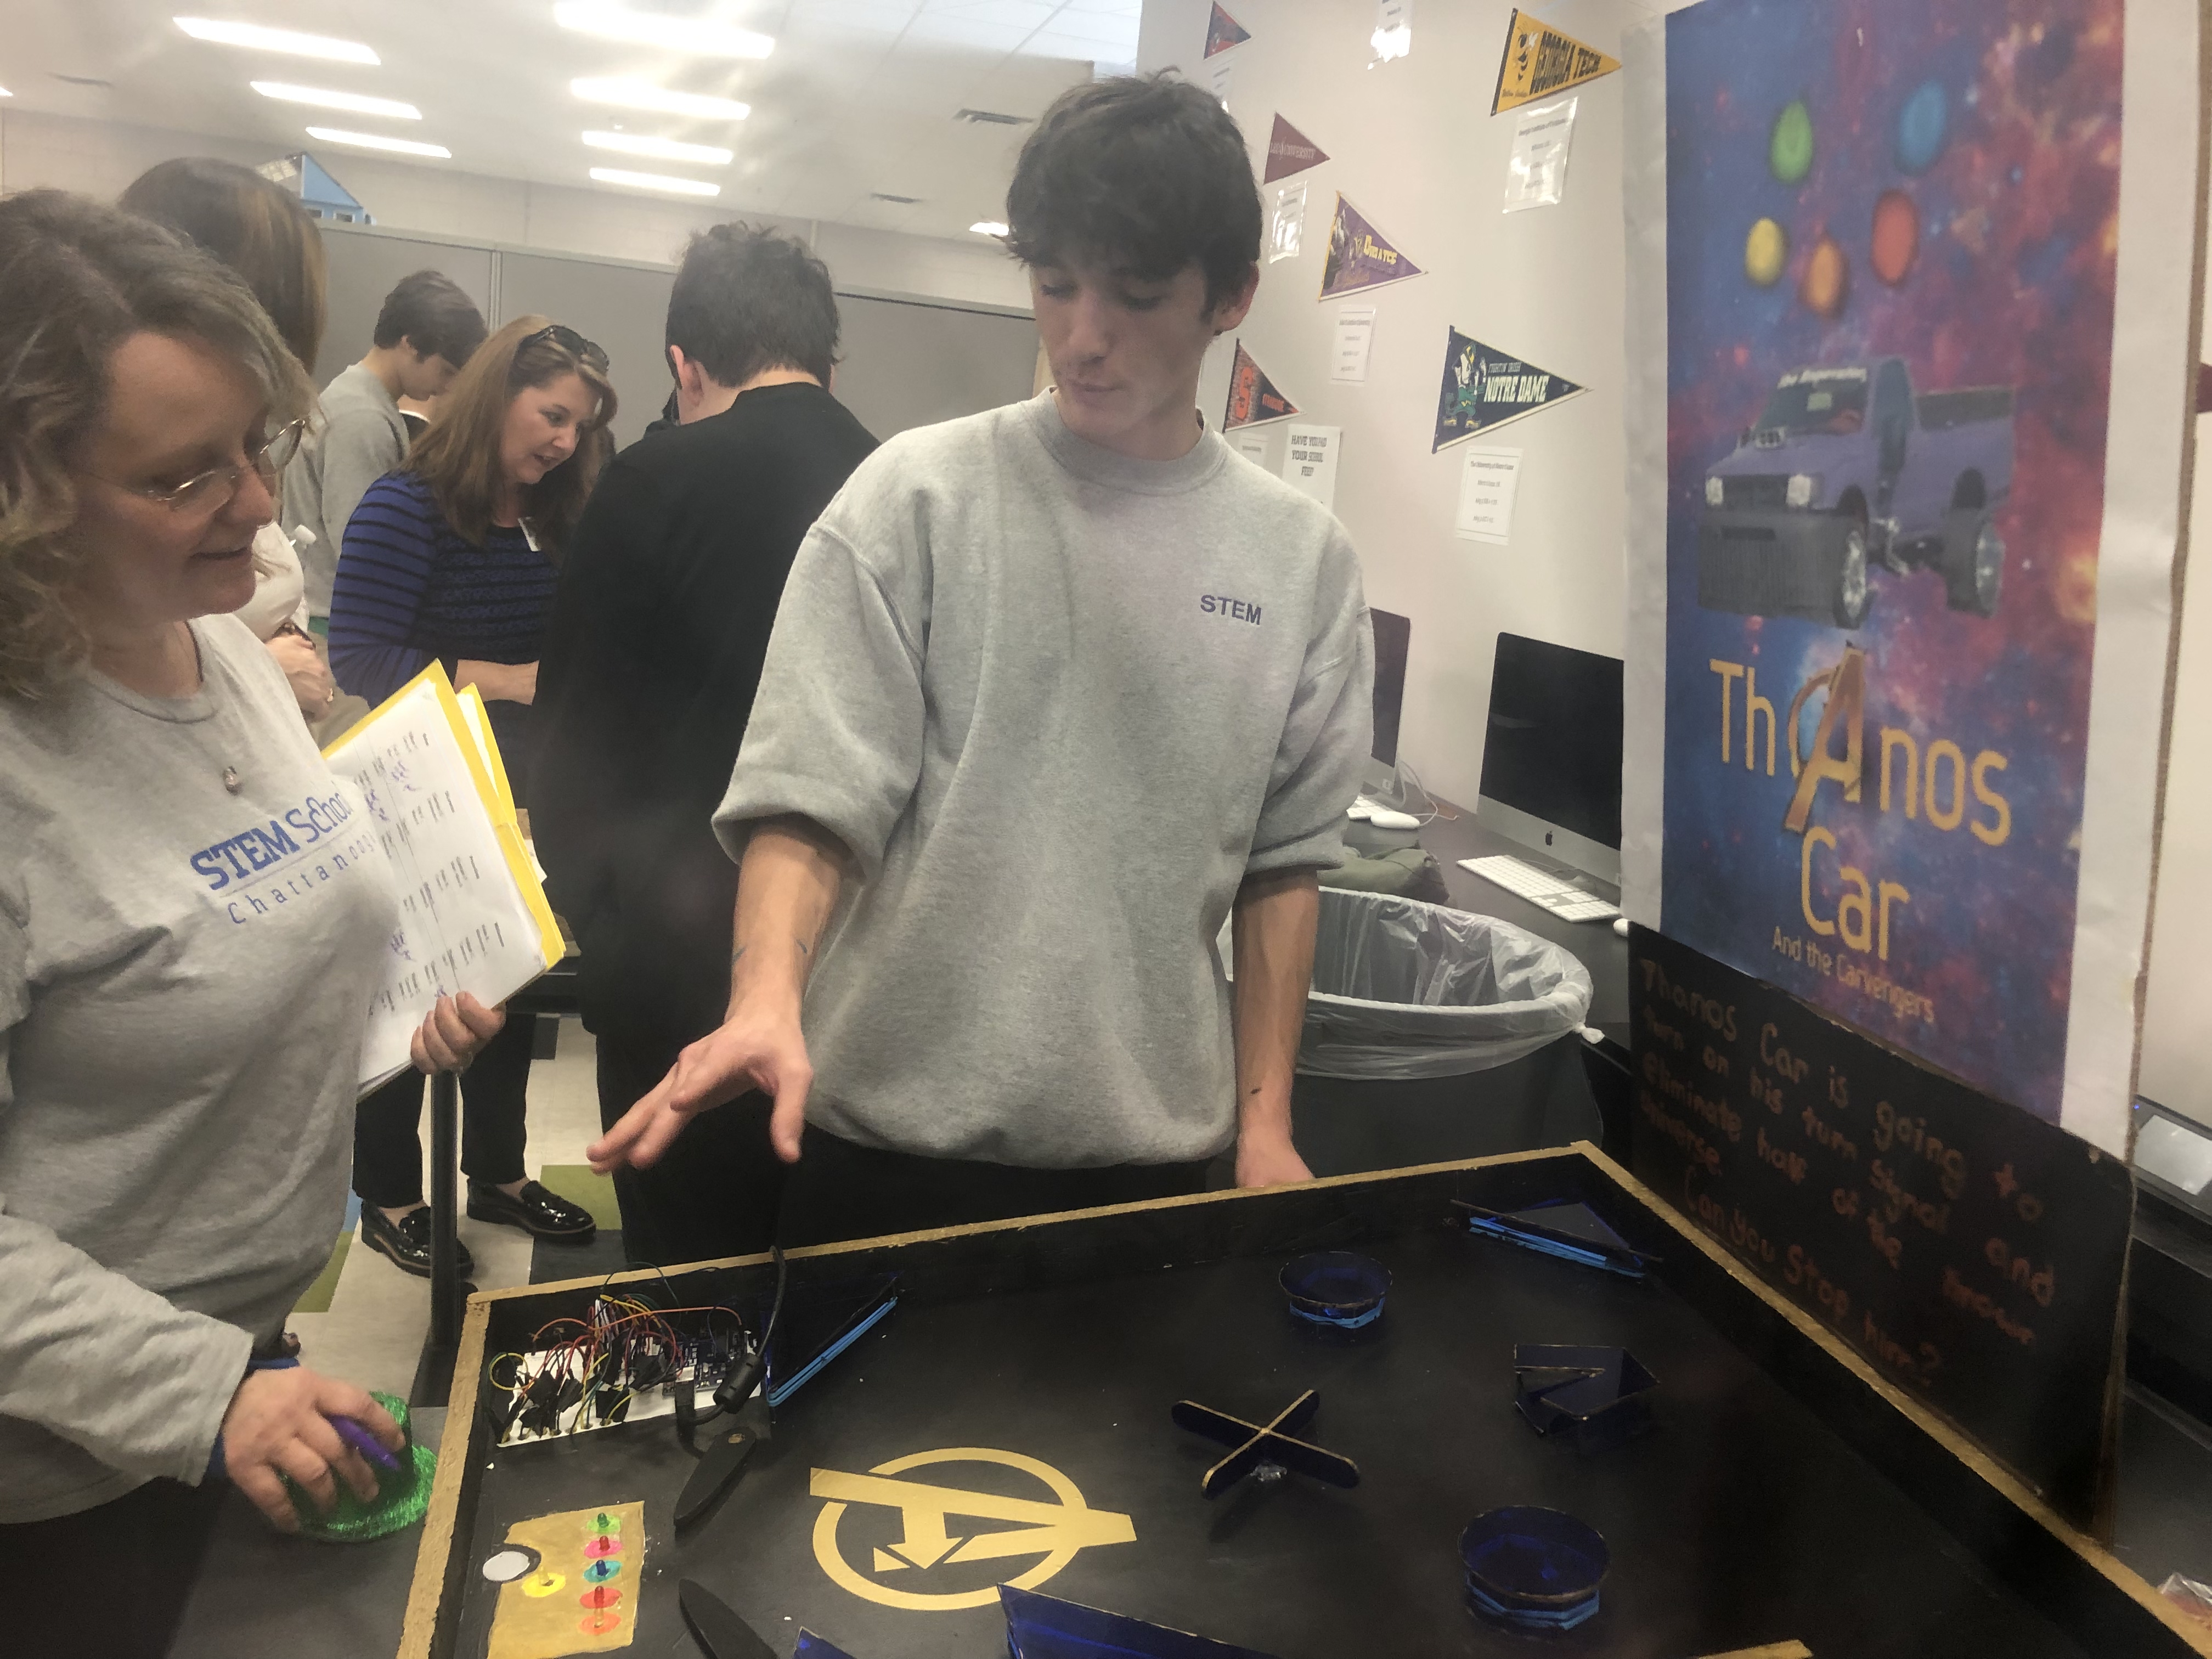
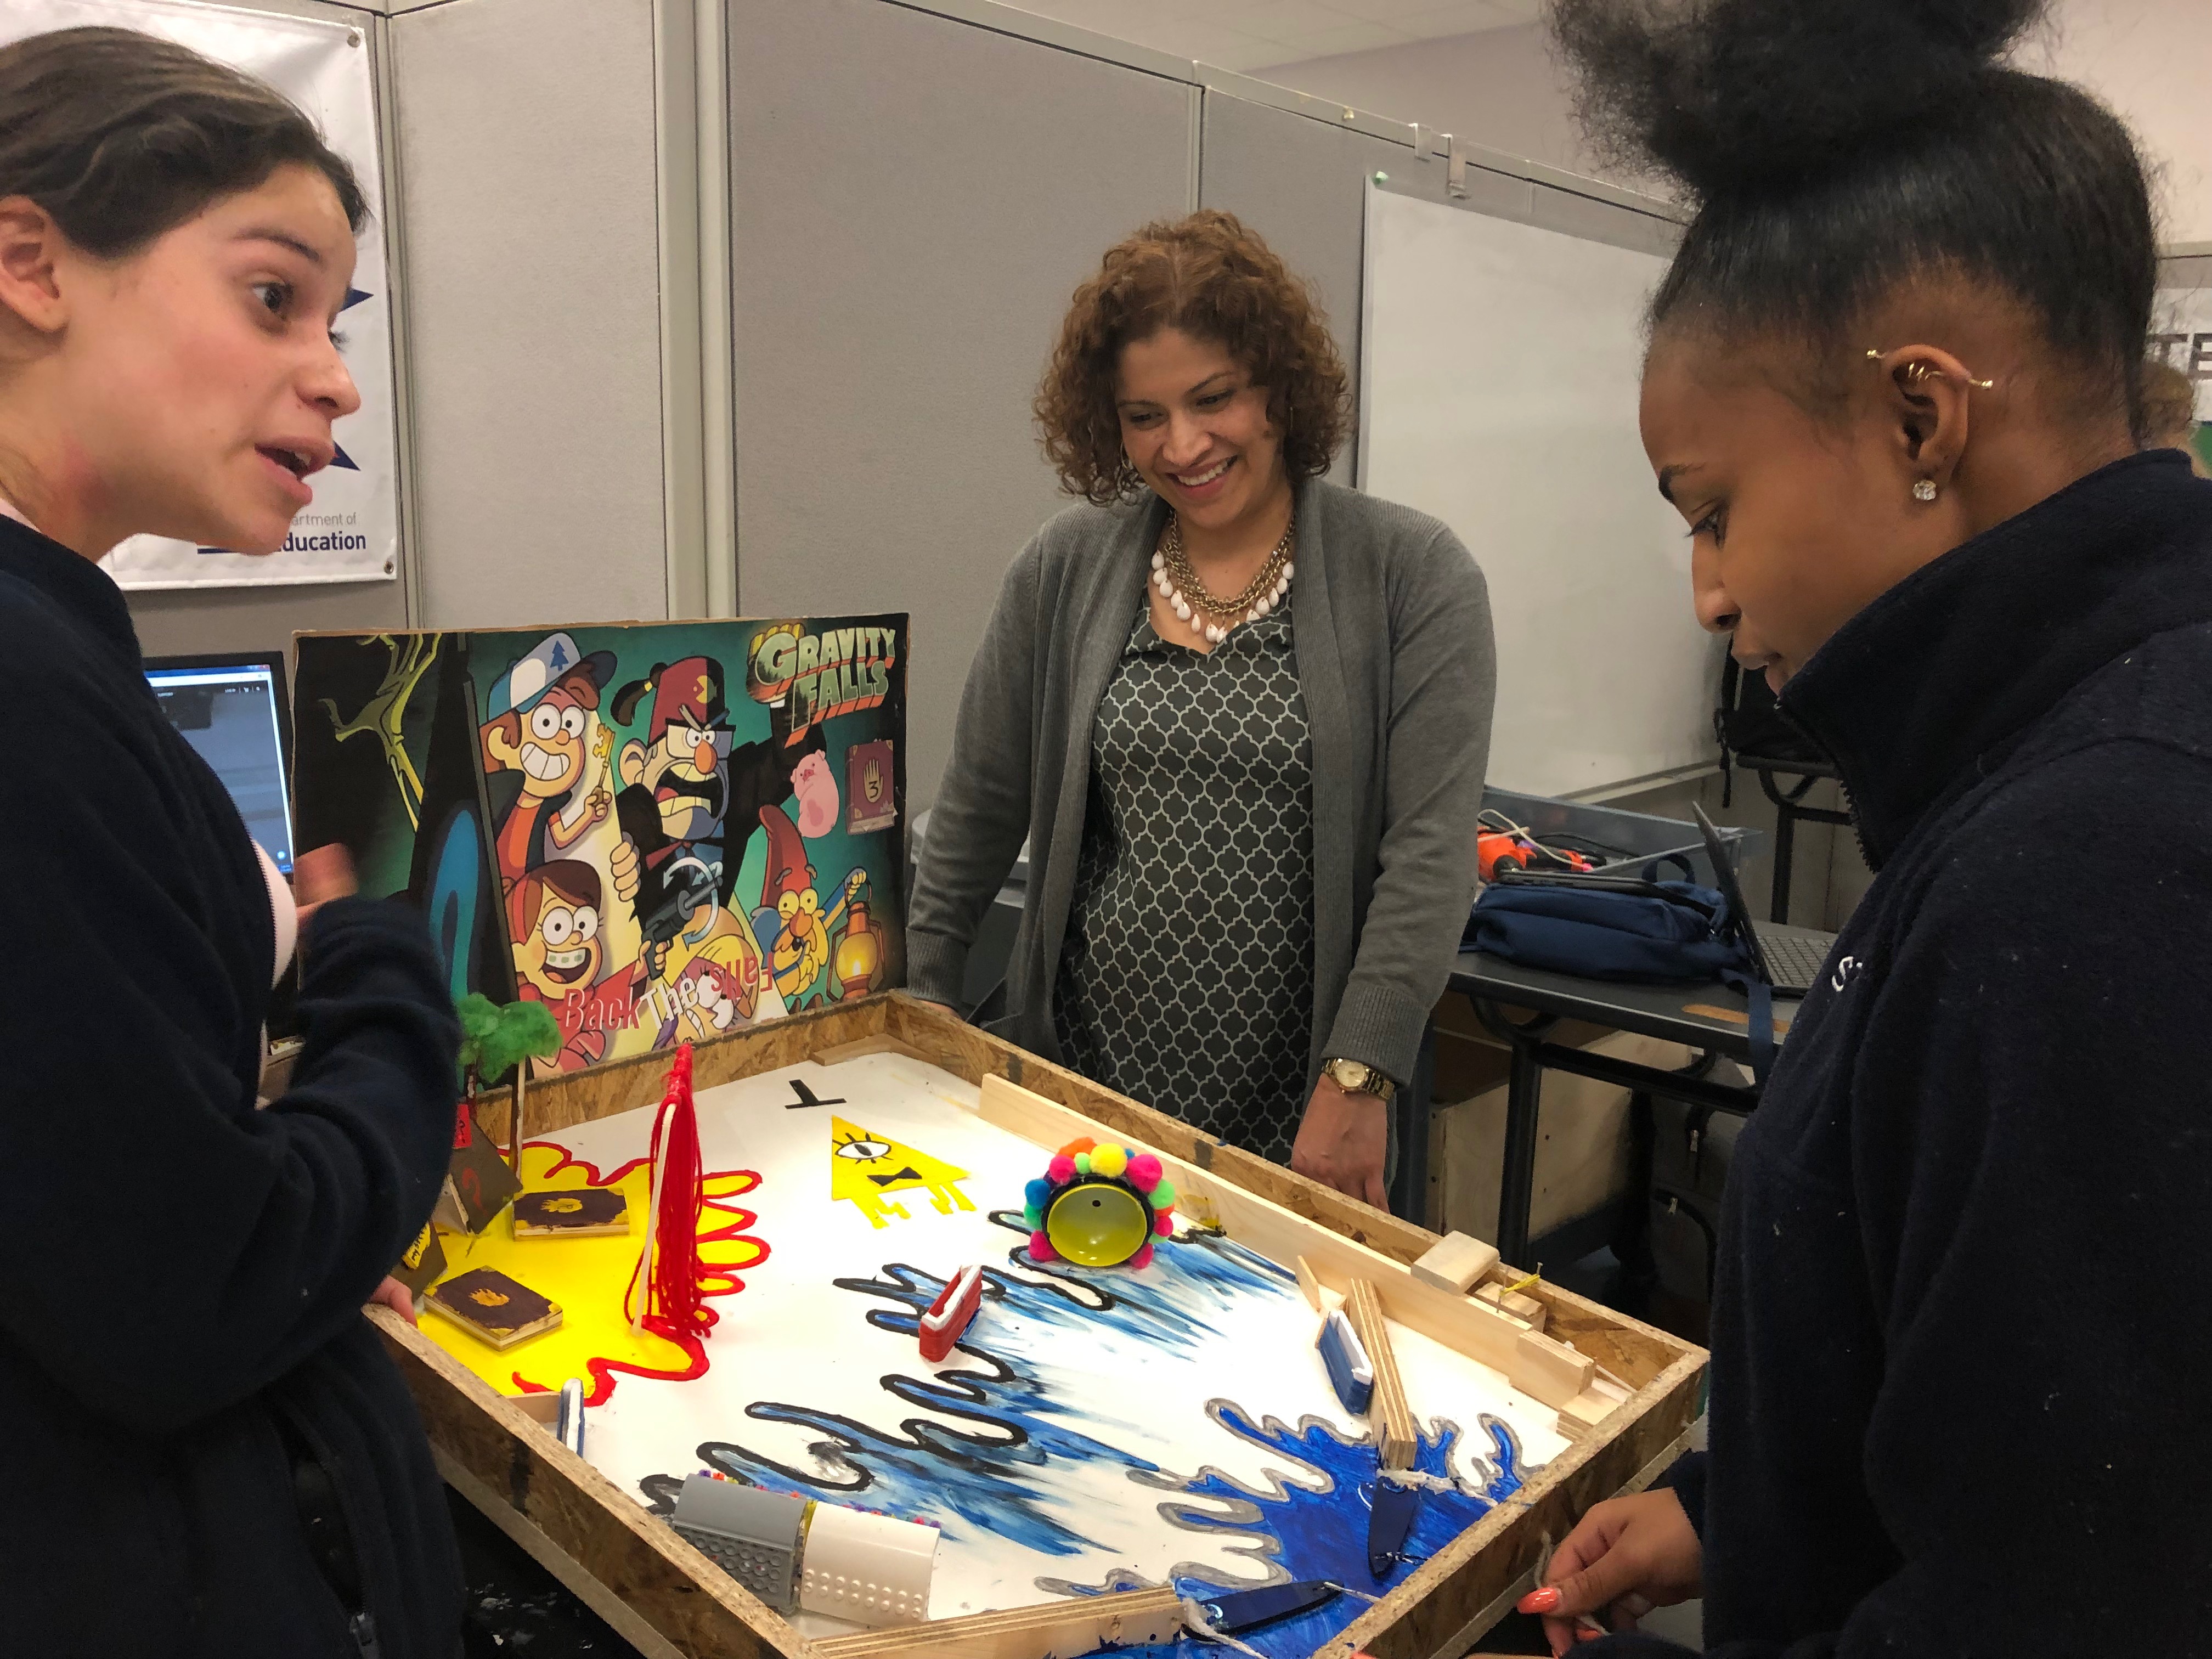
· Final Pinball Machines must be 18×24 inches.
· Students must use digital fabrication in the creation of the final Pinball Machines.
· Carvey – Bumpers, obstacles, ramps
· Arduinos – light and sound elements
· Vinyl Cutter – Decorative elements
· Poster Printer – Backdrop Art
· Pinball Machines must have a backdrop for the Story Poster and Design.
Presentations – Week of Feb. 11-15:
The culminating event is a Pinball Arcade Day where students present their games including small group presentations, and groups will play each other’s pinball machines and vote on the best designs. The following items will be turned in as part of the presentation:
· Final 18×24 inch Pinball Game
· Presentation visuals for approval
· Backdrop Story Poster
This section represents the subject specific requirements used for this project. This project was used in 9th grade, so the classes covered were: World History, Geometry, Algebra I, English I, PWC (Physical World Concepts), and Art. You can go in so many different directions with this project, the attached Learning Targets were the ones we chose to use.
Algebra 1:
· I can use slope to determine the elevation of the game table.
· I can determine the speed of a steel ball in play using distance formula.
Geometry:
· I can use the properties of similar triangles to prove that game obstacles are proportional.
PWC:
· I can record use measurable data to determine the kinetic and potential energy in a system
· I can compare theoretical data to actual data and compute energy lost using the law of conservation of energy and discuss why and how that energy is lost from the system.
English I:
· I can write narratives to convey experiences and events, including a clear setting, characters, and plot.
· I can use technology to produce writing and display information visually.
Art:
· I can use my previous knowledge and experience to create a story poster to explain the storyline for the pinball game.
World History:
· I can present information, findings, and supporting evidence, conveying a clear and distinct perspective, such that listeners can follow the line of reasoning, alternative or opposing perspectives are addressed, and the organization, development, substance, and style are appropriate to purpose, audience, and a range of formal and informal tasks.
· I can make strategic use of digital media (e.g., textual, graphical, audio, visual, and interactive elements) in presentations to enhance understanding of findings, reasoning, and evidence and to add interest.
· I can adapt speech to a variety of contexts and tasks, demonstrating a command of formal English when indicated or appropriate.
This next section provides a general pacing guide for each student to assist in completing the project.
Week 1: (Jan. 7-11)
· Jan. 8 – Kick-Off Activity
· Jan. 8 – PBL Rubric and Pacing Guide Review
· Jan. 11 – Contracts written and approved
· Jan. 11 – Step #1: File Folder design completed and approved
Week 2: (Jan. 14-18)
· Jan. 14 – Algebra 1 elevation determination complete. Speed calculations are completed.
· Jan. 15 – Step #1: Storyboard or Plot Chart completed/approved
· Jan. 18 – Step #2: Easel Model of flippers and launching mechanism completed/approved
Week 3: (Jan. 22-25: No School on Mon., 1/21 – MLK Day)
· Jan. 23 – Step #1: Turn-in History Advertisement rough draft script
· Jan. 24 – Poster design for sign off
· Jan. 25 – Step #2: Flippers and launching mechanism completed, installed, and approved
· Jan. 25 – Easel/Corel model of other game pieces completed/approved
· Jan. 25 – TinkerCAD model of Arduino motors and LED lights completed
Week 4: (Jan. 28-Feb.1)
· Jan. 30 – Geometry proficient complete
· Feb. 1 – Step #3: Poster Backdrop completed and approved
· Feb. 1 – PWC Machine Energy analysis (note: paddles, launchers, and elevation of machine must be complete to successfully complete analysis)
· Feb. 1 – History Advertisement 1st Draft Due.
· Feb. 1 – Game pieces completed and installed
Week 5: (Feb. 4-8)
· Feb. 6 – Step #4: Arduino elements completed and installed
· Feb. 8 – Final construction completed for Pinball Game Arcade event
· Feb. 10 – Final History Advertisement Turn-in
Week of Feb. 11-15 ~ Culminating Event: Presentations and Pinball Arcade Event
The guide below helps layout the iteration process for this project.
Design and Digital Fabrication Weekly Iterations:
In this project, you will be designing and creating a variety of pinball prototypes using the digital fabrication process and machines. Here is some important information:
· Step #1 MUST be completed and approved on your team’s Pacing Guide before moving on to the next step.
Part #1 – File Folder Model and Storyboard:
1. File Folder Model Requirements:
· File Folder base to scale compared to the 18x24in. final
· Bumper paddles, obstacles, ramps, lights, and other game elements labeled with material or Dig. Fab to be used.
· Measurements of all game elements in centimeters (to scale)
· Materials List: cardboard, paper, rubber bands, glue, tape (identify which materials you are using for each game element)
· Materials found in the TinkerSpace or brought from home (non-electrical elements only)
· PBL Teacher signs off on File Folder completion ___________
2) Storyboard or Plot Chart for the Story Adaptation:
· Theme for Pinball Game: ___________________
· Includes identification of setting, characters, and plot line.
· StoryBoard or Plot Chart Digital PDF (can also be done on paper)
Part #2 – Game Elements – Carvey with Easel Program
1. Launcher
· Launcher mechanism plan sketched out with labeled materials and measurements
· Launcher mechanism plan approved
2) Paddles
· Paddles and paddles mechanism plan sketched out with labeled materials and measurements
· Paddles and paddles mechanism plan approved
3) Paddles and Launcher
· Proof of paddles and launcher functioning
4) Game Elements Carvey Creation – MDF:
· 3D Design of bumpers and elements in Easel
5) Carvey creation of Elements and Installation
· Bumper paddles, obstacles, ramps, design elements
· Elements are installed on the Pinball Machine
· Carvey Elements are tested, evaluated, redesigned if needed
6) Analog Creation:
· Obstacles, ramps, design elements
· Elements are installed on the Pinball Machine
7) Pinball Board Angle:
· Determine angle of board to create difficulty level
Part #3 – Vinyl Cutter/Poster Printer – Backdrop and Art Design
1) Vinyl Cutter Design Elements:
· Pinball game designs created using vinyl cutter
· Vinyl designs connect to story narrative
2) Poster Printer Design Elements:
· Poster Design
· Approve design and measurements before printing
· Print Backdrop Art using the Poster Printer
Part #4 – Arduino and Electric Elements:
1. Working launcher and working paddles must be completed prior to starting Arduino section.
Lights
· Code at least 2 working LEDs
· Add lights to story poster
Motor
· Code either DC Motor or Servo
· Add motor to game play
Having trouble? Let us know by completing the form below. We'll do our best to get your issues resolved quickly.
"*" indicates required fields