- Loading…

In this workshop, participants are going to learn about microscopes and how they can use them to magnify their view. They will learn about concepts like magnification and resolution, then use the Foldscope kit to build their own microscope. Finally, they will use the microscope they made to view the extracted strawberry DNA sample.


Presentation
1- Who are we and what we do in Studio 56.
2- Which zone we will be in today.
3- Introduce the Client letter of the workshop.

3- Open Question: Did you use a microscope before?

4- Video about Microscopes.
• Discuss the video content with the participants.
5- Explain the meaning of Magnification and Resolution.

7- Explain the unites of measurement (km to nm).
• Show the mosquito example.
• Compare the different views.

10- What we will be doing today.
• Building a microscope using the Foldscope kit.
• Watch a video about the Foldscope inventors.
8- Build the Foldscope microscope.
• Recognize the different parts of the Foldscope microscope.
• Separate the needed parts from the paper.
• Follow the step-by-step instructions in the video to build the structure of the microscope.
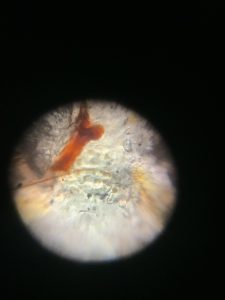
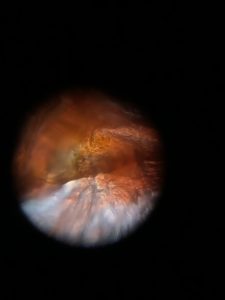
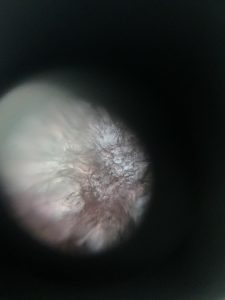
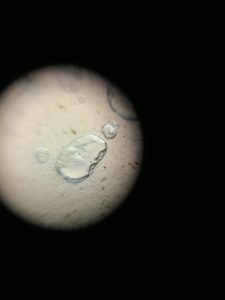
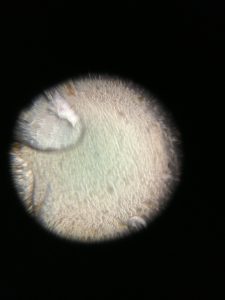
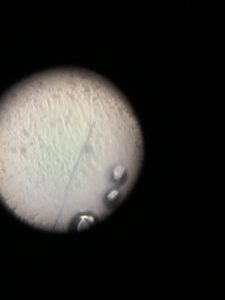
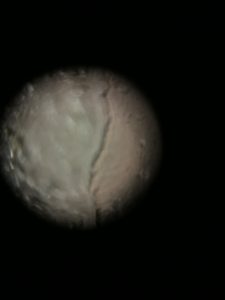
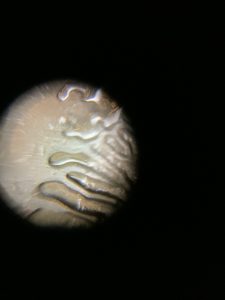
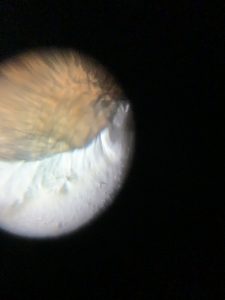
9- Take pictures of the extracted strawberry DNA under the microscope.

Building the Foldscope:
1- Follow the step-by-step guide in the presentation to build the microscope.
2- Make sure the microscope is assembled correctly.

3- Use the microscope to view the sample.
4- Connect the magnet to the phone camera.

5- Use the phone to view the DNA.

6- Take pictures of the resulted sample (exp: strawberry DNA).
7- Questions and problem solving of any occurring issues.
8- Participants will share their pictures and explore each other’s results.
9- Discuss with participants what they learnt today from the workshop.
Having trouble? Let us know by completing the form below. We'll do our best to get your issues resolved quickly.
"*" indicates required fields