- Loading…
This lesson is designed for those interested in getting hands-on time with wood shop-based tools. In this lesson plan we’ll go over how to build a playing surface for one of the oldest known tactical games still played today throughout most cultures on this planet. Chess is a game that has players from all around the world, separated by culture and language, and connected by 64 squares and 32 pieces that make up this scholastic game. Whether you’re just learning, a piece hustler, or a tactical genius, your future board can be a common ground to spend some genuine face-to-face time with someone in this otherwise tech driven world.

Playing Squares
Chess Board Frame
Tools Needed
Supplies Needed
Other Items Needed
Optional Items
Now is the time to prepare our turning blanks for their transformation.
Turning Blanks into Ranks and Files

If we are using turning blanks (blanks), we have to make sure our blanks are all the same size. We can do this by using calipers to measure every blank on both ends and in the middle.
To make this easy on our selves make sure you have a pencil, and some scratch paper if you’re not willing to write on the wood. Once you measure all sides (not including the length) number each blank and write both the number and it’s measurements down on the scratch piece of paper.
An Even Planing Field

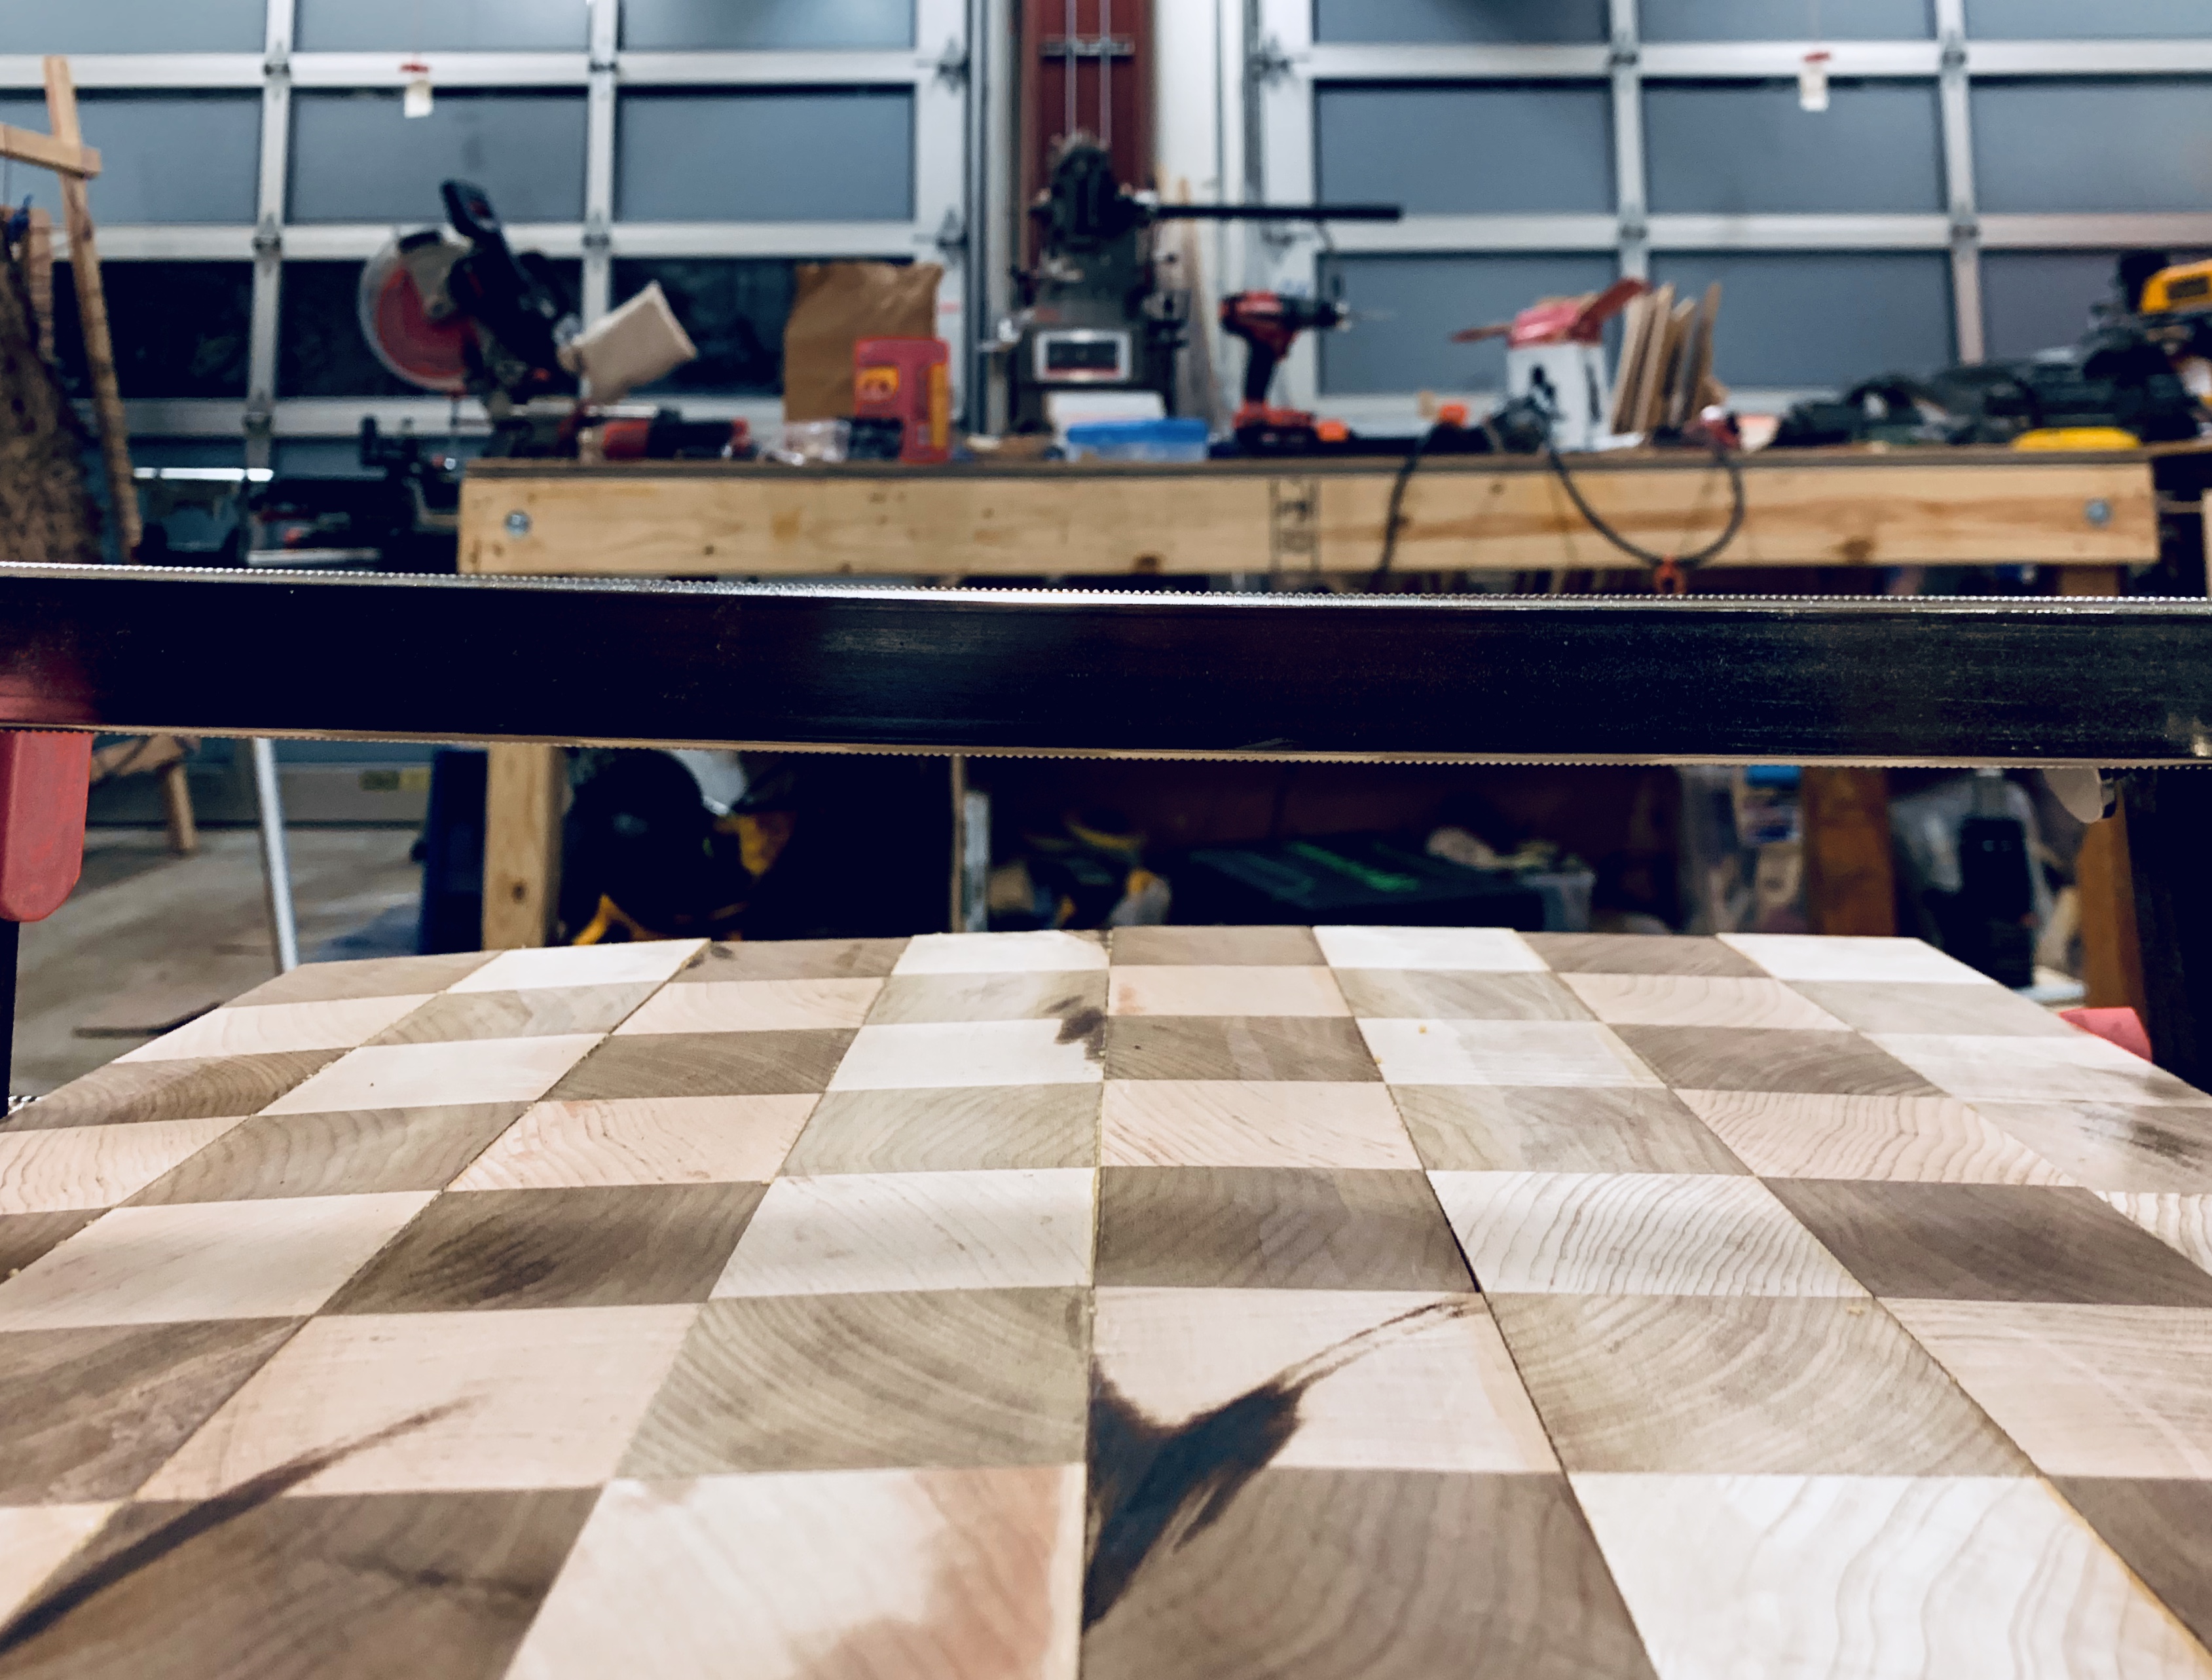
After measuring all blanks and determining the smallest, begin to prepare the planer by setting the height to match the height of the smallest blank.
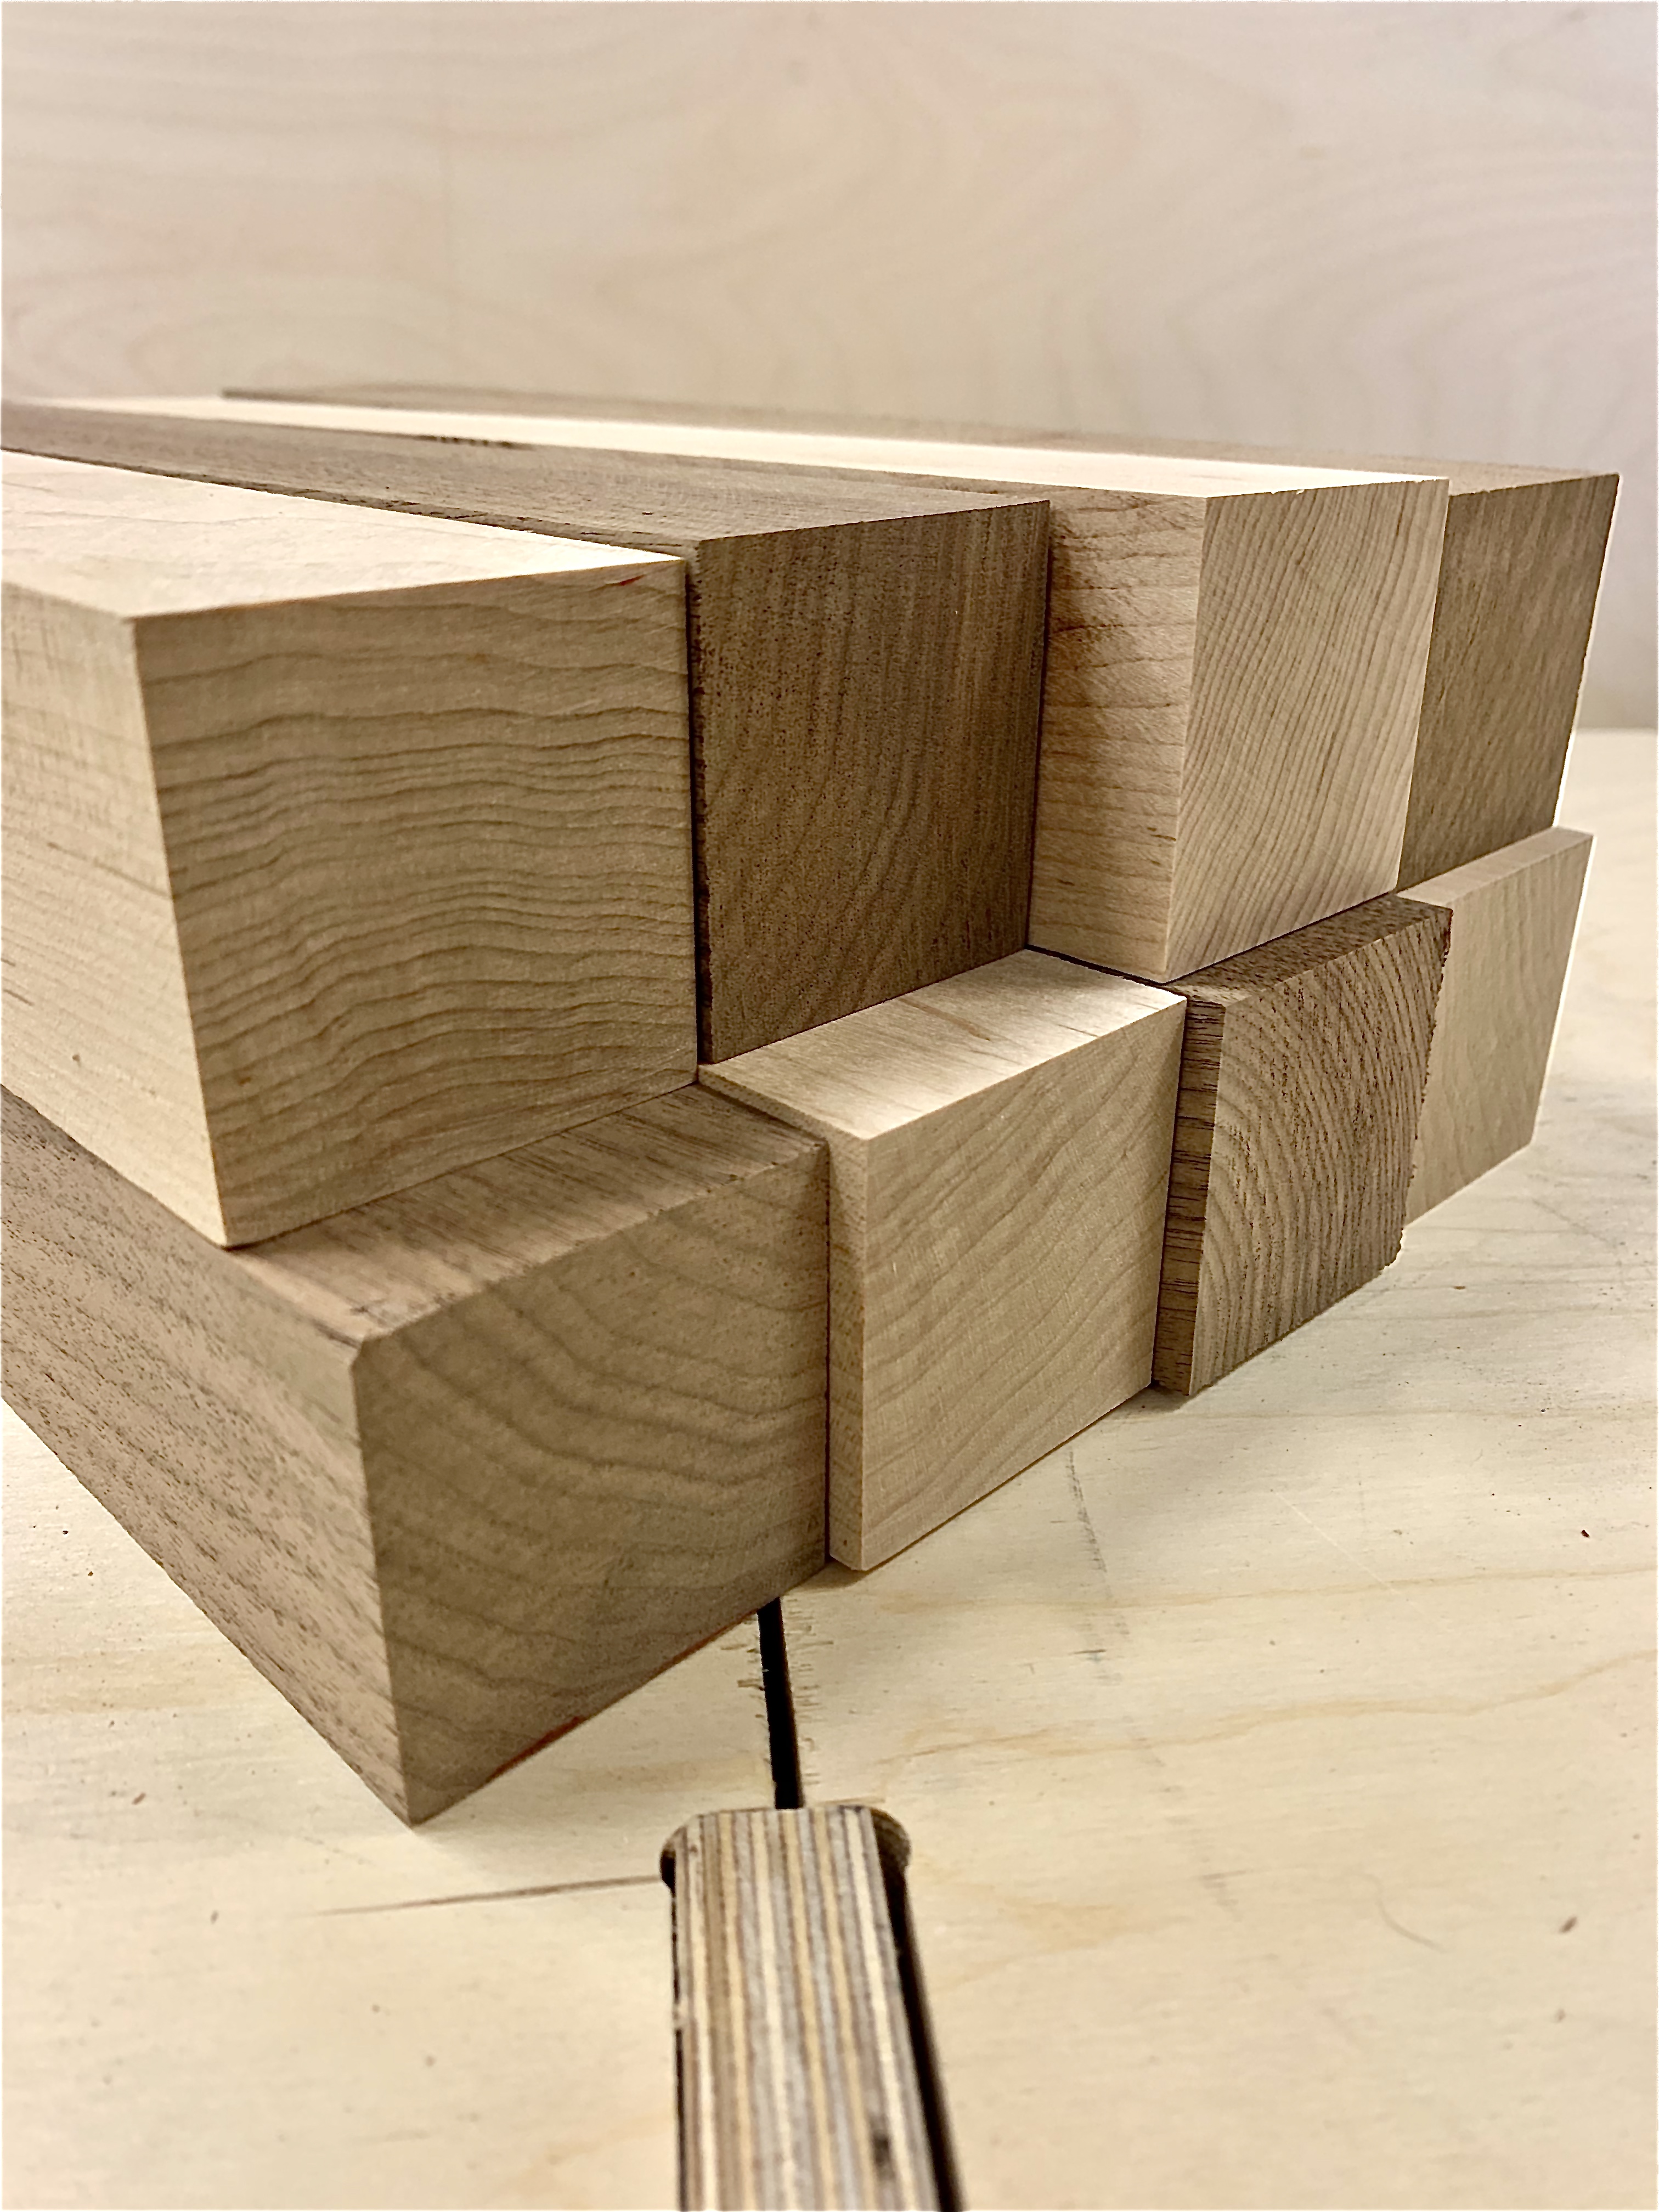
Once height is set, you will run all blanks through planer in a specific manner. For consistency purpose you can mark the end of a blank with a pencil marking the side you’re sending through the planer. In the picture above we would make a hashmark at the end on the top side as this will be the one cut. Once the first side goes through, rotate blank left or right once, mark that side and send it through again. We should only need to plane these two sides.
TASK COMPLETE

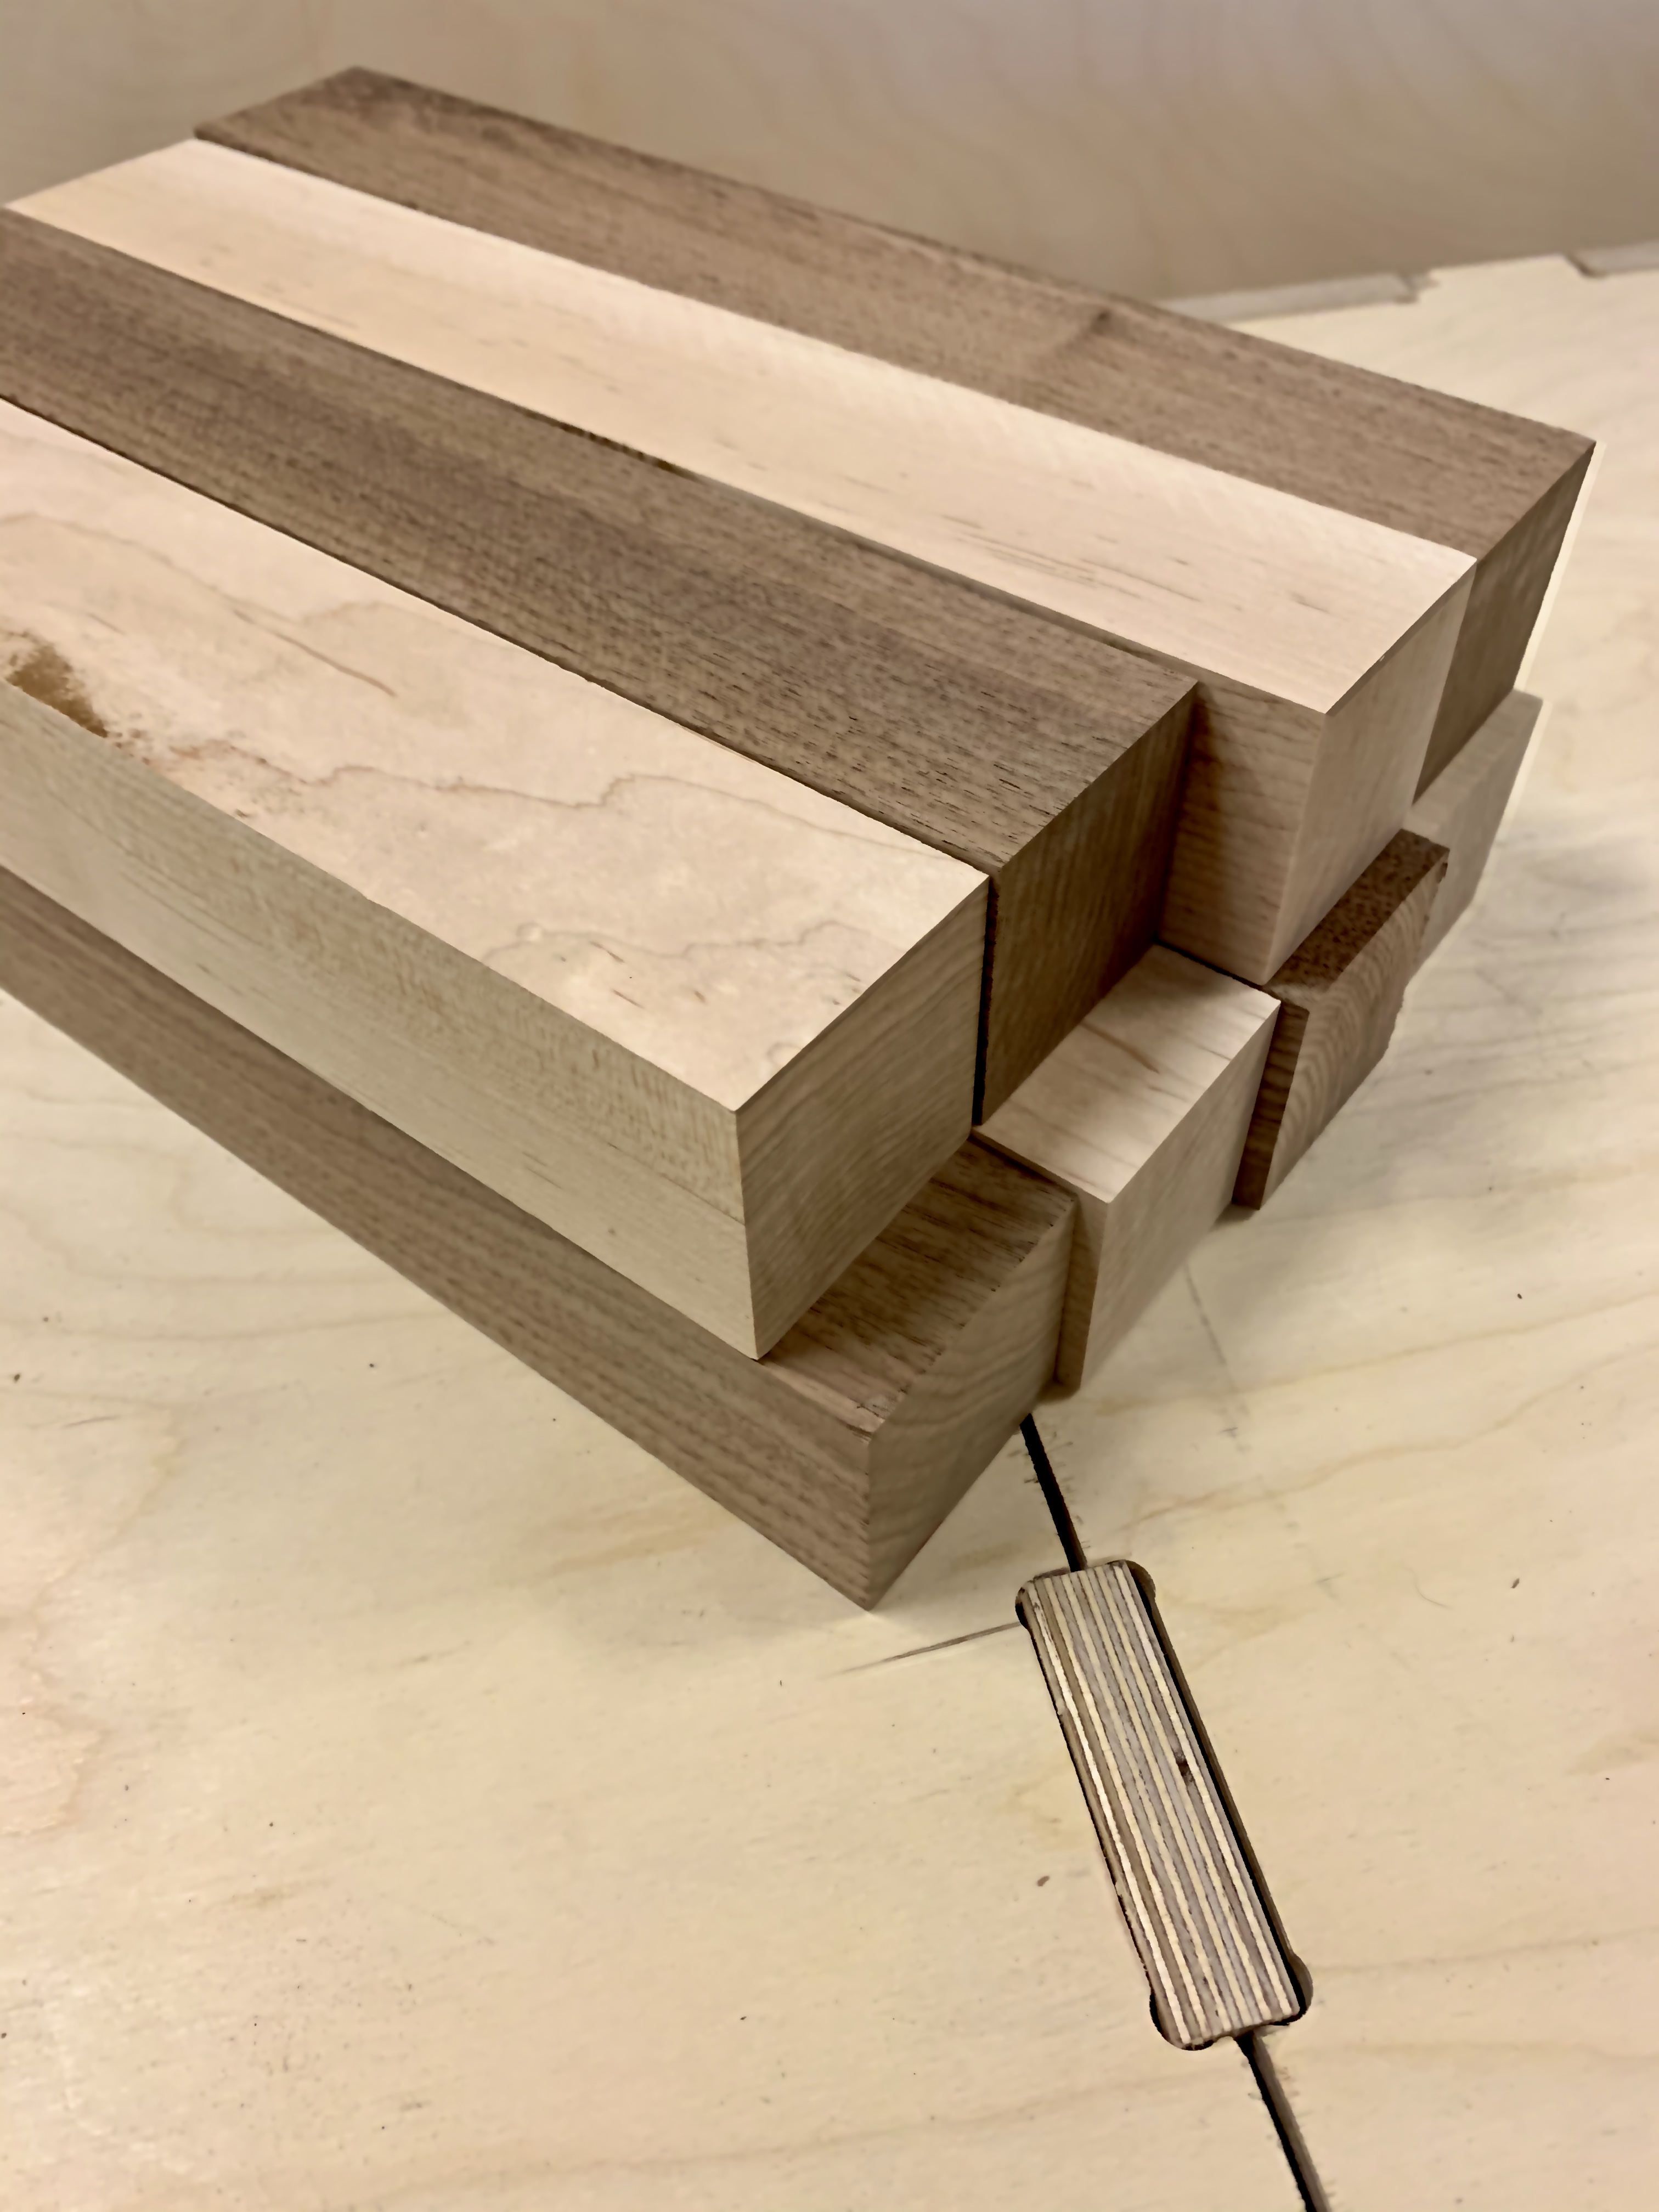
This task is complete when all our blanks can line up end to end with no variation in sizes. No blank should be thicker or thinner than the other.
Prepare for the next step by placing your blanks on the table alternating wood types so they sit walnut, maple, and so on continuing this pattern until all 8 blanks are side-by-side.

Next Step
First we plane, then we BIND!

After ensuring all blanks are leveled and are lined up alternating wood types, we move on to the application of wood glue.
In this process we will apply wood glue to a single block, spread out the glue with a brush, stick the blank to the adjacent blanks, and add pressure.
Gluing the Blanks Together
While gluing these pieces together, make sure you are setting the glued pieces down onto wax paper. This will make it easy to sand off the wax paper when the glue dries.

Start with applying the glue to a single blank.

Spread the glue out evenly with a paint brush.

Place the glue covered side of the blank aimed toward the blank beside it, and press the two pieces together evenly. Continuing this process until all pieces are glued to one another.
*As you glue, keep a sponge or rag near by with a container of warm water to wipe away excess glue as you place them together. This will reduce the amount of cleanup once the adhesive dries.


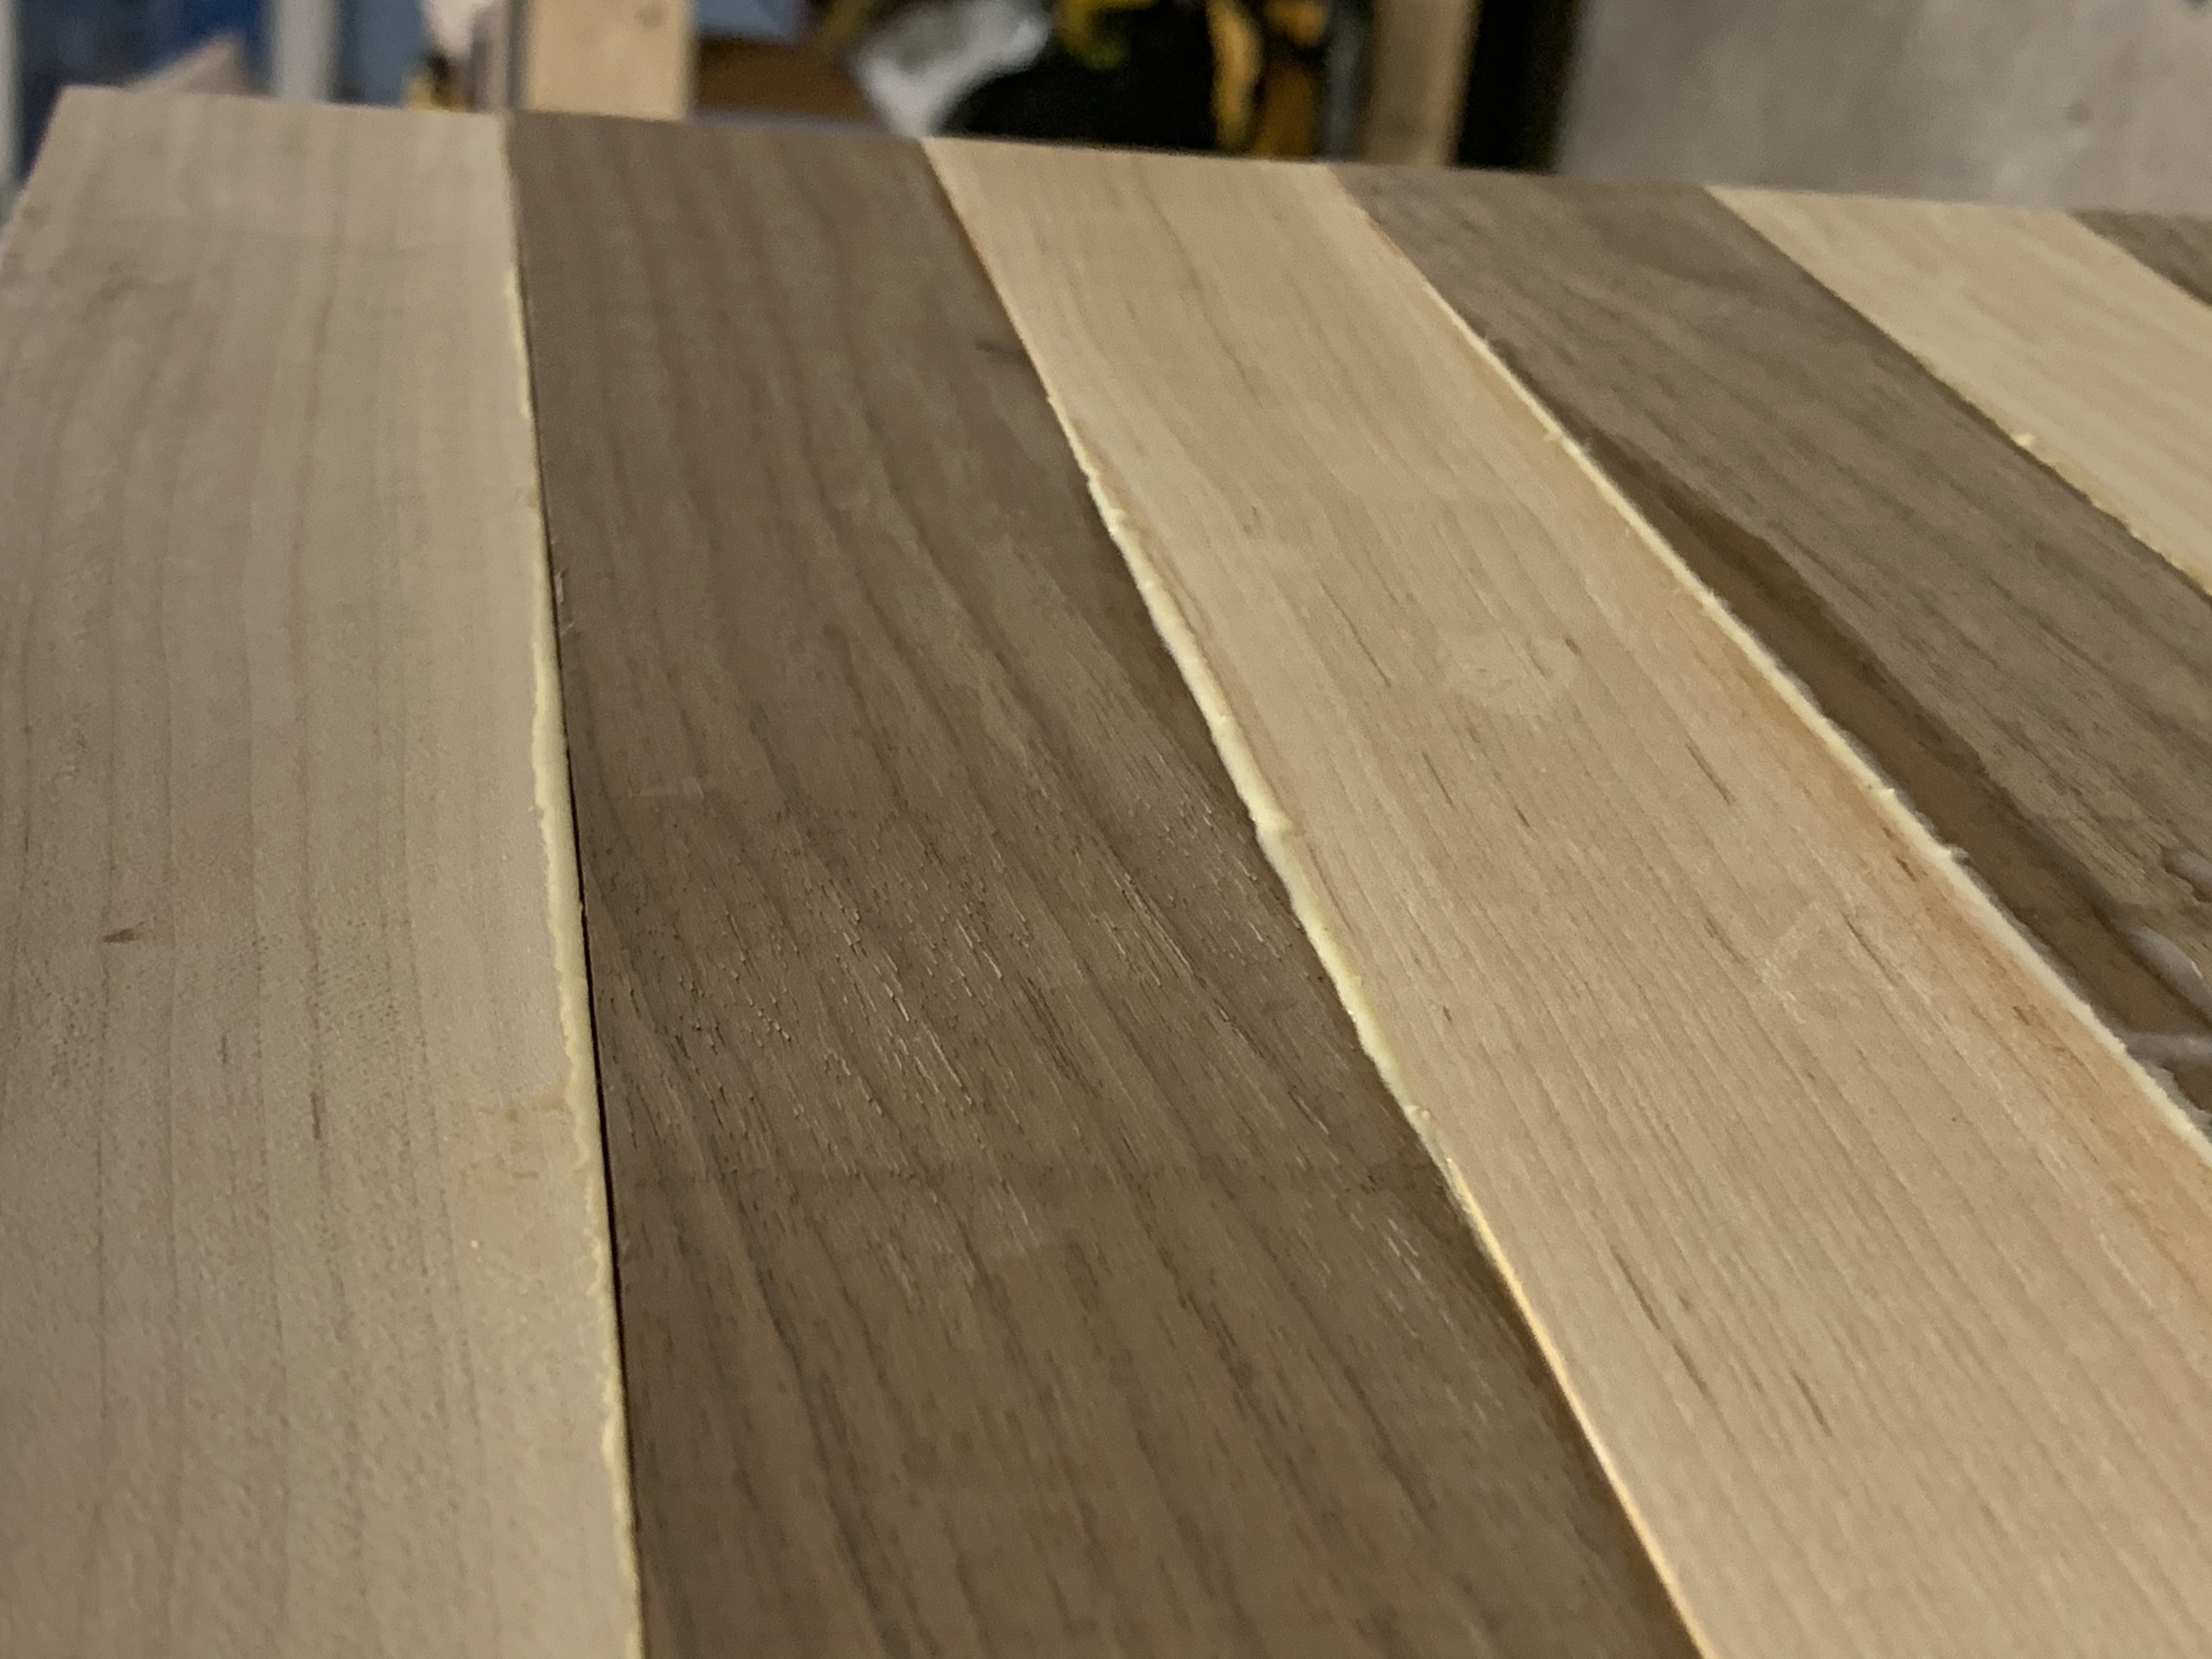
When all pieces are glued together, use Bar Clamps pushing inwards on the long-sides of the blanks to apply pressure, cleaning the glue off as you tighten the clamps.


Be sure to adjust your blanks as you tighten to make sure they stay aligned. I found it helpful to make a small sled that I then laid my waxy paper inside to help with keeping my board aligned the second time I made this board.
Let glue dry for a minimum of 24 hours. While glue is drying you can start on building the Frame and designing the letters and numbers that will be rastered into the boarder.
*Optional Step* We will be using design software, and an Epilogue Laser Printer for this step. Make Use of the Time You Have While You're Waiting for Glue to Dry. It is time to begin designing your frame of the chess board.

This phase is both optional, and can be done at any point during the board making process. You can easily choose to only make the chess board, and skip all boarder making processes moving forward. I chose to place the step here to provide an effective way to utilize the wait time while the glue sets and drys.

Things that should be considered while making a boarder first should be the size.
For the example below I used the measurements that were used to create my initial board. I chose to make a 3 inch frame around my first board thinking that the wider frame would make a great surface area for pieces as they were removed from the playing surface.


After creating the placement and design the chessboard boarder, we take the cut boarder pieces and place them individually in the Epilogue Laser Printer.
The dotted red lie in the graphic below represents the area that will be a glued tongue in the chessboard.

Once the boarder piece is placed in the Epilogue printer, zero your laser and run your raster to print graphics into the wood.
The board begins to form in this step.
Once the glue has set, lightly sand both flat sides of the board. Clean of any excess sawdust with a vacuum or compressed air.

Next move to the table saw and choose the thickness of your board. The thickness will be how high the board sits from the table. Once decided set the table saw guide to the desired thickness. For this board we chose a one inch thick board.

Proceed to cut your board down to 8 equal-thickness flanks.


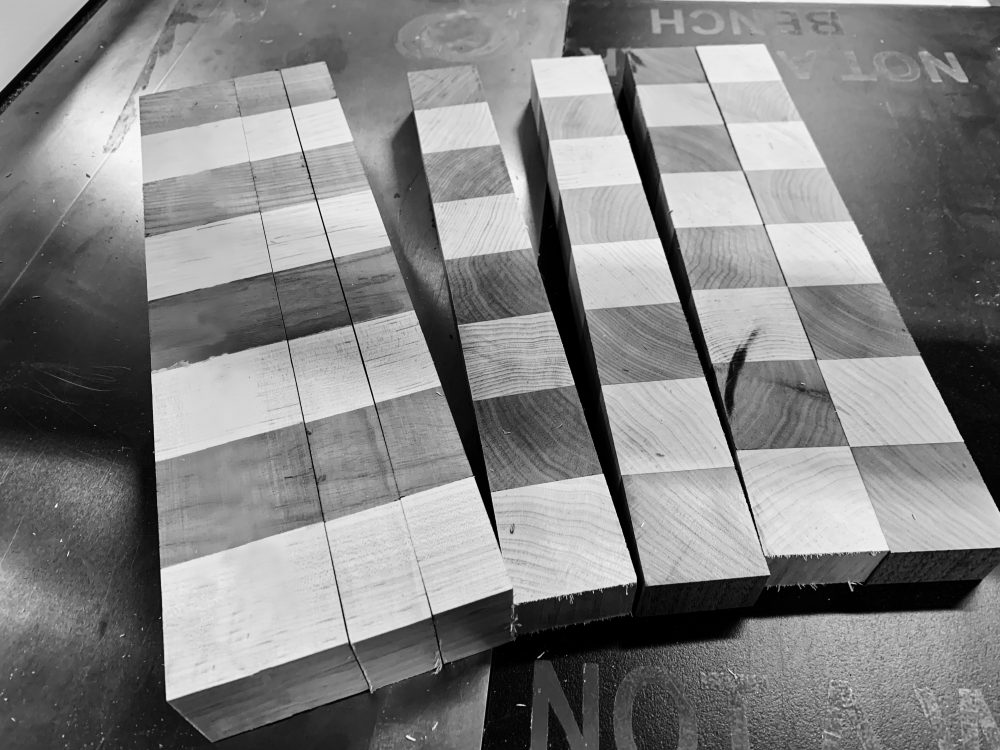
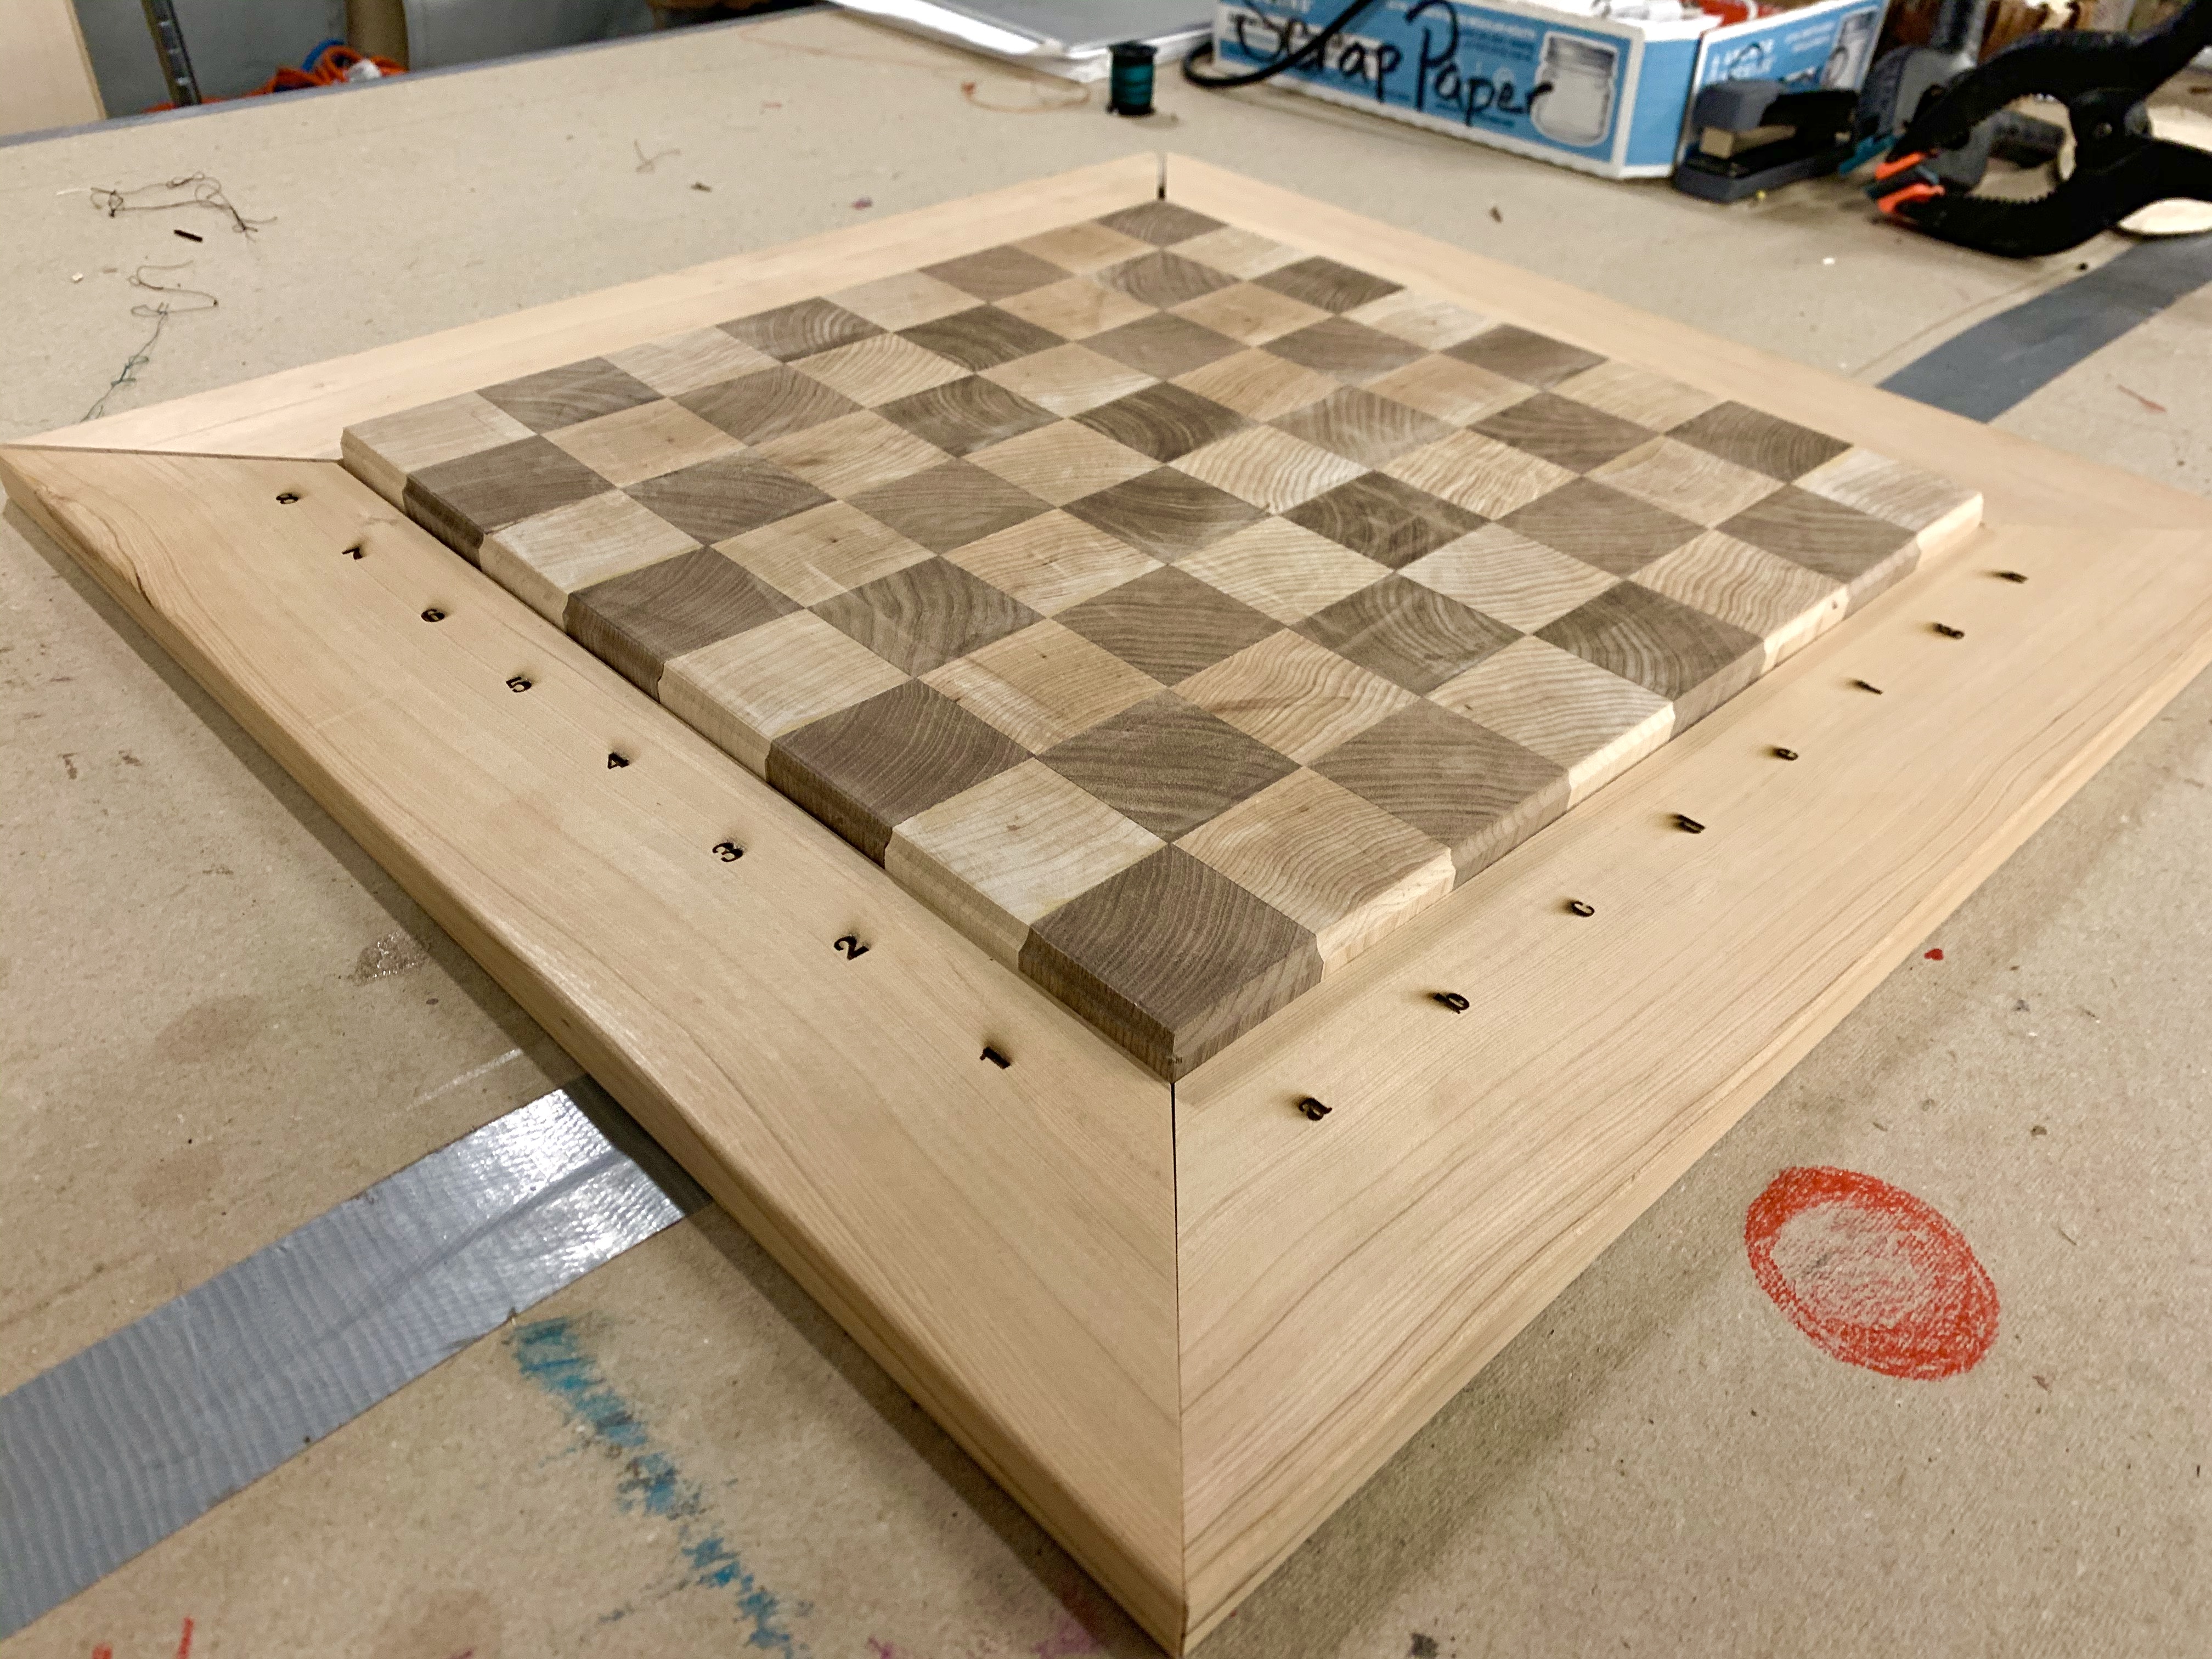
After getting 8 equal thickness flanks, place each flank with the square sides facing up, side-by-side to the other flanks, alternating the square colors to create chessboard design. Once you are able to see your design, begin the gluing process, similar to step 2, bonding each flank side by side.

After applying glue, begin to clamp board together and slowly increase pressure while also making sure that your flanks are still in alignment.
Let board sit for a total of 24 hours to allow the glue to properly bond.
Move on to the next step.
Once the glue has set, and the board has tightly bonded, it’s time to begin the long sanding process, and if you’ve chosen to do the boarder, routing out the board to fit a boarder.

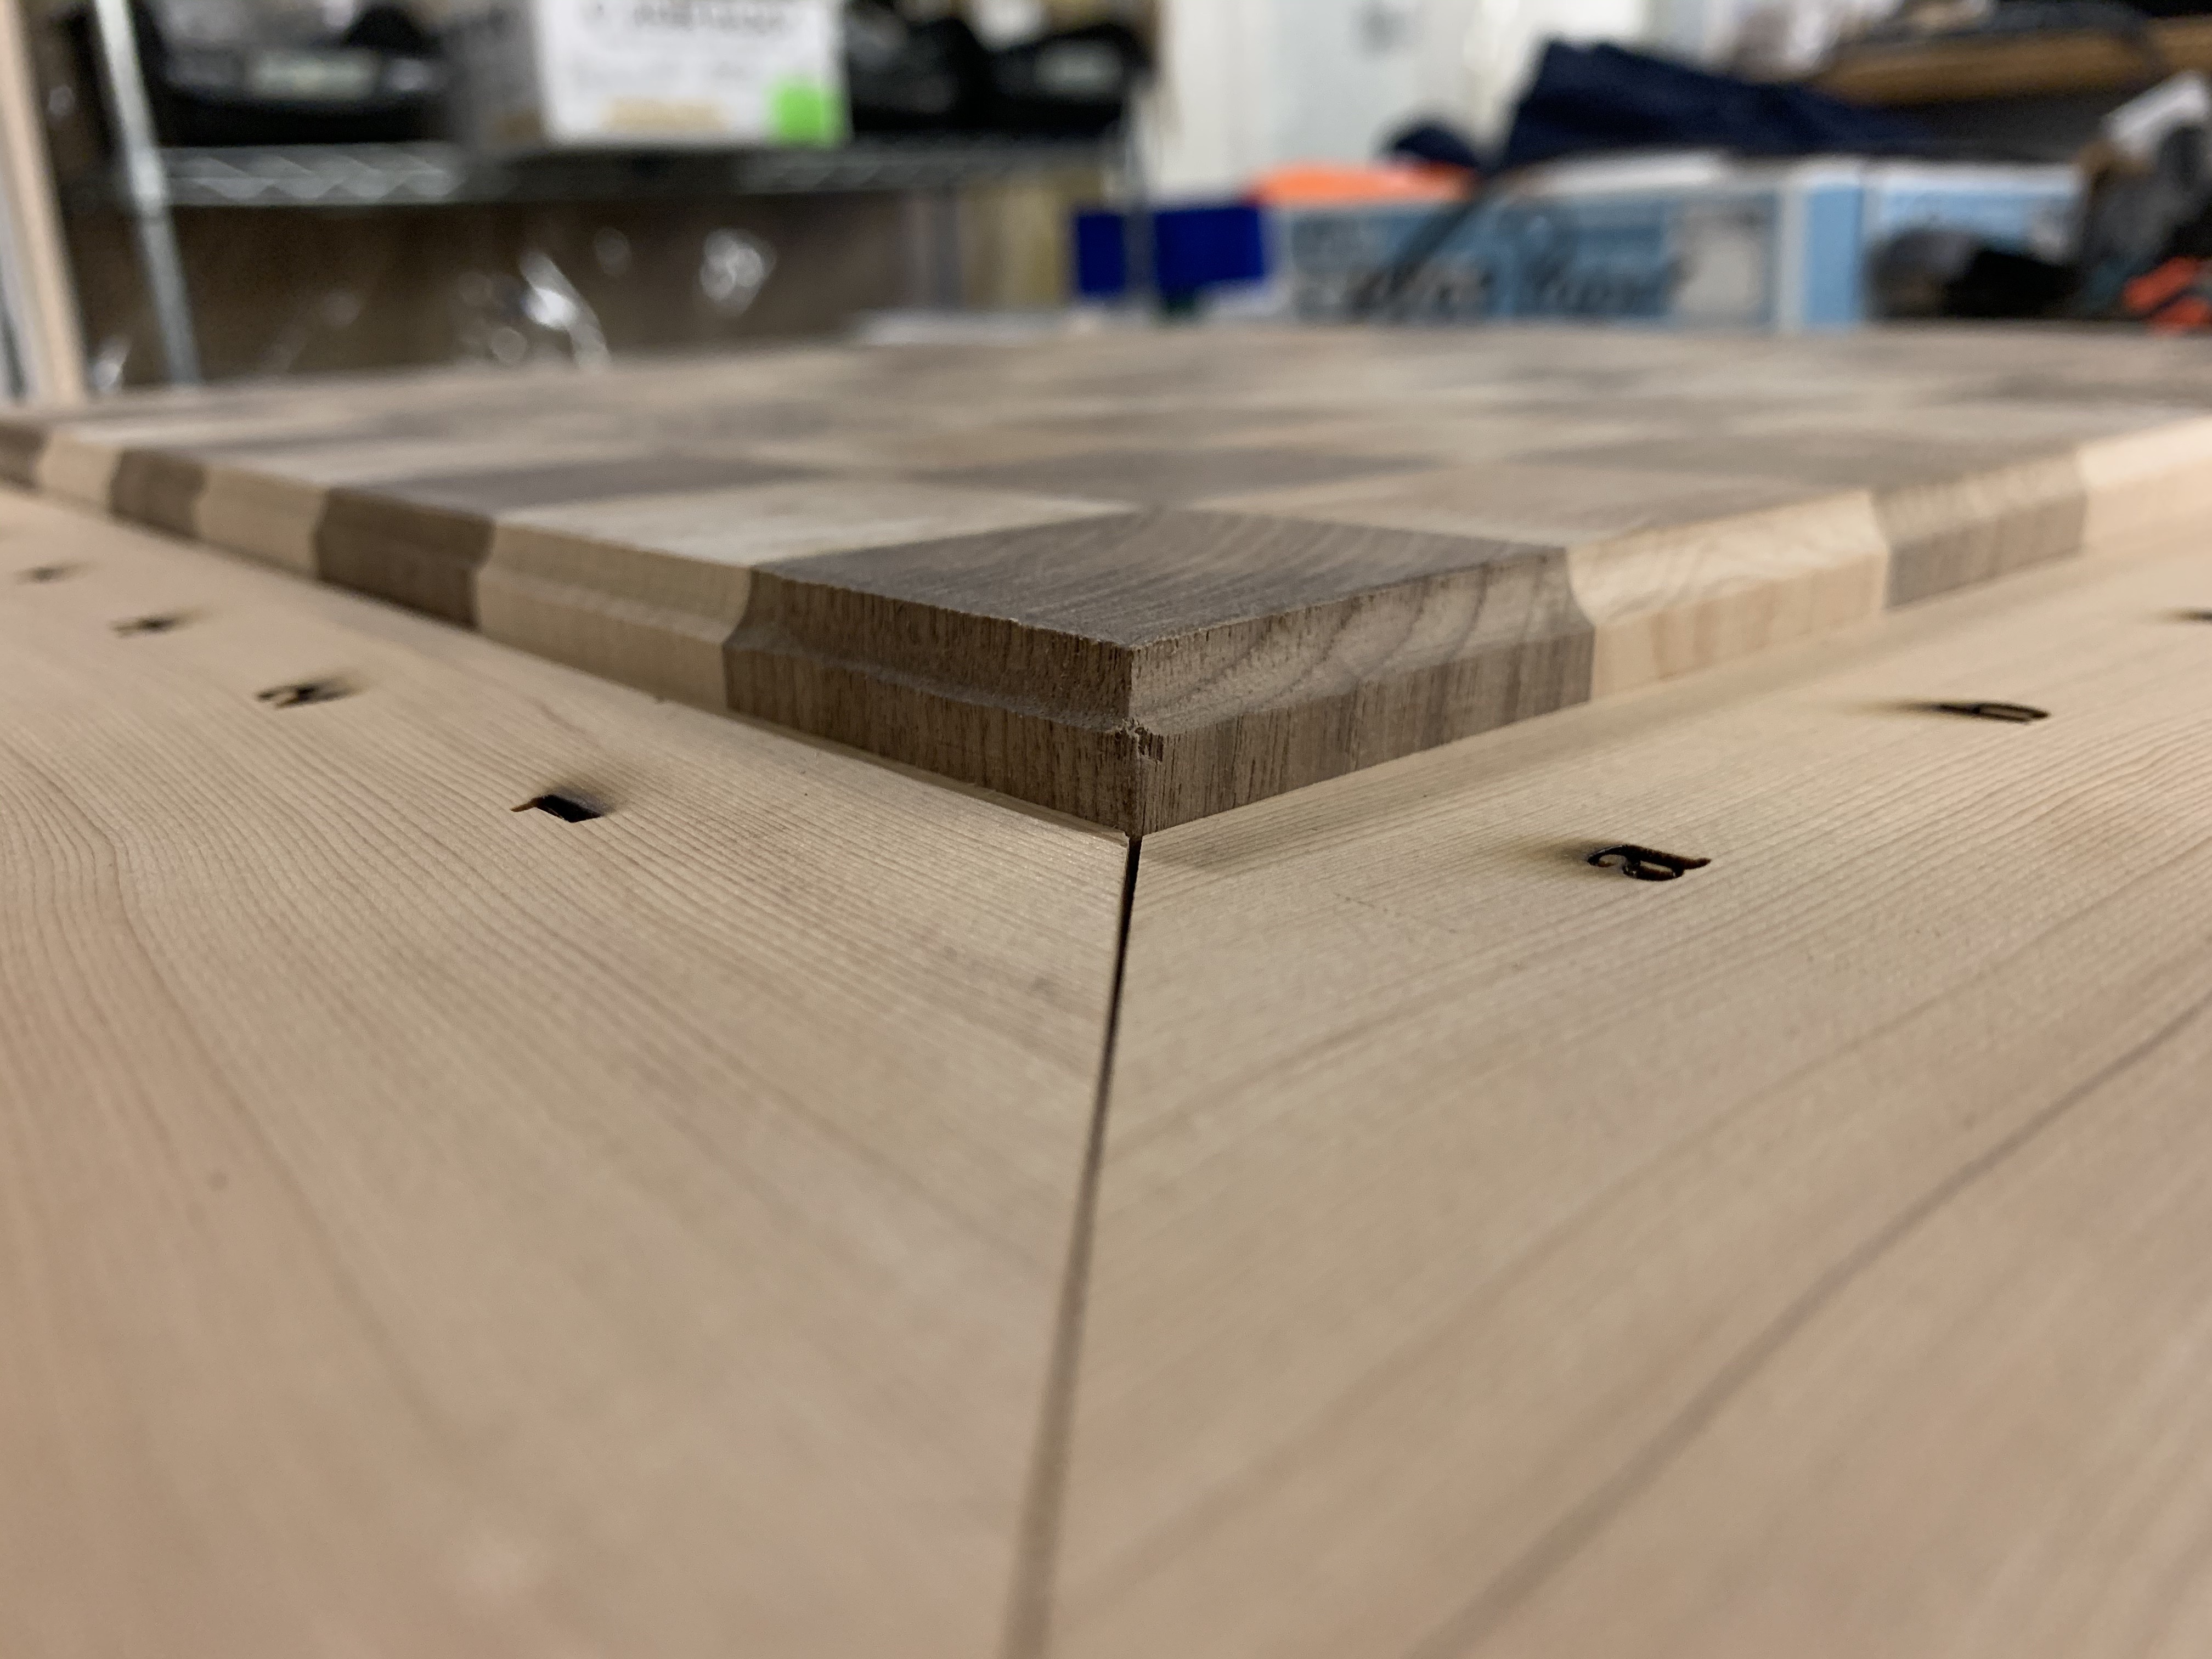
Starting with routing the board, I used a 1/4″ tongue and groove router bit. I cut the groove into the board, and the tongue into the boarder piece.

After cutting the tongue and groove on the board and boarder pieces, I went ahead and cut miter cuts in the boarder pieces.

After which I applied wood glue to the boarder pieces tongue and glued the boarder pieces to the chess board.


*If you’ve placed Rank and File addresses on your boarder pieces, make sure that A1 matches up with a white square corner.

After Gluing the boarder together, use clamps to apply pressure and let sit for 24 hours.

Once boarder is tightly bonded, begin a sanding regiment, using a hand sander and a multi-grit pack moving from 80 to 800 grit on both the top of the board and bottom of the board.
Now clean make sure the surfaces of the board is clean of any previous dust by using compressed air or a microfiber cloth and wiping the board down.

To finish this board, use a high grit sand paper, I used 800 grit, and a wax and conditioner (I used Howard’s Feed-N-Wax). Lightly sand the surface of the board, then apply a generous amount of wax and conditioner. Allow for the wax and conditioner to sit and dry for at least 1 hours, and repeat this process 4 to 6 times.

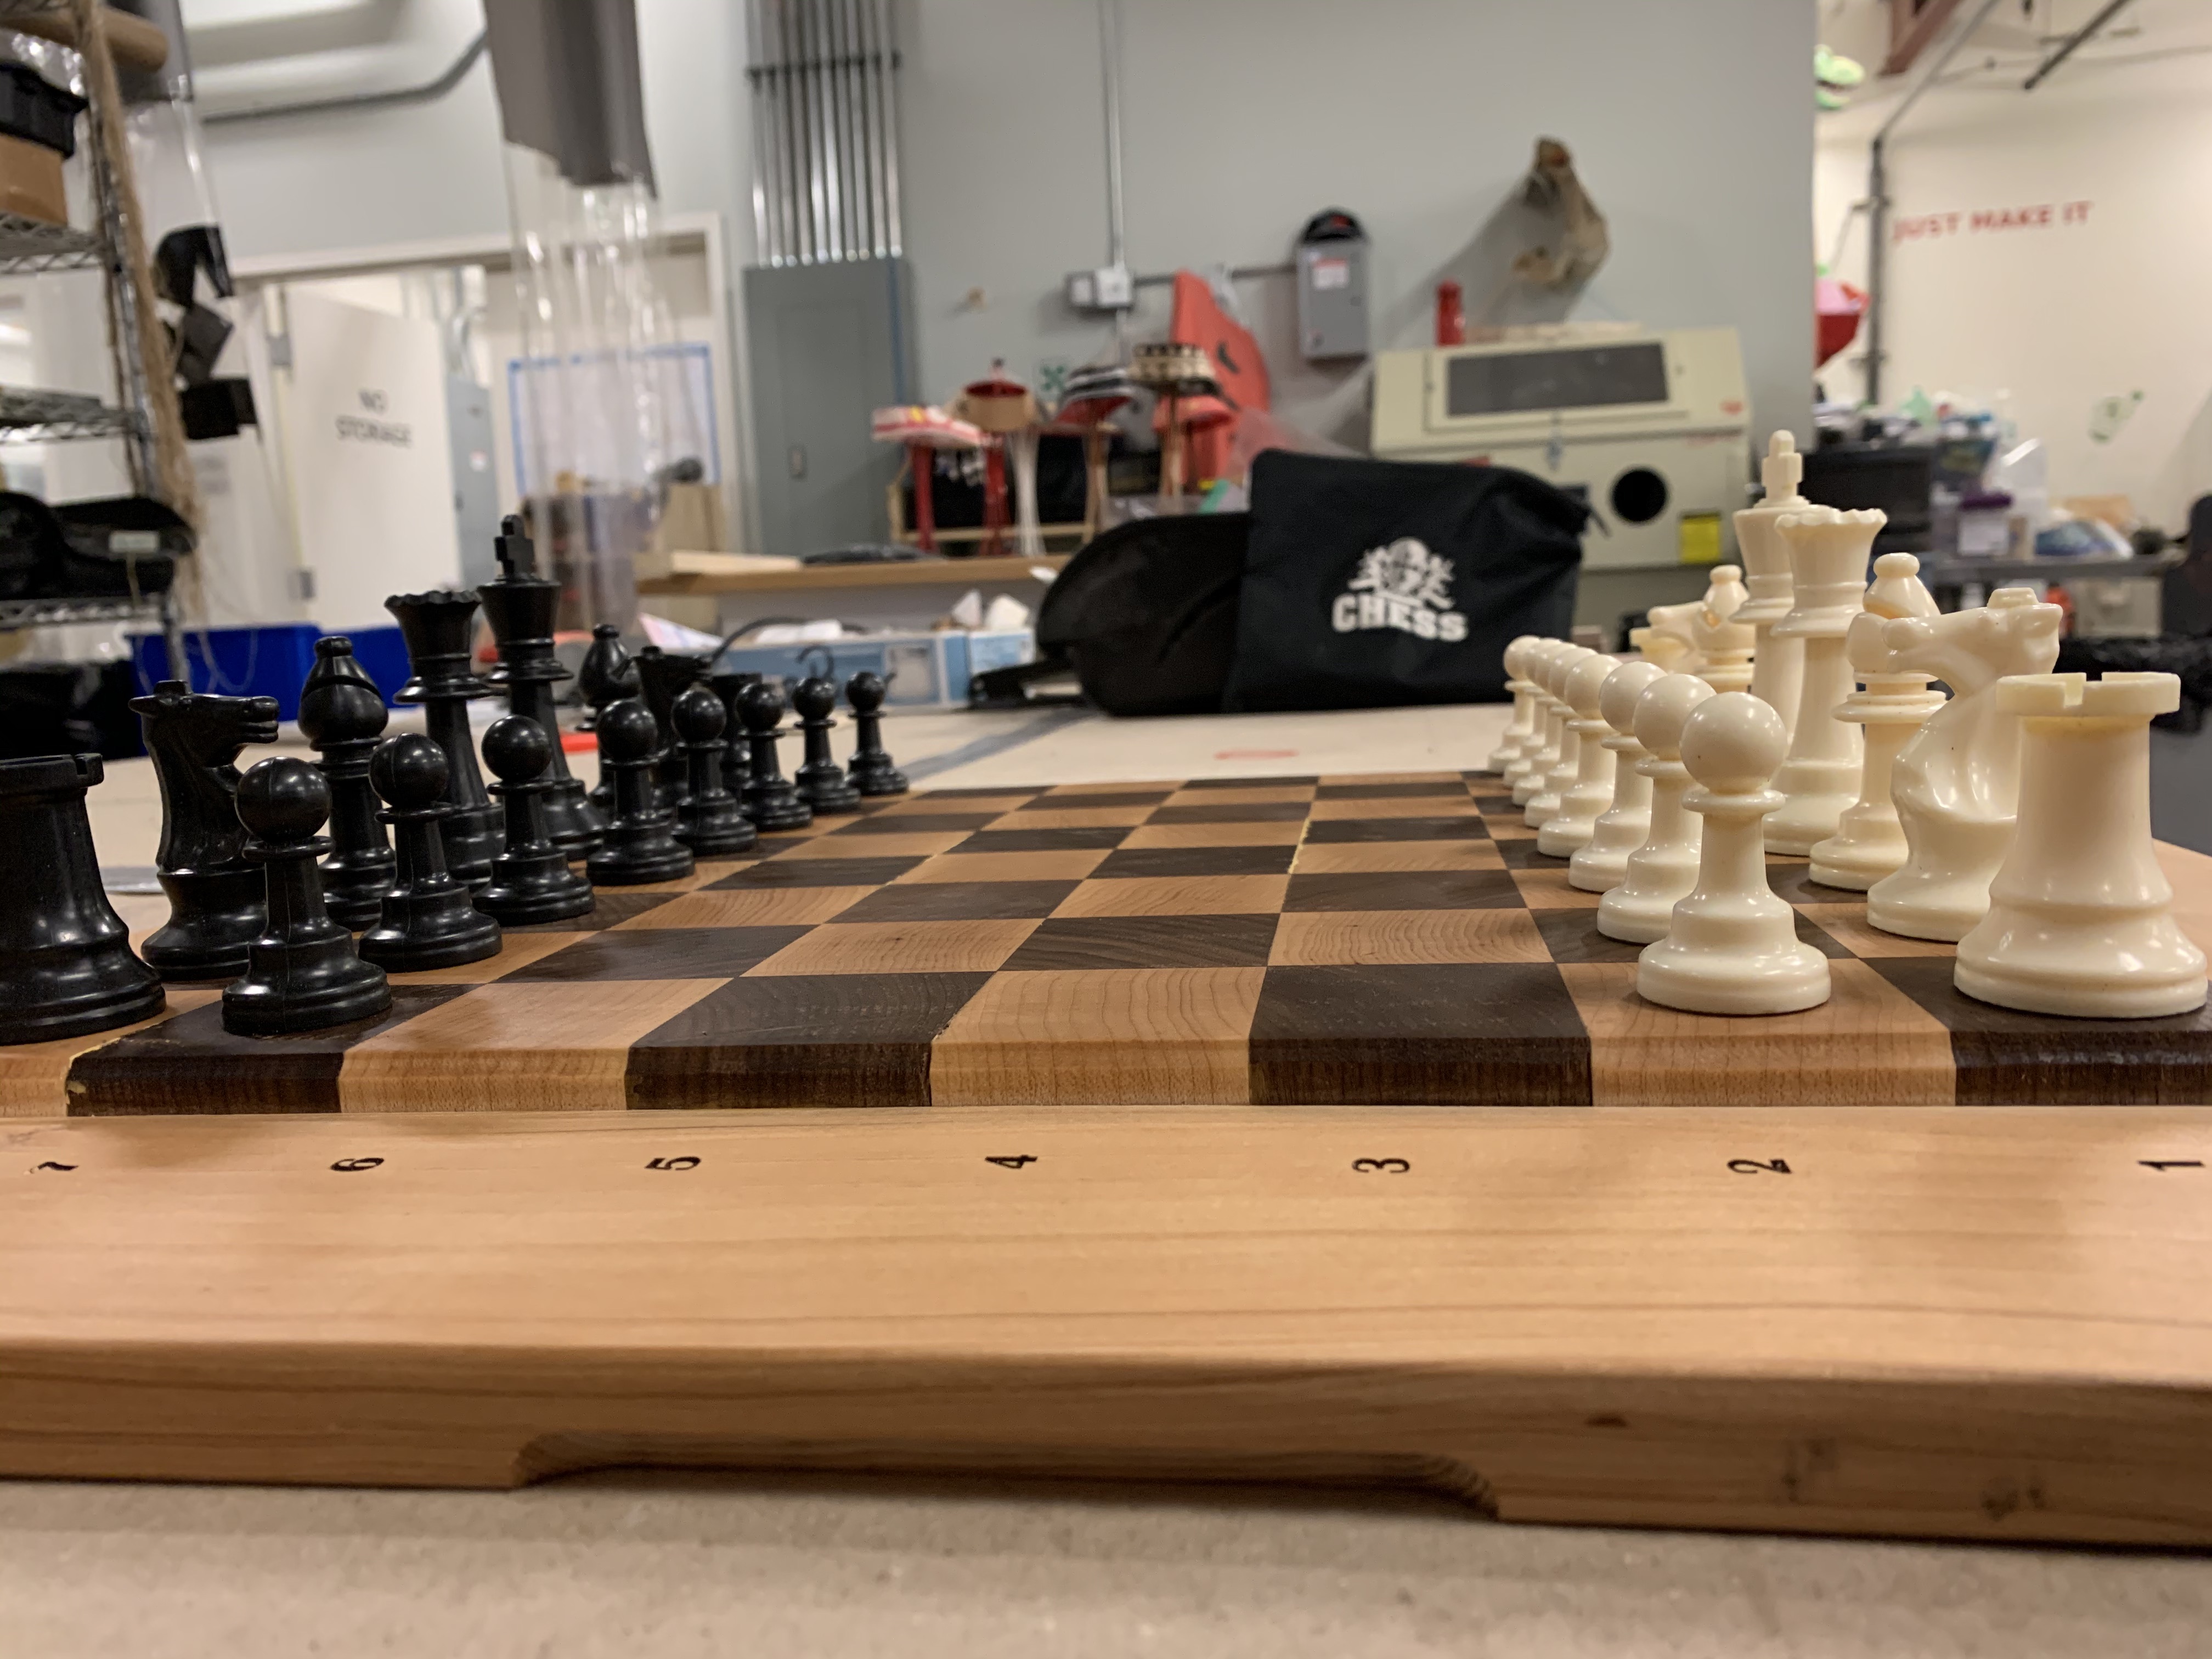
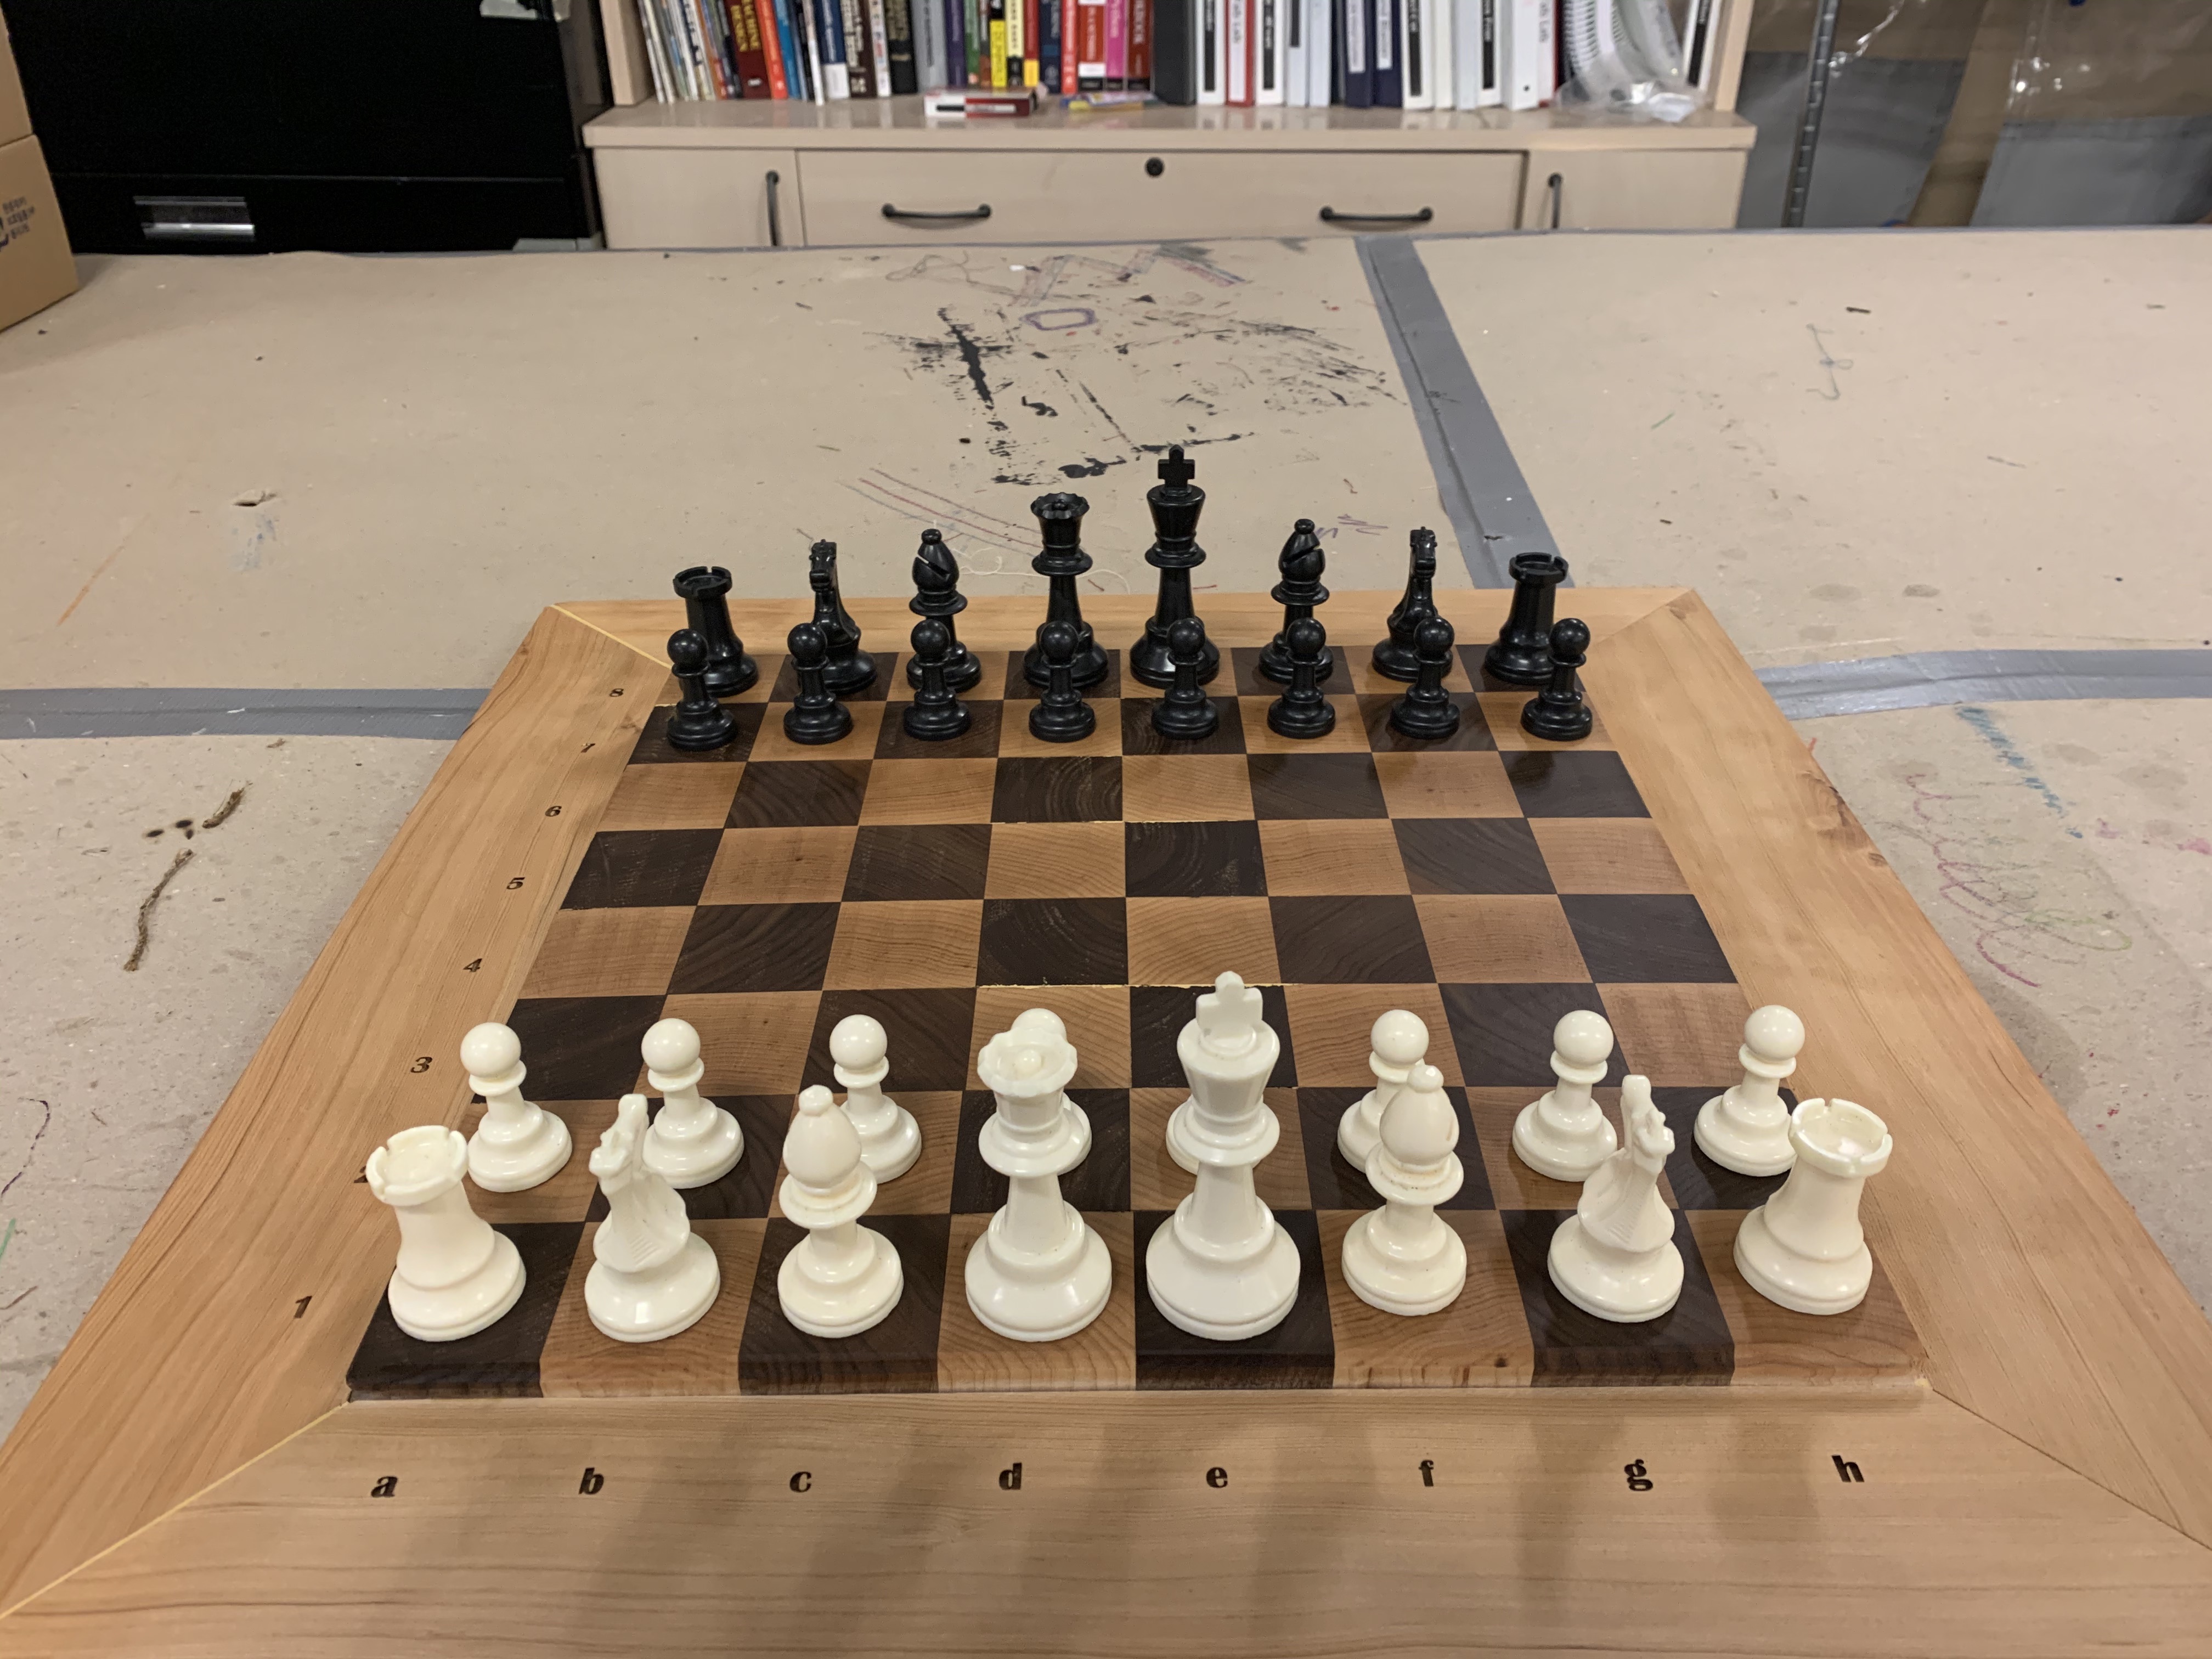
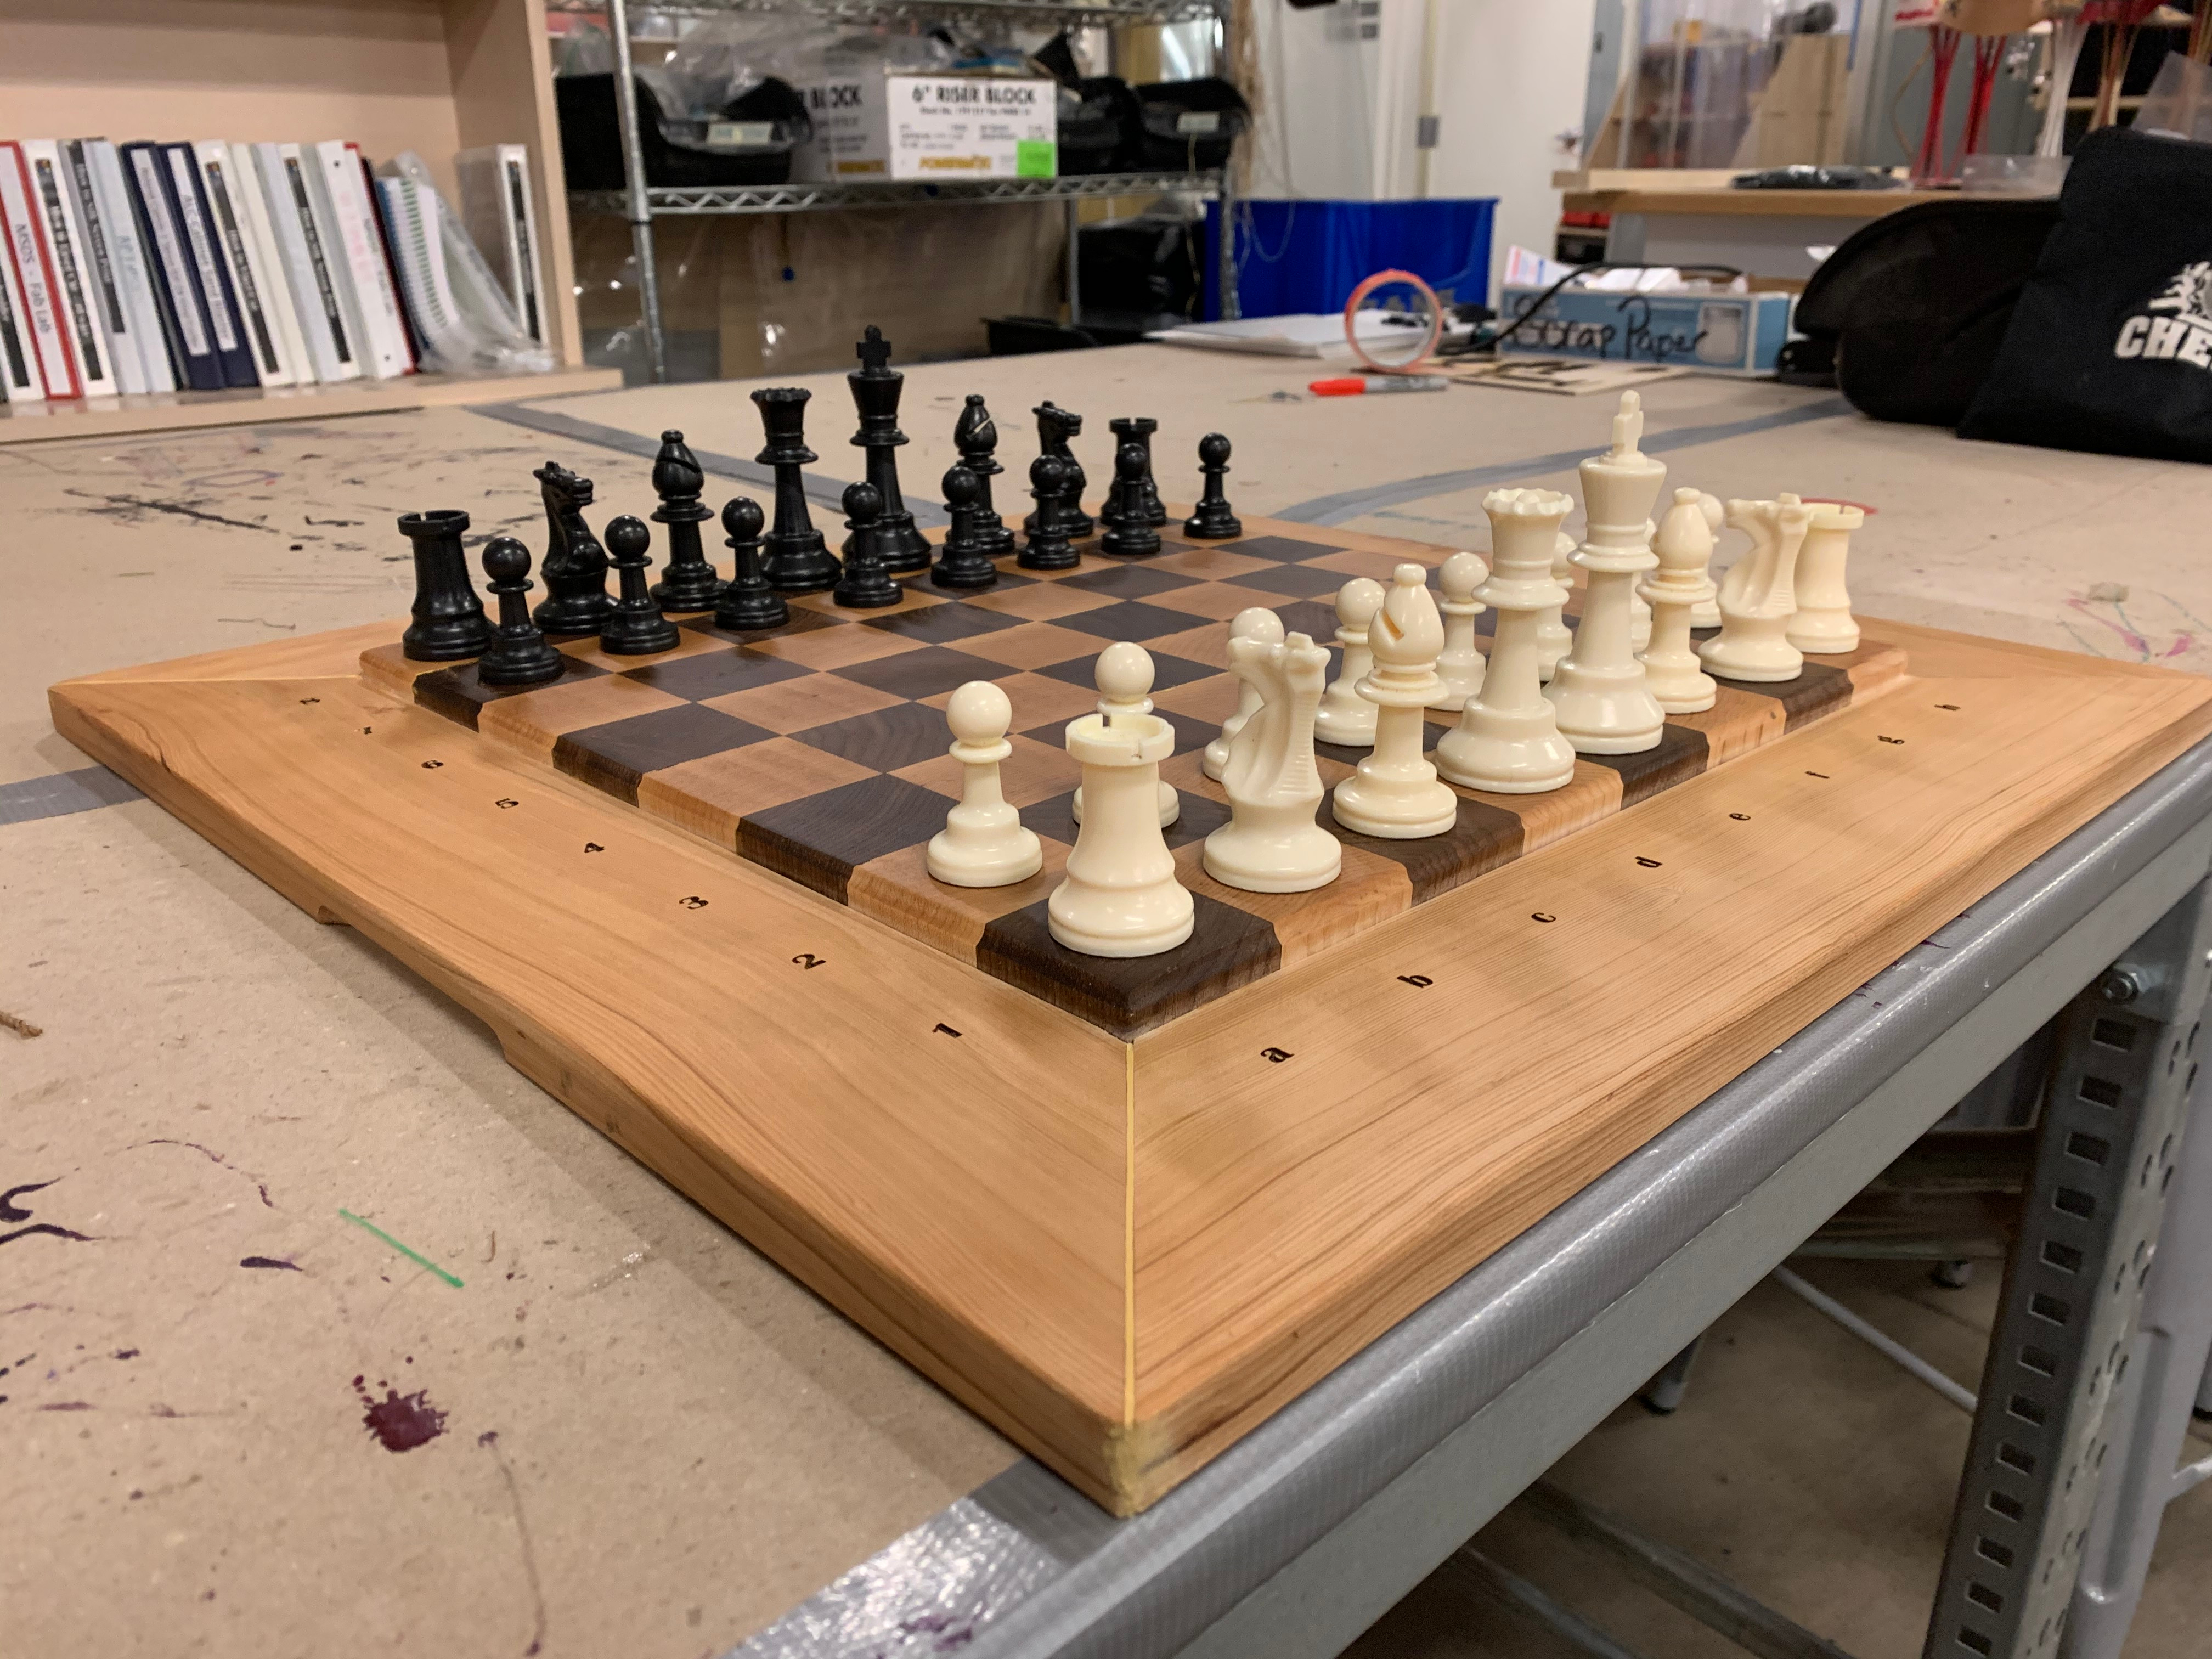
Once you’ve repeated this process of conditioning and waxing the wood, you should be ready to play!
Pawn to E4…
Having trouble? Let us know by completing the form below. We'll do our best to get your issues resolved quickly.
"*" indicates required fields