- Loading…

Students will design and construct a working musical instrument, either digital or analog. by combining fabrication technologies (3D printing, laser cutting, woodworking) with sustainable or upcycled materials. They will do research about the physics of sound, electricity, create or modify design files to fit their needs, and assemble a functional instrument.


Students will understand how sound is produced and manipulated in music.
Students will be able to come up with sustainable solutions to technical builds.
Students will recognize different digital fabrication methods and be able to choose the best ones for different design projects.
Students will be able to combine digital fabrication methods, including 3D printing, laser cutting, woodworking and electronics, to create a functional item.
I’ve got feedback on my project and rubric from both my colleague, with whom I tested the lesson, as well as an AI agent, to have different points of view on the matter. Both had differing opinions on how well the project and assessment rubric complemented the learning outcomes. My co-teacher thought the project was open-ended but complex enough to encapsulate all the learning outcomes proposed and understood the rubric wasn’t for grading but more of a general elevation list for future improvement, while the AI agent was very rigid and wanted the project and rubric to cover exactly what the learning outcomes said as literally as possible.
I’m inclined to work in a middle ground between the two. As the designer of the lesson plan, I feel the project and rubric works for its purposed, but in the future there’s some changes that can make for a more in-depth activity. Particularly, the AI suggested having categories for how well sound is understood, like making sure you can properly adjust pitch and volume in the instrument while knowing why its happening, which would be a bit too advanced for the age range I’m working with but its implementation can help to adapt this lesson for older learners, as well as making sure more than one digital fabrication is implemented, which I believe is a good observation.
I feel the inclusion of the sustainability aspect to be a bit forced on the project, but it works for the purpose of having the student come up with creative sustainable solutions and implement in a design project. I hope to revisit and make this more closely integrated in the future.
Students research how instruments make sound and pick their instrument.
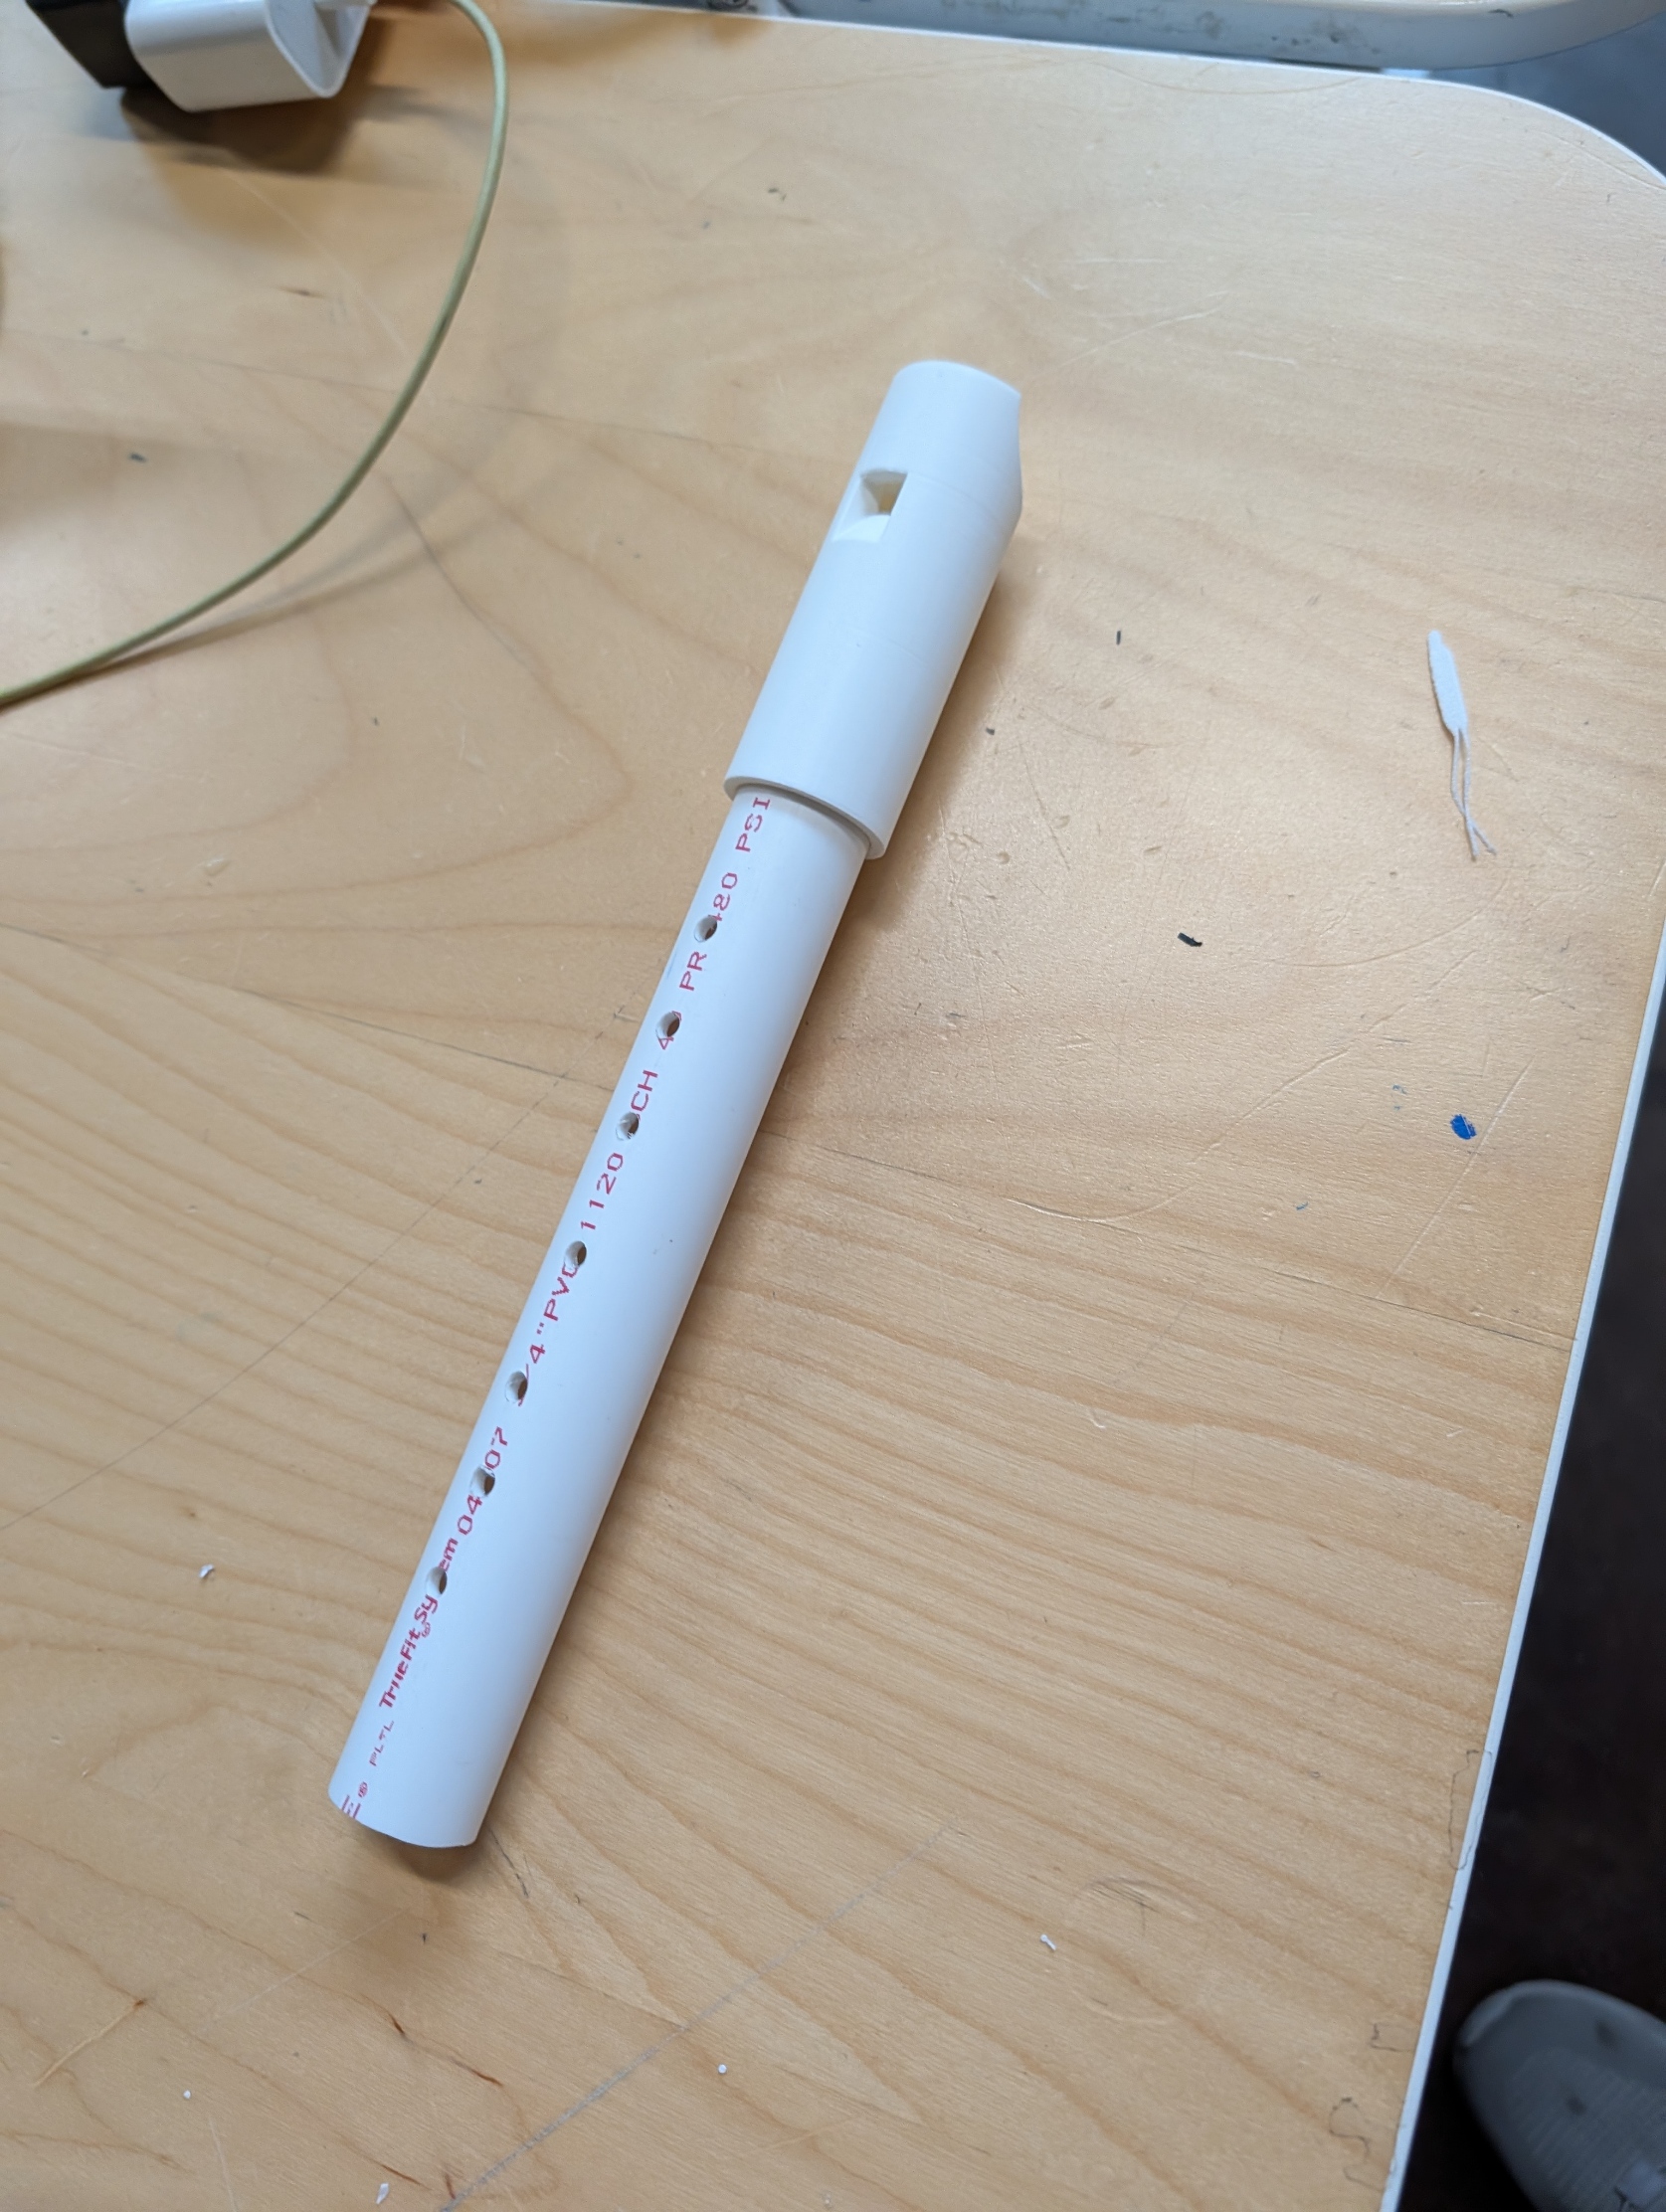
Students will research how sound is produced with different instruments. They’ll understand concepts like fipples, string tension and circuits. Then they’ll choose an instrument they’ll want to create and do sketches of their design. They’ll also think how to implement upcycled materials in the build.
Students make their digital files.
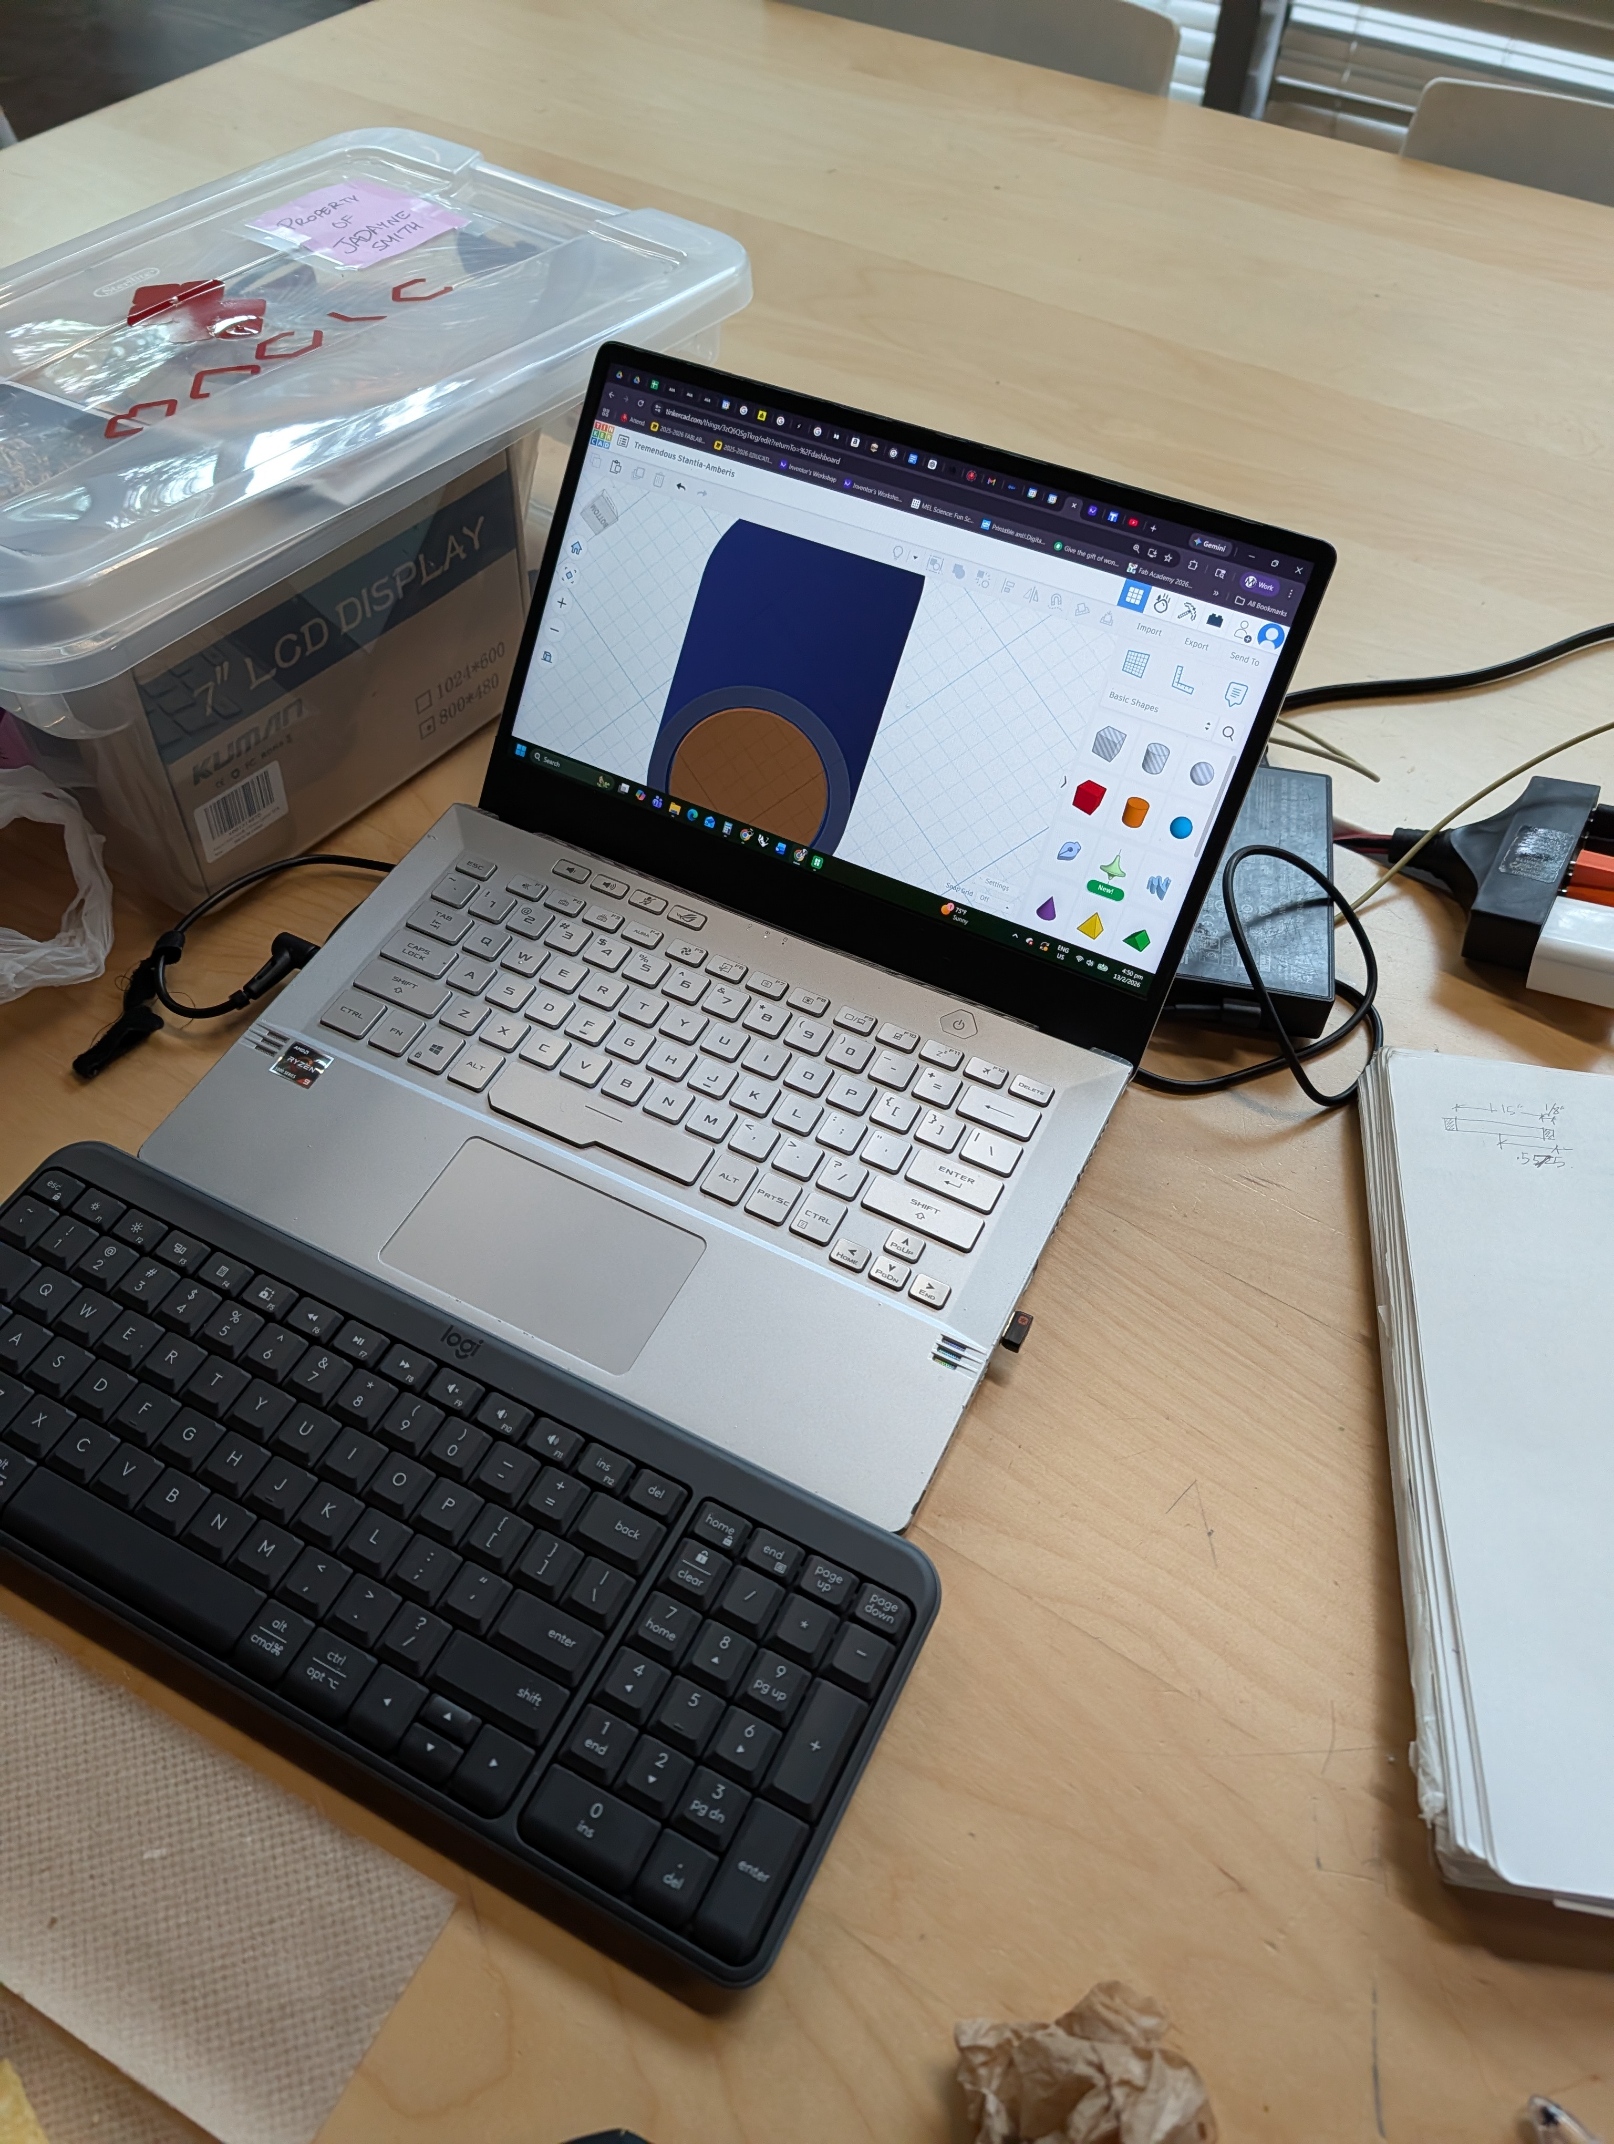
Students will software such as Tinkercad, Illustrator and Scratch to create digital files that will be used for their instrument. They are allowed to use online resources such as ready-made fipples and mechanisms as long as they are only a part of the instrument and are modified to fit their needs.
Students make the physical elements of their project.
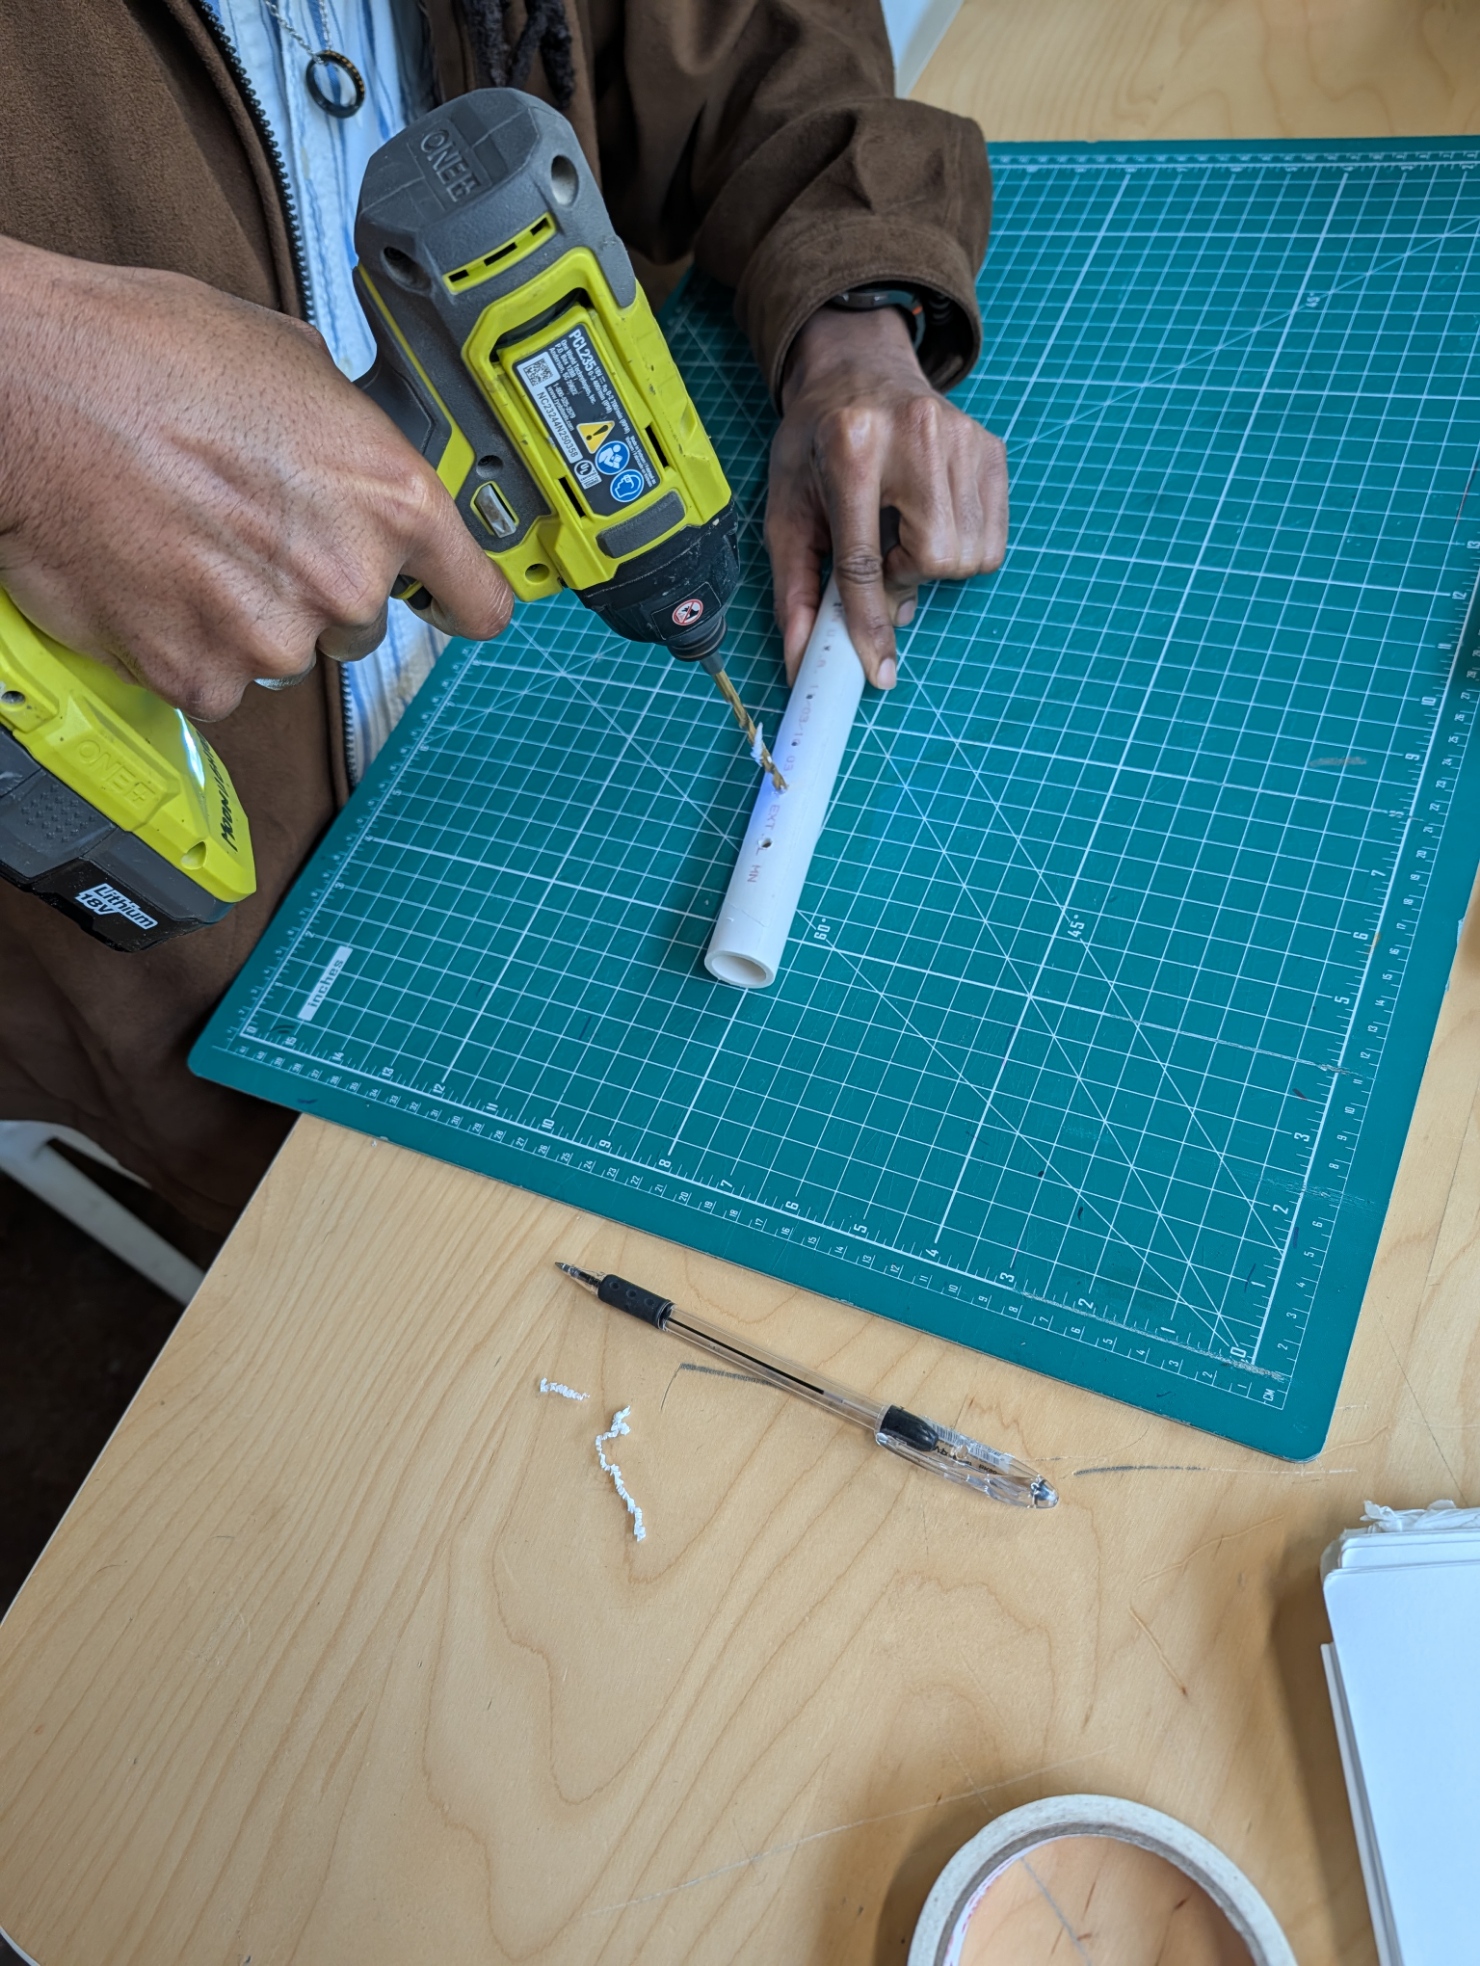
While 3D printing or laser cutting, the students create their circuits (if making a digital instrument), bodies or any other part that requires physical elements such as wood and the upcycled materials. They can use woodworking tools and craft materials for this step.
Students put their instrument together and make sure they work.
Next, students put the digital fabricated files together with the ones made in the previous step. They check measurements are correct and tune their instruments. Then, they test their instrument to make sure they are working as expected. Then they follow the following rubric to check if a previous step can be repeated and modified:
The student does not need to hit the highest score in each category, but this summative assessment is a good guide in what can be done better in different aspects of the project. They can then go back to some of the steps and apply the feedback gotten from the assessment.
Having trouble? Let us know by completing the form below. We'll do our best to get your issues resolved quickly.
"*" indicates required fields