- Loading…
The “Clayprinting” activity is part of the FabConnectHer project, which supports young women to build skills, get inspired, and find opportunities in STEAM (science, technology, engineering, art, and maths). In this lesson, students learn the basics of 3D printing and digital design in a fun and creative way.
Over three sessions, students are first introduced to how 3D printing works and practise using simple 3D design software. They then design their own vase on the computer, prepare the file for printing, and finally use a 3D clay printer to make their vase come to life. Along the way, they also learn how to set up the printer, prepare the clay, and do some basic finishing of their printed object.
The activity mixes art and technology, showing how traditional materials like clay can be combined with new tools. It helps students grow their confidence, try out new technology, and use their creativity. The lesson is designed for small groups of high school or college students, especially girls and young women aged 16–30 with an interest in art, design, and technology.
At the end of the activity, each student has their own unique clay vase, as well as new skills in 3D design and printing. It is a hands-on, inspiring way to explore modern technology while making something personal and creative.


If working the clay is not part of the class it needs to be prepared beforehand.
Making sure all material from material list is ready.
This activity gives students a first experience with 3D printing and digital design, while also showing how traditional materials like clay can be used in new and creative ways. By designing and printing their own vase, students practise both technical and artistic skills, from using 3D software to understanding how the clay printer works. The process encourages creativity, problem-solving, and experimentation, as students learn by trying, adjusting, and improving their designs.
Working in small groups helps students support each other, share ideas, and build confidence in using unfamiliar technology. The lesson connects different subjects – science, technology, art, and maths – and shows how they come together in one project. In the end, students not only create a unique clay vase but also gain valuable insights into how digital tools can be combined with natural materials to make something new.
In this session, students get their first introduction to 3D printing and digital design. They learn how 3D printing works, discover different types of printers and their uses, and explore important safety practices. Students are also introduced to 3D modelling software and practise creating simple shapes on the computer. By the end of the session, they will understand the basics of 3D printing technology, be familiar with digital design tools, and start developing ideas for their own vase.
1. Introduction to 3D Printing (30 minutes)
In the first part of our workshop, we will delve into the essentials of 3D printing technology. You will learn about:
2. Introduction to 3D Modeling Software (30 minutes)
Next, we will explore the tools that enable you to design objects for 3D printing. This segment covers:
3. Hands-on Activity: Basic 3D Modeling (60 minutes + printing)
In the final part of the workshop, you will get hands-on experience with 3D modelling. Activities include:
By the end of this workshop, you will have a solid understanding of 3D printing technology, be familiar with key 3D modeling software, and have the foundational skills needed to start your own 3D printing projects. We hope this session ignites your creativity and inspires you to explore the limitless possibilities of 3D printing and design.
Homework:
· Watch tutorial videos on 3D modeling for beginners.
· Sketch a few vase designs on paper.
In this session, students build on their basic 3D design skills by focusing on creating their own vase. After a short recap, they learn about design principles such as shape, stability, and aesthetics. With step-by-step guidance, students work in the software to turn their sketches into a digital 3D model. They practise saving and exporting their designs in the correct formats to prepare them for printing. By the end of the session, each student will have a completed digital vase design ready for use with the clay printer.
1. Recap and Introduction to Vase Design (20 minutes)
2. Hands-on Activity: Designing the Vase (90 minutes)
3. Saving and Exporting Designs (10 minutes)
4.Slicing and Exporting Designs (10 minutes)
Homework:
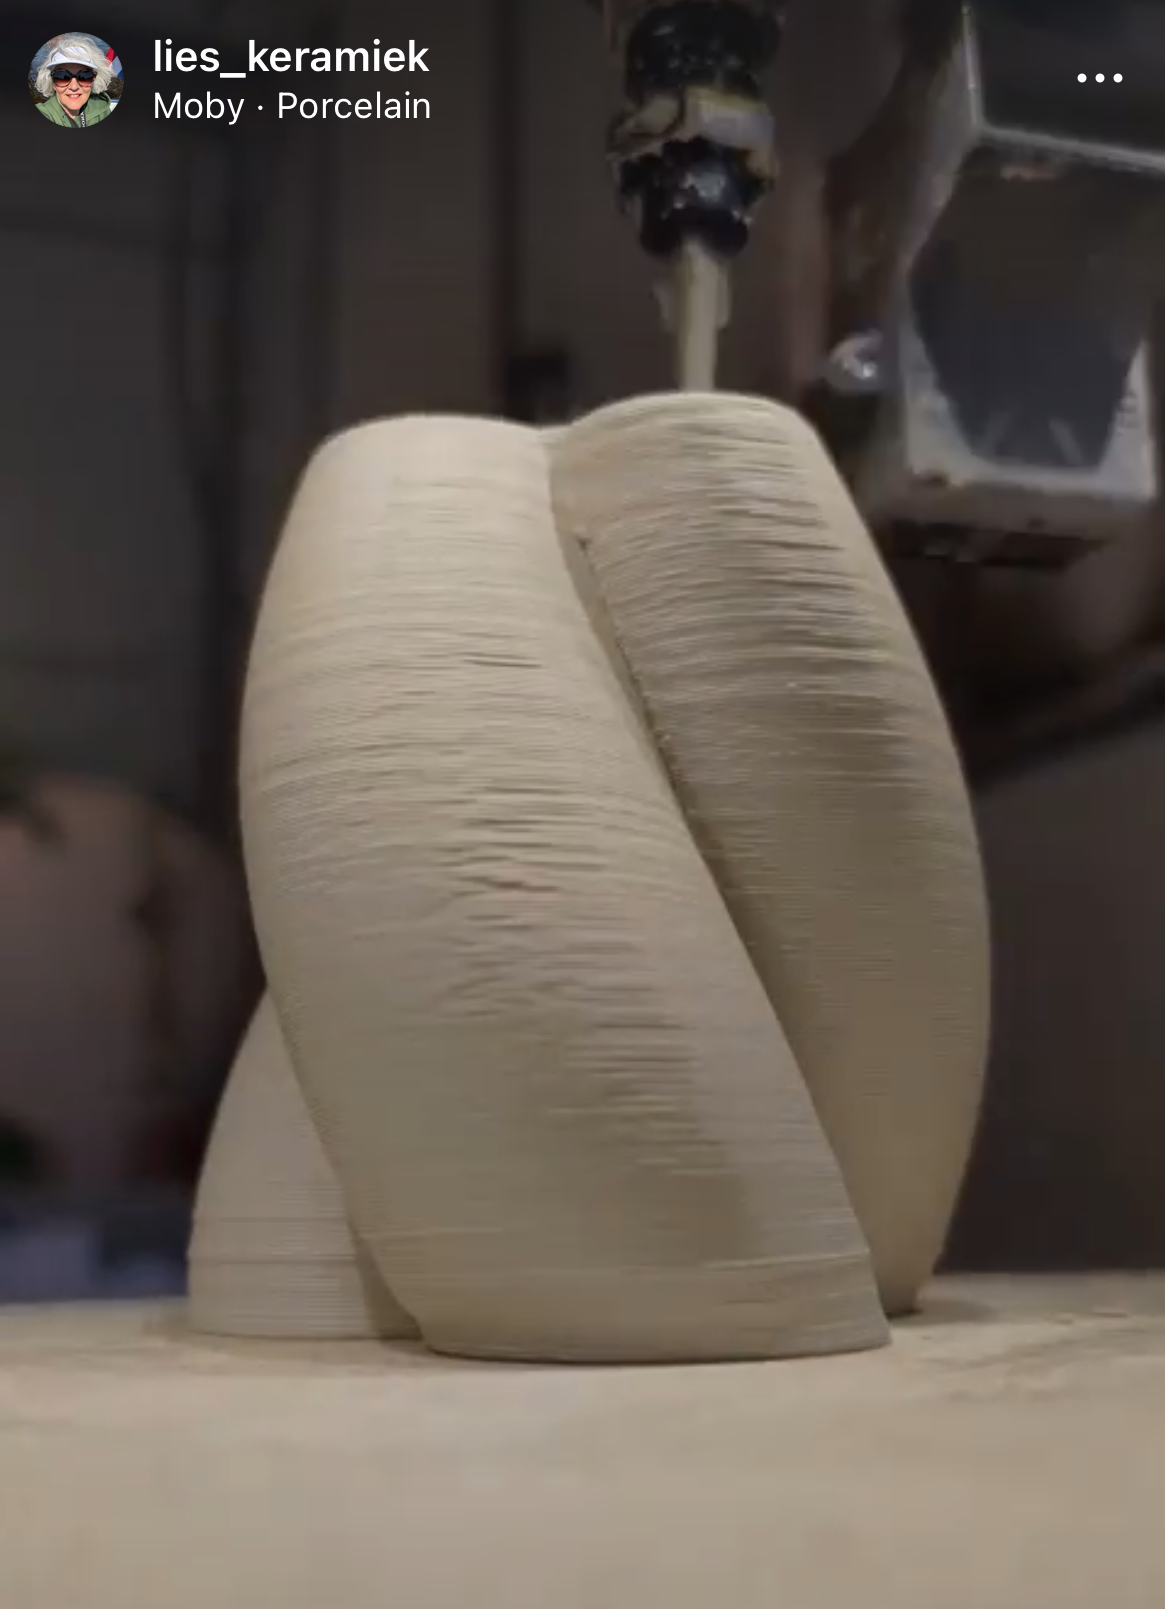
In this session, students move from digital design to hands-on production with the 3D clay printer. They learn how to set up and prepare the printer, load the clay, and calibrate the machine. Once ready, students import their vase designs into the software, adjust the necessary print settings, and begin the printing process. While taking turns printing, they observe how the printer works, troubleshoot common issues, and discuss the importance of monitoring the process. The session finishes with post-processing, where students remove their vases, carry out simple finishing touches, and clean the printer and workspace. By the end, each student has a physical clay vase that reflects their own design.
1. Setting Up the 3D Clay Printer (depending on the printer and use, if preparation of the printer is needed recommended time 60 min. If clay is already ready 20 minutes)
2. Preparing the Design for Printing (20 minutes)
3. Printing the Vase (60 minutes)
4. Post-Processing and Cleanup (20 minutes)
In the final step of the lesson, students reflect on their learning journey, share challenges they faced, and celebrate their results. A short Q&A session gives space to address any remaining questions or difficulties. Assessment focuses on active participation, creativity in design, the success of the printing process, and the ability to finish and post-process the vase. This closing activity helps students recognise their progress and the skills they have gained.
Wrap-Up and Q&A (10 minutes)
Assessment:
Having trouble? Let us know by completing the form below. We'll do our best to get your issues resolved quickly.
"*" indicates required fields