FCH - Perry the Platypus – SCOPES-DF

Lesson Details

Subjects *
Age Ranges *
Fab Tools *
Additional Contributors

Author

Julia Teeninga
Julia Teeninga

Summary

The “Creating Perry the Platypus from MDF Wood” activity is part of the FabConnectHer project, which supports young women in learning new skills in science, technology, engineering, art, and maths (STEAM).


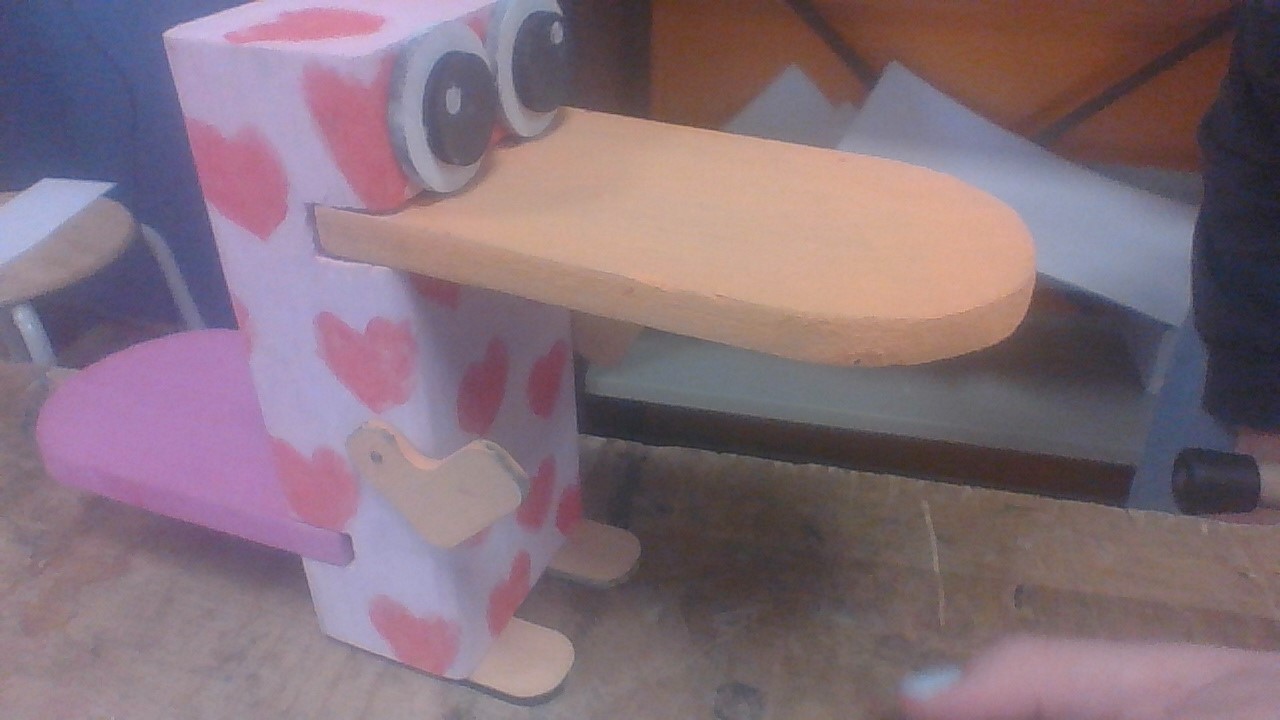
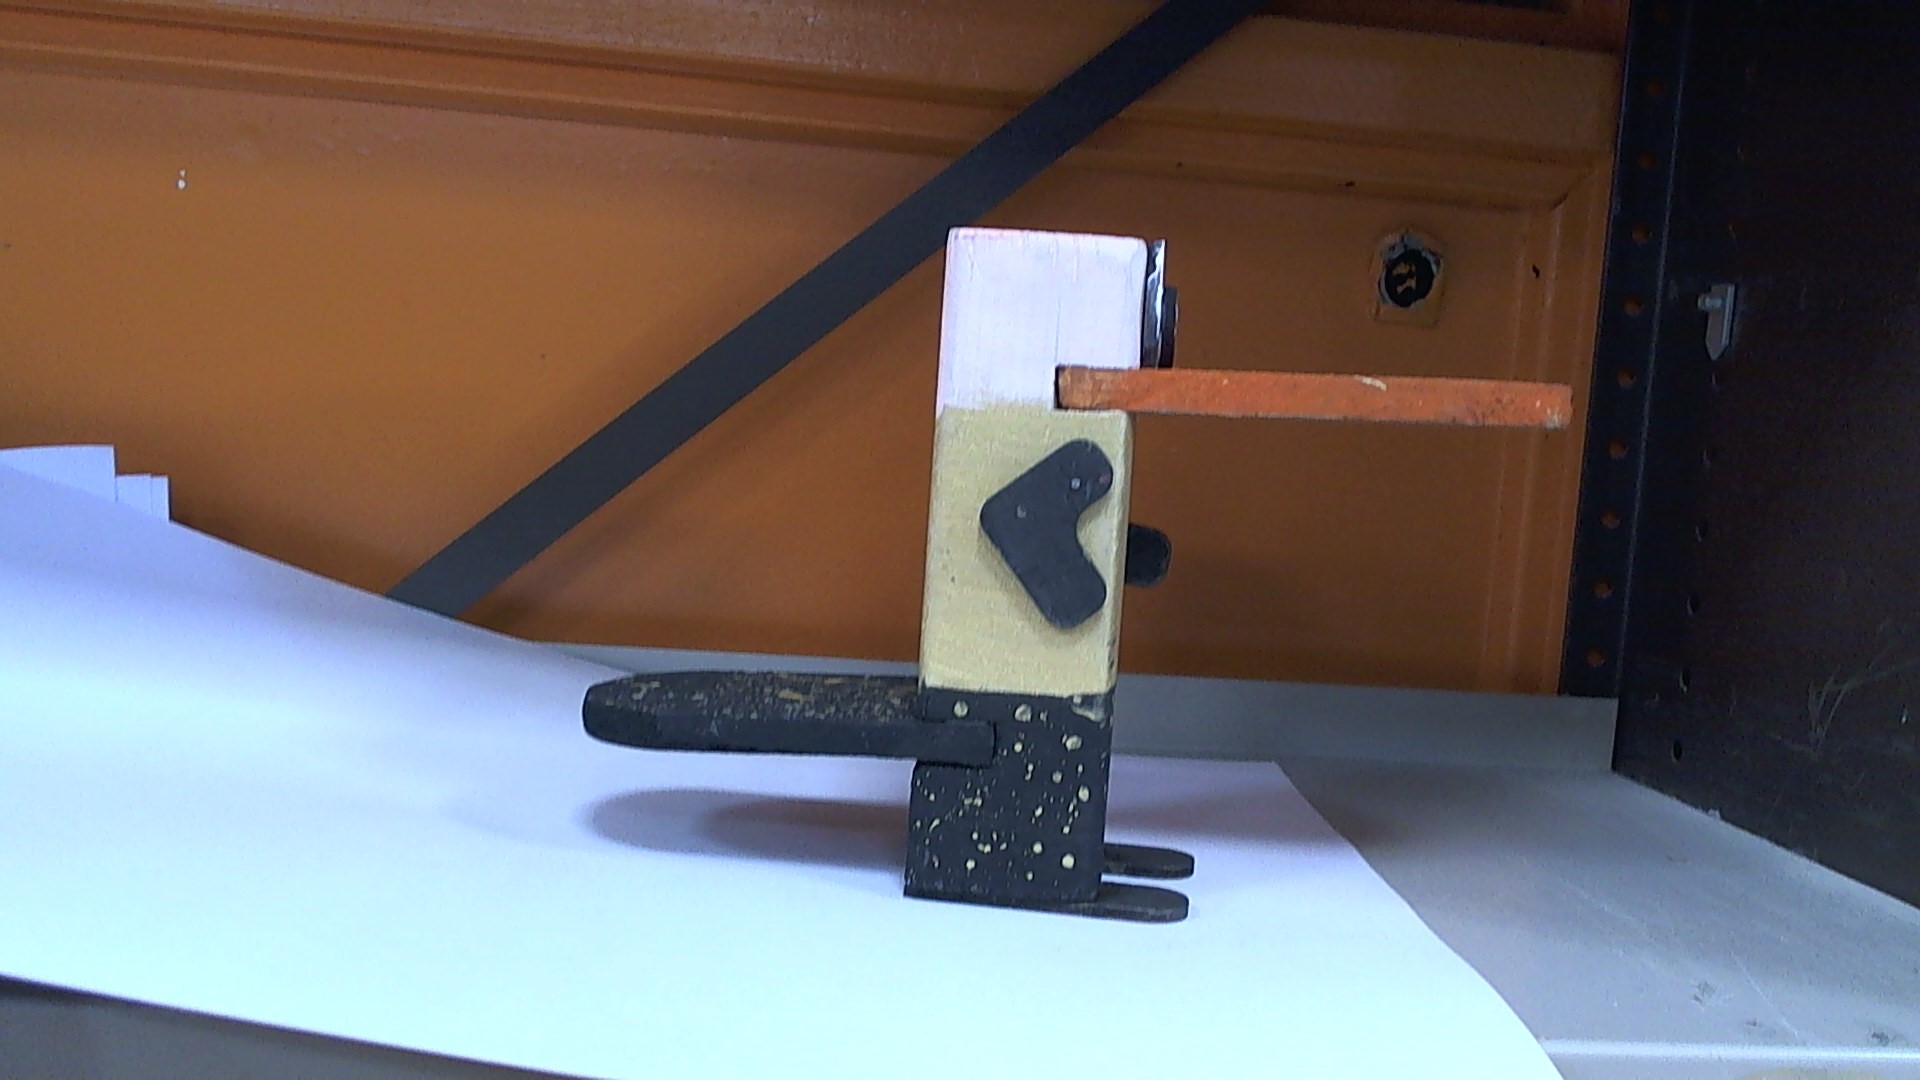
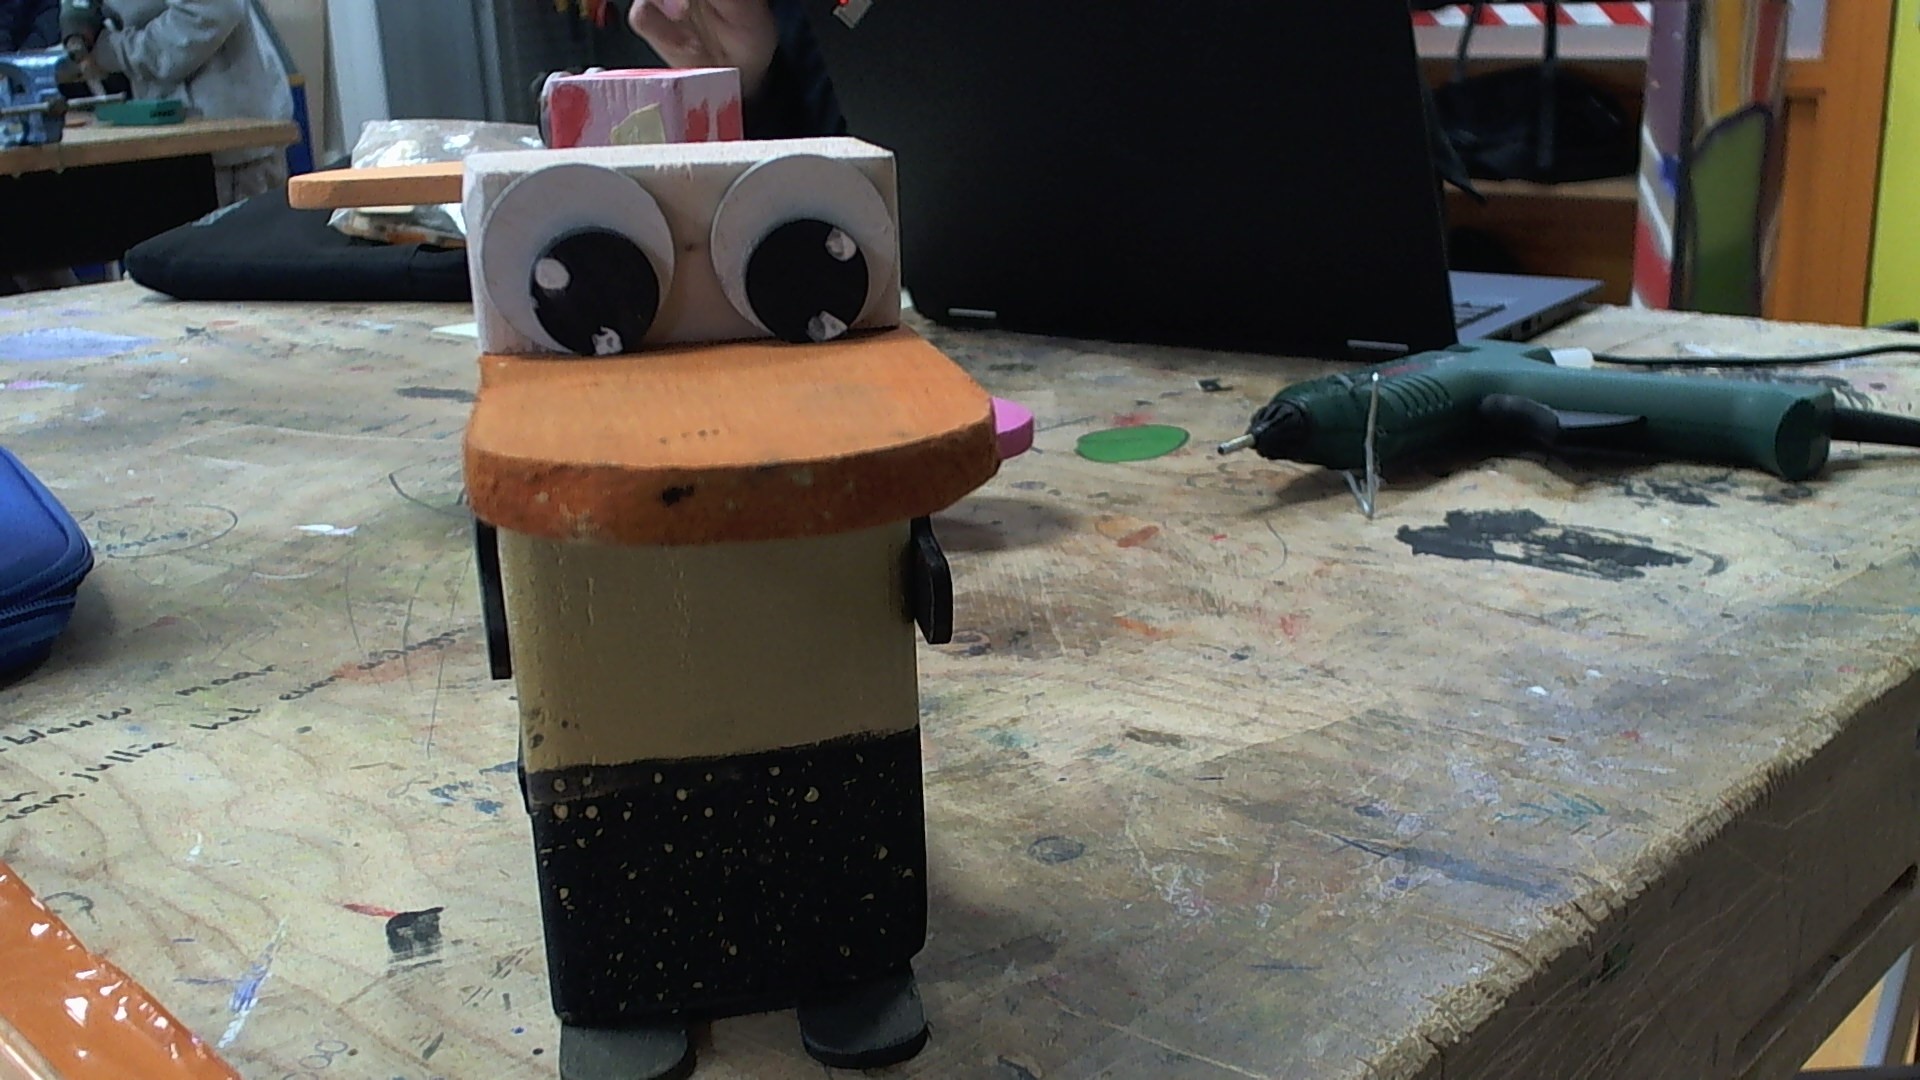
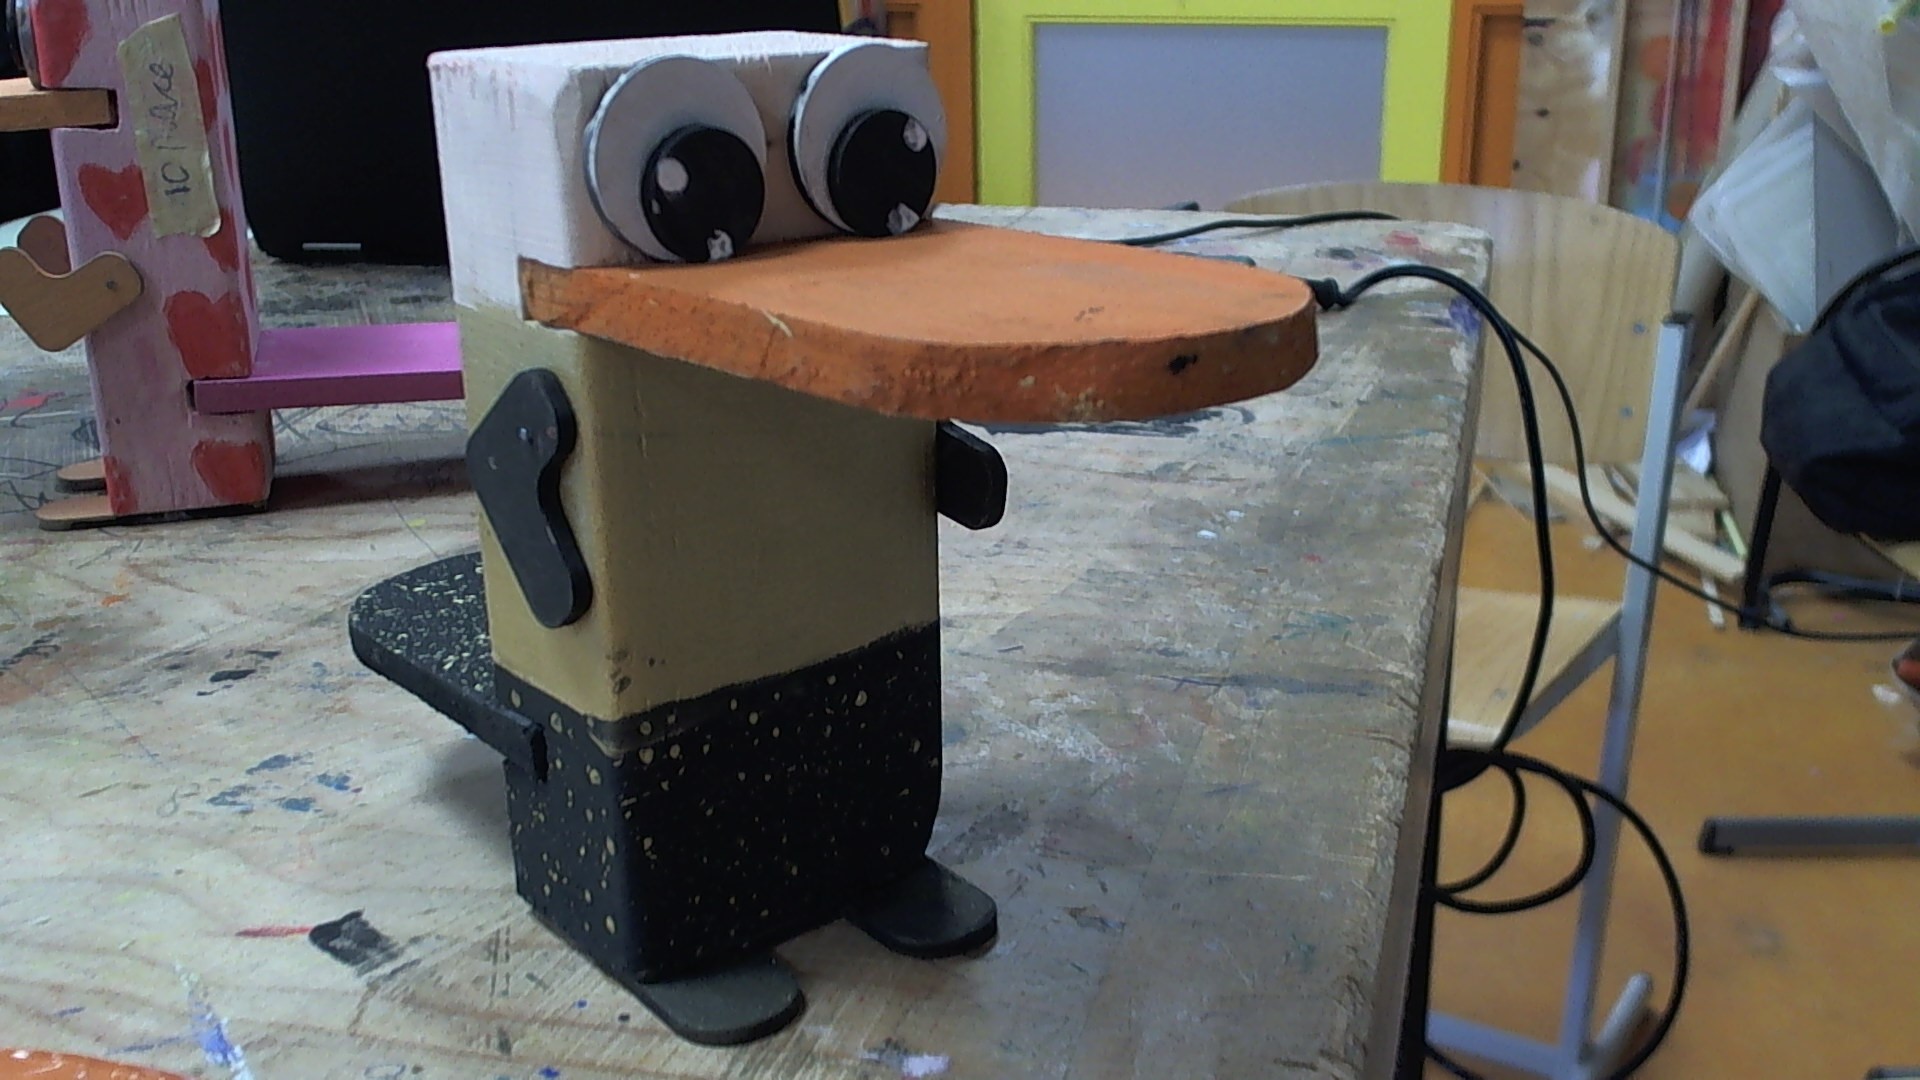
In this lesson, students make their own Perry the Platypus model by following a drawing plan, cutting MDF wood, assembling the pieces, and painting the final product.


The activity teaches students how to safely use woodworking tools, follow step-by-step instructions, and express creativity in the painting stage. It combines technical skills with artistic design, giving students the chance to learn about materials, practise measuring and cutting, and work hands-on with wood.


This lesson is suitable for middle school, high school, and college students, especially girls and young women, working in small groups. By the end, each student has created a unique wooden Perry the Platypus model and gained confidence in working with tools, materials, and creative design.

What You'll Need

Materials:


  • MDF wood sheets (Medium Density Fiberboard)
  • Drawing plan of Perry the Platypus
  • Pencils and rulers
  • Jigsaw or scroll saw ( Laser cutter if applicable)
  • Sandpaper
  • Wood glue
  • Clamps
  • Paints (acrylic or other suitable for wood)
  • Paintbrushes
  • Safety goggles
  • Protective gloves
  • Drop cloth or newspaper (to protect surfaces)
  • Aprons (optional)
  • Small containers for paint mixing
  • Water cups and paper towels for cleaning brushes

Safety Precautions:

  • Always wear safety goggles and protective gloves when cutting and sanding wood.
  • Supervise the use of always cutting tools.
  • Ensure proper ventilation when painting.
  • Handle wood glue carefully to avoid contact with skin.


Learning Objectives

  • Learn how to read and follow a drawing plan to create a model.
  • Safely use tools like a jigsaw or scroll saw (or laser cutter) to cut MDF wood.
  • Practise sanding, gluing, and assembling wooden pieces into a 3D model.
  • Develop creativity by painting and personalising the finished model.
  • Build confidence in using woodworking tools and completing a hands-on project.
  • Understand how planning, measuring, and following steps lead to a finished product.


Reflection

This activity gives students the chance to combine practical skills with creativity by making their own Perry the Platypus model from MDF wood. They learn to follow a plan, use tools safely, and assemble and decorate their project step by step. The process helps students see how careful measuring, cutting, and building lead to a finished product they can be proud of.


By working with wood and tools, students build confidence in their ability to handle new materials and techniques. The painting stage allows for personal expression, so each model becomes unique. In the end, students not only take home a fun and colourful character but also gain valuable skills in planning, crafting, and creative design that they can use in future projects.

The Instructions

Reviewing the Drawing Plan (20 minutes)

Students review the drawing plan, learn the shapes and pieces they need to cut, and practise transferring the plan onto MDF wood with pencils and rulers.

  • Distribute copies of the drawing plan to each student.
  • Go through the plan step-by-step, ensuring everyone understands the shapes and pieces that need to be cut.
  • Demonstrate how to transfer the drawing plan onto the MDF wood using pencils and rulers.


Cutting the MDF Wood (40 minutes)

Students safely use saws to cut out the shapes from MDF wood and then sand the edges to make the pieces smooth and ready for assembly.

  • Instruct students on the safe use of jigsaws or scroll saws.
  • Have students cut out the shapes from the MDF wood sheets following the drawing plan.
  • Assist students with cutting if necessary, ensuring safety protocols are followed.
  • Once all pieces are cut, have students sand the edges to smooth any rough areas.


Assembling the Model (30 minutes)

Students assemble the cut pieces with wood glue, use clamps to hold them in place, and let the model dry to form a stable structure.

  • Demonstrate how to assemble the cut pieces using wood glue.
  • Provide clamps to hold pieces together while the glue dries.
  • Assist students with the assembly process, ensuring pieces are aligned correctly.
  • Allow time for the glue to set and dry.


Painting the Model (45 minutes)

Students paint their Perry the Platypus models in their chosen colours, adding creative details and letting the paint dry between coats.

  • Once the glue is dry, cover the work area with drop cloths or newspaper.
  • Provide aprons for students to protect their clothing.
  • Have students paint their Perry the Platypus models using their favorite colors.
  • Encourage creativity and personalization in the painting process.
  • Allow the paint to dry between coats if necessary.


Finishing Touches (20 minutes)

Students add final touch-ups to their painted models, clean up their materials, and share their finished work while receiving feedback and praise.

  • Once the paint is dry, check for any areas that may need touch-ups.
  • Have students clean their brushes and work area.
  • Review the completed models and offer praise for creativity and effort.


Wrap- up & reflection

Students showcase their finished models, reflect on the process and what they enjoyed, clean up the workspace, and conclude by reviewing the skills they learned and discussing future woodworking project ideas.

Review and Showcase (20 minutes)

  • Have students present their finished Perry the Platypus models to the group.
  • Discuss the process and any challenges faced during the project.
  • Encourage students to share what they enjoyed most about the activity.


Cleanup (10 minutes)

  • Ensure all materials and tools are properly cleaned and stored.
  • Make sure the workspace is tidy.


Conclusion (10 minutes)

  • Recap the lesson and highlight the skills learned, such as following a plan, cutting, assembling, and painting.
  • Encourage students to think of other woodworking projects they might enjoy.


Additional Notes:

  • Adjust the duration of each segment based on the class’s pace and engagement.
  • Consider having additional helpers or instructors to assist with the use of cutting tools and painting.


Lesson Feedback

Contact us

Having trouble? Let us know by completing the form below. We'll do our best to get your issues resolved quickly.

"*" indicates required fields

This field is for validation purposes and should be left unchanged.
Name*
Email*
?