- Loading…
The primary focus of this lesson is on the inter-relationship between geometry and fabrication. GeoConstructix adapts digital fabrication concepts by focusing on the inter-relationship between geometry and Computer-aided design and manufacturing (CAD/CAM) techniques. The lesson’s scaffolding structure allows students to work with a series of successive methods-based exercises that rely on both digital modeling and prototypes. Students “learn by doing.” By the end of this lesson, students will learn the fundamentals of geometry and fabrication techniques with increasing levels of complexity. This is an introductory lesson in digital fabrication.
Key Vocabulary / Terms
Geometry
Area
Volume
Symmetry
Angles
Fundamental shapes
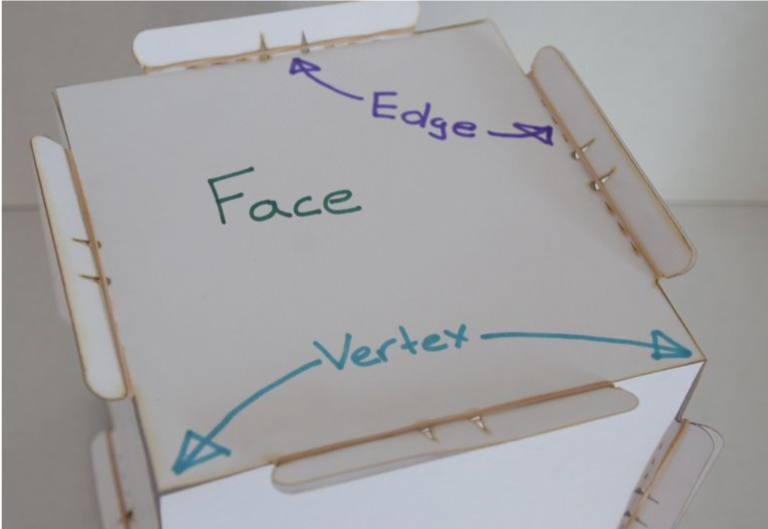
Face
Edge
Vertex
Cube
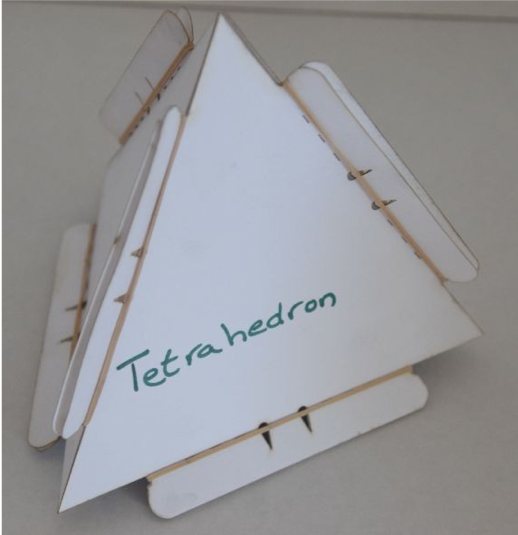
Tetrahedron
GeoConstructix
Key Formulas
Area of Triangle = ½ base * height
Area of a Square = base * height
Cube Volume = base * height * depth
Tetrahedron = a3/ (6√2) ; a = length of edge
Materials List
110 lb Cardstock
Laser cutter
CorelDraw (or similar 2D vector graphics software)
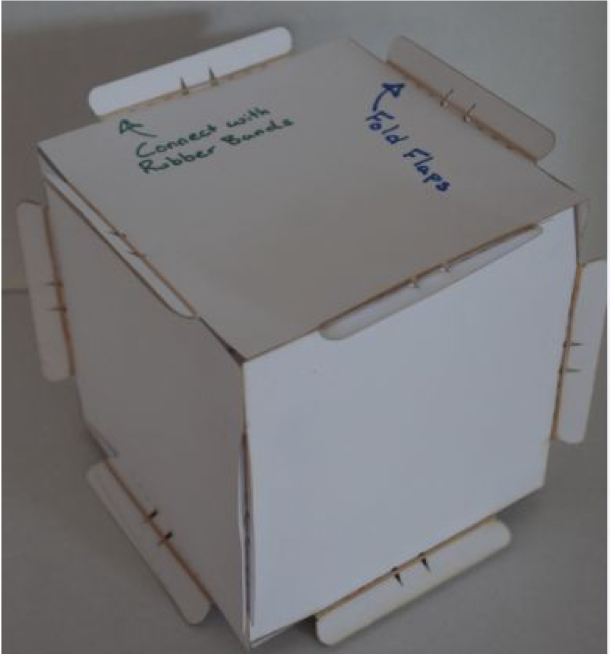
Rubber bands
Design Files Developed:
Files downloaded on SCOPES-DF Google Drive
Readings / Handouts
Map of Lesson
Before the lesson:
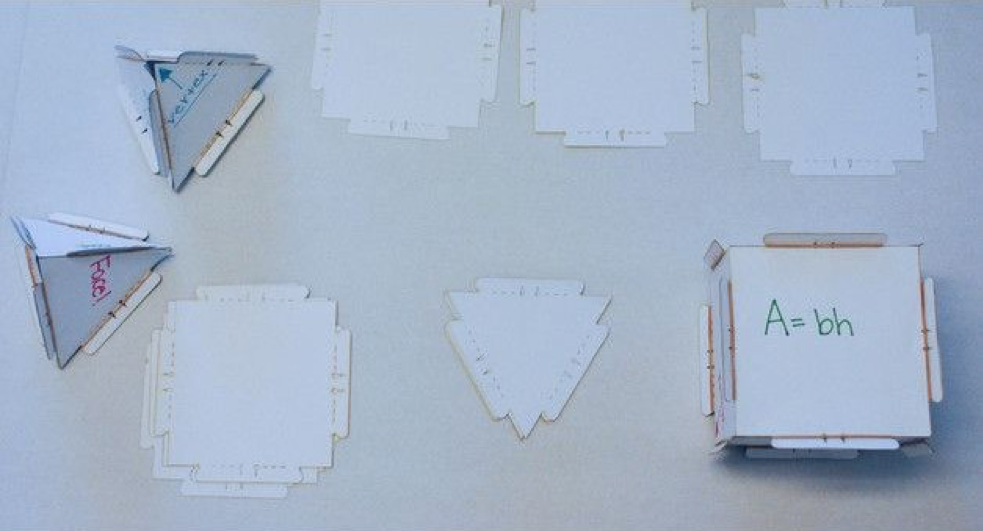
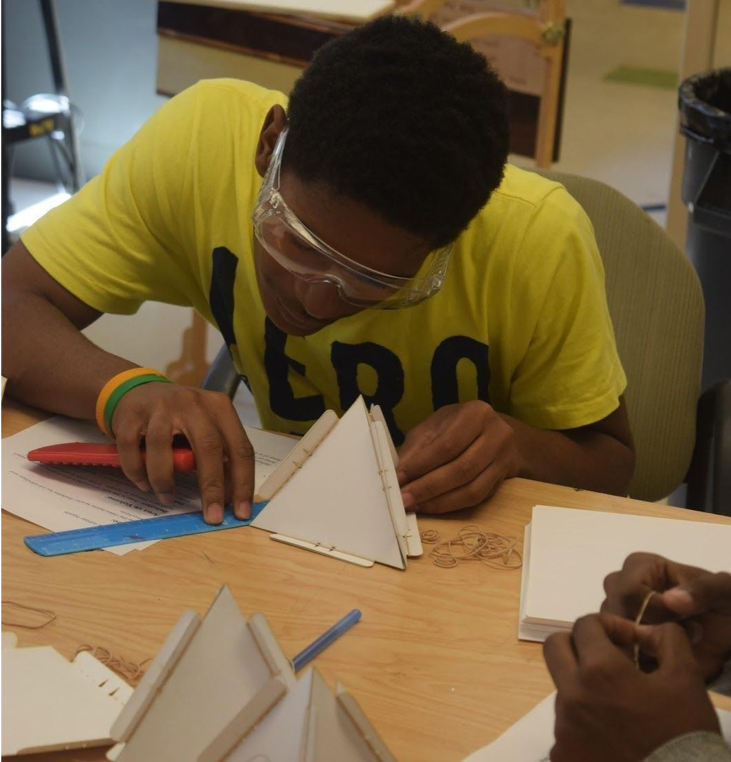
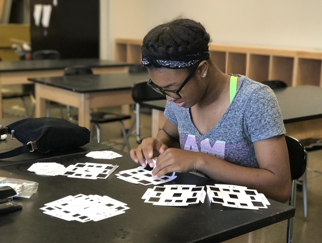
Step One: Identify geometry concepts to create non-digital prototypes (25 Minutes)
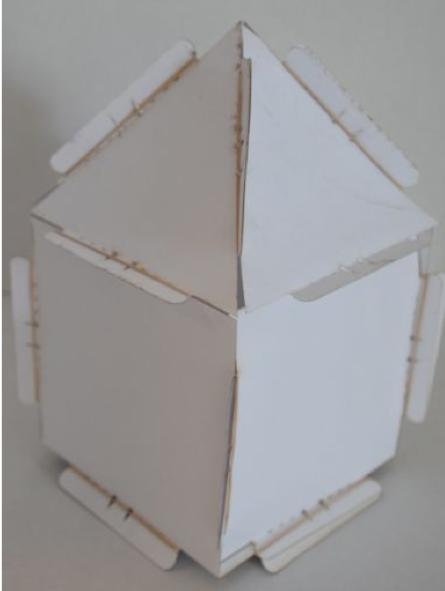
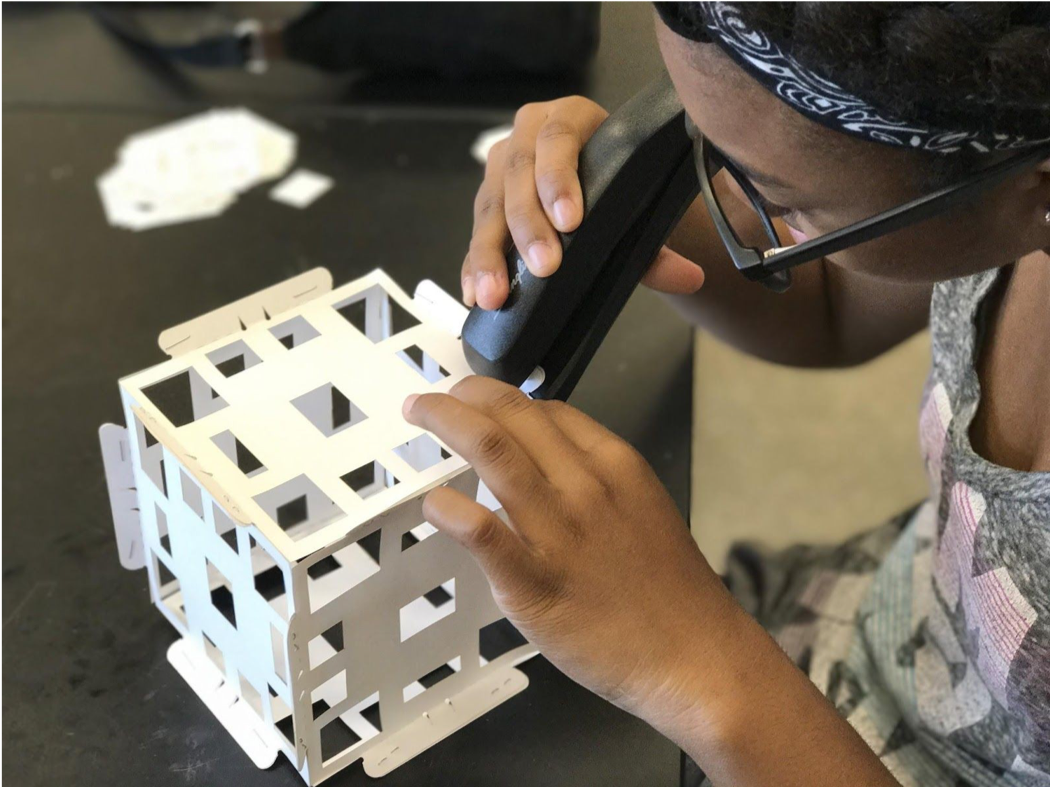
Guided Instruction: Students will gain an understanding of the relationship between fabrication process and assembly without technical aspects of digital modeling. Teacher will guide students through an activity in which they use laser cut 2D shapes to construct various 3D objects and learn about geometric shapes.
Essential Question: Why is it important to understand the characteristics and distinctions of two-and-three-dimensional figures?
Make sure students have the following supplies before beginning lesson plan:
Intro to area and unit square:
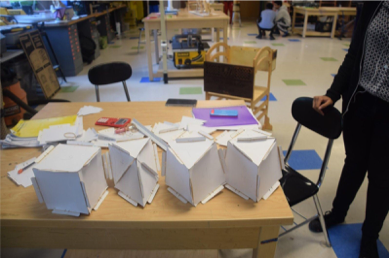
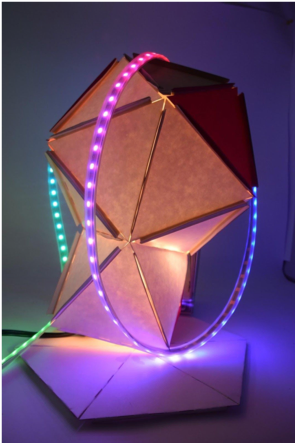
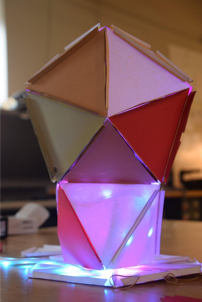
Step 2: Build Your Own Sculpture
Essential Question: In what ways are geometric figures used in real life?
Warm-up (10 Minutes): Describe the the fundamentals of laser cutting:
Question for students:


Making of Shapes: (50 Minutes)
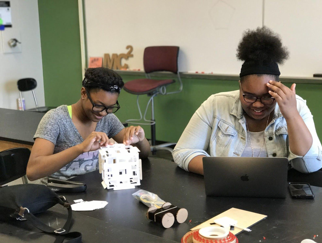

(From Fab Testing in Cleveland (Andrea Fields))
Having trouble? Let us know by completing the form below. We'll do our best to get your issues resolved quickly.
"*" indicates required fields