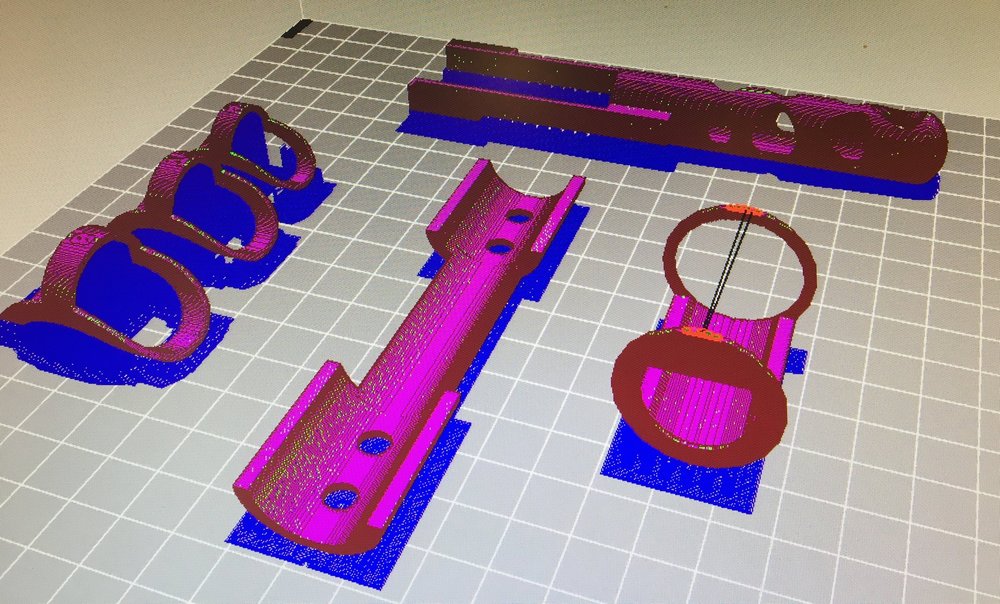
In this lesson students will reflect on the “Everyday in the life of a Biomedical Engineer” by solving a design challenge based on creating a custom finger splint for an athlete using TinkerCad and a 3D printer. In doing they will familiarize themselves with an new application of digital fabrication, learn the design process, learn how to use CAD software, and finally create a custom object via a 3D printer.T
What does a Biomedical Engineer do?
Biomedical Engineer
Conduct research, along with life scientists, chemists, and medical scientists, on the engineering aspects of the biological systems of humans and animals. Design and develop medical diagnostic and clinical instrumentation, equipment, and procedures, using the principles of engineering and biobehavioral sciences. Research new materials to be used for products, such as implanted artificial organs. Develop models or computer simulations of human biobehavioral systems to obtain data for measuring or controlling life processes. Adapt or design computer hardware or software for medical science uses.
Related careers include those listed below:
Doctor/Surgeon
Physicians who treat diseases, injuries, and deformities by invasive, minimally-invasive, or non-invasive surgical methods, such as using instruments, appliances, or by manual manipulation.
Synthetic Biologist
Develop usable, tangible products, using knowledge of biology, chemistry, or engineering. Solve problems related to materials, systems, or processes that interact with humans, plants, animals, microorganisms, or biological materials.
Teacher Preparation
Supplies, facility needs, prerequisite skills and knowledge including prior completion of the TinkerCAD tutorials and basic knowledge of 3D printing a file, student types, period length etc. classroom management
Facility Needs
Class set of internet enabled computers (Chromebooks will work), 3D Printer with generic splint file (included in attachments), pre-printed generic splints for each table, two colors of small post it notes, and writing utensils. Technology needs include a projector/TV with appropriate connection to a computer. The ability to stream video via YouTube.
Materials List
Markers, Easel pad (1 sheet for each team), and small sticky notes in varying colors
Digital Fabrication Software & Equipment
Tinkercad (3D modeling) and 3D printer
Design Files attachment
See below.
Step One: Engage – Introduce students to the following challenge: “You are part of the medical team for a major sports franchise. As it turns out, one of the most challenging game injuries for trainers to treat are jammed fingers. While not a major injury, they can often have major impact on a players performance, and can easily be reinsured. in the past, splints have been used to provide stability and protection to the injured fingers, but often a cost of discomfort because they did not fit the athletes unique hand size. Being the newest hire on the training staff, you have been tasked with discovering if the new science of digital fabrication might be able to help address this challenge. Over the course of the activity you must: 1. Learn the basic design requirements of a splint 2. Learn how to adjust a splint design via the TinkerCAD software 3. Measure a the finger of an athlete (choose another participant or yourself), choose the most appropriate splint design, and modify it to fit the athlete’s unique finger size 4. 3D print your custom splint
(Introduce students to a splint, and share ideas to develop a new design.)
15 minutes
Needs:
See below.
Step Two: Explore, Prepare, and Explain – (Provide context about making a splint and introduction to CAD software.)
Needs:
Explore and Prepare
60-80 minutes (Time dependent on student familiarity with TinkerCAD software, internet speed, and the instructors desired amount of time for students to explore the “Gallery”)
The instructor tells the students: “Imagine if when a basketball player jammed their finger during a game. Now, imagine the player was fitted with a personalized splint before the end of the game. Over our coming time together we are going to learn about design with 3D printing and discover the power of creating our own custom medical instrument.”
See below.
Step Three: Explain –
15 minutes

The instructor starts class with a challenge:
See below
Step Four to Step Six: Elaborate – (Collect measurements, innovate, and notice connections to careers.)
Needs:
Step Four: Elaborate –
30-60 minutes (time dependent on student familiarity with measuring and TinkerCAD software)
The instructor should become familiar with downloading completed files from TinkerCAD, rename them according to a convention, and save the .SVG file to a flash drive before class starts. (Choose Design Download for 3D Printing on the TinkerCAD menu)
See below
Step Five: Evaluate –
15 minutes (students will need 15 minutes to evaluate, but because of print time factors for the splints, it is best to occur at the beginning of a session after the instructor has already printed the custom splints)
Having trouble? Let us know by completing the form below. We'll do our best to get your issues resolved quickly.
"*" indicates required fields