
- Loading…

Your students will use probability, design and technology to create their own unique board game.
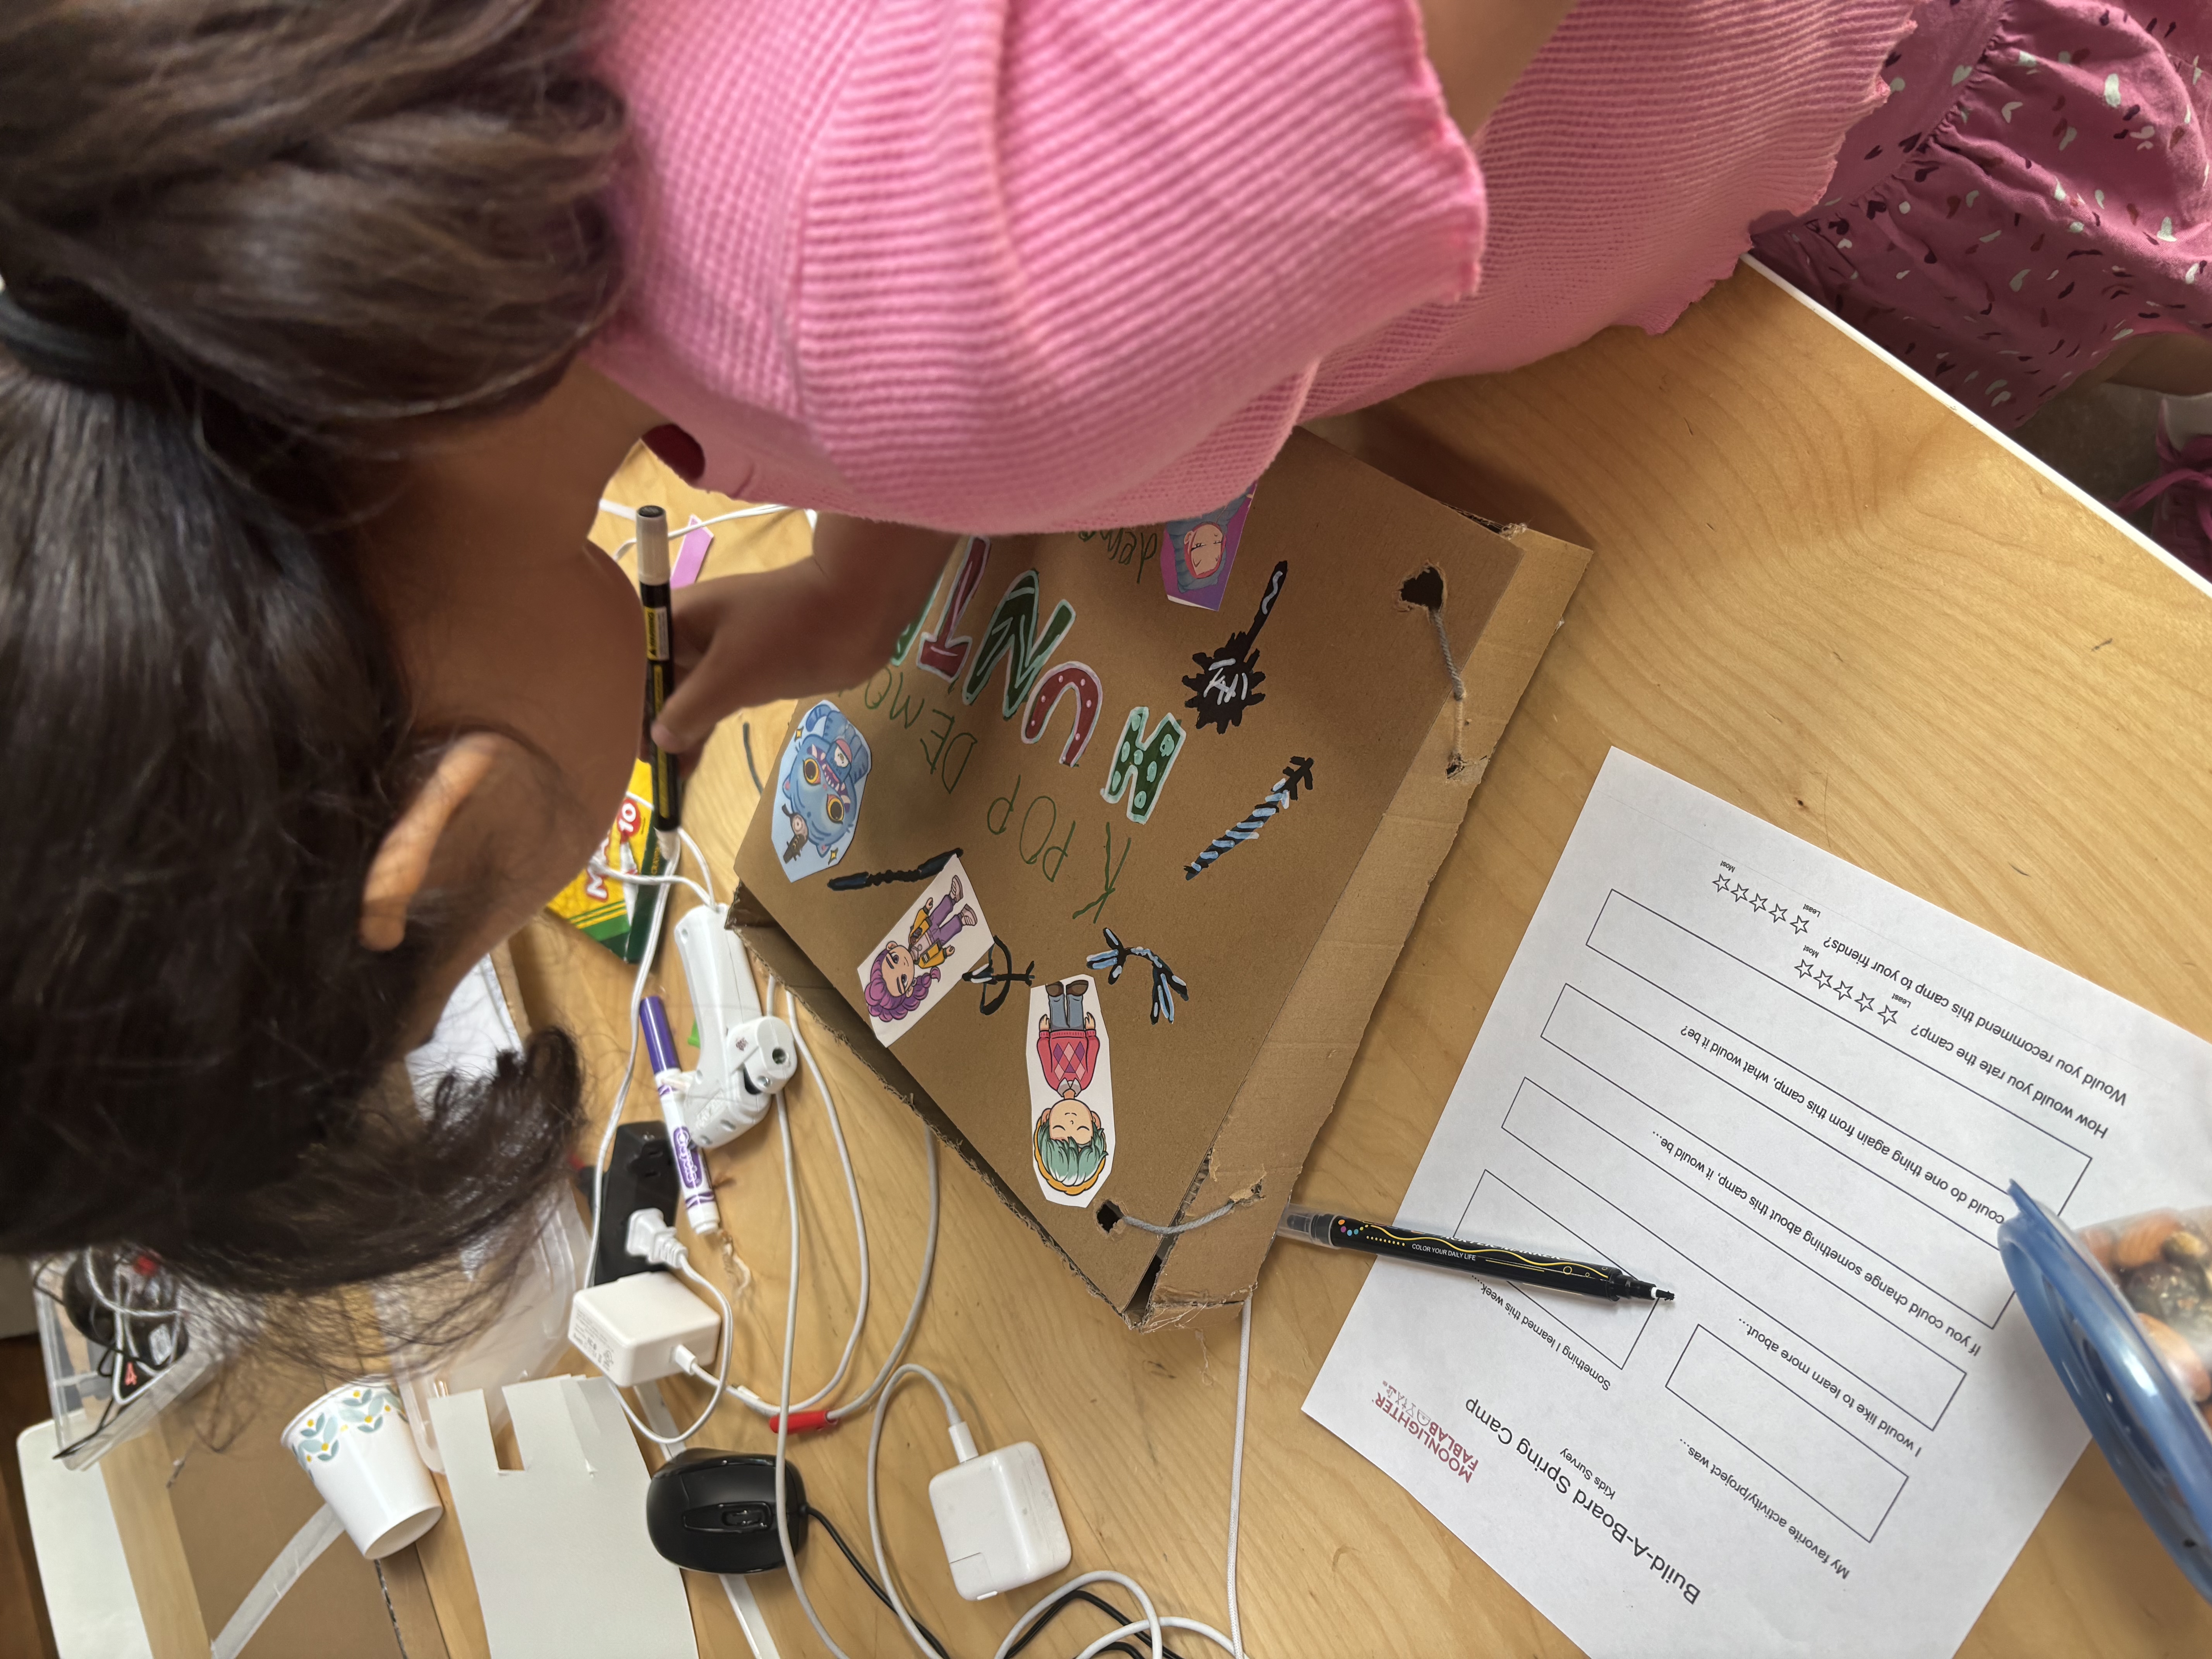
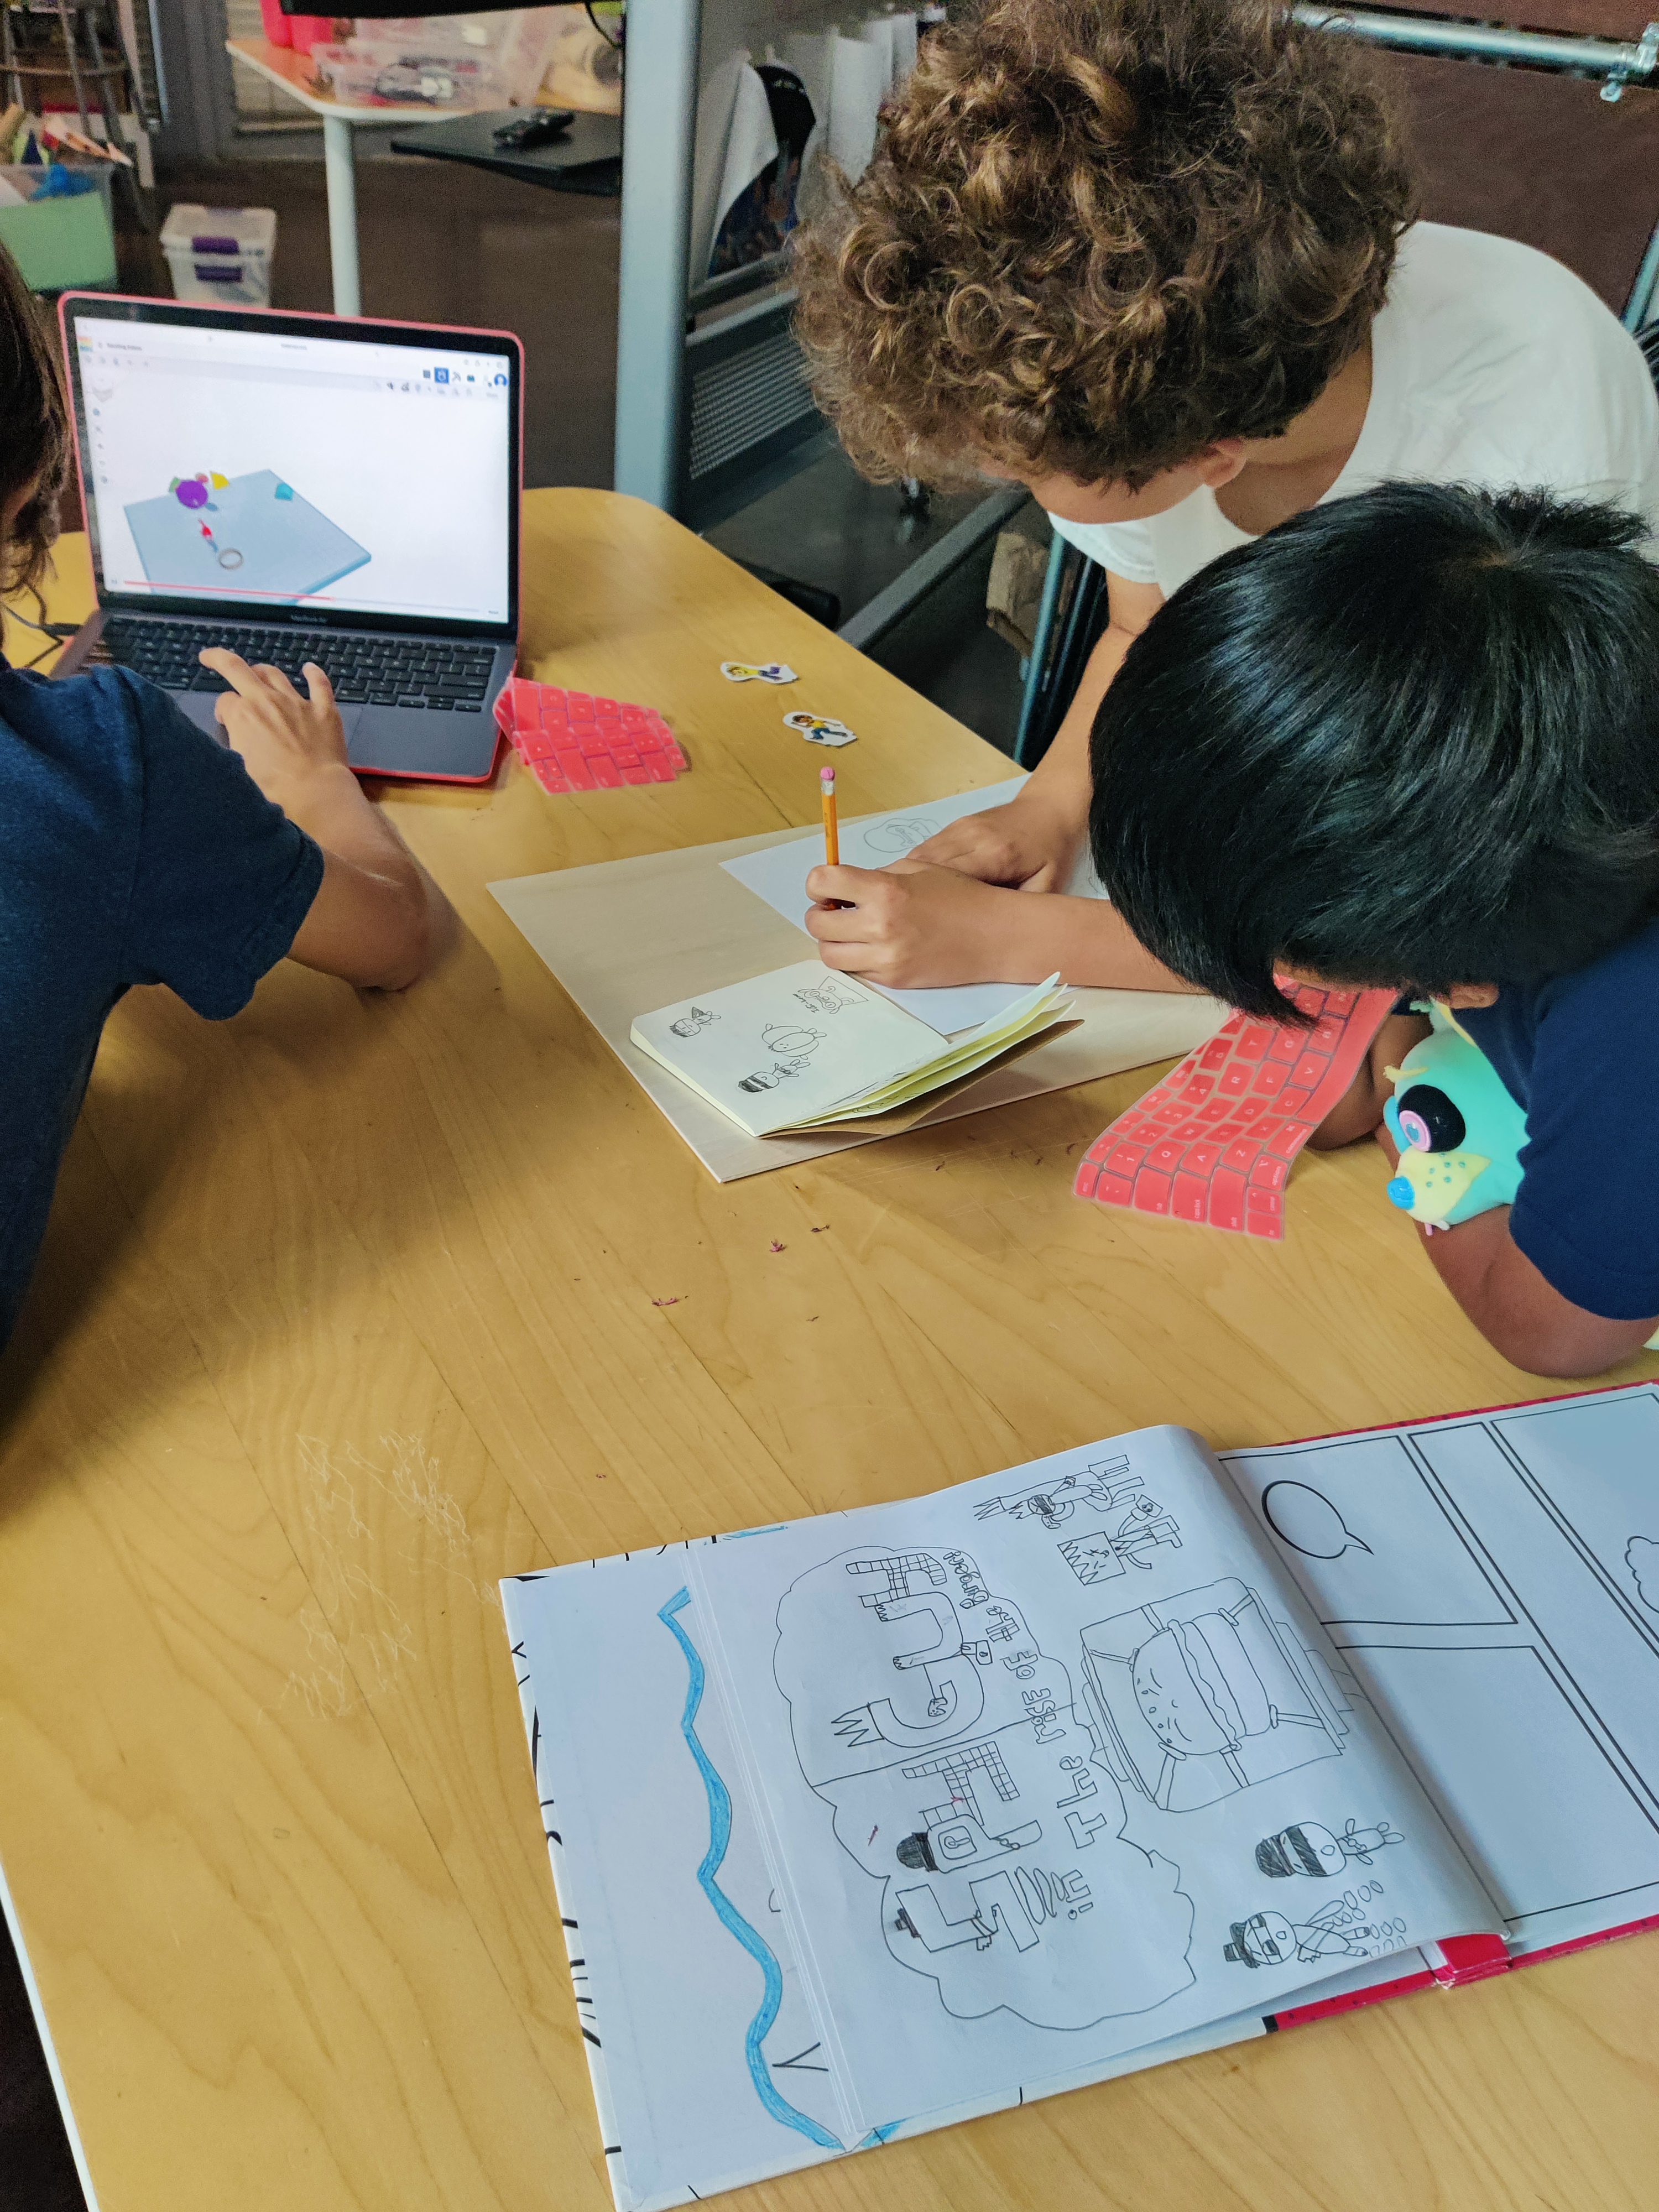
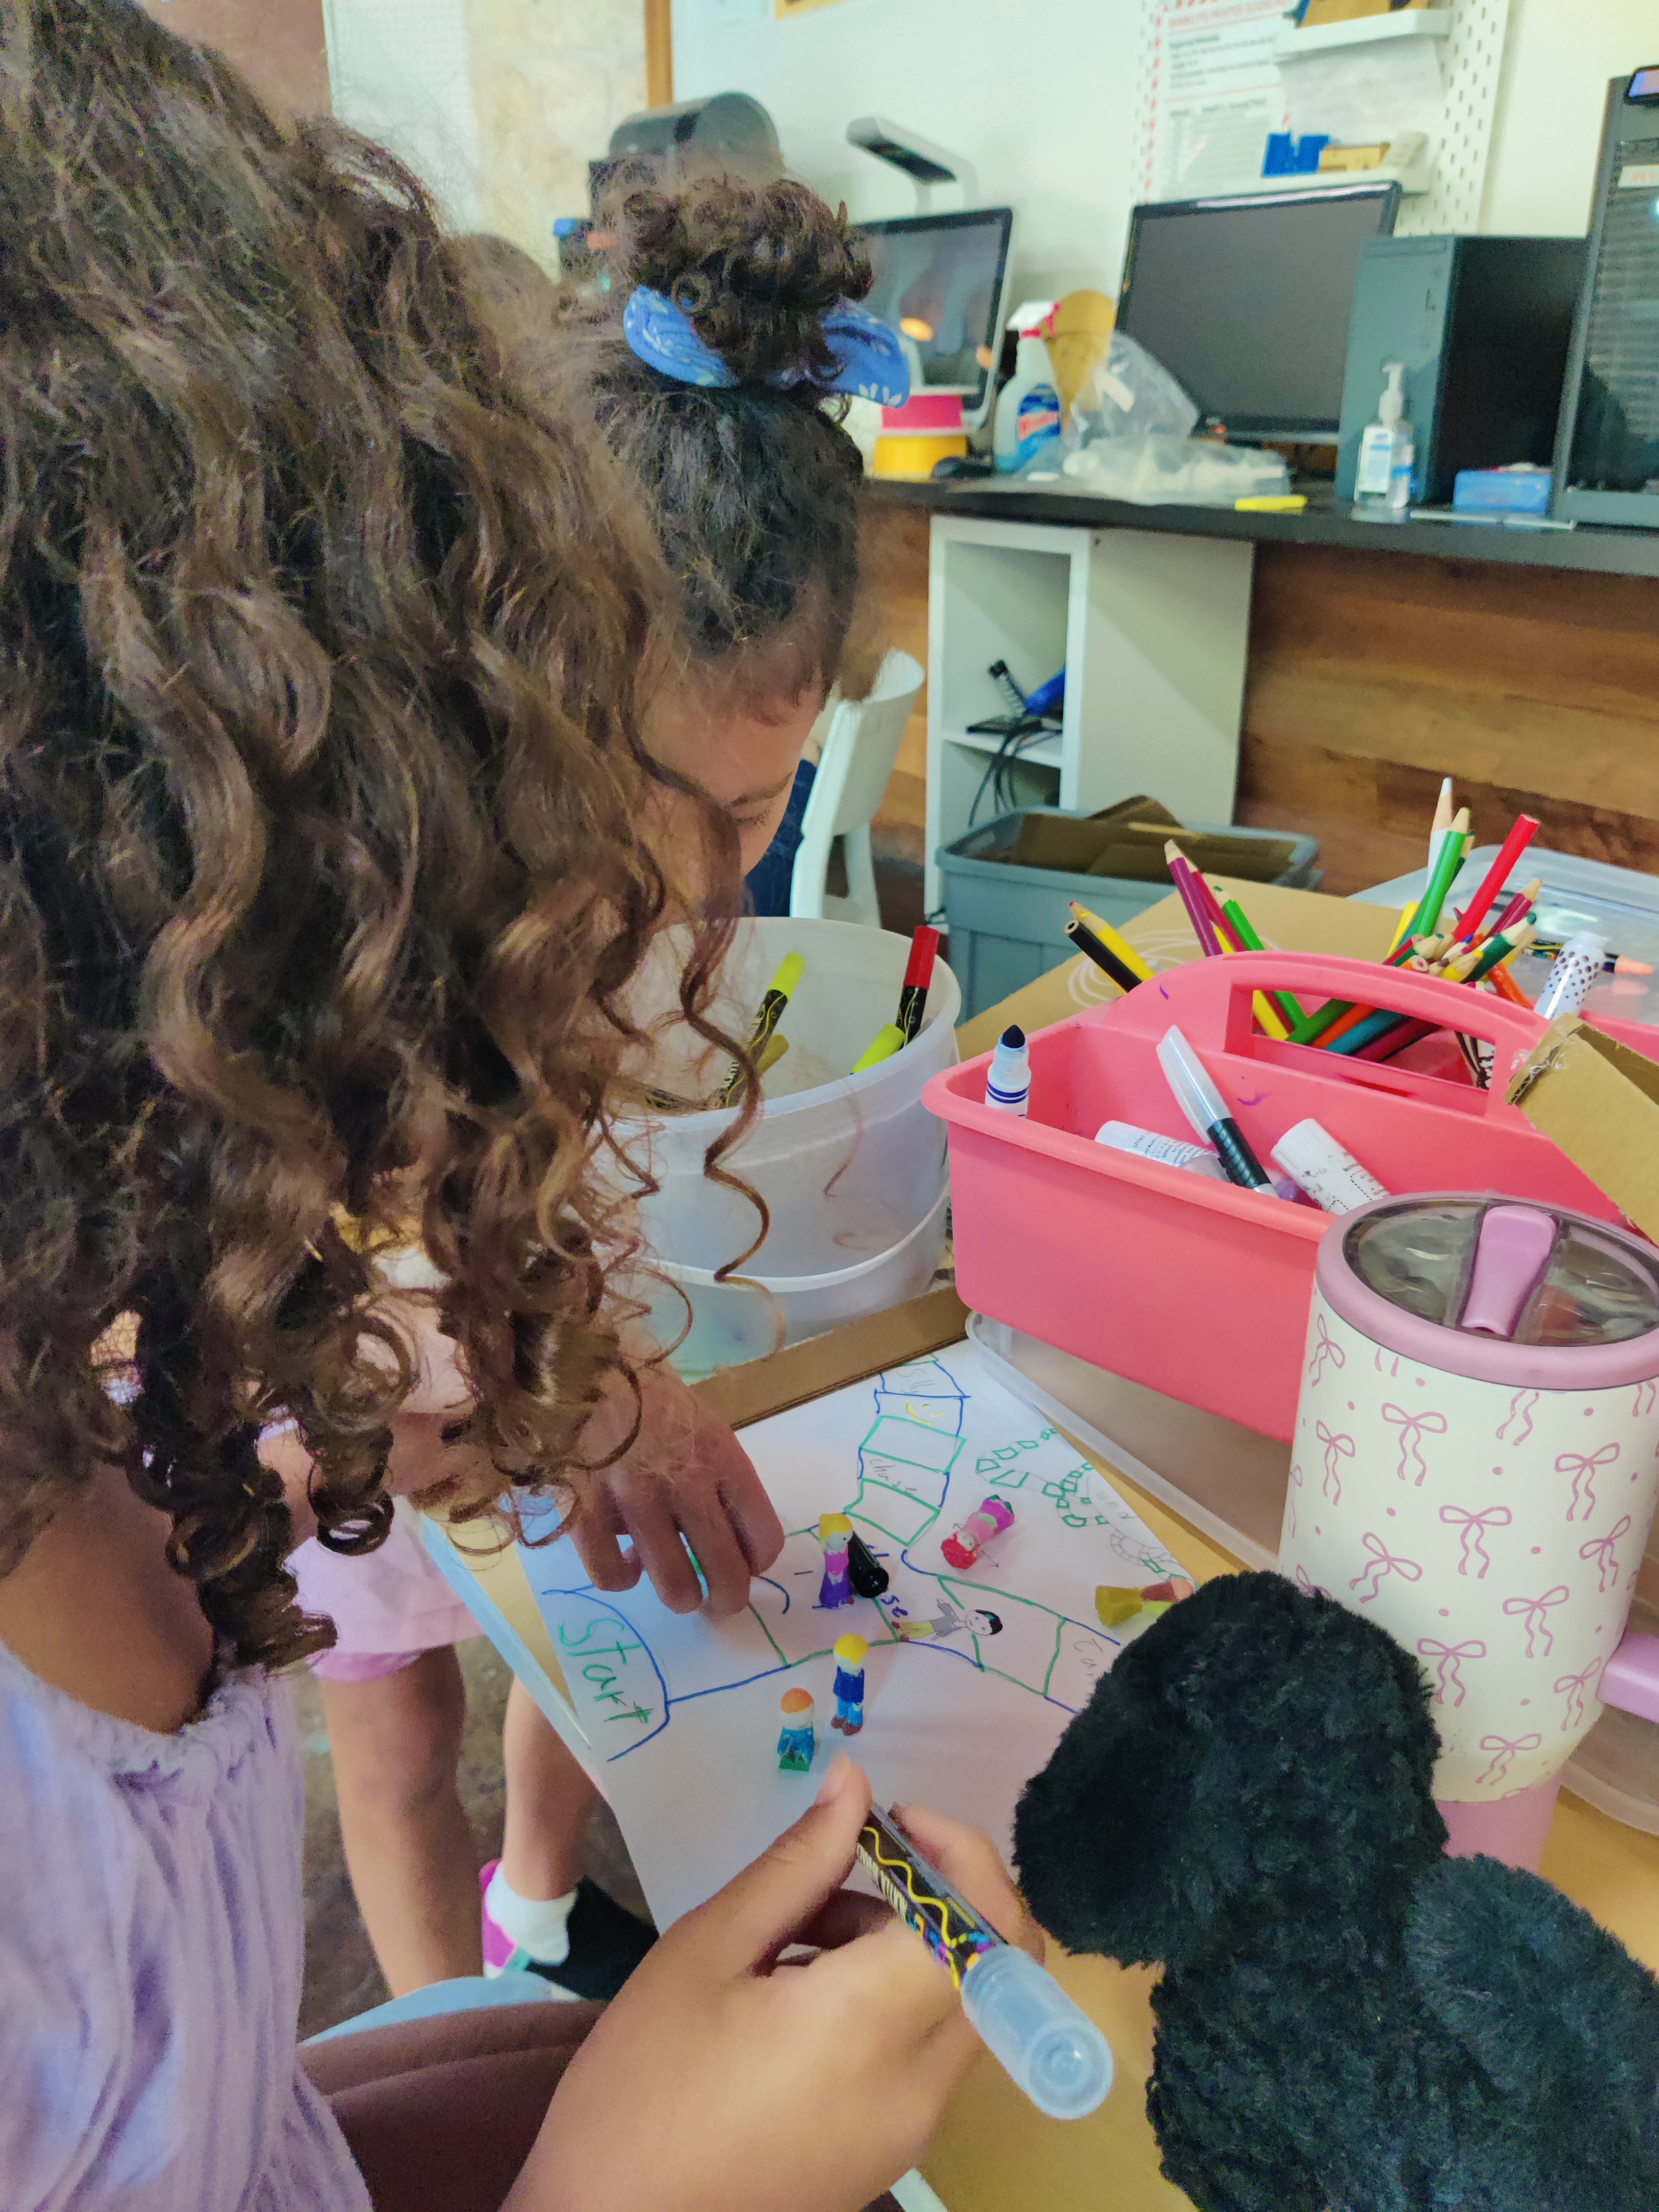
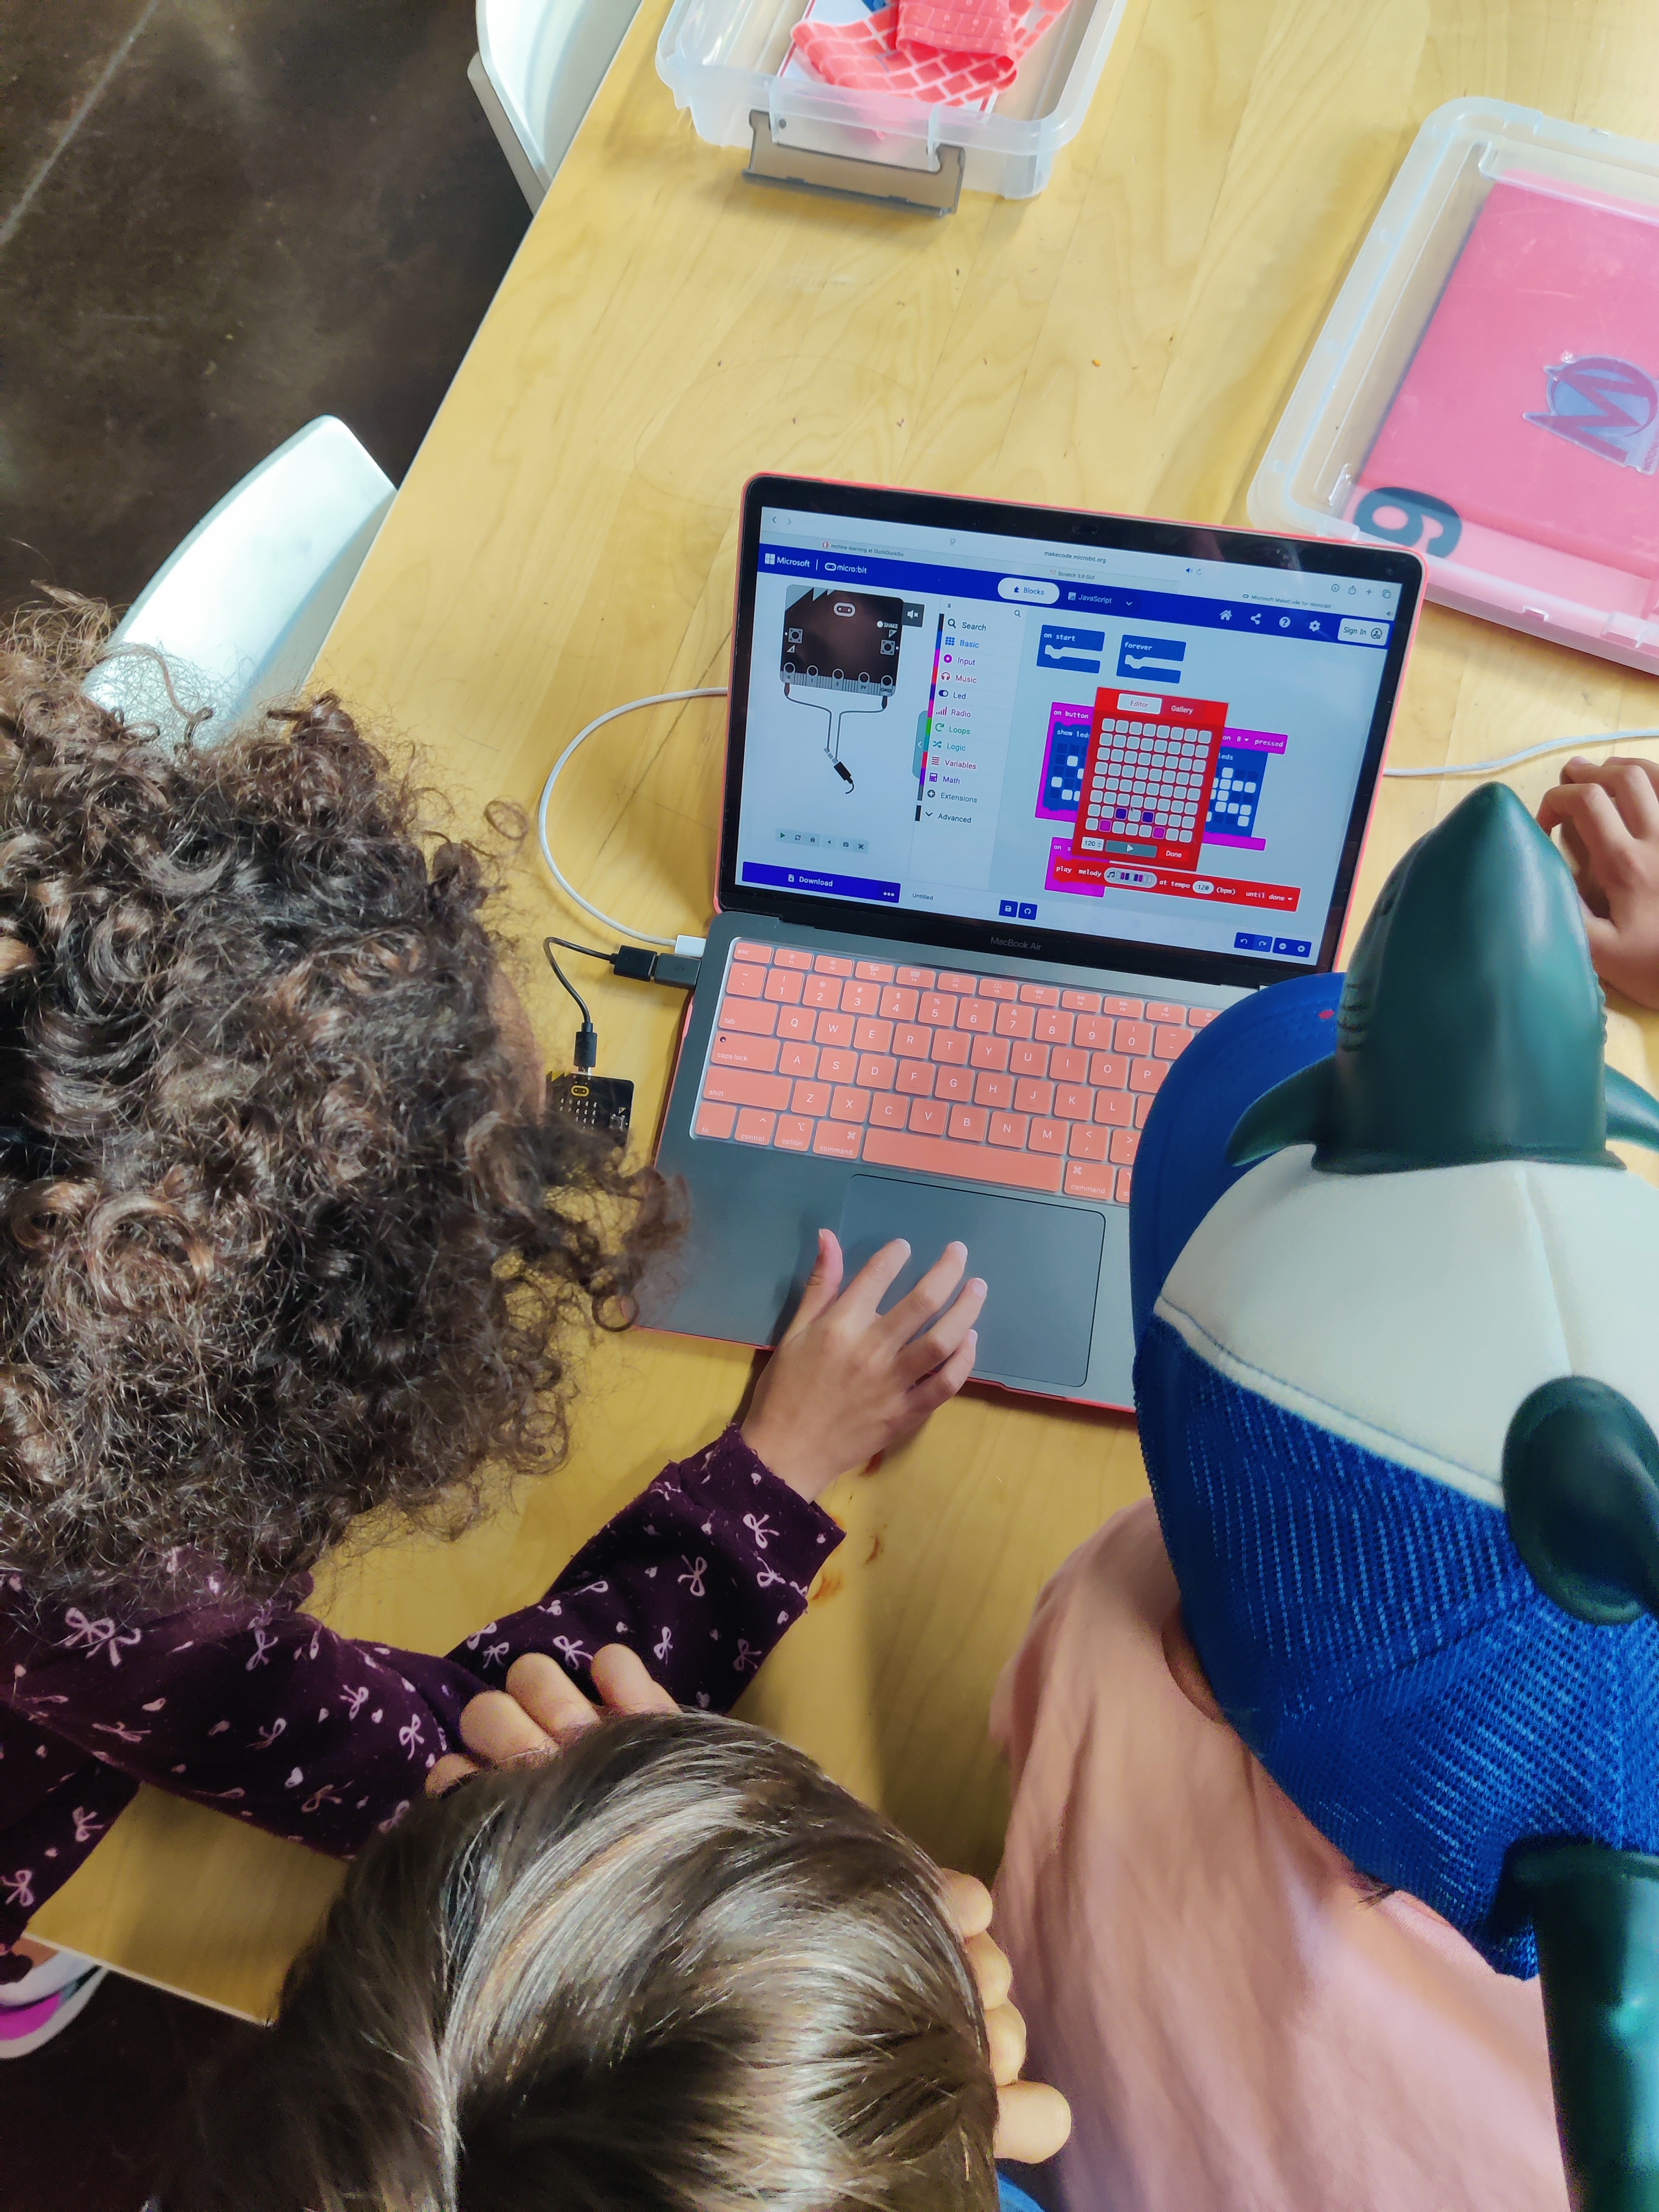
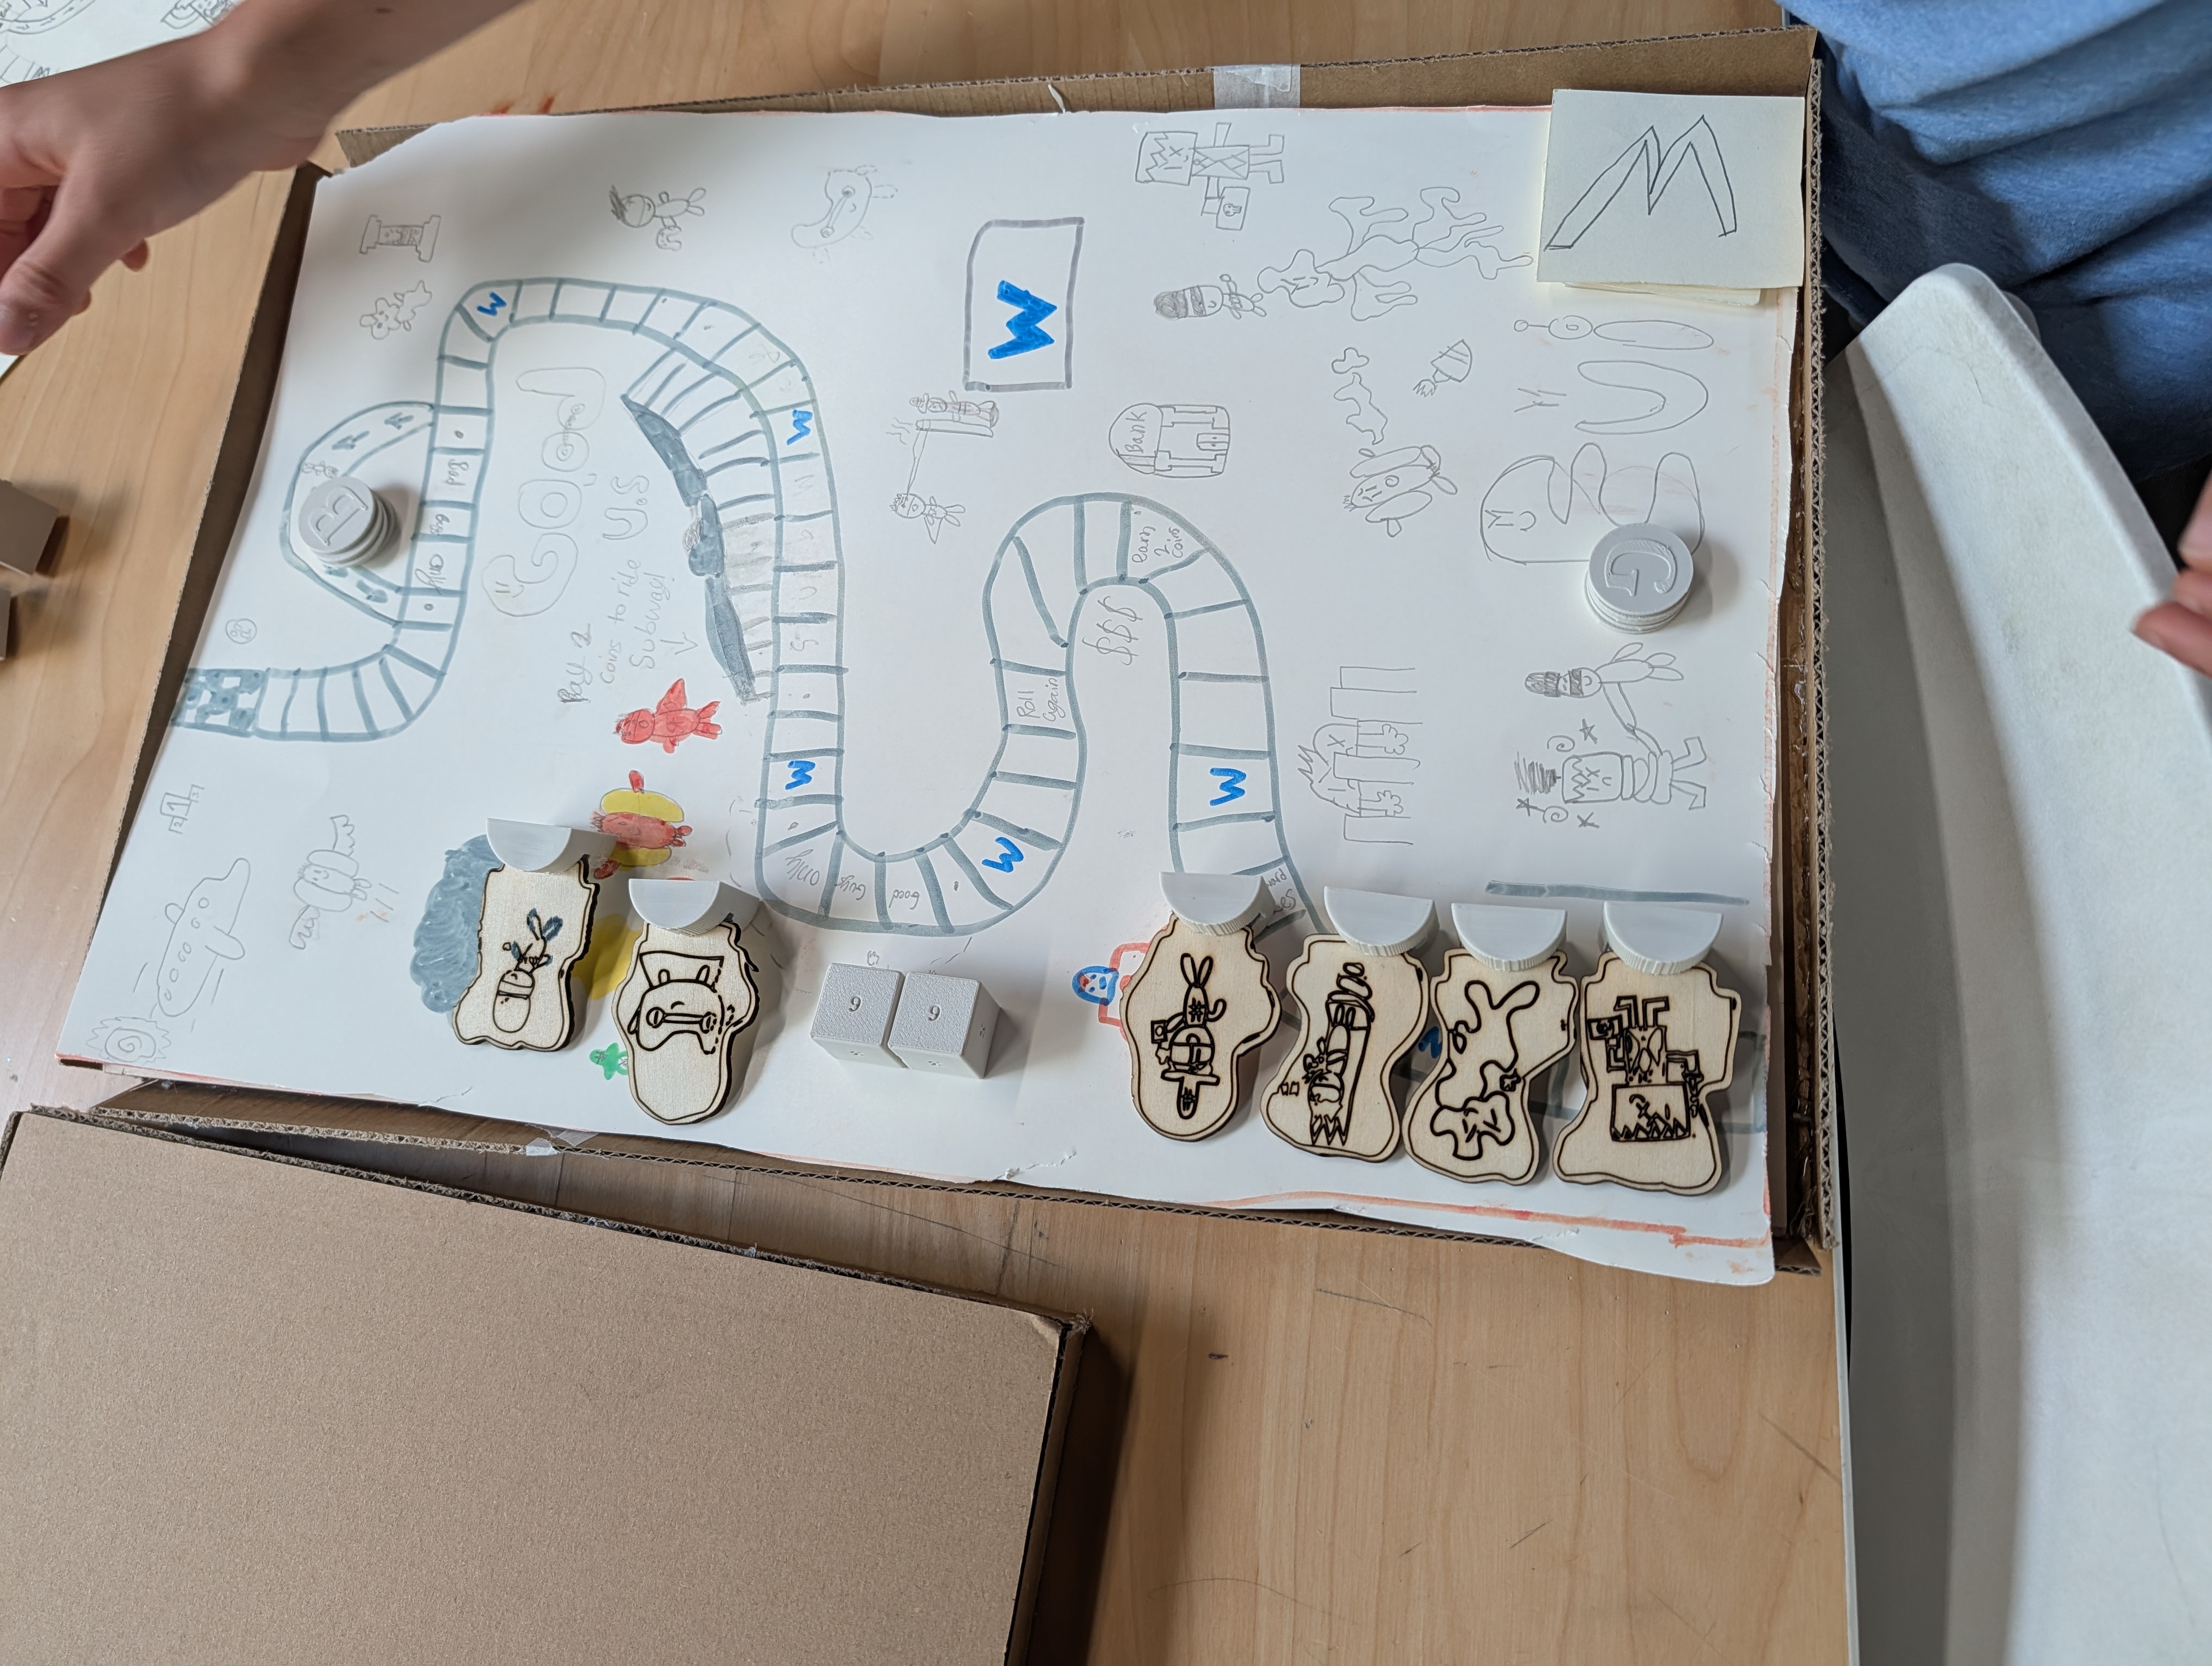
Students will be able to use probability to balance the outcomes of games or other projects.
Students will understand how to use design concepts to make an aesthetically attractive game.
Students will be capable of following game design principles to create fun and challenging experiences.
Students will identify correctly the conductivity of different materials.
Students will be able to use technology to enhance analog experiences.
Students will be able to work with electrical components to create simple circuits that can be introduced to different kinds of projects.
Students will be able to incorporate different digital fabrication techniques to create an integral and cohesive project.
This is a lesson plan was tested mainly with younger students than what it was originally planned for. It is important to adapt it depending on the previous digital fabrication experience and skills your students have. While testing I realized this could be elevated or simplified fairly easily, as long as you are willing to play around with the suggested learning outcomes.
The students will get to know what makes board games tick.
Have your students do quick rounds of playing different board games. Have them identify the rules, similarities and differences between them, what makes them challenging and fun, and how much chance or strategy is involved in each. Having different kinds of games, such as card games next to dice games, can make the similarities and differences stand out better. Play with them so you can make observations on how each game works, and introduce them to the concept of probability by commenting on how the number of cards in a deck, the amount and location of “go back” squares in a game or other similar mechanics/rules are calculate specifically to make the game fairer, more competitive and more fun to play.
Students will brainstorm ideas for a board game.
Individually or in groups, the students will go through a brainstorming process for kinds of games they would like to create. They will come up with rules, instructions, strategies and any other aspect they need to make a playable, fun game. They’ll give each other feedback about their ideas.
Go over the rubric that will be used at the end to rank their games and let them know the other students are going to be the ones that will be doing the ranking when the games are finished. The rubric is the following:
If they are able to get a good score on the rubric, they’ll be hitting all of the proposed learning goals.
At the end of this step, they should have many ideas on paper with one of them being the selected one. Cross-reference their idea with the rubric to make sure it is achievable and will be able to follow the requirements of the rubric at the end.
The students will work on the visual identity of their game.
Students will think of a theme for their game. It can be fantasy, mystery, a simple visual design or any other kind of artstyle the students want. They will make concepts for it, and try to implement it into their game style (cards, pieces, dice). They’ll also choose what kind of digital fabrication materials they’d like to use (3D printer filament for game pieces, laser cut wood for the board…). They’ll create concept art for the game before going to the next step.
The students will implement electrical components to their game.
Depending on the age and previous experience of the students, introduce them to boards such as Makey Makeys or simple microcontrollers like Microbits. Encourage them to add simple circuits and components to enhance their game look and interactability, or they could program more complex input and output functionality with the microcontroller. Have them work on a quick prototype to make sure the circuits are working. Using conductive tape, aluminum paper or other conductive material, they can make the circuit go around the board. Try their circuits to make sure they are working correctly and can be implemented into their projects later.
Students will make their game better balanced.
Now that the students have all the basic elements for creating their board game, they will make changes to the rules or create more advanced stipulations such as how many cards it will have or how to prevent one player from going too ahead of others. They’ll need to make sure they take into account probability into this step. A good example of this is making the end road of a race-based game harder to advance or with a higher probability of sending you back. Other students can chime in with ways to make the game feel fairer. They’ll have to create then a rulebook for the game.
The students will fabricate their board game.
Students will create their physical board game. Depending on the time available, they can create a prototype first. They’ll use fabrication software and tools to create the many parts of the board game, while also working on the art. Tools like 3D printers can create pieces, laser cutters can build boards or mass cut printed cards, vacuum formers could replicate the same parts quickly. Let them think about what tools would perform best for their needs. As a teacher, help them with the production of some of the parts so they are able to keep fabricating while some of the pieces print or cut.
The students will try all the games
The students will try each other’s games. While playing, ask them to explain the reasoning of the different decisions made during the fabrication of their board game. The students will rank each game with the rubric mentioned on the first step. With the justification of decisions and the ranking from the other students, we can see how well each student was able to achieve the learning goals.
Using this feedback, the students can go back and polish their games and boards.
Having trouble? Let us know by completing the form below. We'll do our best to get your issues resolved quickly.
"*" indicates required fields