- Loading…

This can be a short activity to just dip student toes in the pool of laser cutting for digital fabrication. It is a late add activity in the final weeks of the trimester elective, when some students were moving quicker through an earlier physical computing and coding unit. The main idea is they explore some basic visual design principles and use an easy to trace design with both cut through and etching, to create a custom word cloud in a shape, based on their interests that they will then do a first laser cut simple sign using balsa wood or cardboard.


Materials/Prep
Gather:
Balsa wood and/or colored cardboard
Digital Calipers
Rulers
Integration: aligned texts/math concepts
Visual Arts – alignment, hierarchy, repetition, balance, space
Measurement
Connected Makerspace Skill/Tool – 2D Vector Design
WordArt.com
Inkscape
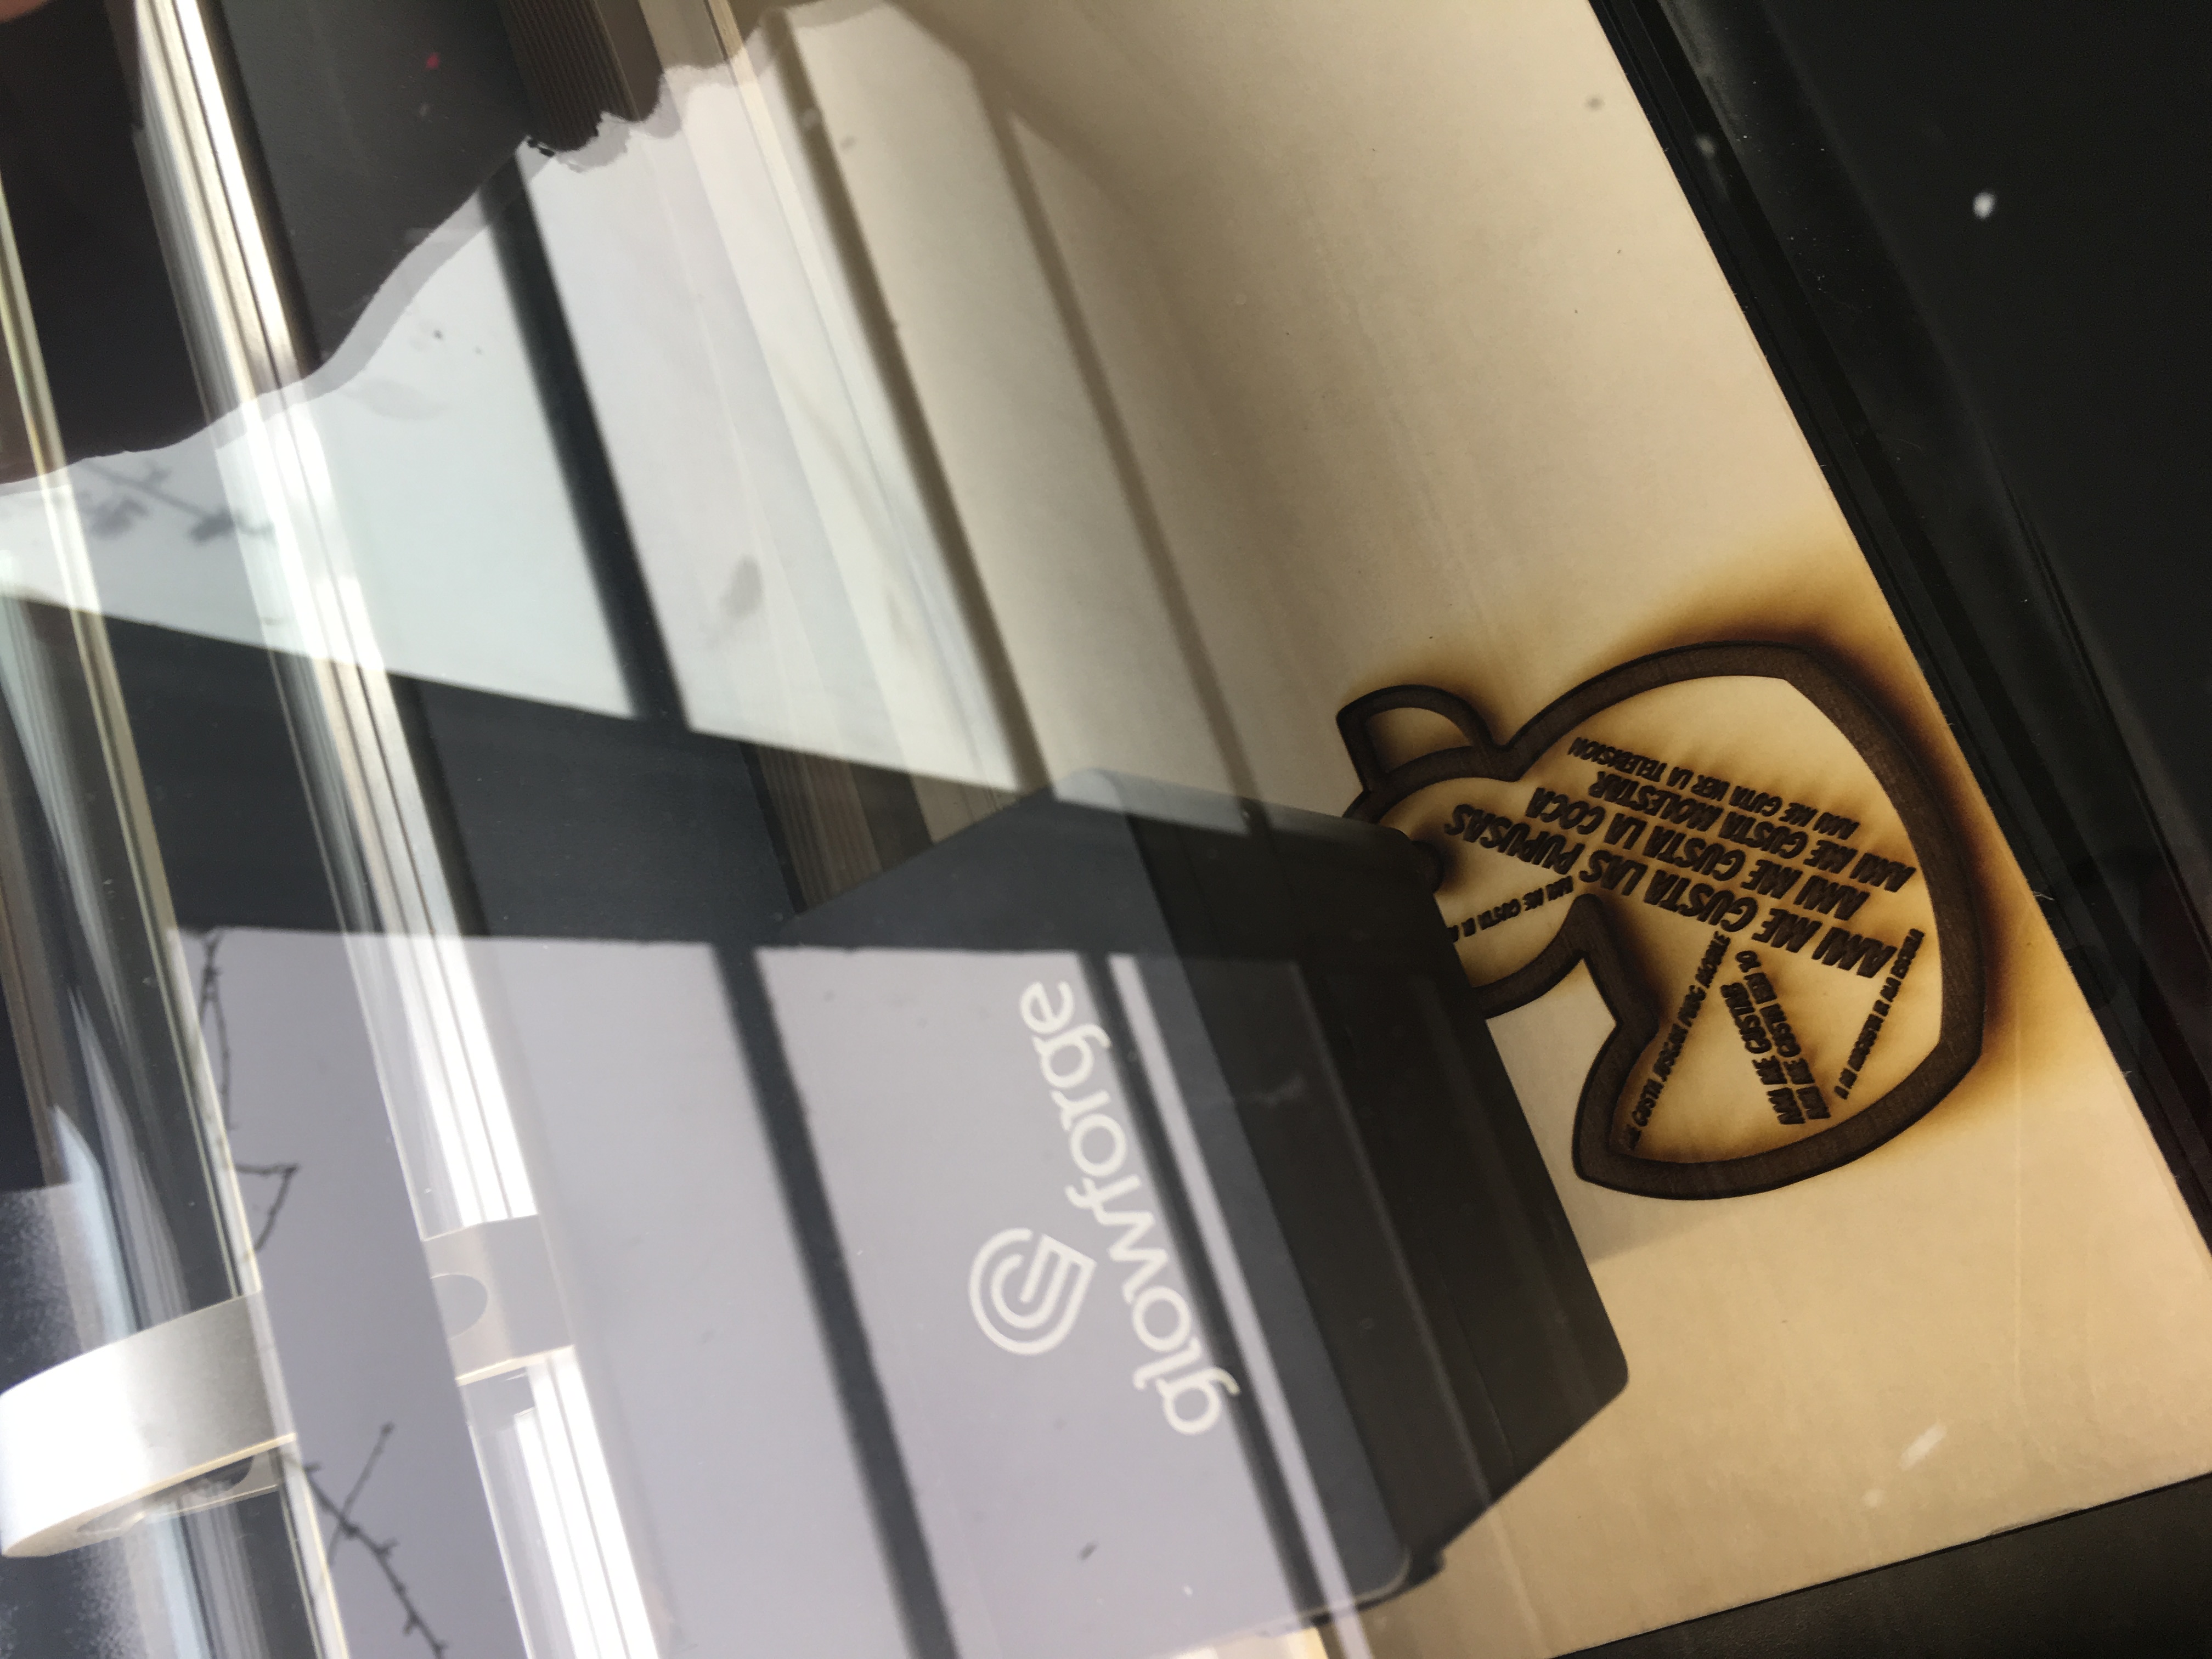
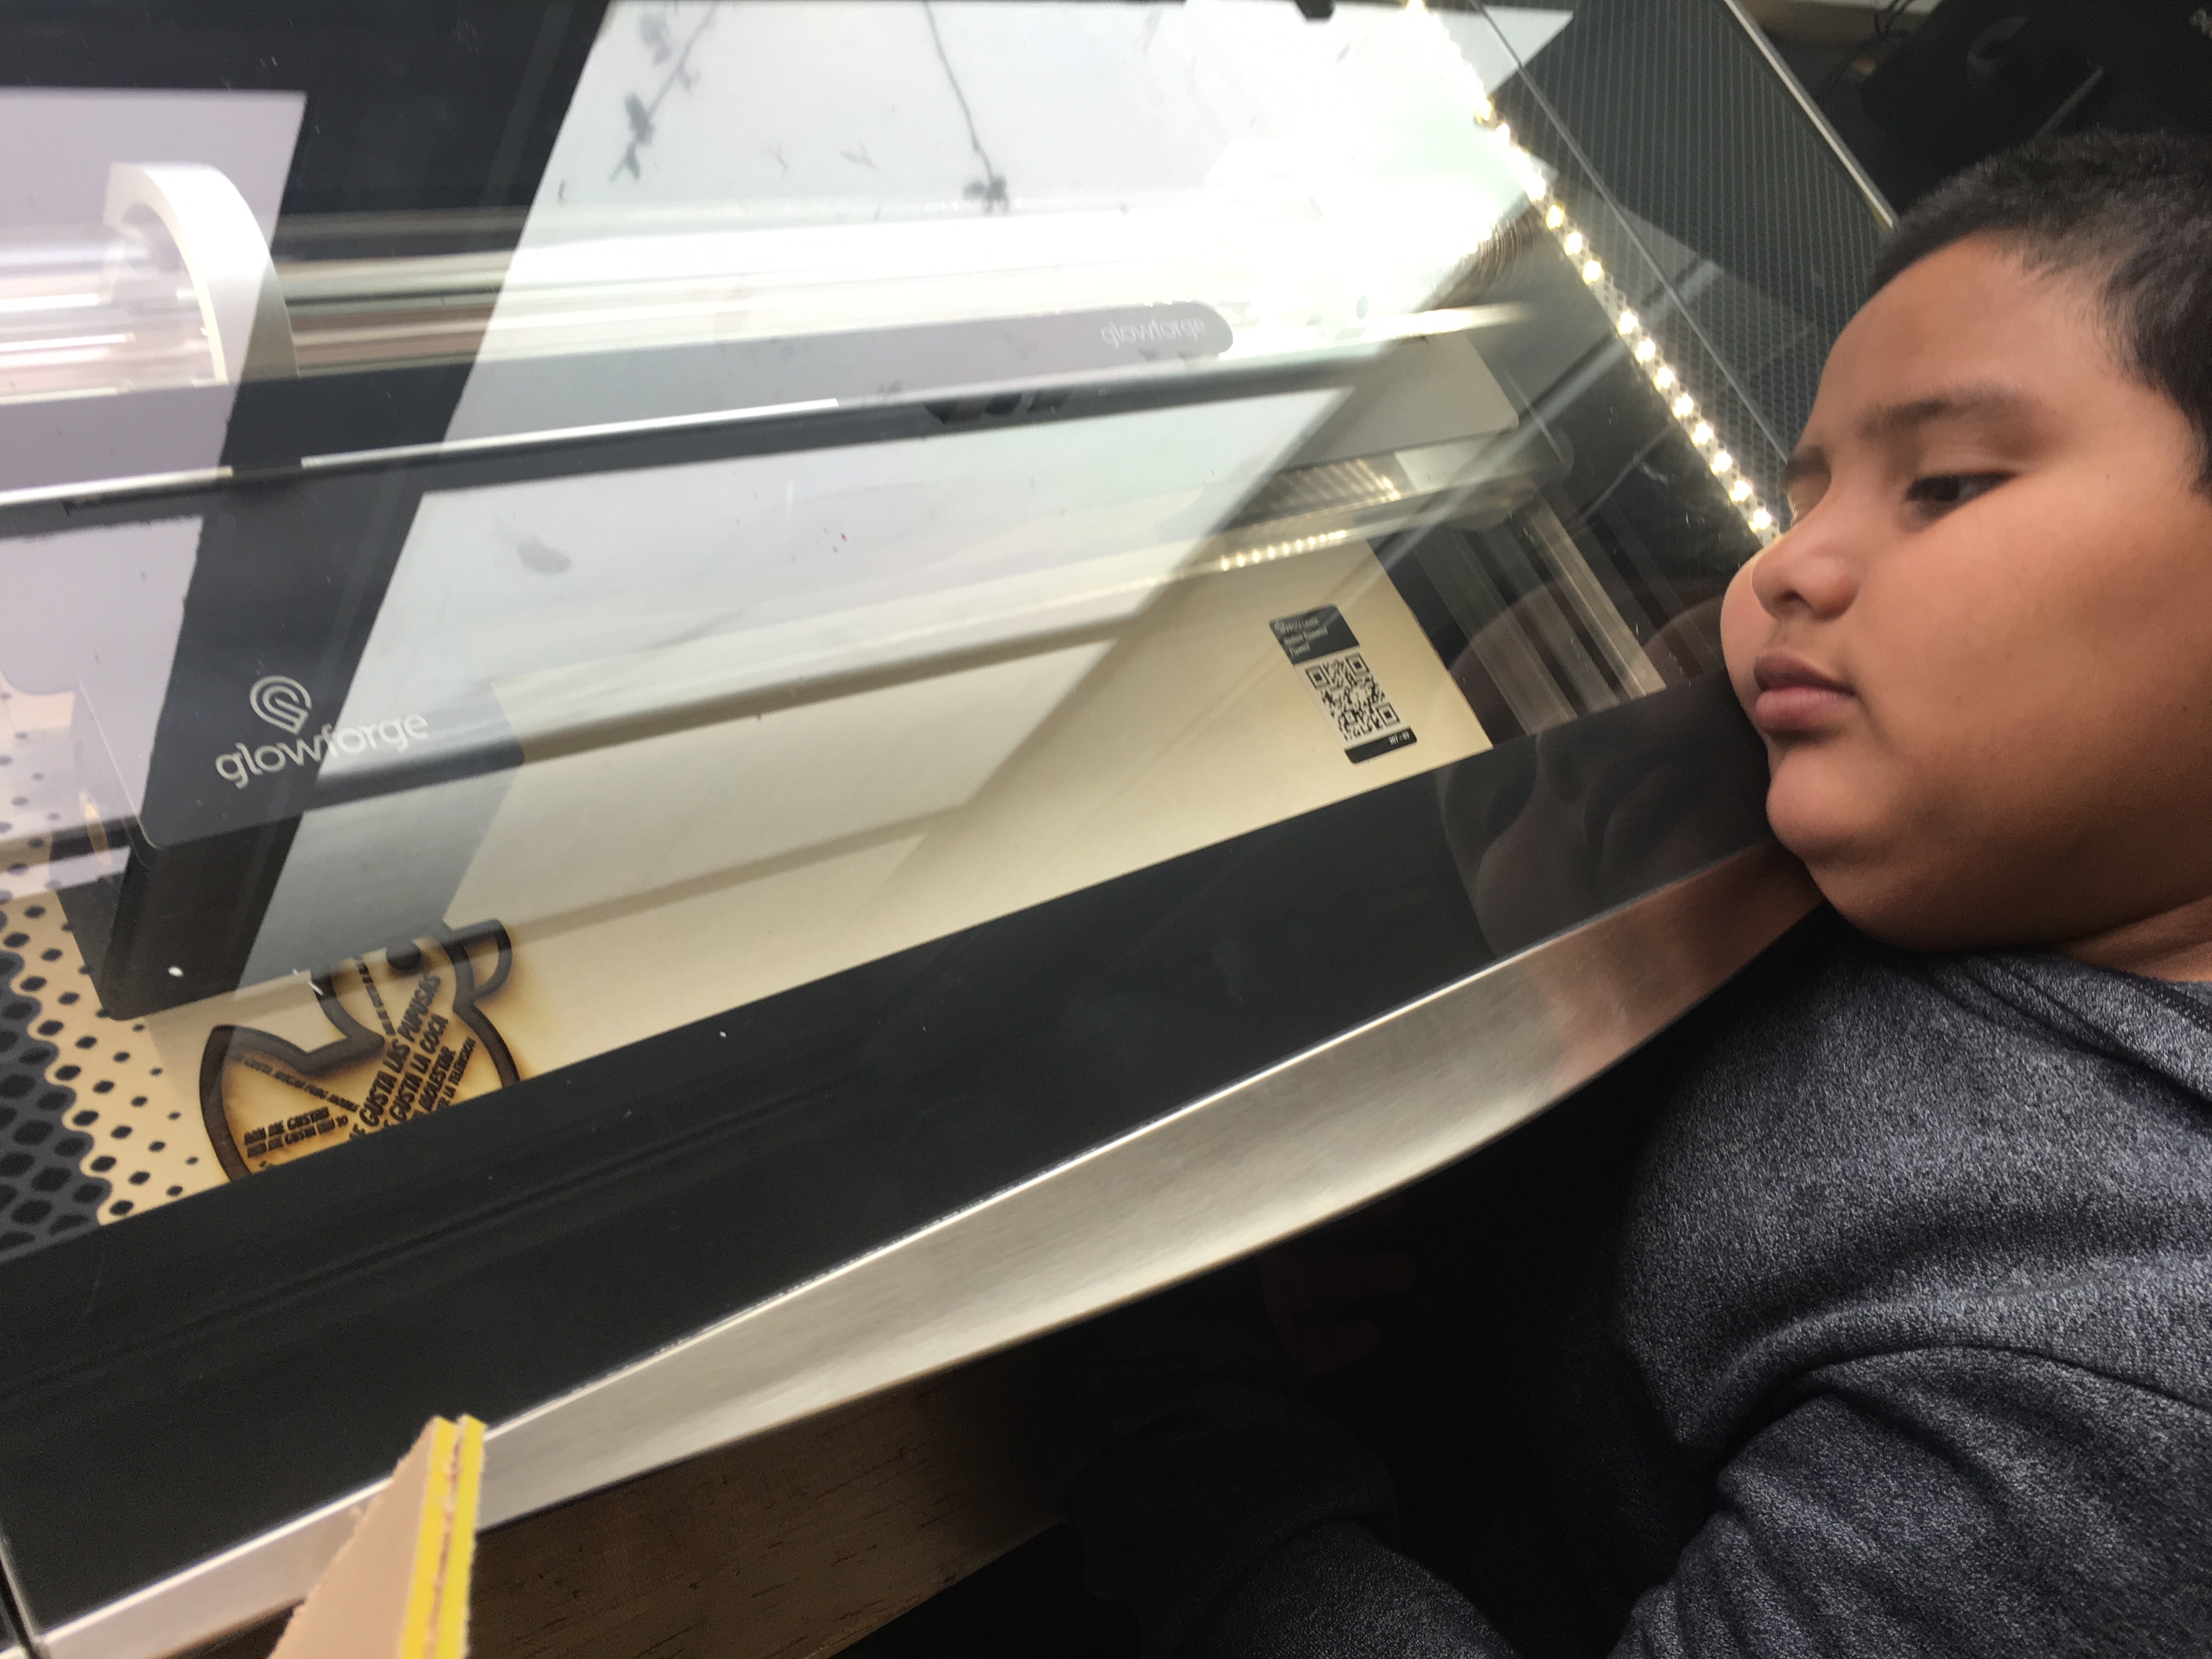
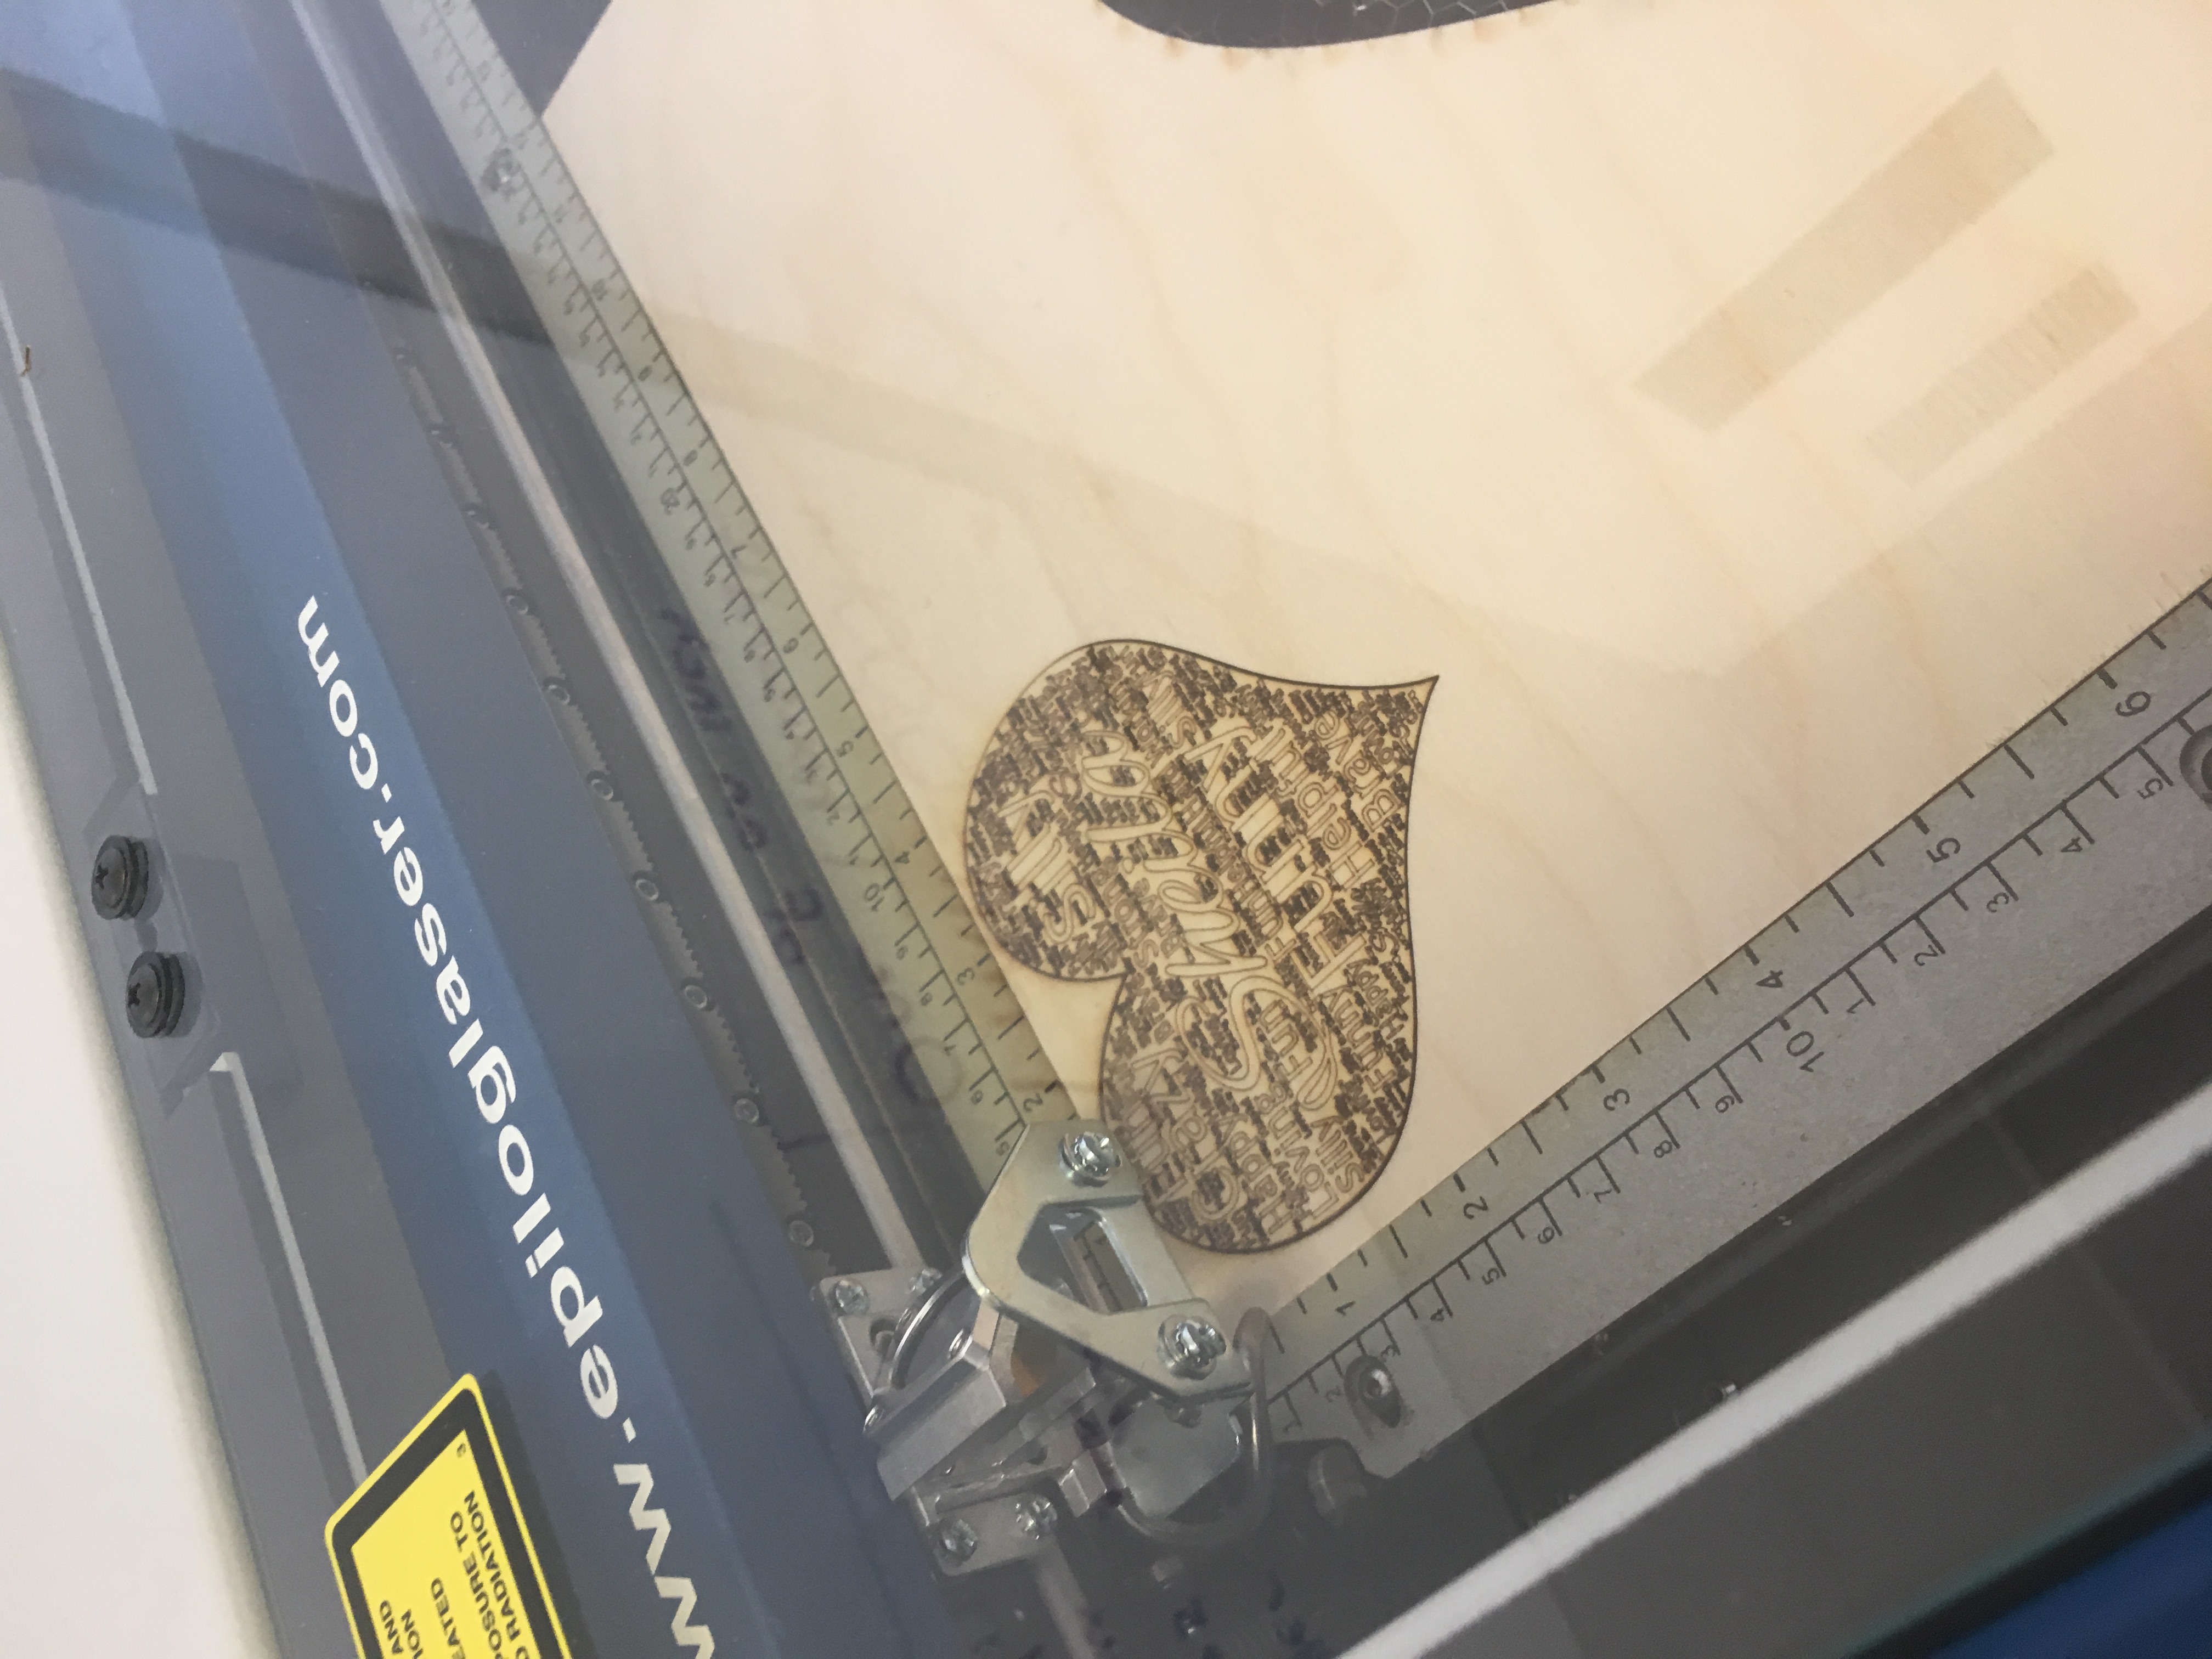
Epilog Laser Cutter (see notes)
GENERAL FLOW 1st 5 minutes - Students enter class, grab their assigned laptop by seat, remind of usual classroom procedures. Next 5 minutes - Log into the computer, open Chrome, login into Ravenswoodschools.net, open GClassroom, look under Topic > TODAY, and answer #?oftheWeek. Depending on mood of students, could also put on whiteboard or screen, and talk about it with the whole class. Middle 20 Minutes: Individual work time - students shouldn’t wander to other tables to socialize, but may get up to help fellow students Encourage students to log into the Classroom and read or watch tutorials on their own. They can borrow headphones from the big black bin but not to just watch YouTube music videos or video game tutorials. If they students don’t want to work on today’s project, mention then can also go back and finish earlier assignments. 10 minutes left - remind them they only have 5 more build and or document in GClassroom, and the last 5 minutes will be for cleaning up, and they should save their work and submit anything even in draft form in the GClassroom. Last 5 minutes - tools go back in plastic bins, unfinished prototypes get labeled by students names and table and put up front on shelve in bin, scraps go in trash, unused materials or extra tools returned to black back table. Assignment (including step by step video tutorial) and self paced help materials on Design Made Easy With Inkscape Vector Tutorials | Ponoko Fo getting started in Inkscape software added as option in Google Classroom to explore on own if finished last unit early Prompt/instructions in Assignment: The Epilog Laser Cutter in Room 14 is new and ready to start cutting and engraving your first wood sign!
Project steps:
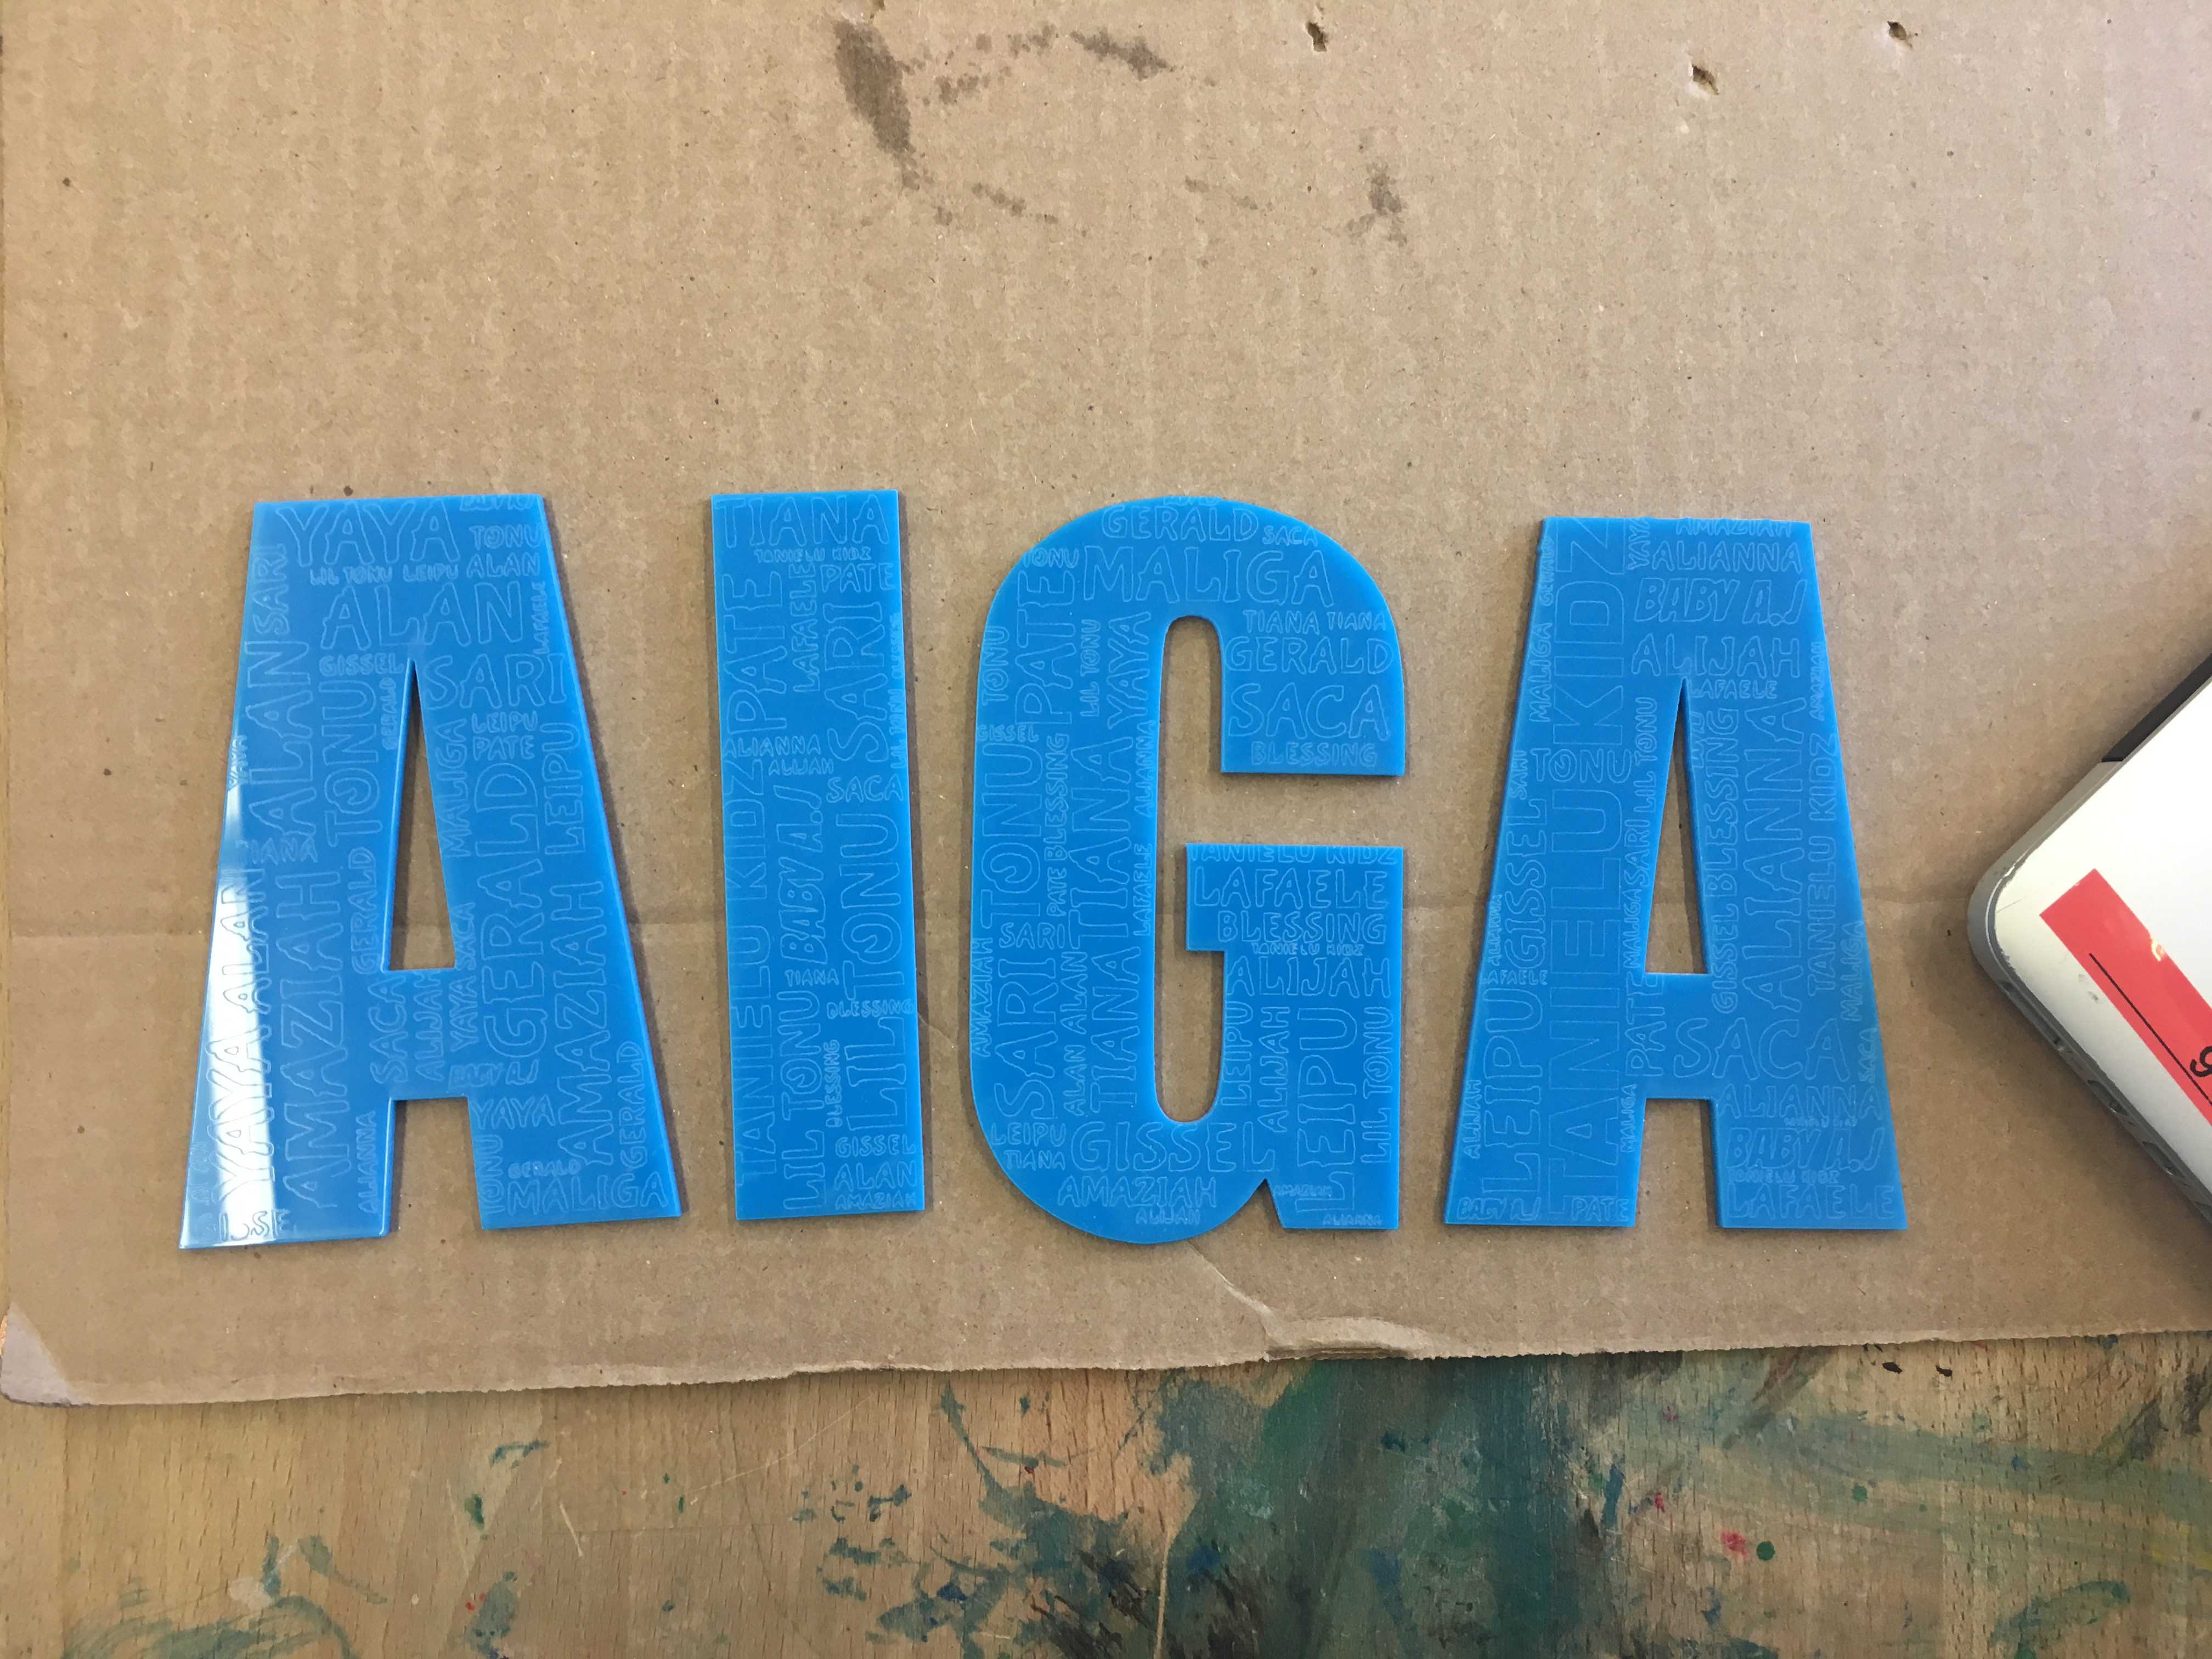
1. Start by logging into a WordArt.com with your R.net Google account and creating a design.
2. Then save as a .jpg file and open in Inkscape software.
3. Then trace in Inkscape in order to vectorize the design with the right settings to run on the Epilog laser cutter.
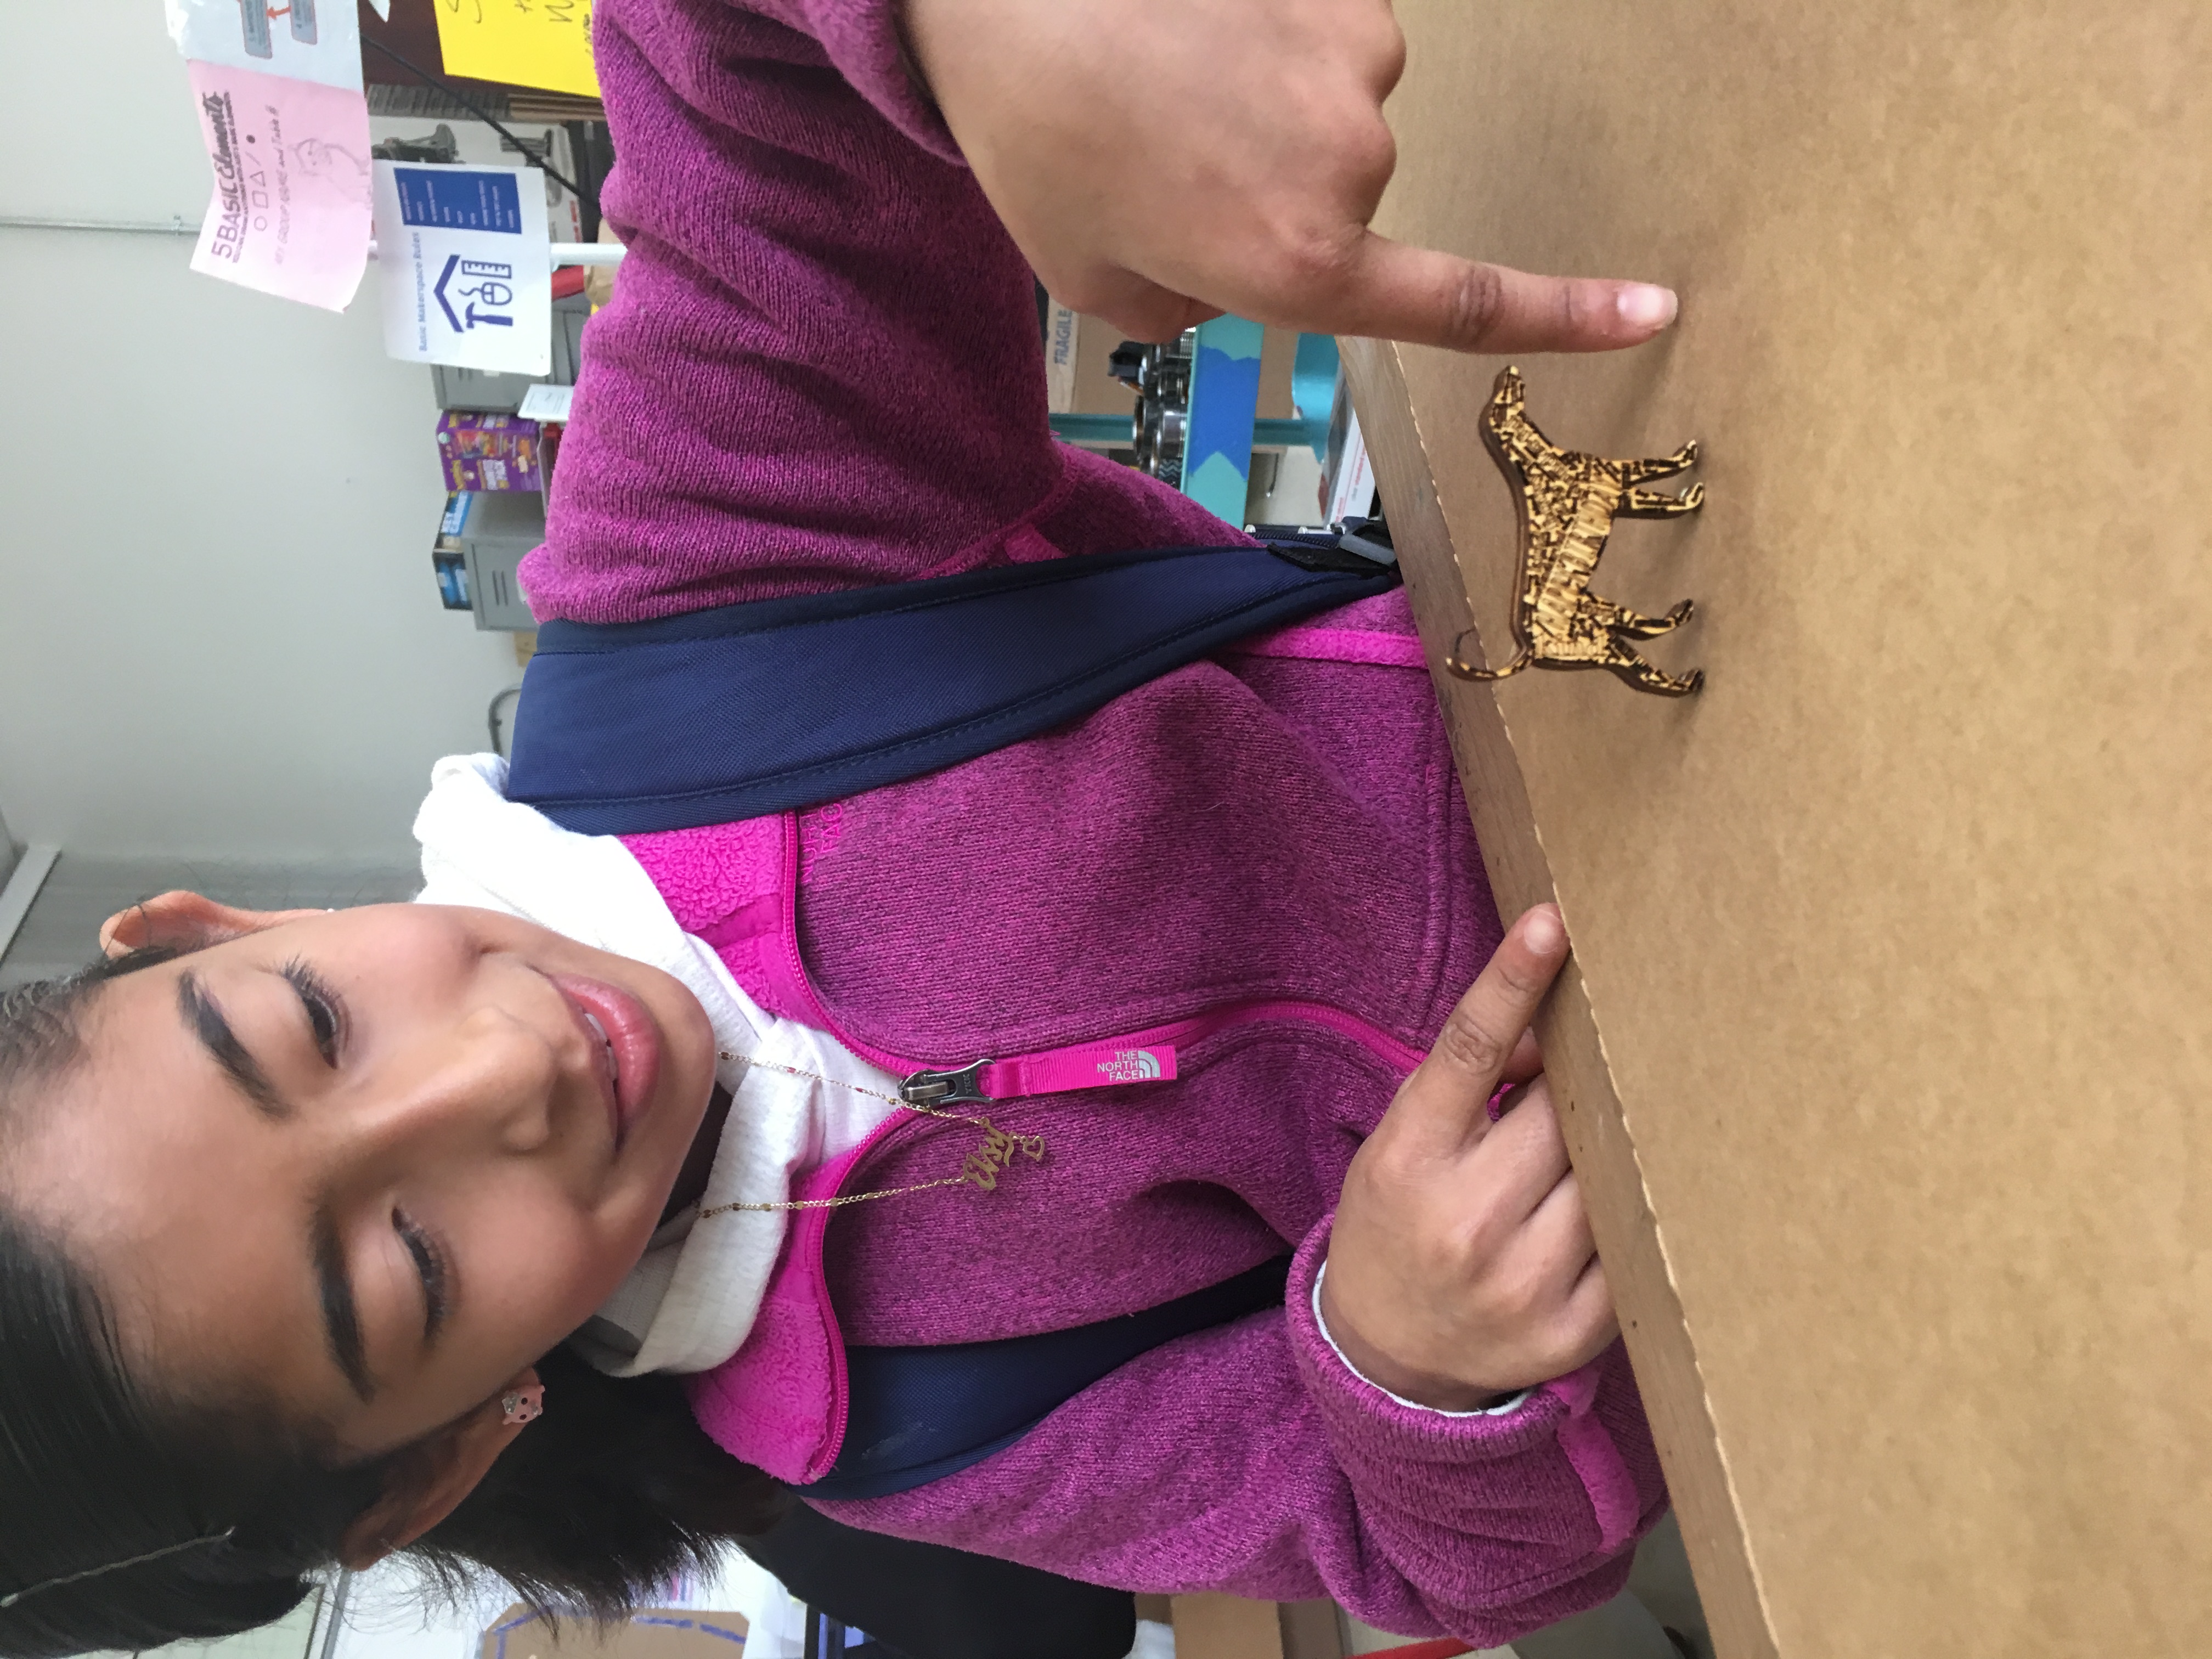
4. Save as a .PDF and then work with Miss D or Mr. Taylor to cut the design on wood.
Watch the video by Mr. Hicks to learn the steps, then attach the PDF of your design and reflect your project using your copy of the Google Doc below.
One instructor, Mr. Taylor starts working with early adopting students to start Word Art designs, while others finish up physical computing projects from last unit with Miss D.
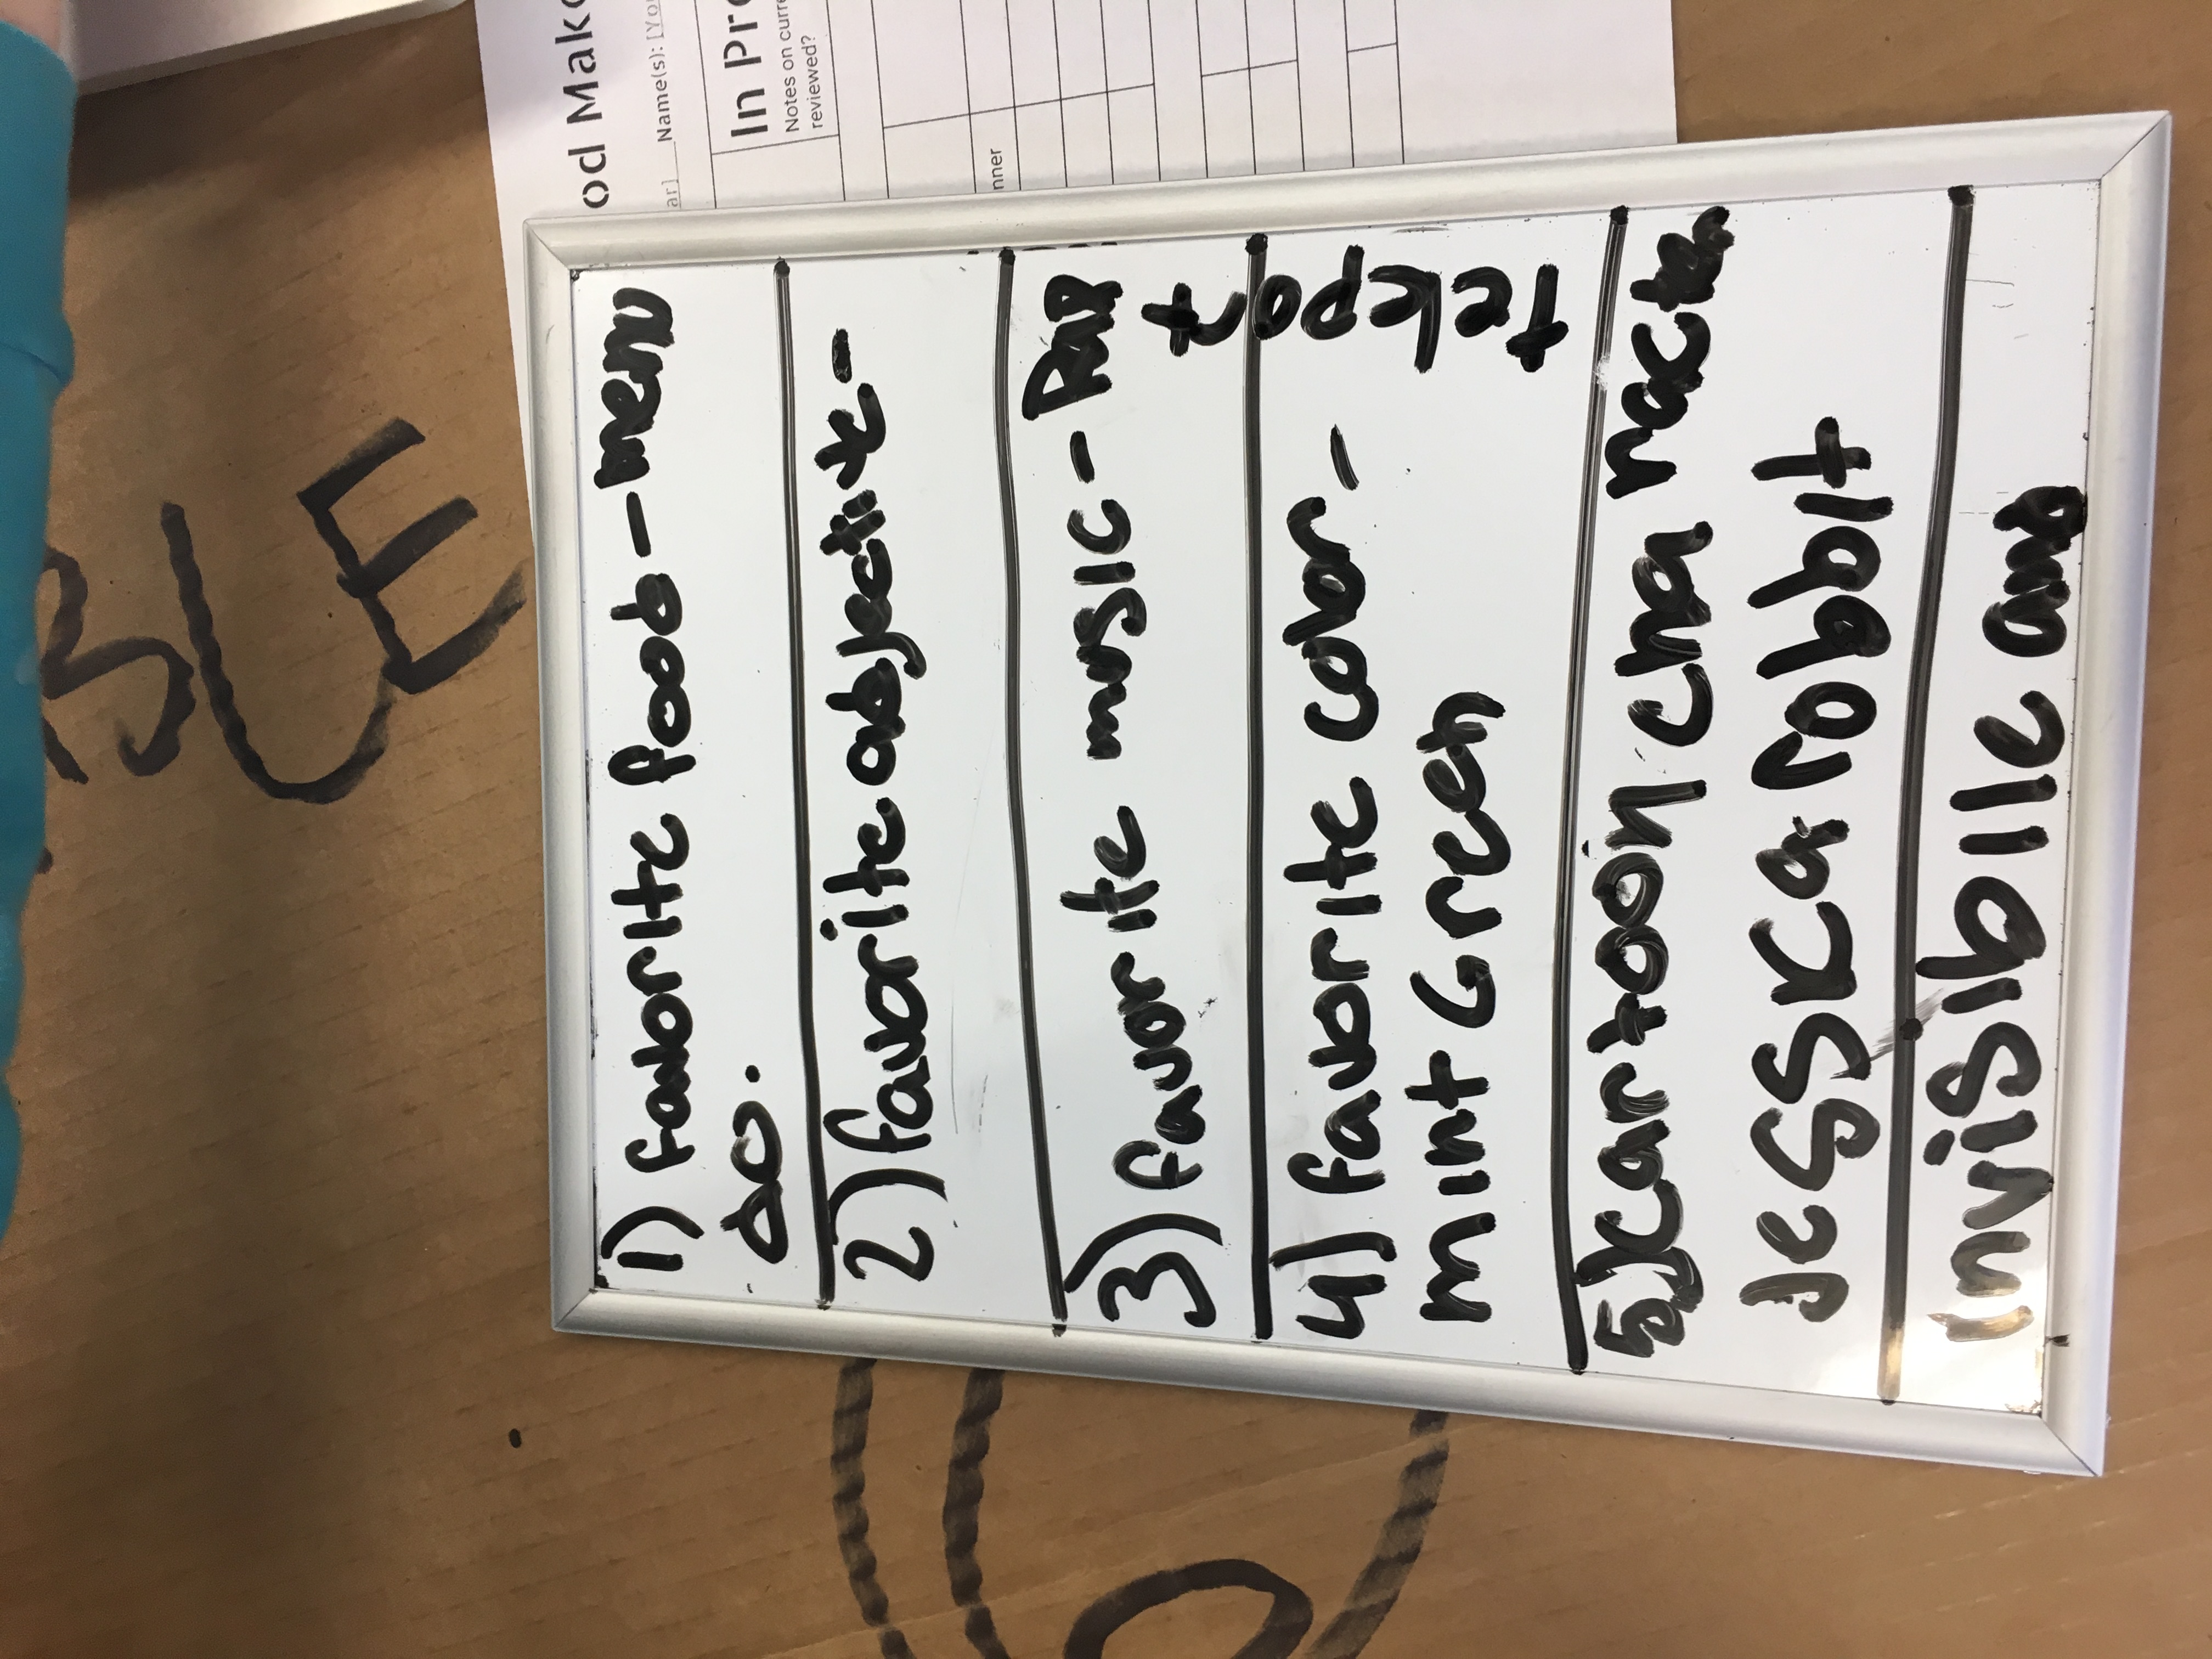
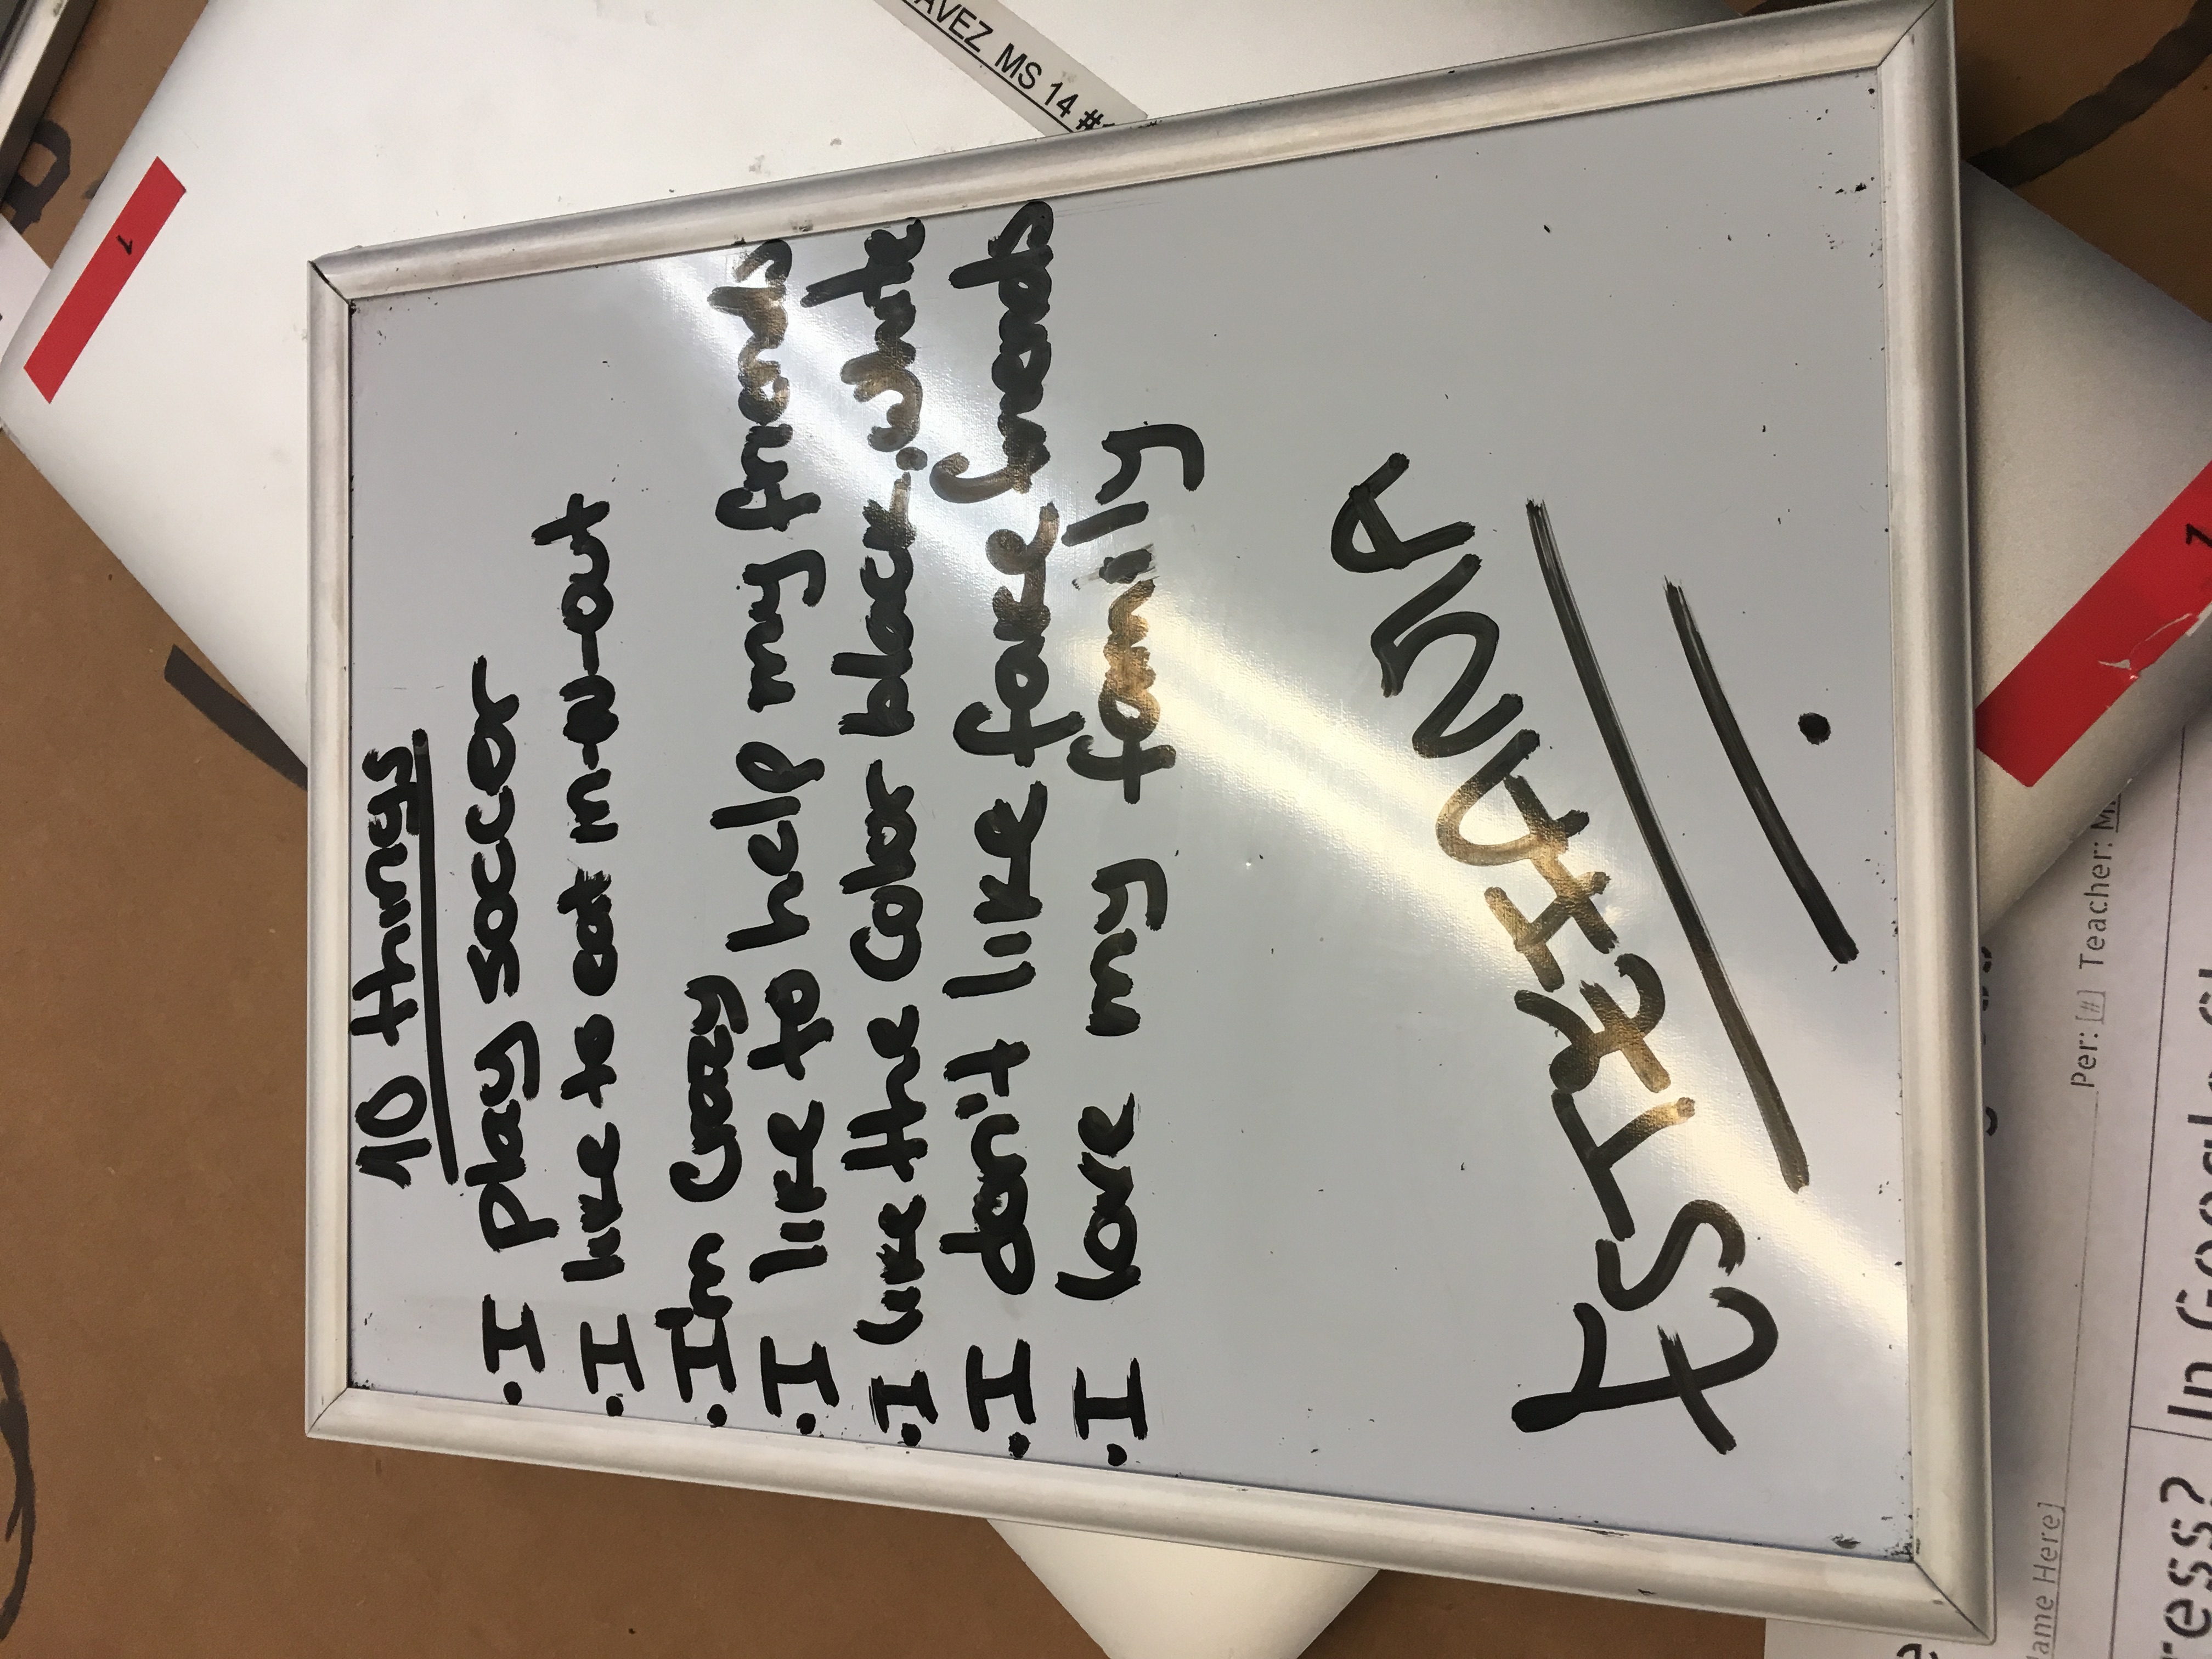
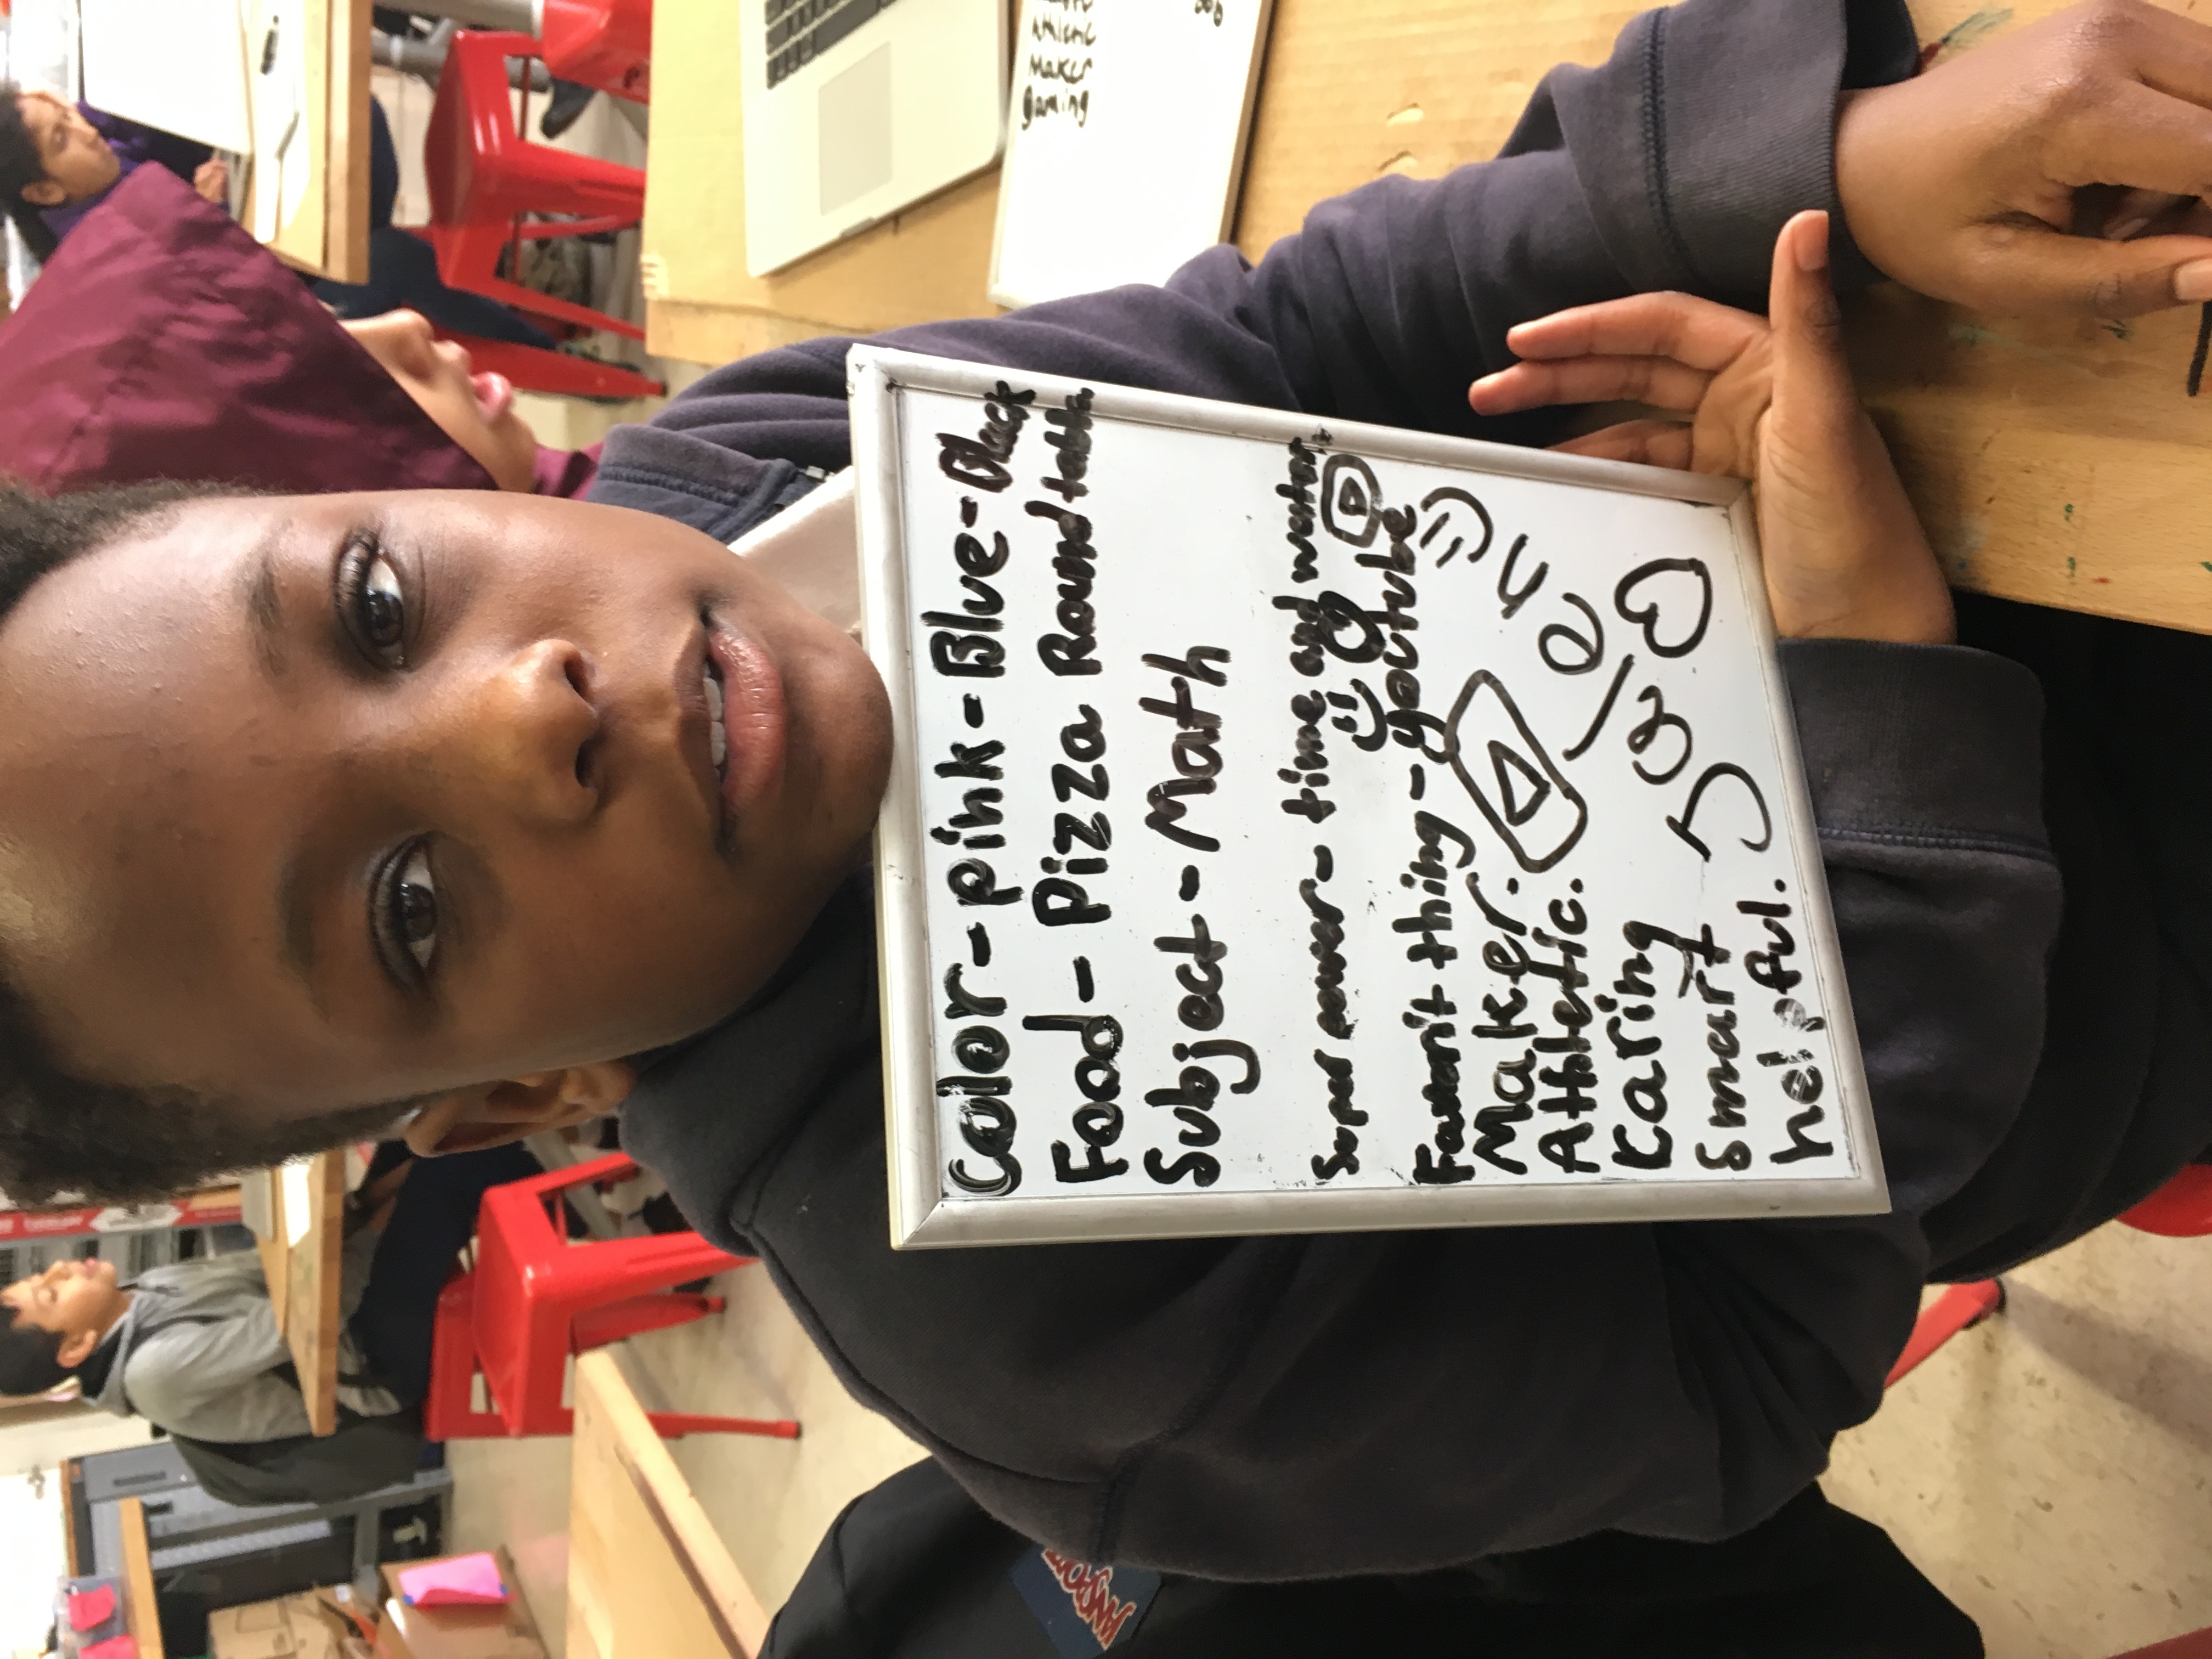
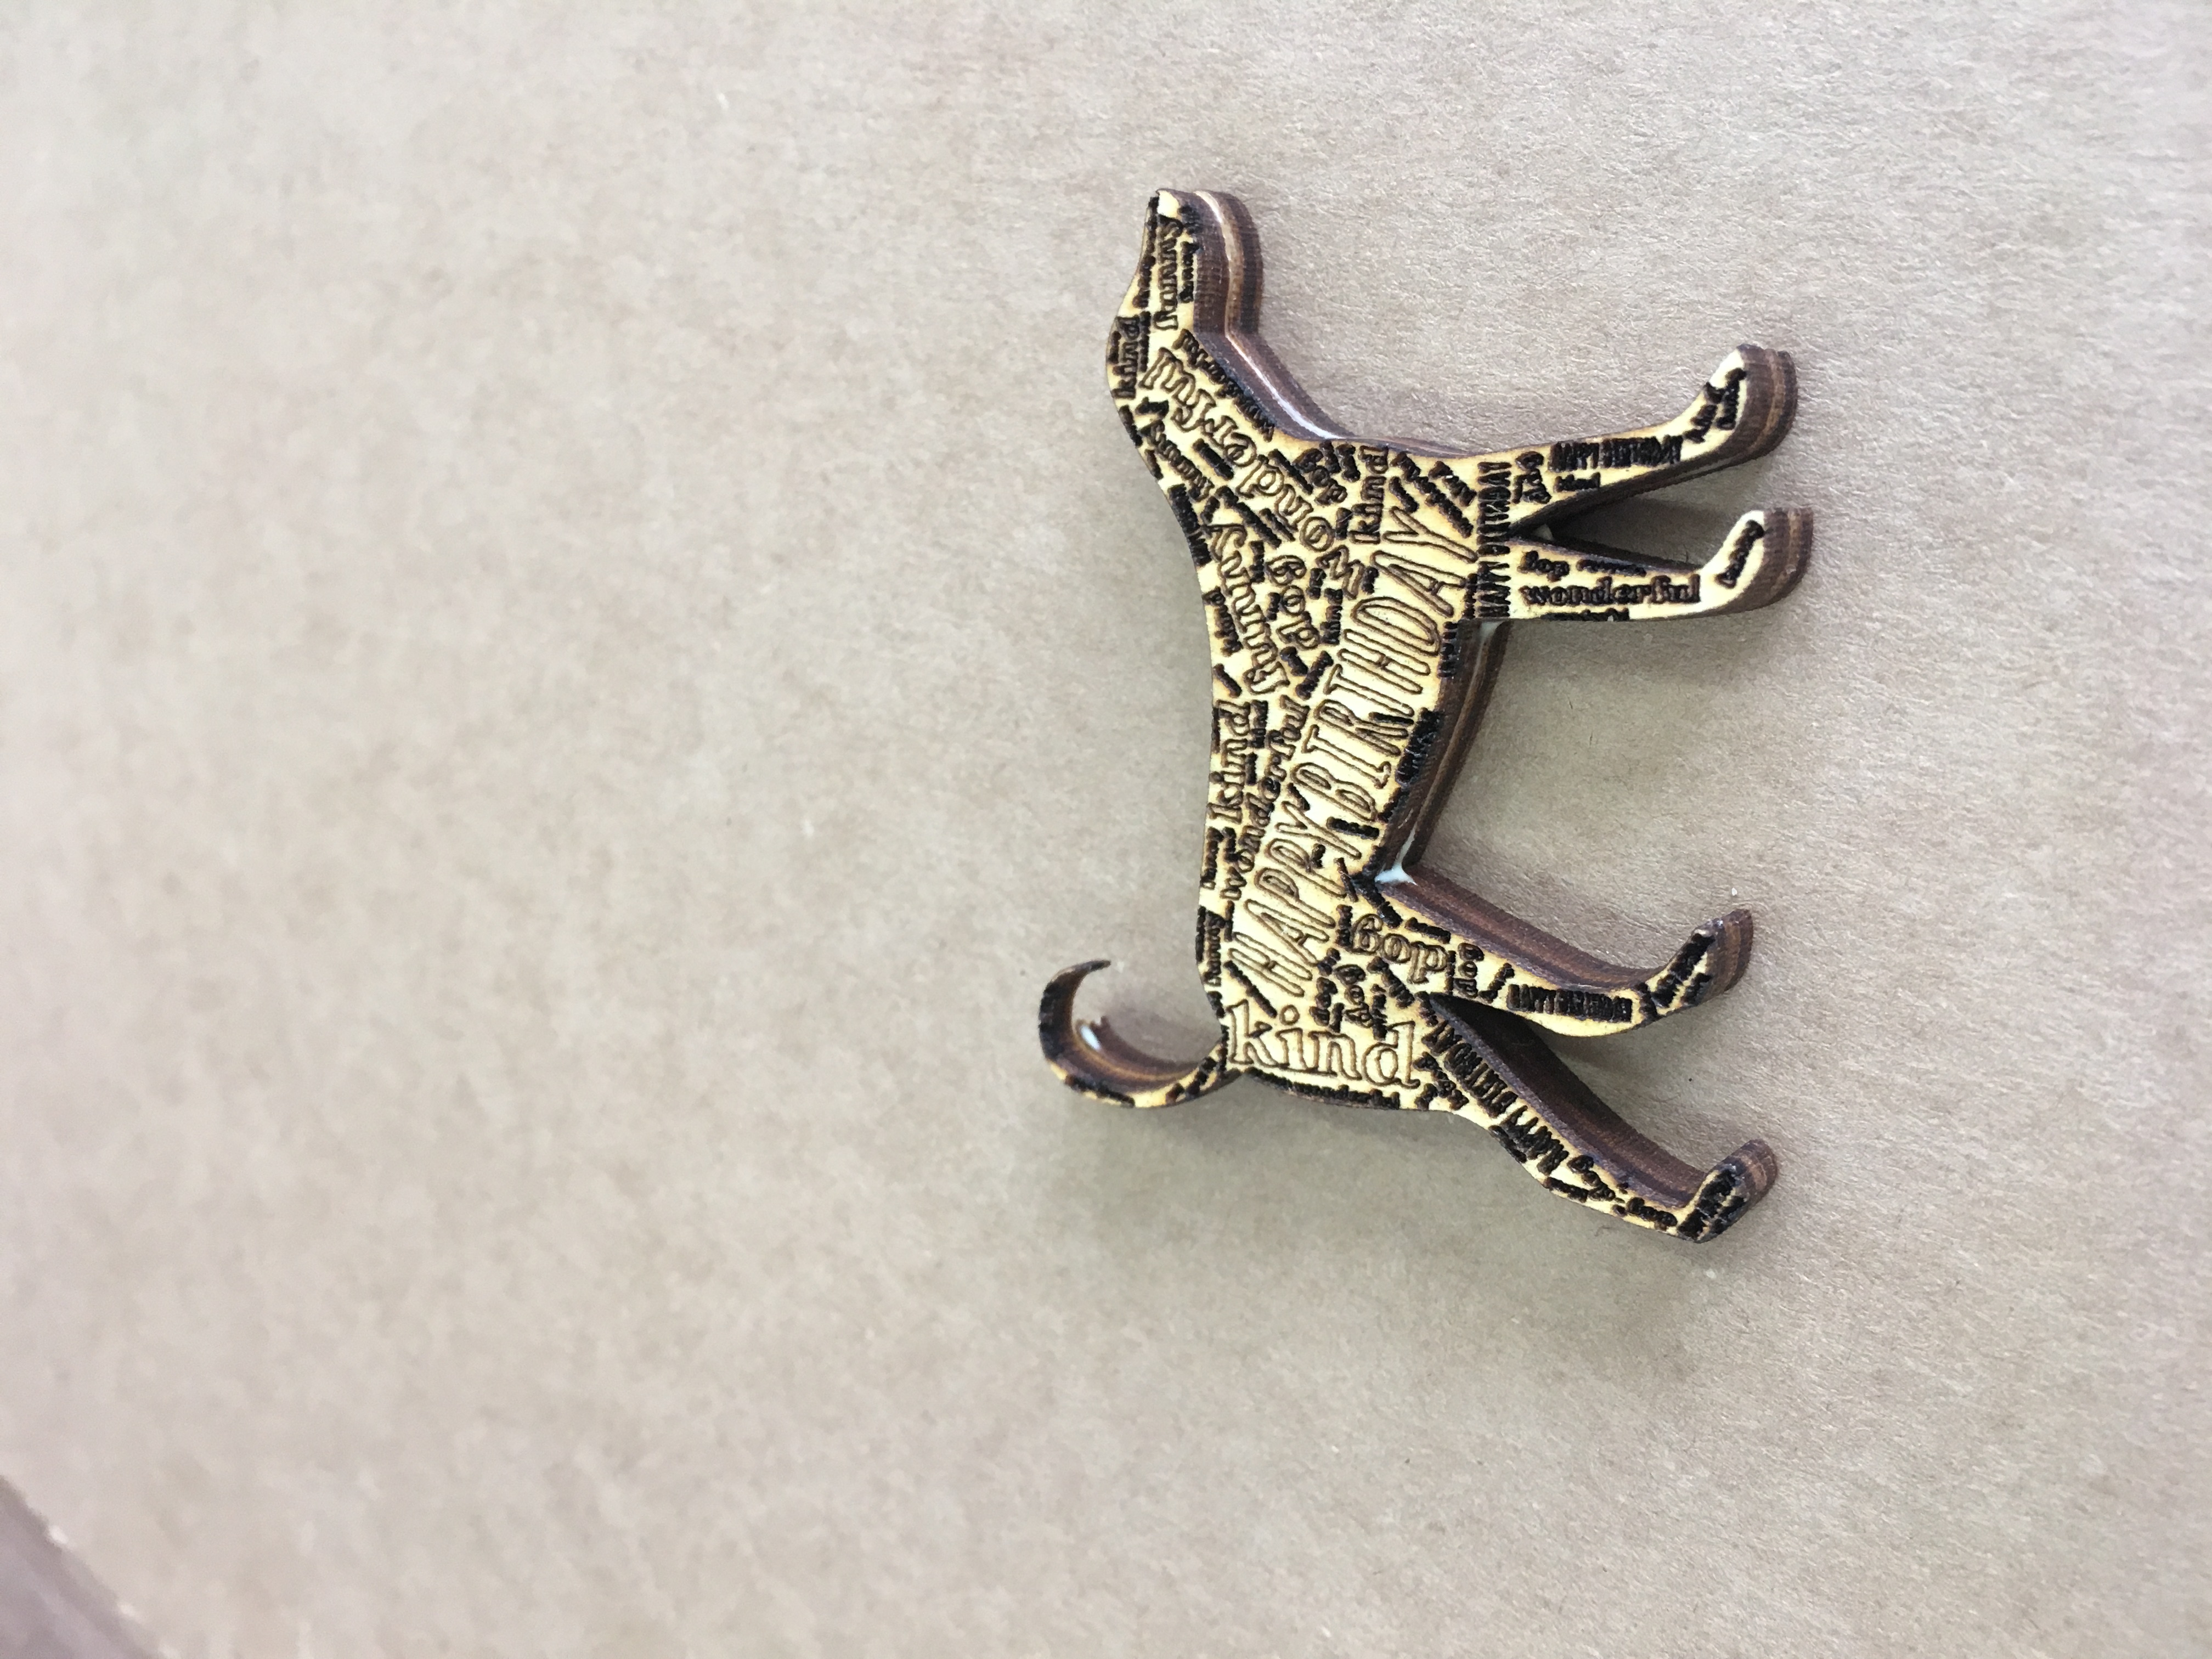
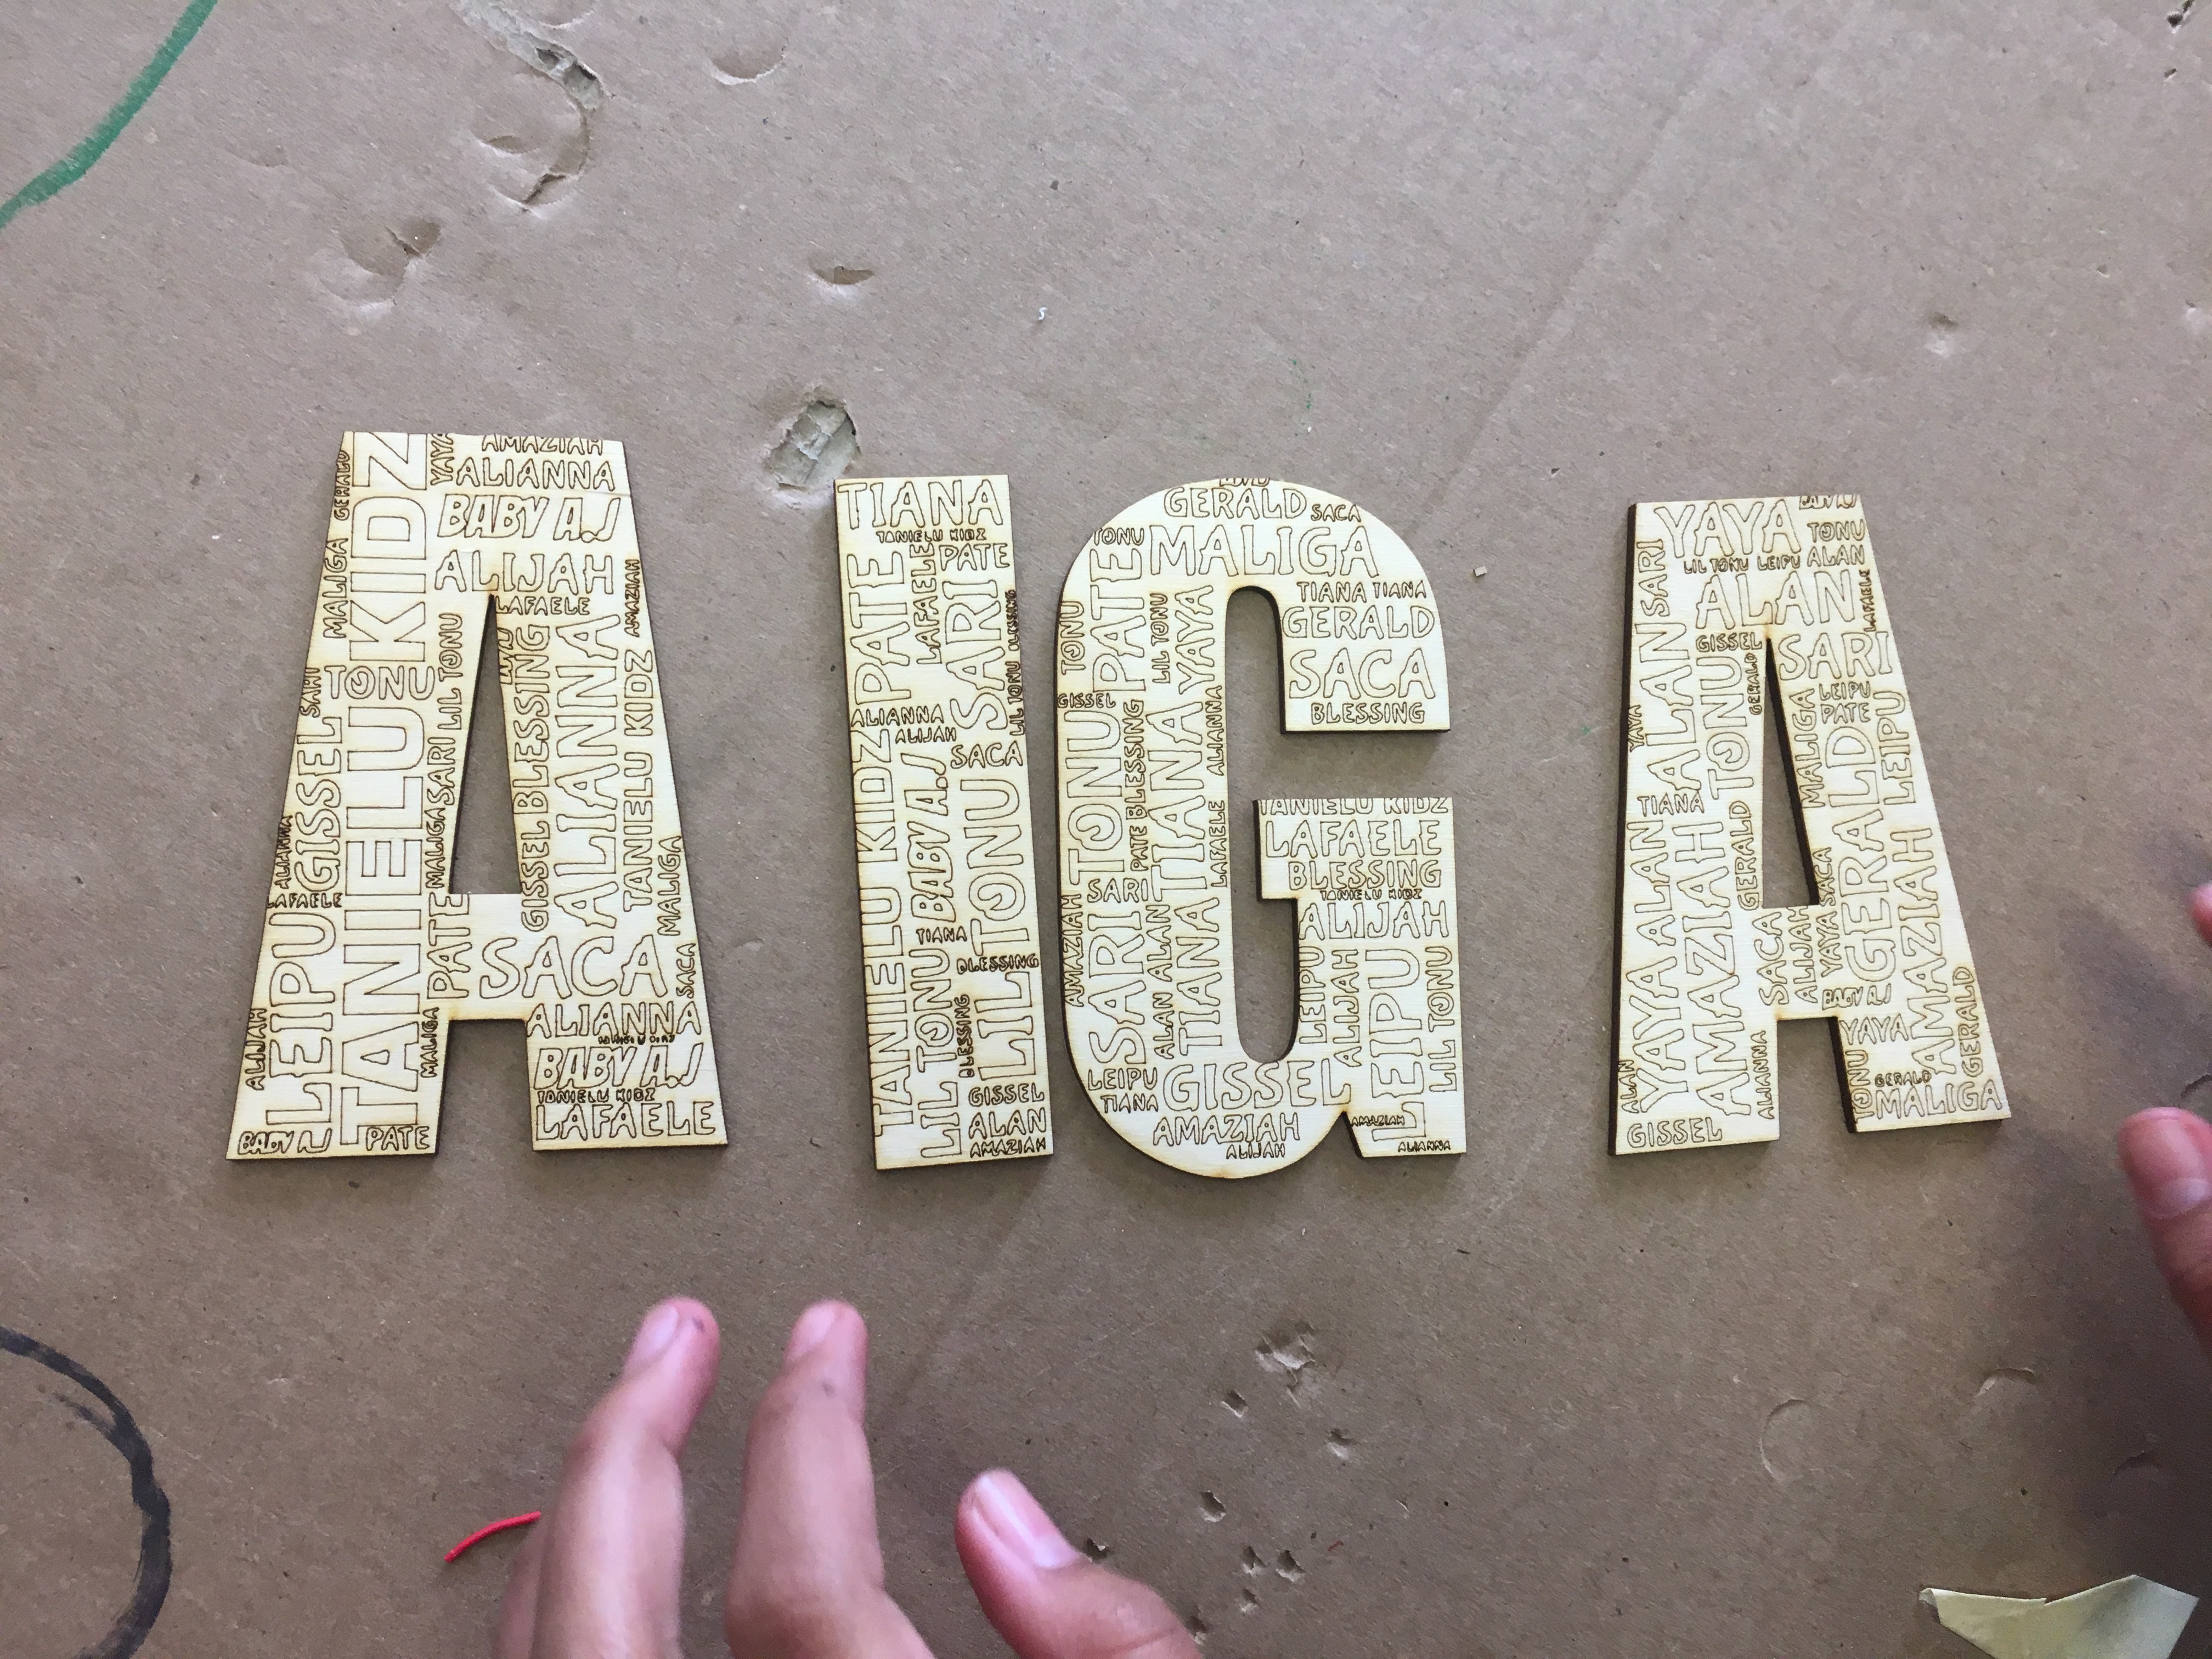
Demo 1on1 how to brainstorm ideas on theme or subject matter of their sign – can generate a custom list of words based on their interest, or can find song lyrics or inspirational poems or quotes.
If students get stuck on shapes, demo 1on1 how to find the right kind of shapes, maybe using the Noun Project.
Start a running list of HINTS on a white board or in the Google Classroom, such as:
Hints for Best Word Art Designs
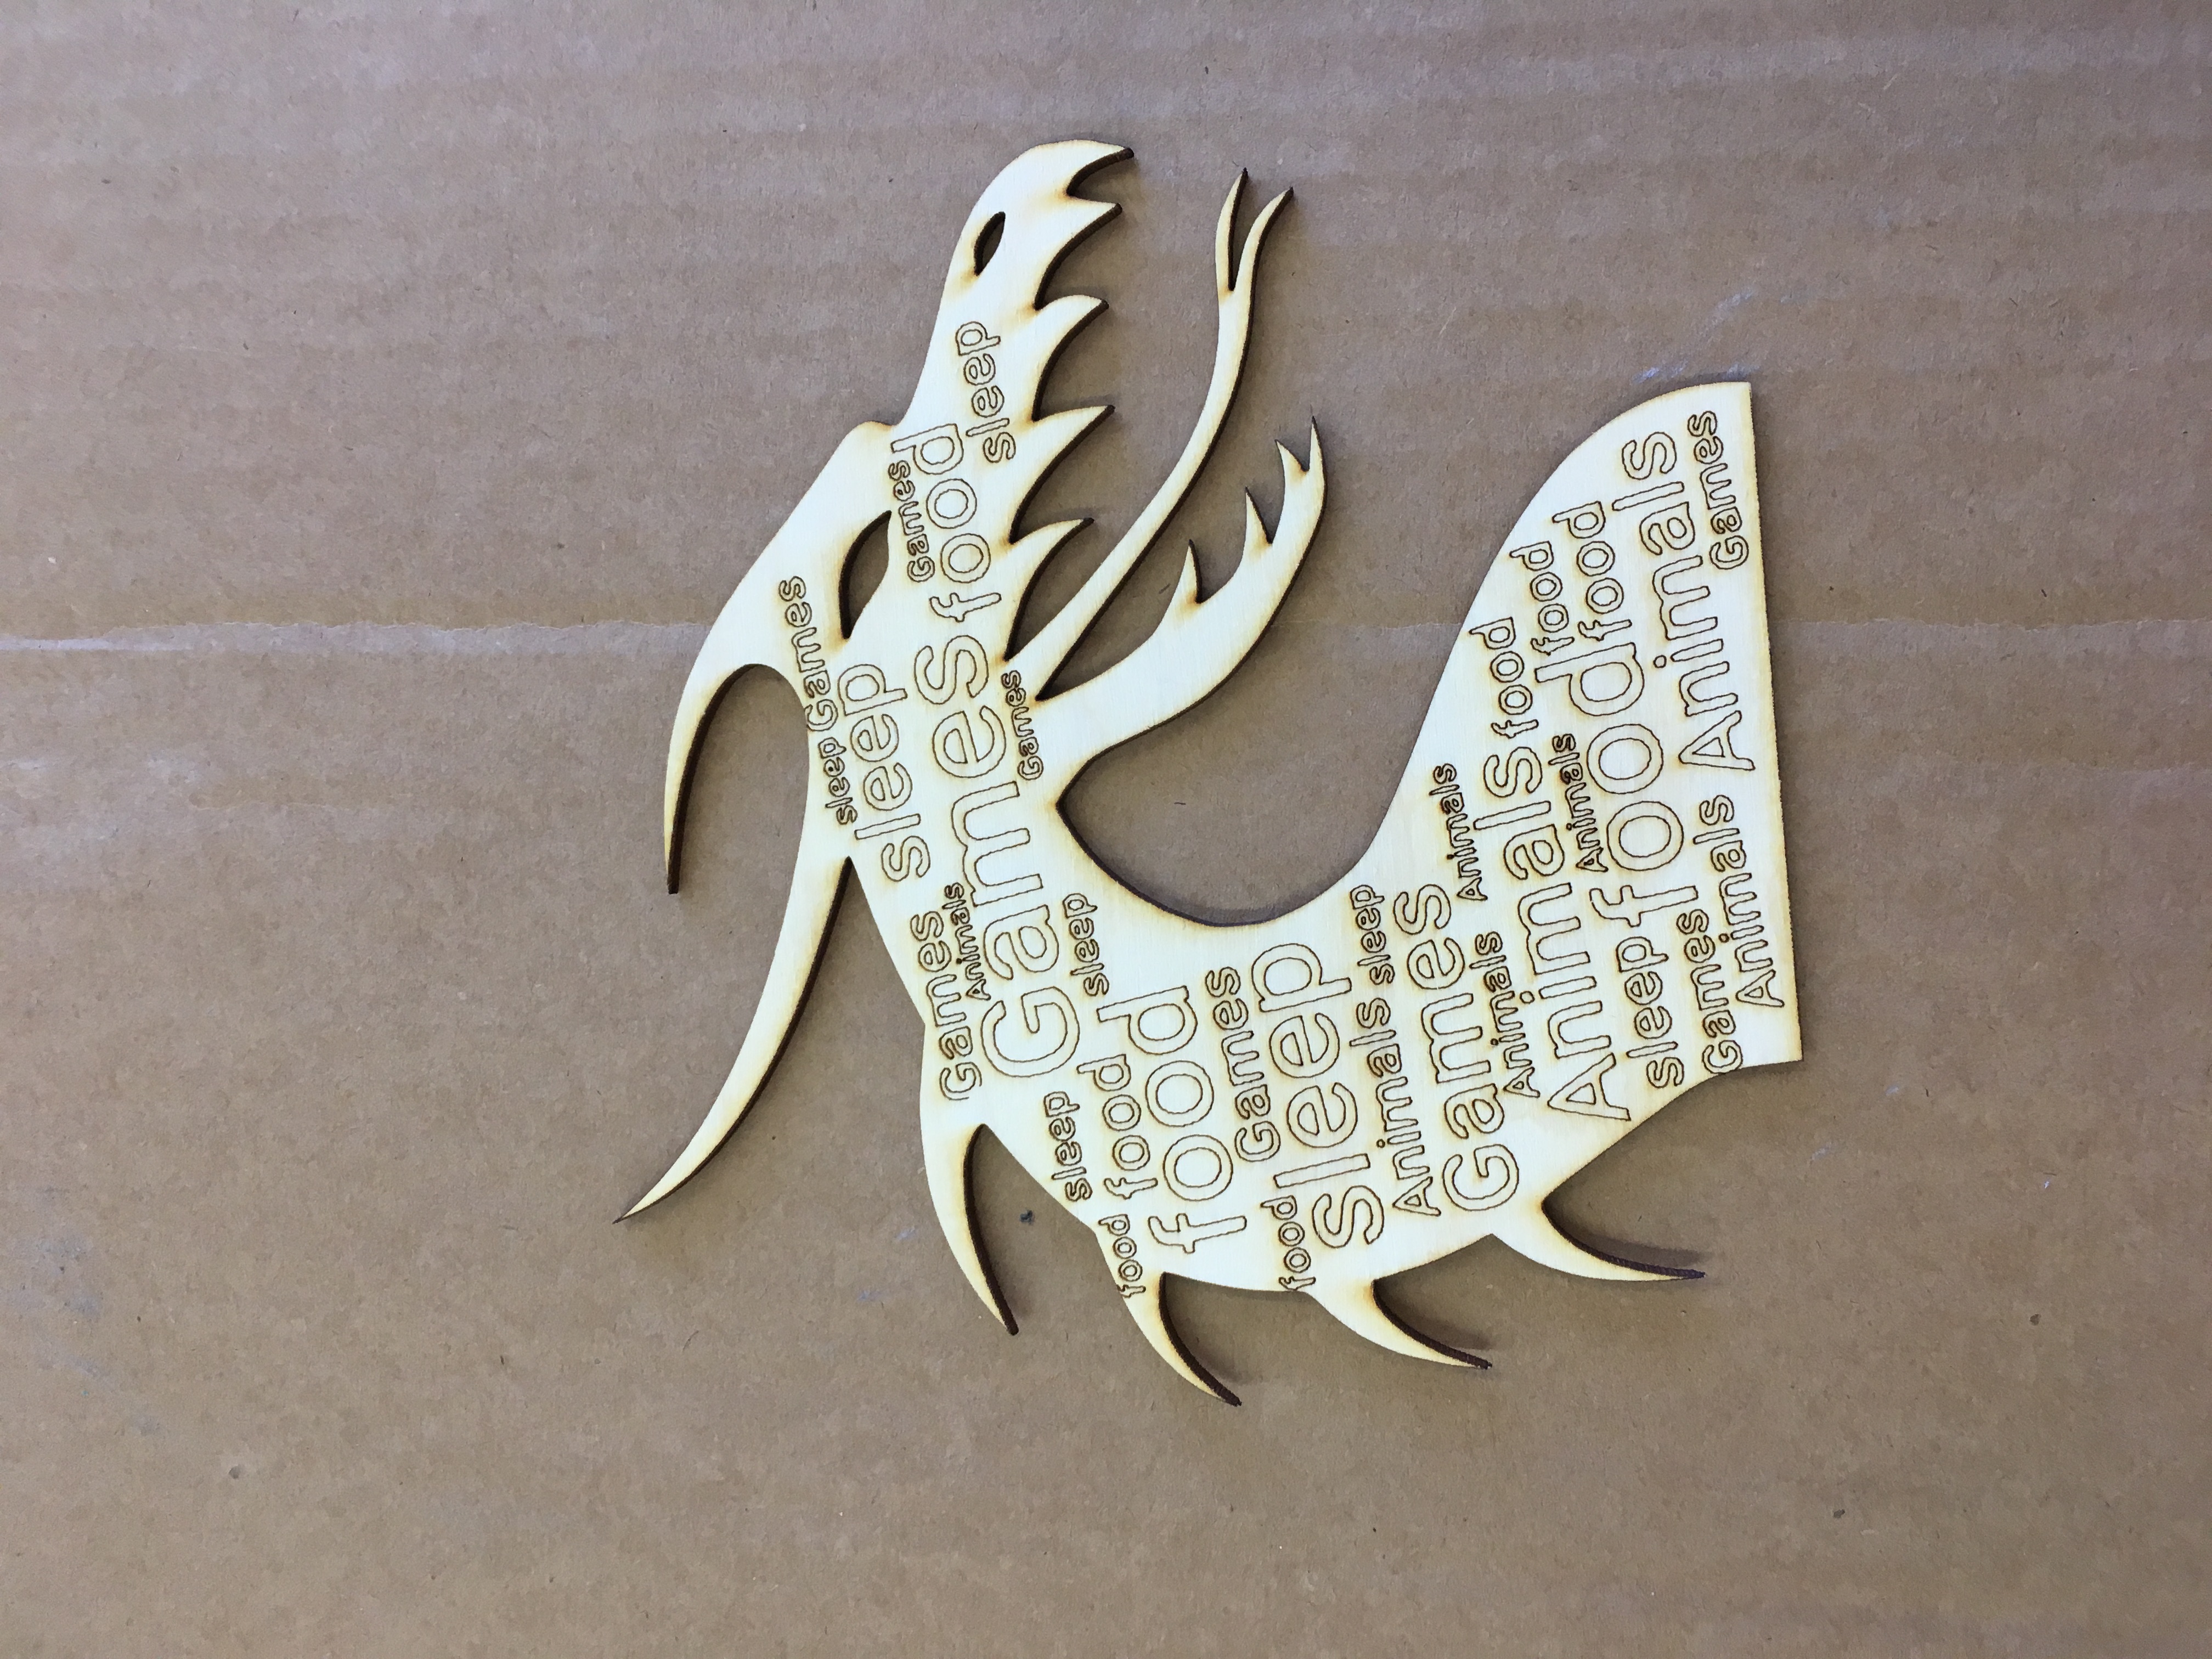
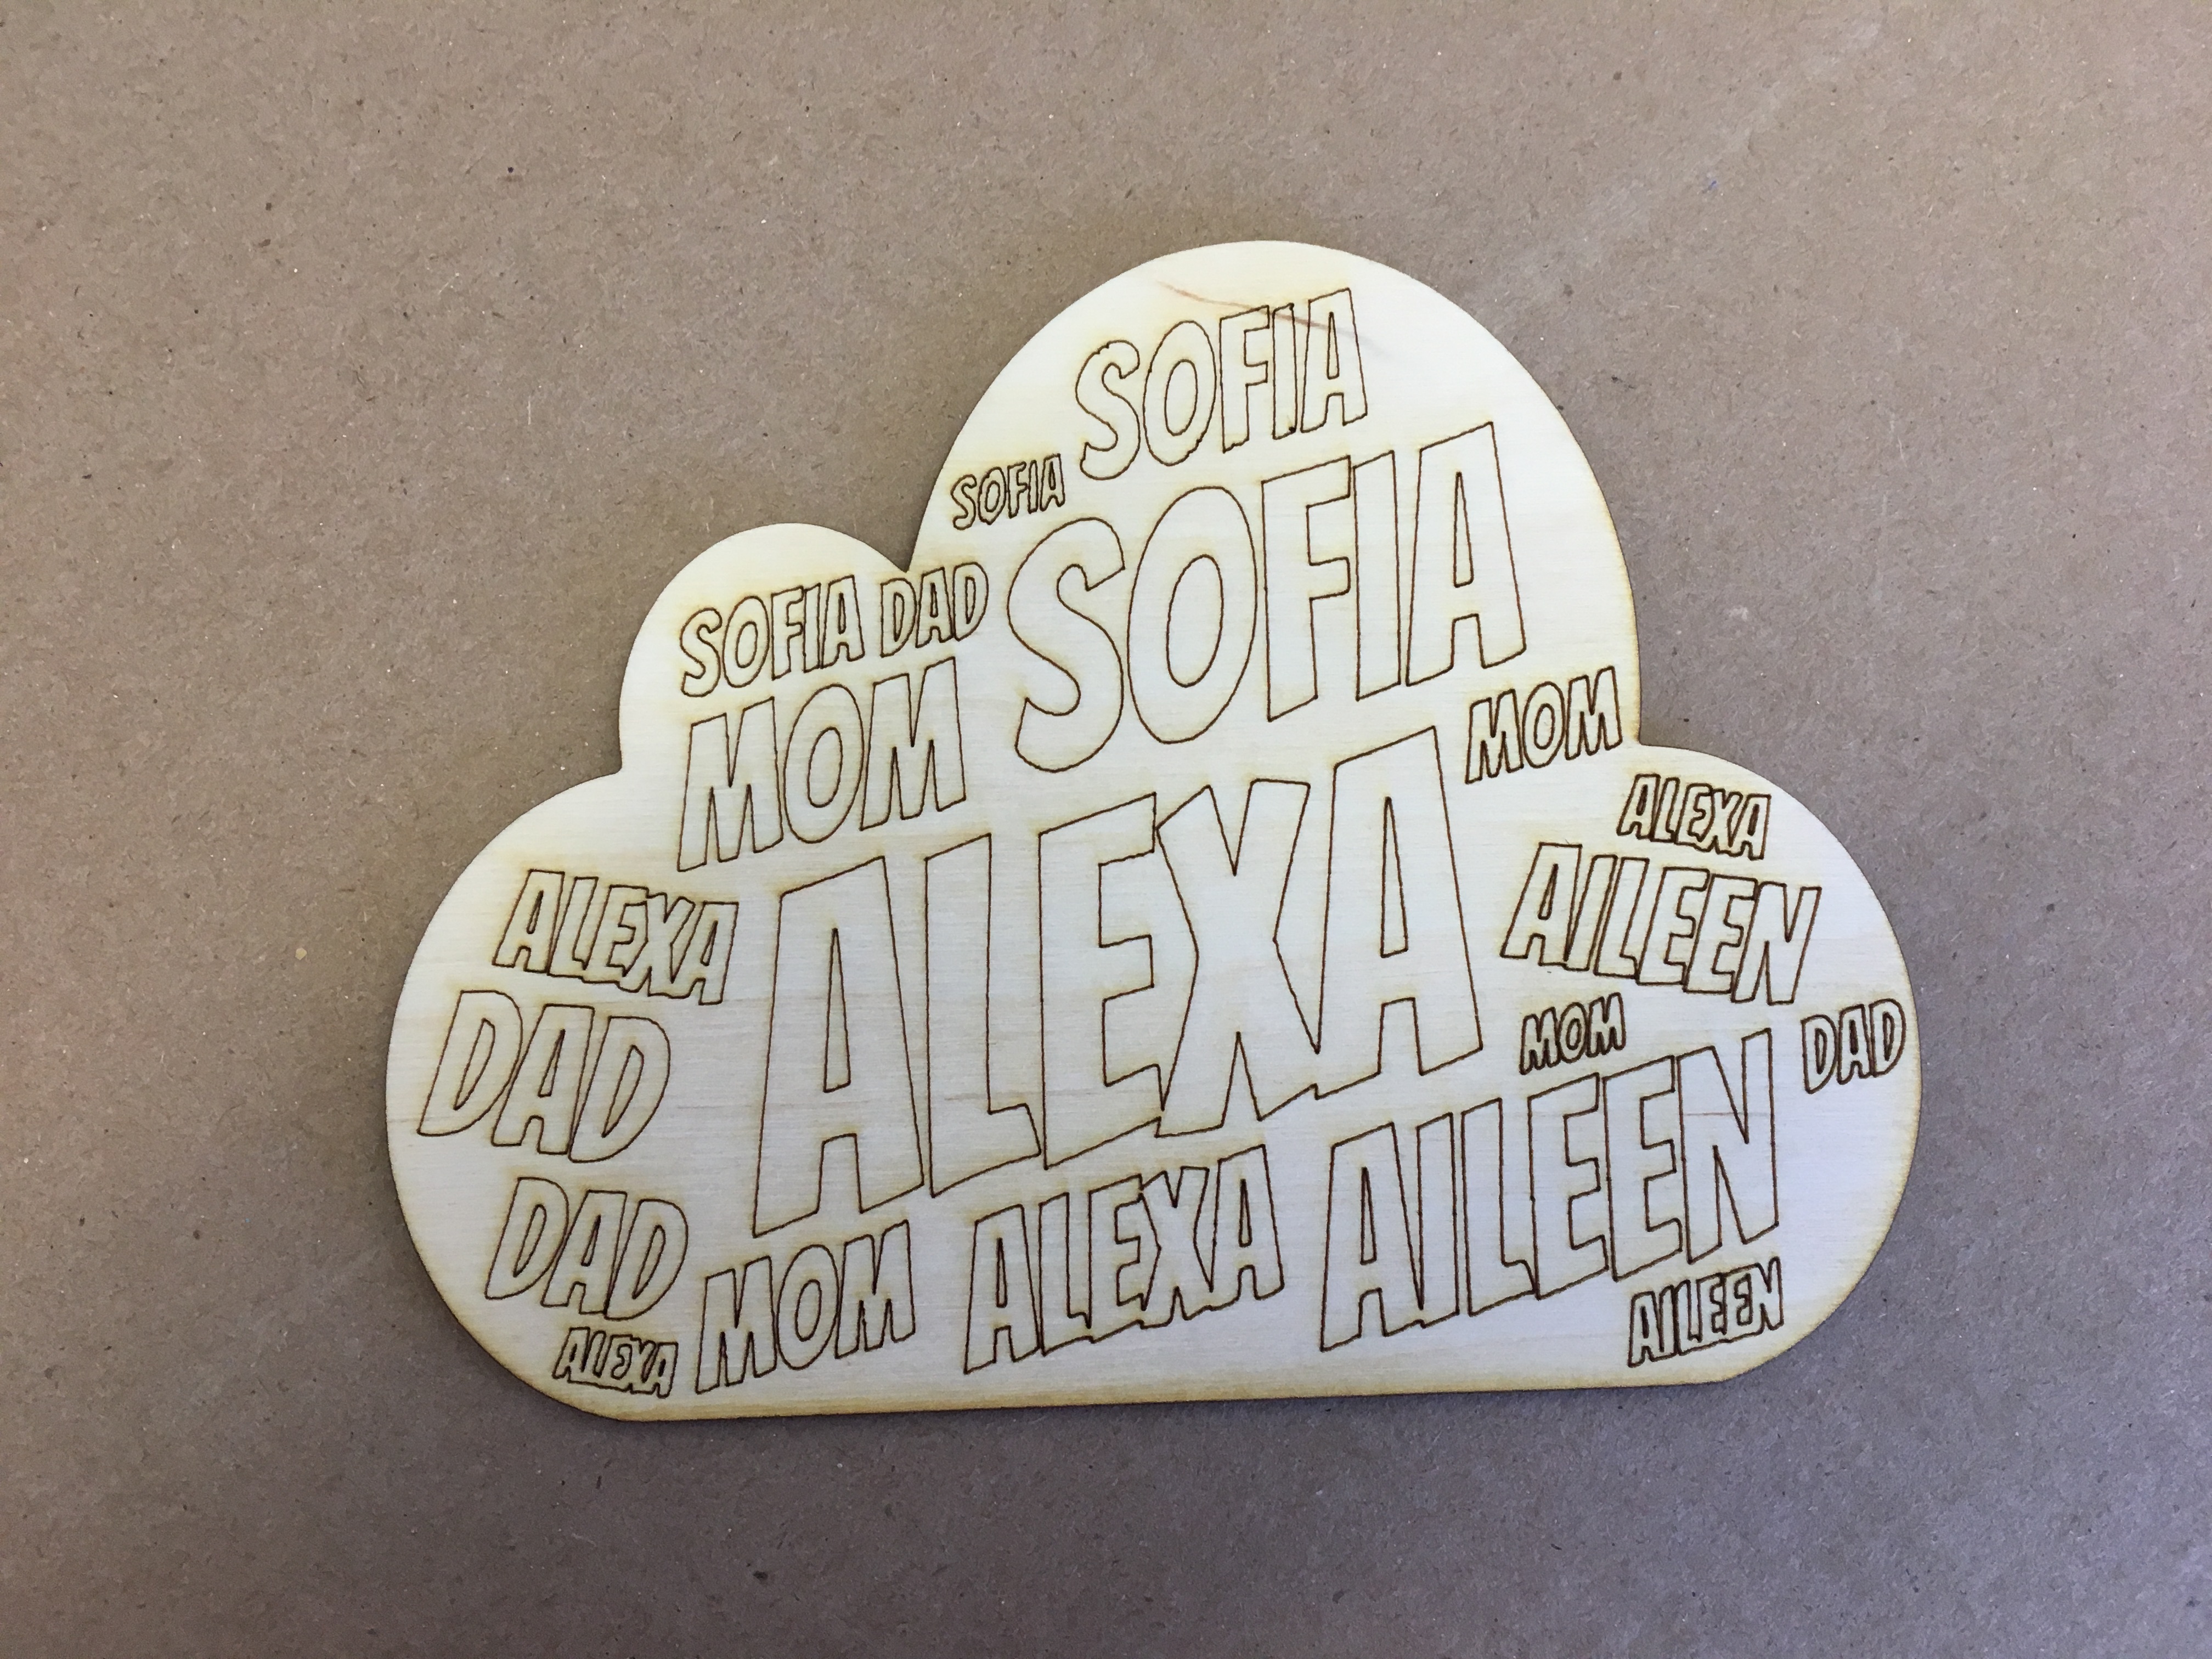
Only 30-50 words in the cloud total
– Change under Layout > Words amount > Define
Choose one key word or idea then change size to represent importance
Choose a shape that visually tells the theme of your sign
– Under Style > Background Image (or Shape transparency) set to 30% for best vector tracing
Color doesn’t matter in your Word Art design – you’ll convert it to simple links and colors that tell the laser cutter how to treat parts of the the design when cutting.
Mr Taylor and Miss D split students in whole class and 2/3rd of students start completing WordArt designs in small groups on individual laptops, then demonstrates 1on1 how to open and etch in Inkscape.
#?oftheDay – What’s the difference between Vector and Etch? (show Intel video then review questions through class discussion)
(DO NOW on your own) #?oftheDay - Which Principle of Design is Most Important for your Word Art sign? (see PDF) First, split students by table by stage of design process: Working on other assignments (Microbits, personal projects, etc) Not started Finishing WordArt using hints Open Word Art .png into Inkscape to convert design to vector Choose one student who’s ready to trace a WordArt design then demo these steps on big monitor:
DEMO: STEPS to trace and vectorize design using Inkscape:
NOTE: If first design ready to cut on Epilog Laser Cutter, do Safety Demonstration and How to save files as PDF on Google Drive then open on PC computer attached to laser cutter. Reference Technical Notes on Epilog setup.
(DO NOW on your own) #?oftheDay - Why do we care about Power and Speed when laser cutting? Again, split students by table by stage of design process.
DEMO – How to choose materials and measure then update in Inkscape.
Start queue on whiteboard of who’s ready to laser cut.
Have students who first finish projects start helping peers to update design and cut themselves.
Instructors students 1on1 to finish designs and save to Google Drive.
NOTE – it’s best to have the students save both the .SVG and the .PDF files in case you need to tweek the final designs on the static PC computer.
HELP file with steps and hints – https://docs.google.com/document/d/1B_p8MxvrWLxB8Im1wMMgMop-ow7uQ-m3SNjZnRryMLU/edit?usp=sharing
#?oftheDay – What can you finish in Current Assignments using Progress Checklist.
Continue queue on whiteboard of who’s ready to laser cut. (no Mr. Taylor)
EXTEND – students can paint or use colored pencils to add color to the wood. Also can try cutting versions on acrylic or use the Glow Forge (takes longer to cut).
Last day of trimester – open day for all students to finish all assignments and reflections
#?oftheDay – I Like, I Wish, I Wonder reflection sheet for trimester course feedback
Continue queue on whiteboard of who’s ready to laser cut.
Offer time during 8th Grade lunch if don’t finish cutting designs.
NOTE:
This flow worked with 8th grade elective class of 16-18 students with two instructors. When this lesson was replicated with larger and younger students in the 6th and 7th grade electives, the unit took significantly longer to complete.
It was necessary to break down the project into smaller steps in the GClassroom and on white boards so the students didn’t forget their place in a 14 min long video tutorial, and also to create a better workflow / cutting queue that was highly supported by early completing students helping and manning the laser cutter.
We also did a final Kahoot quiz game in some classes to celebrate https://create.kahoot.it/share/vector-laser-cutting-review/68282b42-b56d-4bcc-bcfd-b1866e322ce2.
Having trouble? Let us know by completing the form below. We'll do our best to get your issues resolved quickly.
"*" indicates required fields