- Loading…

In this workshop students will learn to make a magical flower pot with arduino.
Students learn about electronics and programming by creating their own magical flower pot. Students will study the elements and principles of design and understand how they are used to create a 3D printed computer programmable magical flower pot. In this lesson, students will conceptualize and then turn their ideas into real-life models.
learning objectives are-
· To introduced about Arduino programming.
· Introduction to 3D Designing and 3D Printing.
· introduction to Bluetooth module and RGB LED connections.
· To make Magical Flower Pot using Electronic Components.
For this you are goanna need:
– Arduino
– Jumper wires
– 1 RGB LED or 1 red LED, 1 green LED and 1 blue LED
– Flower pot
– USB cable
– Bluetooth module HC 05
– Smart phone
– Fewistick
– Power supply / Adaptor
– Glue gun &glue stick
– Arduino nano
Digital Fabrication Tools
– 3D printer
– Soldering Iron
– Wire cutter/stripper
Teacher Note- Discuss with students on the idea of Magical flower pot in which light inside the flower pot will be control through mobile app. Initially introduce them about 3D design software and ask Ask students to do 3D design of flowerpot and let them use their creativity
Ask students to make different shapes by sketching it in notebook first give dimensions and then to replicate in 3D design software.
Ask students to take measurement of their design. If required then introduce them units of measurements
Teacher Note – After putting a design for printing let printer do its work and start student introducing about electronics.So introduce them with RGB led, Bluetooth, Arduino nano/ arduino uno whichever you will find better . Show them images.
a) Connect RGB LED to Arduino according following table : RGB LED have four pins as follows: RGB LED Arduino Red D3 VCC 5V Green D5 Blue D6 b) Connect Bluetooth module to Arduino according to following table : Bluetooth module have following pins as follows: Bluetooth module Arduino VCC 3point3V GND GND TXD D11 RXD D12
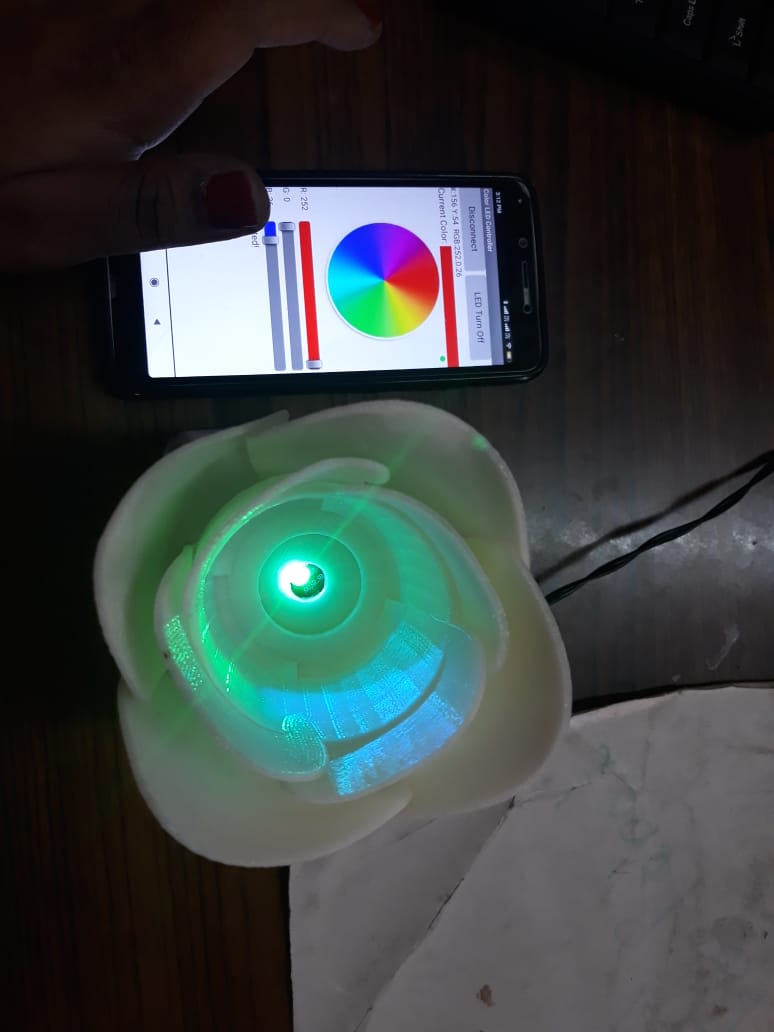
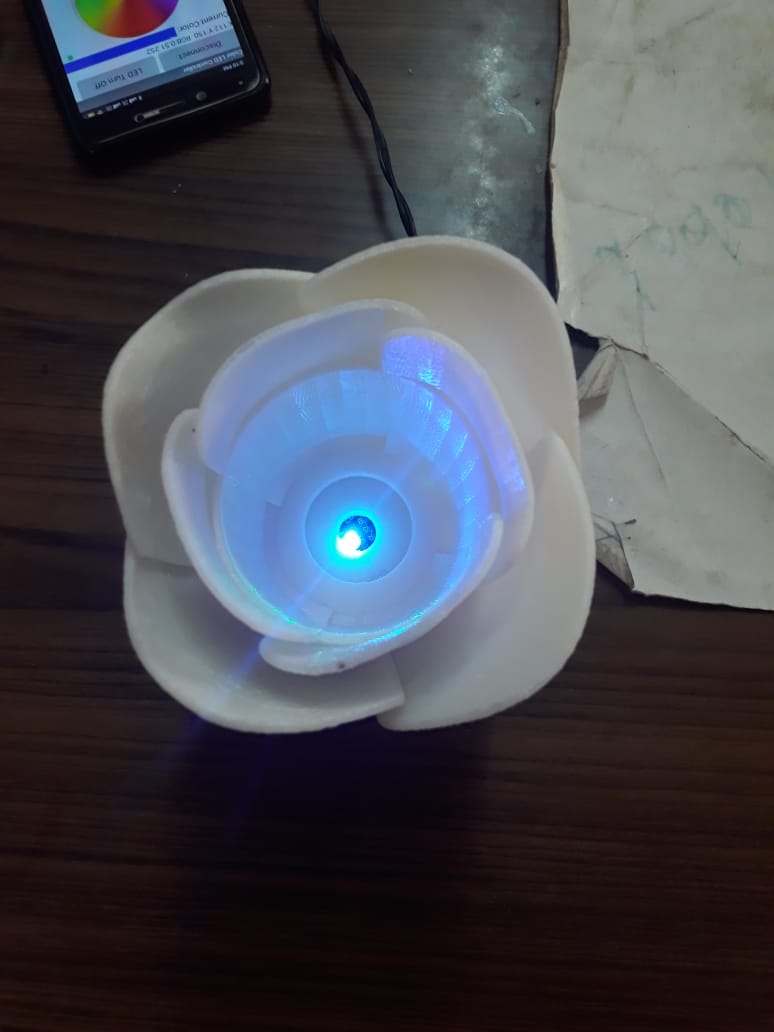
• Firstly, install the Color LED Controller free app on smart phone. • You can download color led controller app from play store • Then open the app and connect it to Bluetooth module by entering the password only 0000 / 1234. • Further that turn on LED on app and connect . • Hence, colors are shown on RGB LED. Teacher Note- Explain arduino programming and ask them to modify blink program.Then lete them work with RGB led .After that explain them about Bluetooth connection and how we can use it with arduio
Upload the code to the arduino and test it.
Teacher Note- Let students play with it.
Having trouble? Let us know by completing the form below. We'll do our best to get your issues resolved quickly.
"*" indicates required fields