- Loading…
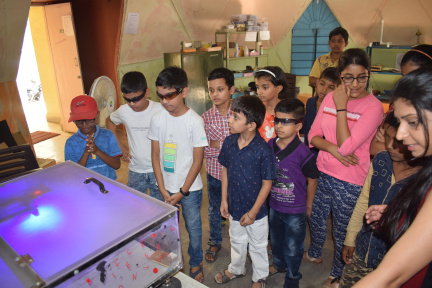
In this workshop students will learn to make a magical greeting card.
Students learn about basic electronics by creating their own Paper circuit. Students will study the elements and principles of design and understand how they are used to create a 2D cut computer programmable magical greeting card. In this lesson, students will conceptualize and then turn their ideas into real-life models.
Learning Objectives are
To introduced about Basic of electronics.
· Introduce to Ohms law
· Introduction to 2D Designing and 2D cutting.
· Introduction to LED & Battery connections.
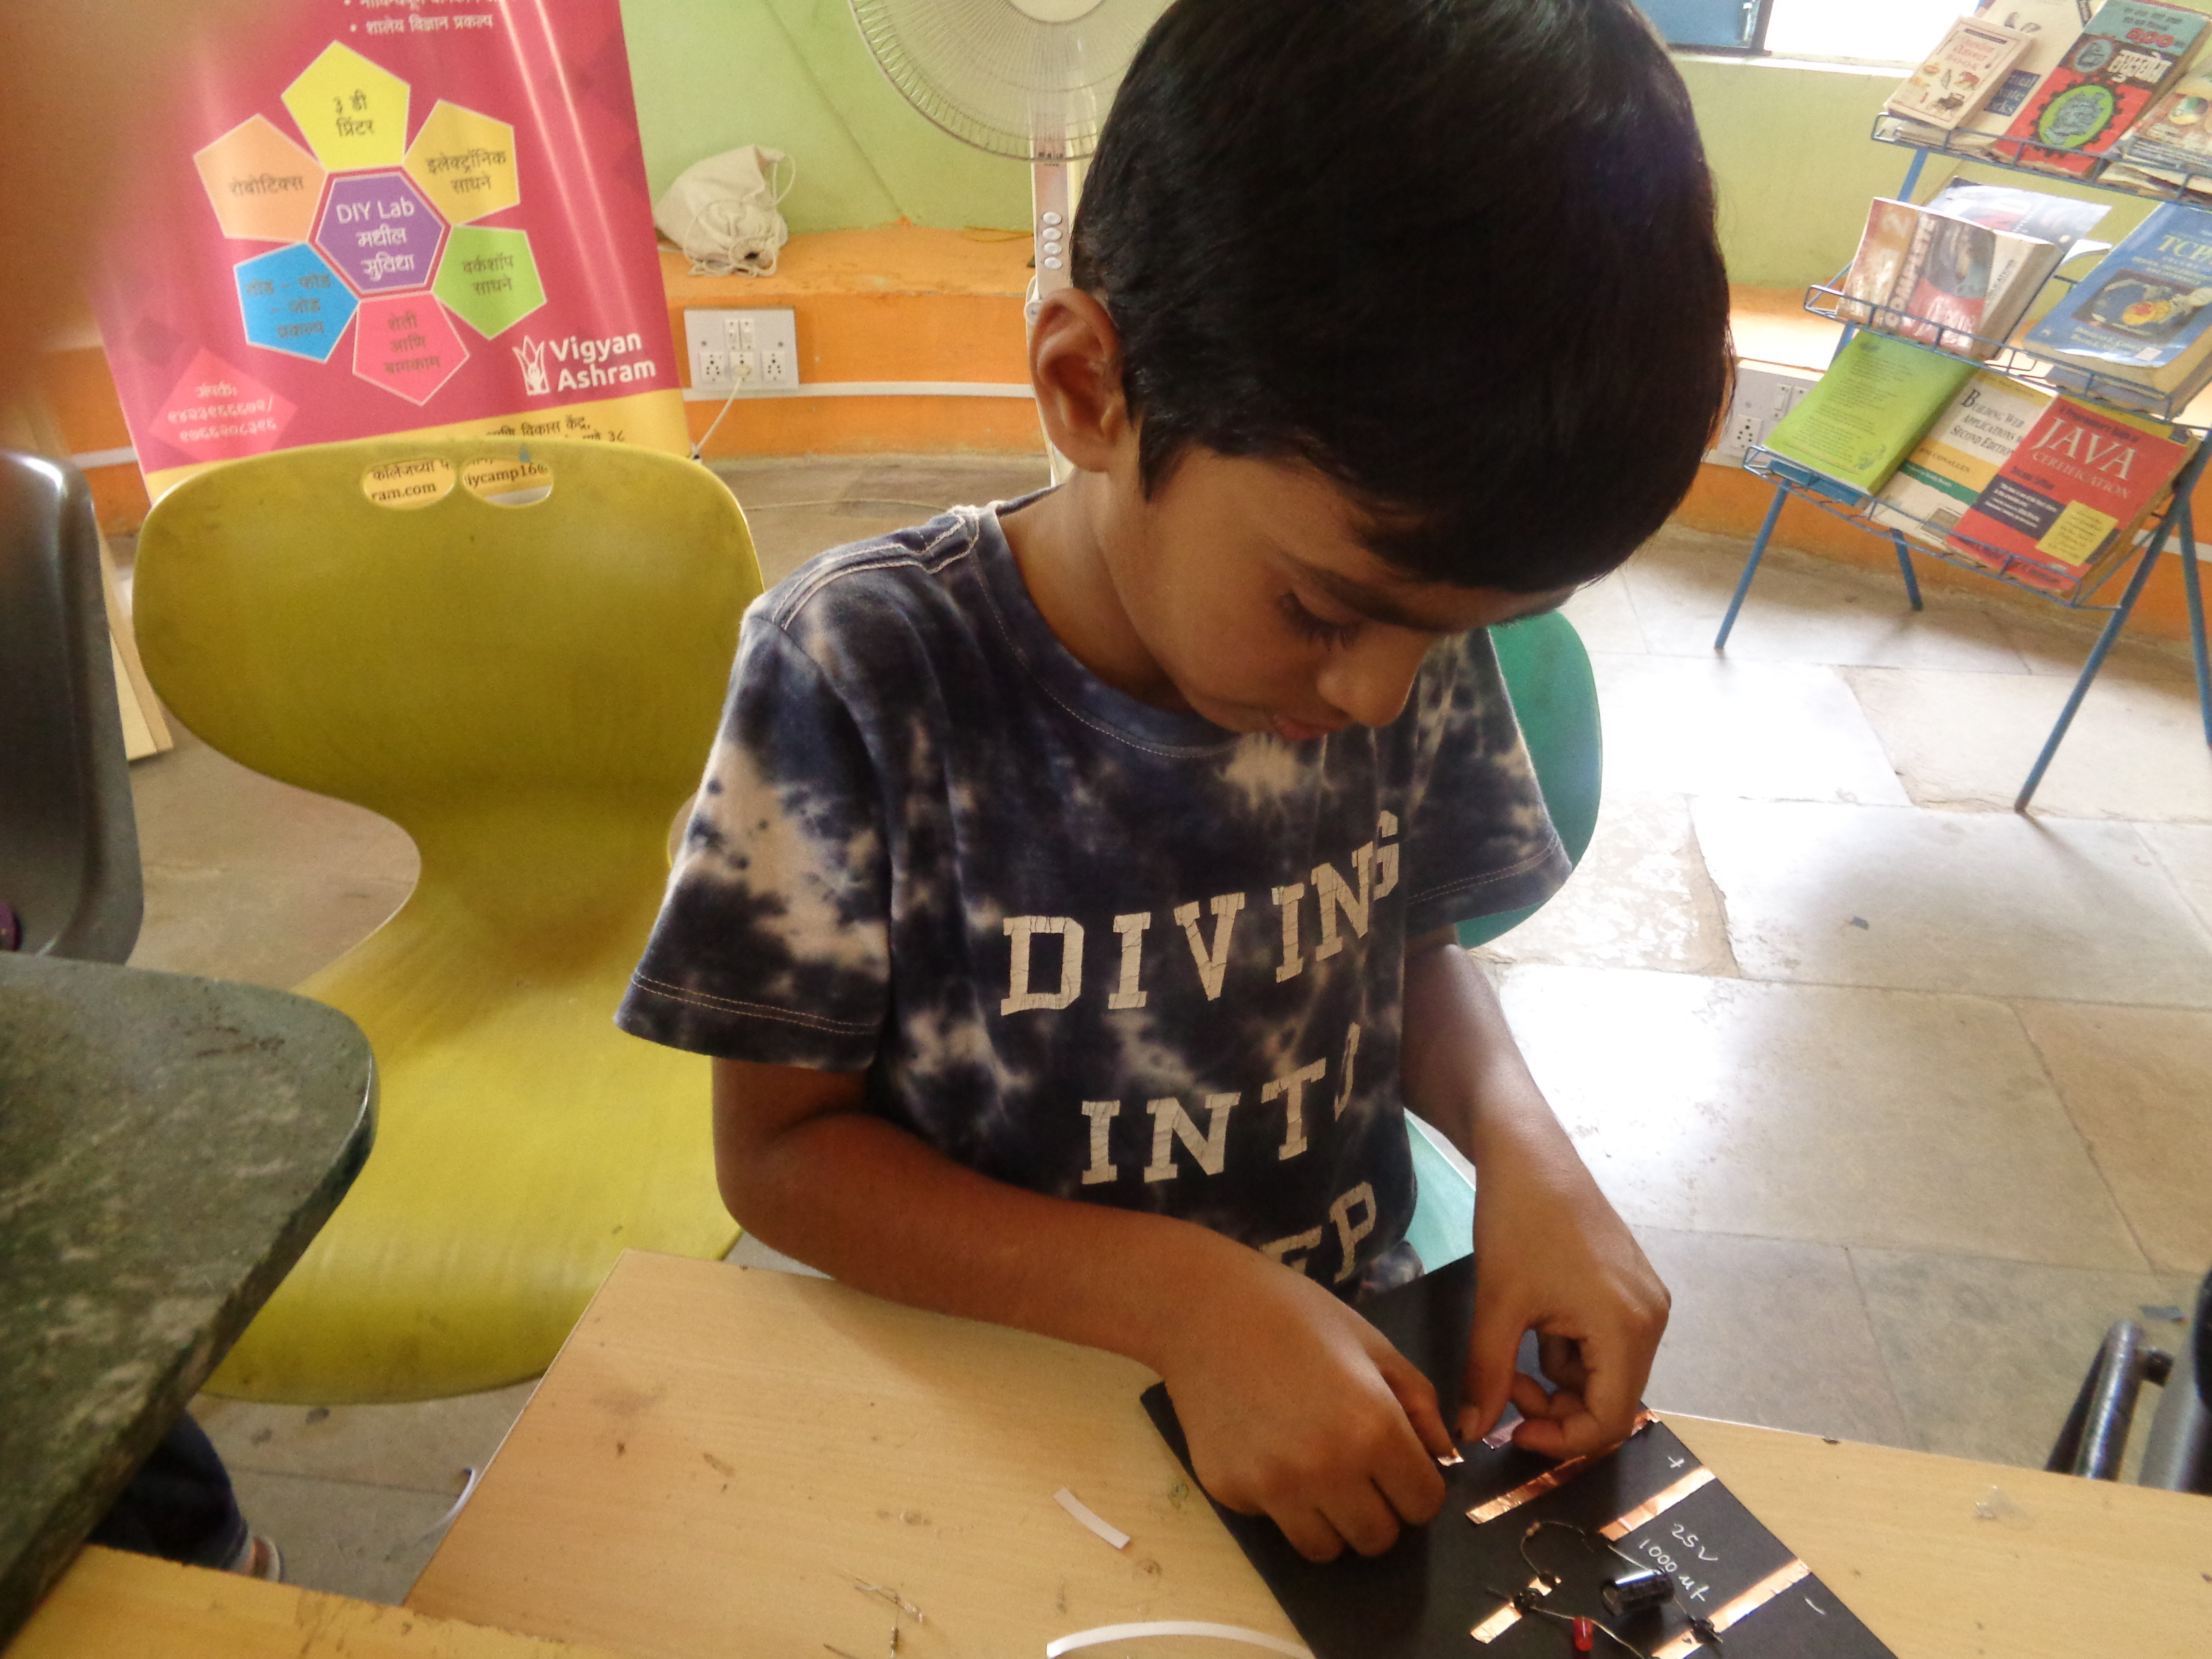
· To make Paper circuit using Electronic Components.

For this you need:
– LED’s
– Copper paper
-Button Cell
-Resistor
– 2D cutting file
– Glue gun &glue stick
– Decorative material
– Greeting paper
– scissor
Activity – ask students to tell electricity conductive and non conductive material around them
Teacher note – Give different switches to students and ask students lets see how switch works.
Teacher Note- Discuss with students on the idea of Magical greeting card. In this magical greeting card when touch it then LED turns ON. Initially introduce them about 2D design software and ask students to do 2D design of greeting card and let them use their creativity.
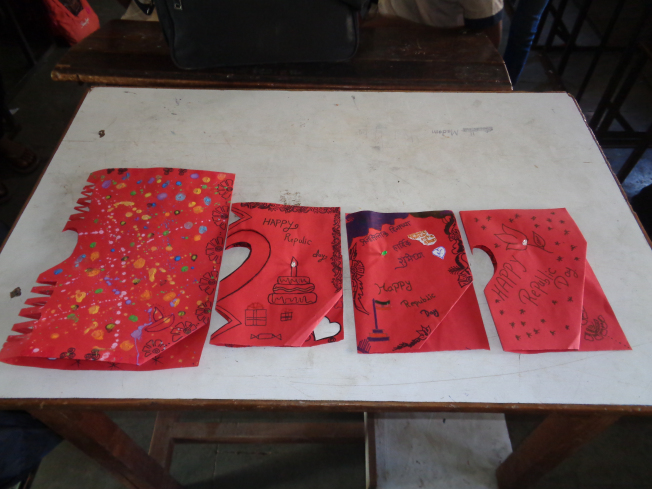
Design our own Paper circuit in different shapes, in 2D software Students will draw designs as per their creativity Teacher note- You can encourage students for doing greetings for upcoming festival After design you can cut design in laser cutter.
If there is shortage of time then you can cut copper strips wit scissor
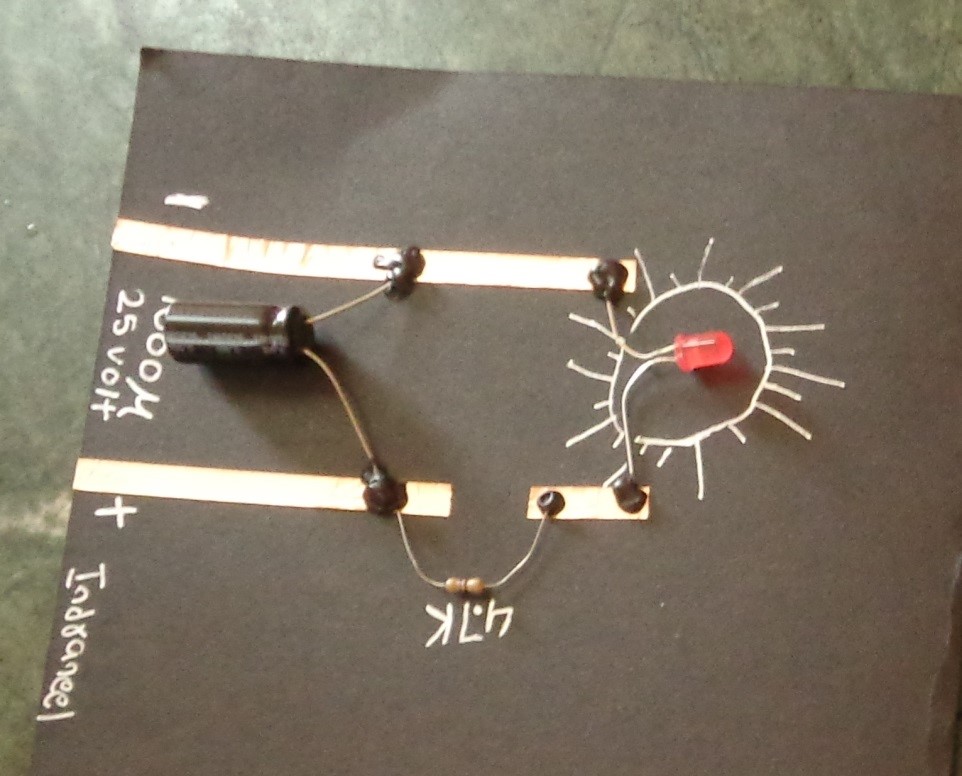
a) Connect LED Button cell and resistor Using copper paper: b) Fix the one end of button cell with copper strip and put one open . Second copper strip will come in contact of button cell only when we will press it from upper side
Ask student to decorate their greetings as per their creativity and imagination
Having trouble? Let us know by completing the form below. We'll do our best to get your issues resolved quickly.
"*" indicates required fields